Easy Turmeric: Soap Recipe
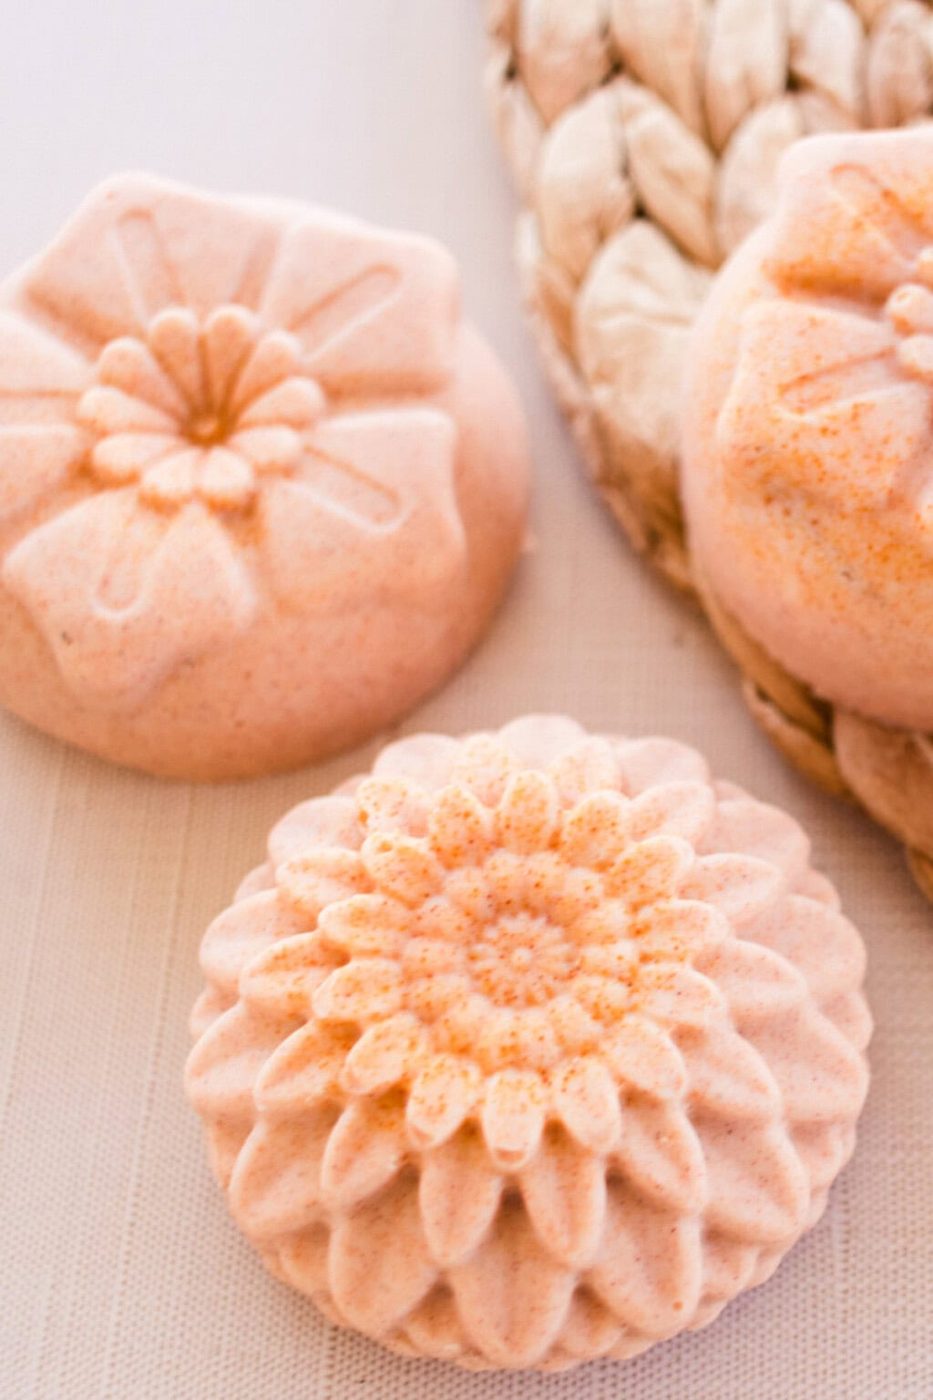
This is such an enjoyable soapmaking recipe! This turmeric soap recipe yields beautiful orange bars with a silky lather that are hydrating to the skin. Learn how to make turmeric soap below!
A favorite in food recipes as well as in homemade beauty products. We're talking about turmeric!
It’s a warming spice that’s become increasingly popular over the years in various edible recipes.
And why not make a bar of soap out of it, too?
Turmeric adds warmth and color to soap as well as a spicy, peppery scent.
Now the smell may not be to your liking, but it also may be.
We, in fact, love turmeric soap because of the smell! It’s so grounding and brings me calm simply sniffing it. Hmmm.
In this note, we'll share an easy, cold process soap recipe for how to make turmeric soap.
We leave the scent natural (as in turmeric smelling) because it’s not that strong and is actually really nice (we think.)
We hope you enjoy this one!
What is turmeric soap?
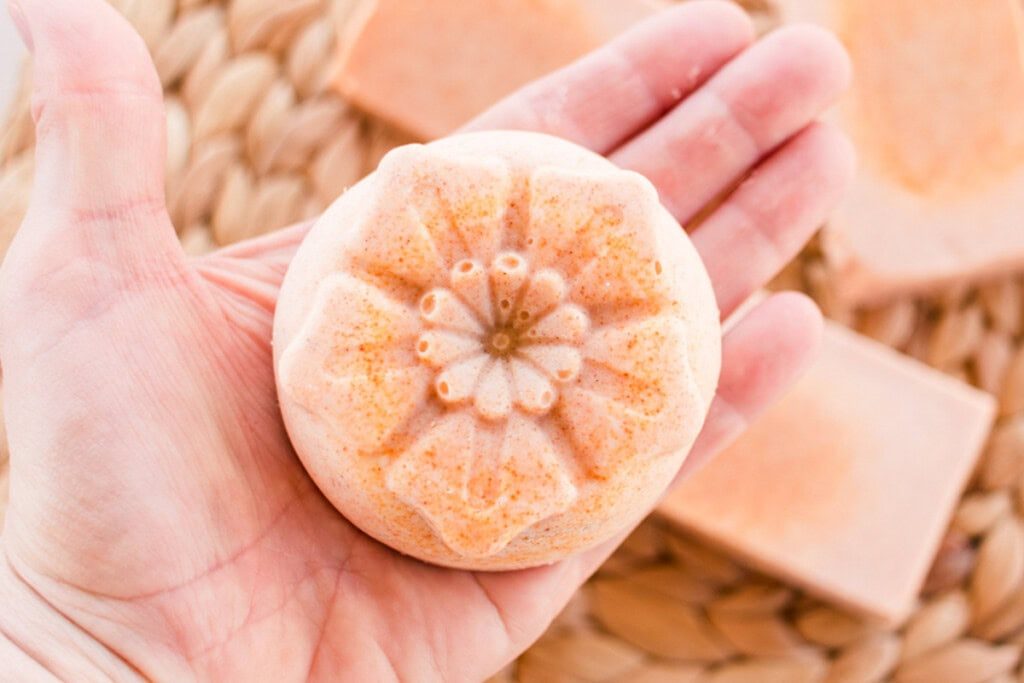
So, without sounding too basic, a turmeric soap is a soap made with dried turmeric in it.
There are other ingredients in there as well, but turmeric is what sets the soap apart.
It adds color, scent, and warmth to soap while also being nourishing to the skin.
The combination of turmeric and other moisturizing soap ingredients makes this a really lovely soap for keeping the skin hydrated and happy.
Why you will love this turmeric soap recipe
- It uses a cold process soapmaking method, allowing greater flexibility for what goes in it!
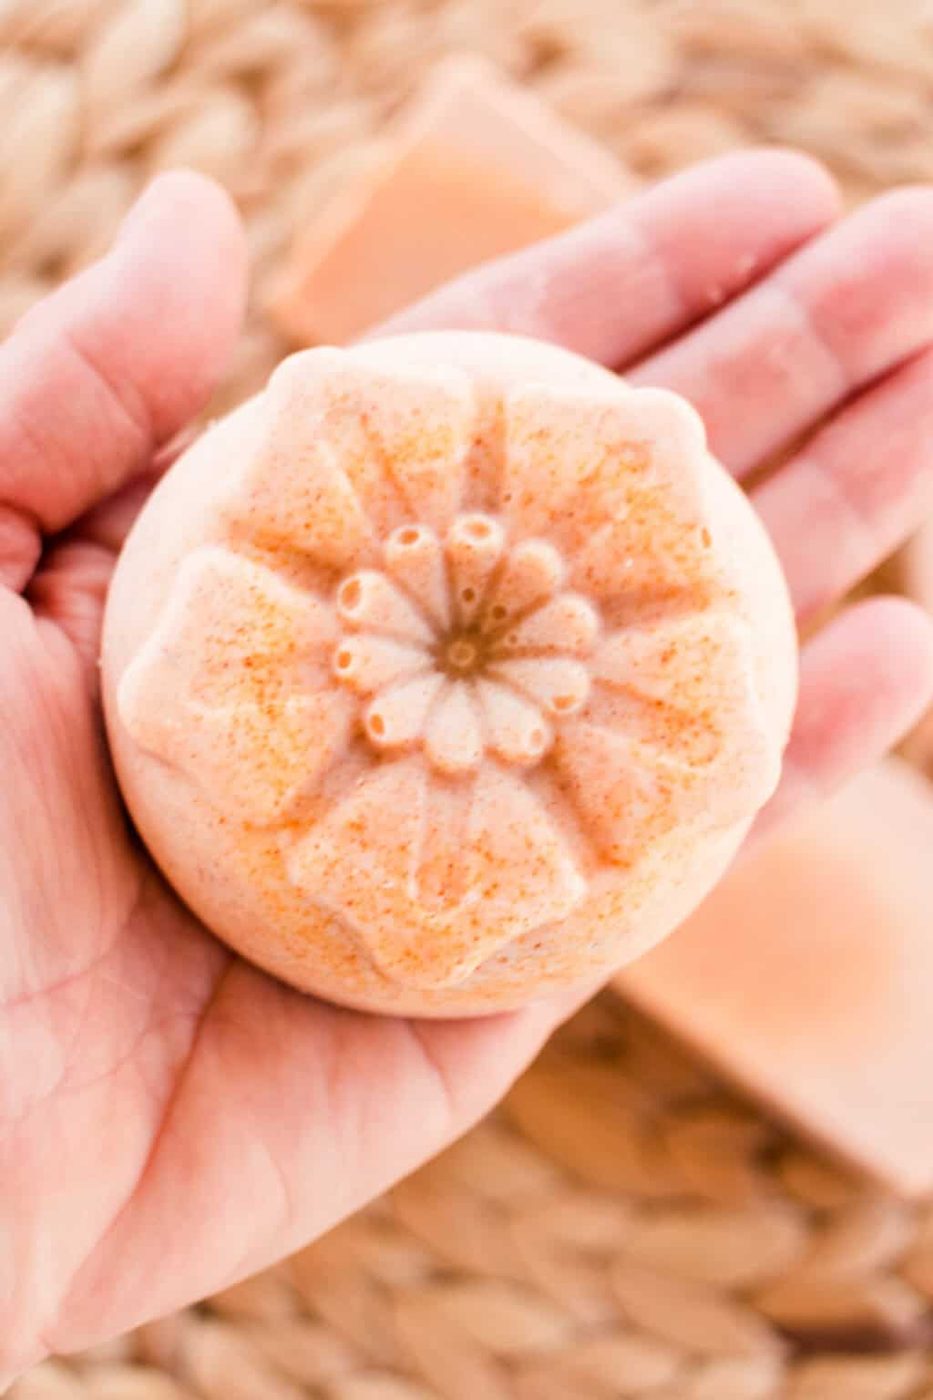
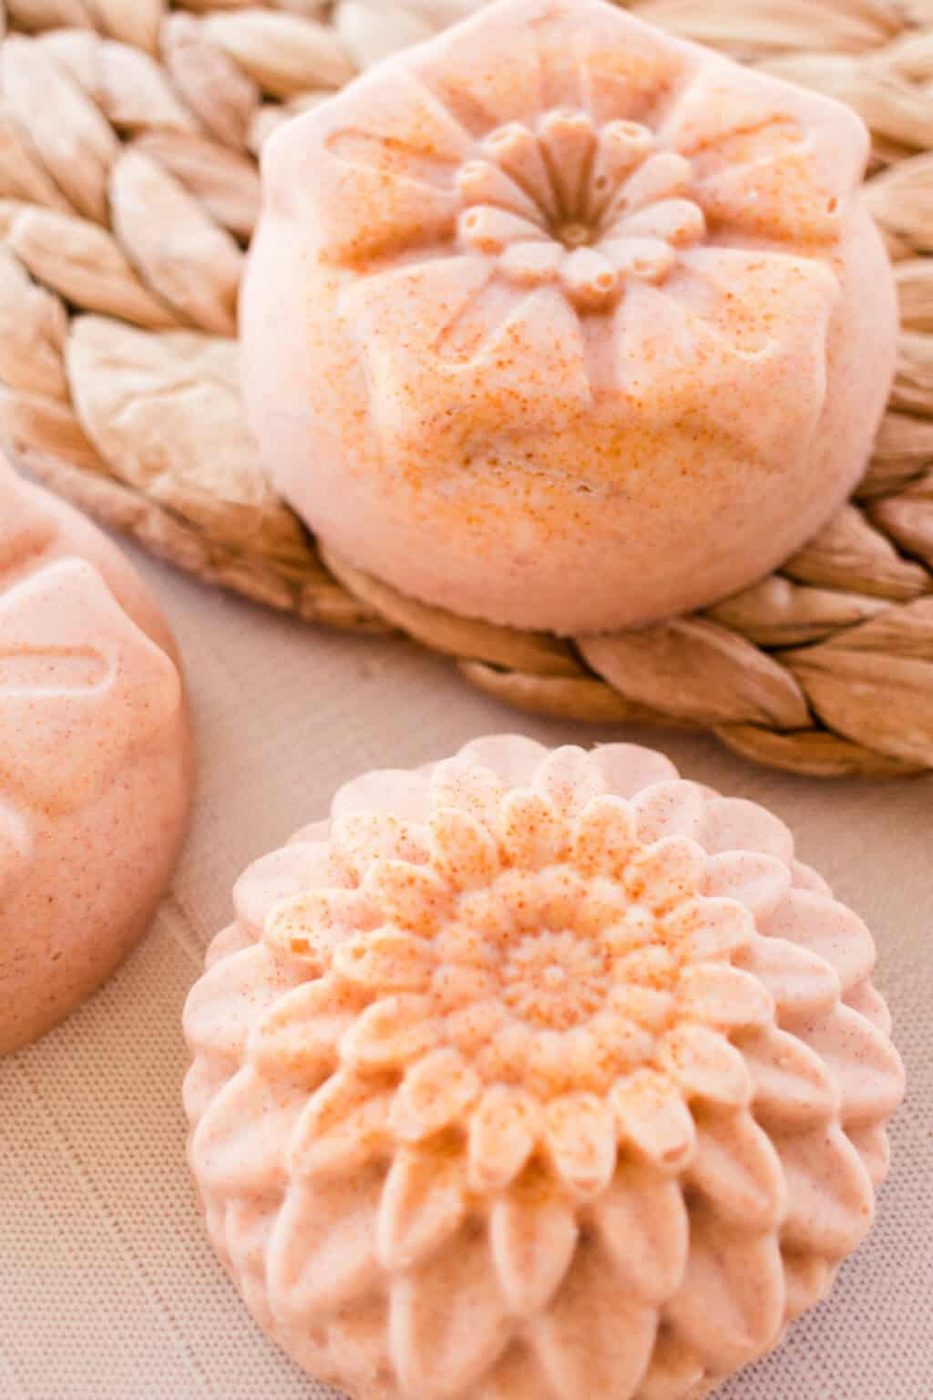
- This turmeric soap is remarkably unique. The orange hue and the spicy scent make it a fun and special soap bar to use.
- Because it’s so unique, we really love sharing this soap as a homemade gift option. It’s a product that you can’t buy, and our friends and family always appreciate it!
- It can be used by the whole family. Even kids will love this soap because of its color!
A little about the ingredients
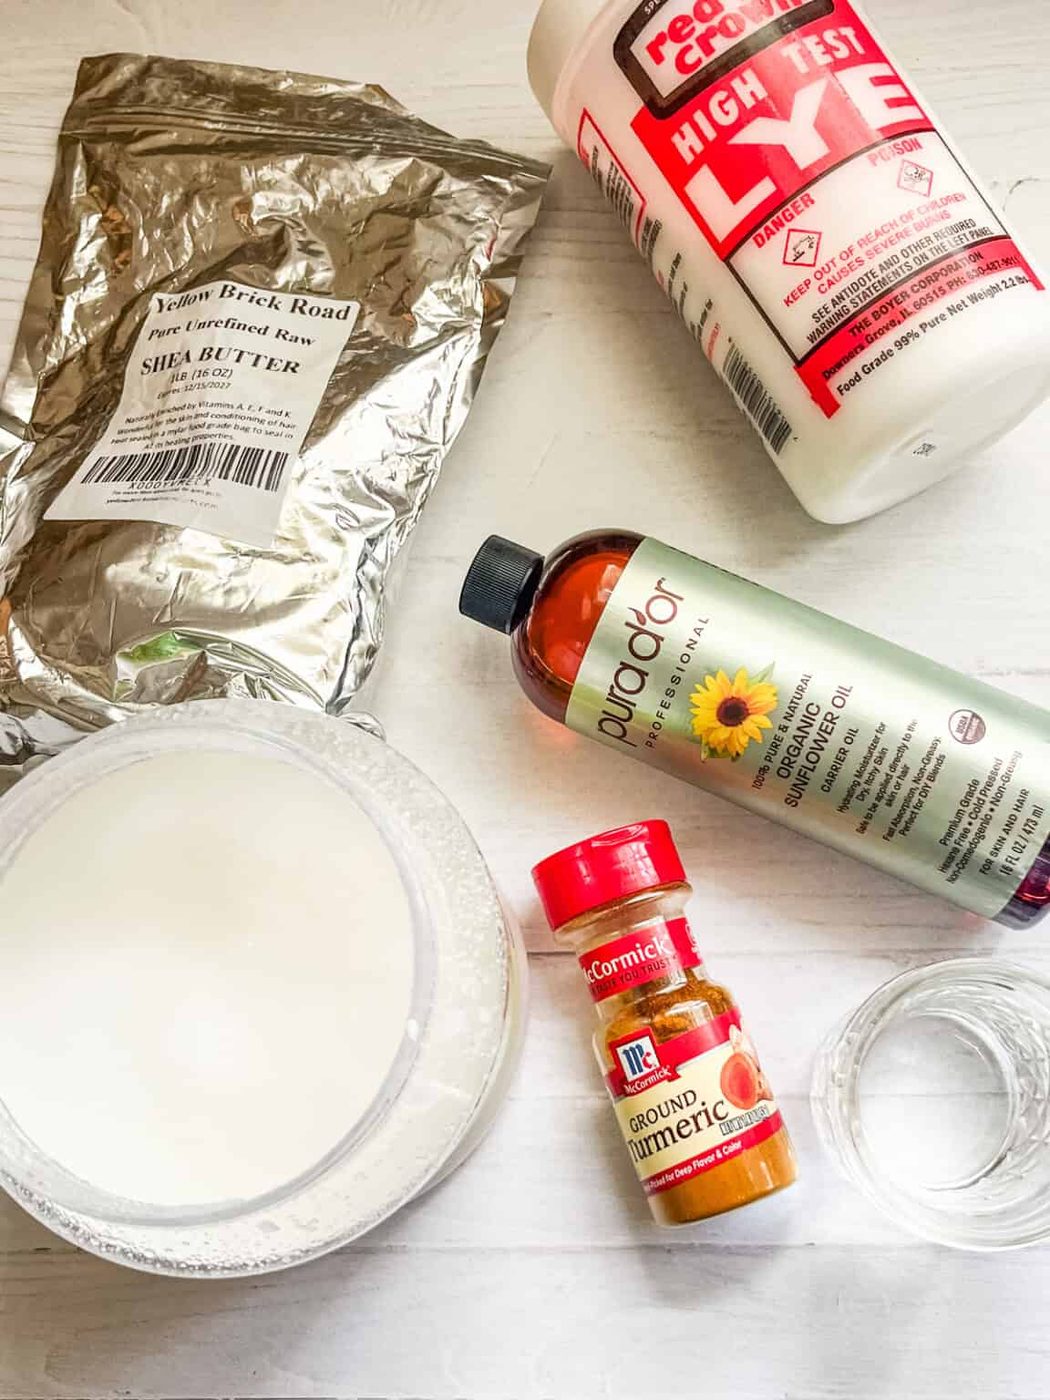
- Turmeric: An ancient spice used notably in Eastern cooking. It has many benefits for the skin, which is the main draw of adding it to soap. Turmeric is said to give the skin a natural glow and luster, which is always a plus in our book!
- Shea butter: A deeply hydrating and nourishing ingredient, direct from nature. Shea butter contains natural fats that deeply penetrate the skin layer, adding much-needed moisture and maintaining that hydration for a long time. This is why we love to use it in homemade lotion!
- Coconut oil: Another rich source of fatty acids that add moisture to the skin. Coconut oil is found in many of our soap bars, including this herbal soap recipe.
- Sunflower oil: Naturally rich in linoleic acid and antioxidants, sunflower oil is another great moisturizing ingredient, so we love adding it to soap.
How to make turmeric soap
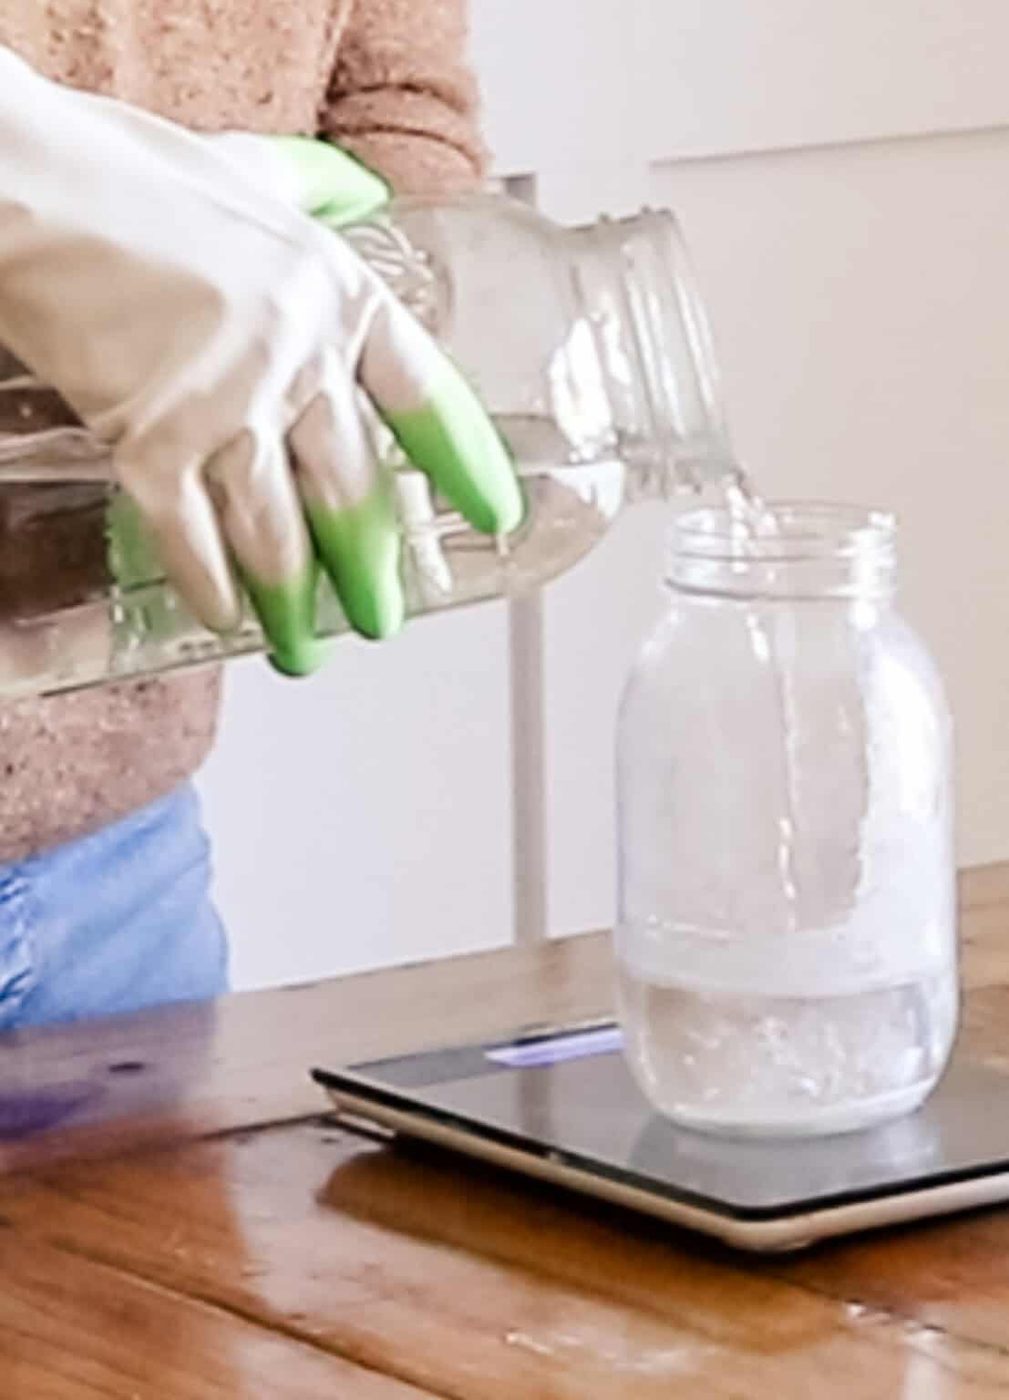
Step 1: Use a digital scale to measure out the water. Then add it to the heat-resistant container.
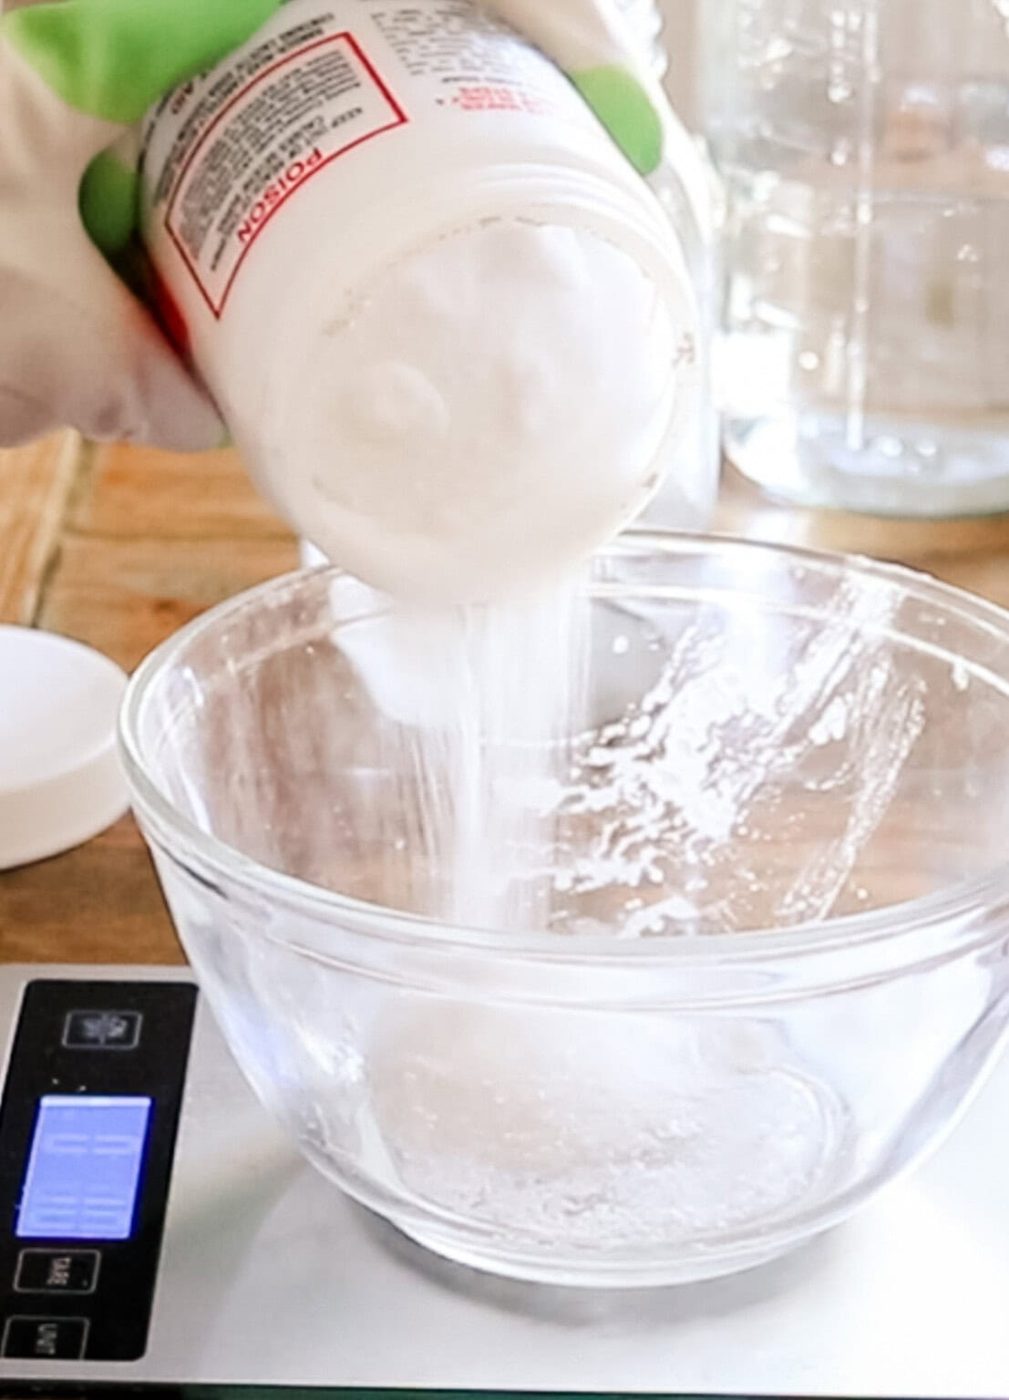
Step 2: Slowly add the lye to the water.
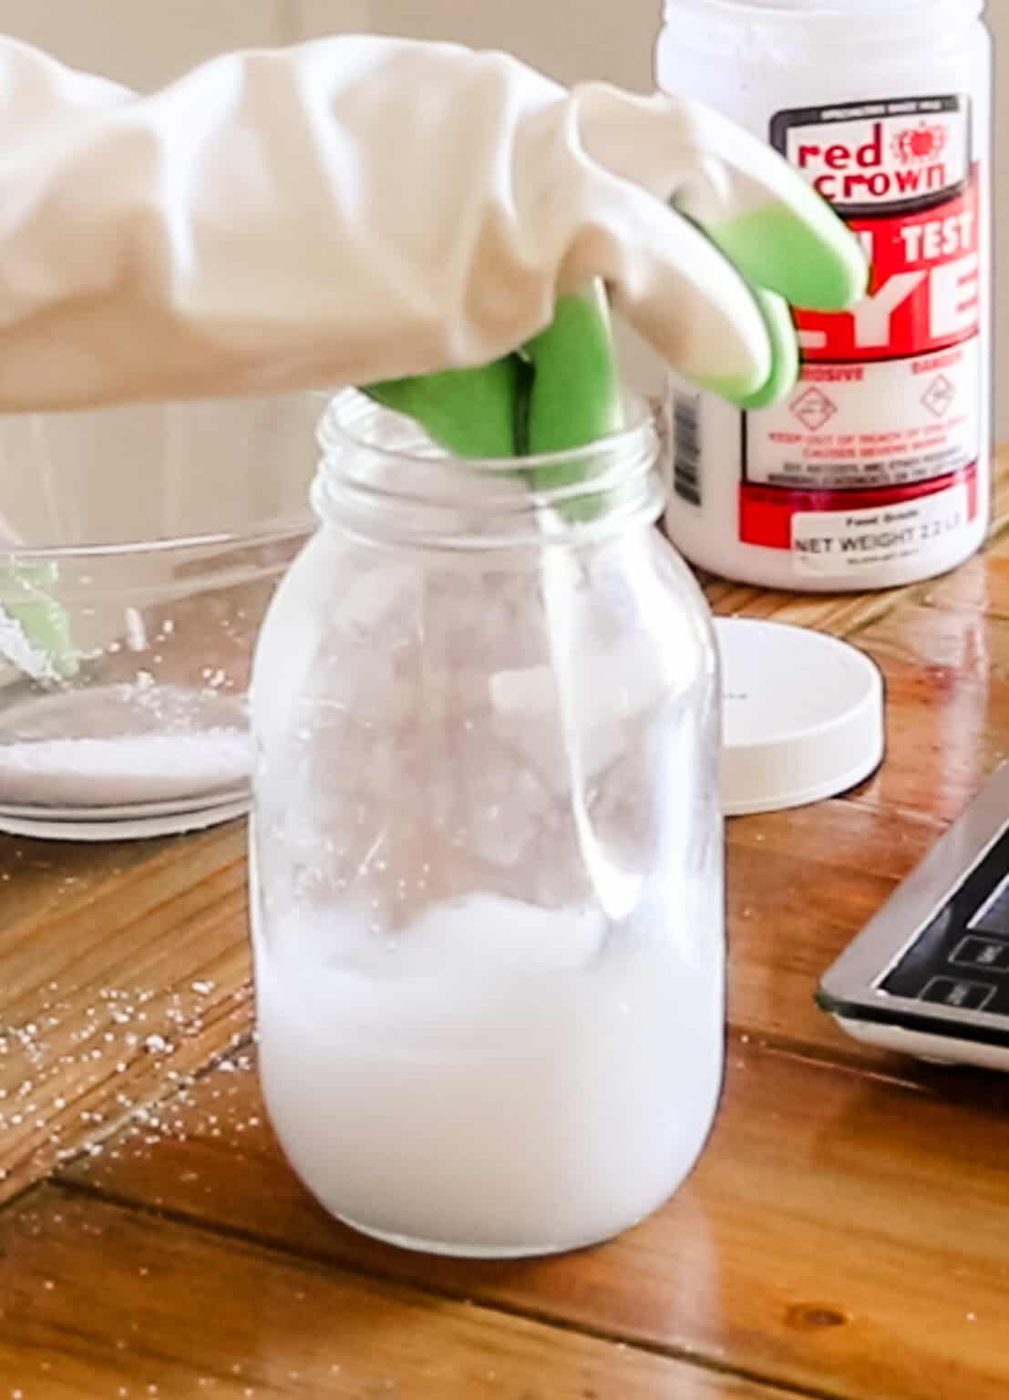
Step 3: Stir the lye into the water until dissolved. Note that the chemical reaction will cause it to heat up quickly. Set aside to cool to about 120-130°F
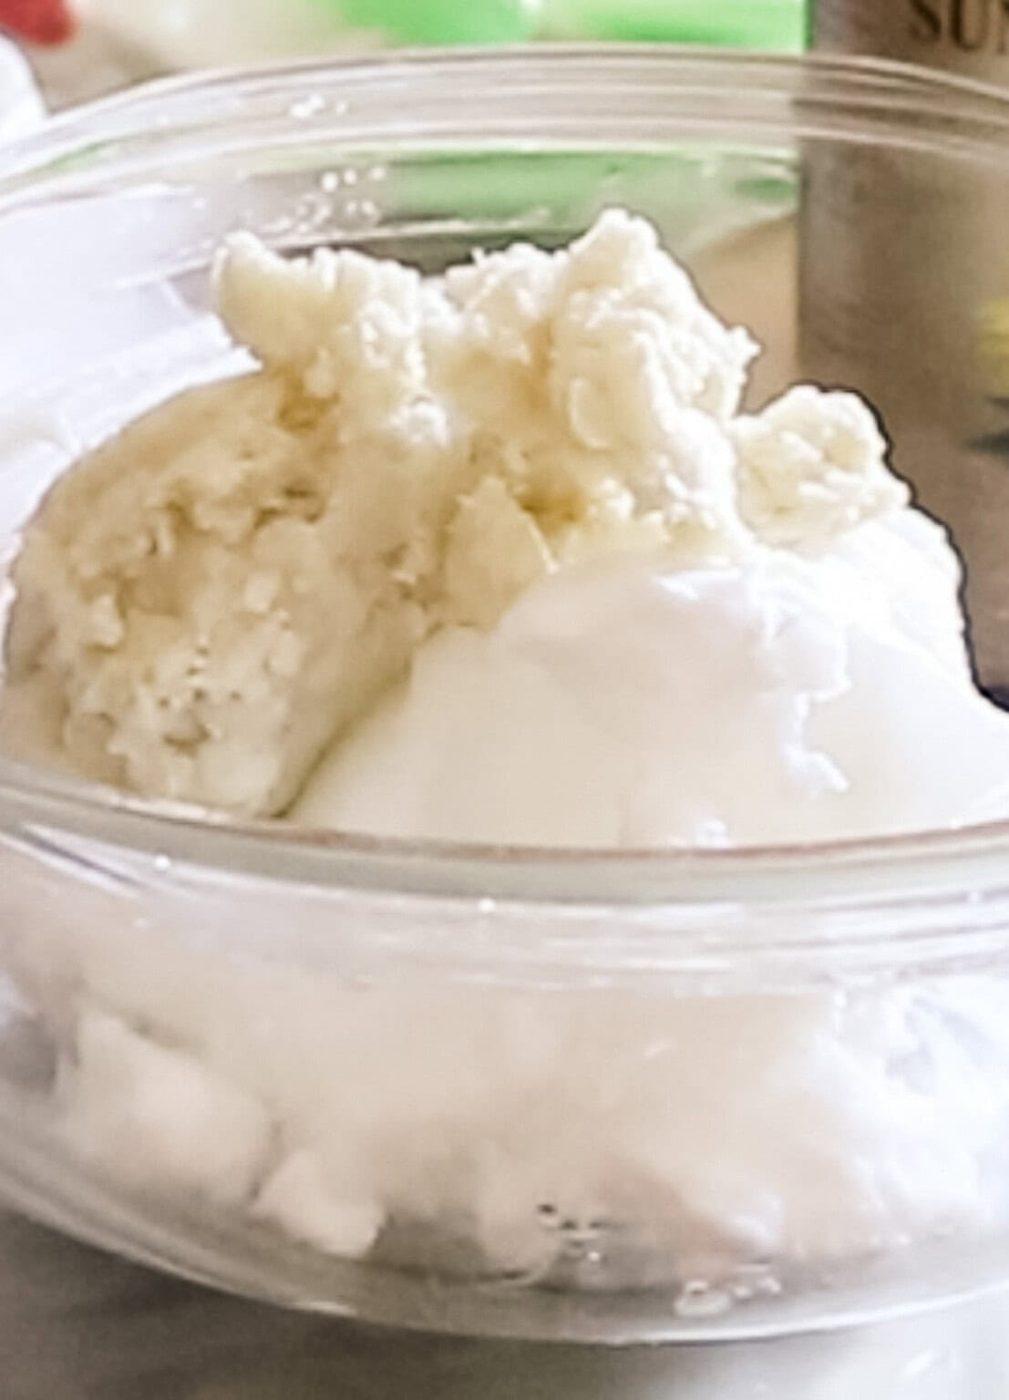
Step 4: Melt the coconut, shea butter, and sunflower oil in a small saucepan on the stove over medium heat.
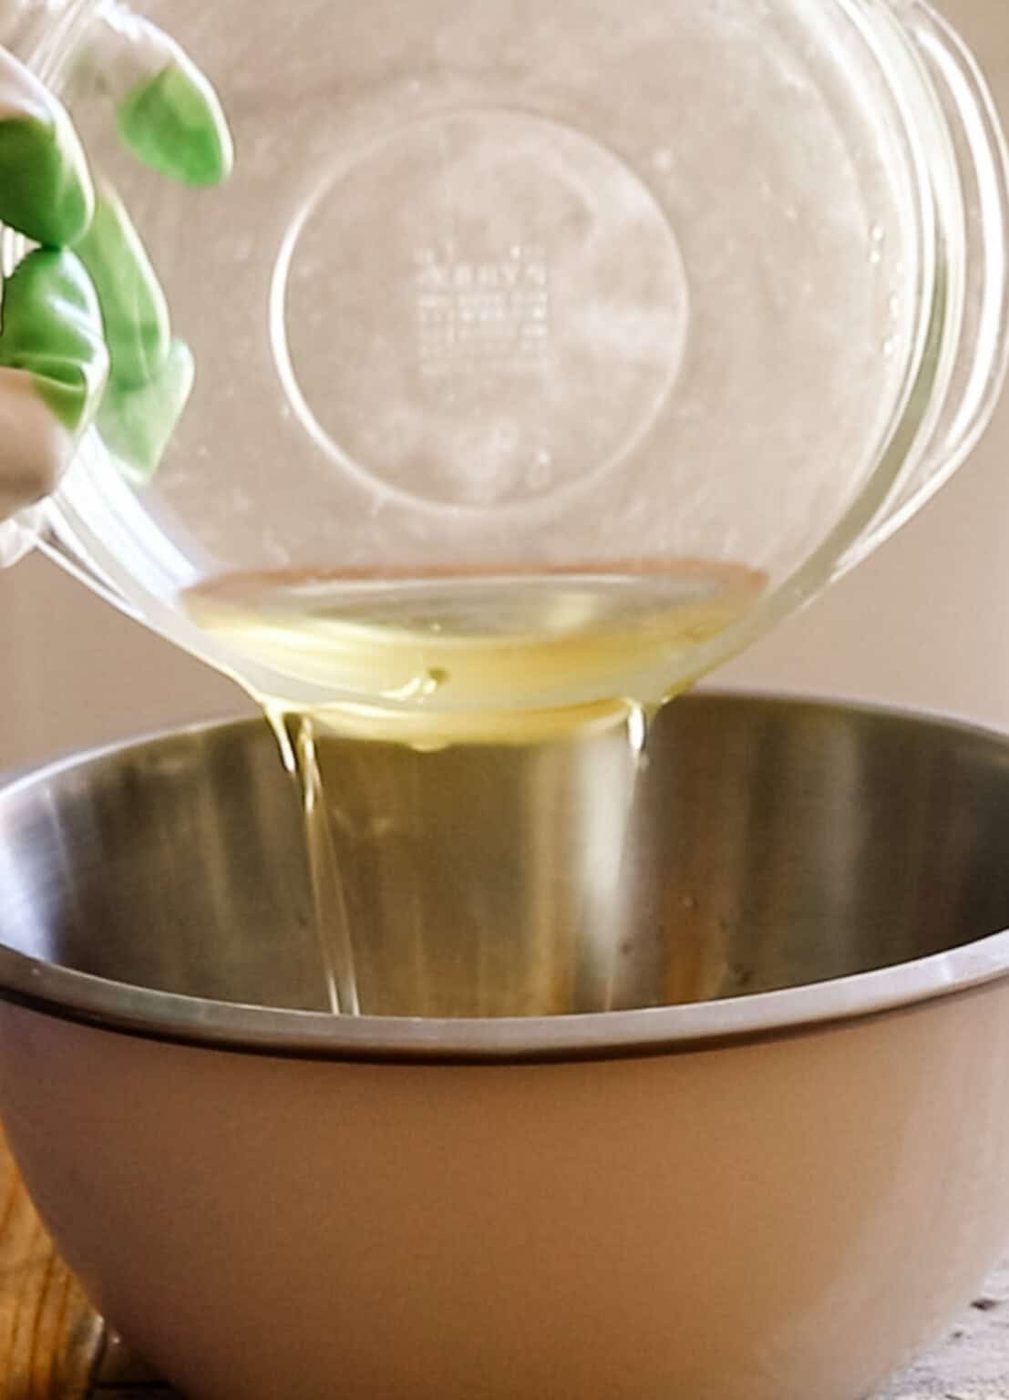
Step 5: Once melted, set aside to cool slightly. Add all the oils to a metal mixing bowl.
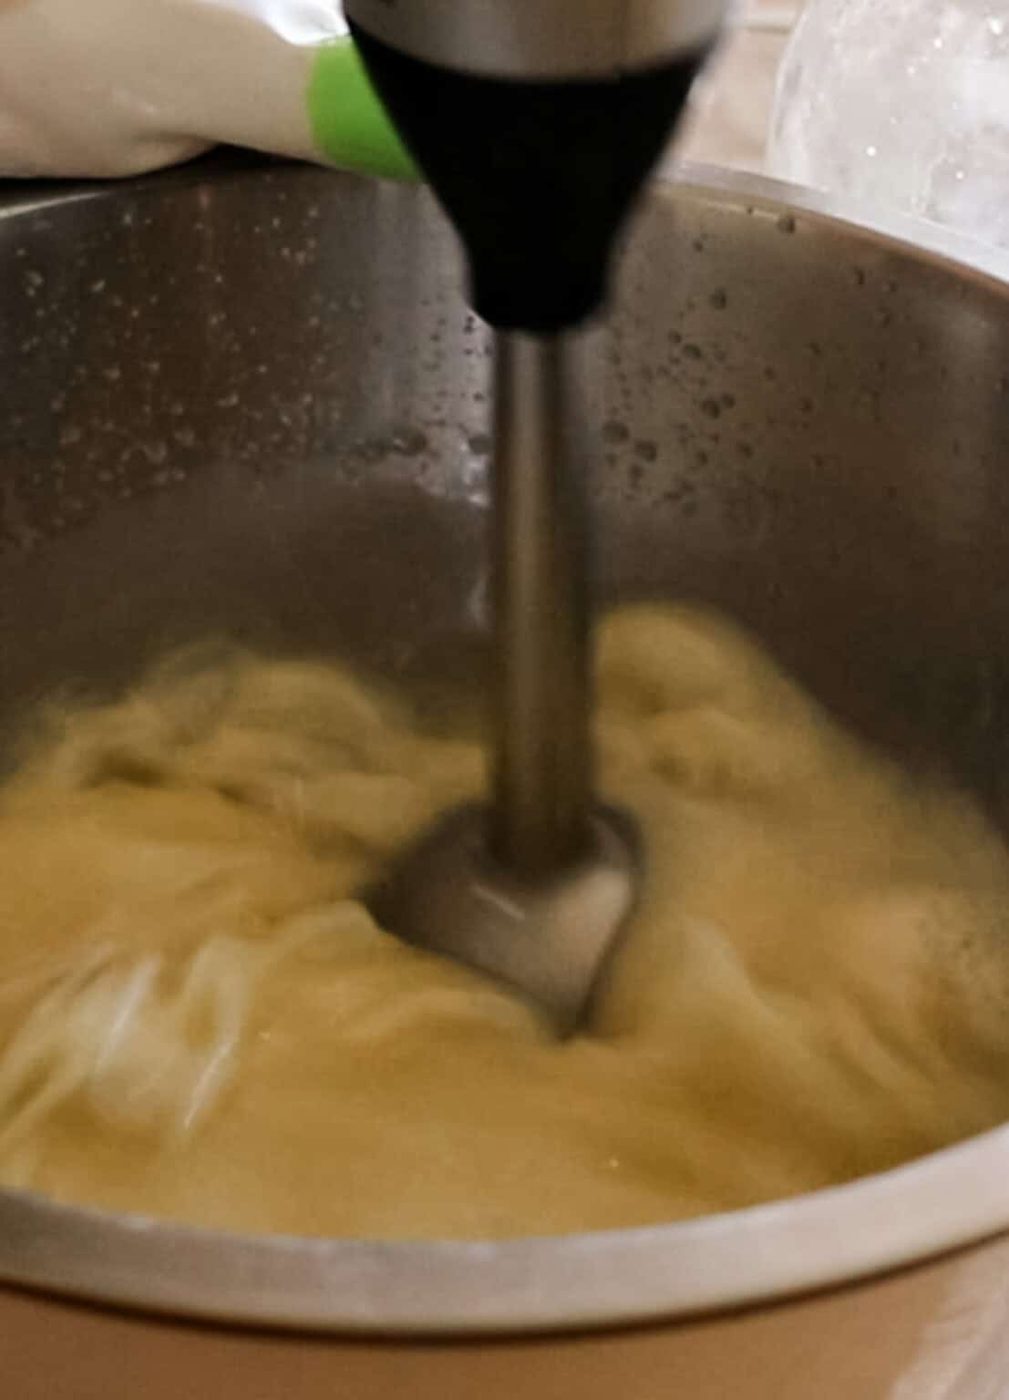
Step 6: Pour the lye water in with the melted fat and oil a little at a time and mix with an immersion blender. Continue adding the lye water and mixing between each round until the soap comes to trace.
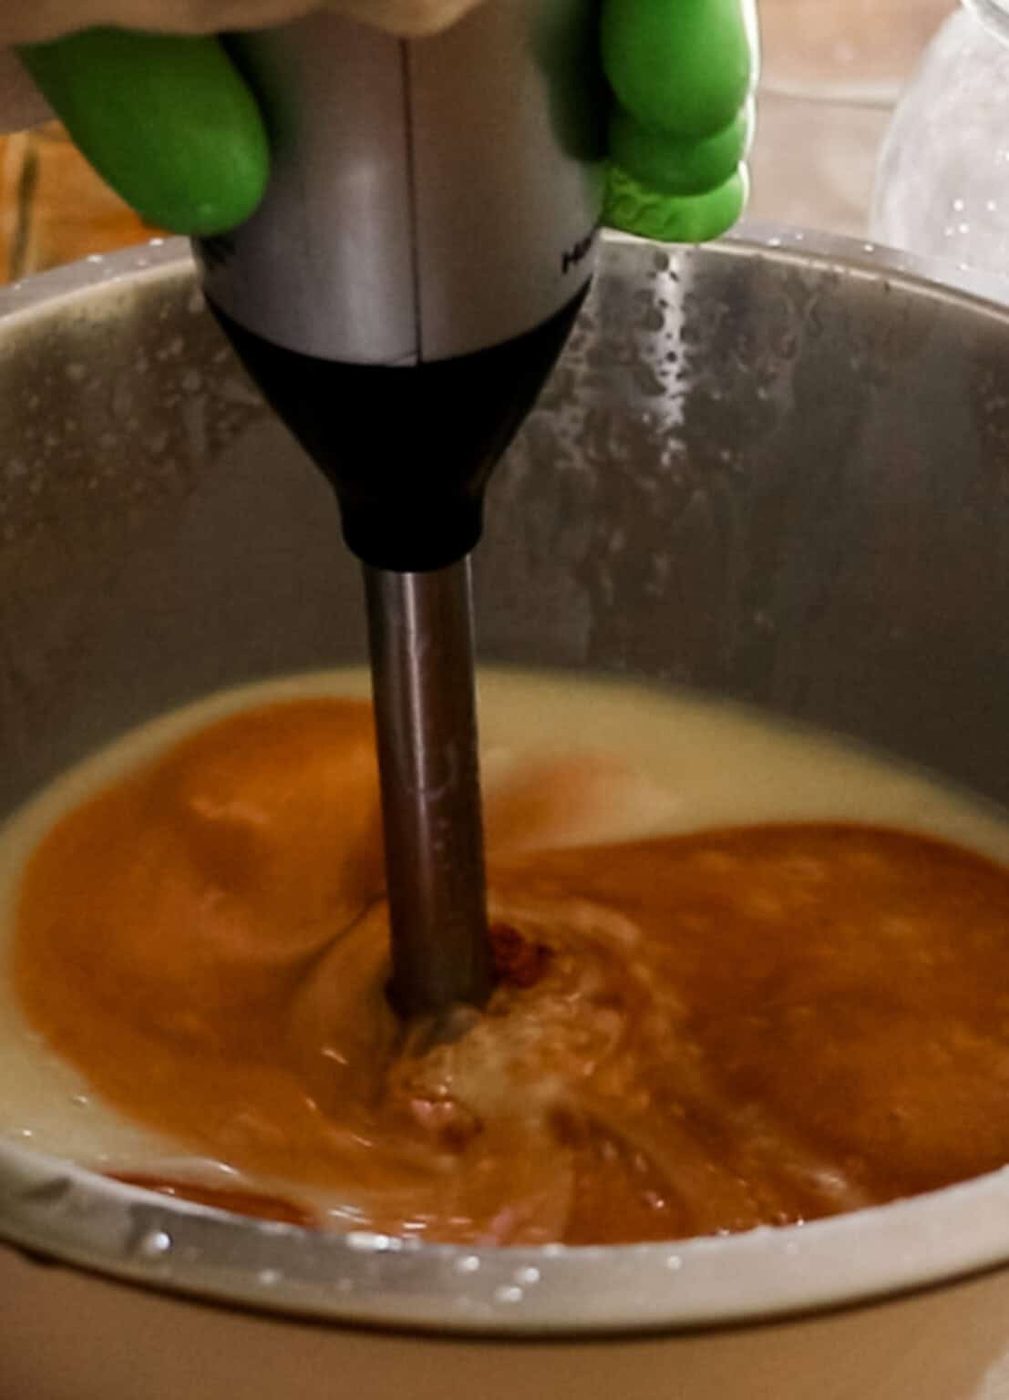
Step 7: Whisk in the turmeric powder, or use the immersion blender to mix.
To check the “trace,” hold the immersion blender over the bowl; if the soap drips and pools up on the top, it’s come to the correct trace.
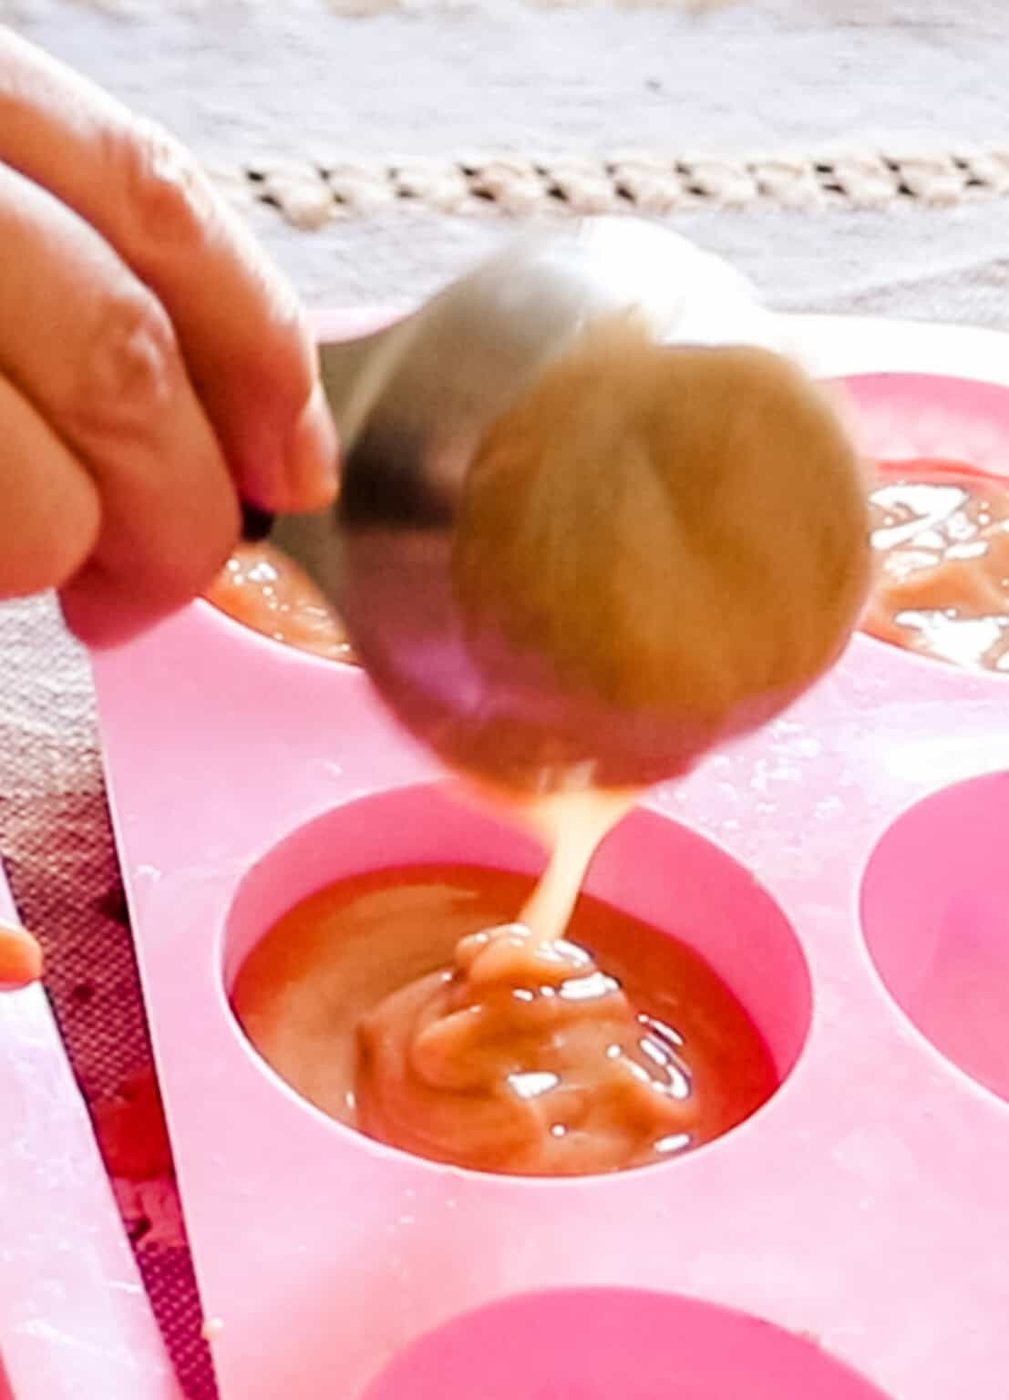
Step 8: Pour the soap into the mold and allow it to dry for 24 hours or up to 3 days.
Once the bars are dry, set them on a drying rack or a shallow dish on their ends to cure for 5-6 weeks before enjoying them.
Important safety notes
If any adjustments are made, say if you want to make a larger batch or sub an ingredient, you must recalculate all the ingredients using a soap calculator.
Regardless of whether it’s a hot-process soap or cold-process soap method, we always advocate wearing safety gear. So make sure you wear long sleeves, a mask, goggles, and gloves when you’re making soap.
And do so in a well-ventilated area with windows and doors open to allow better airflow.
If you have kids or pets in the home, always make soap with them out of the room, and store ingredients out of their reach.
Expert tips + notes
- This recipe has been calculated with a 5% superfat.
- If you’re new to cold process soapmaking, we recommend reading through the instructions and safety notes before beginning. It’s a good idea to have a handle on what the process is like before diving in.
- Don’t skip the cure time! It’s tempting to use it early, but the soap really isn’t finished until it has had time to cure.
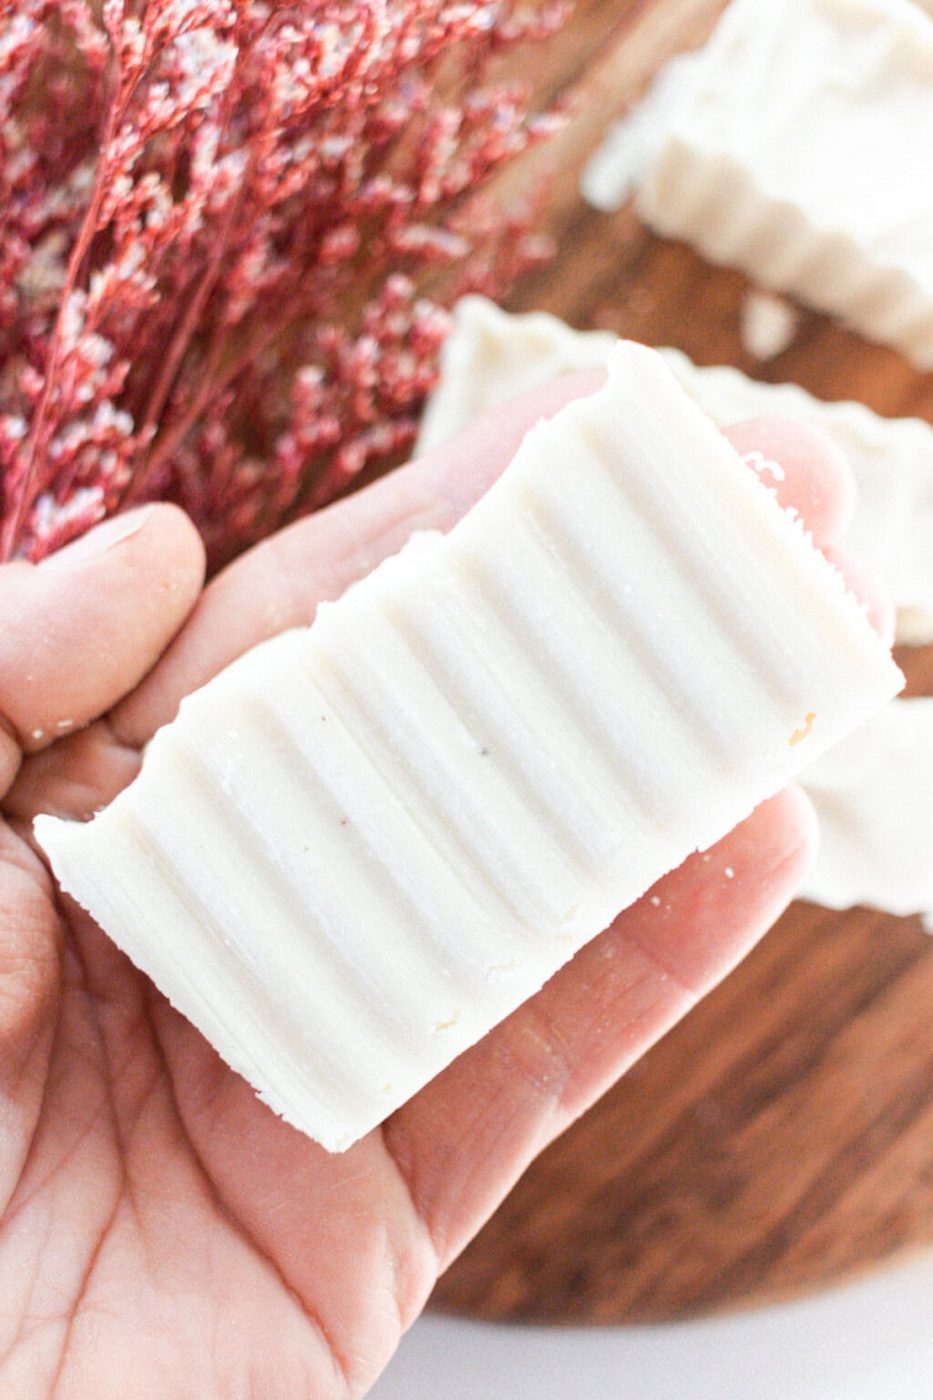
- You can use any soap mold you prefer. We used silicone bars and silicone flower molds. You can also use a loaf mold and cut it with a crinkle cutter (be sure to save the ends for rebatch soap!). In any case, we do recommend sticking with silicone because it’s easiest to use and doesn’t require any prep work.
- Keep in mind, the yield on this recipe will vary depending on how big your soap bars are.
Frequently asked questions
Is cold process soap making hard?When it comes to soap making, it’s the same as anything else. Practice makes perfect.
A common concern with any cold process soap, whether this DIY or our lard soap recipe, is that it is more difficult than melt and pour soap because you need to be very specific with your ingredients and the amounts you use.
But the good news is, we've calculated the correct amounts for you in this recipe, so if you follow the instructions exactly, you should be fine.
Cold process soap means that you mix the oils and lye at a cold temperature rather than heating them up.
This means the saponification process happens more slowly, too, and therefore, the soap needs to ‘sit’ longer to cure.
We do have a hot process glycerin soap bar recipe if you don’t want to have to wait as long for the bars to cure.
Another option, especially for beginners, is to start with a melt and pour soap bar, such as this honey oatmeal soap recipe.
That way, the saponification process is already taken care of, and all you have to do is melt it down and add your finishing touches!
Wrapping up
Turmeric soap bars are great for the skin and perfect for use in the shower or next to the sink!
We hope you enjoy making this turmeric soap recipe. Remember to be patient and let it cure for 5-6 weeks once it’s made. It’s well worth the wait!
And if you made this recipe and loved it, don’t forget to leave a review!
If you are looking for more great soap bar recipes to try next, you may like one of these.
More Soap Recipes
- Homemade charcoal soap bars
- Homemade loofah soap bars
- Flower top chamomile bars
- Smooth olive oil soap bars
- Homemade goat milk soap (melt and pour)
- Shea butter soap recipe
If you tried this Turmeric Soap Recipe or any other tutorial on our website, please leave a 🌟 star rating and let me know how it went in the 📝 comments below. Thanks for visiting!
5 from 17 votesTurmeric Soap Recipe
By the studio Ascher Prep: 10 minutes minsActive: 20 minutes minsAdditional Time: 30 minutes minsTotal: 1 hour hr Yield: 10 soap bars SaveSaved Pin Print Follow along with this cold process soapmaking recipe and enjoy homemade turmeric soap in as little as 5 weeks.
 Equipment
- digital scale
- immersion blender
Ingredients
- 12 oz Coconut oil
- 8 oz Shea butter
- 5 oz Sunflower oil
- 3.66 oz Lye
- 8.18 oz Water
- 1.5 tbsp Turmeric powder
Instructions
- Use a digital scale to measure out the water. Then add it to the heat-resistant container.
- Slowly add the lye to the water. Stir the lye into the water until dissolved. Note that the chemical reaction will cause it to heat up quickly. Set aside to cool to about 120-130°F
- Melt the coconut, shea butter, and sunflower oil in a small saucepan on the stove over medium heat.
- Once melted, set aside to cool slightly.
- Add all the oils to a metal mixing bowl.
- Pour the lye water in with the melted fat and oil a little at a time and mix with an immersion blender.
- Continue adding the lye water and mixing between each round until the soap comes to a trace.
- To check the “trace,” hold the immersion blender over the bowl; if the soap drips and pools up on the top, it’s come to the correct trace. (see image in post)
- Whisk in the turmeric powder, or use the immersion blender to mix.
- Pour the soap into the mold and allow it to dry for 24 hours or up to 3 days.
- Once the bars are dry, set them on a drying rack or a shallow dish on their ends to cure for 5-6 weeks before enjoying them.