Simple Shea: Butter Soap Recipe
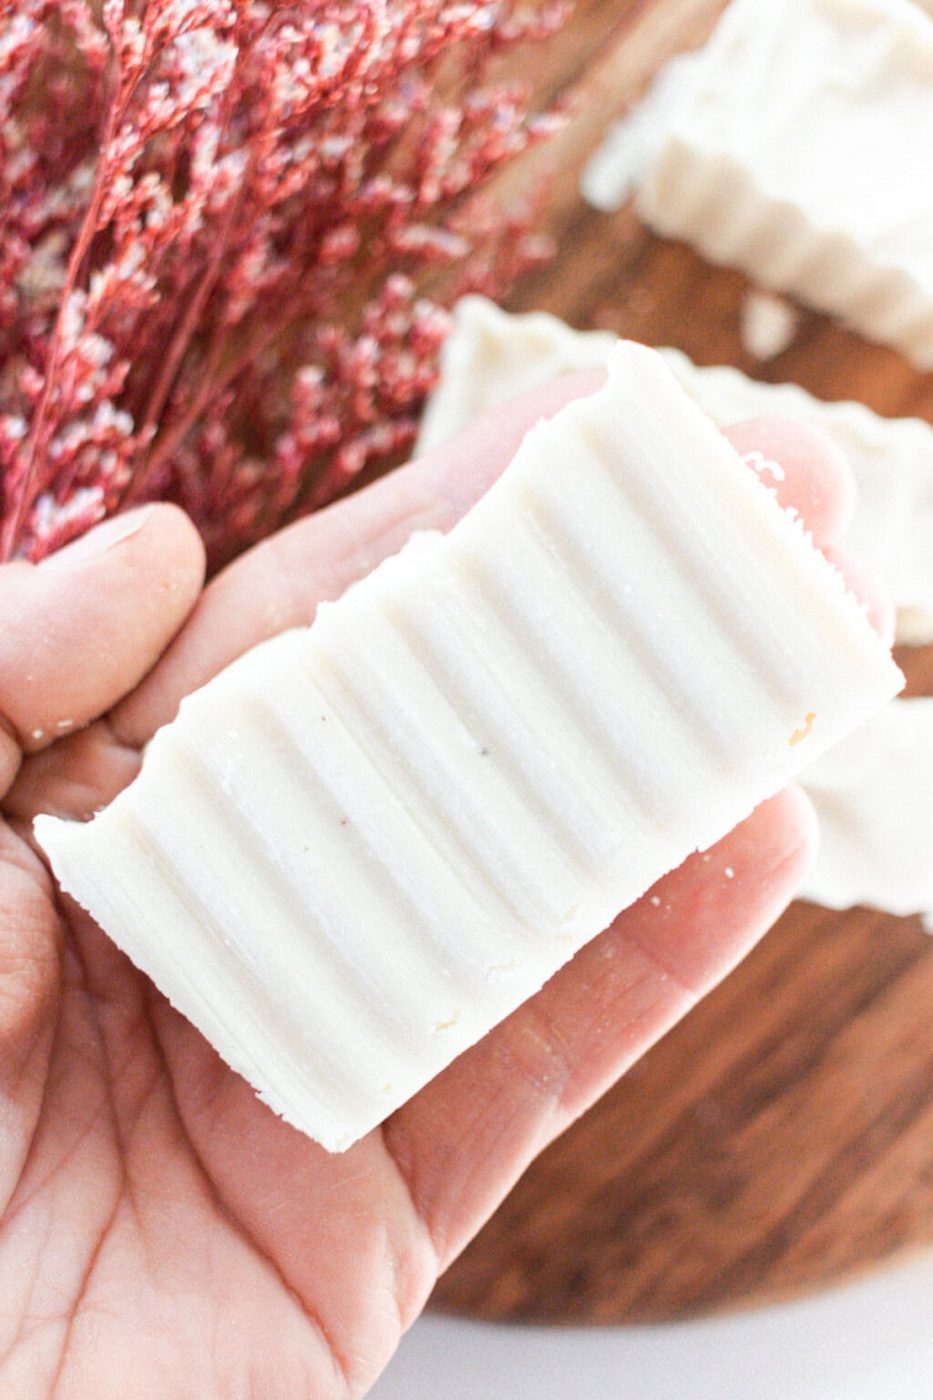
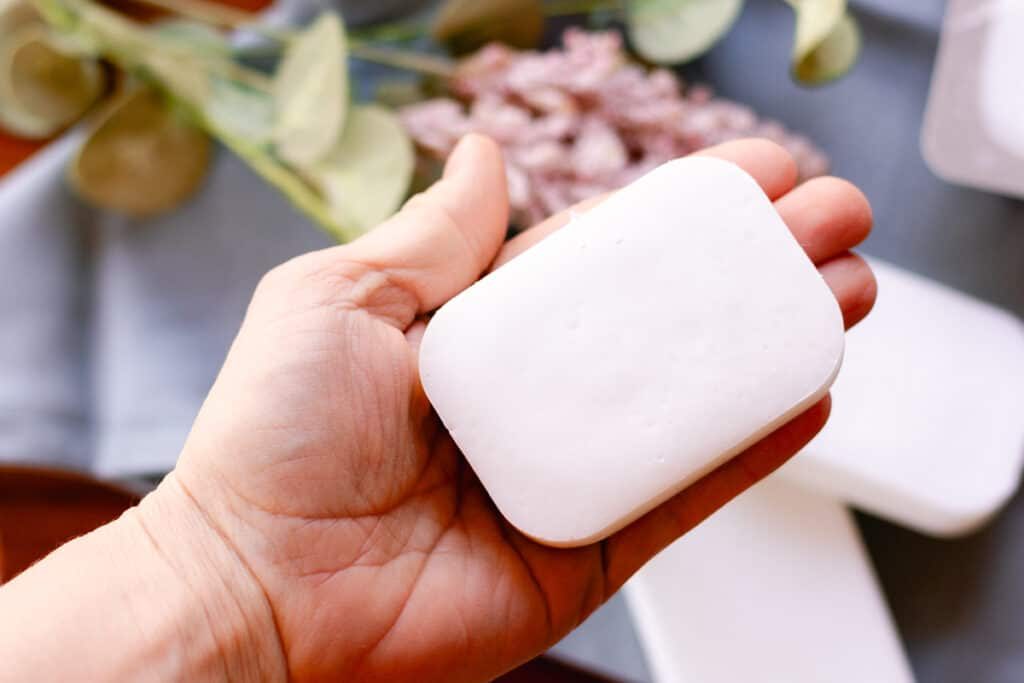
This cold-process shea butter soap recipe creates a smooth, moisturizing bar that’s perfect for everyday use. With a little patience, you’ll have beautifully cured soap in just a few weeks!
Something in me always looks at soap and thinks, “Is this one actually going to moisturize our skin?”
Most soaps are more used as cleansing items, which in fairness, is what they are designed to do. Even our coconut oil soap recipe is designed to simply cleanse the skin.
But, we always wanted to have, or make, a soap bar that doesn’t strip off all the natural oils in the skin (we're talkin’ to you, hands!)
And so that is where this shea butter soap recipe comes it. This DIY was inspired by our moisturizing soap bar recipe and because of several requests from readers for a shea butter soap.
After some digging, we did decide to add in fractionated coconut oil, but otherwise this is made with just shea butter!
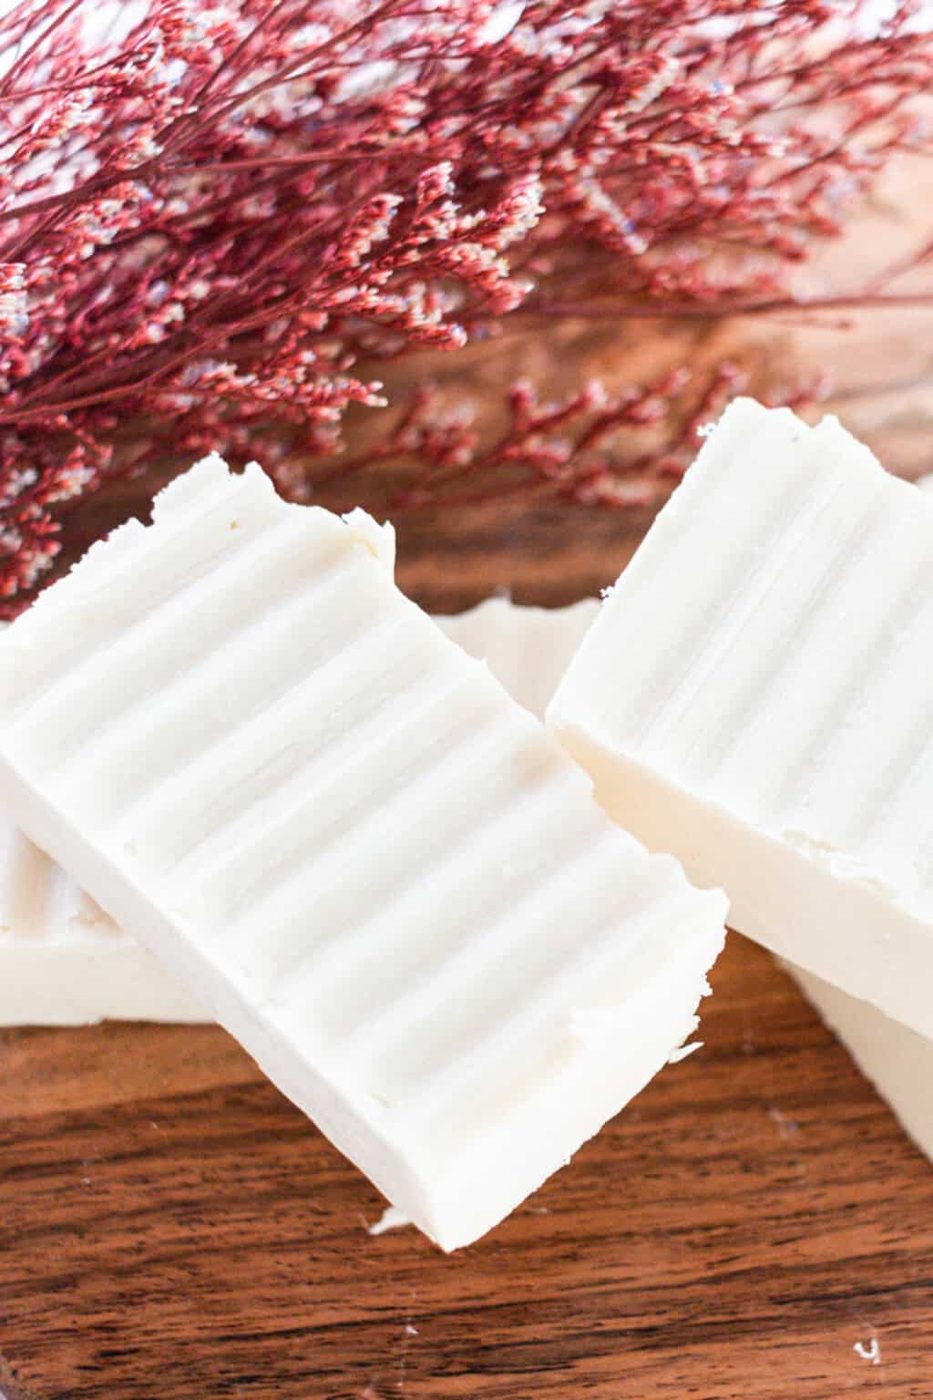
What is homemade shea butter soap?
A quick search will tell you everything you need to know (or just see this article We linked). Let’s keep it simple: this DIY shea butter soap is all about moisture. If you’ve ever used shea butter, you already know it’s packed with moisturizing goodness. And if you haven’t?
One of the best things about making your own soap, or any DIY, really, is that you get to control what goes into it. No weird ingredients, no mystery additives, just a solid, nourishing bar of soap.
And the best part? It looks and feels amazing. The whole family will be reaching for this one, guaranteed.
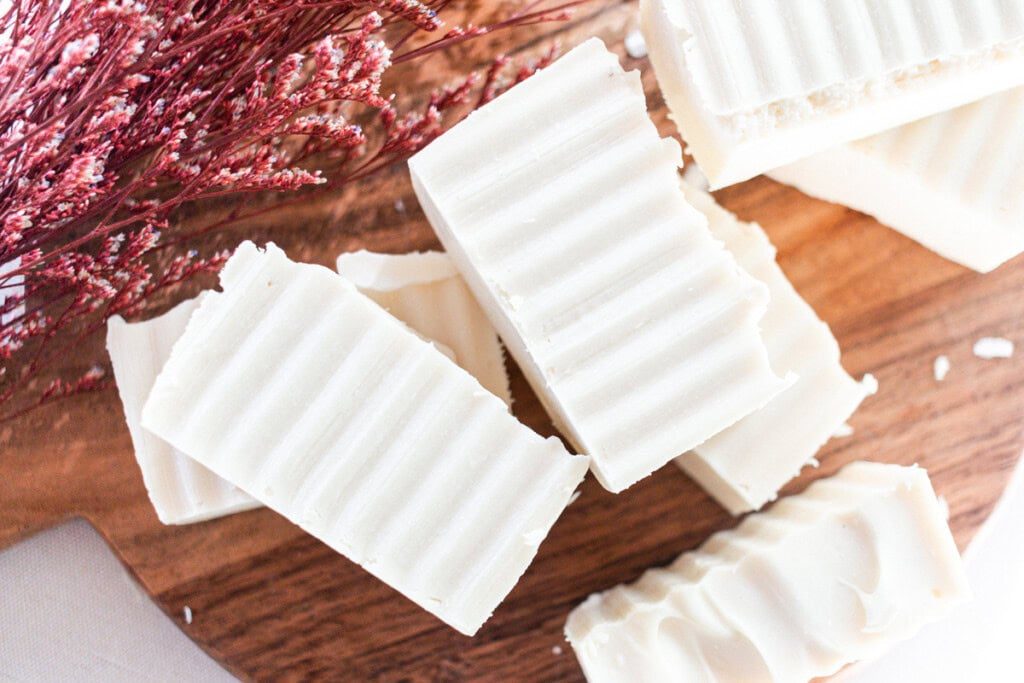
Recipe Ingredients
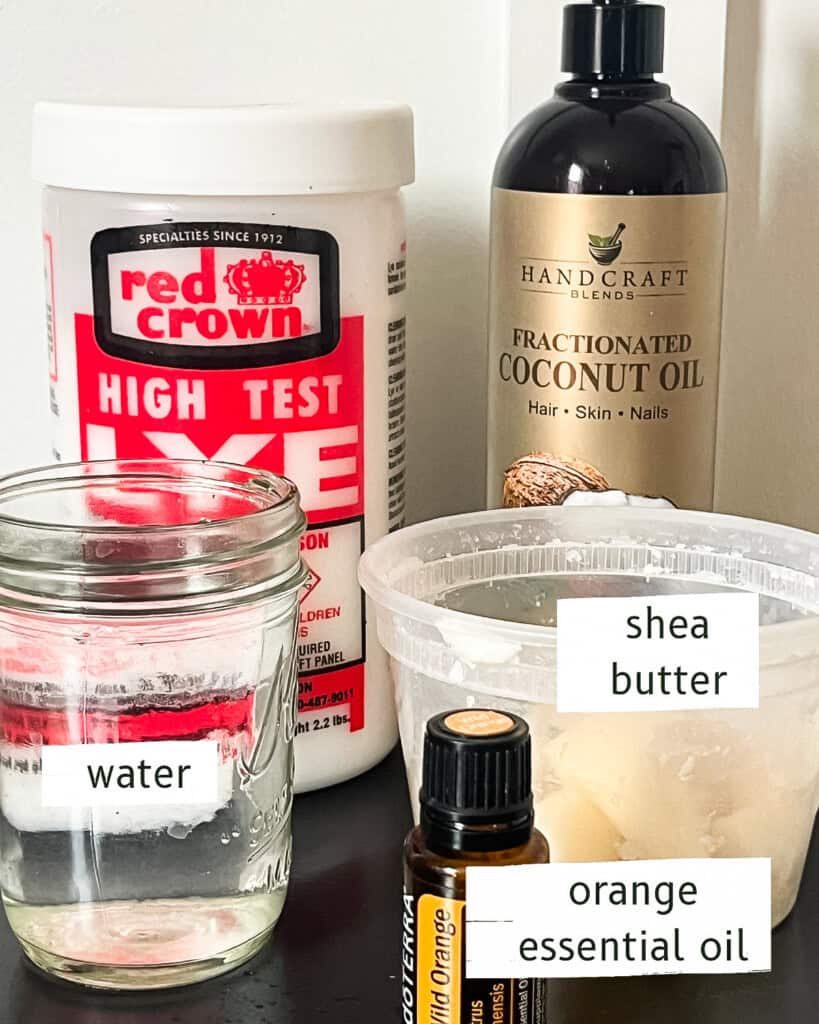
Shea butter: Shea butter is one of our favorite ingredients to use in soap. We use it in our turmeric soap recipe and our homemade herbal soap recipe with excellent results!
Fractioned coconut oil: This ingredient works nicely alongside shea butter to add ‘fluidity’ to a soap, meaning it feels silkier on the skin when applied.
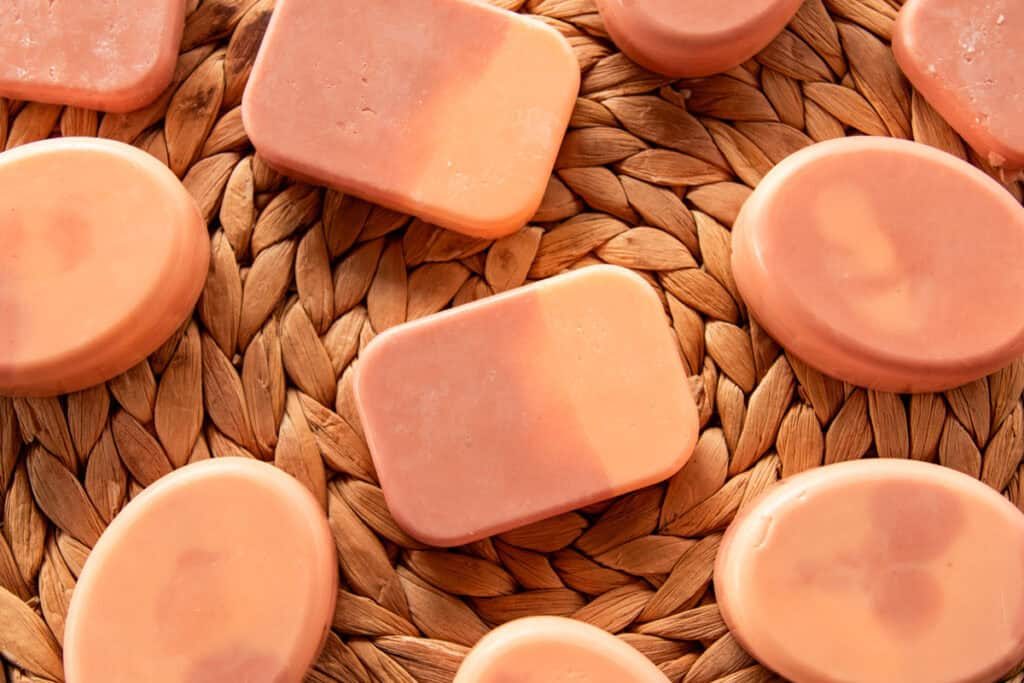
Orange essential oil: we always love adding scent to our soap bars, and orange provides a lovely citrusy burst! You can always leave it out if you prefer unscented. Besides, the shea butter has a lovely fragrance on its own.
Precautions:
- Follow these instructions carefully; the ingredients must be exact for any soap recipe to work correctly.
- It’s also important to practice safety procedures when working around lye. Lye will burn the skin, eyes and should not be inhaled. Wearing safety goggles, gloves, a mask, and sleeves and working alone in a well-ventilated area is a must.
Shea Butter Soap Recipe
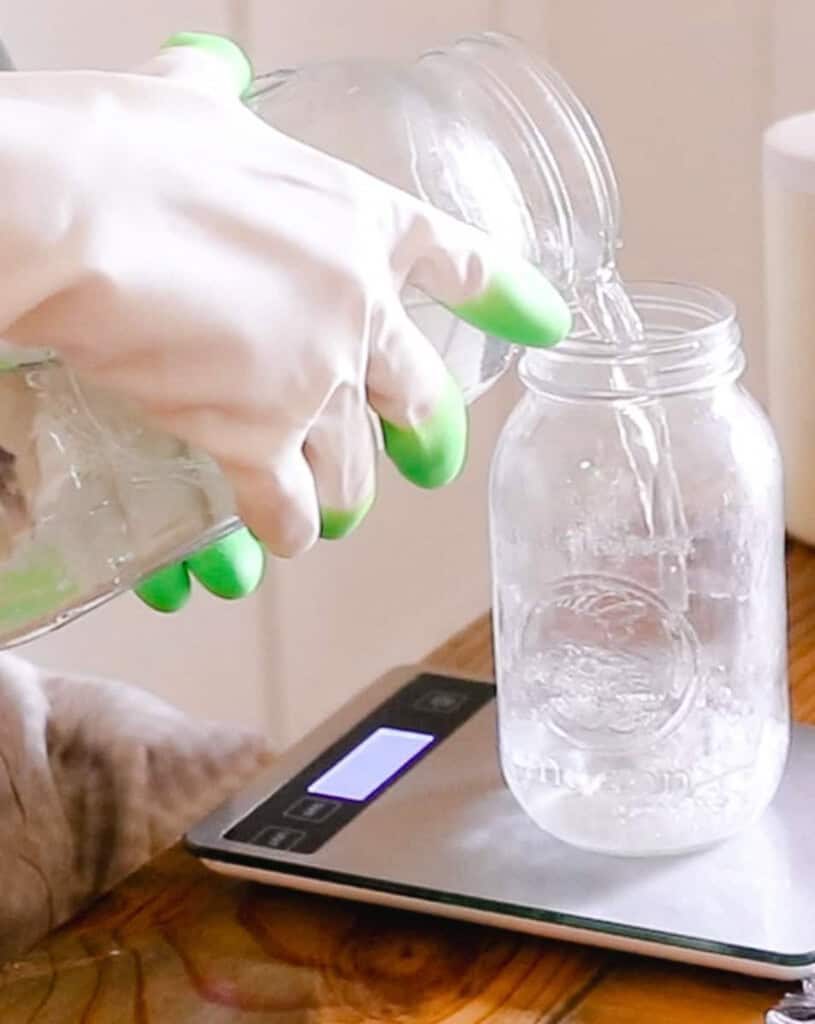
Step 1: Working in a well-ventilated area and wearing proper safety gear, add the water to a jar or container that can handle high heat.
Step 2: Carefully and slowly add the lye to the water, then gently stir it until dissolved. Note the liquid will shoot up over 200°, so using a container that can handle the rapid increase in temperature is vital!
Set the lye water aside to cool while you do the next step.
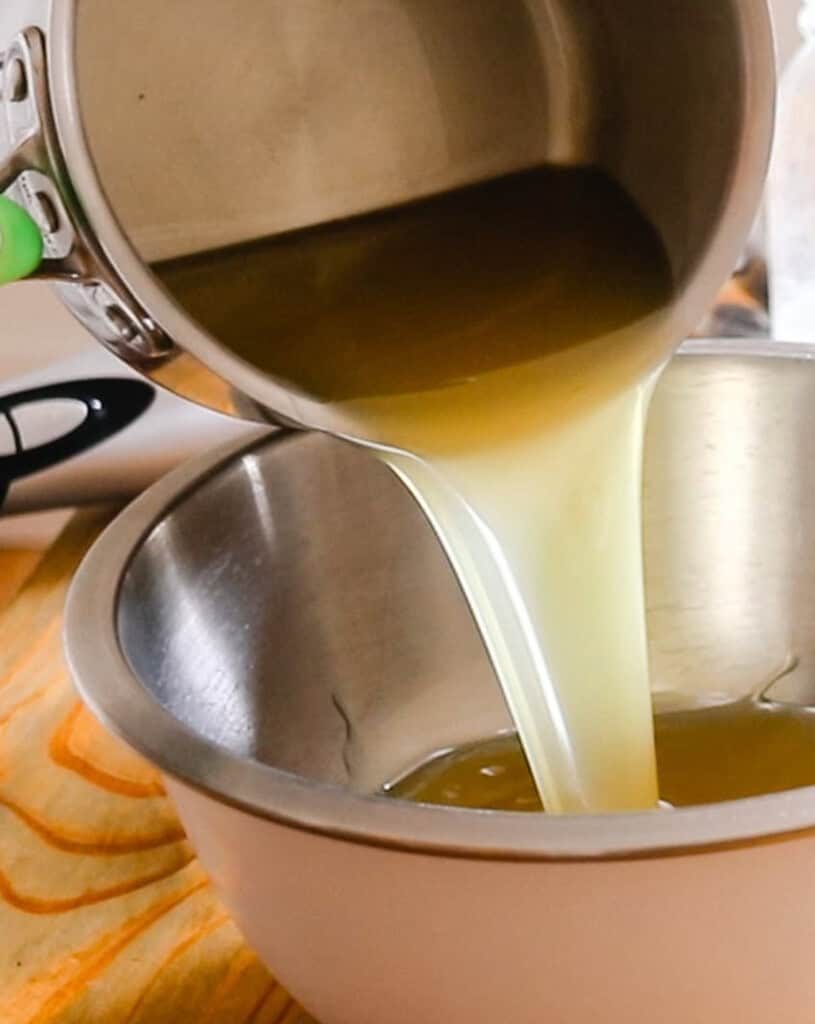
Step 3: Melt the shea butter and fractionated coconut oil in a small saucepan over medium-low heat. You can also use a double boiler. However, we've found it works just as well using a saucepan while stirring frequently.
Step 4: Once the shea butter and fractionated coconut oil are melted, you’ll want to let it cool down to about 100°F-110°F. The same goes for the lye water. You want to aim for them to be within 10° of each other. You may need to wait a little longer for one or the other to cool, and that’s OK.
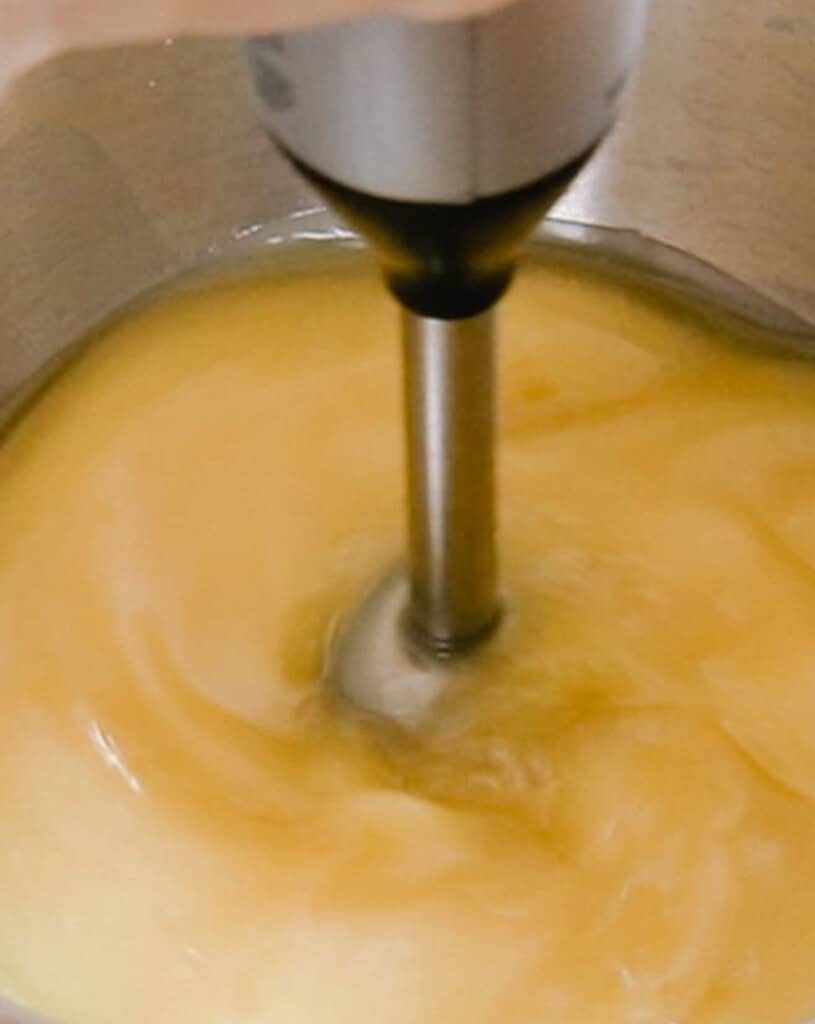
Step 5: Now, using a large mixing bowl with tall sides (to prevent splashing), add the melted oils, then the lye water, a little at a time, and mix with an immersion blender until it comes to a light trace. For this soap, it only will take a minute or two to come to trace.
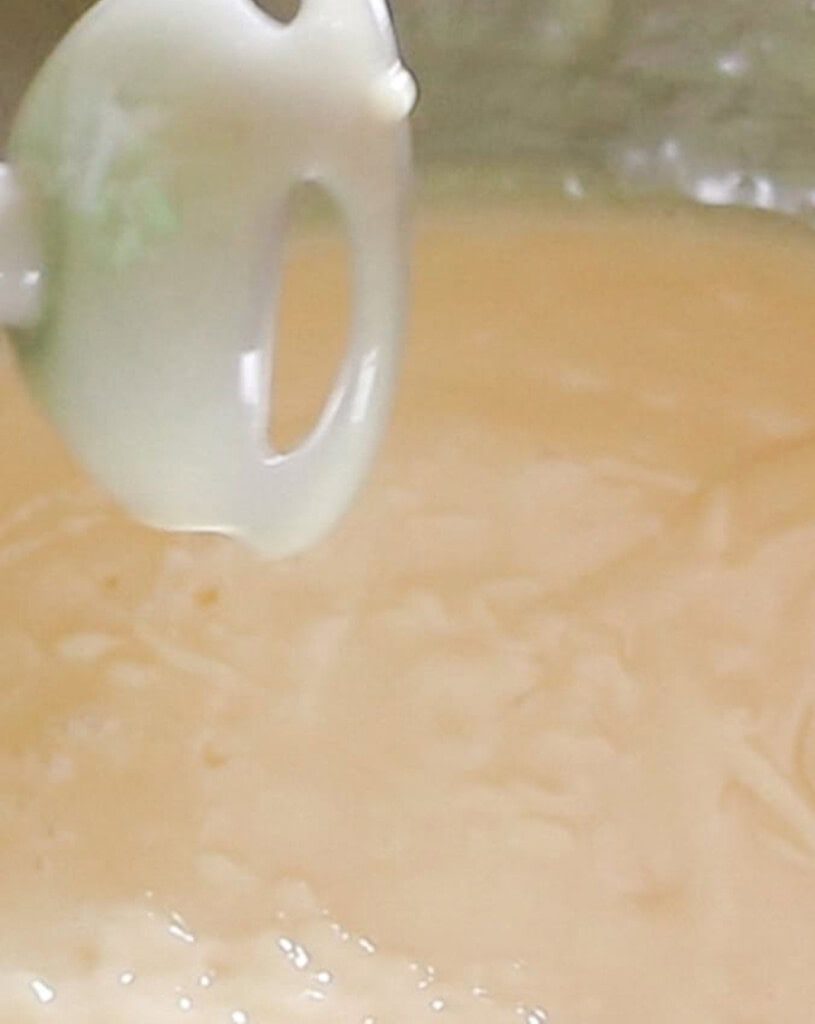
Step 6: Add your orange essential oil, and continue to mix with the immersion blender until a medium trace—about thirty seconds or so.
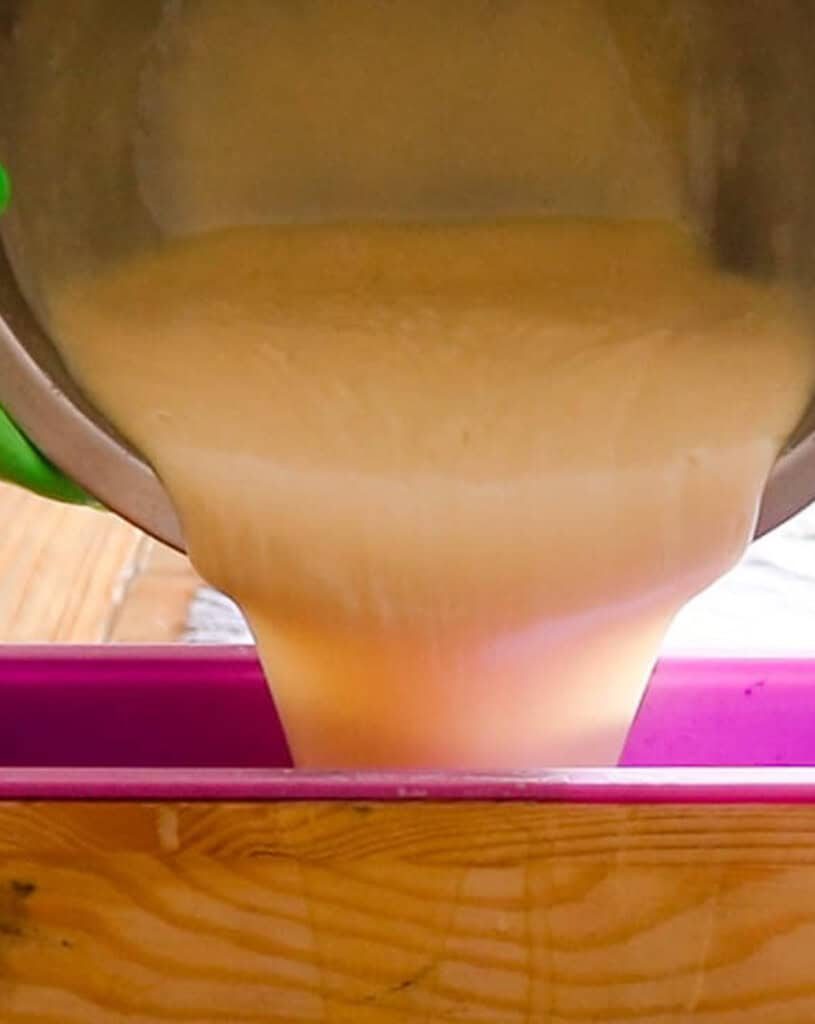
Step 7: Pour the soap into your prepared soap molds and allow them to harden for 24 hours or up to 3 days before removing them from the molds.
Step 8: Lay the bars on their ends about an inch apart and allow them to cure for five weeks before using.
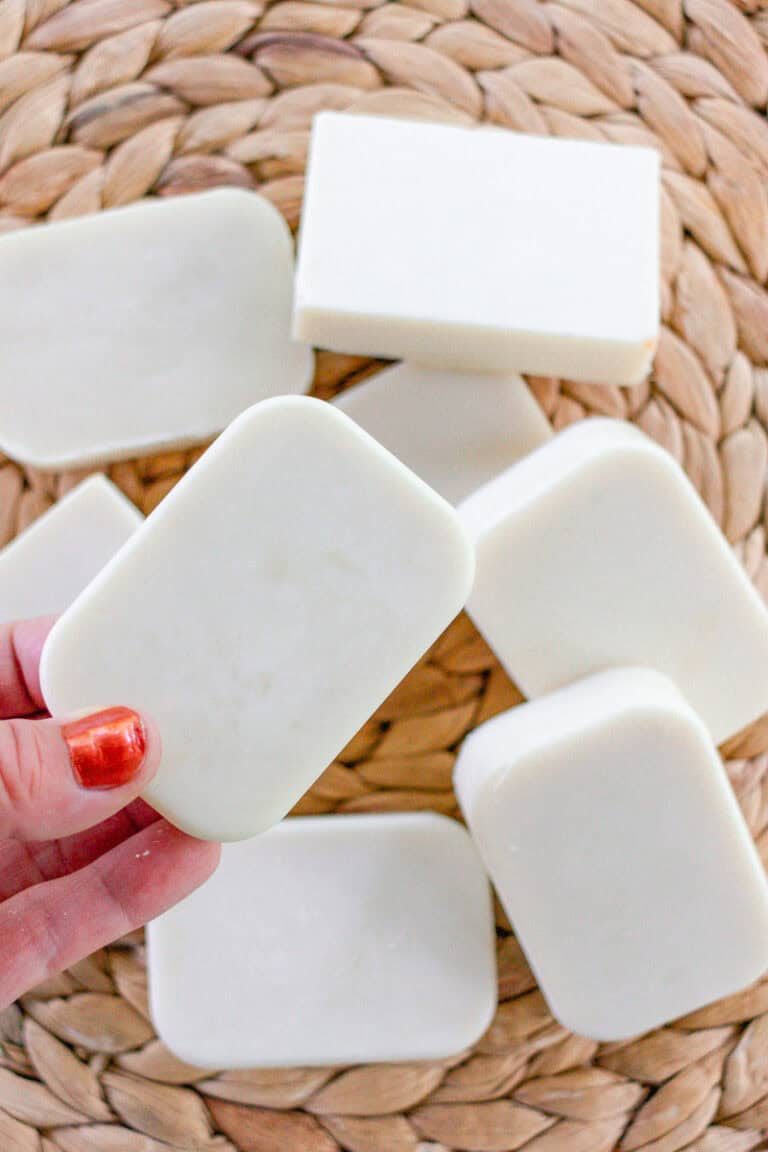
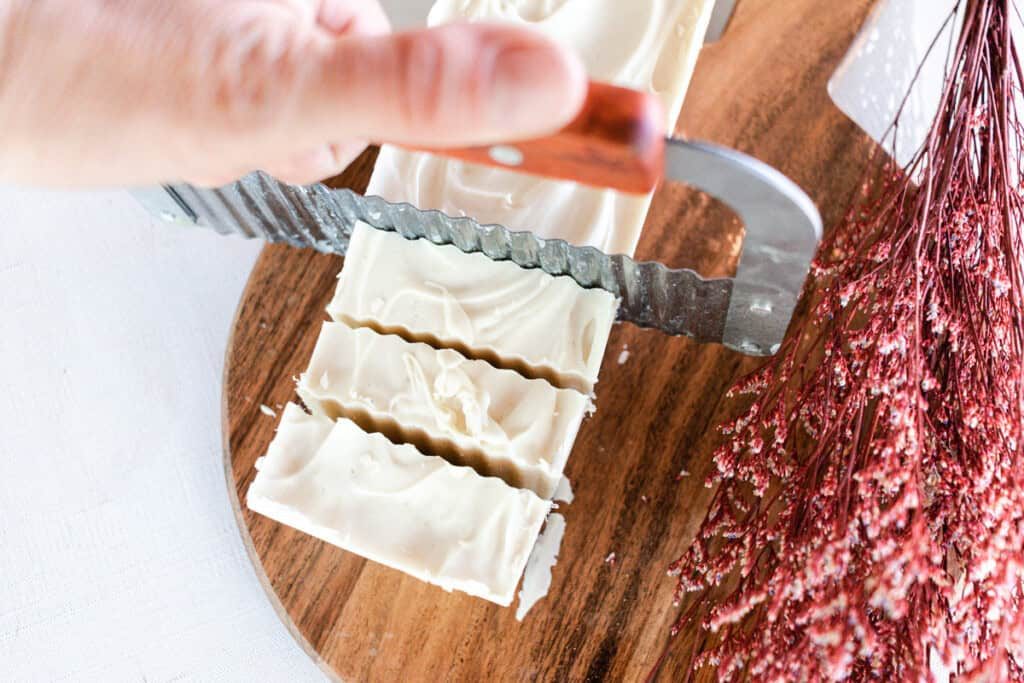
If you use a rectangular loaf soap mold, you will need to cut the soap into bars after it hardens, then lay them on their ends to cure. Our soap mold made 10 soap bars.
Tips & Safety
- Always use separate soap-making bowls and spoons for mixing etc., rather than borrowing bowls and other items from your kitchen. It’s worth investing in proper soap-making equipment if you can, mainly for the safety factor (working with lye can be dangerous) and also to avoid cross-contamination with the foods you eat.
- Always use a measuring scale rather than cups when working with soap ingredients. Trust me, even a slight ingredient variance (we mean ingredient weight) will mess up the soap. All ingredients need to be measured correctly and precisely.
- Lye can cause severe burns: Wear appropriate safety gear when making soap. We advocate a safety apron, goggles, gloves, and a mask, and always open a window, or better, work with the soap ingredients outdoors so you don’t build fumes up.
- If you’re wondering how to cure soap, it’s all down to patience! Ensure you position the soap bars on their sides with good airflow around them and wait for at least five weeks. The wait time is necessary to allow excess water to evaporate from the soap and ensure it’s hard before use.
Recipe FAQs
Can we make substitutions for the ingredients we have on hand?Substitutions can be made but will need to be recalculated using a soap calculator.
Can we use regular coconut oil rather than fractionated coconut oil?Yes, though, you still will need to recalculate the measurements.
Do we have to use essential oils?No! In fact, shea butter makes a beautiful-smelling soap bar.
Why is the orange smell so faint?We was aiming for a very mild fragrance with the orange essential oil. For a more potent fragrance, add up to 40 drops of orange. (you don’t have to recalculate the rest of the ingredients for this)
How do we check the soap trace?This is essentially ensuring the lye water has emulsified with the oils, and the mixture is an even color with no cloudiness or pools of oil. You can check for medium trace by holding the blender above the soap and letting it drip. If the drips leave traces on top of the soap, you have reached a medium trace.
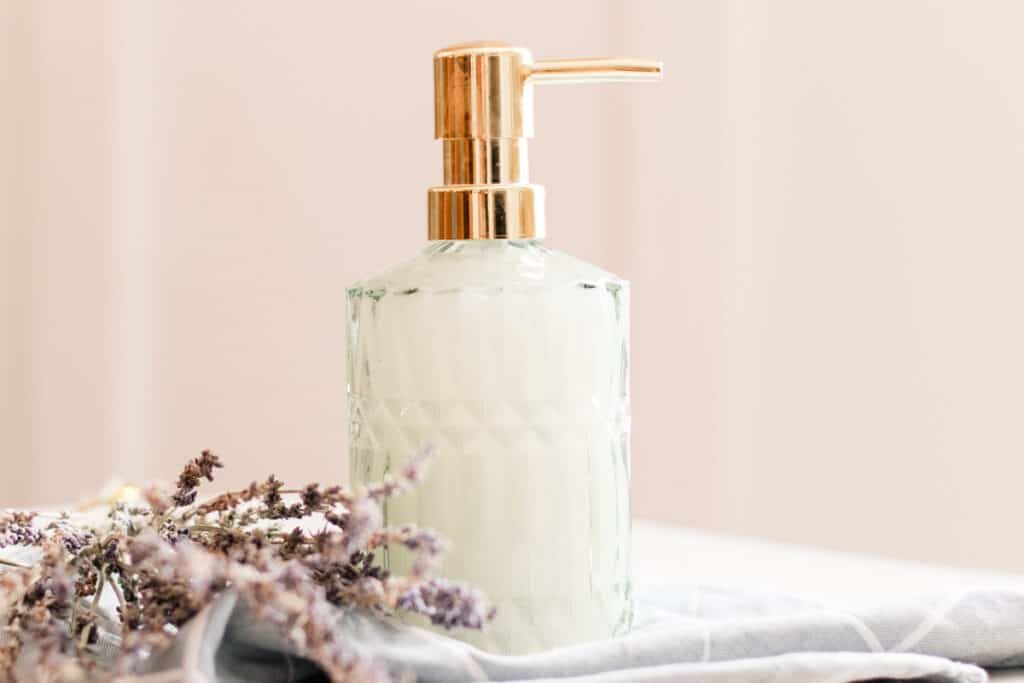
Can we use this soap bar to make a liquid soap?Yes! You can learn how to make liquid soap from bar soap here.
Before we wrap this up, we have to mention something: just like this recipe, a lot of you have been asking for a way to find all our soap bar DIYs in one spot.
Well, ask, and you shall receive! We've put together a list of 30+ soap bar DIYs, and that number’s only going up as we keep creating. So go ahead, check it out, and find your next soap-making project!
Related DIYs
- How to make melt and pour soap
- How to make swirl soap
- Easy activated charcoal soap recipe
- Homemade glycerin soap bars
- Coconut milk soap recipe
If you tried this Shea Butter Soap Bar Recipe or any other tutorial on our website, please leave a 🌟 star rating and let me know how it went in the 📝 comments below. Thanks for visiting!
5 from 12 votesShea Butter Soap Recipe
By the studio Ascher Prep: 10 minutes minsActive: 20 minutes minsAdditional Time: 40 minutes minsTotal: 1 hour hr 10 minutes mins Yield: 10 bars (approx)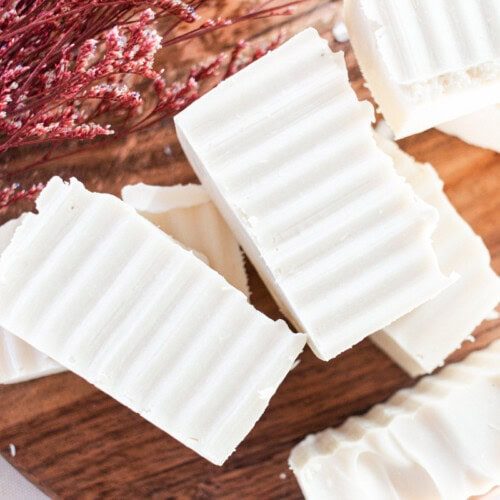 SaveSaved Pin Print If you’ve never made cold-process soap before, this shea butter soap recipe is a solid place to start. It’s simple, effective, and, after a little patience (okay, five weeks), you’ll have a batch of gorgeous, handmade bars ready to go.
 Equipment
- immersion blender
- Bowls
- soap molds
Ingredients
- 12 oz Shea butter
- 4 oz Fractionated coconut oil
- 5.34 oz Water
- 2.39 oz Lye
- 25 drops Orange essential oil, optional
Instructions
- Working in a well-ventilated area and wearing proper safety gear, add the water to a jar or container that can handle high heat.
- Carefully and slowly add the lye to the water, then gently stir it until dissolved. Note the liquid will shoot up over 200°, so using a container that can handle the rapid increase in temperature is vital!
- Set the lye water aside to cool while you do the next step.
- Melt the shea butter and fractionated coconut oil in a small saucepan over medium-low heat. You can also use a double boiler. However, we've found it works just as well using a saucepan while stirring frequently.
- Once the shea butter and fractionated coconut oil are melted, you’ll want to let it cool down to about 100°F-110°F. The same goes for the lye water. You want to aim for them to be within 10° of each other. You may need to wait a little longer for one or the other to cool, and that’s OK.
- Now, using a large mixing bowl with tall sides (to prevent splashing), add the melted oils, then the lye water, and mix with an immersion blender until it comes to a light trace. About one minute is usually enough.
- Add your orange essential oil, and continue to mix with the immersion blender until a *medium trace—about thirty seconds or so.
- Pour the soap into your prepared soap molds and allow them to harden for 24 hours or up to 3 days before removing them from the molds.
- Lay the bars on their ends about an inch apart, and allow them to cure for five weeks before using.
Notes
- *Not sure what the trace should look like? See the step-by-step images above! You’re aiming for a consistency similar to pudding—thick enough to leave a trail on the surface when drizzled. (we also go into detail on trace in ourbeginner’s soap bar recipe)
- If you use a rectangular loaf soap mold, you will need to cut the soap into bars after it hardens, then lay them on their ends to cure.
- Ensure you position the soap bars on their sides with good airflow around them and wait for at least five weeks. The wait time is necessary to allow excess water to evaporate from the soap and ensure it’s hard before use.
- Any substitutions (except the fragrance) to this recipe will need to be recalculated using a soap calculator.
- This soap has a very mild orange fragrance. If you want an orange-smelling bar, you can add up to 40 drops.