Cold Process: Dish Soap
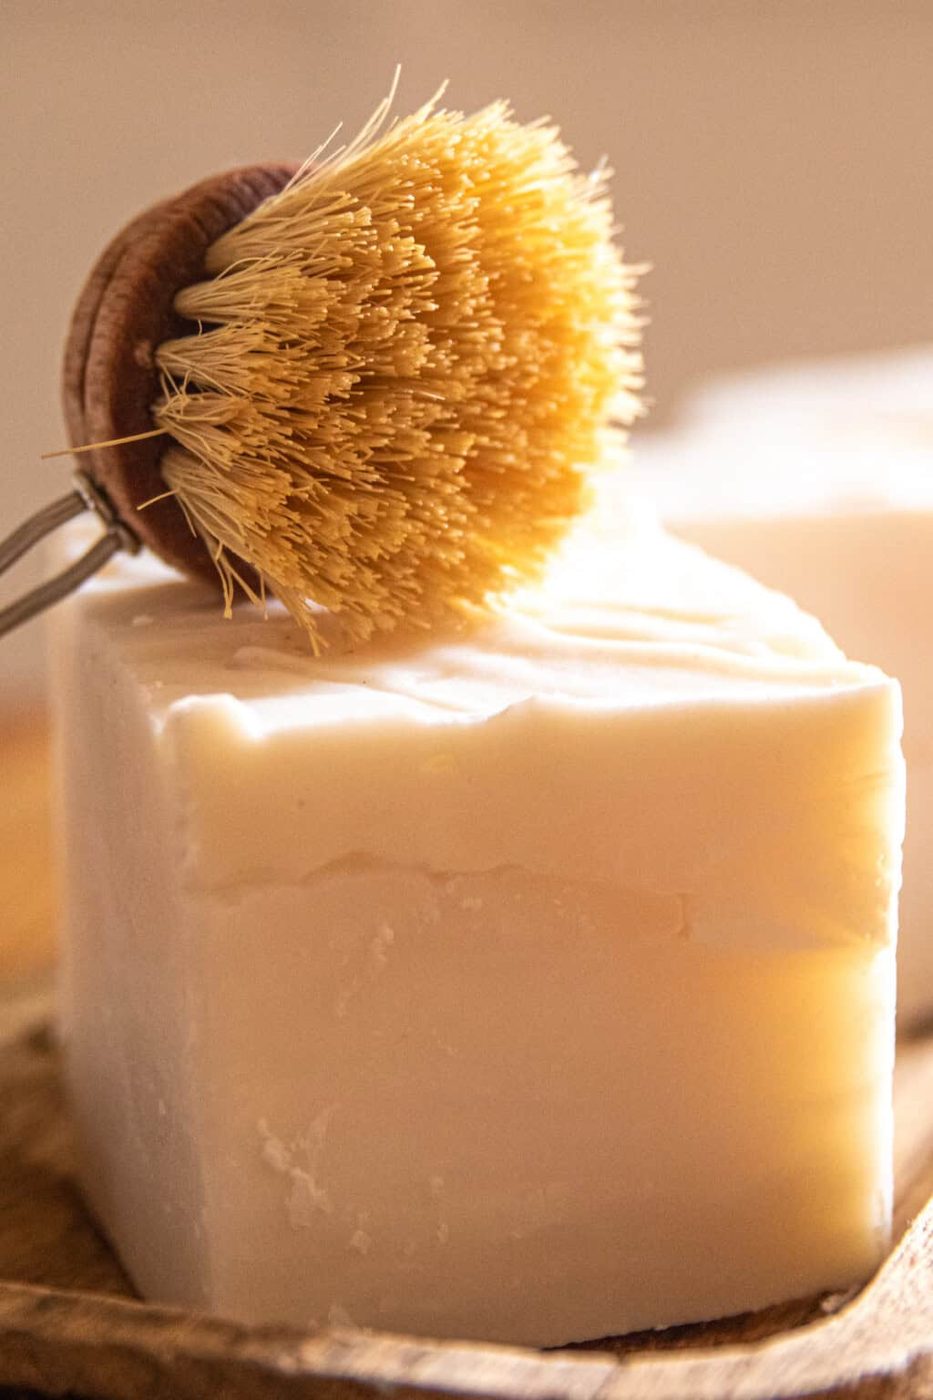
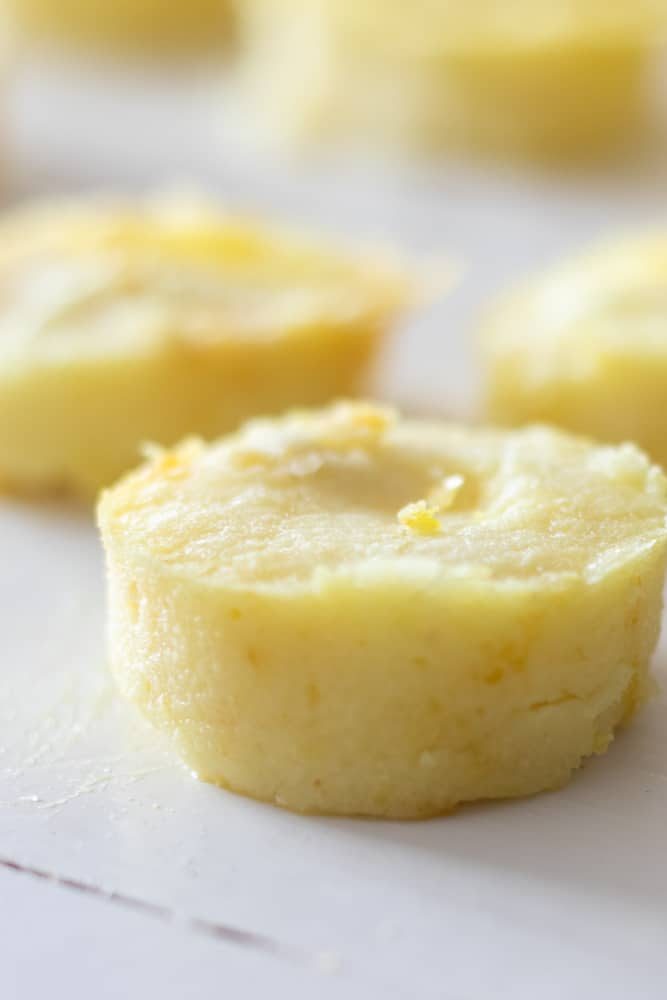
Go natural, reduce waste, and add a charming touch to your kitchen sink with cold process dish soap bars. These soap bars have a nice lather and minimal ingredients to get your dishes clean without streaks or residue.
We was at a friend’s house recently and noticed she had a square dish soap bar sitting on her counter.
We loved how it looked, and she loves using it, so we knew we needed to make our own!
We've made melt and pour dish soap bars before, but we hadn’t yet tried our hand at cold process dish soap.
We actually ended up using a recipe very similar to our laundry soap bar recipe, but this one includes castor oil for a little extra lather.
We're so happy with how this dish soap bar turned out! It is lovely sitting next to our kitchen sink and it works so well at washing dishes with just a few natural ingredients.
Why You’ll Love Them
- These soap bars are made with only natural ingredients. By making your own soap, you can know exactly what’s in it!
- Bar soap is a fantastic way to reduce waste and avoid the endless plastic bottles that conventional dish soap uses.
- These soap bars are so charming next to the kitchen sink. We love the rustic cottage look when they’re paired with a wooden scrub brush.
- Homemade dish soap bars are an excellent way to save money. These DIY soap bars are far less expensive than other natural dish soap bars, and they last longer than liquid soap.
Ingredients
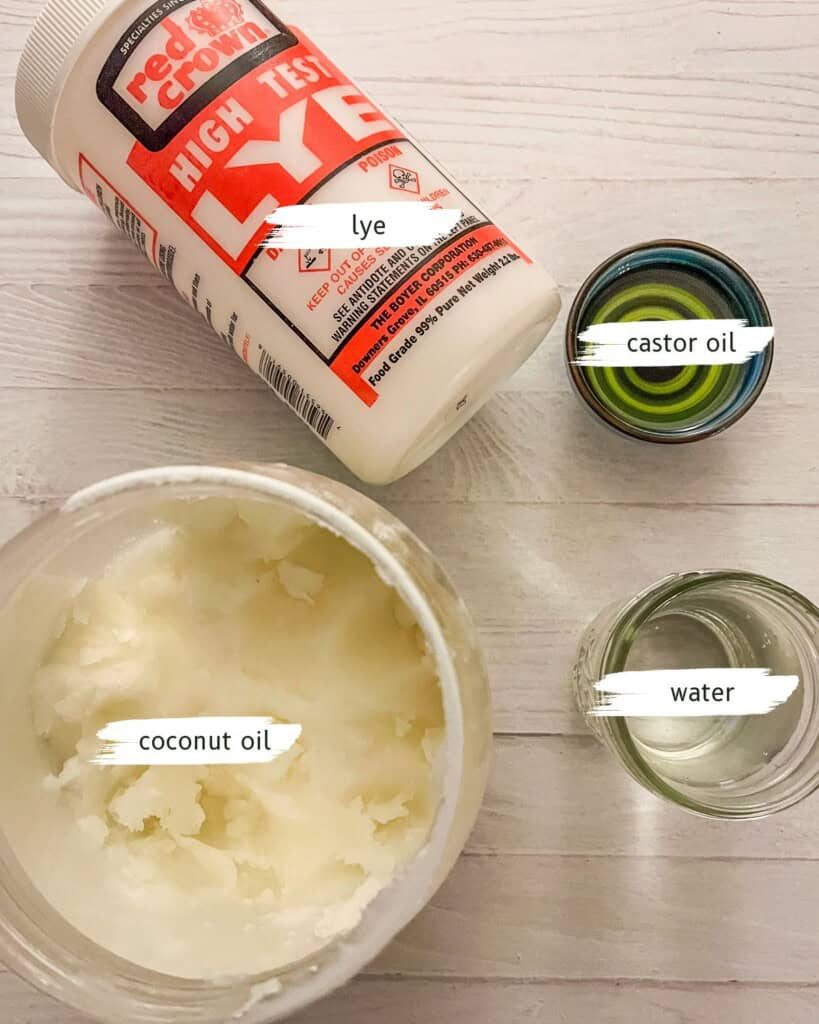
- Lye: An essential part of cold process soapmaking, lye reacts with oils in a process called saponification, which then creates soap.
- Water
- Coconut oil: Use regular cold-pressed coconut oil, not fractionated coconut oil.
- Castor oil: Castor oil gives this soap a wonderful lather, perfect for washing dishes.
- Isopropyl alcohol: Spritzing this on the surface of the soap prevents soda ash and gives the soap a nice visual appeal.
Equipment Needed for Soapmaking
- Protective gear: Gloves, safety glasses, and an apron are essential for soapmaking (especially when handling the lye).
- Kitchen scale: Ingredients must be weighed out for precision in soapmaking.
- Heat-proof container: We use a quart-sized glass mason jar.
- Double boiler: You can also use a glass bowl set on top of a pot of water and bring it to a boil.
- Immersion blender: We have a separate immersion blender for soapmaking. Don’t reuse your immersion blender with food after mixing soap.
- Soap molds: We used a loaf mold so the soap can be cut into large blocks, but you can also use a regular soap bar mold. In any case, we recommend silicone soap molds.
How to Make Cold Process Dish Soap
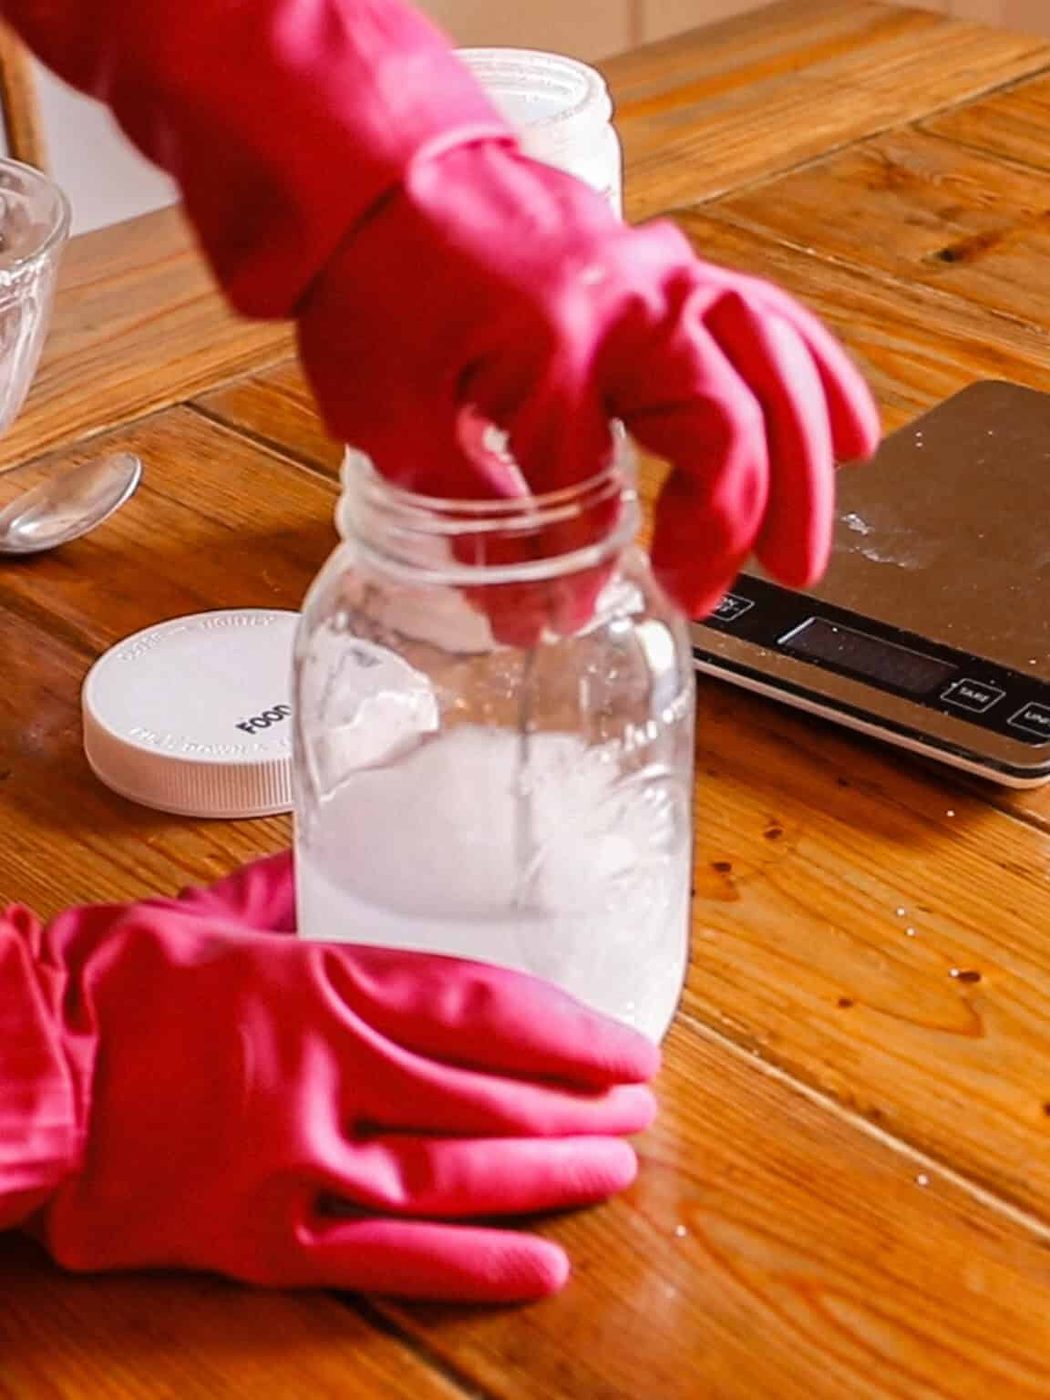
Step 1: In a heat-proof container, carefully add the lye to the water (never the other way around) and stir until fully dissolved. The temperature will rise quickly. Set it aside in a safe place to cool.
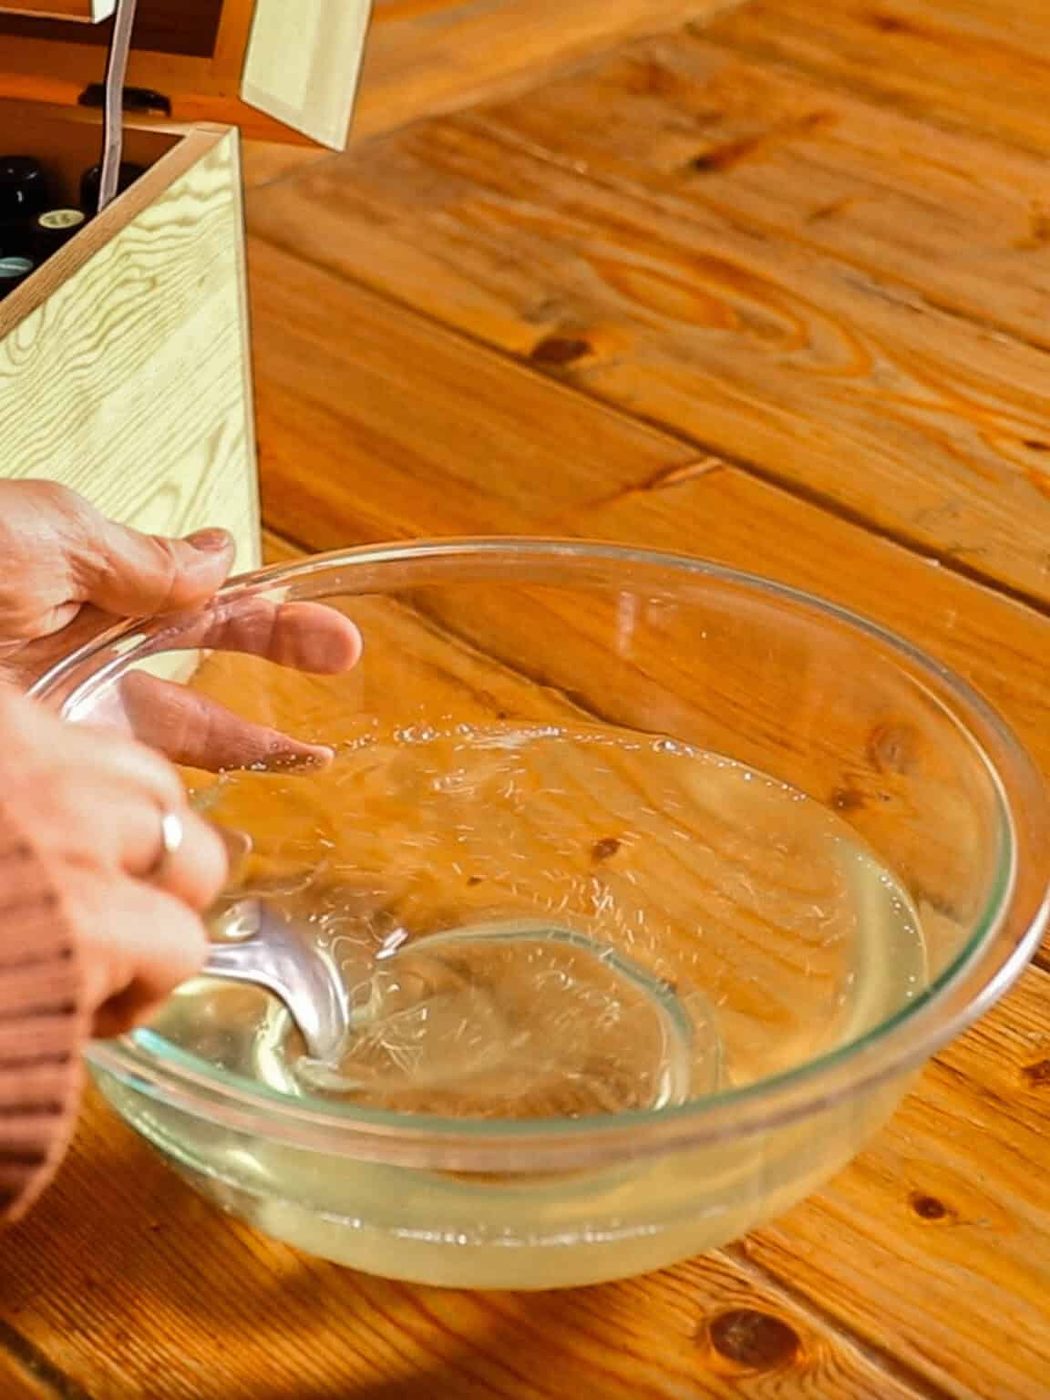
Step 2: Melt coconut oil and castor oil in a double boiler. Remove from heat to cool.
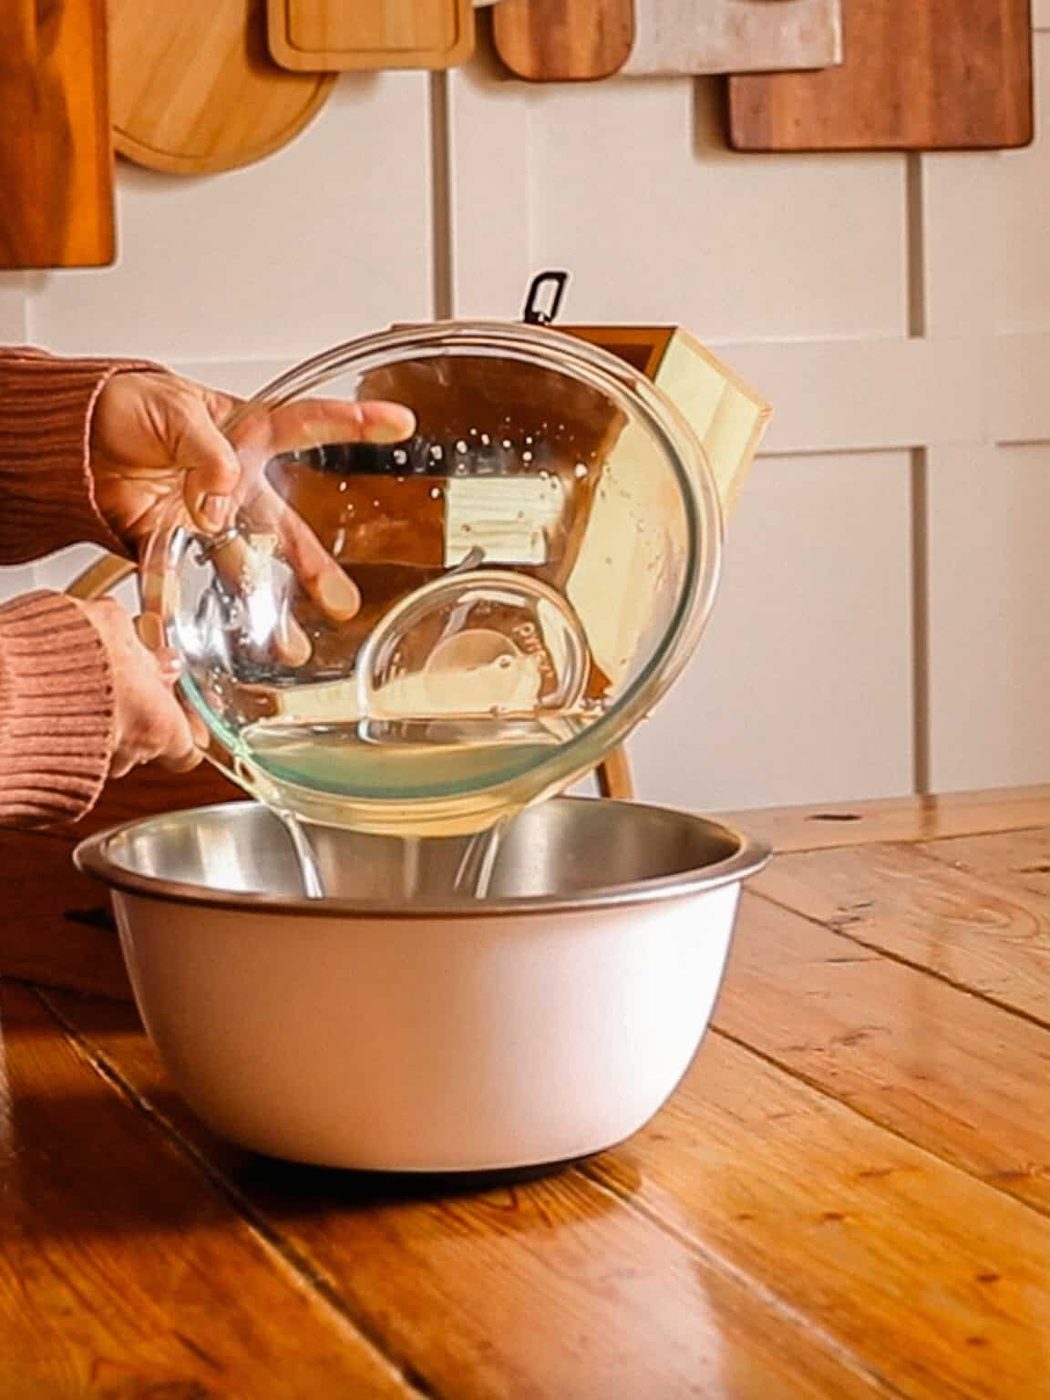
Step 3: Pour the melted oils into a tall mixing bowl. Once both the lye solution and oils have cooled to around 100–115°F, slowly add the lye water to the oils while mixing with an immersion blender.
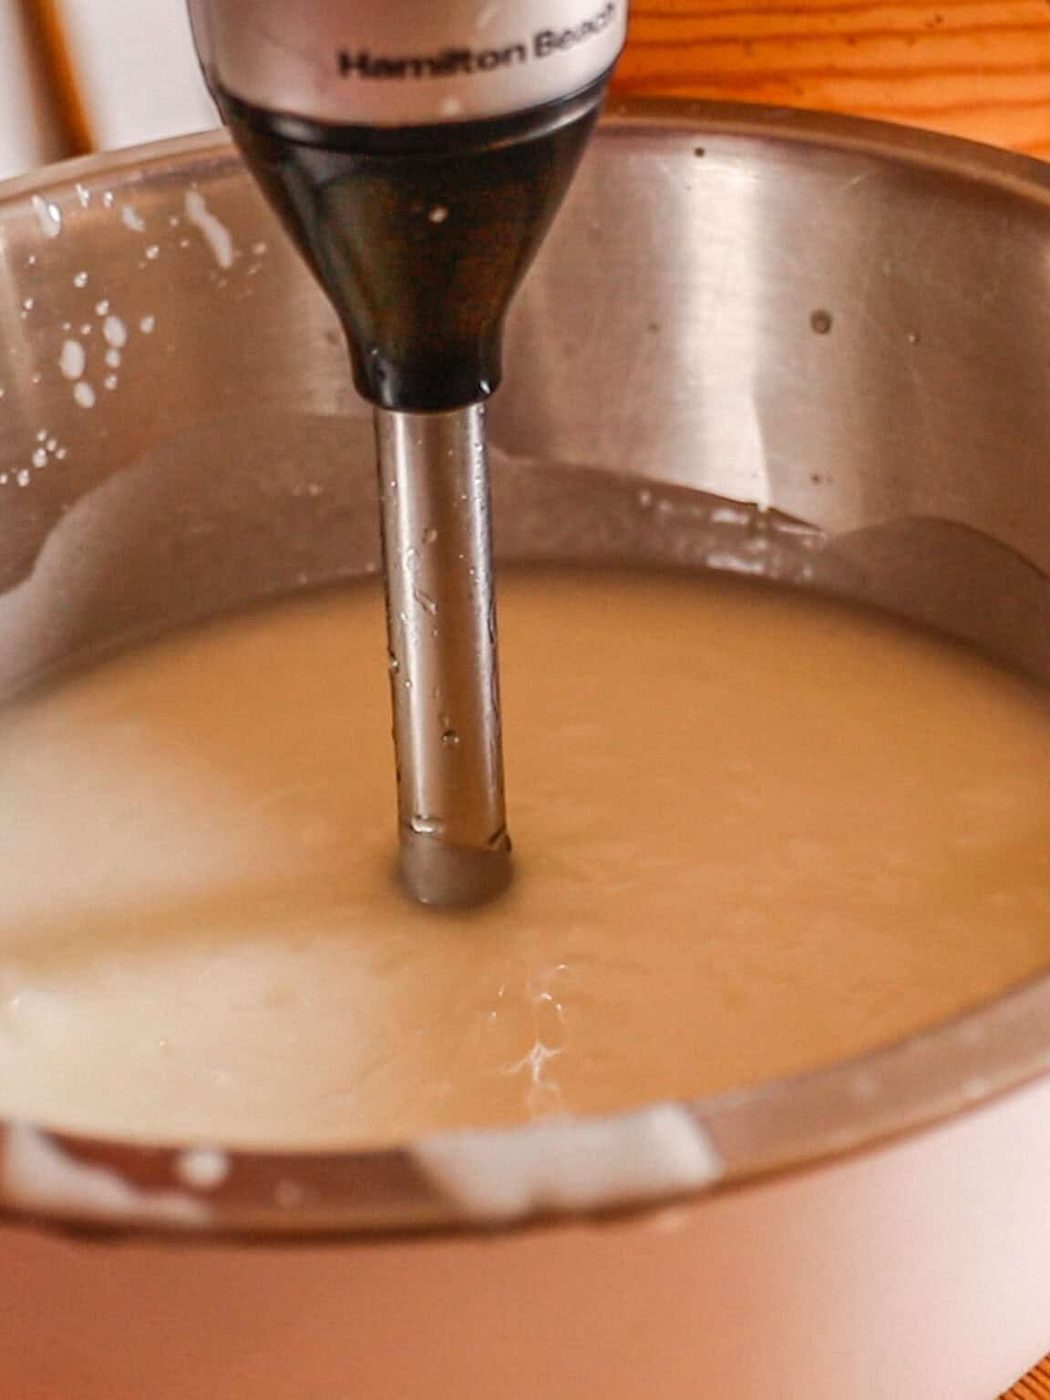
Step 4: Continue blending, slowly adding the lye water in increments until the mixture reaches a medium trace (a thick, pudding-like consistency).
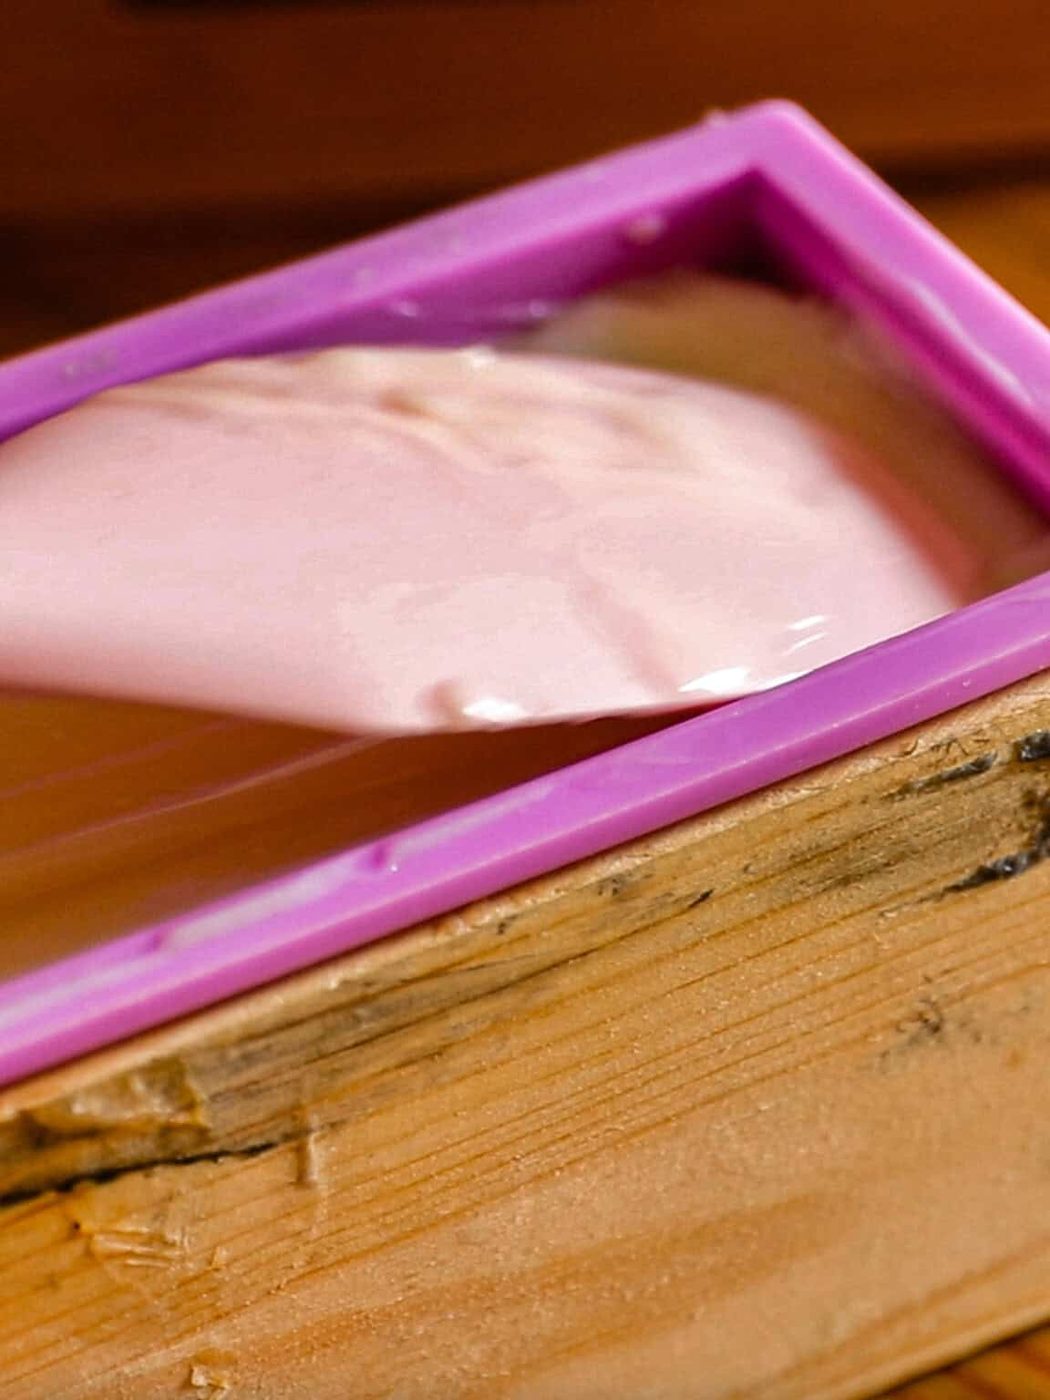
Step 5: Pour the soap batter into your soap mold and smooth the top with a rubber spatula.
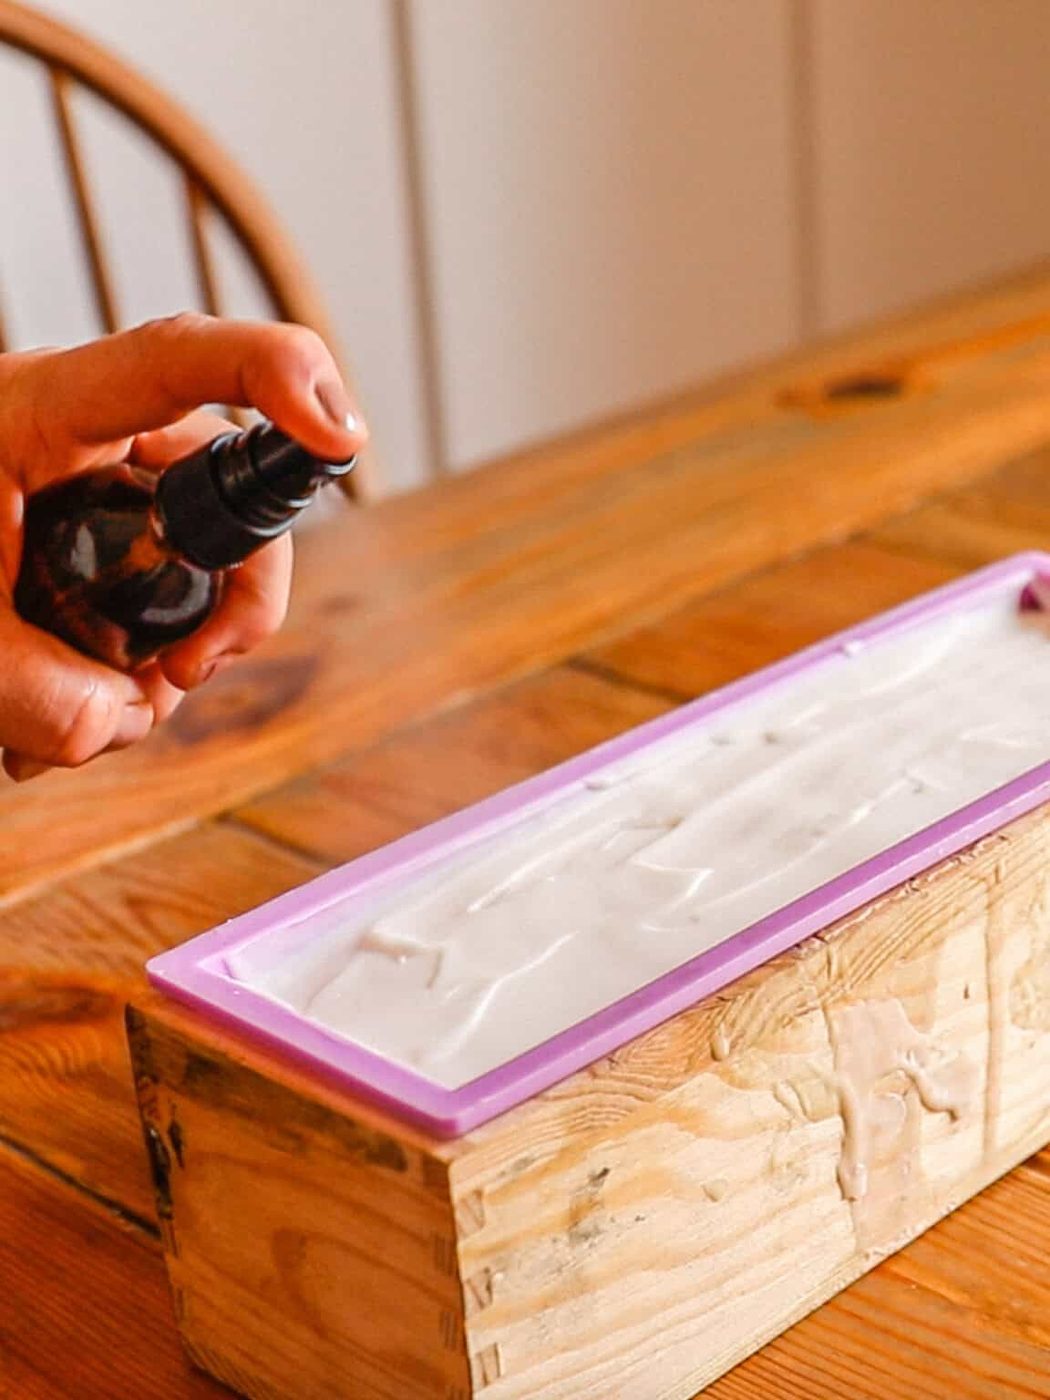
Step 6: Lightly mist the surface with isopropyl alcohol to prevent soda ash. Allow the soap to set for at least 3 days before unmolding.
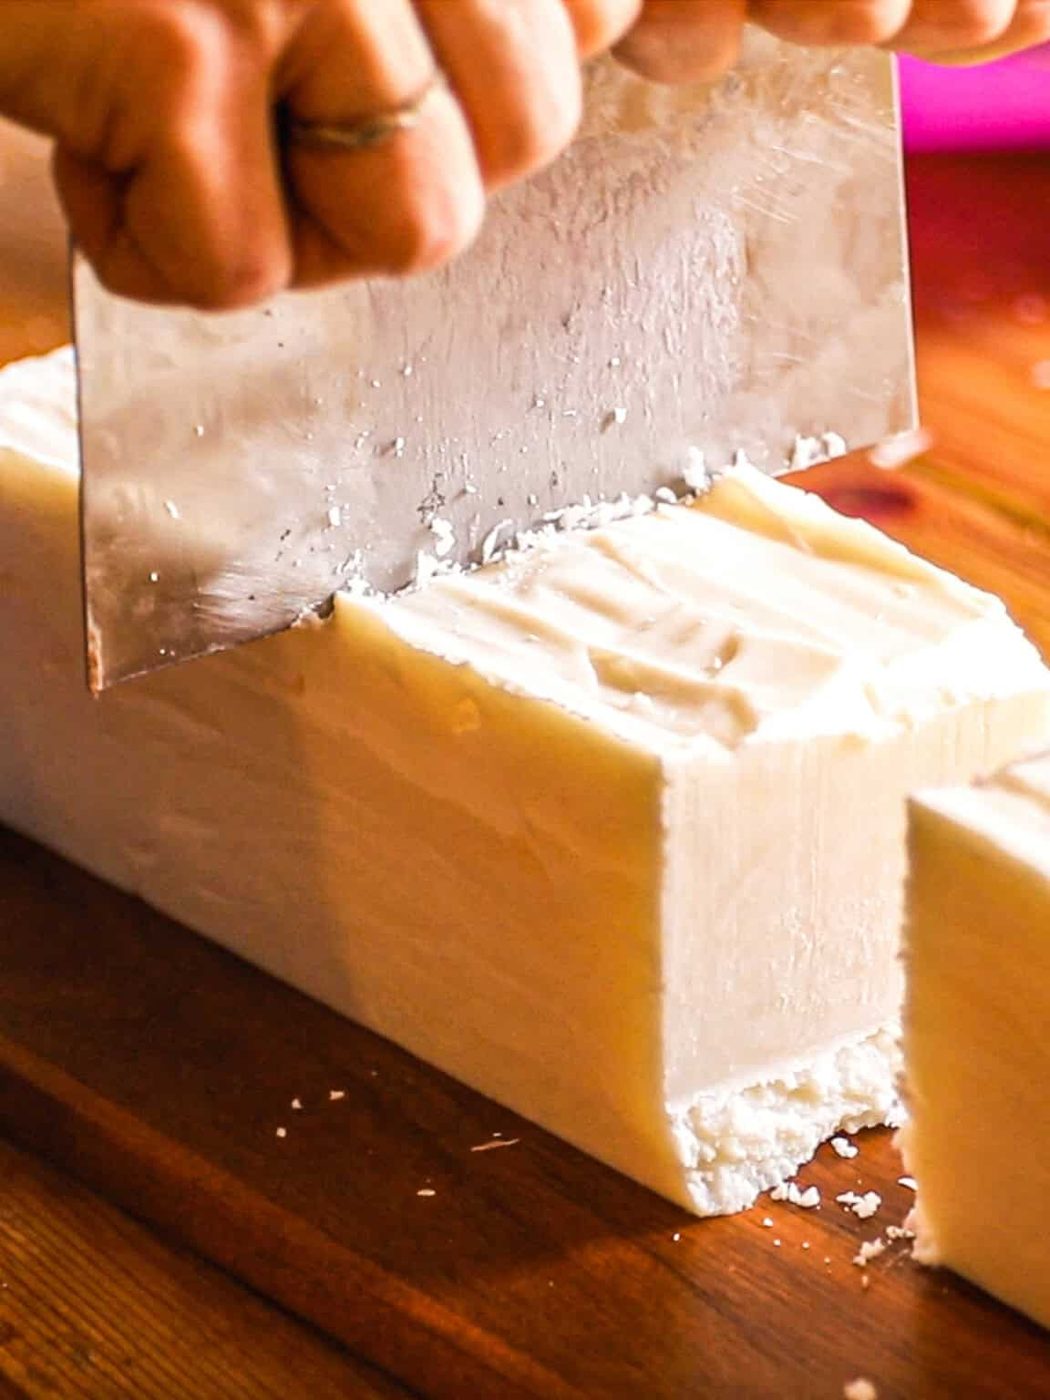
Step 7: After 3 days, remove the soap from the mold and cut it into 3 large squares (or into smaller bars if using a traditional soap mold).
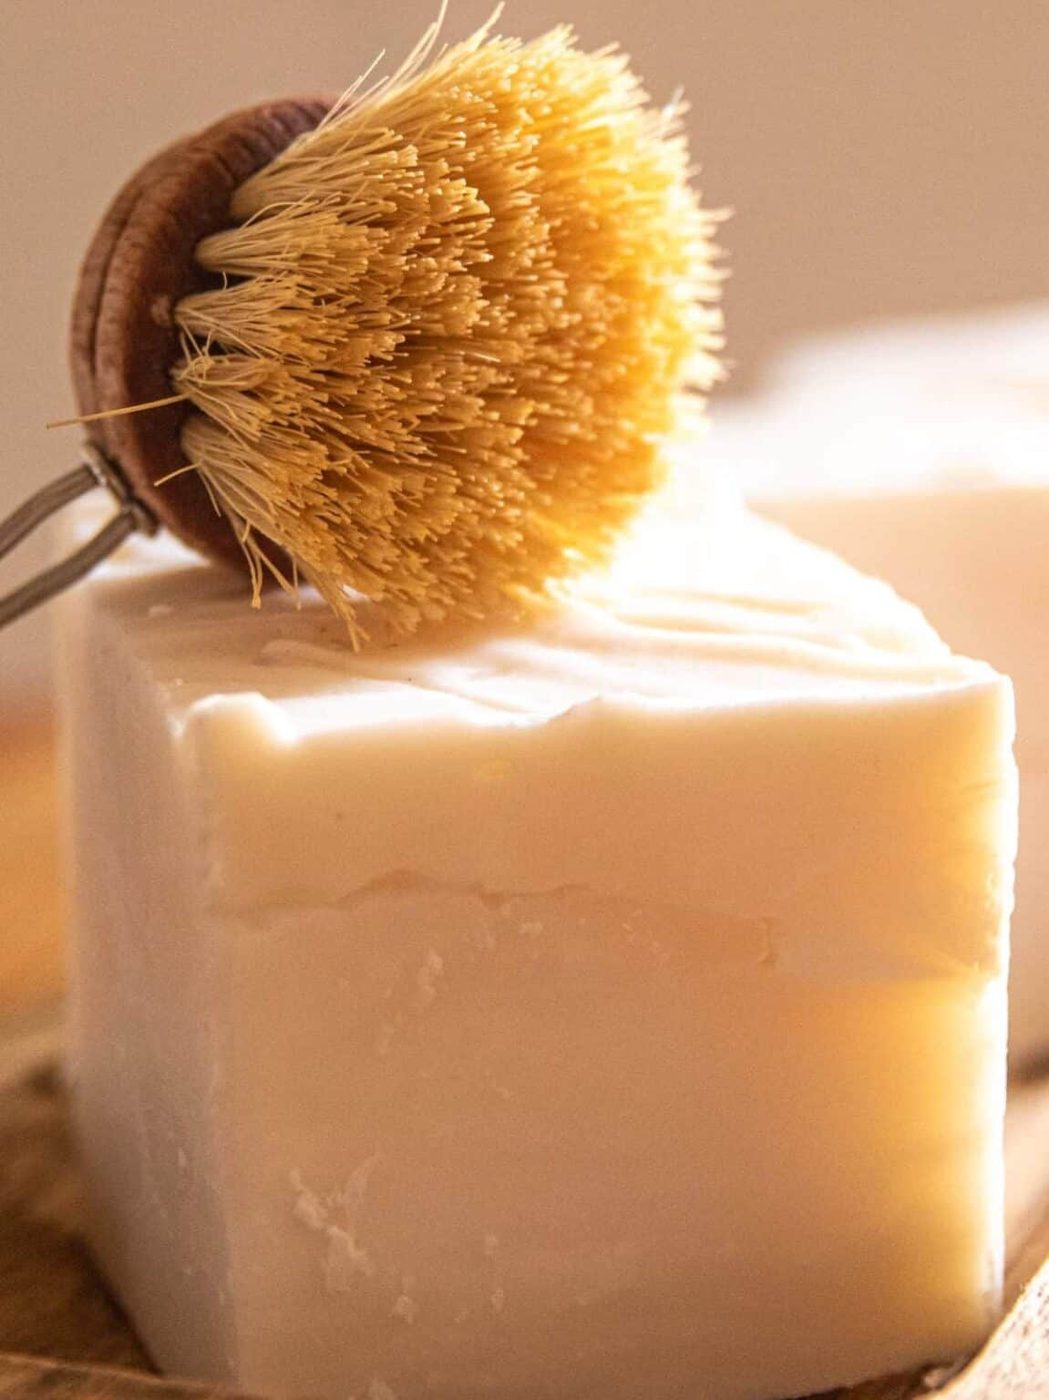
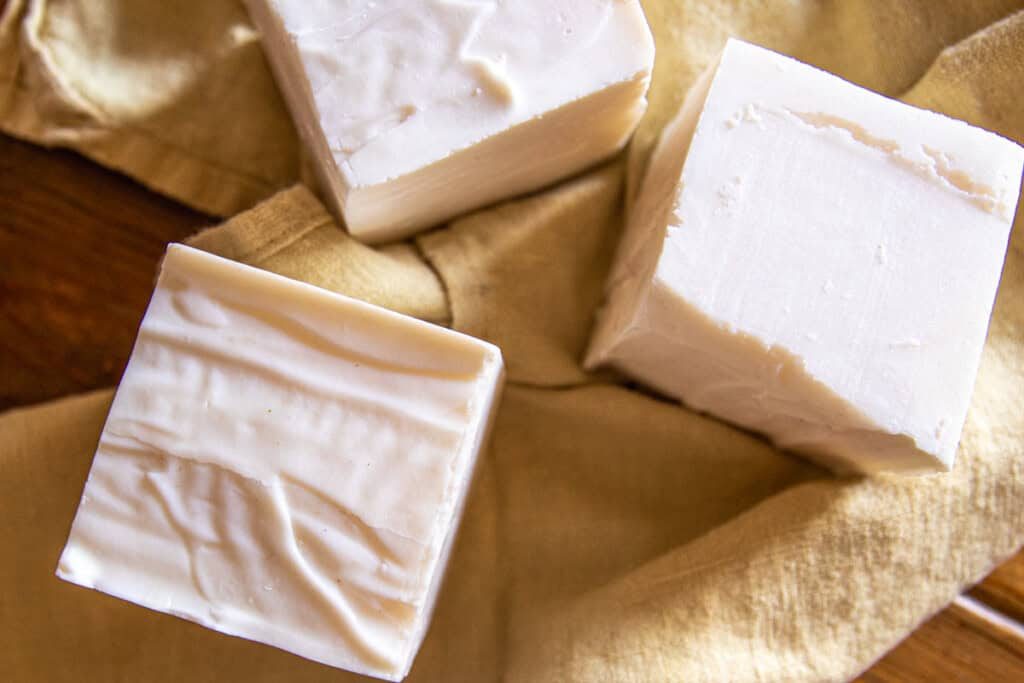
Step 8: Allow the soap to cure for 6 weeks before using. Place the bars 1 inch apart while they cure.
Safety Notes
- Always wear gloves, mask, and safety glasses when handling lye and work in a well-ventilated area. Keep children and pets away from the soapmaking process and store lye out of their reach.
- It’s very important to add the lye to the water, not the water to the lye. Pouring water into a jar of lye can cause a reaction that may be dangerous.
- Make sure you are using a heat-resistant container to mix the lye and water. The mixture gets hot very quickly, and the last thing you want is a broken or melted container.
- Keep all of your soapmaking bowls and utensils separate from your kitchen equipment. Don’t use soapmaking tools with food.
- If you change any ingredients in the recipe, you’ll need to recalculate with a soap calculator. It’s best to follow the recipe to a T.
Expert Tips
- If using a regular bar soap mold, you can simply unmold and cut as needed.
- Be sure to save any extra trimmings for rebatch soap later!
- This recipe is made with no superfat. This is to avoid any unsightly residue on the dishes.
- We like to keep our dish soap bar on a ceramic soap dish and rub our dish brush onto the top to get it sudsy.
- You can use these soap bars to make homemade liquid dish soap, too!
Recipe FAQs
Is soapmaking safe?Be sure to read through the recipe carefully and take note of the safety tips before proceeding. Yes, making soap is safe if done carefully. While lye is a caustic substance, proper handling will ensure a safe soapmaking process.
Do we have to use lye?Yes, lye is an unavoidable part of cold process soap making. The process of saponification is what makes soap, and it occurs when lye interacts with oils. If you’d rather not use lye, you can try your hand at soap-making with a melt-and-pour base, such as our coconut oil melt-and-pour soap recipe.
How long does solid dish soap need to cure?This cold process dish soap needs to cure for about 6 weeks before using it. The cure time for soap depends on the recipe but is typically 4-6 weeks.
Can we add fragrance to this recipe?Absolutely! If you would like your soap to be scented, feel free to add some essential oils before step 5. We recommend lemon for dish soap, but you can use any of your favorite oils.
Related Recipes
- Homemade Liquid Dish Soap
- DIY Garbage Disposal Deodorizer Tablets
- DIY Dishwasher Soap Tabs
- DIY All-Purpose Cleaner
If you tried these cold process dish soap bars or any other tutorial on our website, please leave a 🌟 star rating and let me know how it went in the 📝 comments below. Thanks for visiting!
5 from 1 voteCold Process Dish Soap
By the studio Ascher Prep: 20 minutes minsActive: 40 minutes minsTotal: 1 hour hr Yield: 3 square bars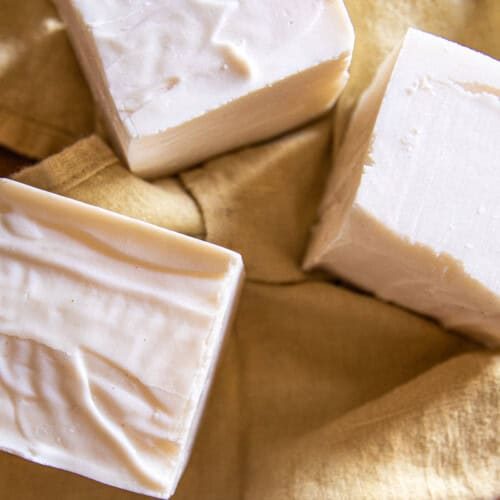 SaveSaved Pin Print Go natural, reduce your waste, and add a charming touch to your kitchen sink with these cold process dish soap bars. These soap bars have a nice lather and minimal ingredients to get your dishes clean without streaks or residue.
 Equipment
- safety gear gloves, mask, eye protection, and an apron
- kitchen scale
- Heat resistant container
- Double Boiler
- immersion blender
- Loaf soap mold silicone is best
Ingredients
Liquid and Lye
- 5.29 oz lye
- 11.83 oz water
Oils and Fats
- 22.85 oz coconut oil
- 1.15 oz castor oil
Instructions
- In a heat-proof container, carefully add the lye to the water (never the other way around) and stir until fully dissolved. The temperature will rise quickly. Set it aside in a safe place to cool.
- Melt coconut oil and castor oil in a double boiler. Remove from heat to cool.
- Pour the melted oils into a tall mixing bowl. Once both the lye solution and oils have cooled to around 100–115°F, slowly add the lye water to the oils and mix with an immersion blender.
- Continue blending, slowly adding the lye water in increments, until the mixture reaches a medium trace (a thick, pudding-like consistency).
- Pour the soap batter into your soap mold and smooth the top with a rubber spatula.
- Lightly mist the surface with isopropyl alcohol to prevent soda ash. Allow the soap to set for at least 3 days before unmolding.
- After 3 days, remove the soap from the mold and cut it into 3 large squares (or into smaller bars if using a traditional soap mold). Space them 1 inch apart and allow them to cure for 6 weeks before using.
Video
Notes
This recipe is made with no superfat. Safety Notes- Always wear gloves and safety glasses when handling lye and work in a well-ventilated area. Keep children and pets away from the soapmaking process and store lye out of their reach.
- It’s very important to add the lye to the water, not the water to the lye. Pouring water into a jar of lye can cause a reaction that may be dangerous.
- Make sure you are using a heat-resistant container to mix the lye and water. The mixture gets hot very quickly, and the last thing you want is a broken or melted container.
- Keep all of your soapmaking bowls and utensils separate from your kitchen equipment. Don’t use soapmaking tools with food.
- If you change any ingredients in the recipe, you’ll need to recalculate with a soap calculator. It’s best to follow the recipe to a T.