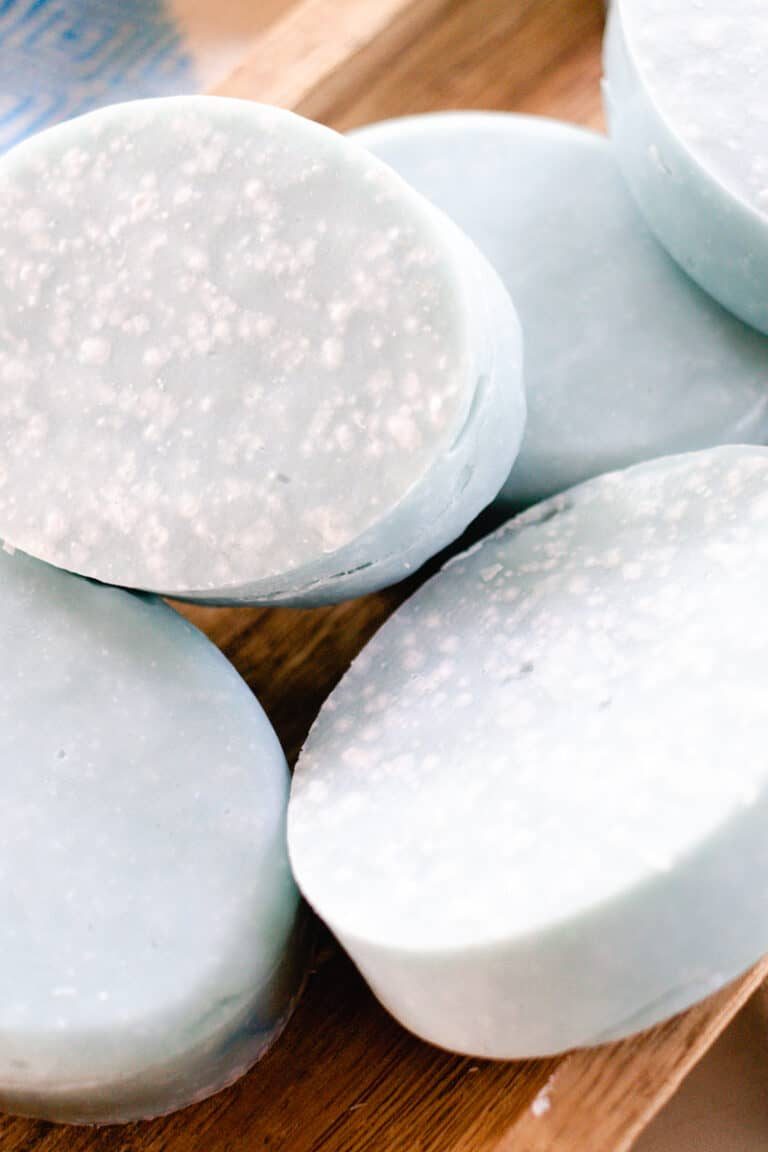
Mint Lime Melt & Pour Soap
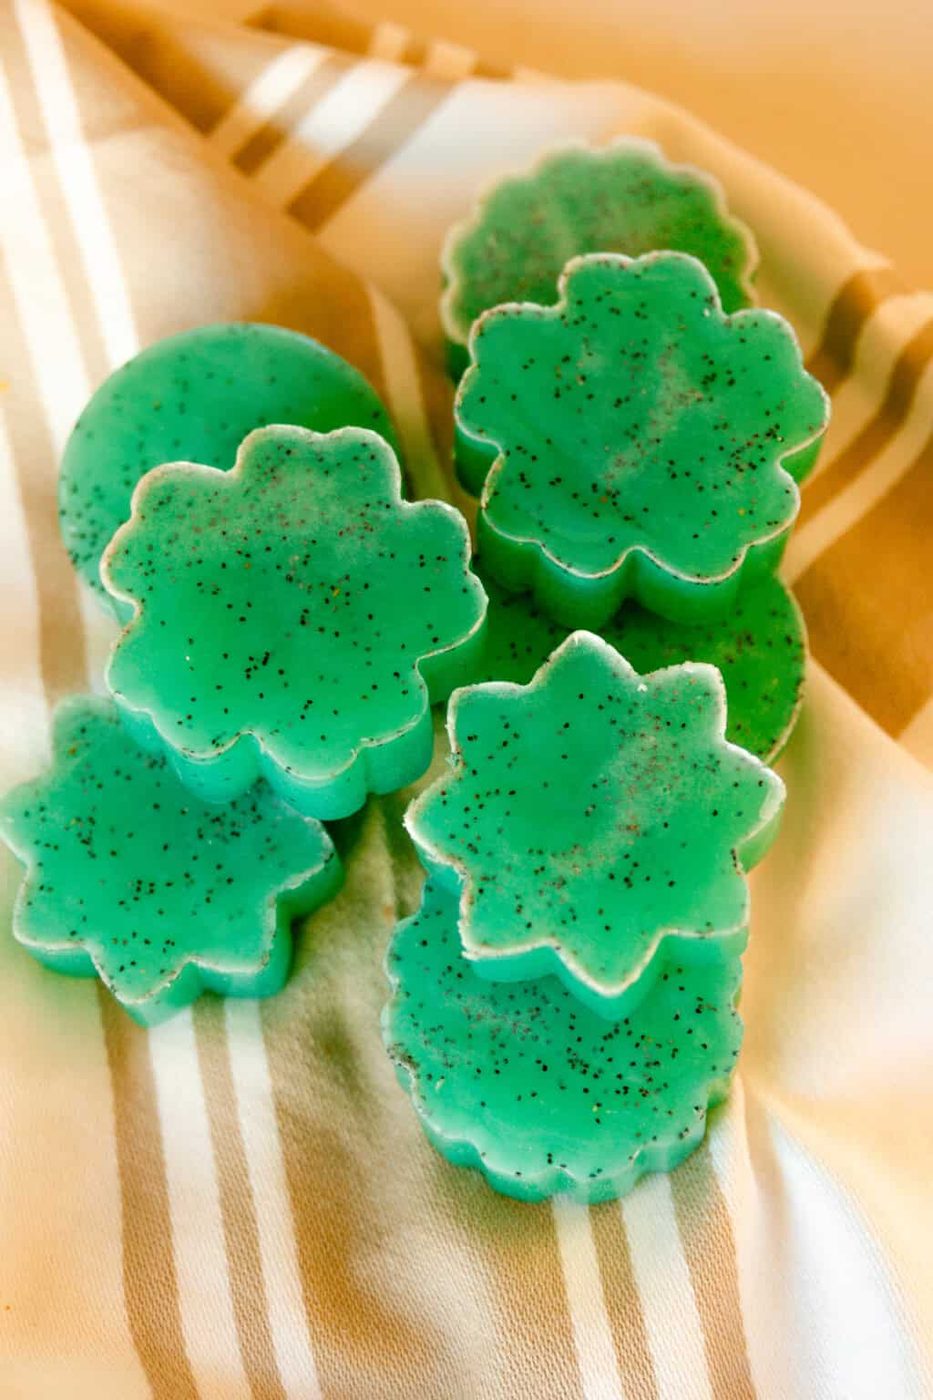
Welcome summer with this bright and fresh DIY soap bar! Mint Lime Melt and Pour Soap is fun and easy to make with just a few natural ingredients.
We’ve been enjoying a lot of lemonade and limeade this summer, always with a sprig of mint from our porch herb garden. It smells heavenly and tastes even better!
We wanted to do a fun summer craft with some of our kids last week — ideally one that is both fun and useful. Melt and pour soap was an easy choice. It’s beginner-friendly and a great DIY for older kids!
We’ve made several different melt and pour soap bars together in the past, such as DIY coconut oil soapand homemade goat milk soap.
After a particularly refreshing glass of mint limeade, we knew exactly what we wanted our new recipe to smell like.
Our husband calls these mojito soap bars because they really do smell just like a mojito! Refreshing, bright, and a little bit sweet. What more could you ask for?
We love how these summer soap bars turned out. We’ve been using them in every bathroom in the house, and they make me feel like we're on the beach!
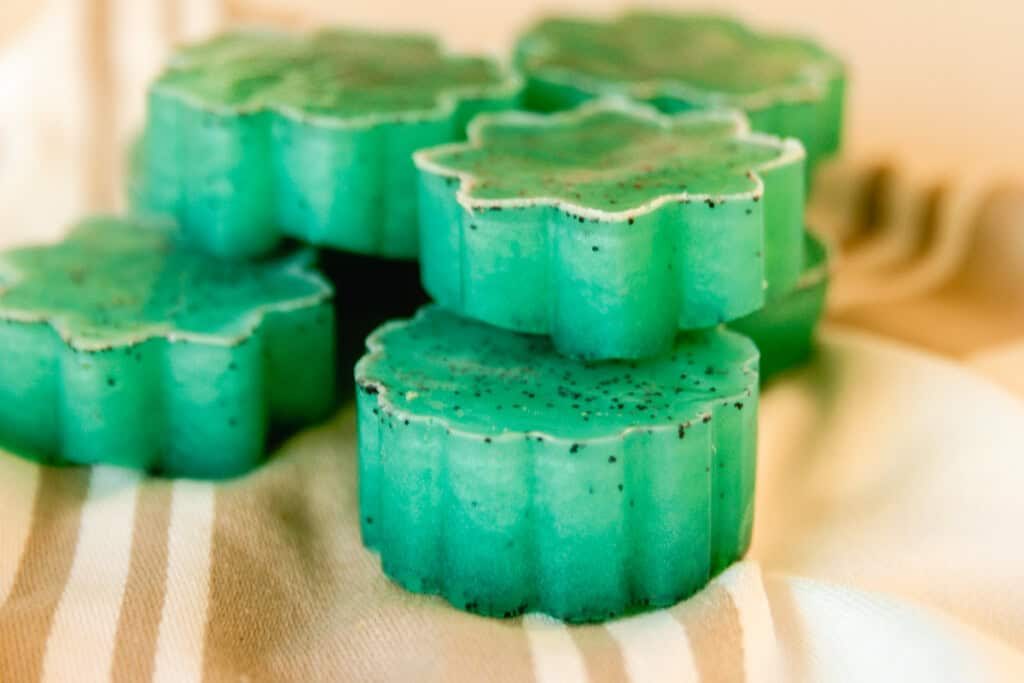
With their blue/green hue and speckles of poppy seeds for a touch of exfoliation, they are a delight to look at and to use!
Why You’ll Love This Recipe
- Beginner-friendly: When we first got into soapmaking, we started with melt and pour. This allows you to make homemade soap without handling lye or following a lengthy, detailed process.
- Summer scent: Lime and mint are so fresh, fun, and bright — perfect for summer (or a little pick-me-up in the gloom of winter!).
- Easy craft: This DIY melt and pour soap is an easy and fun craft for a girls’ night or entertaining big kids this summer!
- Homemade gift: A handcrafted soap bar is one of our all-time favorite homemade gift ideas. It’s fun to make, gives the recipient a little bit of luxury, and everyone can use a bar of soap.
What You’ll Need
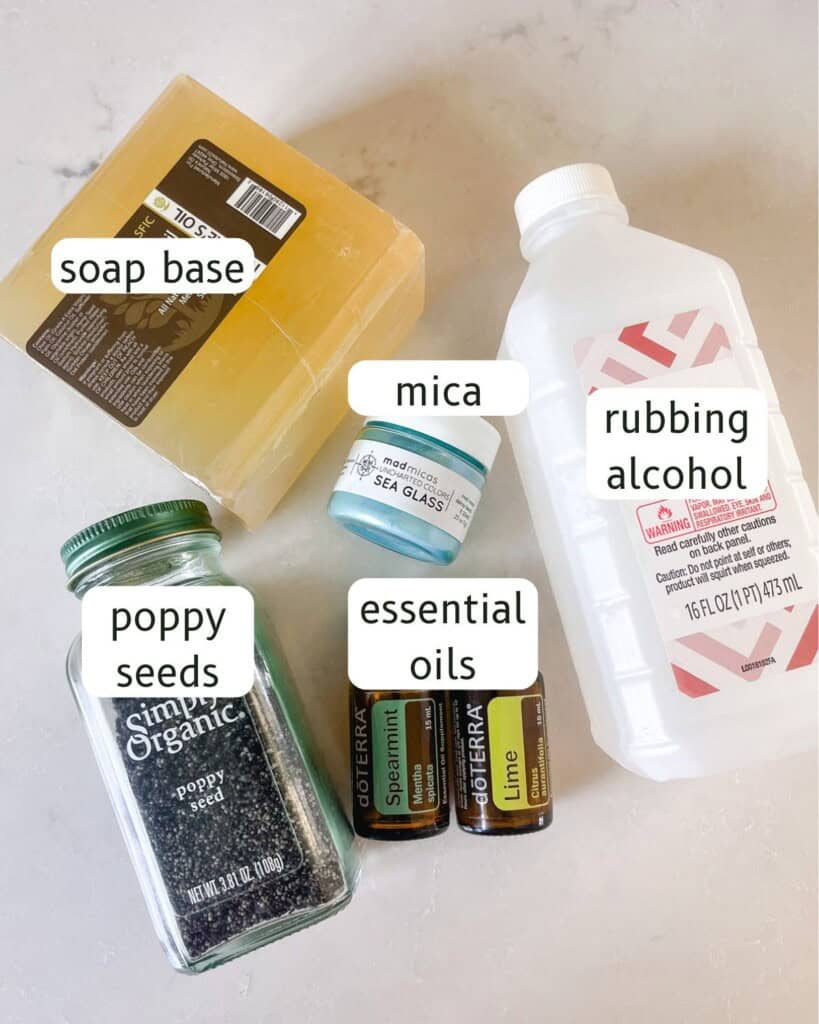
- Glycerin soap base: Vegetable glycerin is a clear liquid that is derived from vegetable oils such as soybean oil or coconut oil. It can be very moisturizing and protective to the skin when added to products like soap or lotion. We've actually made our own homemade cold process glycerin soap before!
- Mica powder: Mica is a natural colorant that gives this particular soap bar its beautiful teal color. Be sure to find an ethical source of mica powder (we use Mad Micas).
- Essential oils: This is how we’ll get a lime mint scent! We use essential oils as our fragrance for nearly all of our soap bars because they are 100% natural.
- Poppy seeds: Adding poppy seeds to this soap gives it a fun visual appeal and a gentle exfoliant.
- Rubbing alcohol: Misting the top of your soap right at the end pops surface bubbles so your soap has a nice, smooth look.
- Silicone soap molds: You can find a variety of fun shapes online or use a regular bar mold or a loaf mold. We do recommend sticking with silicone molds as they are much easier to use than wooden ones.
How to Make Mint Lime Melt and Pour Soap
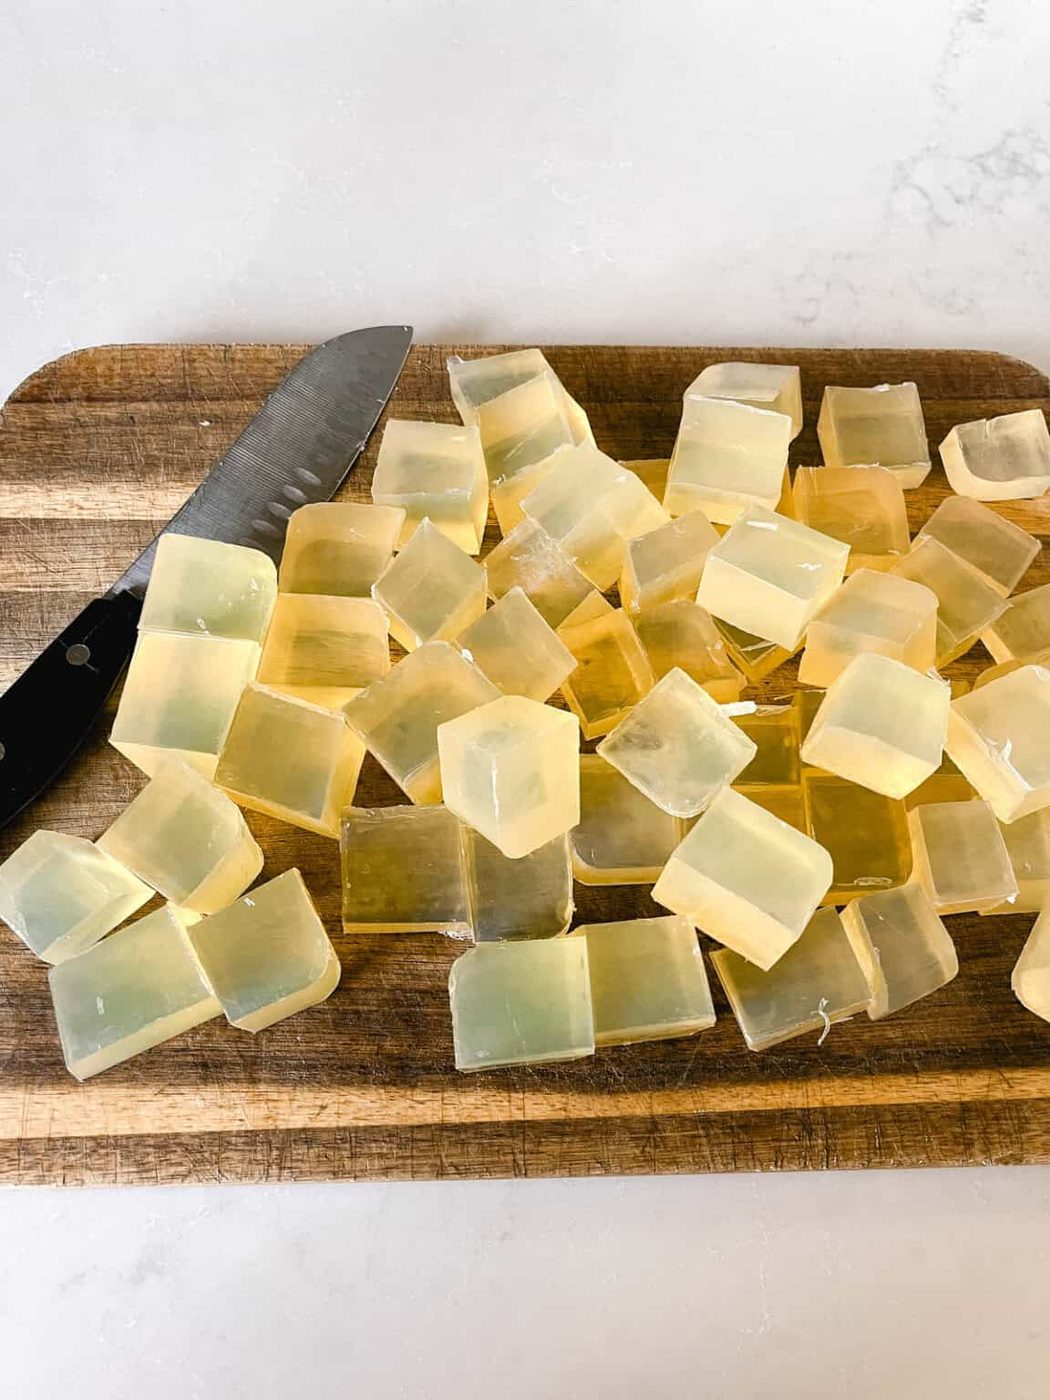
Step 1. Cut the soap base into small, even cubes.
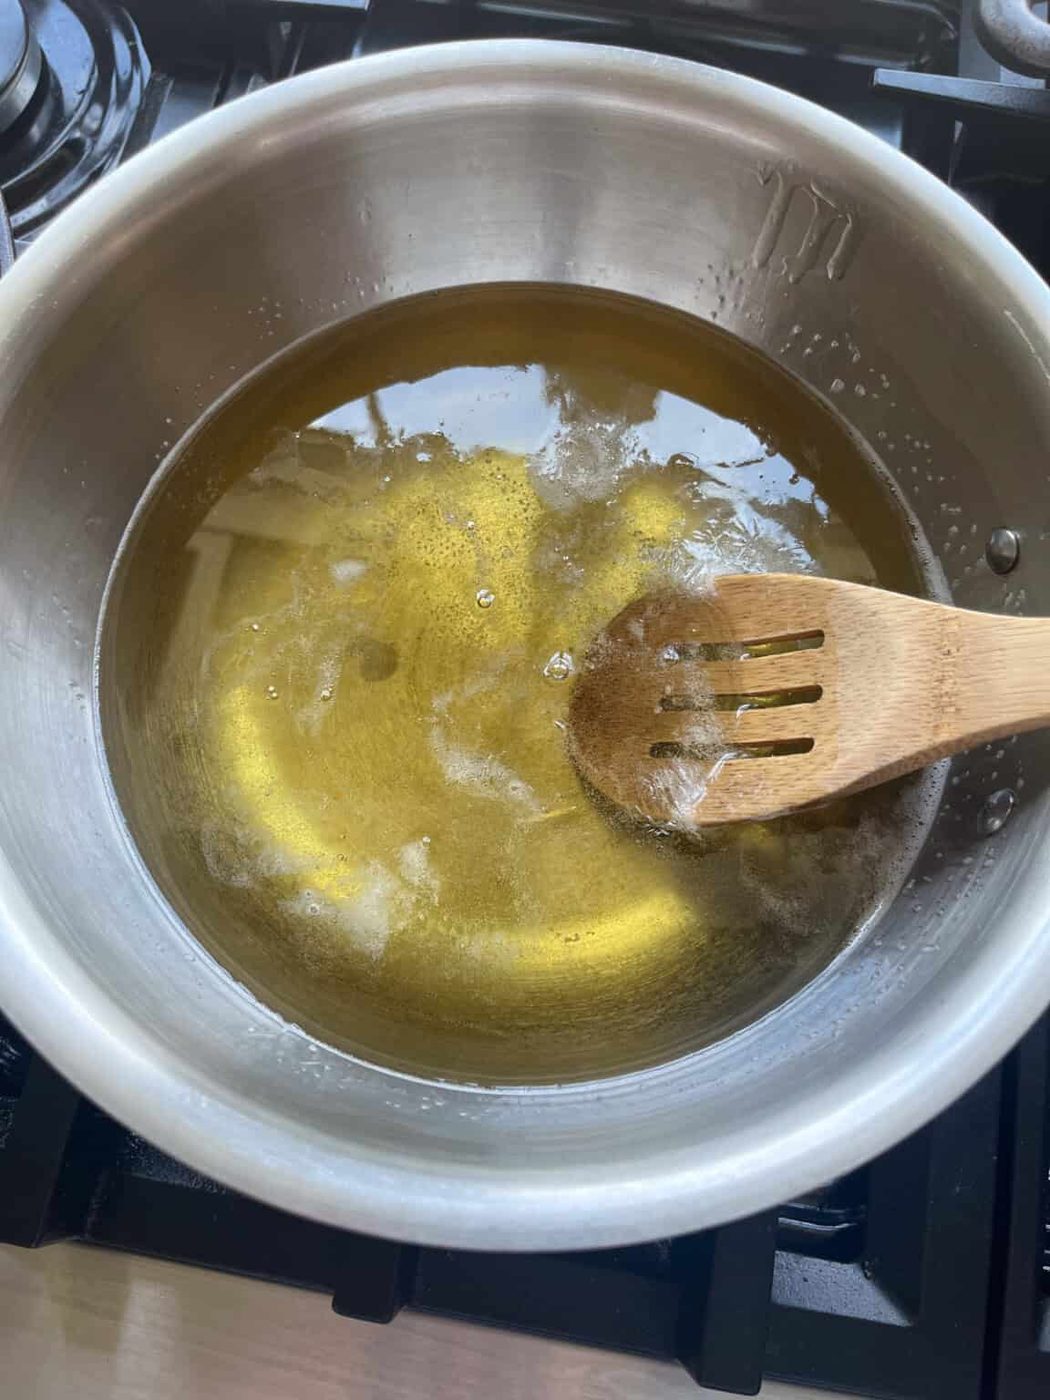
Step 2. Place the cubes in a saucepan over low heat. Stir often and melt slowly until fully liquid — don’t let it simmer or boil.
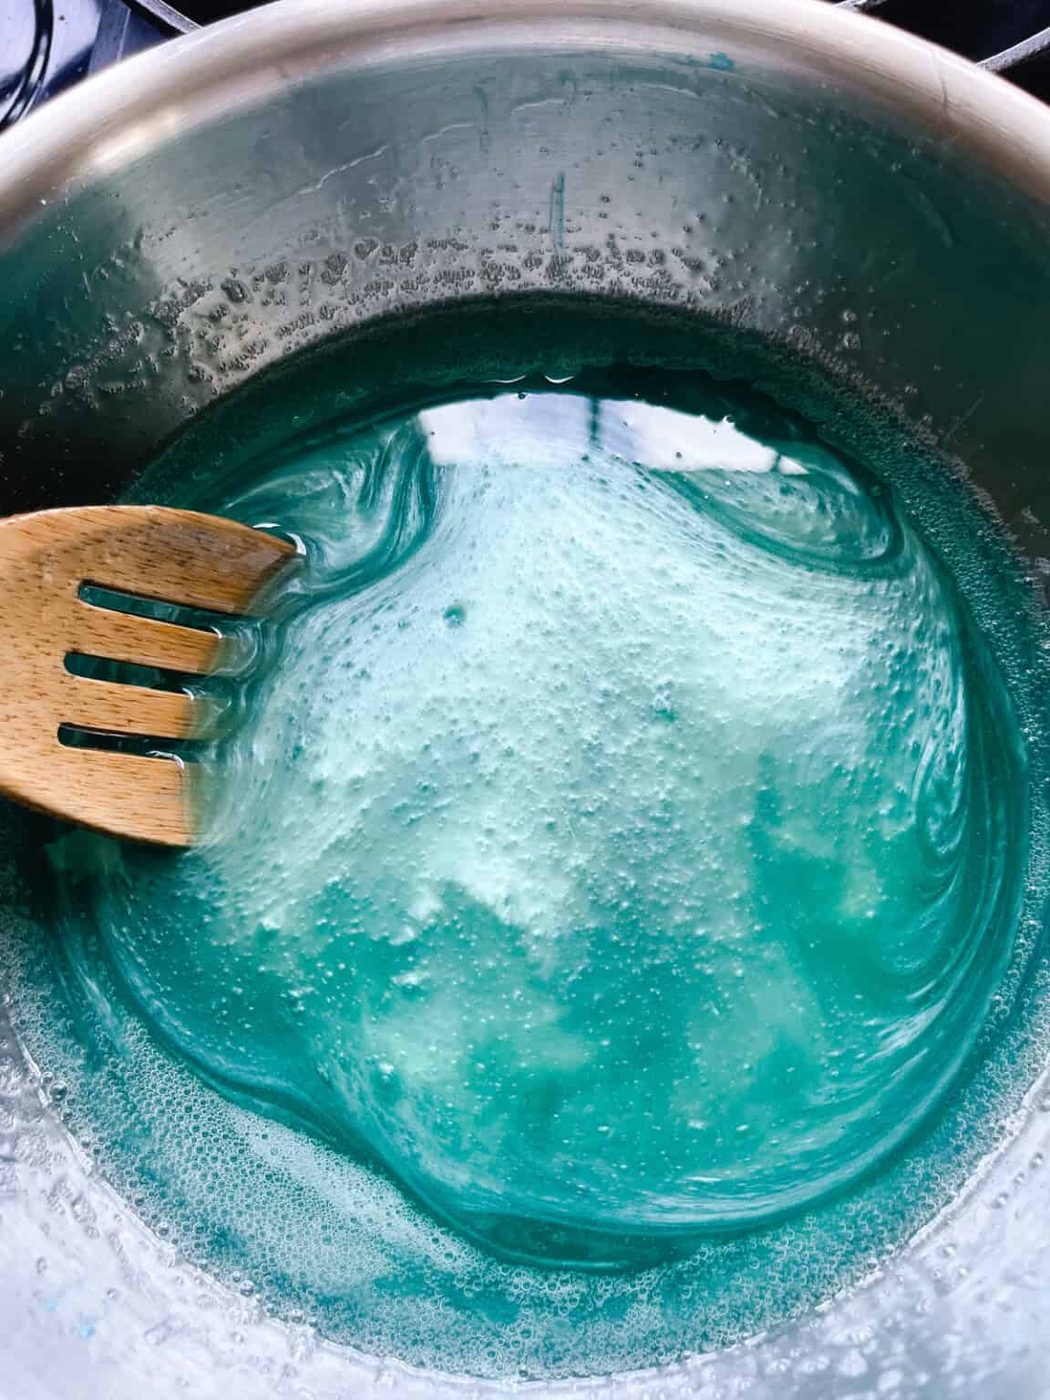
Step 3. Remove from heat and let it cool slightly.
Step 4. Stir in sea glass mica a little at a time until you reach the shade you want.
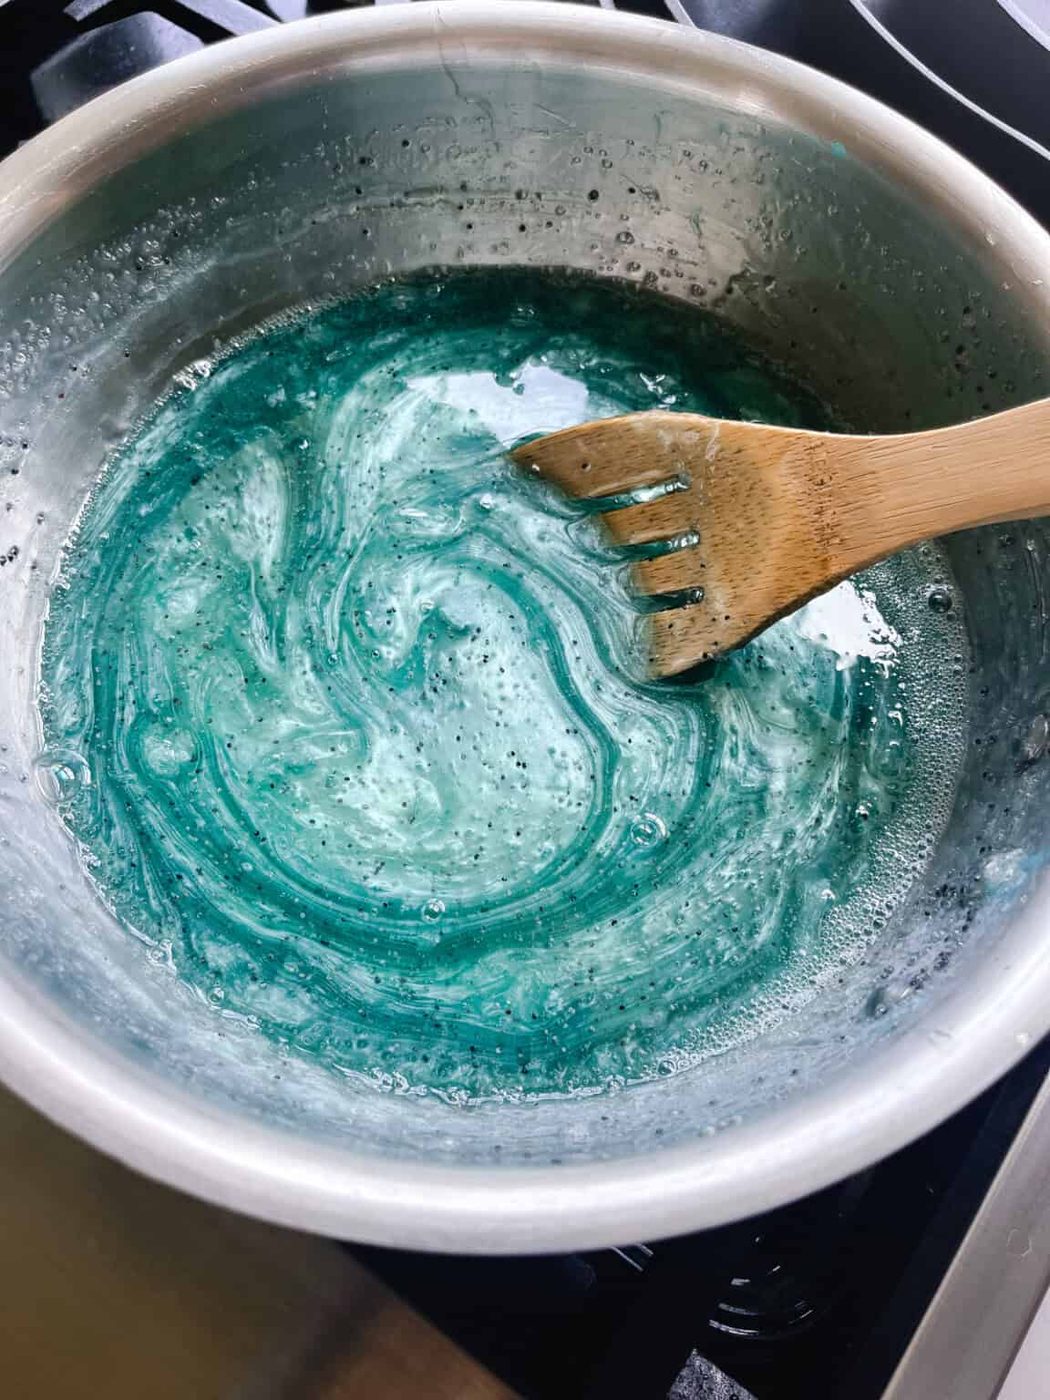
Step 5. Add the lime and spearmint drops; stir gently and fully to combine.
Step 6. Stir in the poppy seeds, and keep stirring as the base thickens so they stay evenly suspended.
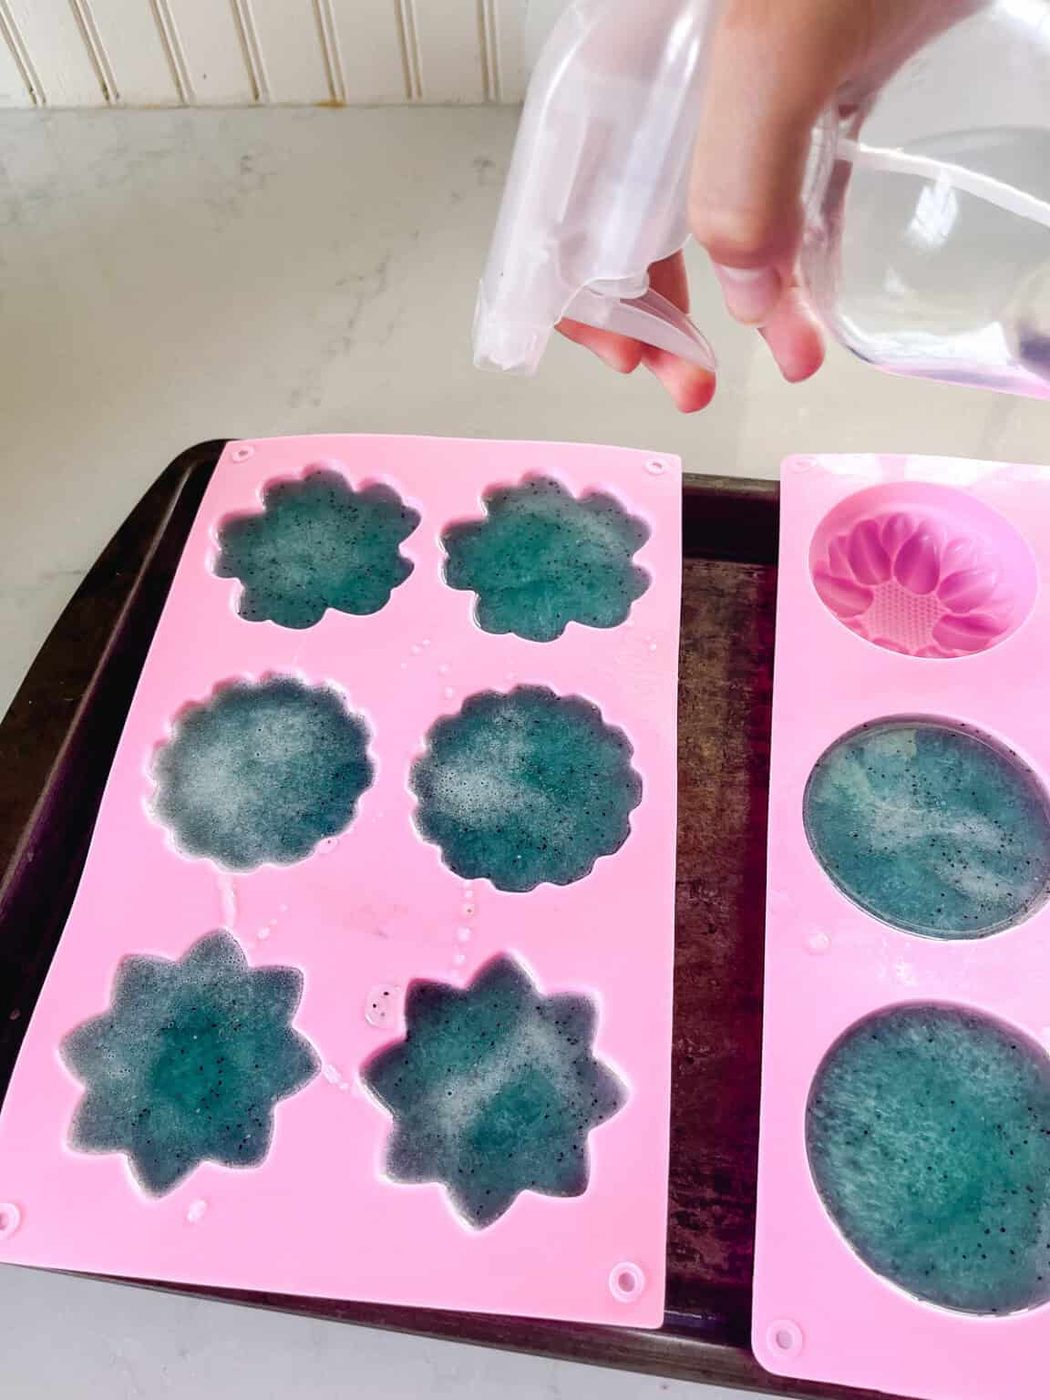
Step 7. Pour into your mold(s). Spritz the tops with rubbing alcohol to pop surface bubbles.
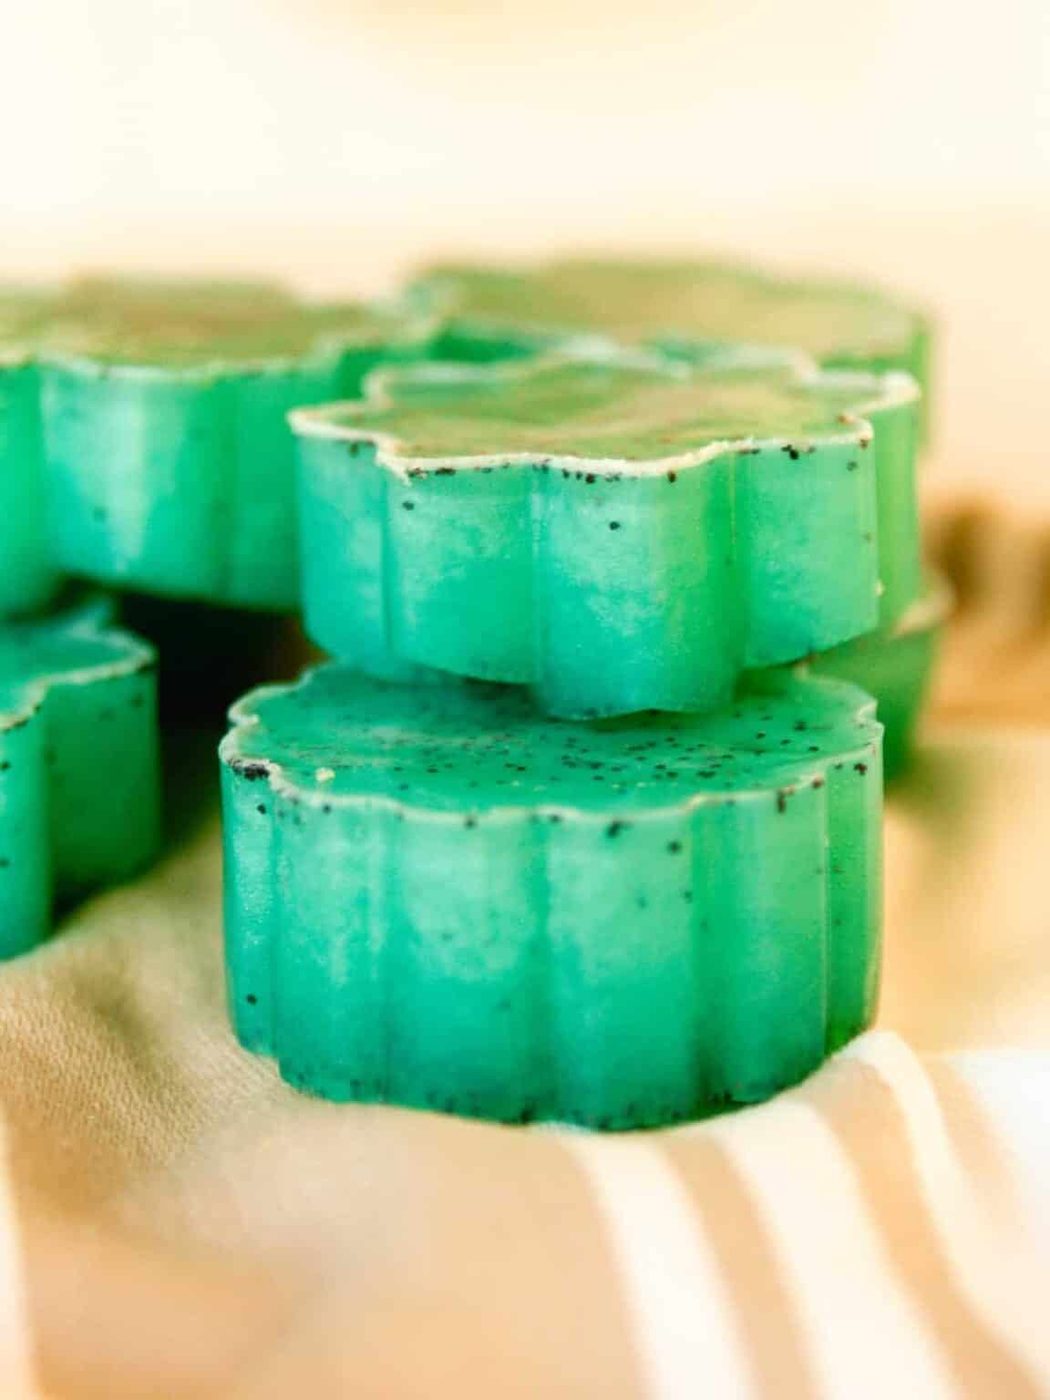
Step 8. Let set 4–6 hours (or overnight) until fully firm, then unmold. Cut into bars if using a loaf mold.
Expert Tips + Notes
- The number of soap bars this recipe yields depends on the size of your molds, but you can expect around 8 standard-sized (4 oz) bars.
- We use hemp oil melt and pour base from Bulk Apothecary for this recipe.
- Soap base can take a long time to melt down. The smaller you cut the cubes, the faster it will go.
- Work quickly! Once it’s removed from the heat, the soap base starts to harden pretty fast, so you’ll want to get it into the molds as soon as you can. If it gets too hard to work with, just add it back to the pot and melt it again.
Recipe FAQs
Can we skip the color?You certainly can if you’d like. The soap will end up a yellow-ish shade, just like the glycerin soap base. You can also use a different color instead of sea glass.
What is melt and pour soap?Melt and pour soap is a homemade bar made by melting a pre-made soap base down, adding additional ingredients (scent, color, herbs, etc.), and pouring it into molds to re-harden. Rather than cold process soap, which is made from scratch with oils and lye, melt and pour soap is considerably easier and safer to make, which is why it is perfect for beginners!
Does melt and pour soap need to cure?Just for a few hours. Once it’s hardened, you can remove it from the molds and use it. You don’t need to wait weeks like you do with cold process soap.
Can we make unscented soap?Absolutely. Feel free to skip the essential oils if you prefer. Keep in mind that the soap will smell like your soap base, so you’ll want to make sure you like the scent of that first.
Related Recipes
- Homemade Soap Recipe | Melt and Pour
- DIY Orange Creamsicle Soap
- Homemade Loofah Soap Bar
- Honey Oatmeal Soap Recipe
- 20 Minute Pumpkin Spice Soap Bars
If you tried these Mint Lime Melt and Pour Soap Bars or any other tutorial on our website, please leave a 🌟 star rating and let me know how it went in the 📝 comments below. Thanks for visiting!
5 from 1 voteMint Lime Melt and Pour Soap
By the studio Ascher Prep: 5 minutes minsActive: 20 minutes minsCure time: 6 hours hrsTotal: 6 hours hrs 25 minutes mins Yield: 8 soap bars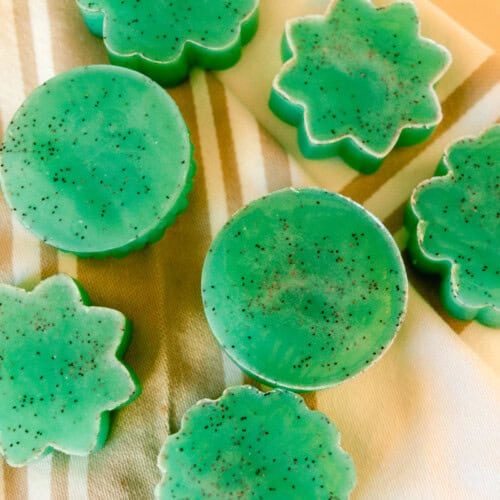 SaveSaved Pin Print Welcome summer with this bright and fresh DIY soap bar! Mint Lime Melt and Pour Soap is fun and easy to make with just a few natural ingredients.
 Equipment
- Small saucepan
- Silicone soap molds
Ingredients
- 2 lbs clear glycerin melt-and-pour soap base
- Sea glass mica powder*, to your preferred shade
- 30 drops distilled lime essential oil
- 15 drops spearmint essential oil
- 1 tablespoon poppy seeds
- Rubbing alcohol in a spray bottle, for bubbles
Instructions
- Cut the soap base into small, even cubes.
- Place the cubes in a saucepan over low heat. Stir often and melt slowly until fully liquid — don’t let it simmer or boil.
- Remove from heat and let it cool slightly.
- Stir in sea glass mica a little at a time until you reach the shade you want.
- Add the lime and spearmint drops; stir gently and fully to combine.
- Stir in the poppy seeds, and keep stirring as the base thickens so they stay evenly suspended.
- Pour into your mold(s). Spritz the tops with rubbing alcohol to pop surface bubbles.
- Let set 4–6 hours (or overnight) until fully firm, then unmold and cut into bars.
Video
Notes
- *Mica powder is often sourced unethically, so it’s important to find a good supplier. After a lot of research, we use Mad Micas.
- The number of soap bars this recipe yields depends on the size of your molds, but you can expect around 8 standard-sized (4 oz) bars.
- We use hemp oil melt and pour base from Bulk Apothecary for this recipe.
- Work quickly! Once it’s removed from the heat, the soap base starts to harden pretty fast, so you’ll want to get it into the molds as soon as you can. If it gets too hard to work with, just add it back to the pot and melt it again.
- Soap base can take a long time to melt down. The smaller you cut the cubes, the faster it will go.
- Feel free to use any shape of mold you like — just make sure it’s silicone, not wood.