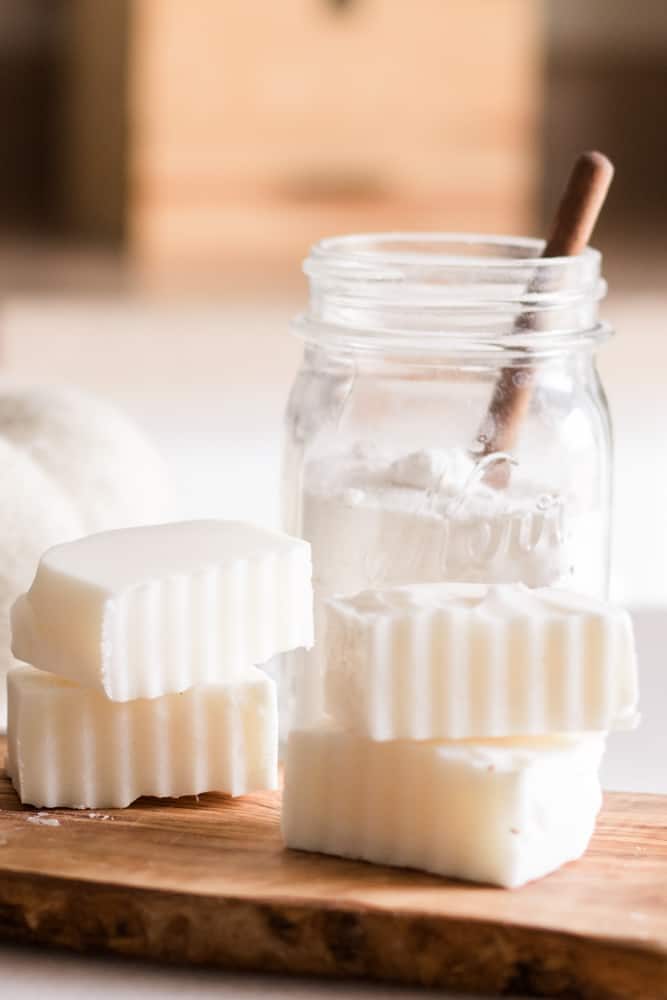
DIY Solid: Conditioner Bars
Also filed inHair CareBath and Beauty
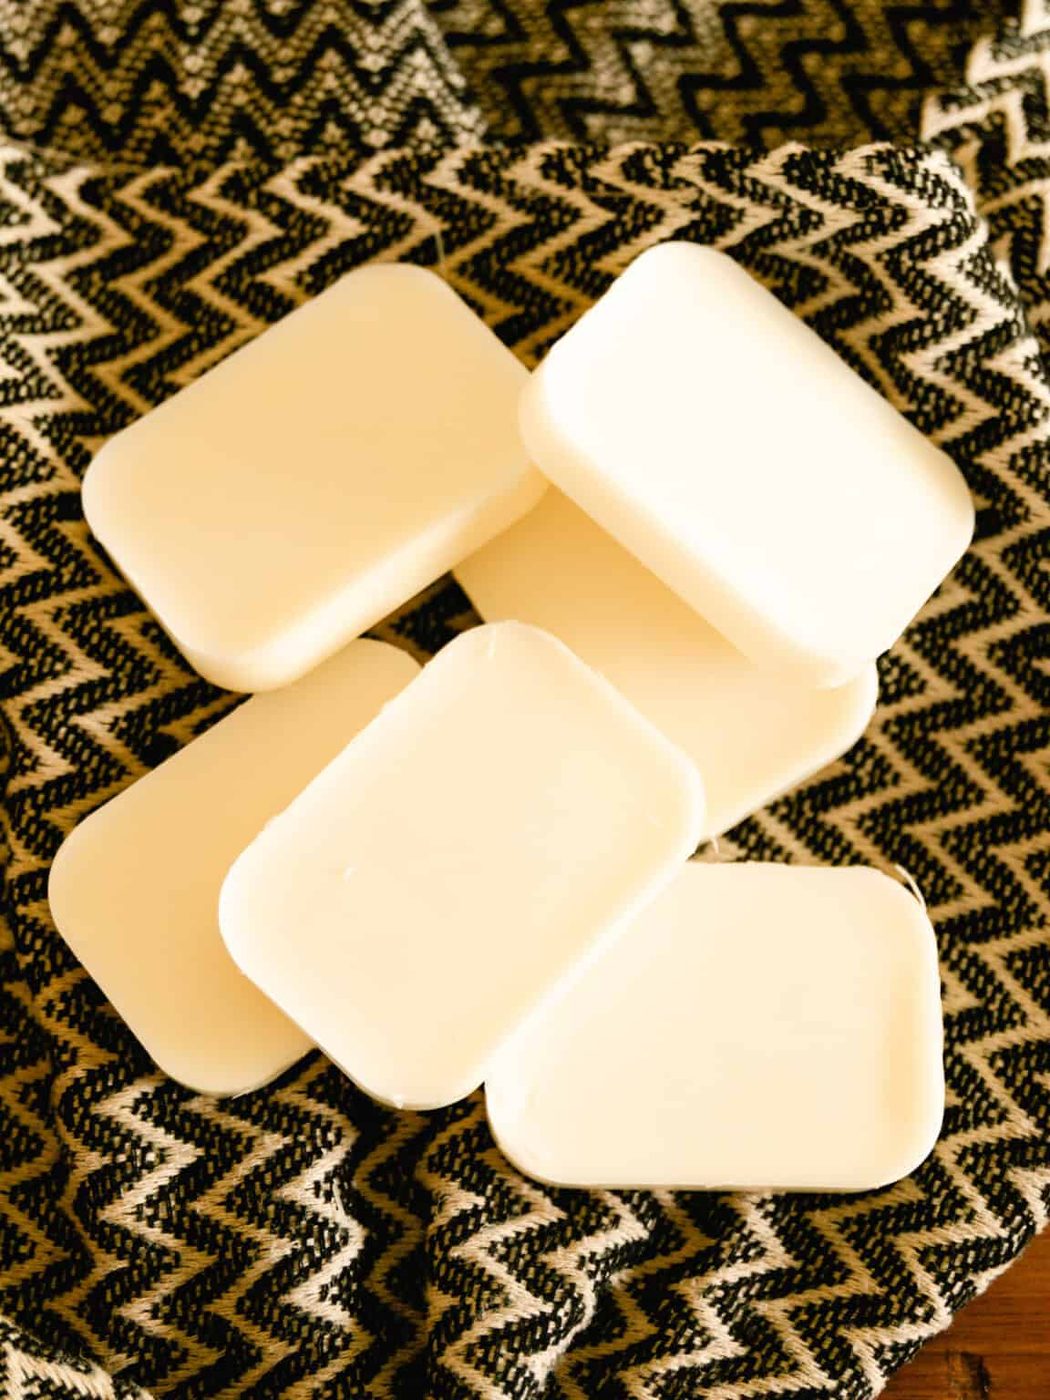
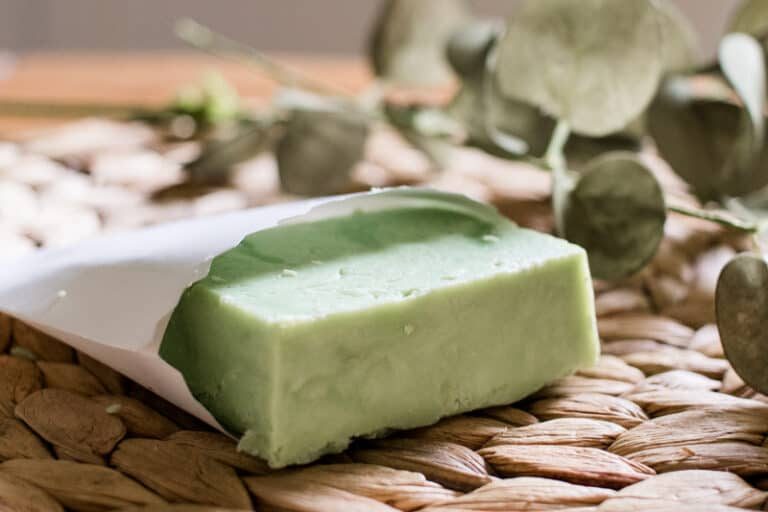
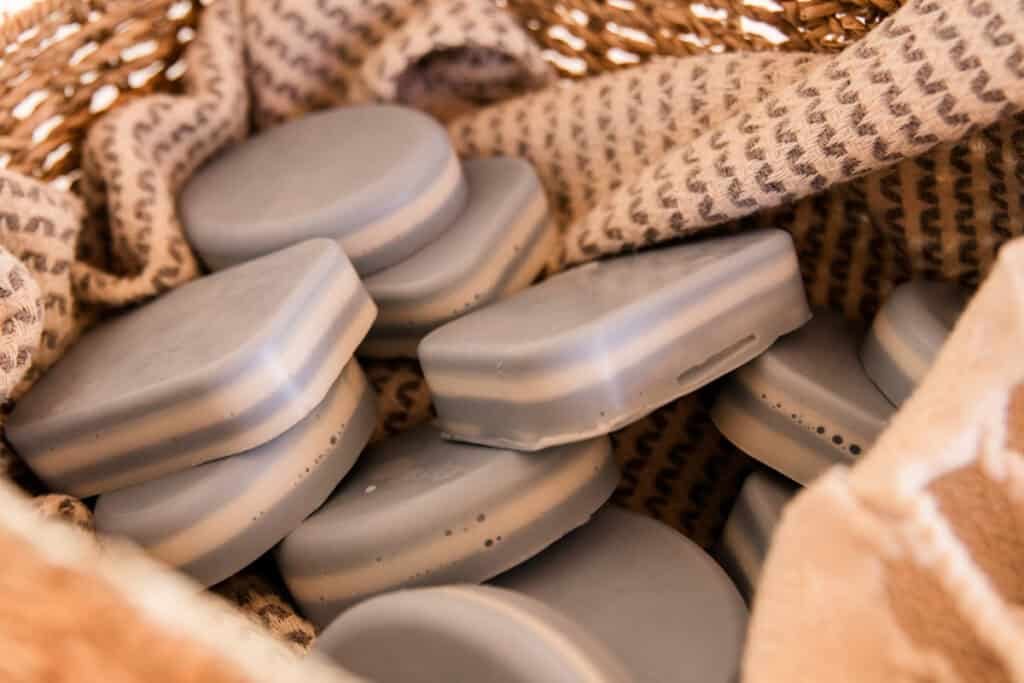
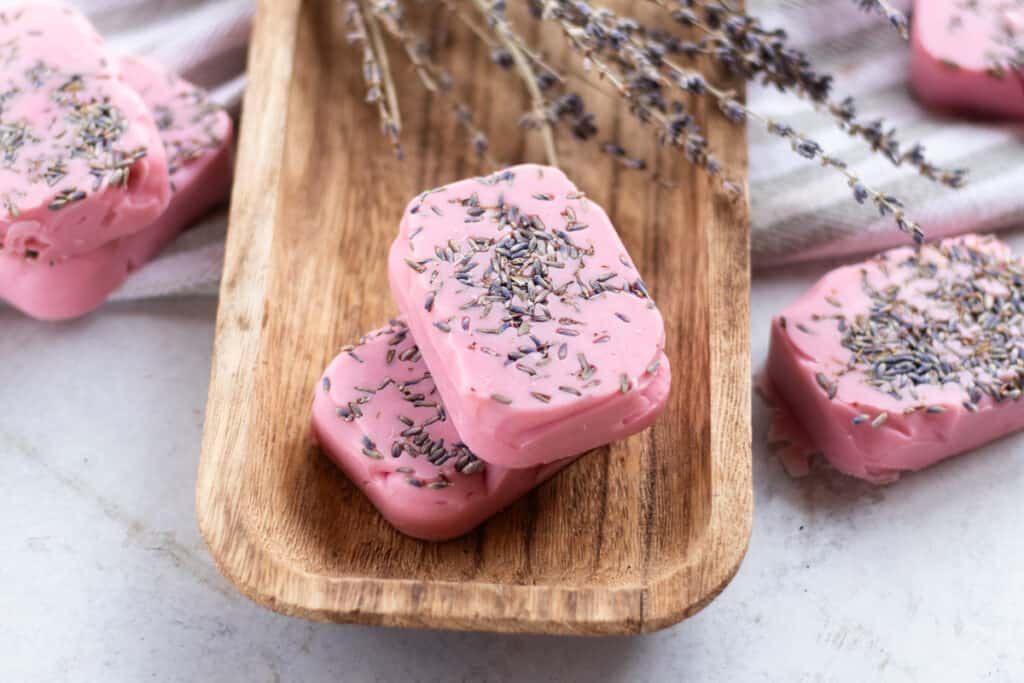
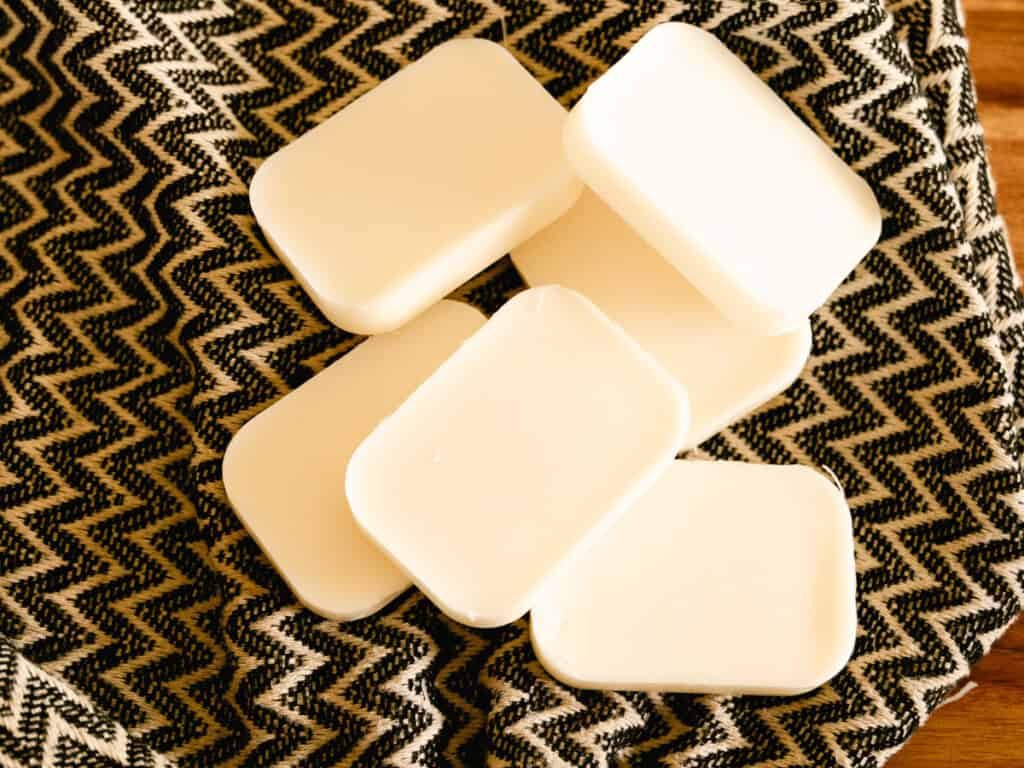
Go bottle-free with these DIY solid conditioner bars! These melt and pour bars are made with just 3 ingredients that nourish and hydrate your hair, leaving it beautifully soft and shiny. Conditioner bars are great for travel, but they’re also a fun, zero-waste product to use whenever you wash your hair.
We remember when we first heard about shampoo and conditioner bars. We couldn’t believe they actually worked.
So we bought a couple to try out, and we was pleasantly surprised! You really can wash and condition your hair without any liquid products.
Of course, that meant we simply HAD to make our own. So our recipes for homemade shampoo bars and homemade conditioner bars were born.
We've used both for years, but when we learned about melt and pour solid conditioner base, we wanted to try an easier, quicker version of conditioner bars. This recipe was just as easy as we'd hoped!
You don’t need much time or expertise to make this new recipe. It’s as easy as melting the base, adding a couple of ingredients, and pouring it into molds!
Now you can have all of the benefits of regular homemade conditioner in a compact, simple-to-use bar.
And you can dip your toes into melt and pour soap making! What’s not to love?
Why You’ll Love It
- Easy to make: we love utilizing pre-made melt and pour bases for beginner-friendly, easy-to-make soap bars! Using a solid conditioner base for this recipe means only 3 ingredientsand a simple “melt and pour” process.
- Zero-waste: Conditioner bars have very little plastic waste, and they’re made with sustainable ingredients. This is as eco-friendly as conditioner gets!
- Travel-friendly: Skip the travel-sized bottles of conditioner that frequently end up spilling in your toiletries bag. Conditioner bars are so easy to toss in your suitcase — no more worrying about messes or TSA!
Materials Needed
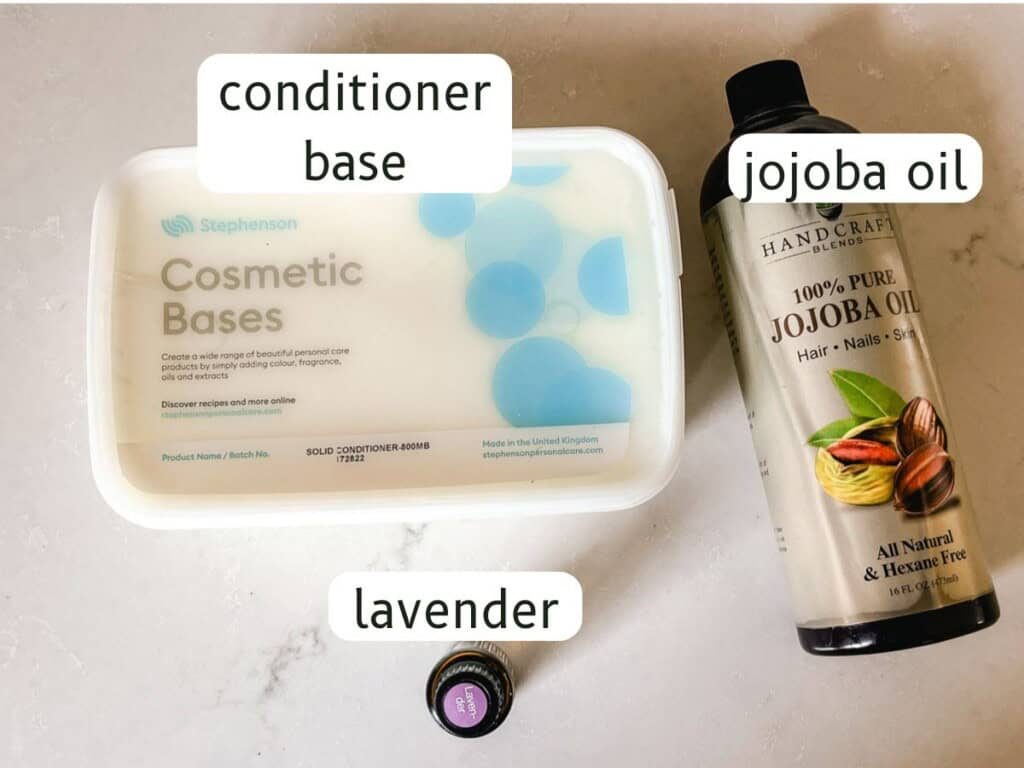
- Conditioner base: We used Stephenson Melt and Pour Solid Conditioner Base. This base allows us to make conditioner bars with minimal ingredients and a very simple process!
- Jojoba oil: Adding oil to the conditioner base makes the bars a little softer for easier application. Feel free to substitute another liquid carrier oil (though jojoba oil is excellent for the hair — learn more about the benefits of jojoba oil).
- Lavender essential oil: Essential oil gives the conditioner bars a lovely natural fragrance.You can use any essential oil you prefer, just ensure it is safe for topical use and doesn’t irritate your skin.
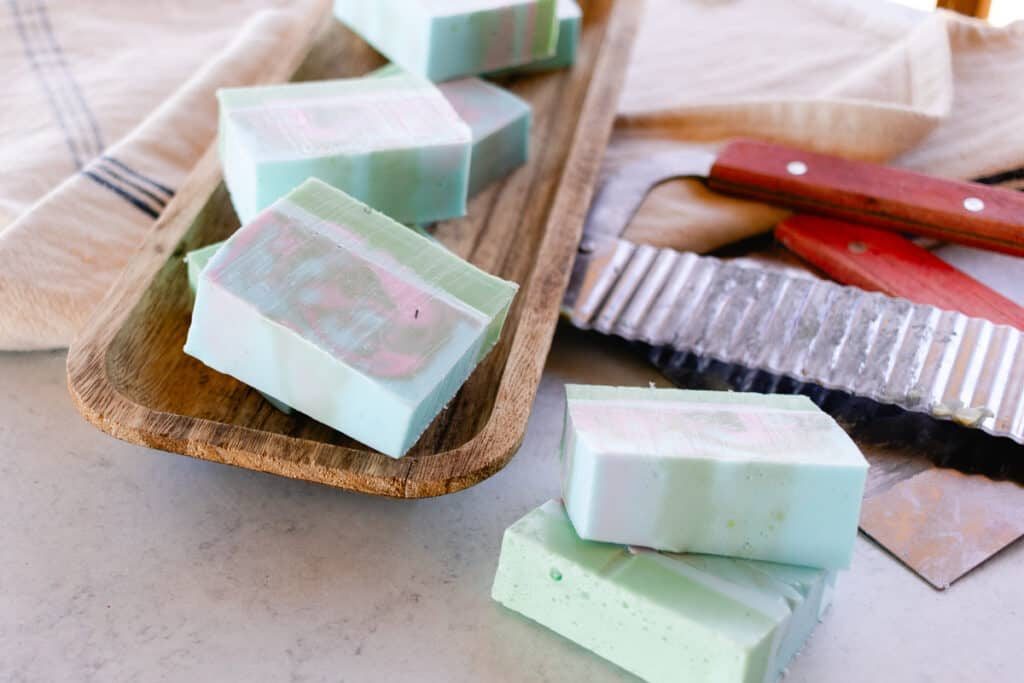
- Silicone molds: You can use any silicone soap molds. We used a classic bar shape, but you can use a fun-shaped mold (like we use for our homemade lard soap) or a loaf soap mold.
Find the full recipe with instructions and measurements at the bottom of this note!
How to Make DIY Solid Conditioner Bars
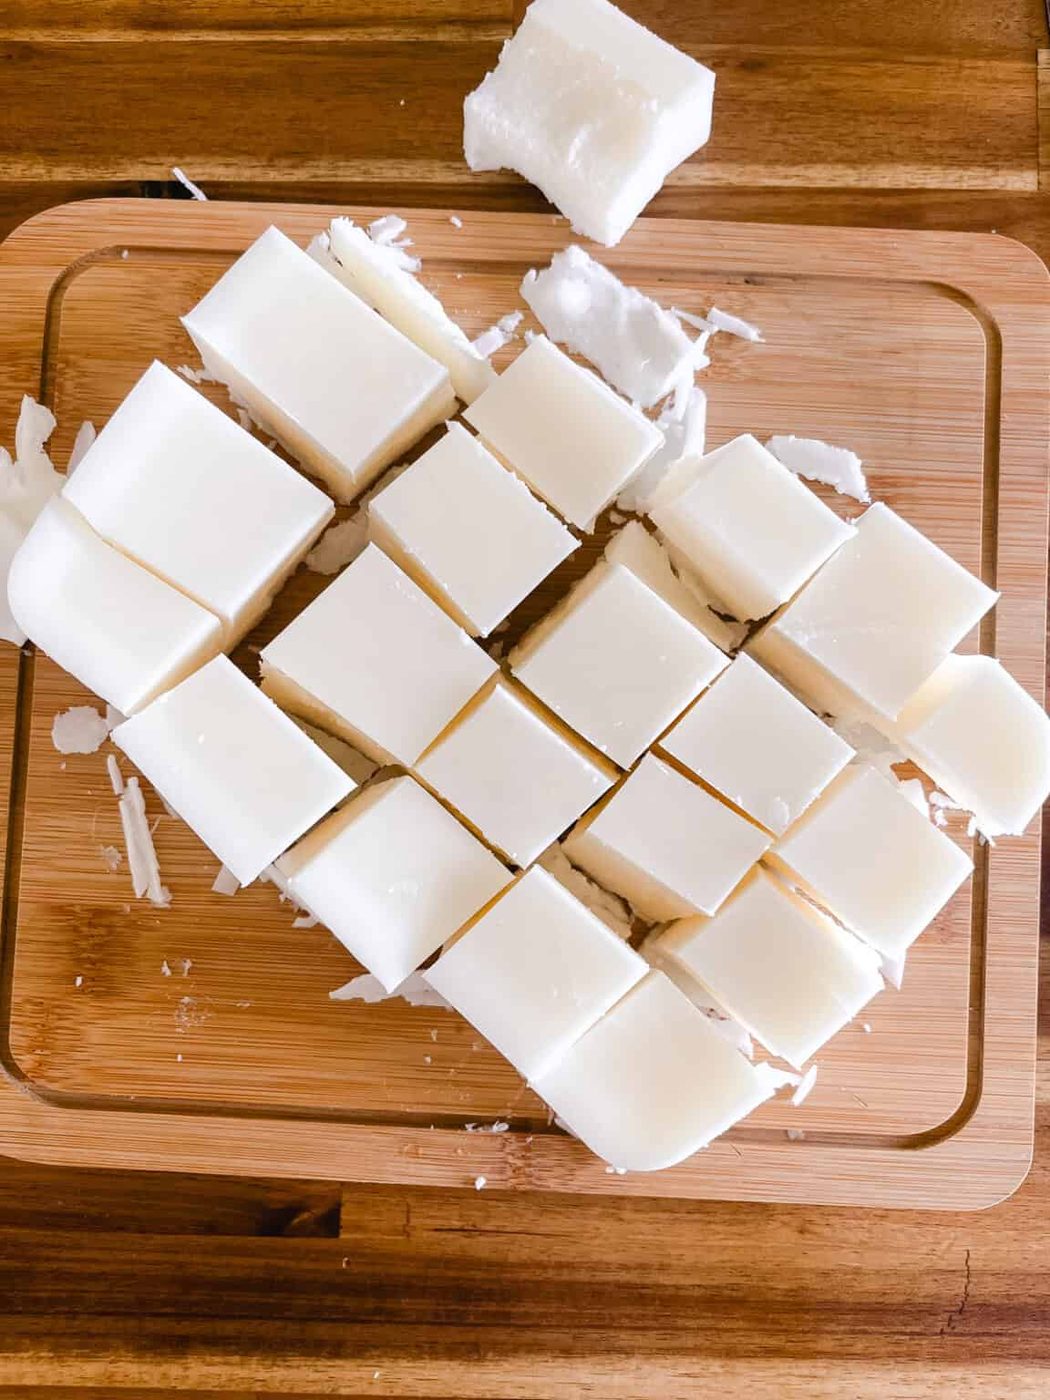
Step 1. Cut the conditioner base into small chunks using a knife or bench scraper — smaller pieces melt more evenly.
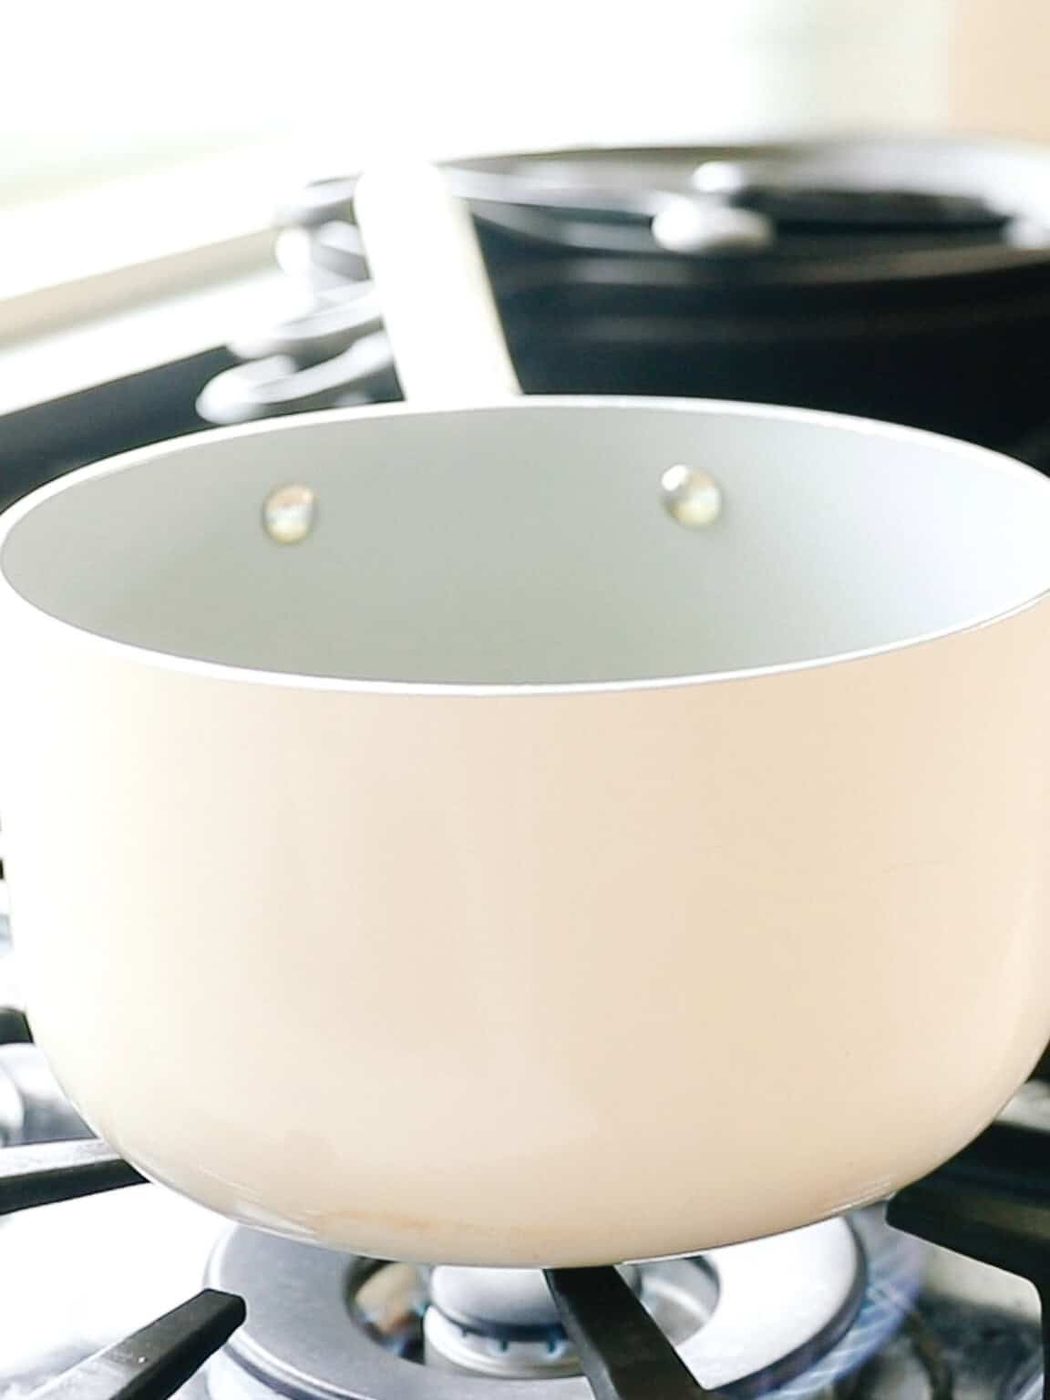
Step 2. Place chunks into a microwave-safe bowl or double boiler. If using a microwave, heat in 30-second intervals, stirring between each, until fully melted. Do not overheat — the base melts above 60°C (140°F).
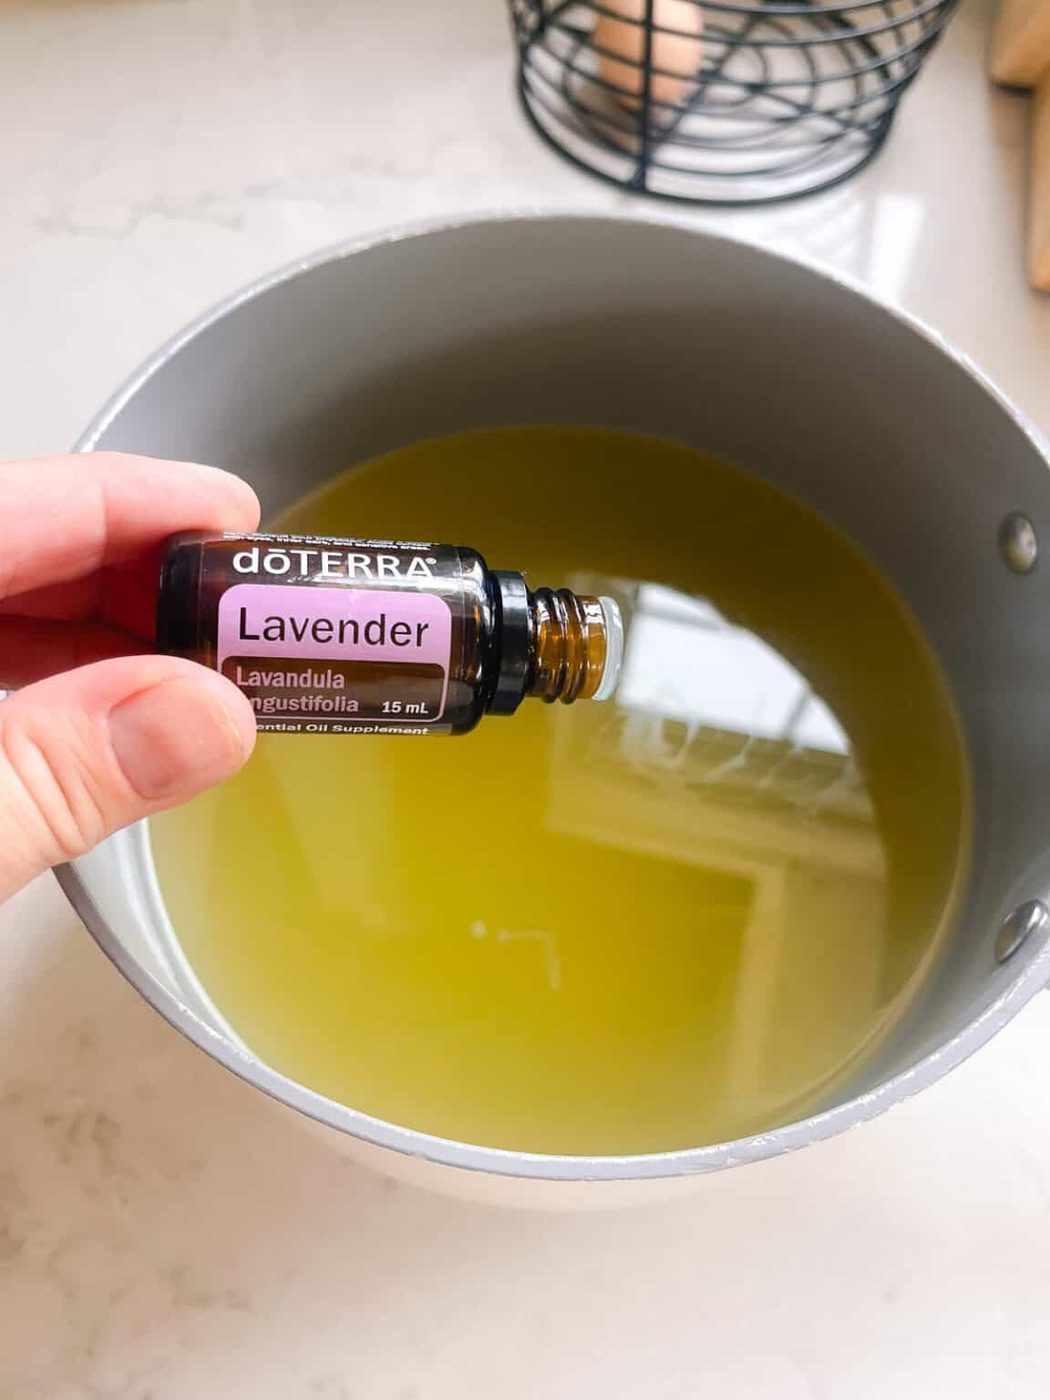
Step 3. Once melted, allow the base to cool slightly before adding your oil and fragrance. Stir gently to combine, being careful not to introduce air bubbles.
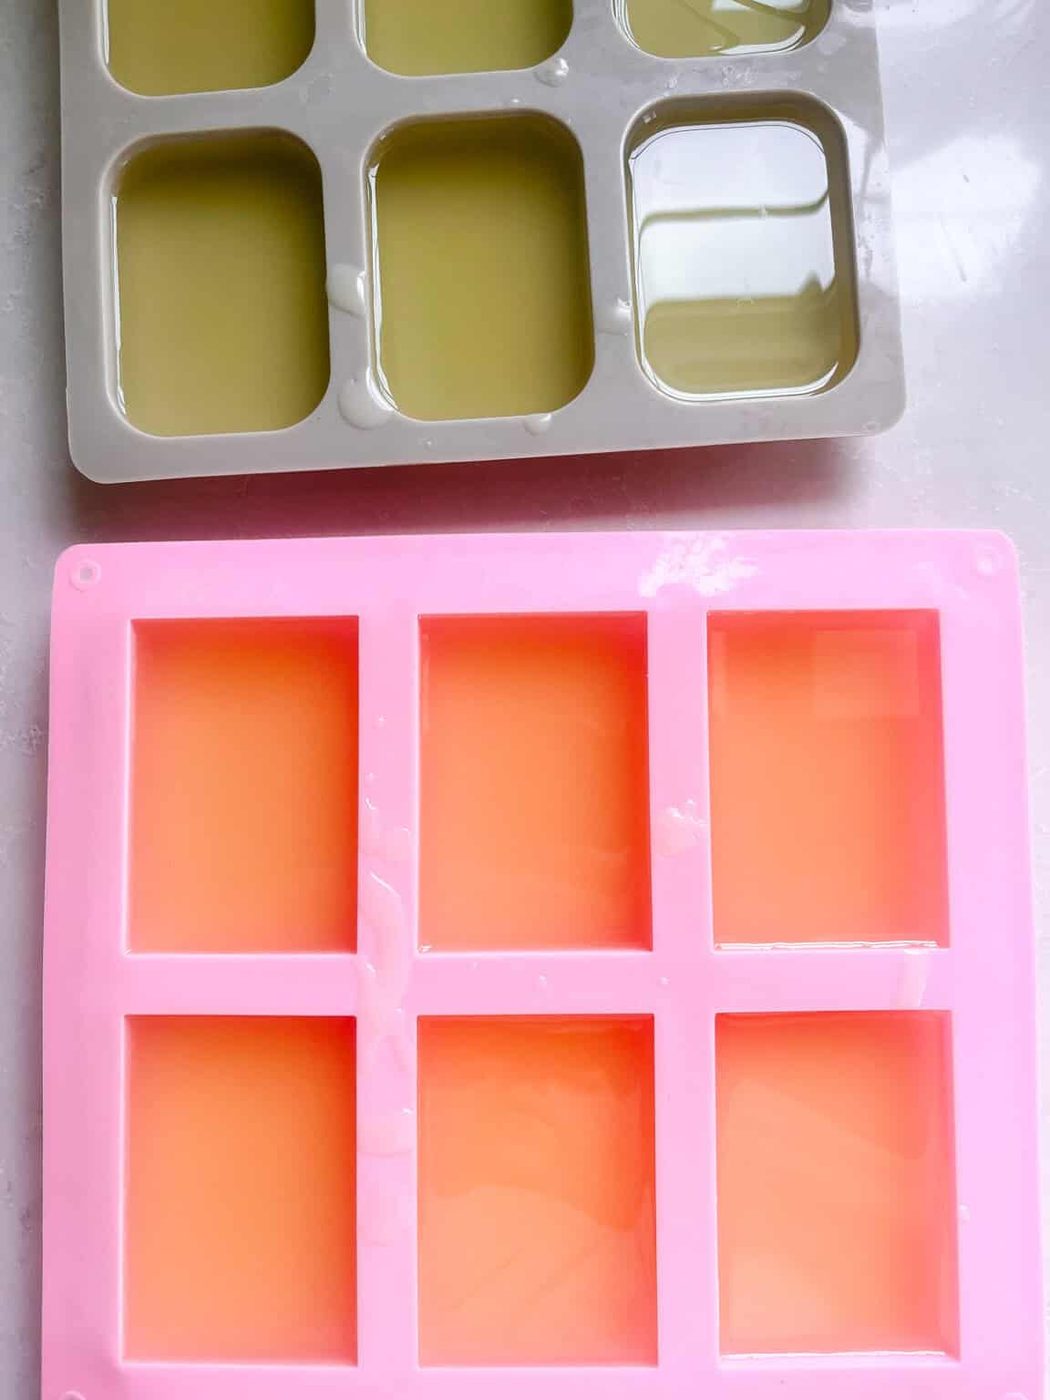
Step 4. Pour into silicone molds between 75–80°C (167–176°F). Allow bars to set at room temperature for a minimum of 24 hours — do not refrigerate.
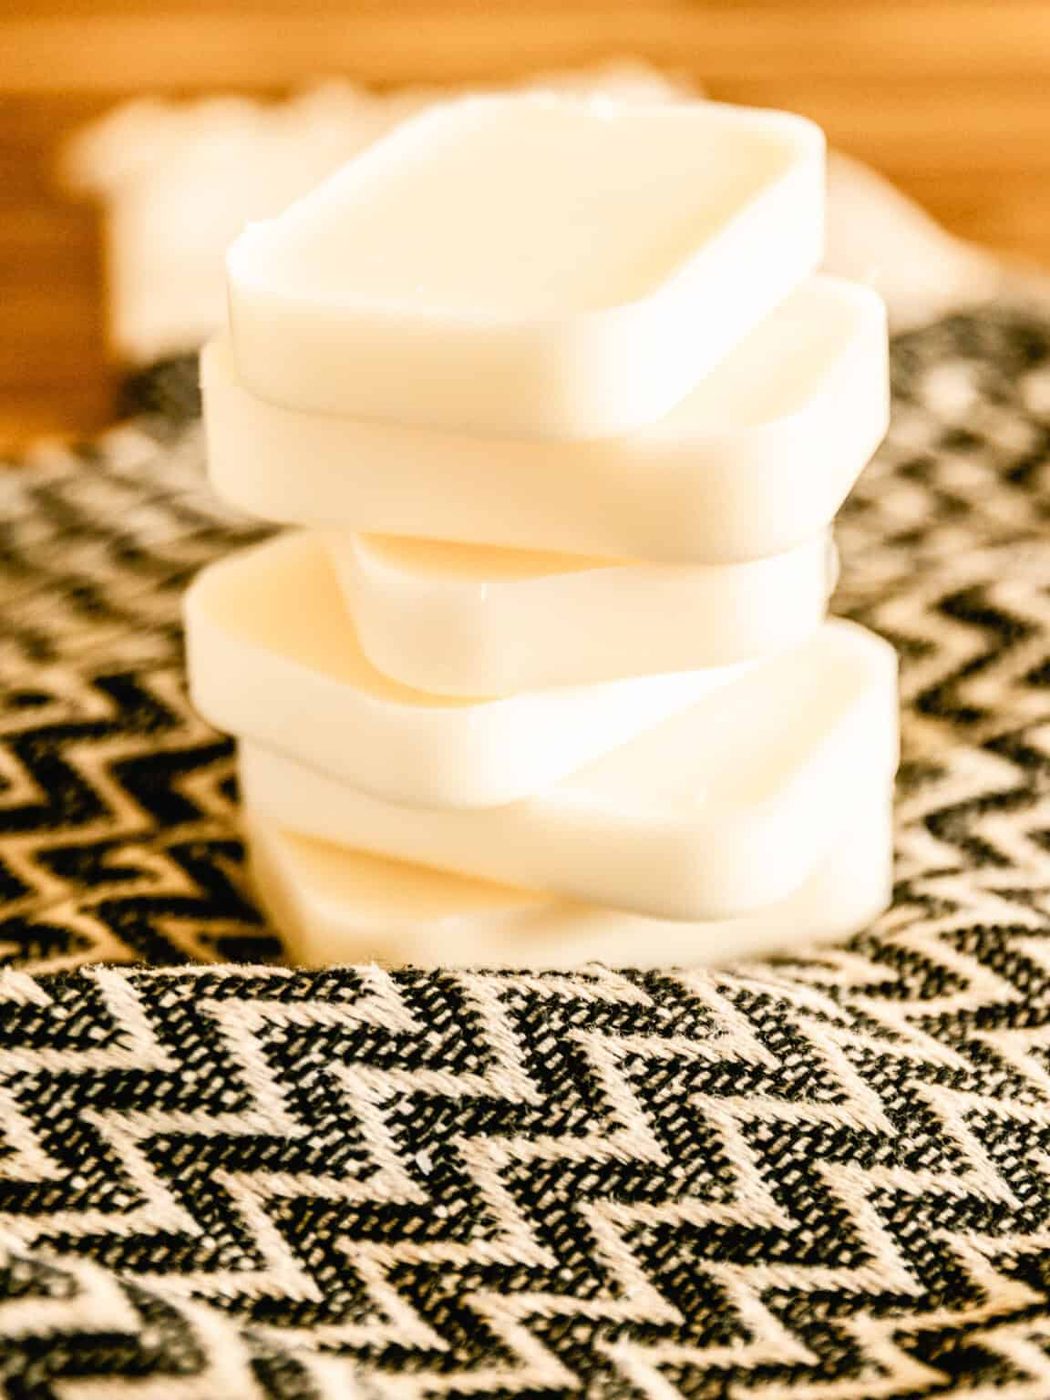
Step 5. Once fully hardened, remove from molds and allow to rest for an additional 1–2 days before use.
How to Use Conditioner Bars
Conditioner bars ultimately work just like a liquid hair conditioner, but without the bottle (and potential spills!).
Using a conditioner bar is very similar to using any soap bar — when it gets wet, it will soften, allowing you to transfer some of the product to your hand or directly to your hair.
If you have thick or curly hair, you can use a wide-tooth comb to help evenly distribute the product and remove tangles. Let it sit for a few minutes, then rinse with warm water. Apply the conditioner to your wet, clean hair, avoiding the roots and scalp.
Expert Tips
- The yield for this recipe depends on the size of your molds. We got 12 bars using regular 3-ounce soap bar molds.
- Store extra bars in an airtight container, away from moisture or direct sunlight.
- These conditioner bars will work for most hair types. If you have extremely dry hair, it’s a good idea to supplement periodically with a DIY protein hair mask and homemade leave-in conditioner.
Recipe FAQs
Where do you get the conditioner bar base?We got it from Bulk Apothecary, where we buy several of the ingredients and containers we use in our DIYs (we talk more about this in our post “The Smarter Way to Save Money on Natural Products“).
Do we have to use a pre-made conditioner base?Definitely not! This recipe is formulated with a pre-made conditioner base to make it super quick and easy to make, but we have a from-scratch DIY conditioner bar recipe on our site, too.
Can we use a different conditioner base?We chose Stephenson melt and pour solid conditioner base because we like the ingredients, and we was happy with how it melted down and worked in our hair. If you have a different one you’d like to try, you absolutely can! Just keep in mind that the texture may be different, as we haven’t tested this recipe with other brands. Yes, you can!
Related Recipes
- Homemade Deep Conditioner Treatment
- DIY Green Tea Hair Rinse
- Homemade Hair Moisturizer Oil
- Hydrating Castor Oil Hair Mask
If you tried this DIY Solid Conditioner Bars recipe or any other tutorial on our website, please leave a 🌟 star rating and let me know how it went in the 📝 comments below. Thanks for visiting!
5 from 2 votesDIY Soid Conditioner Bars
By the studio Ascher Prep: 5 minutes minsActive: 20 minutes minsHardening time: 3 days dTotal: 3 days d 25 minutes mins Yield: 12 3 oz. bars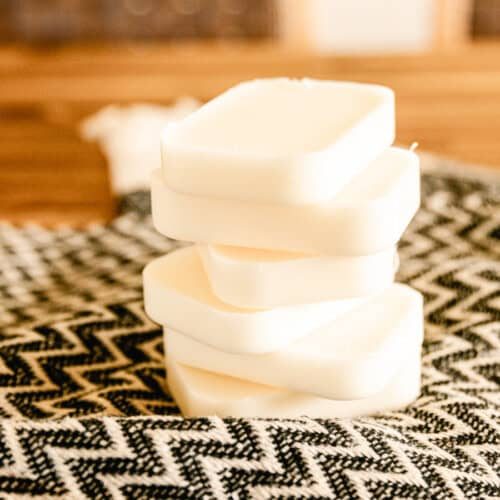 SaveSaved Pin Print Go bottle-free with these DIY solid conditioner bars! They are made with just 3 ingredients that nourish and hydrate your hair, leaving it soft and shiny. Conditioner bars are great for travel, but they're also a fun, zero-waste product to use whenever you wash your hair.
 Equipment
- Microwave-safe bowl or double boiler
- Silicone soap molds
Ingredients
- 454 g (16 oz / 1 lb) Stephenson Melt & Pour Solid Conditioner Base
- 45 g (1.6 oz) jojoba oil or argan oil ), (10% of base weight
- 9 g (0.3 oz) essential oil of choice, (2% of base weight)
Instructions
- Cut the conditioner base into small chunks using a knife or bench scraper — smaller pieces melt more evenly.
- Place chunks into a microwave-safe bowl or double boiler. If using a microwave, heat in 30-second intervals, stirring between each, until fully melted. Do not overheat — the base melts above 60°C (140°F).
- Once melted, allow the base to cool slightly before adding your oil and fragrance. Stir gently to combine, being careful not to introduce air bubbles.
- Pour into silicone molds between 75–80°C (167–176°F).
- Allow bars to set at room temperature for a minimum of 24 hours — do not refrigerate.
- Once fully hardened, remove from molds and allow to rest for an additional 1–2 days before use.
Video
Notes
- The yield for this recipe depends on the size of your molds. We got 12 bars using regular 3-ounce soap bar molds.
- Store extra bars in an airtight container, away from moisture or direct sunlight.
- These conditioner bars will work for most hair types. If you have extremely dry hair, it’s a good idea to supplement periodically with a DIY protein hair mask and homemade leave-in conditioner.