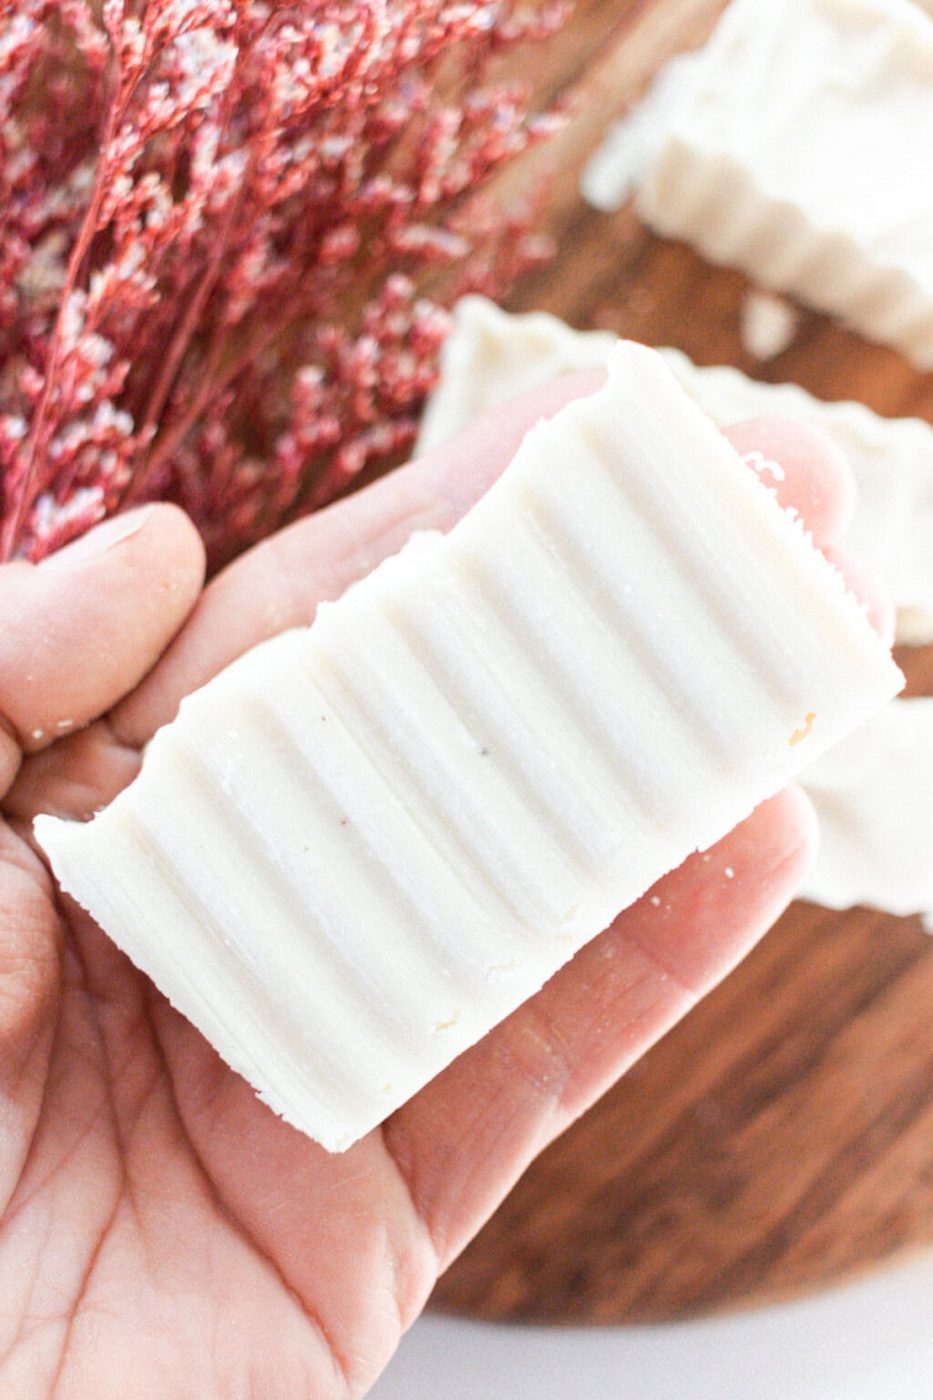
Simple Olive: Oil Soap Recipe
Also filed inBath and BeautySoap Bars
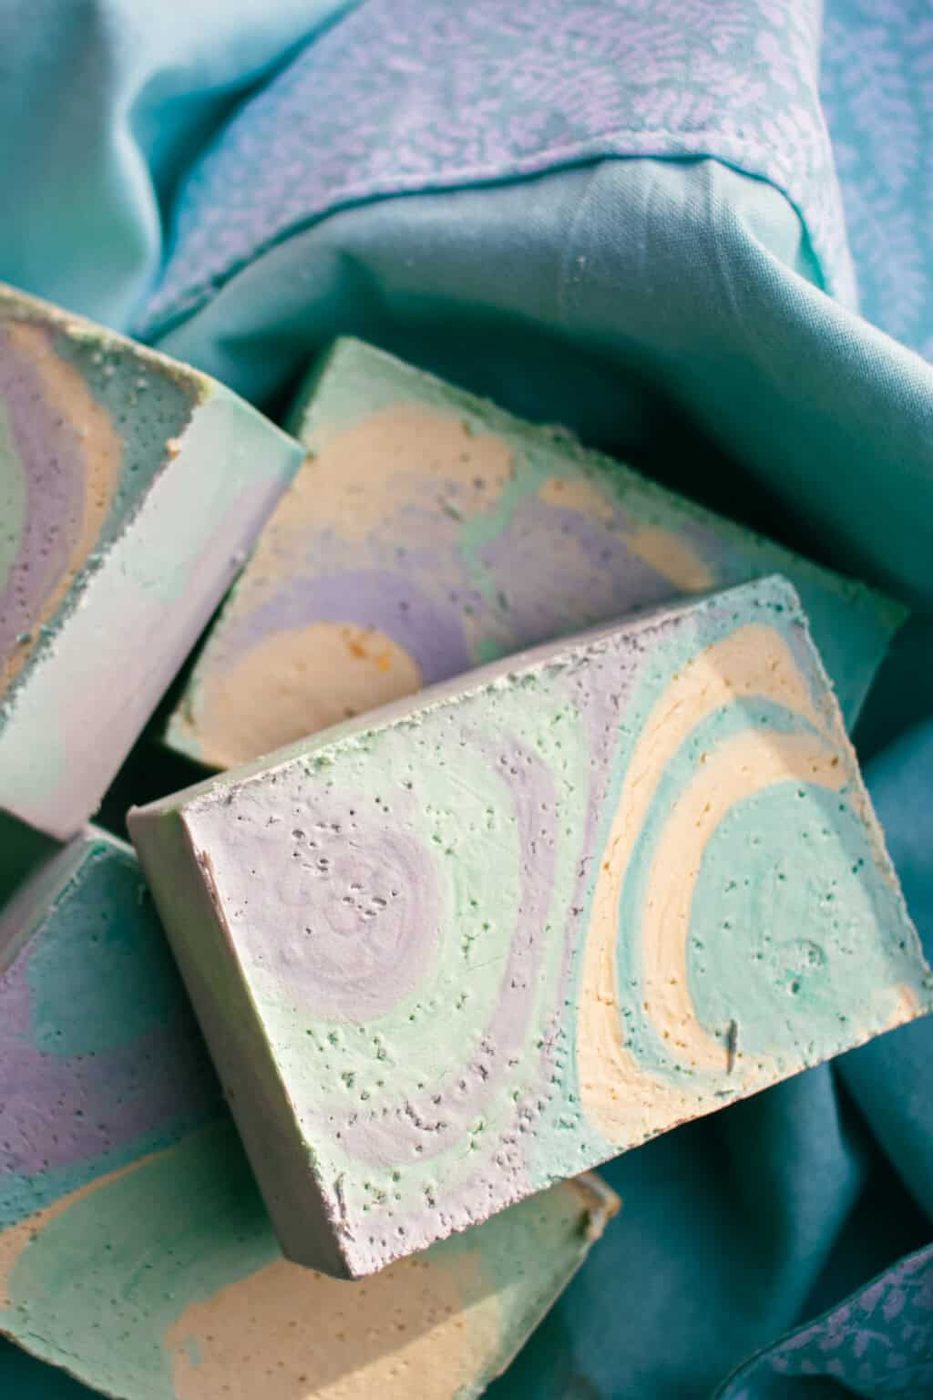
Olive oil soap can be made with just a few simple ingredients and will leave your skin soft, cleansed, and hydrated. This is such a fun tutorial for rainbow swirl soap bars that are surprisingly easy to make!
Making soap is so satisfying and borderline addicting; you can’t say we didn’t warn you! Even after years of creating our own soaps, like our baby soap bar recipe and our homemade tallow soap, we still get excited to try new recipes.
We started off by making melt and pour soap bars and slowly became more adventurous as our confidence built until we was making cold process soap like our chamomile soap recipe.
We have always wanted to try coloring our soap and making those pretty swirl bars you see on Pinterest, but we wasn’t sure how. So we finally decided to try, and it wasn’t nearly as hard as we thought, like most things in life!
Making Olive Oil Soap
To make a multicolor swirl soap bar, you need a soap with a light trace. Trace is a term used in soap making that means the soap has thickened and blended together with the lye, water, and oil to form an emulsion; the lye and oils can no longer separate.
Light trace is basically the same consistency as cake batter. Making soap with olive oil will give you a beautiful soap bar with potential benefits for the skin. Olive oil is the perfect fat to use to get a light trace because of its consistency.
Not so with olive oil, since it is already a liquid. It will take longer to come to trace, though, so if you’ve made cold process soaps before, be patient; it will come to trace. Generally, the fat will need to be melted first when making soap.
Why You’ll Love This Recipe
- Olive oil soap is usually referred to as castile soap, which is a very popular option for natural and plant-based soaps. For good reason! If you’ve ever wanted to make your own homemade castile soap, now you can.
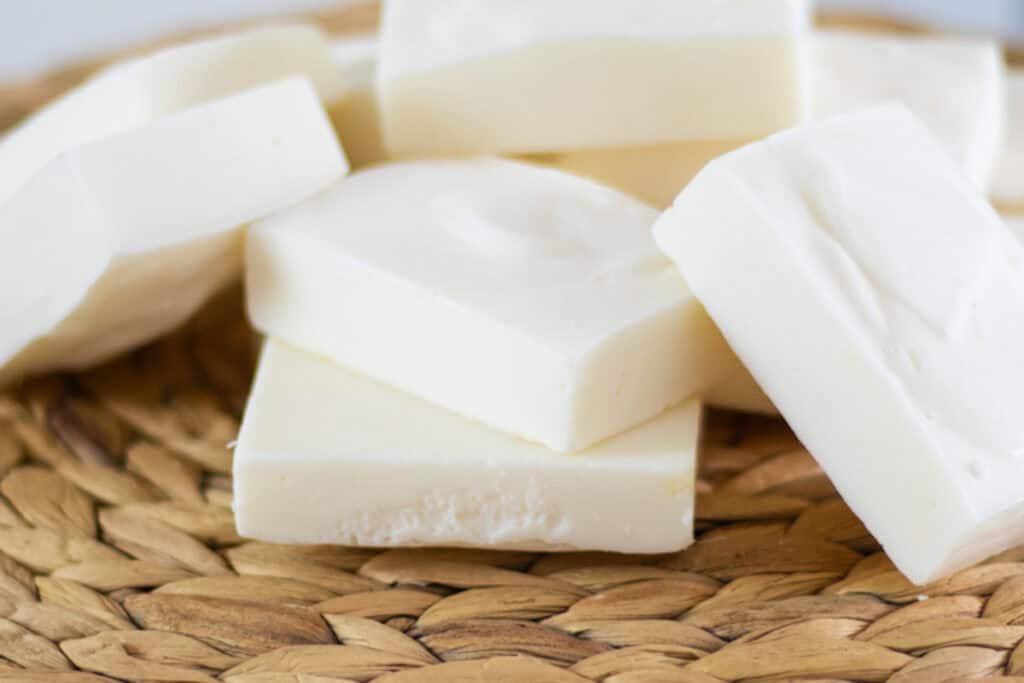
- This soap is a relatively hard bar with a nice lather. That means it lasts longer while still giving you those beautiful suds!
- The olive oil in this soap bar will nourish and hydrate your skin as you cleanse with the soap!
- We made a pretty swirled melt and pour soap with our coconut oil melt and pour soap recipe, and we just adored it. Somehow, we love these bars even more! The swirled color pattern creates a lovely soap bar that is really quite impressive.
What You’ll Need
Soap Making Equipment
- Digital scale: This is absolutely necessary to maintain precision in your soapmaking.
- Immersion blender: To blend the soap until it reaches trace. Don’t use the same immersion blender for food; you’ll need all separate tools.
- Kitchen thermometer: Again, have a separate thermometer for soapmaking.
- Soap molds: we strongly prefer silicone soap molds, but any material will work. You can use regular bar molds or choose a fun shape, as we do in our homemade lard soap recipe.
- Funnel pitchers: For making the swirled color pattern.
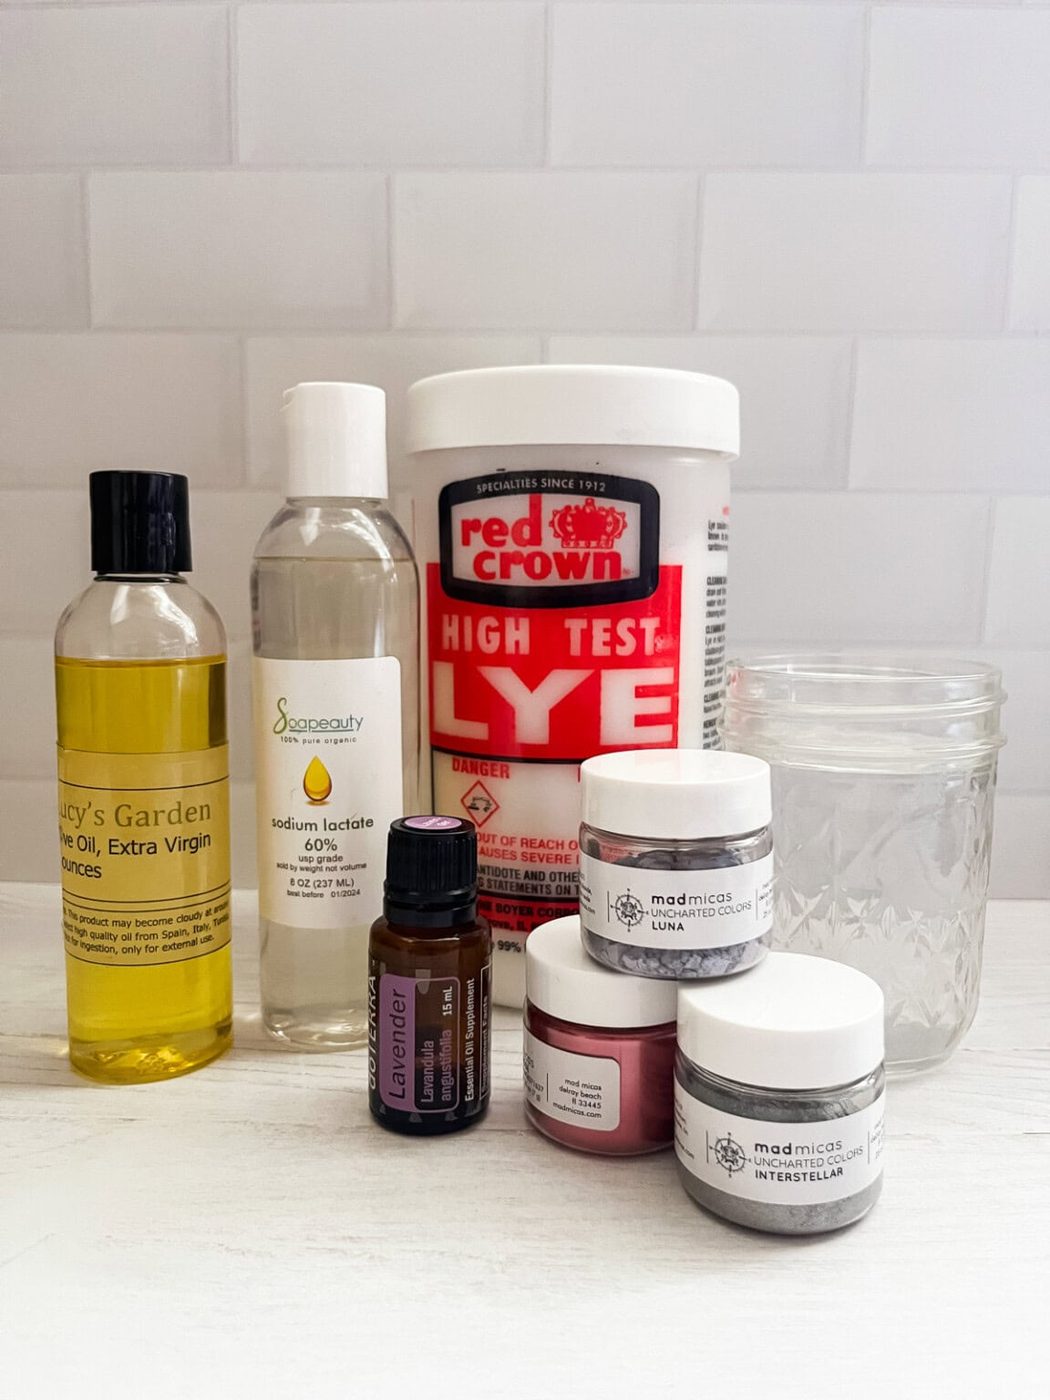
Olive Oil Soap Ingredients
- Water
- Lye: A necessary part of soapmaking, though it can be dangerous if not handled properly. Read the safety notes and instructions thoroughly before working with lye.
- Olive oil: Use 100% extra virgin olive oil for best results.
- Sodium lactate: The addition of sodium lactate helps soap bars harden faster, achieve a firmer bar, and improves their longevity.
- Mica powder: This is what we’ll use as a natural colorant. Always make sure that you are sourcing ethical mica powder, such as that sold by Mad Micas.
- Essential oils: For natural fragrance. Feel free to use your favorite essential oil blend, or stick with a tried and true oil like lavender.
How to Make Cold-Process Soap with Olive Oil
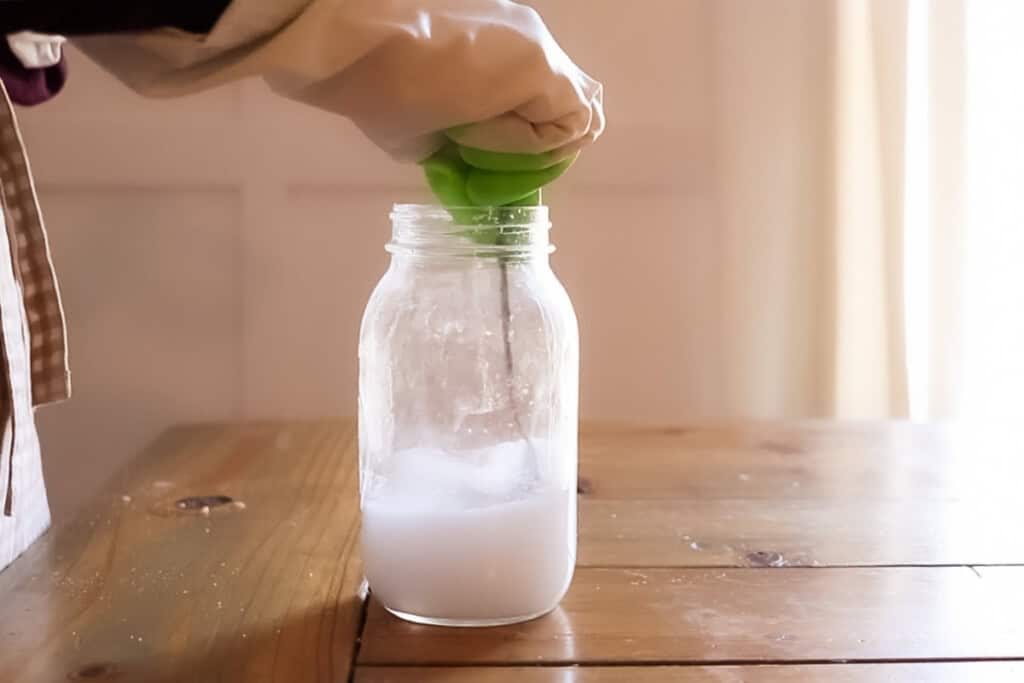
Step 1. Using a digital scale, measure out your water and pour it into a heat-resistant glass or container.
Step 2. Measure out the lye and add it to the water. Stir the lye until it dissolves. Note, the chemical reaction will cause it to heat up quickly. Set aside to cool.
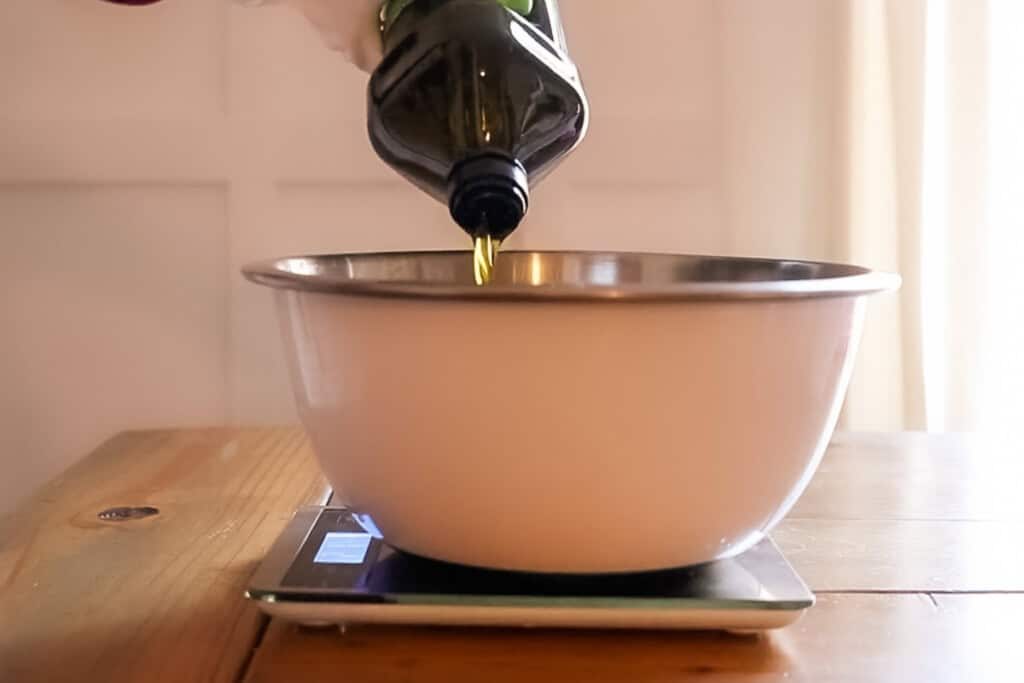
Step 3. Measure out the olive oil and pour it into a large mixing bowl.
Step 4. Add in one teaspoon of sodium lactate per pound of oil; for this recipe, we am using 32 ounces of oil and 2 teaspoons of sodium lactate.
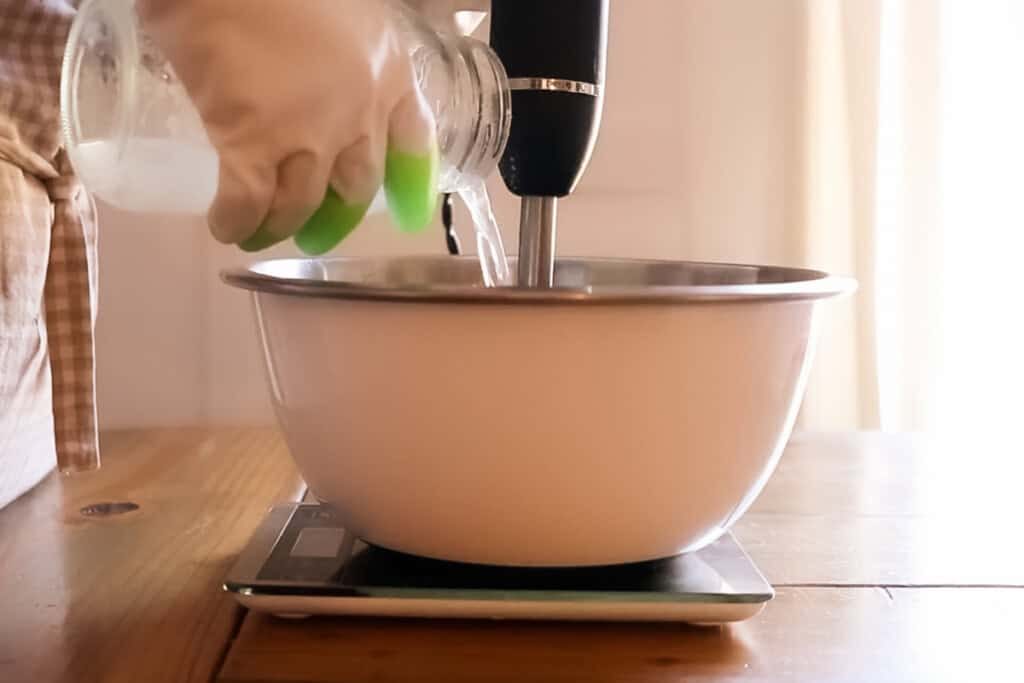
Step 5. Once the lye water has cooled back down to around 120-130°F, slowly add it into the mixing bowl a little at a time with the olive oil.
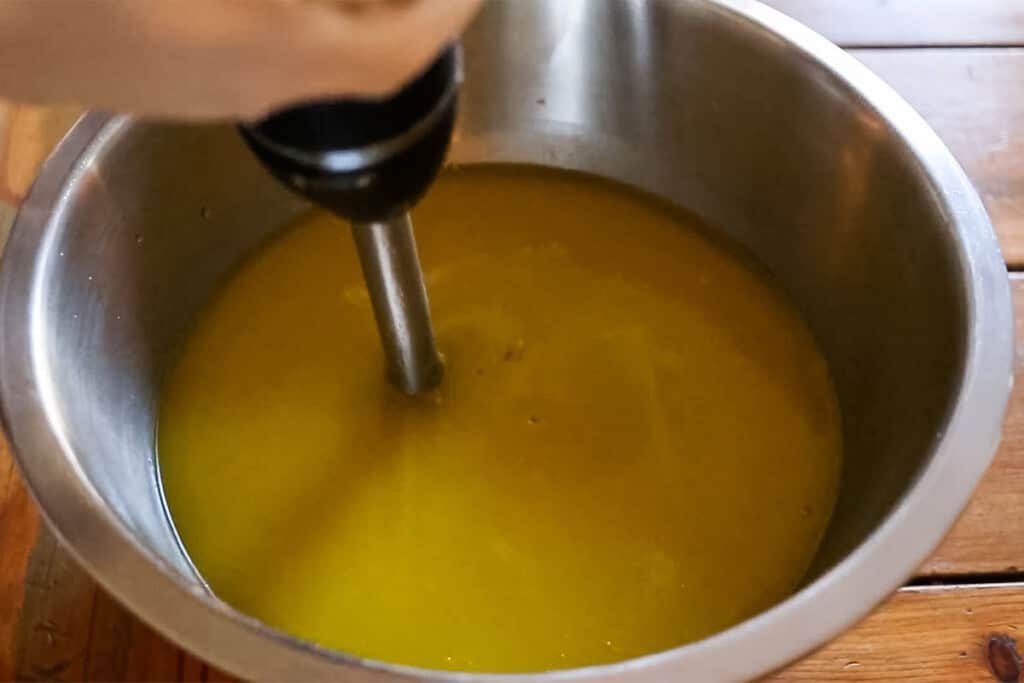
Step 6. Place the immersion blender in the middle of the bowl at the base. Pulse for several seconds, then give it a quick stir with the blender switched off. Repeat until you have a THIN TRACE.
If you are using essential oils to scent the soap bars, add those in now.
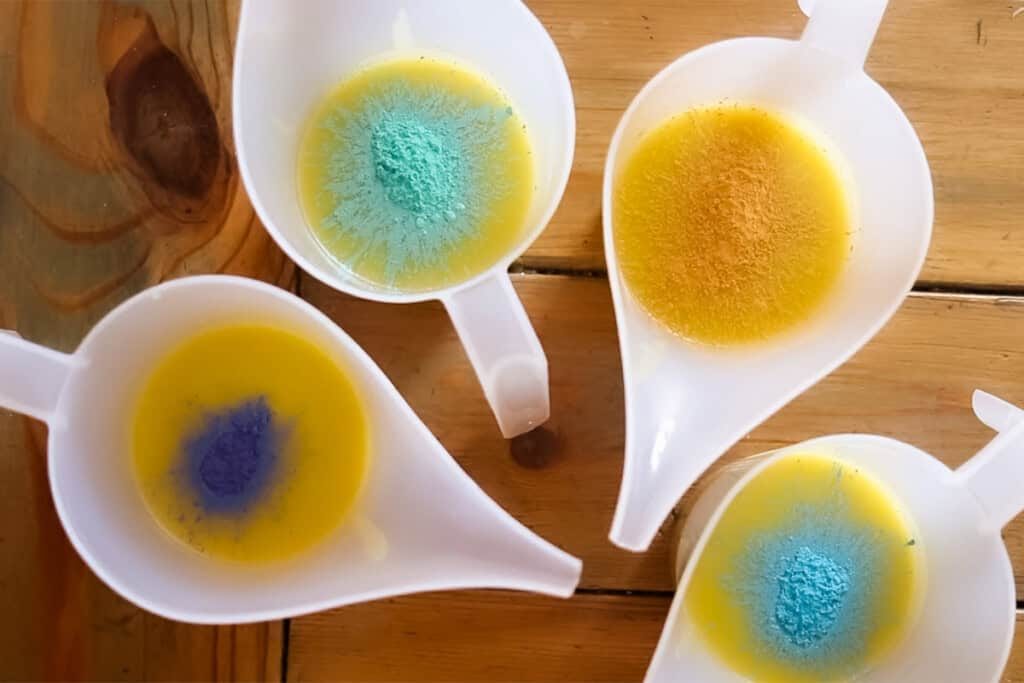
Step 7. If using multiple colors, pour the soap into separate funnel pitcher mixing containers and add the color. Stir until the desired color is reached.
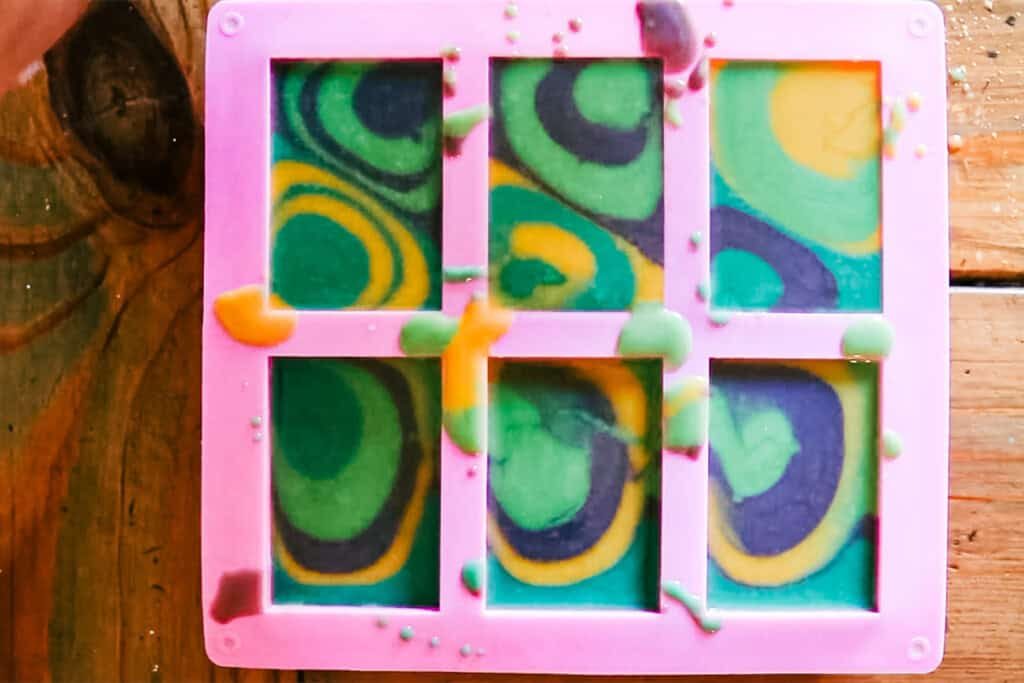
Step 8. Now, to achieve the swirl effect, start at opposite corners of the mold, slowly pour the soap into the mold until it’s about 1/4 of the way across.
Then, pour the next colors at the same corners until it pushes the soap another 1/4 of the way across. Repeat until the mold is filled.
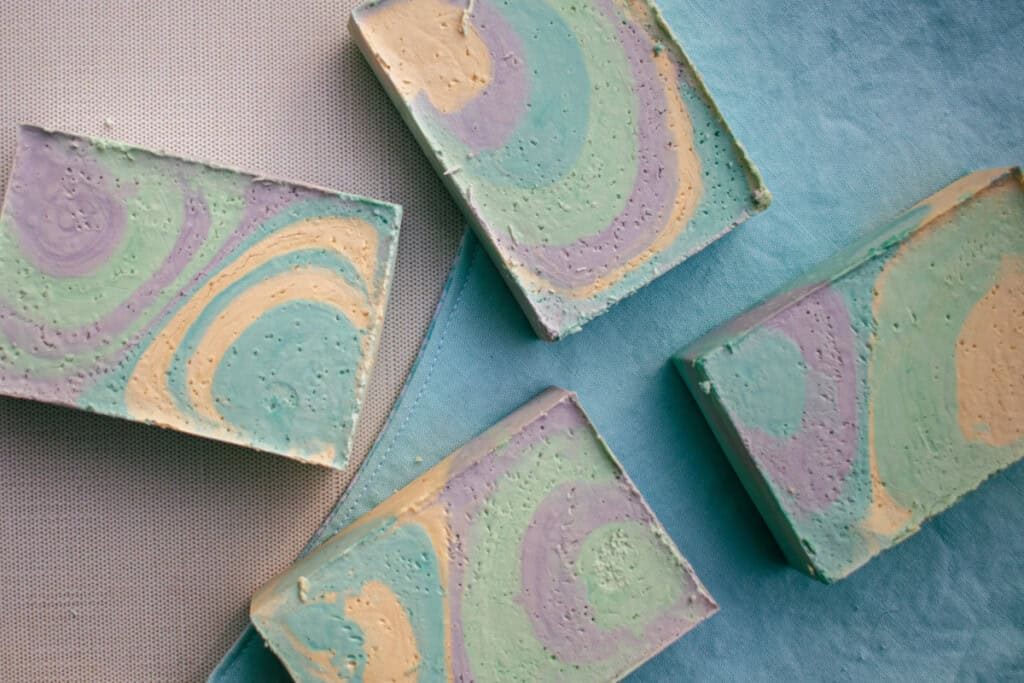
Step 9. Allow the soap to harden and sit in the molds for at least 48 hours or up to 3 days.
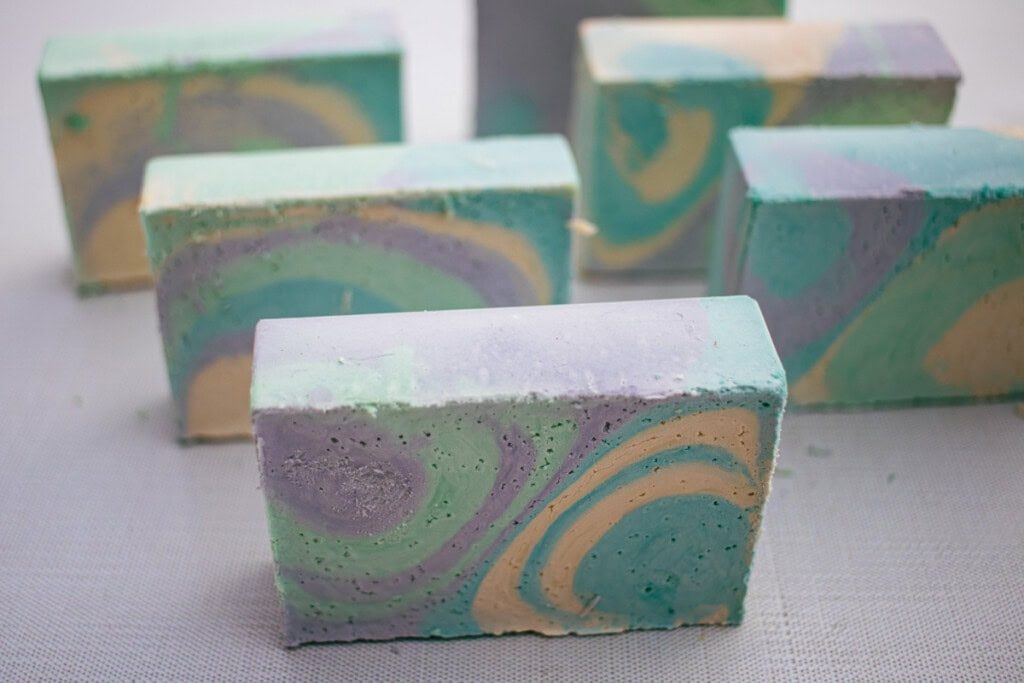
Step 10. Remove the soap from the molds and allow them to cure for 3 months before using.
Tips
- If you aren’t using silicone soap molds, you’ll need to prep the molds before pouring the soap in. Prep them by lining the mold with parchment paper.
- If you use a loaf soap mold that requires cutting, you’ll do that after the first cure in Step 9.
- Don’t skip the cure time! We know it’s tempting to use your soap early, but it’s important to let it completely cure. The water in the soap evaporates during that time, so the soap is harder, longer-lasting, and has a better lather.
- The yield on this recipe may vary slightly, depending on the size of your soap molds.
Making Soap with Lye
Just like all soap recipes, you will need to use lye and water to make this soap bar. Lye is the ingredient that scares most people away from making soap.
However, all soap requires lye; even if it is melt and pour, lye is in the soap. Mixing the lye water with the oil is what makes soap, soap. Melt and pour soap bases, like we use in our homemade goat milk soap, have already done this step for you.
By following a couple of safety guidelines, lye can be used without causing any harm.
Safety Guidelines
- Always wear protective eye gear and long gloves. This will ensure that lye will not get into your eyes or on your skin.
- Use heat-resistant containers when mixing the lye and water, as the chemical reaction will cause it to heat up quickly.
- When mixing lye, do it in a well-ventilated room or outside.
- Don’t work with lye if children or pets are around.
- Store lye in a child-safe container high out of reach.
- Dishes used to make soap should not be used for food. Keep a separate jar, bowl, and immersion blender on hand for soapmaking.
- Follow the instructions to a T and don’t make any changes to the recipe without recalculating in a soap calculator.
Best Olive Oil for Soap Making
Often, when we add olive oil to a skincare recipe, we have readers asking me if they can use the same olive oil that they use in the kitchen for cooking. The answer is yes!
With that being said, we must be aware that not all olive oil is the same. Whether you are using olive oil to make spaghetti or to make soap, there are a few things you should know.
This is the olive oil we prefer to use when making soap to get the most benefits for our skin. Extra virgin olive oil means it is the oil from the first pressing of olives. It means no heat or chemicals were used to get the oil out of the olives.
Pure olive oil only contains about 10% of virgin olive oil. Light olive oil is the lowest grade of olive oil you can purchase, and doesn’t mean it is light in calories or fat; rather, it is light on the olive taste.l
Scenting Soap Bars
Soap bars can be scented with essential oils, fragrances, or even spices, as we do in these homemade turmeric bars.
Today, we will be using essential oils for scenting soap bars.
Some of our favorite essential oils to use in soap belong to the floral and citrus categories. Including, but not limited to lavender, geranium, and roman chamomile, all of which are very soothing essential oils that are gentle on the skin.
Citrus oils, such as orange, lemon, and lime, will give off a fresh, clean scent that is fun and energizing. Other popular oils include forest oils such as Siberian fir, sandalwood, or cedarwood.
You can use minimal oils as we do in our homemade coconut oil soap bars, or use several to make your own customized blend as we do in our coconut milk soap recipe. The possibilities are endless, and this is definitely the best part of making your own soap.
Soap Making Formula
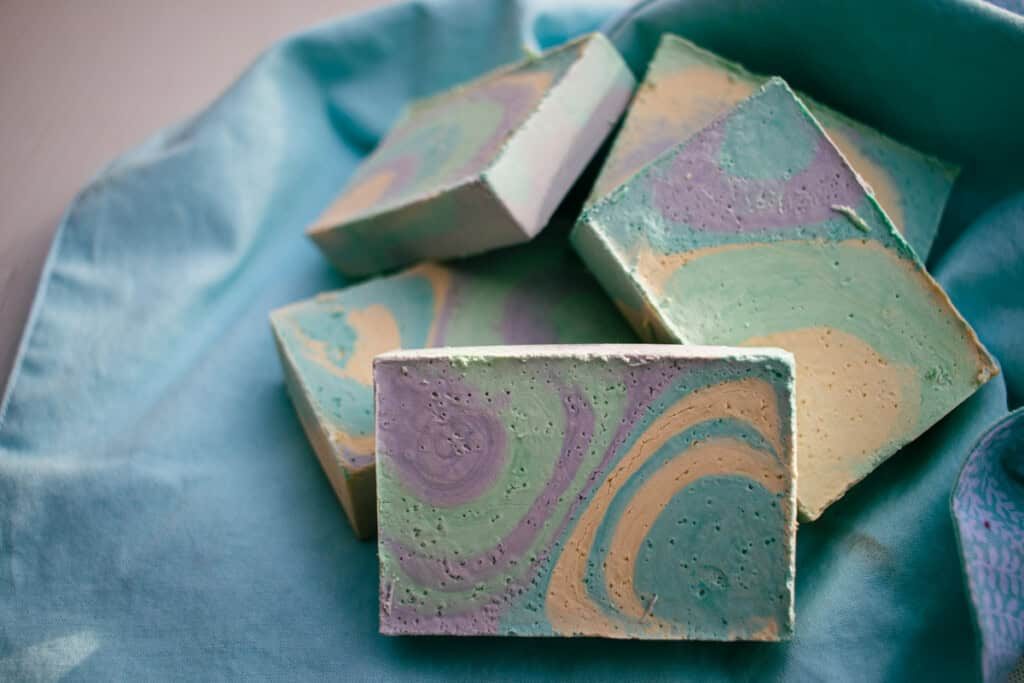
Once you start making soap, you will notice there is a specific formula to use to make your bars turn out. For this olive oil soap, we are using 15% less water than what we usually do to make it come to trace faster, because olive oil takes a while to come to trace.
Because of this, the water and lye will heat up hotter than normal, so be sure to allow it to cool back down to 130 degrees before mixing it with the olive oil.
In most cases, you want soap to contain 5% superfat, which means 5% of the oil is not turned into soap.
Soap Calculator
The measurements that you use to make soap need to be precise; we use a soap calculator to figure out our exact measurements. If you want to adjust this recipe at all, you will need to use the calculator to get the proper amounts.
More Homemade Soap Recipes
- Honey Oatmeal Soap Recipe
- Hot Process Aloe Bars
- Clear Glycerin Soap Bars
- Whipped Soap Recipe
- Homemade Conditioner Bars
- Cold Process Shampoo Bars
- Shaving Soap Bar Recipe
If you made this Simple Olive Oil Soap tutorial or any other tutorial on our website, please leave a 🌟 star rating and let me know how it went in the 📝 comments below. Thanks for visiting!
5 from 11 votesSimple Olive Oil Soap Recipe
By the studio Ascher Prep: 10 minutes minsActive: 1 hour hrAdditional Time: 2 days dTotal: 2 days d 1 hour hr 10 minutes mins Yield: 10 bars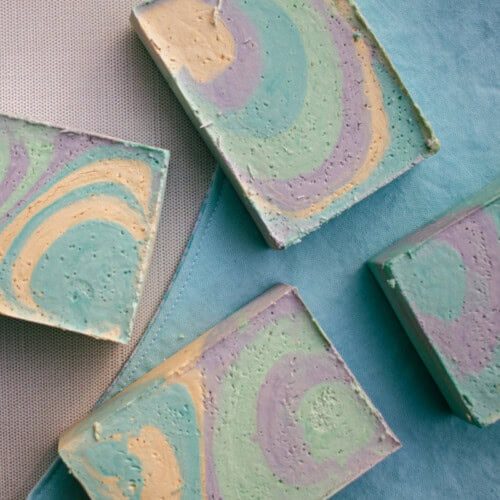 SaveSaved Pin Print Beautiful decorative olive oil swirl soap bars. These bars are fun to make, look great and make fantastic gifts!
 Equipment
- immersion blender
- Mixing bowl
- Safety goggles
- Rubber Gloves
- digital scale
- Kitchen thermometer
- soap molds We prefer silicone
Ingredients
- 7.91 ounces water
- 4.16 ounces lye
- 32 ounces extra virgin olive oil
- 2 teaspoons sodium lactate
- 15-20 drops of lavender essential oil, optional
- Mica powder for coloring, optional
Instructions
- Using a digital scale, measure out your water and pour it into a heat-resistant glass or container.
- Measure out the lye and add it to the water. Stir the lye until it dissolves. Note, the chemical reaction will cause it to heat up rapidly. Set aside.
- Add olive oil and sodium lactate to a large mixing bowl.
- When the lye water has cooled to 120-130°F, add a little bit of it at a time to the oil in the mixing bowl.
- Place the immersion blender in the middle of the bowl at the base. Pulse for several seconds, then give it a quick swirl with the blender switched off. Repeat until it comes to a thin trace.
- If using essential oils, add those in now, stir well.
- To mix multiple colors, separate the soap into the mixing containers. Then, add the coloring, 1 tsp at a time, until you get your desired color.
- Start at opposite corners of the mold, slowly pour the soap into the mold until it spreads about 1/4 of the way across. Then at the same corner, pour the next set of colors until it pushes the soap another 1/4 of the way across. Repeat until the mold is filled.
- Allow the soap to harden and sit in the molds for at least 48 hours or up to 3 days.
- Remove the soap from the molds and allow it to cure for 3 months before using.
Notes
Notes- If you use a loaf soap mold that requires cutting, you’ll do that after the first cure in Step 9.
- Don’t skip the cure time! We know it’s tempting to use your soap early, but it’s important to let it completely cure. The water in the soap evaporates during that time, so the soap is harder, longer-lasting, and has a better lather.
- The yield on this recipe may vary slightly, depending on the size of your soap molds.
- Always wear protective eye gear and long gloves. This will ensure that lye will not get into your eyes or on your skin.
- Use heat-resistant containers when mixing the lye and water, as the chemical reaction will cause it to heat up quickly.
- When mixing lye, do it in a well-ventilated room or outside.
- Don’t work with lye if children or pets are around.
- Store lye in a child-safe container high out of reach.
- Dishes used to make soap should not be used for food. Keep a separate jar, bowl, and immersion blender on hand for soapmaking.
- Follow the instructions to a T and don’t make any changes to the recipe without recalculating in a soap calculator.