Moisturizing Cold: Process Soap Recipe
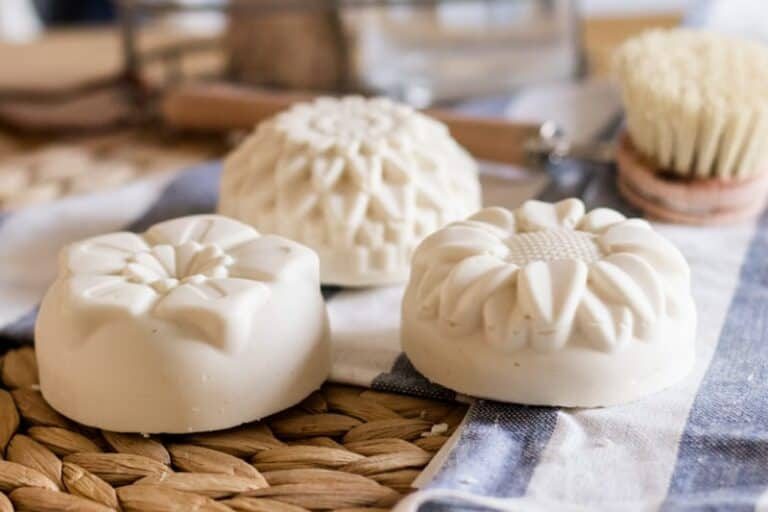
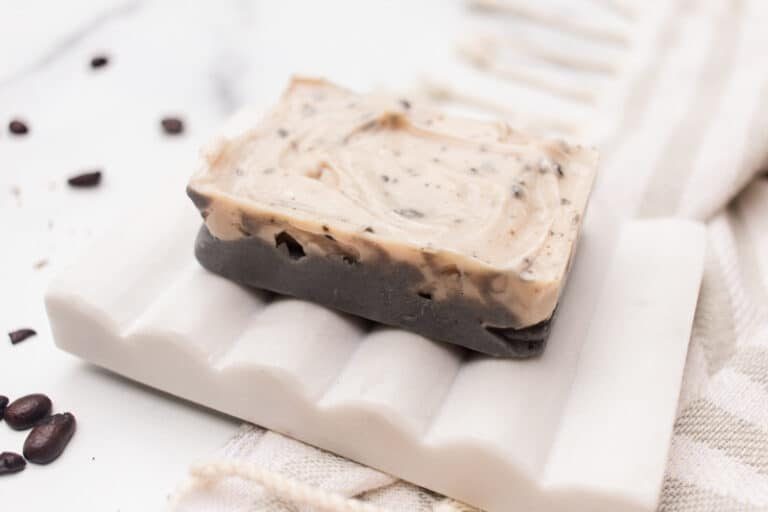
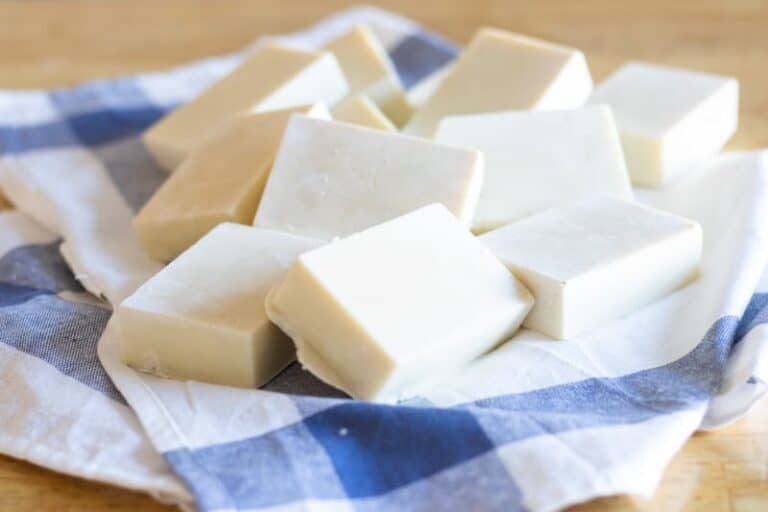
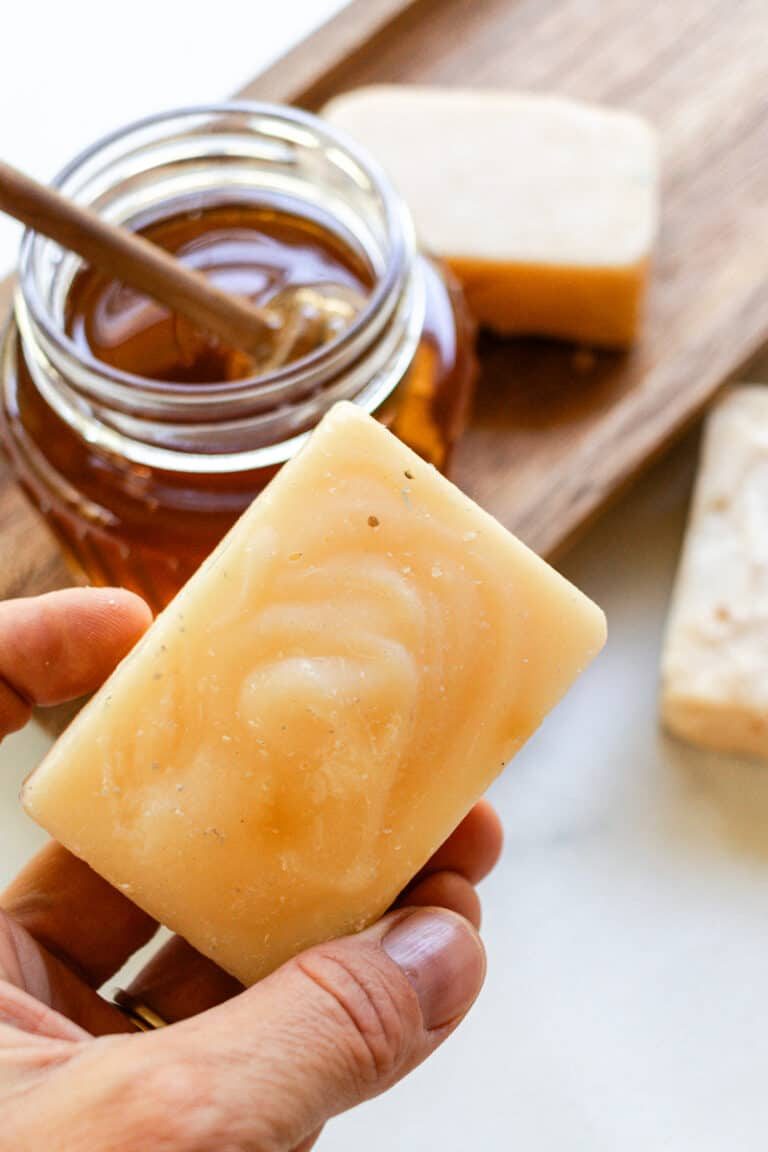
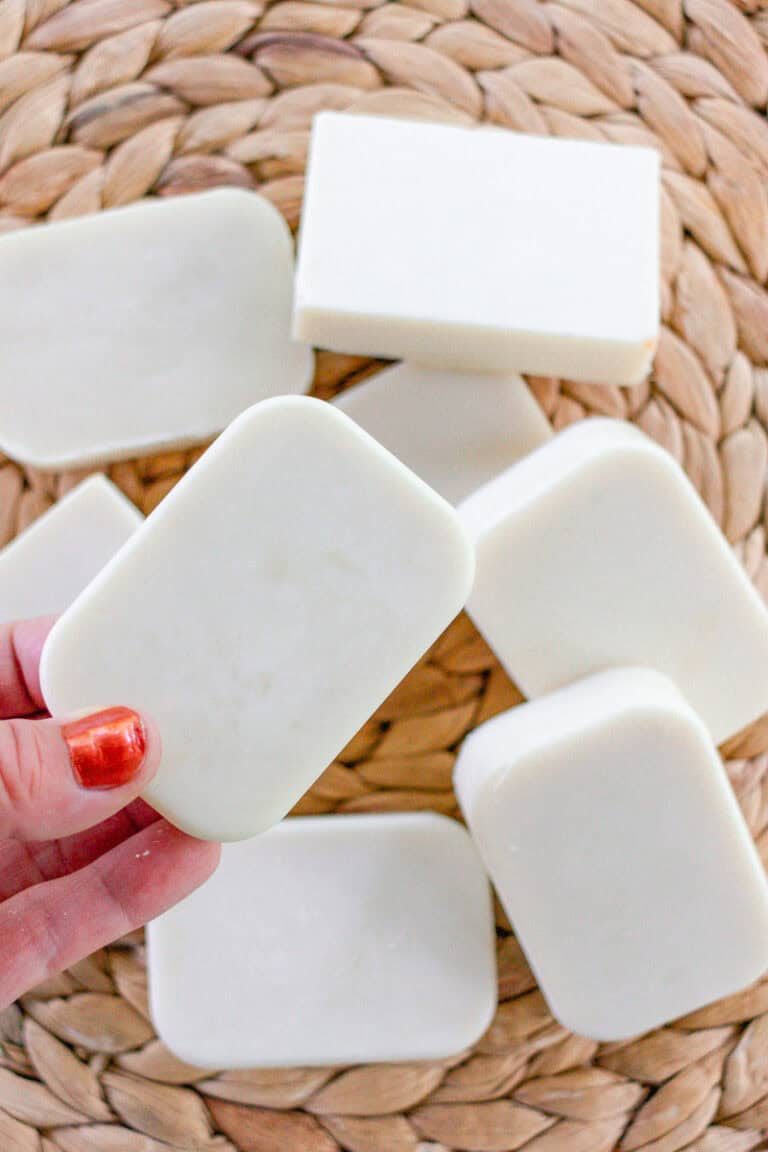
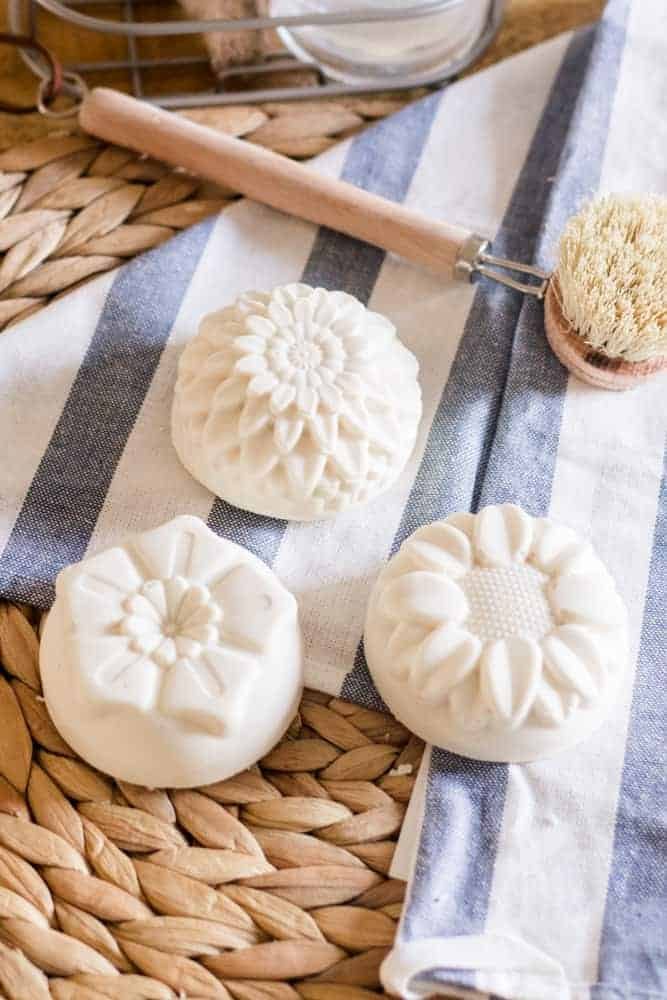
This moisturizing cold process soap recipe is the perfect bar of soap for dry hands or the body. Made with cocoa butter, coconut oil, and shea butter, it is very soothing and gentle for dry skin.
Making handmade soap bars has become a new hobby of mine. From homemade shampoo bars to body soap bars, we find that making our own soap is a great way to save money and make a natural product.
This recipe is great for a hand soap bar and is super moisturizing! We especially love using this during the winter months when our hands are drier from the cooler weather.
Making your own handmade soap bars can be very easy, as long as you follow a few safety guidelines. Don’t worry; it is much easier than you think!
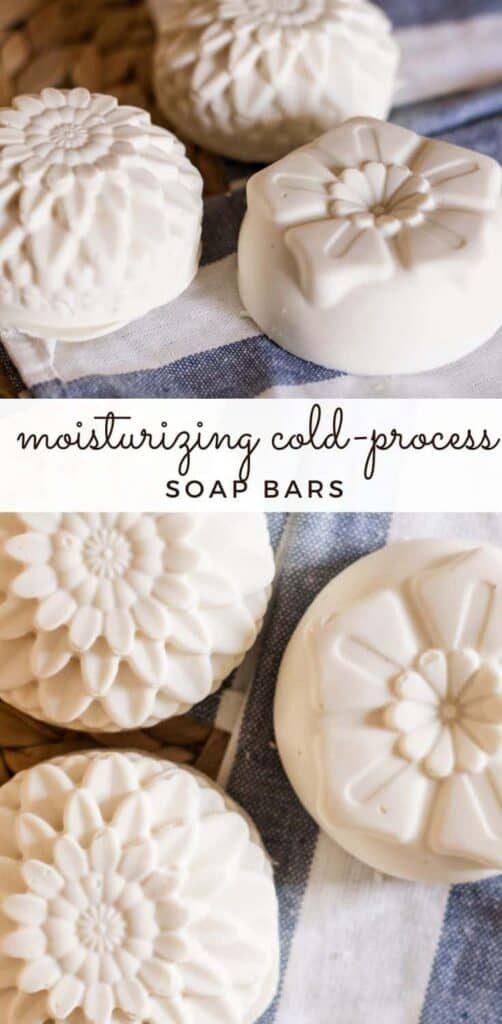
MOISTURIZING COLD PROCESS SOAP
One thing worth noting, cold process soap bars can be fully customized using a soap calculator. Punch in the ingredients that you want to use, and it will factor in the percentages of those ingredients needed as well as the lye and water.
We have made melt and pour soap bars and homemade tallow soap bars, but we wanted to make a moisturizing cold process soap bar specifically for dry skin for this recipe.
Shea butter is very moisturizing for the skin. We also included cocoa butter and coconut oil as well. Together, these ingredients make up a very moisturizing homemade soap bar, similar to our shea butter soap recipe.
INGREDIENTS NEEDED TO MAKE HOMEMADE SOAP
To keep this recipe easy, we am only using 5 ingredients: cocoa butter, coconut oil, shea butter, lye, and water.
COCOA BUTTER
We love using cocoa butter on our skin. In fact, you will find it in our whipped body butter recipe, homemade baking soda-free deodorant, and homemade lip balm. It is uber moisturizing and rich in essential vitamins for healthy skin.
Cocoa butter forms a protective barrier on the skin, trapping in moisture. It can protect the skin against sun damage, slow down the signs of aging, and improve blood flow.
As a bonus, cocoa butter smells absolutely amazing! It smells like chocolate and is used to make delicate desserts, so yeah, it is included in this recipe.
COCONUT OIL
Similar to cocoa butter, you will find coconut oil in many of our skincare recipes. We use coconut oil in our DIY anti-aging face cream and homemade eye cream because it is excellent at reducing wrinkles and fine lines.
Coconut oil is also very moisturizing to the skin and can add hydration to dry damaged skin. It is very gentle and can be used on someone with sensitive skin.
SHEA BUTTER
Shea butter is another great moisturizer to add to this handmade soap bar. We use our homemade shea butter lotion during the winter to help add moisture to our dry skin.
Shea butter has a high concentration of fatty acids and vitamins that can help soften the skin.
Like the other ingredients found in this soap bar, shea butter is also good for sensitive skin, making these soap bars great for both adults and kids.
LYE
Lye is needed to make any soap bar. When lye is mixed with fats, soap is made. Lye is very dangerous on its own, but it is safe for the skin once it is mixed with the fat.
When dealing with lye, it is important to use proper safety gear like eye protection, long sleeves, and gloves. If possible, mix lye outdoors, or at the very least, in a well-ventilated room to avoid breathing it in.
WATER
When you make soap, you will need a liquid to mix with the lye. In most soap recipes, this must be water. Common alternatives include goat milk and coconut milk.
It is important to use distilled or filtered water. Regular tap water can often have chemicals, including chlorine, which could cause issues when interacting with the lye.
TOOLS NEEDED TO MAKE MOISTURIZING COLD PROCESS SOAP BAR
This note contains affiliate links, which means we make a small commission at no extra cost to you. As an Amazon Associate, we earn from qualifying purchases. Get our full disclosure HERE.
- Soap mold
- Immersion Blender
- Digital scale
- Glass bowl
- Gloves
- Eye protection
MOISTURIZING SOAP BAR RECIPE
We used a soap calculator to get these exact measurements. If you want to change up the recipe at all, you will need to get new measurements as it is imperative to use the exact amounts.
INGREDIENTS
- 6 ounces cocoa butter
- 5 ounces coconut oil
- 5 ounces shea butter
- 2.26 ounces lye
- 5.05 ounces water
- 15-20 drops essential oils, optional
INSTRUCTIONS
- Using a digital scale, measure out your water and pour it into a heat-resistant glass or metal.
- Measure out the lye and add it to the water. Stir the lye into the water slowly and stir until it dissolves. Note, the chemical reaction will cause it to heat up quickly.
- Using the digital scale, measure out the cocoa butter, coconut oil, and shea butter. Pour into a saucepan and melt over medium heat.
- Once the ingredients are melted, allow them to cool back down to 100 degrees.
- Once the fats reach 100 degrees, it is time to mix the lye water with the oils. Slowly add the lye and water to the oils, mix with an immersion blender. This will take a couple of minutes. You will know it is the right consistency when the soap from the blender drips and pools up at the top of the soap in the saucepan. This is known as the trace.
- If using essential oils, add those in now. Stir well.
- Pour the soap into the soap molds. If using silicone soap molds, you don’t have to do anything to them before pouring them in. Other molds may require parchment paper.
- Allow the soap to harden and sit in the molds for at least 24 hours or up to 3 days.
- Remove the soap from the molds and allow it to cure for 3-4 weeks before using.
HOW TO CURE SOAP?
Make sure the bars are not touching each other. We don’t have a curing rack yet, so we just stand the soap bars upright in a glass baking dish. Place them in a dry, cool, dark place for several weeks. You can use a soap curing rack or just place the soap on a glass dish.
The longer it cures, the dryer the bar will be and the longer it lasts. Curing soap is the process of allowing the soap bars to fully dry and to allow the process of saponification to finish. This typically takes 3-6 weeks.
It is important to cure the soap before putting it in the shower, so it doesn’t melt and it will last longer.
Interested in more soap bars? Try these:
- Melt and Pour Goat Milk Soap Bars
- Cold Process Shampoo Bars
- Dish Soap Bars
- Clear Glycerin Bars
- Shave Soap Bar
- Hibiscus Infused Loofah Bars
Moisturizing Cold Process Soap Recipe
By the studio Ascher Prep: 5 minutes minsActive: 1 hour hrAdditional Time: 1 day dTotal: 1 day d 1 hour hr 5 minutes mins Yield: 7 bars SaveSaved Pin Print This moisturizing cold process soap recipe is the perfect bar of soap for dry hands or body. Made with cocoa butter, coconut oil, and shea butter, it is very soothing and gentle for dry skin.
 Equipment
- Soap mold
- immersion blender
- digital scale
- Glass Bowl
- Gloves
- Eye protection
Ingredients
- 6 ounces cocoa butter
- 5 ounces coconut oil
- 5 ounces shea butter
- 2.26 ounces lye
- 5.05 ounces water
- 15-20 drops essential oils, optional
Instructions
- Using a digital scale, measure out your water and pour it into a heat-resistant glass or metal.
- Measure out the lye and add it to the water. Stir the lye into the water slowly and stir until it dissolves. Note, the chemical reaction will cause it to heat up quickly.
- Using the digital scale, measure out the cocoa butter, coconut oil, and shea butter. Pour into a saucepan and melt over medium heat.
- Once the ingredients are melted, allow them to cool back down to 100 degrees.
Once the fats reach 100 degrees, it is time to mix the lye water with the oils. Slowly add the lye and water to the oils, mix with an immersion blender. This will take a couple of minutes. You will know it is the right consistency when the soap from the blender drips and pools up at the top of the soap in the saucepan. This is known as the trace. - If using essential oils, add those in now. Stir well.
- Pour the soap into the soap molds. If using silicone soap molds, you don’t have to do anything to them before pouring them in. Other molds may require parchment paper.
- Allow the soap to harden and sit in the molds for at least 24 hours or up to 3 days.
- Remove the soap from the molds and allow it to cure for 3-4 weeks before using.