Coffee Soap Recipe
Also filed inBathBath and Beauty
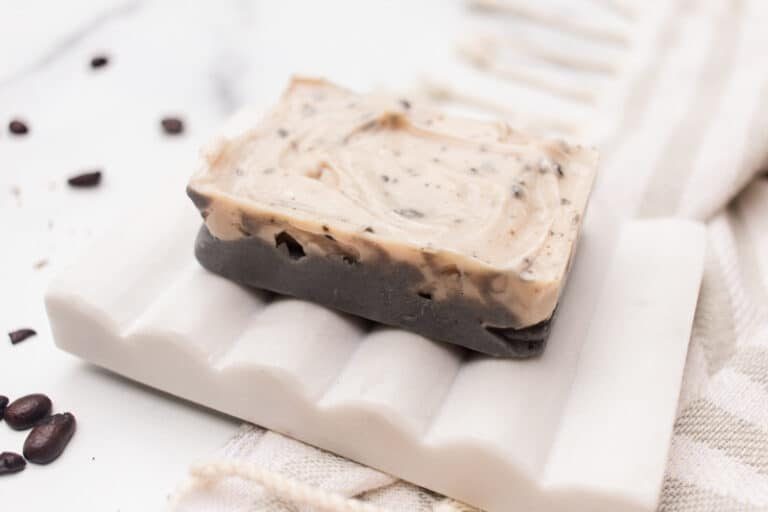
In this note today, we'll share a fantastic coffee soap recipe that you can make from scratch using a few ingredients at home.
Smelling utterly divine and looking so pretty in the bathroom, a coffee soap is such a wonderful addition to your skin and a great boost for your mood!
Now we fully admit that we're a coffee lover.
Not so much in coffee as a beverage, however. We just can’t get enough of the smell of coffee.
We love to use it around the home as a fragrance and in the form of a homemade face scrubtoo.
Below, we'll reveal the benefits of coffee soap plus tips on using lye safely, which is something a lot of us worry about (but we really don’t need to!)
coffee benefits for skin
First, let me explain why We love to use coffee in our handmade beauty products and what the advantages of coffee for the skin are.
It’s easy to overlook the fact that coffee is a plant when you pour yourself a cup.
But being a plant means that coffee is full of plant nutrients and natural goodness.
Coffee is jam-packed with antioxidants that fight free radicals, which can contribute to early aging and dull appearing skin.
Let’s not forget the caffeine content, either. It has its benefits!
We know that caffeine is a popular wake-me-up for the vast majority of the population, but it’s also fantastic for firming the skin.
It minimizes wrinkles and boosts circulation to the superficial layers of the skin, giving us a healthy glow.
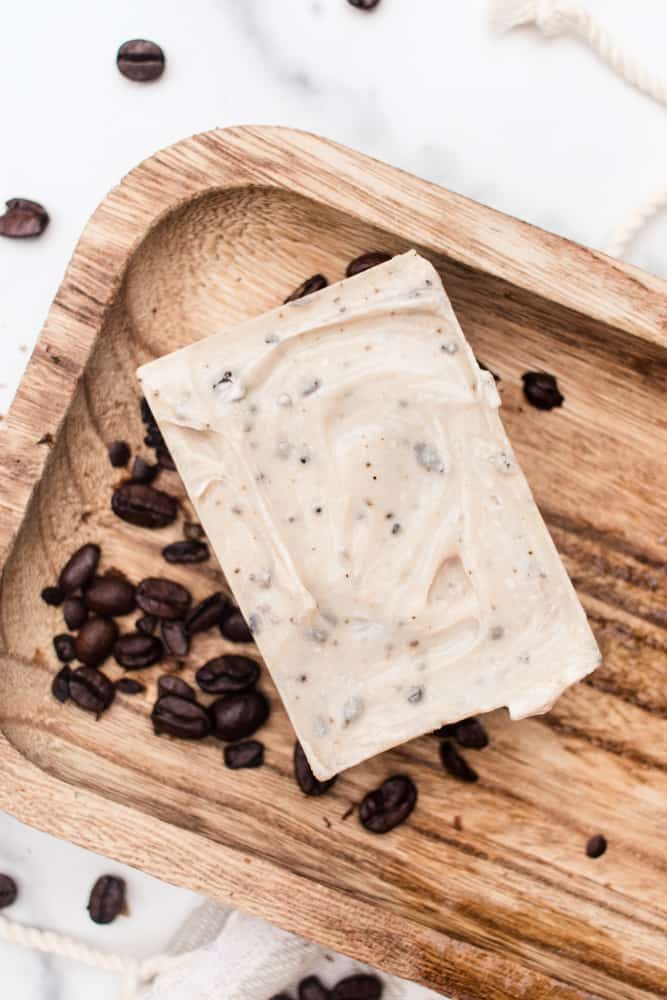
exfoliating coffee soap
One thing worth mentioning is how wonderfully exfoliating coffee grains are.
They have a naturally ‘gritty’ texture, so when added to a soap or face scrub, they do a great job at removing dead skin cells and revealing fresher skin underneath.
They’re also gentle to use and won’t irritate your skin in comparison to other abrasive exfoliating products.
This exfoliating soap bar is a gentler alternative to an exfoliating salt soap bar or other scrubs made from more abrasive products like this homemade foot scrub.
Making soap like these, or our tallow soap recipe, is just so much fun and far more environmentally friendly than your store-bought ones.
coffee soap recipe
Let’s get going and dive straight into the coffee soap recipe! Follow the instructions below for the best results.
INGREDIENTS
- 16 oz of coconut oil
- 8 oz of palm oil
- 3.8 oz of lye
- 8.5 oz of liquid coffee
- 2 tsp of vanilla extract
- 1 tsp cinnamon powder
- 1 tbsp of coffee grounds (goes in 1st bowl)
- 2 tsp black of mica powder (goes in 2nd bowl)
how to make coffee soap
INSTRUCTIONS
Use a digital scale to measure the coffee. Then, add it to the heat-resistant container.
Slowly add the lye to the coffee. Stir the lye into the coffee until dissolved. Note that the chemical reaction will cause it to heat up quickly. Set aside to cool to about 120-130°F
Melt the coconut and palm oil in a small saucepan on the stove over medium heat.
Once melted, set aside to cool slightly.
Add all the oils to a metal mixing bowl.
Slowly add a portion of the lye and coffee mixture into the melted oils and mix with an immersion blender.
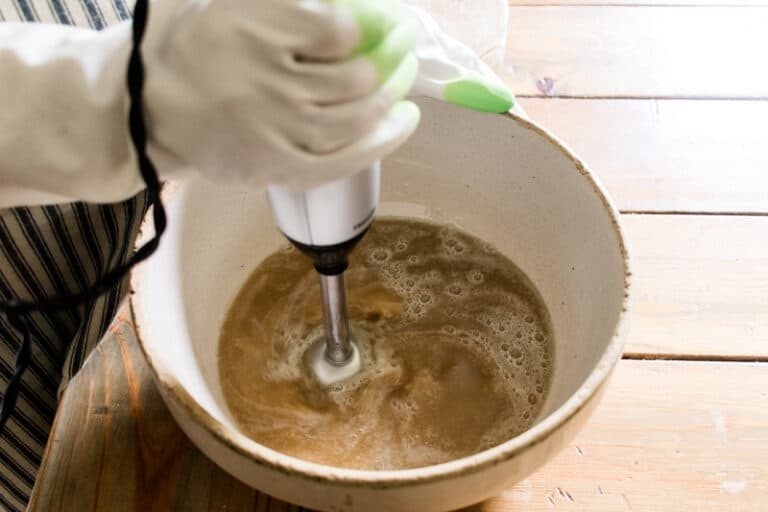
Continue adding the lye and coffee mixture and mixing between each round until the soap comes to a light trace.
To check the “trace,” hold the immersion blender over the bowl; if the soap drips and pools up on the top, it’s come to the correct trace.
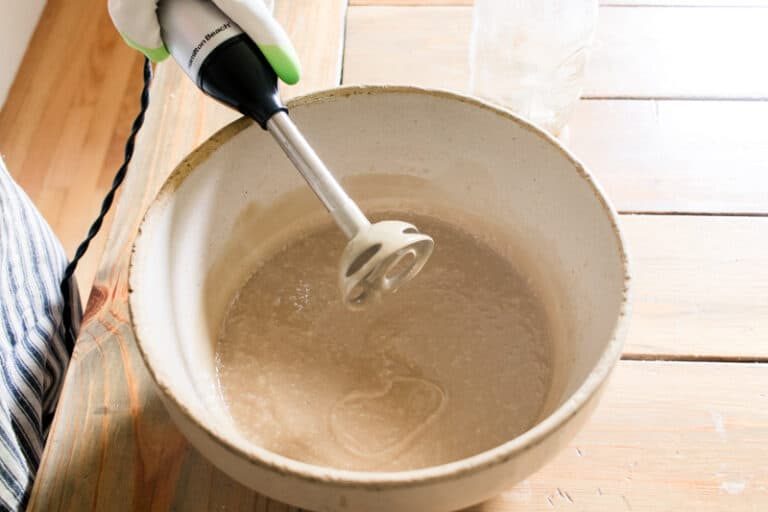
Add in vanilla and cinnamon and stir to incorporate.
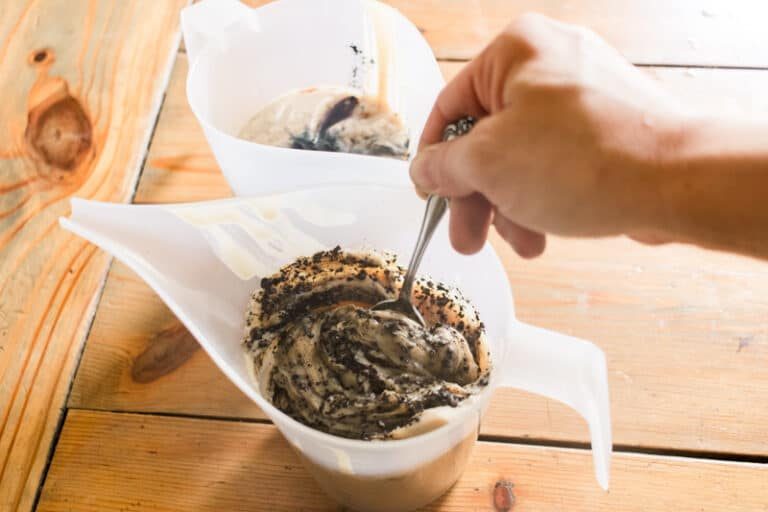
Separate the soap into two bowls. Add the mica powder to one bowl and coffee grounds to another. Stir each bowl until all the ingredients are well incorporated.
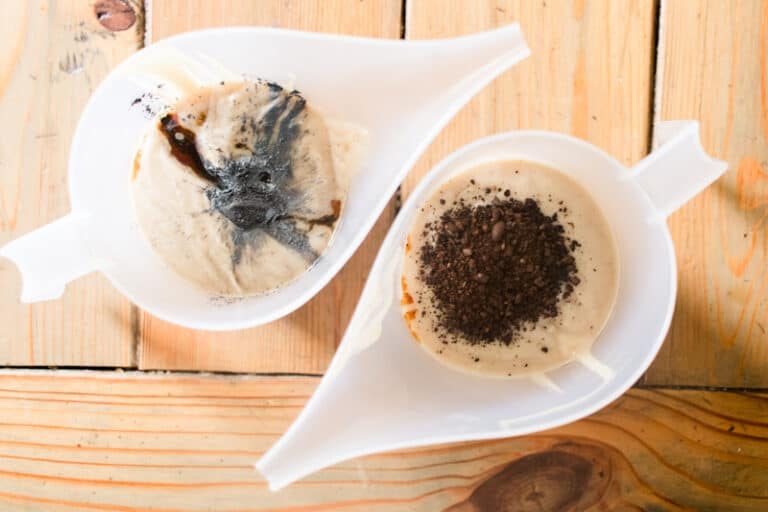
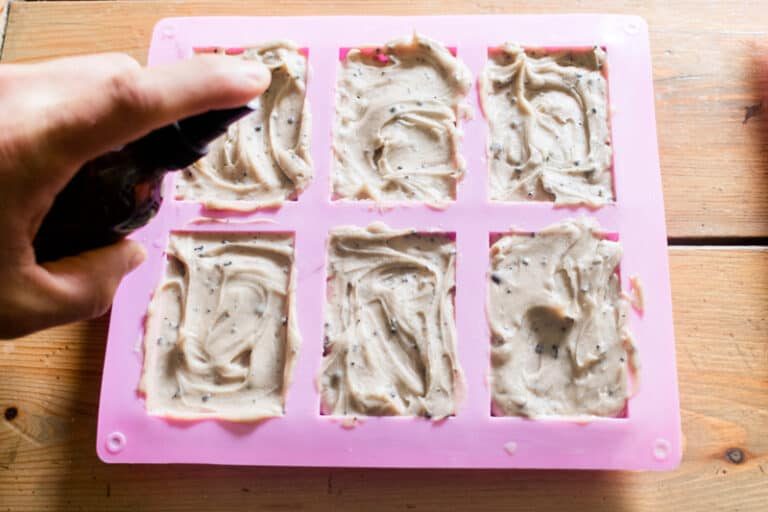
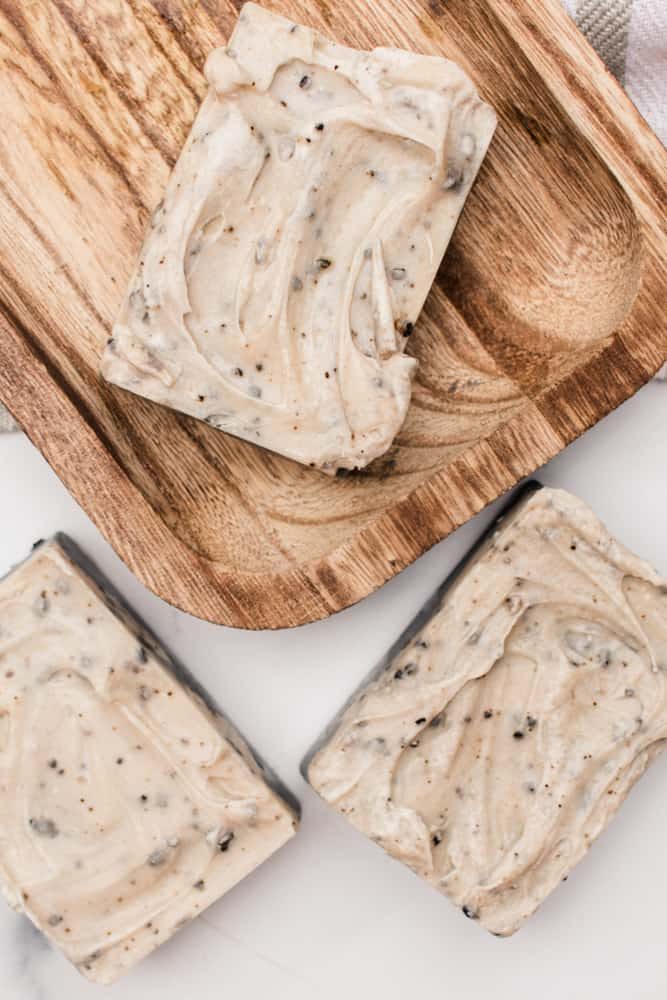
To get the pretty layered effect, fill the soap mold with half of the black soap and then fill the rest with the coffee ground soap.
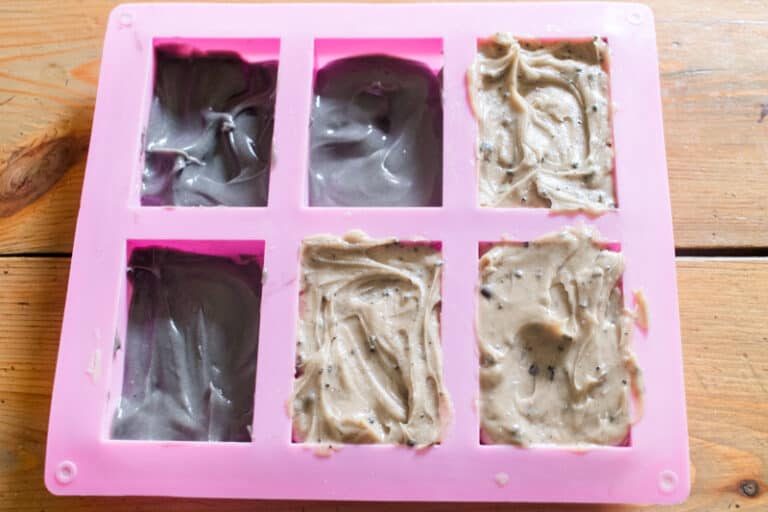
Allow the soap to harden for 48 hours before popping it out of the molds. A handy tip is to spritz the soap with alcohol once in the molds to prevent soda ash buildup.
The soap must cure for 5-6 weeks before enjoying. Be patient with it. It’s worth it!
Keep the bars in a dry area, preferably stacked on their sides. This will allow for maximum air exposure to ensure an adequately cured soap bar.
Are you hesitant to use lye? If so, there are plenty of melt-and-pour options, including these pumpkin spice bars and our new favorite, whipped soap recipe using a bath butter base.
soap making 101
using lye safely
Our best advice when working with lye is to wear long sleeves, gloves, an apron, and goggles.
Ideally, use lye in a really well-ventilated space, preferably outdoors, as it’s notorious for its nasty fumes.
As much as we love to involve our children in making homemade products, we personally don’t use lye with them nearby, simply because it’s better to be safe than sorry.
Why does soap need to cure
You may wonder why it takes 5-6 weeks for the soap to be ready to use?
This is because of a process called saponification which must happen for the soap to become soap.
Saponification is a chemical reaction that occurs between the lye (sodium hydroxide) and the fatty acids in the soap ingredients, which eventually turns into what we call a cold process soap.
This is a slower soap-making process, but the results are often much better than using a hot process method.
Soap needs time to cure properly, so it hardens for safe usage and allows the water or coffee, in this case, within it to evaporate properly.
Is coffee good for your skin?
It’s an ongoing debate whether coffee as a beverage is really that good for you. But as an ingredient for skin purposes, coffee is really great!
On the first try, you’ll see a difference in how your skin looks and feels.
It helps revitalize the skin, giving it a much-needed boost of nutrients and fatty acids, and the caffeine is a great skin firmer!
We personally enjoy using coffee soap in the shower on our whole body. It really wakes me up in the mornings.
How to cure soap
The trick with curing soap is simply to be patient and leave it well alone for at least 4-5 weeks in a cool, dry place.
Leaving it to dry and harden properly allows excess moisture to evaporate from the soap.
You may notice a touch of shrinking around the edges of the soap once properly cured. This is normal.
If you’re not up for waiting that long for your soap (even though we highly recommend you should wait!), then why not try a hot process soap making recipe instead?
We hope you love making this coffee soap recipe; we'd love to hear how it was for you! Drop me a comment and let me know.
After you try this soap bar recipe, be sure and see our other soap bar posts.
- Hibiscus-infused homemade loofa soap – a great natural exfoliator
- Homemade olive oil swirl bars – make a perfect gift
- Activated charcoal soap recipe – cleansing, safe for sensitive skin and draws out impurities
- Cold process lard soap – for dry, sensitive skin
- Homemade beeswax soap – for a long-lasting bar
Coffee Soap Recipe
By the studio Ascher Prep: 5 minutes minsActive: 15 minutes minsAdditional Time: 1 hour hrTotal: 1 hour hr 20 minutes mins Yield: 6 Bars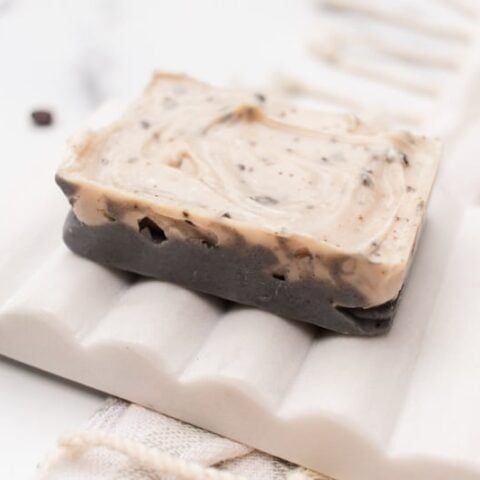 SaveSaved Pin Print This coffee soap recipe can be made at home using a few key ingredients and smells divine. It's also a great natural skin exfoliator. Plus – making soap is so much fun. Enjoy the recipe!
 Equipment
- immersion blender
- digital scale
Ingredients
- 16 oz of coconut oil
- 8 oz of palm oil
- 3.8 oz of lye
- 8.5 oz of brewed coffee, room temperature
- 2 teaspoons of vanilla extract
- 1 teaspoon of cinnamon
- 1 tablespoon of coarse ground coffee beans
- 2 teaspoon of black mica powder
Instructions
- Add the coffee to a durable, heat-resistant container.
- Slowly add the lye to the liquid and stir until dissolved. Note that the chemical reaction will cause it to heat up rapidly. Set aside to cool to 120-130°F
- Melt the coconut oil and palm oil in a small saucepan over medium-low heat.
- Once melted, set aside to cool slightly, then transfer to a mixing bowl.
- Add the lye/coffee mixture a little at a time and mix with an immersion blender.
- Continue adding the lye mixture to the oils and mixing until it reaches a medium trace. (Trace can be checked by drizzling a little soap over top of the mixture to see if it pools up on the top.
- Once at the correct trace, stir in vanilla and cinnamon.
- Now, separate the soap into two bowls and add the coffee grounds into one and mica powder into the other. Stir well.
- Fill the molds halfway with the mica powder mixture and the rest of the way with the coffee ground mixture.
- Spritz with alcohol, then let the bars cure for 48 hours before removing from the molds.
- Lay the bars on their side in a dry area for 5-6 weeks before using.