How to: Make Beeswax Soap
Also filed inGo Natural
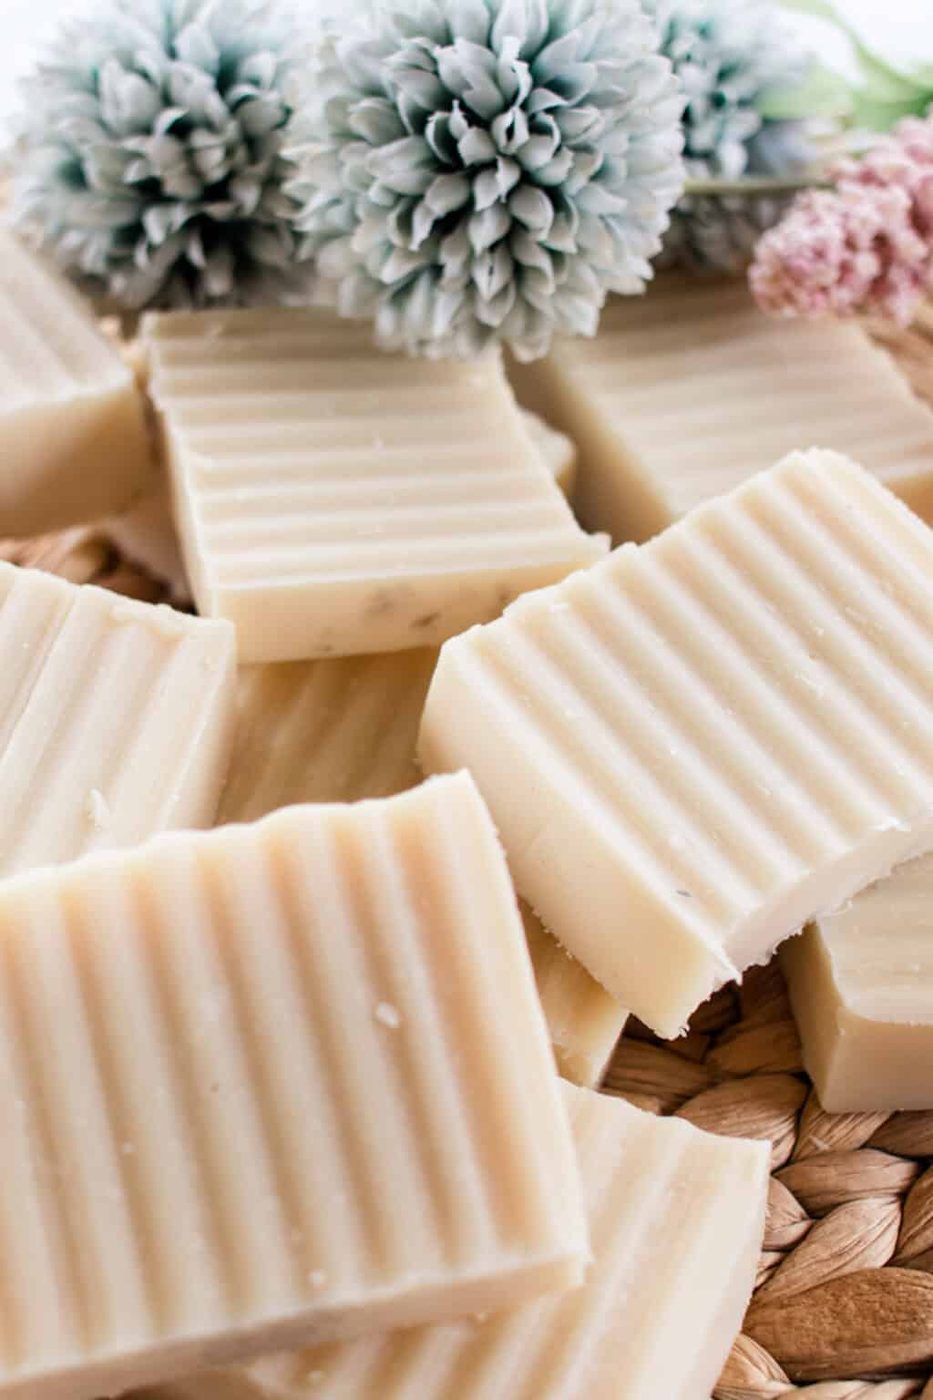
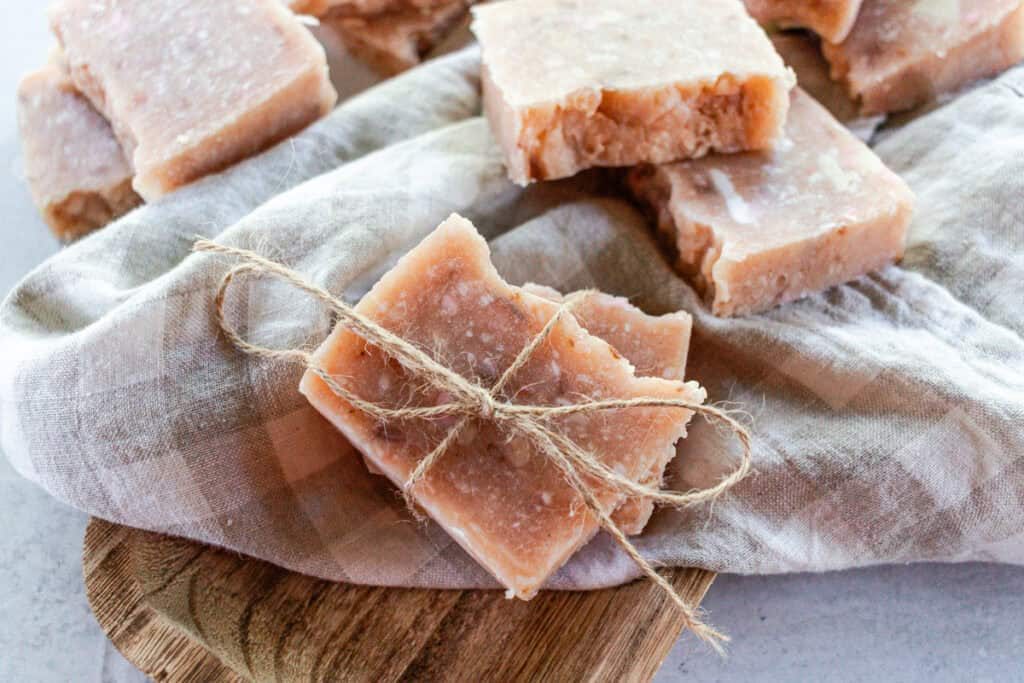
This beeswax soap recipe is a fun, easy cold process soap made with natural ingredients. It’s wonderfully moisturizing and extremely long-lasting. You’re sure to love it!
Beeswax is one of those otherworldly ingredients that has so many uses. It’s wonderful to hold, touch, smell, and melt.
It’s great to make a hydrating soap bar, a nourishing DIY lip balm, or even a nice homemade facial moisturizer.
Our personal favorite use for beeswax is to make beeswax soap. It makes an incredibly hard, long-lasting bar of soap. We even use it in our lavender soap recipe!
Beeswax soap can be used on the body in the shower or bath, or as a hand soap at the kitchen sink.
It’s versatile and great to pack in your suitcase for a weekend away.
In this note, you’ll find our beeswax soap recipe so you can try making it yourself.
You’ll need to prepare well beforehand, as making soap in this method is somewhat technical, but we supply all the necessary information.
Be sure to follow the exact quantities as they are written and to comply with safety advice, most importantly.
Why You Will Love This Recipe
- There are not many soaps out there that you can be guaranteed are 100% natural, but this beeswax soap recipe is! That’s the benefit of making it yourself.
- Making your own soap is immensely fun and rewarding. You’ll never want to go back to buying soap.
- Adding beeswax to homemade soap makes it firmer and longer-lasting than regular soap. A lot of soapmakers prefer the texture, and you will save money by extending the life of the soap bar.
What You’ll Need
Ingredients
- Oils: A combination of avocado oil, sunflower oil, and palm oil gives this soap a nice texture and creamy lather. Make sure to only use sustainably sourced palm oil!
- Cocoa butter: Because it’s high in fatty acids, cocoa butter is known to be hydrating and nourishing to the skin.
- Beeswax: It’s best to buy sustainably and ethically sourced beeswax when you can.
- Lye: A necessary ingredient in cold-process soapmaking. It does require great care in handling it, so be sure to read through the safety notes before proceeding.
- Water
Equipment + Supplies
It’s extremely important when making soap to use the right equipment. For you first-timers, the initial outlay to buy the supplies can be pricey, so shop around.
Here’s a list of the equipment you’ll need to make beeswax soap:
- Soap mold: we always recommend silicone soap molds, but you can choose the style and shape of them. For this recipe, we used a large loaf mold and cut it into individual bars. If you opt for molds that aren’t silicone, you’ll need to line them with parchment paper.
- Immersion blender: It’s important to keep an immersion blender exclusively reserved for soapmaking and never mix food with it.
- Digital scale: Cold process soap requires precision, so a digital scale is essential.
- Saucepan: For melting the cocoa butter, oils, and beeswax together.
- Heat-resistant container: The chemical reaction between the lye and water causes a rapid temperature increase, so a heat-resistant container is a must. We use a mason jar.
- Safety equipment: Safety goggles, rubber gloves, and an apron are important when handling lye.
How to Make Beeswax Soap
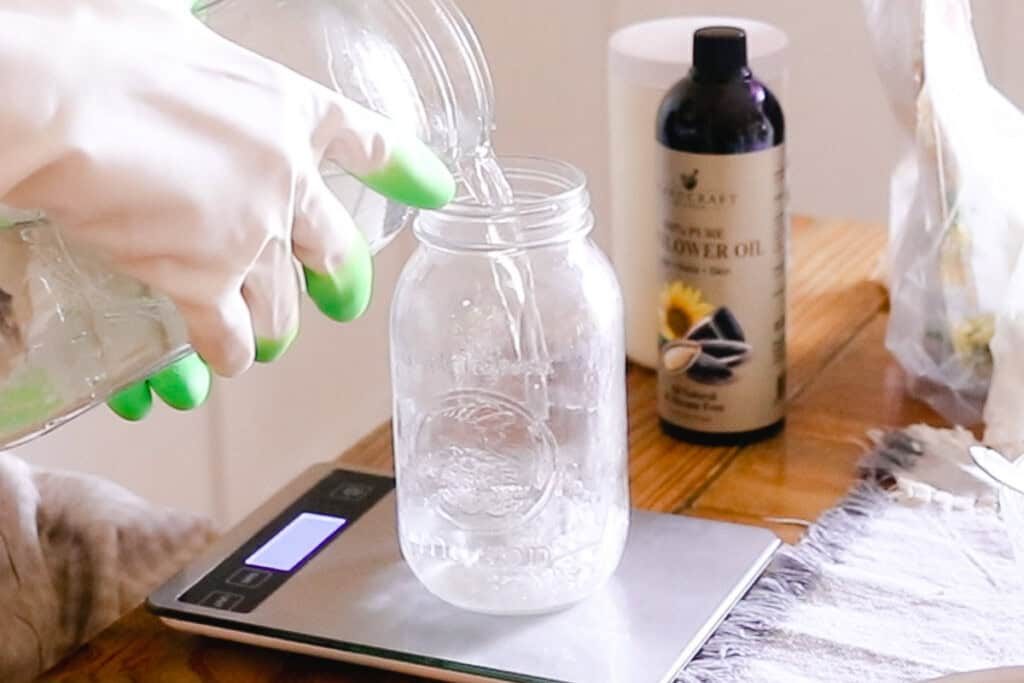
Step 1. Use the digital scale to measure the water. Then, add it to the heat-resistant container.
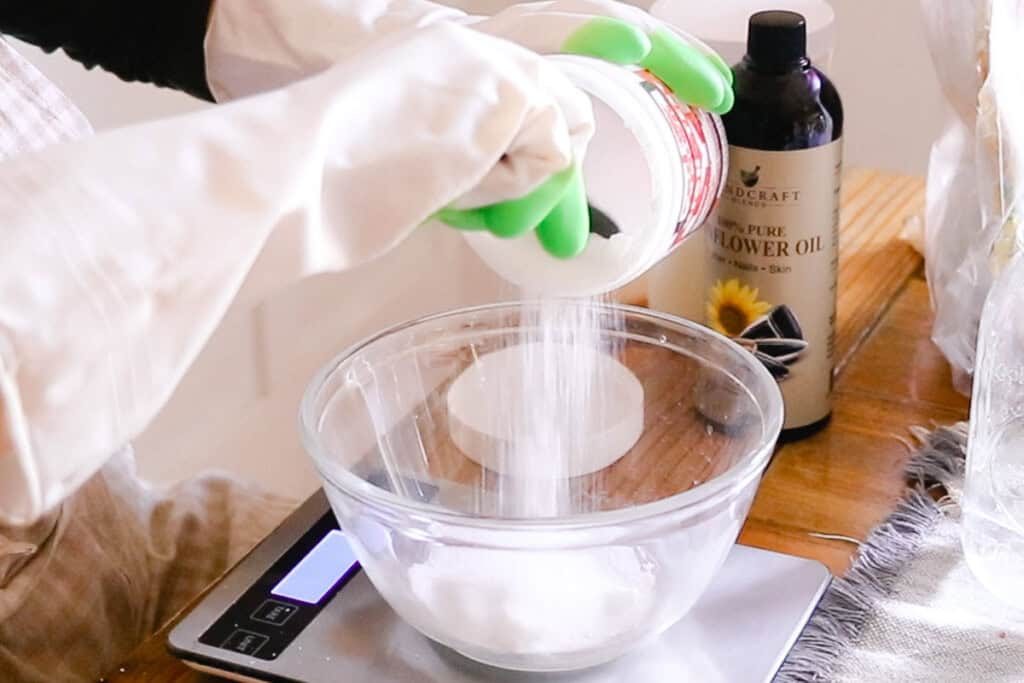
Step 2. Carefully measure the lye (use the safety goggles/apron/gloves) and slowly add to the water. Stir until dissolved. Be aware – the water will fizz and heat up quickly due to the lye chemical reaction.
Note: Only add lye to water, NEVER water to lye.
Set the mixture aside to cool.
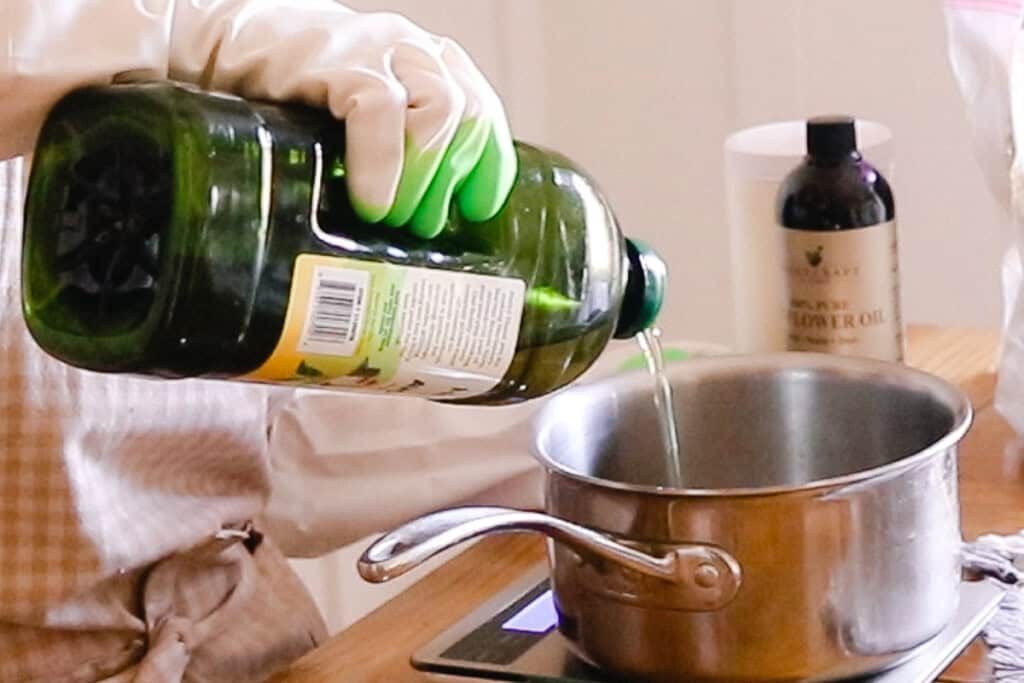
Step 3. Measure out the palm oil, avocado oil, cocoa butter, sunflower oil, and beeswax, then add to a small saucepan. Melt these ingredients together over low heat.
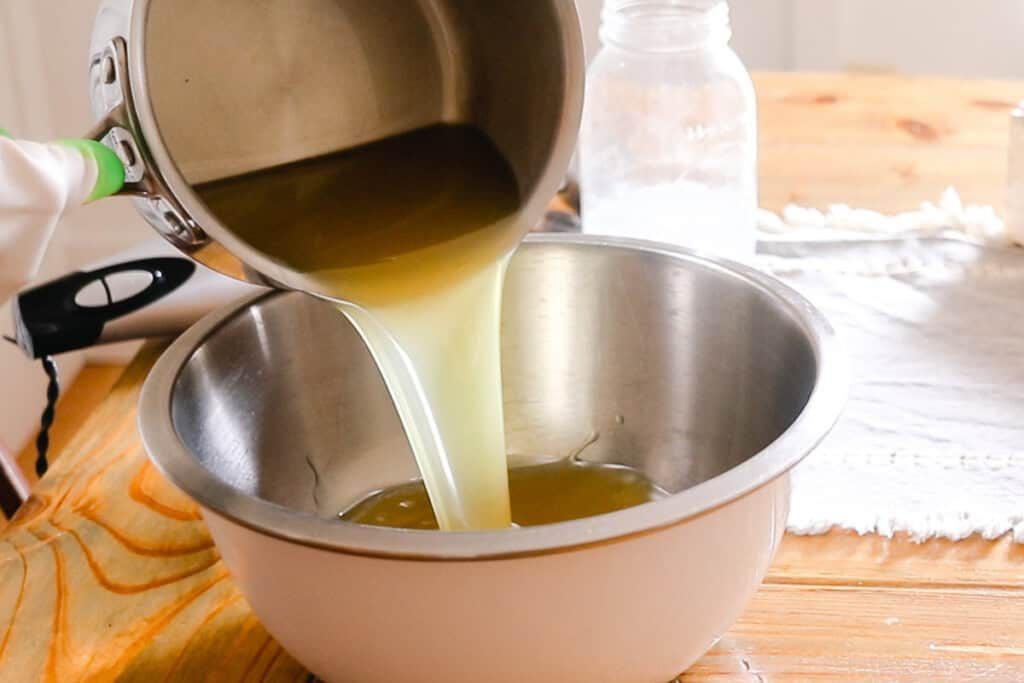
Step 4. Once melted fully, remove from the heat and allow time to cool. An ideal temperature to cool to is around 120°-130°. Once cooled, transfer melted fats and oils to a metal mixing bowl.
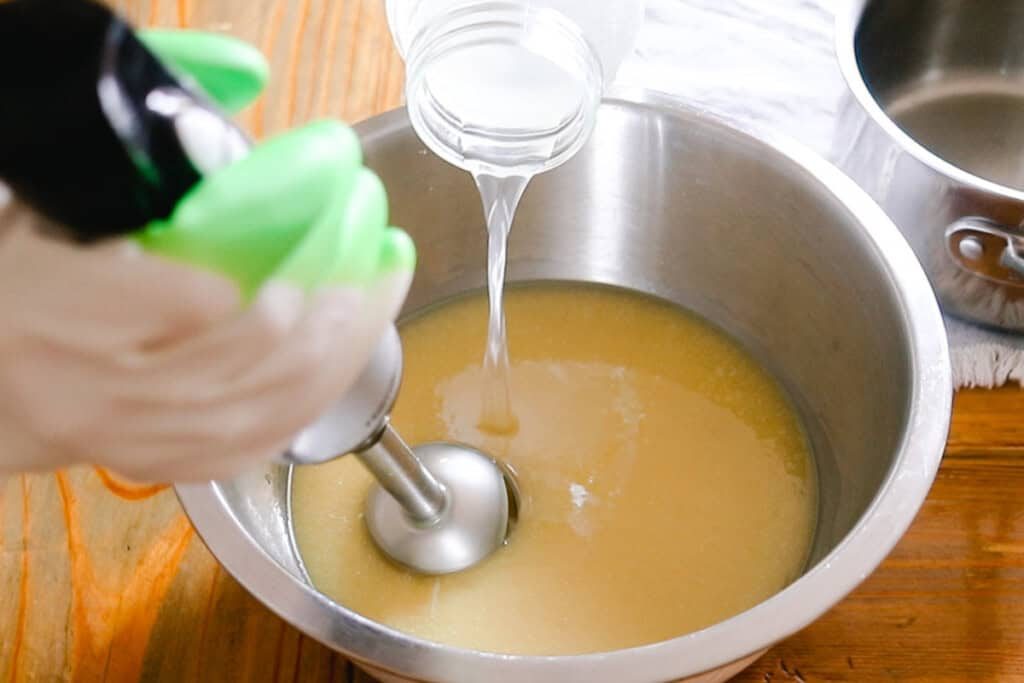
Step 5. Mix with an immersion blender, adding the lye water slowly as you go.
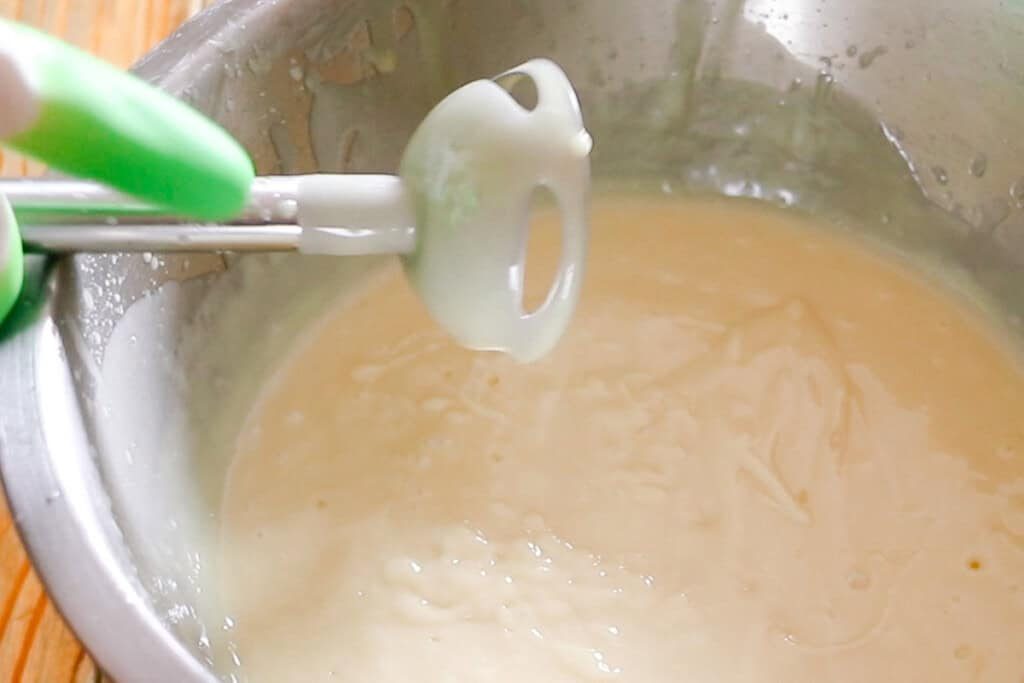
Step 6. Check the ‘trace’ by holding the immersion blender over the bowl; if you see drips coming from the soap that pools on top of the mixture, it’s the right trace, and you can stop mixing.
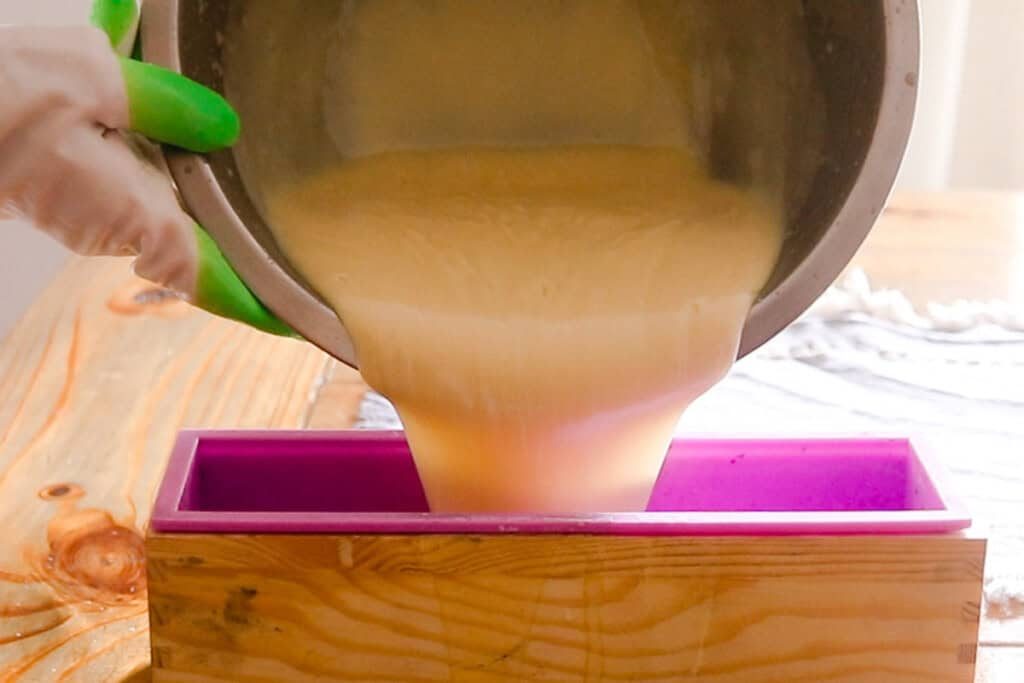
Step 7. Pour the soap into silicone molds. Or, if you’re using any other mold, make sure you line it with parchment paper.
Allow the soap to cool completely for at least 24 hours (up to 3 days is fine).
Step 8. Remove the soap from the molds and place them on their ends to allow space and time to cure (a 3-6 week process) before use.
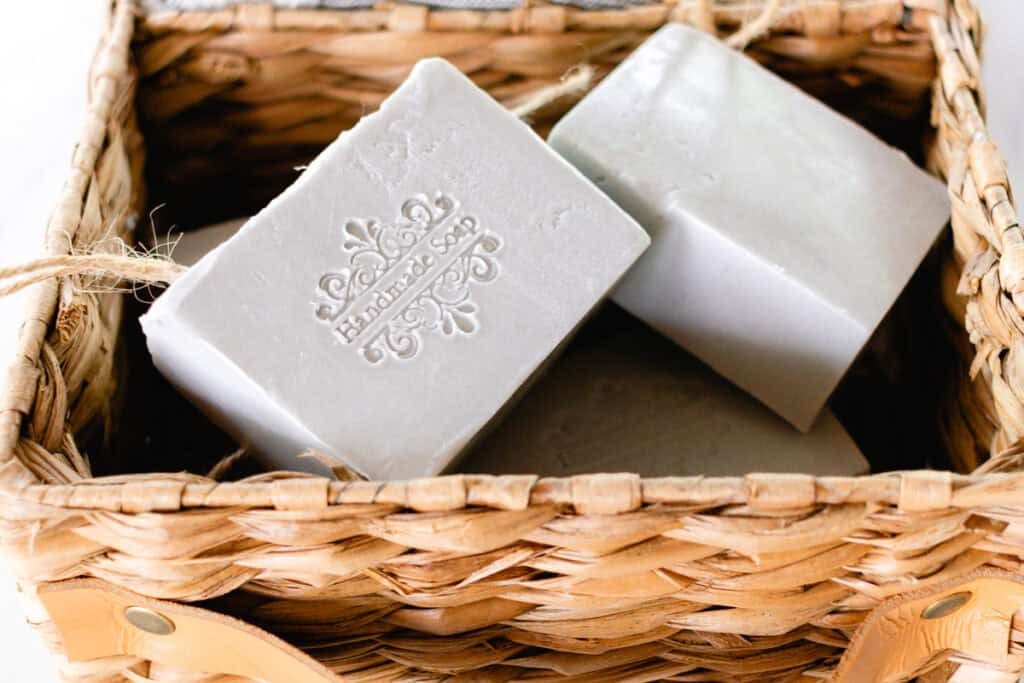
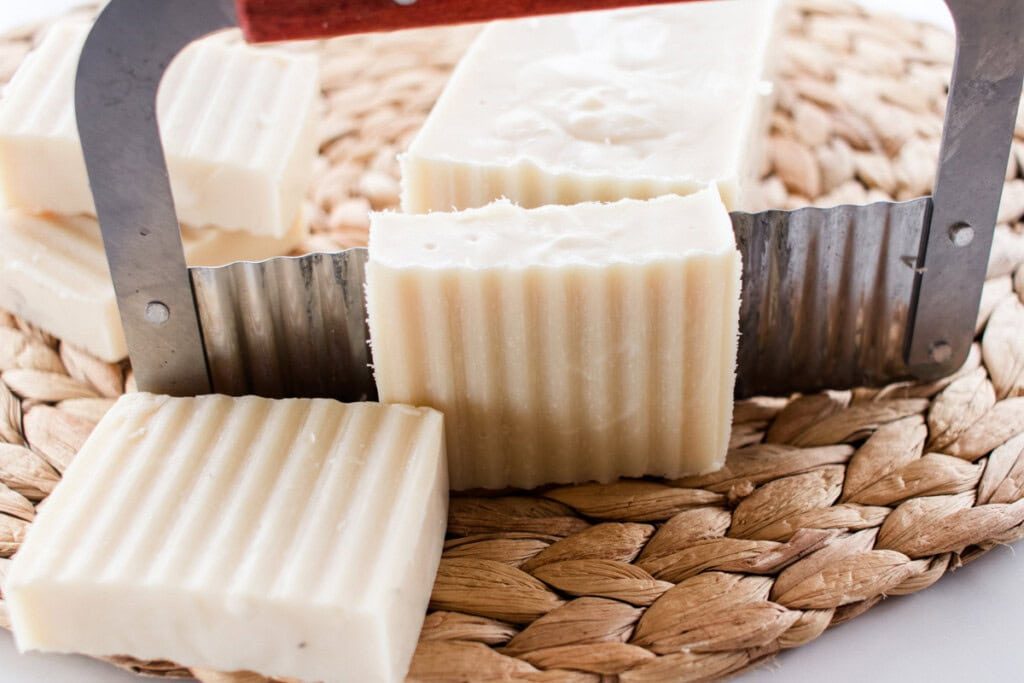
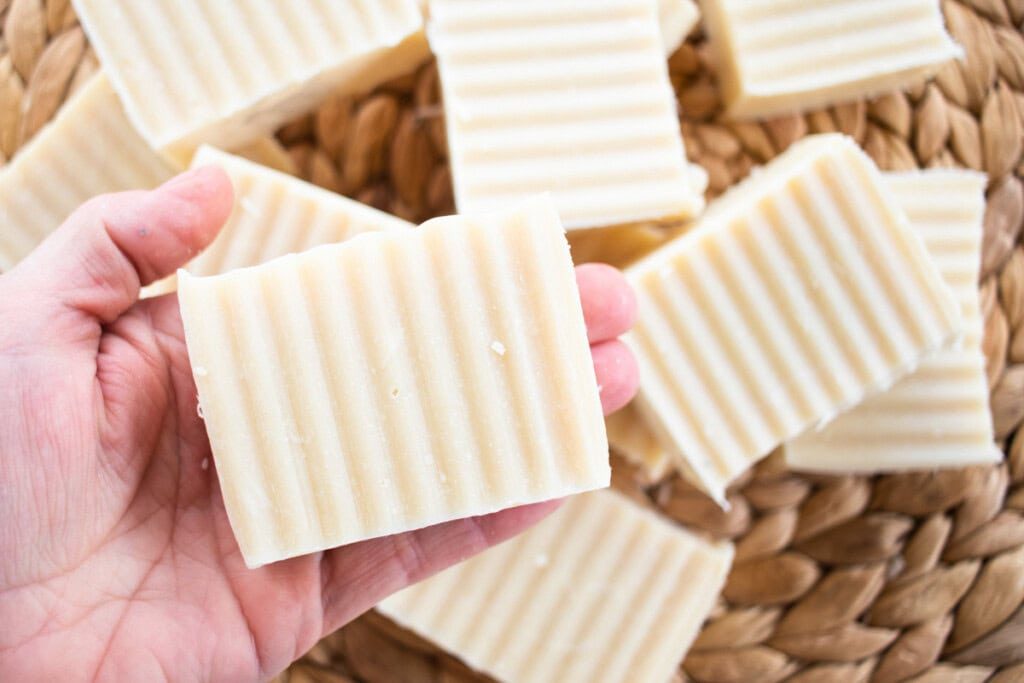
If you use a long, rectangular mold like the one pictured above, you’ll need to remove them from the mold once hardened and cut them into your preferred-sized soap bars to cure.
Safety Notes and Precautions
As this is a cold process soap-making recipe, care is always required when working with lye.
- Proper safety equipment is extremely important when handling the lye. Wear gloves, long sleeves, safety goggles, and an apron, and tie back long hair.
- Work in a well-ventilated area away from children and pets, and store the ingredients out of their reach.
- Take extra care when pouring the lye into the water, as this causes a chemical reaction, and the reaction happens fast!
- Always pour the lye into the water, never the water into the lye.
- Never deviate from the weight and amount of ingredients listed; you’ll need to recalculate this with a soap calculator if you do!
- See our beginner’s soap recipe for more helpful tips and tricks.
How to Use Beeswax Soap
You can use this beeswax soap as you do with other soaps. It’s excellent as a moisturizing body cleanser, for use in the shower or bath.
You can also have a bar at your sink and use it to wash your hands – we especially love using it after being outdoors all day in the winter, and our hands are dry.
Cold-Process Soap Bar Alternatives
If you’re looking for an alternative to cold process soap-making, hot process or melt and pour soap bars are great options.
Both processes are fairly simple, allowing you to make your own customized and unique soaps with no need for special equipment.
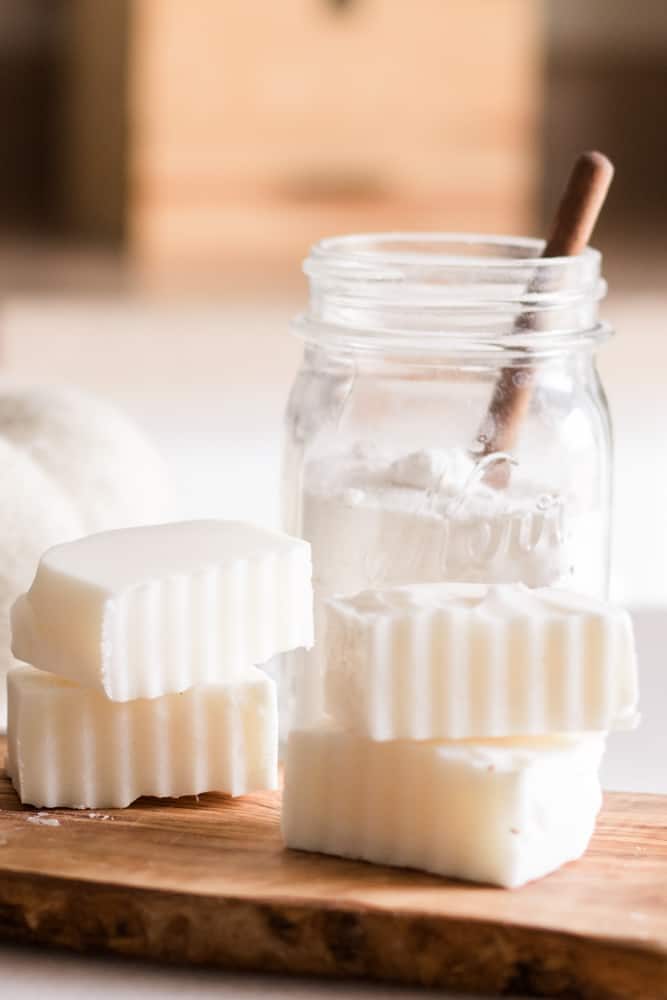
With melt and pour, the soap base that you use will already be prepared and just needs melting before being poured into molds, as you can see in our homemade goat’s milk soap.
For a hot process method, the soap is heated during the saponification process, making it easier to handle and ready for use more quickly than with a cold process version. We have a hot process soap recipe that goes through all the specifics.
Beeswax Soap Benefits
One of the important benefits of making soap with beeswax is that it’s an entirely natural ingredient.
Beeswax is a natural by-product of bees that is created when they make their homes out of honeycomb.
The bees use beeswax, too, to cushion the nest and make it warm for their babies. In the same way, we can use beeswax as a protective emollient on our skin.
Similarly, beeswax is a renewable source for skin care, being biodegradable, which means it’s not harmful to the environment.
Beeswax is highly moisturizing and great for sensitive skin types. It protects the skin, forming a barrier when it’s applied and locking in moisture.
For this reason, we much prefer using beeswax skin care products in the colder months, so we can go out and not worry that our skin will return red and raw from the cold, icy conditions.
A Note on Palm Oil
It won’t go unnoticed that this beeswax soap contains palm oil.
Palm oil has received immeasurable negativity in the media because of its impact on the environment and the way it’s been used in the past.
This is why we only ever use sustainable palm oil, and we hope you will too.
Now that the reality of the palm oil industry has been exposed, producers are forced to grow sustainable palm oil, no longer taking it from habitats where species are directly impacted, but intentionally growing it for commercial use away from those habitats.
Please, do consider this when buying palm oil and buy sustainable palm oil only.
We hope you enjoy making beeswax soap! If you like this recipe, be sure to see these ones too.
Recipe FAQs
What does beeswax do in homemade soap?Beeswax makes for a harder bar of soap, which improves the longevity of the bar. It also forms a protective barrier on the skin, which locks in moisture and protects the skin.
Can we skip the lye?No, the use of lye is necessary in cold process soapmaking to create the chemical reaction of saponification, which makes soap. If you’d rather avoid lye, you can use a melt and pour soap base, which is premade with the lye already incorporated. You’ll love our coconut oil melt and pour soap recipe.
What’s the superfat of this soap bar?Good question! This beeswax soap has a 5% superfat.
Find Your Next Soap Recipe
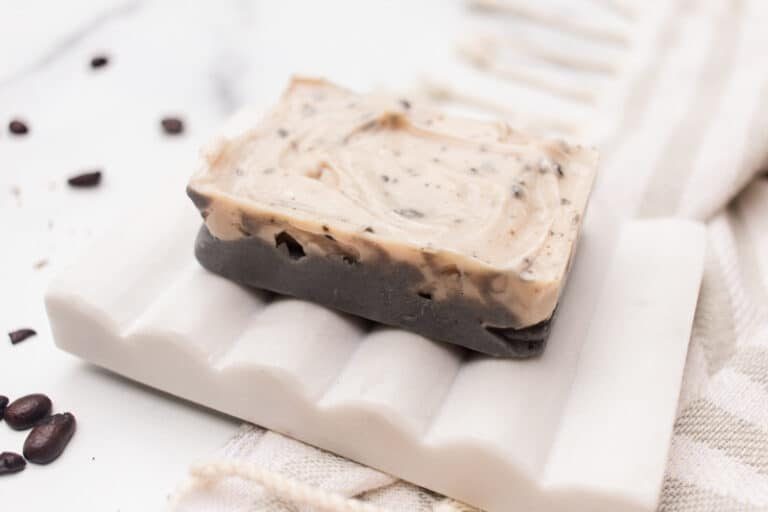
- Coffee soap recipe
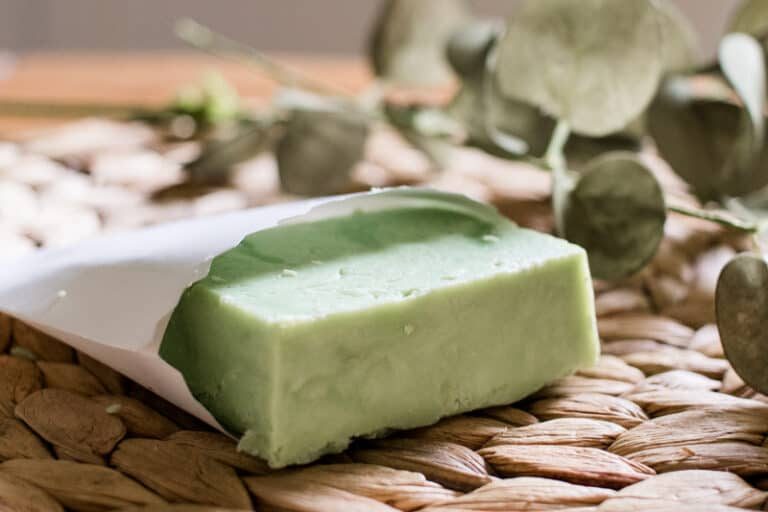
- DIY charcoal soap bars
- Exfoliating homemade loofah soap
- Simple lard soap recipe
- Homemade olive oil swirl soap
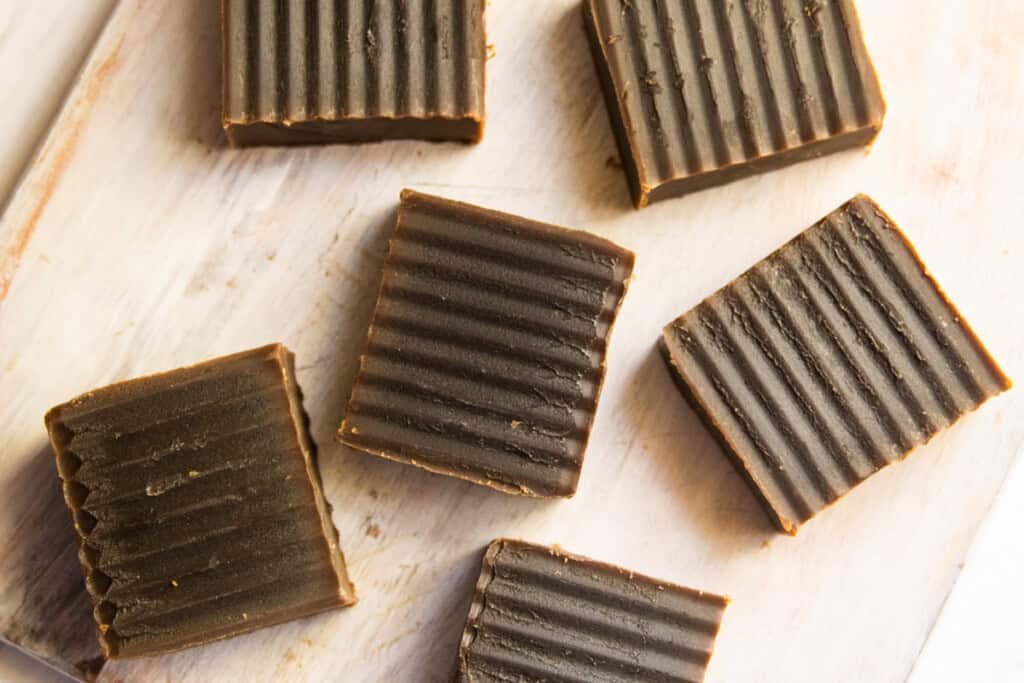
- DIY turmeric soap
If you tried this homemade beeswax soap or any other tutorial on our website, please leave a 🌟 star rating and let me know how it went in the 📝 comments below. Thanks for visiting!
5 from 3 votesBeeswax Soap Recipe
By the studio Ascher Prep: 10 minutes minsActive: 3 hours hrsTotal: 3 hours hrs 10 minutes mins Yield: 12 Soap Bars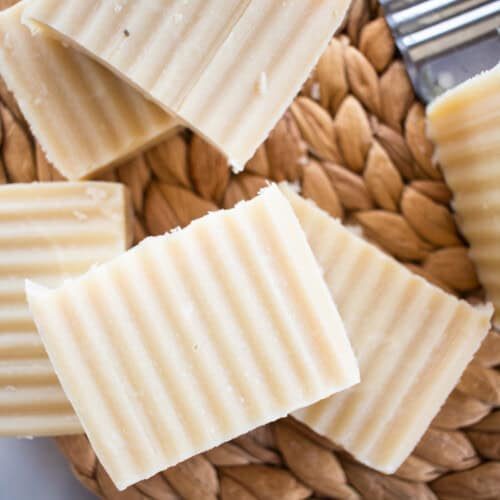 SaveSaved Pin Print Follow this recipe to make your very own beeswax soap at home.
 Equipment
- Soap mold
- immersion blender
- digital scale
- Safety goggles
- Gloves
Ingredients
Fats & Oils
- 10 oz Palm oil
- 6 oz Avocado oil
- 6 oz Cocoa butter
- 4 oz Sunflower oil
- 0.5 oz Yellow beeswax
Liquid & Lye
- 7.68 oz Water
- 3.43 oz Lye
Instructions
- Use the digital scale to measure the water. Then add it to the heat-resistant container.
- In a well-ventilated area, carefully measure out the lye (use the safety goggles/apron/gloves) and add it to the water slowly. Stir as its added until dissolved. Be aware the water will fizz and heat up quickly due to the lye chemical reaction.
- Set aside to cool.
- Measure out the palm oil, avocado oil, cocoa butter, sunflower oil and beeswax, then add to a small saucepan.
- Melt these ingredients together over a low heat.
- Once melted fully, remove from the heat and allow time to cool. An ideal temperature to cool to is around 120°-130°.
- Once cooled, transfer melted fats and oils to a metal mixing bowl.
- Add the lye/water mixture in small amounts.
- Mix with an immersion blender, adding the lye slowly as you go.
- Check the ‘trace’ by holding the immersion blender over the bowl; if you see drips coming from the soap that pools on top of the mixture, it’s the right trace, and you can stop mixing.
- Pour the soap into silicone molds. Or, if you’re using any other mold, make sure you line it with parchment paper.
- Allow the soap to cool completely for at least 24 hours (up to 3 days is fine).
- Remove the soap from the molds and place them on their ends to allow space and time to cure (a 3-6 week process) before use.
Video
Notes
This recipe will make approximately 12 soap bars. This soap has a superfat of 5% Safety Notes- Proper safety equipment is extremely important when handling the lye. Wear gloves, long sleeves, safety goggles, and an apron, and tie back long hair.
- Work in a well-ventilated area away from children and pets, and store the ingredients out of their reach.
- Take extra care when pouring the lye into the water, as this causes a chemical reaction, and the reaction happens fast!
- Always pour the lye into the water, never the water into the lye.
- Never deviate from the weight and amount of ingredients listed; you’ll need to recalculate this with a soap calculator if you do!
- See our beginner’s soap recipe for more helpful tips and tricks.