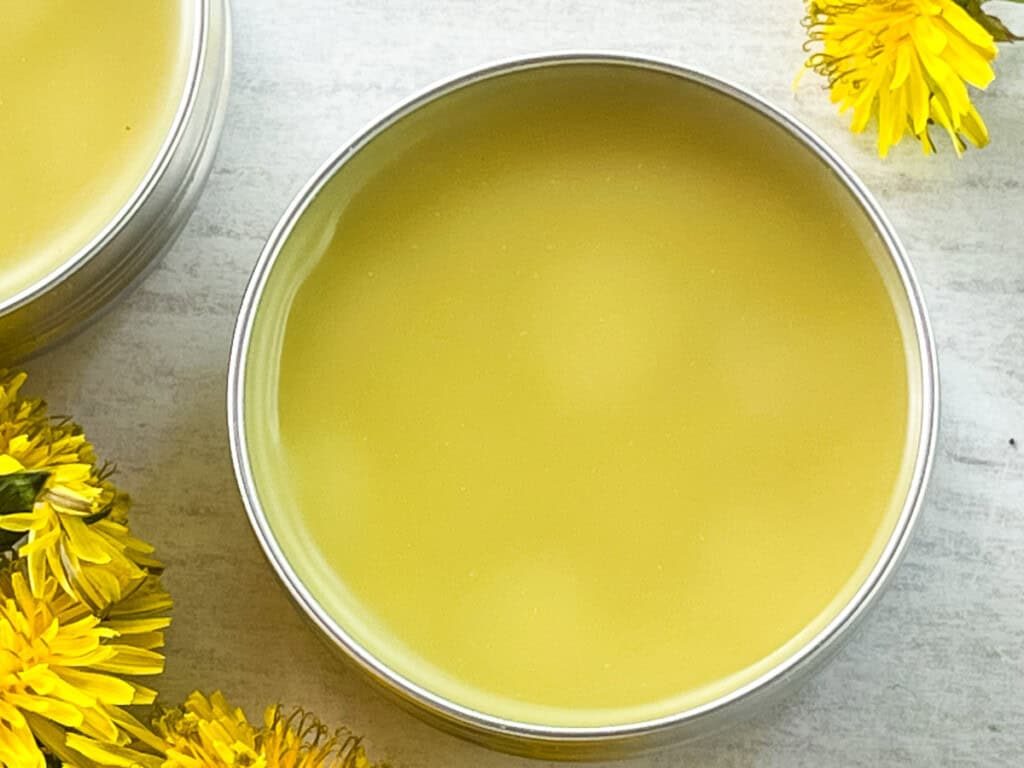
Tinted Moisturizer DIY to: Match Any Skin Type
Also filed inBath and Beauty
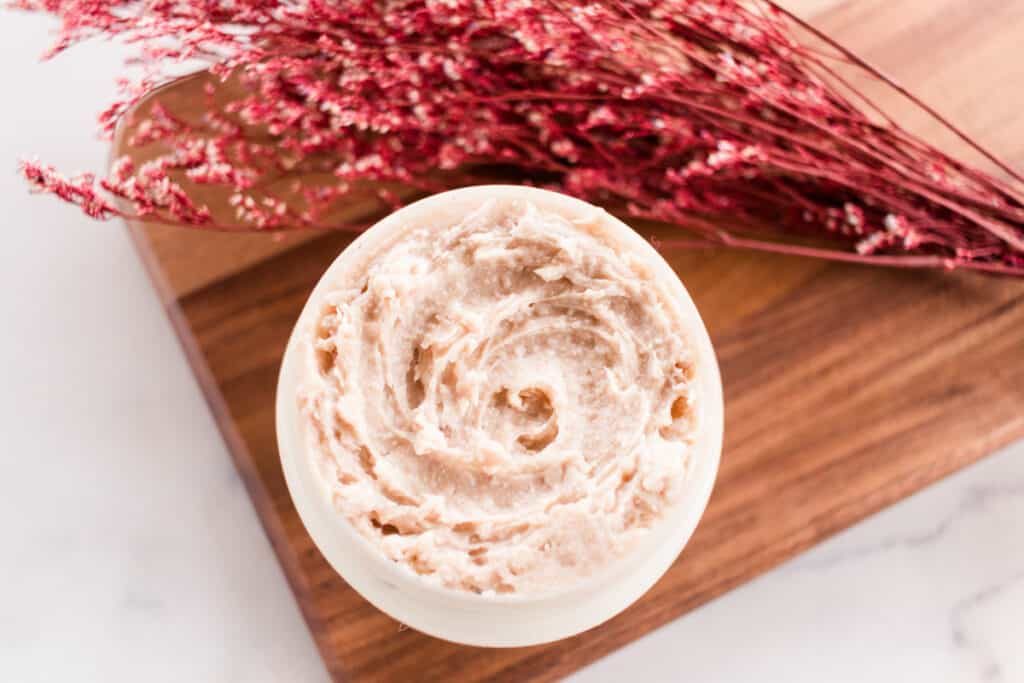
Get a perfect color match with this tinted moisturizer DIY! Fun to wear, enjoyable to make, and has a great effect each time you apply it.
It’s that time of year – and we’re desperate for sunshine. Literally, there’s just not enough warmth to sit outside and sunbathe yet.
So the next best thing is a decent tinted moisturizer to give our skin a warming glow and make us look a touch healthier.
We always faced a challenge when choosing the right tint of tinted moisturizer. Light? Medium? Is it to much?
Is it like a homemade foundation but just under a different name?
Or a different product altogether? We had so many questions!
Initially, we got confused by the swathe of shades and tones lining the store shelves, so we decided to make our own DIY tinted moisturizer a la the studio.
No longer are there concerns about which tint matches which skin tone. This recipe is awesome for getting a color match that is customized to you only.
And while tinted moisturizers are considered a makeup, intended to lightly cover or blend unwanted skin blemishes, it really is a moisturizer with color pigments.
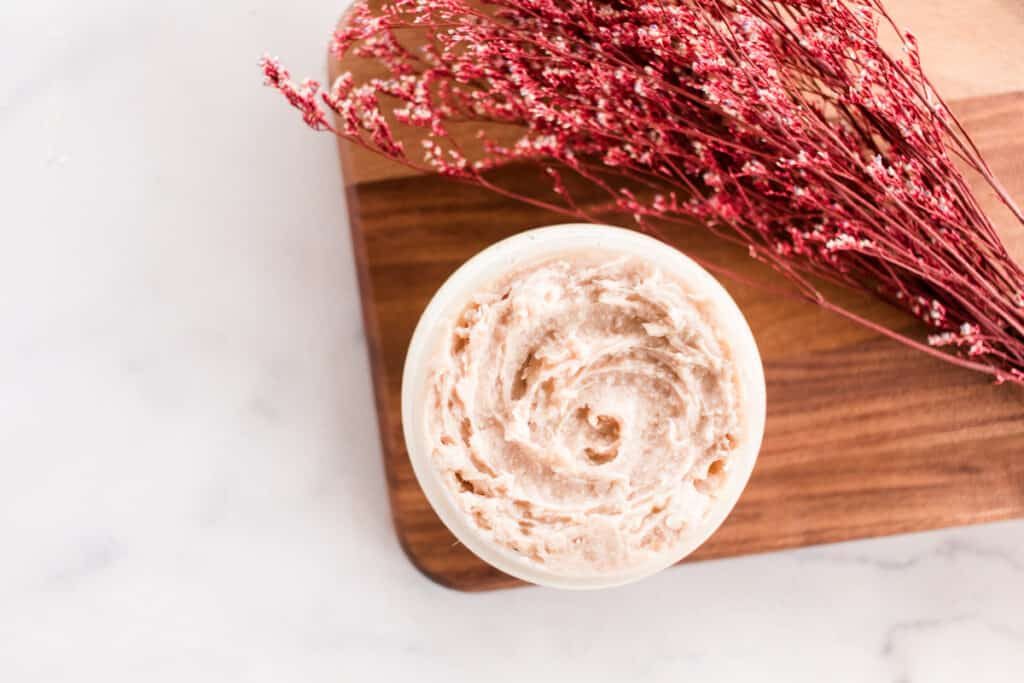
What is tinted moisturizer?
A tinted moisturizer is a combination of moisturizer and color tint.
It’s usually a lighter version (moisturizing-wise) than your standard moisturizer, and for certain people, it may not be suitable just on its own.
Think of it more as a layer on top of regular moisturizing lotion. You use it in addition to your standard moisturizer.
Saying that, we have been using just this product during this cold spell we have been in, and our skin has never been softer.
So we suggest experimenting with it and seeing how it feels on your skin.
Why you’ll love this recipe
- You can follow along with me. We'd love to say this recipe is ‘easy’ to make, but it’s a touch more complex than some of our other recipes. But! Don’t worry. Simply follow our guidance.
- You can customize it. We've designed this recipe to match your skin tone perfectly. However, you need to do the color match! Again – no fear; we'll take you through it step by step.
- It’ll save you money. Once you purchase the basic ingredients, you can make several batches of tinted moisturizer DIY!
This note contains affiliate links, which means we make a small commission at no extra cost to you. Get our full disclosure HERE.
How to make tinted moisturizer DIY
Tools you will need:
- Double boiler (or a saucepan with a bowl for a makeshift boiler)
- Bowl
- Spoon for mixing
- Storage container
Ingredients:
- 1/2 cup of shea butter
- 1/2 cup of cocoa butter
- 1/4 cup of fractionated coconut oil
- 1 teaspoon of beeswax
- 2 tablespoons of arrowroot powder
- Colorant of choice (see “choosing tint” below)
Instructions:
Melt the shea butter, cocoa butter, fractionated coconut oil, and beeswax in a double boiler. Or place a bowl over a saucepan of water and slowly bring it to a boil.
Once melted, set it aside until it is set up slightly. You can place it in the freezer to speed up this part of the process. We find half an hour is the perfect amount of time for our freezer.
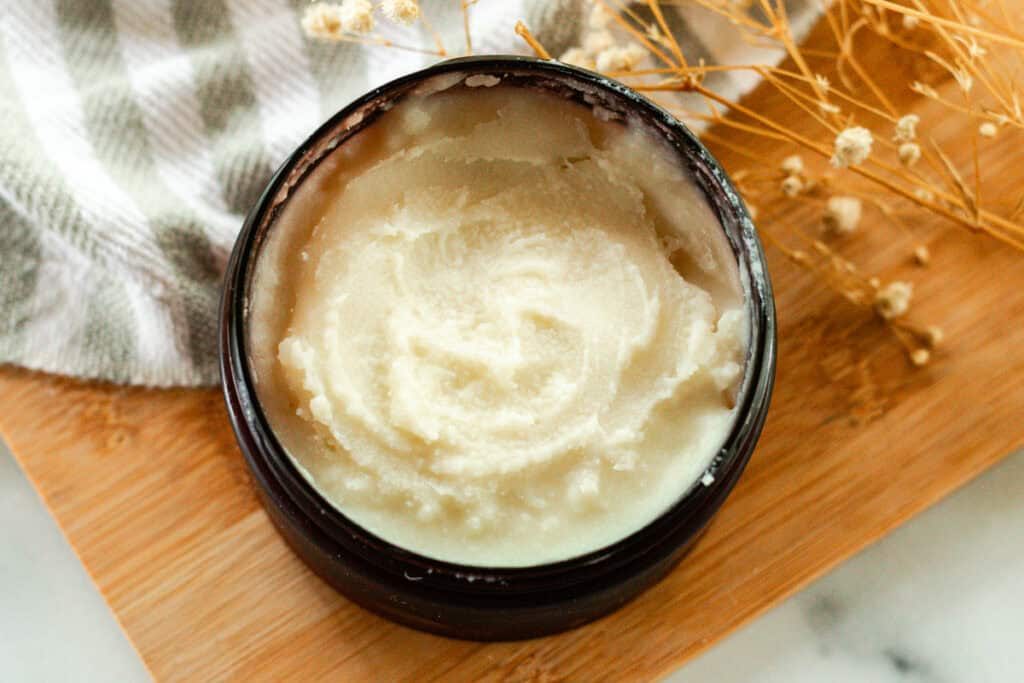
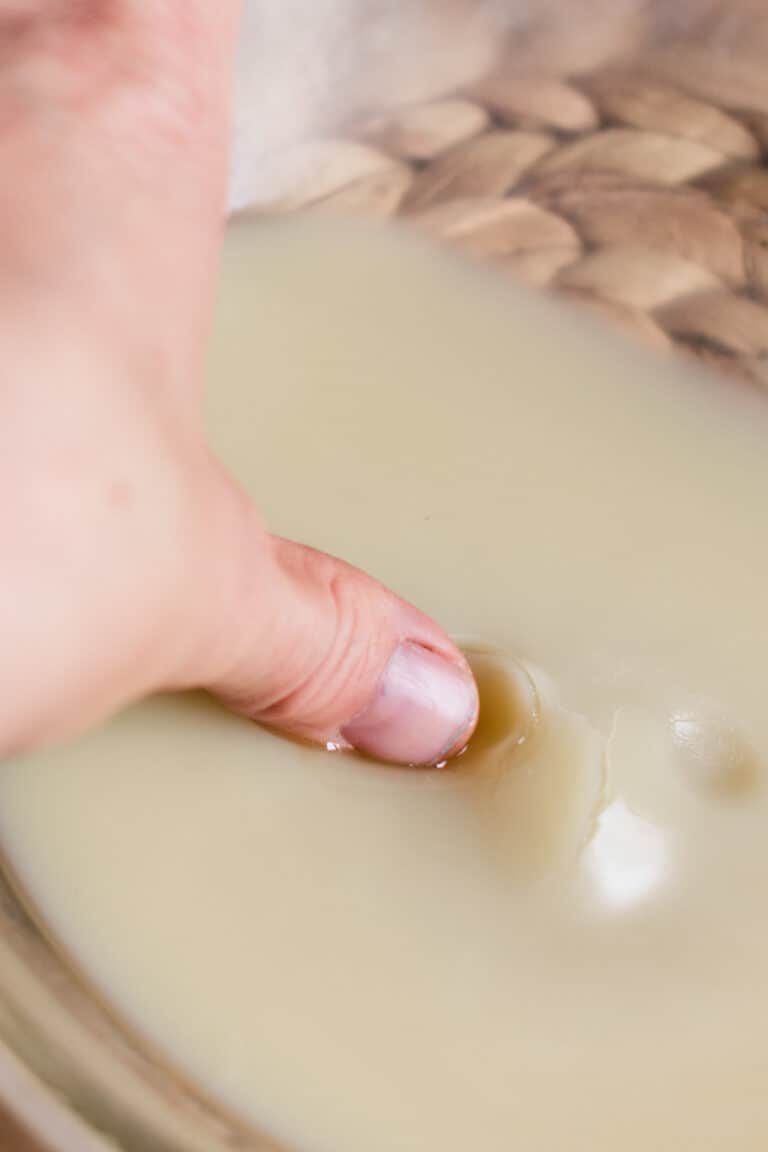
Once it’s set up, you should be able to press your thumb gently into the moisturizer, and it should form an indent.
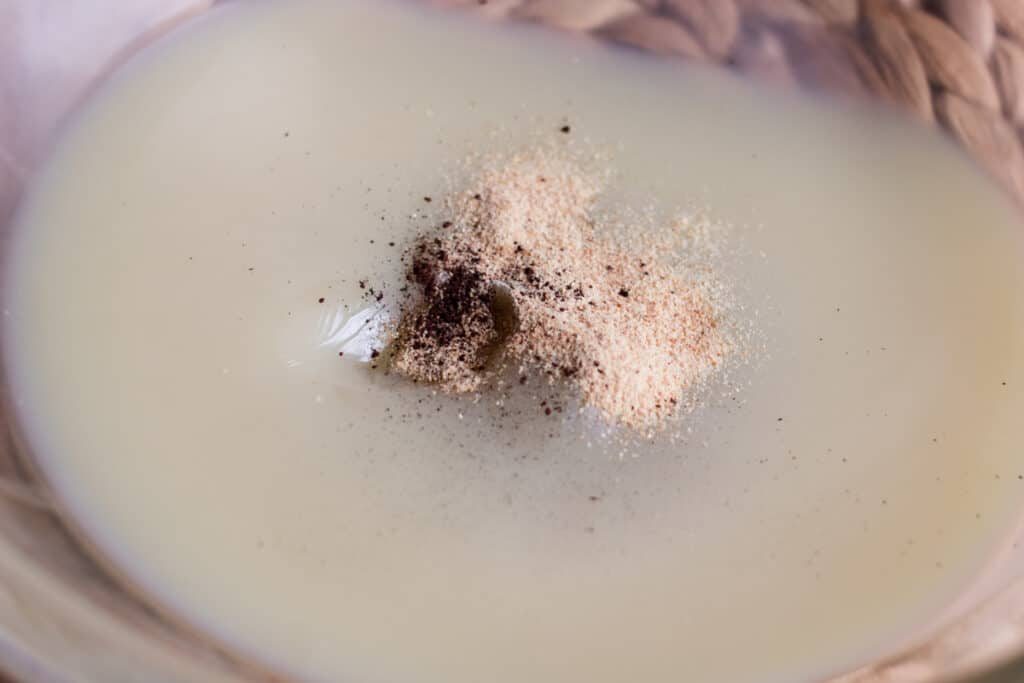
Now add in your arrowroot powder and colorants. We use a teaspoon of lemon peel powder and a tiny pinch of brown oxide pigment to match our skin tone.
If you are unsure how much to add, we always suggest starting with less and adding more as needed.
We are not trying to dye our skin here; simply adding a subtle tint.
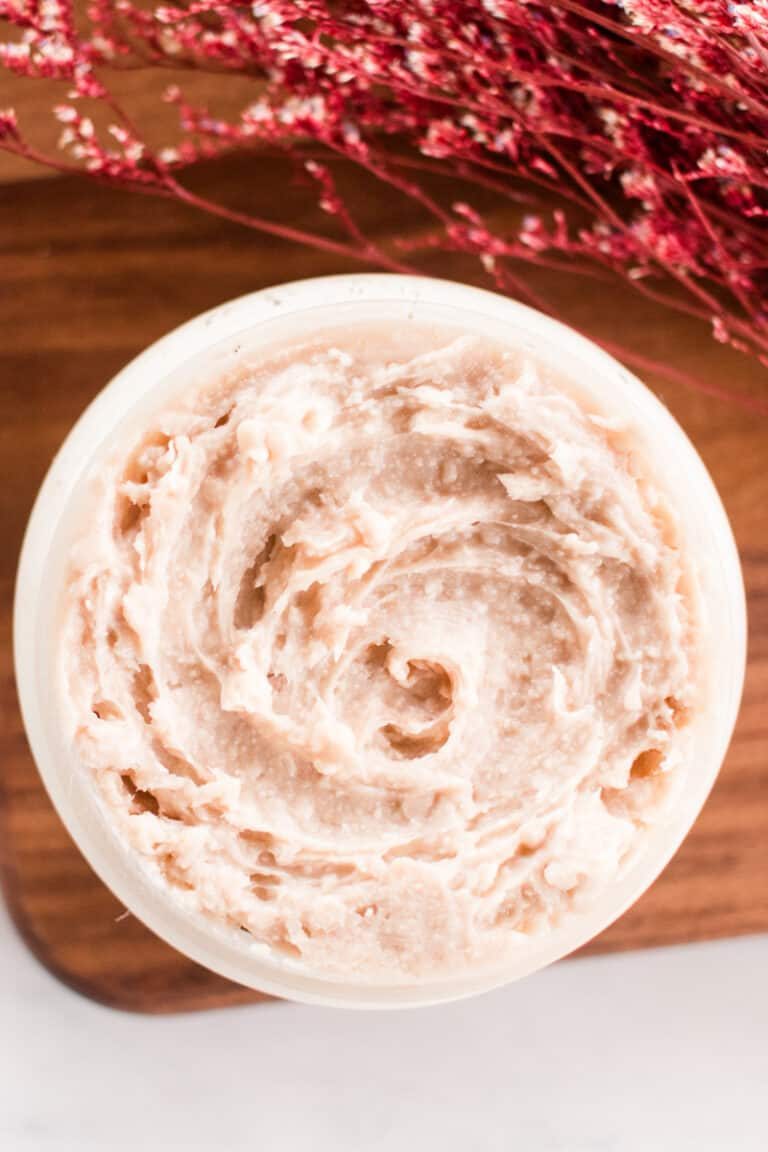
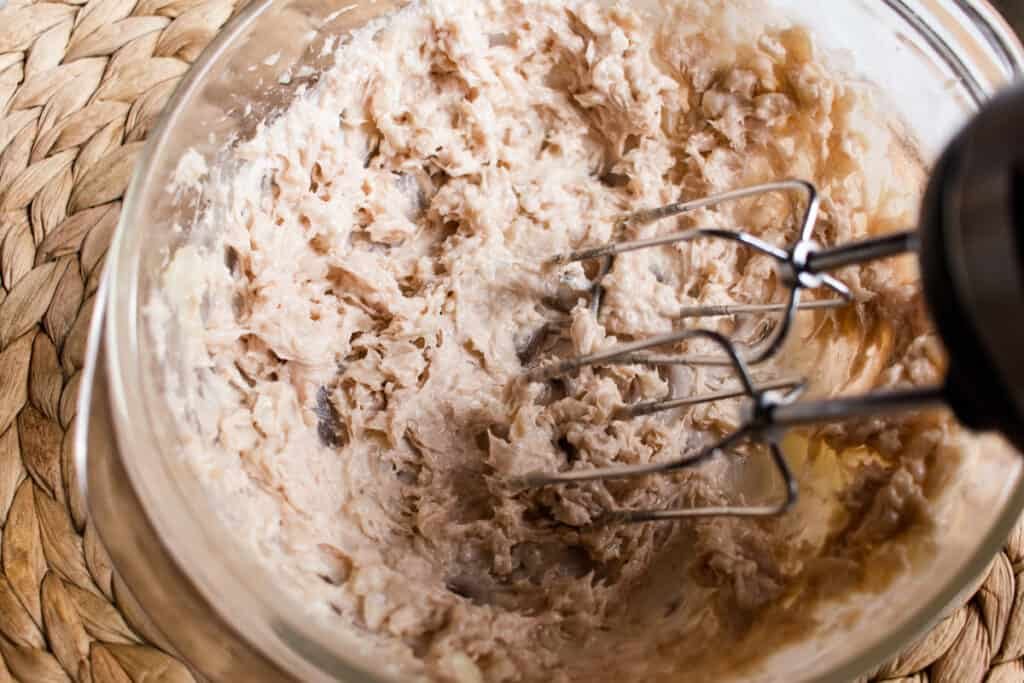
Finally, use an electric hand mixer to whip the ingredients until it’s light and airy; about 3 minutes should be enough.
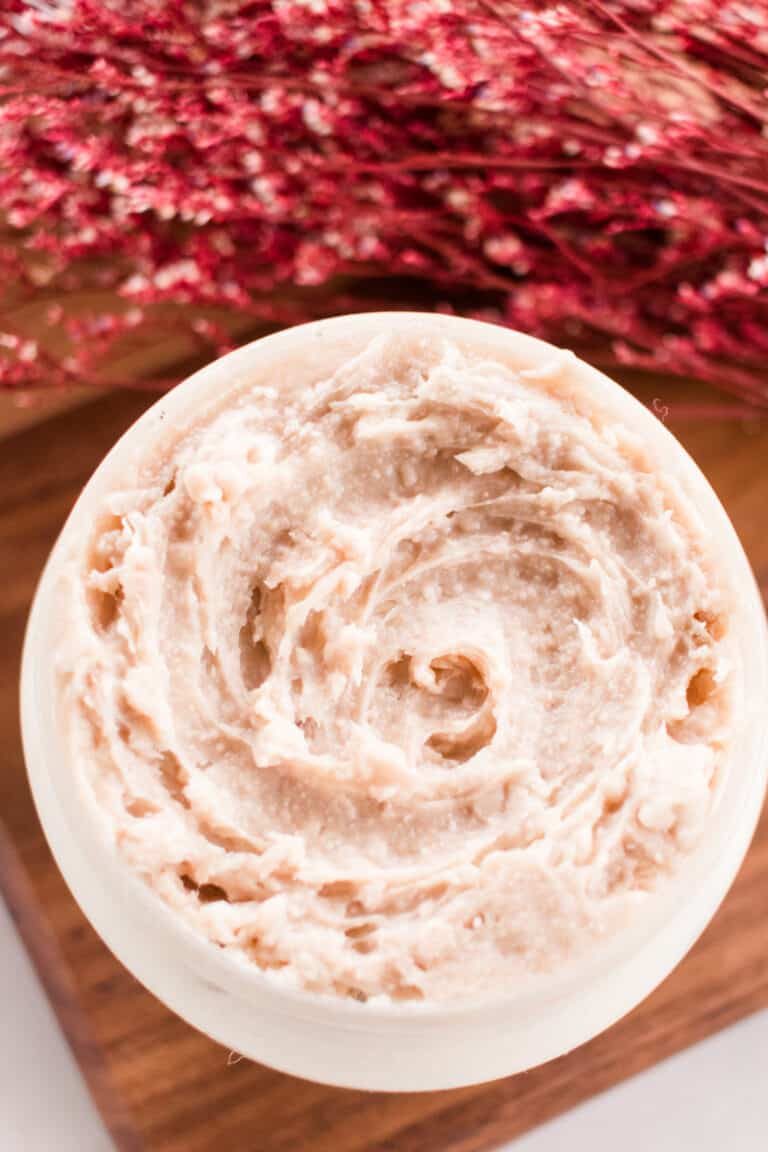
Store in an airtight container.
How to apply
It may seem basic to have a section on applying moisturizer, but as this is a tinted moisturizer, we feel it’s needed!
The key with tinted moisturizer is to blend it in. Start with a small amount and rub it into your hands to warm it, spreading it out as you go.
Then start on your cheeks, work it up to your forehead, and round the sides of your face finishing with your nose and under-eye area.
Really do blend! You might need to rub it in more than you’re used to, and that’s OK. It beats having blotches or patches of built-up tint.
You could always try a blending brush, too – we haven’t any experience with this as we tend to use our fingers, but we've heard blending brushes are quite useful.
How to choose a color tint
Here are suggestions for color tints. Be sure to experiment a bit, as it will take trial and error to get exactly what you are looking for.
And remember, skin tone changes naturally somewhat with the seasons.
We like using our inner wrist to guide me with the tint color.
Adding tiny amounts of brown oxide pigment bit by bit, we mix as we go and then test the color to see when it matches.
(we find testing on our wrist easier than smearing it on our face every time!)
Light Skin Tones
- 1 teaspoon of lemon peel powder
- a small pinch of brown oxide pigment
Medium Skin Tones
- 1 teaspoon of yellow Brazilian clay
- A pinch of brown oxide pigment
Dark Skin Tones
- 1/2 teaspoon of cocoa powder
- 1/8 teaspoon of brown oxide pigment
Adjust the amounts to fit your desired color. Start slowly and add more as you go. Starting with less means you can always add more as needed, but you can’t remove it once it’s added.
If you like, you could add a couple of drops of essential oil to your tinted moisturizer DIY for added fragrance. Or try your hand at this homemade face moisturizer!
Note: If you don’t have brown oxide pigment, ground cloves make a good substitute and add a lovely scent, too.
Tips/FAQs
Is the color really noticeable? Using the exact amounts recommended below will lightly blur any imperfections or even out your complexion without looking like you are wearing makeup.
If you want something to completely cover the skin, we suggest using a natural DIY concealer.
What if we don’t have cocoa and shea butter? For the most part, cocoa butter and shea butter are interchangeable.
They both have their own unique benefits, and cocoa butter is a much harder product, something to consider if you substitute for one or the other.
Can you use tinted moisturizer as a regular moisturizer? Yes, they are essentially the same, with the exception of the added color in tinted moisturizer.
Storage
This tinted moisturizer DIY will last up to one year if stored correctly in an airtight container in a cabinet or in your makeup bag.
It’s best to store it away from direct sunlight – so windows are a no-go.
Takeaway
This tinted moisturizer provides the best of both worlds; its two-in-one formula gives your skin a luminous, natural glow while also providing long-lasting hydration.
And it is formulated perfectly for blending away any skin spots and blemishes to give you a smoother complexion.
We hope you enjoy making this tinted moisturizer DIY! Let me know how it turned out in the comments below! And if you loved it, give it a 5 star!
For more great skincare/makeup recipes, enjoy making one of these next!
- Moisturizing tallow body butter recipe
- DIY glowing skin body butter
- DIY body oil
- Our top 15 oils for natural skin care
- How to make tinted lip balm
Tinted moisturizer DIY
By the studio Ascher Prep: 5 minutes minsActive: 25 minutes minsAdditional Time: 30 minutes minsTotal: 1 hour hr Yield: 10 oz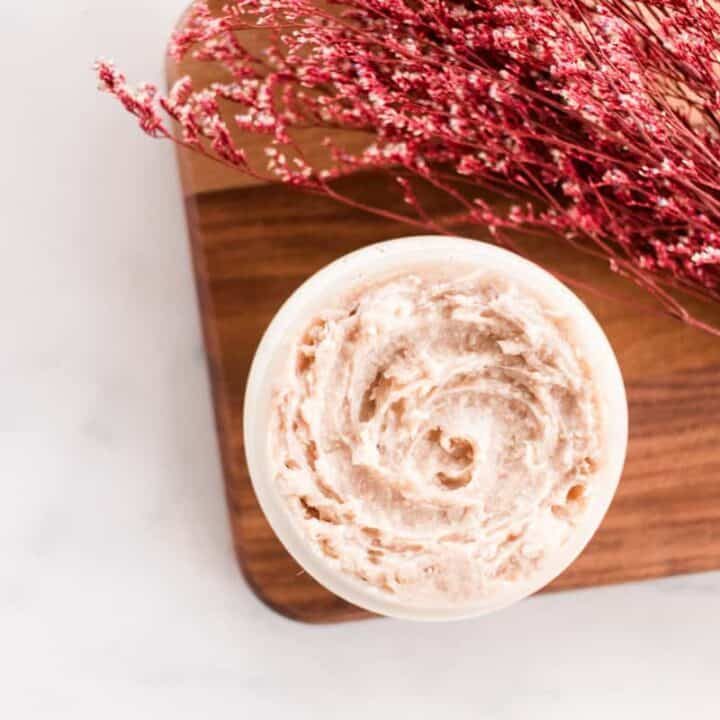 SaveSaved Pin Print Try making your own tinted moisturizer DIY. Get the perfect color match! Fun, enjoyable to make, and a great effect each time you apply it.
 Equipment
- Double Boiler
- Bowl
- Spoon for mixing
- Storage Jar
Ingredients
- ½ cup of shea butter
- ½ cup of cocoa butter
- ¼ cup of fractionated coconut oil
- 1 teaspoon of beeswax
- 2 tablespoons of arrowroot powder
- Coloring tint, see notes below
Instructions
- Melt the shea butter, cocoa butter, coconut oil, and beeswax in a double boiler.
- Then set it aside until it set up slightly. You can place it in the freezer for about a half hour to speed up this part of the process.
- Once it's set up, you should be able to press your thumb gently into the moisturizer, and it should form an indent.
- Now add in your arrowroot powder and colorants. We use a teaspoon of lemon peel powder and a tiny pinch of brown oxide pigment to match our skin tone.
- Finally, use an electric hand mixer to whip the ingredients until it's light and airy; about 3 minutes should be enough.
- Store in an airtight container.
Notes
Light Skin Tones
- 1 teaspoon of lemon peel powder
- a small pinch of brown oxide pigment
Medium Skin Tones
- 1 teaspoon of yellow Brazilian clay
- A pinch of brown oxide pigment
Dark Skin Tone
- 1/2 teaspoon of cocoa powder
- 1/8 teaspoon of brown oxide pigment