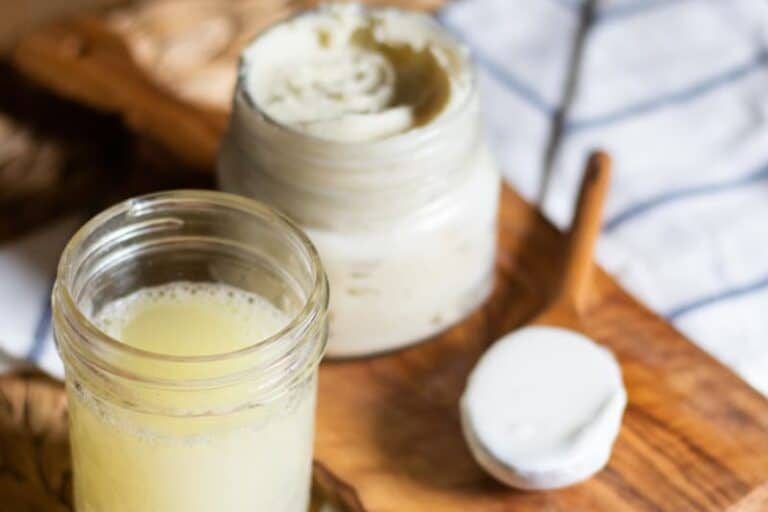
DIY Eye Serum
Also filed inBath and Beauty
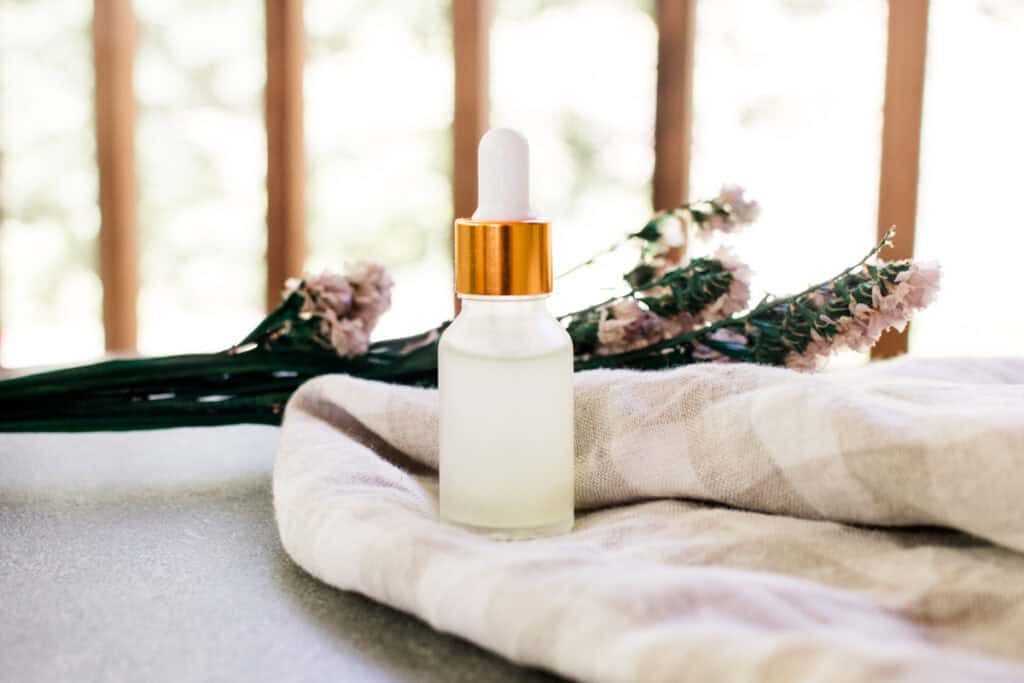
Give the skin under your eyes a glowing, youthful look with DIY eye serum! This powerful combination of natural ingredients helps to minimize fine lines and dark spots while reducing eye puffiness.
We're always on the hunt for good anti-aging products that we can DIY. Making our own anti-aging skincare routine is fun, it saves money, and we can choose the highest quality ingredients for our skin.
We've been making our own eye cream for years, but we recently discovered eye serum.
We're a huge fan of serums and have made them for nearly everything from our hair serum DIY to our nail growth serum recipe to our eyelash serum. Of course, we had to try out DIY eye serum!
This new addition to our routine has been amazing for the skin around our eyes. We have noticed less puffy eyes, fewer dark circles, and our fine lines look smoother.
If you’re like me and want to keep your anti-aging skincare natural, simple, and homemade, you’ll love making your own eye serum.
Why you need an eye serum
As we age, our bodies experience a loss of collagen production. Combined with years of sun damage, stress, and other environmental factors, our skin naturally shows signs of aging.
You may notice the emergence of fine lines and wrinkles, dark circles, age spots, and puffiness, particularly under your eyes. These changes are natural and normal, but there are ways you can support your body and reduce the signs of aging.
Eye serums are a simple yet powerful addition to your skincare routine that can minimize fine lines, dark circles, and wrinkles as seen in this study by the NIH.
A quick application each day will nourish your skin and promote skin elasticity under your eyes. Learn how to make your own eye serum to save money and keep your products natural.
Eye Serum vs. Eye Cream
We've been using homemade eye cream for a long time and we was very excited to try eye serum! These two products are intended for similar purposes, but they have a few key differences.
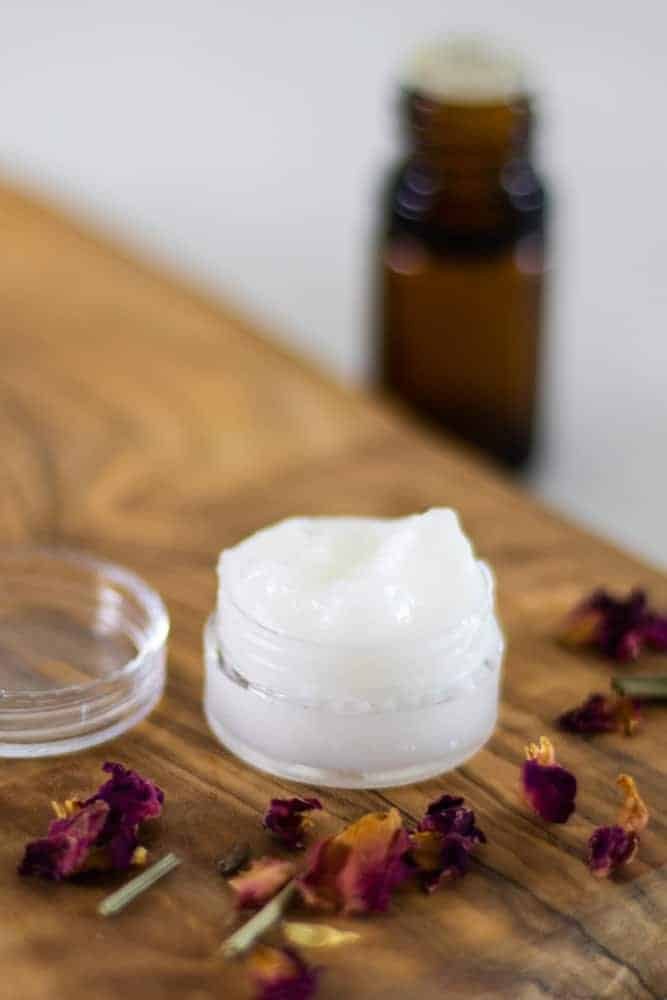
Eye cream is a thick, moisturizing product that takes longer to soak in than eye serum. It’s typically less concentrated and more gentle, making it more suitable for sensitive or dry skin.
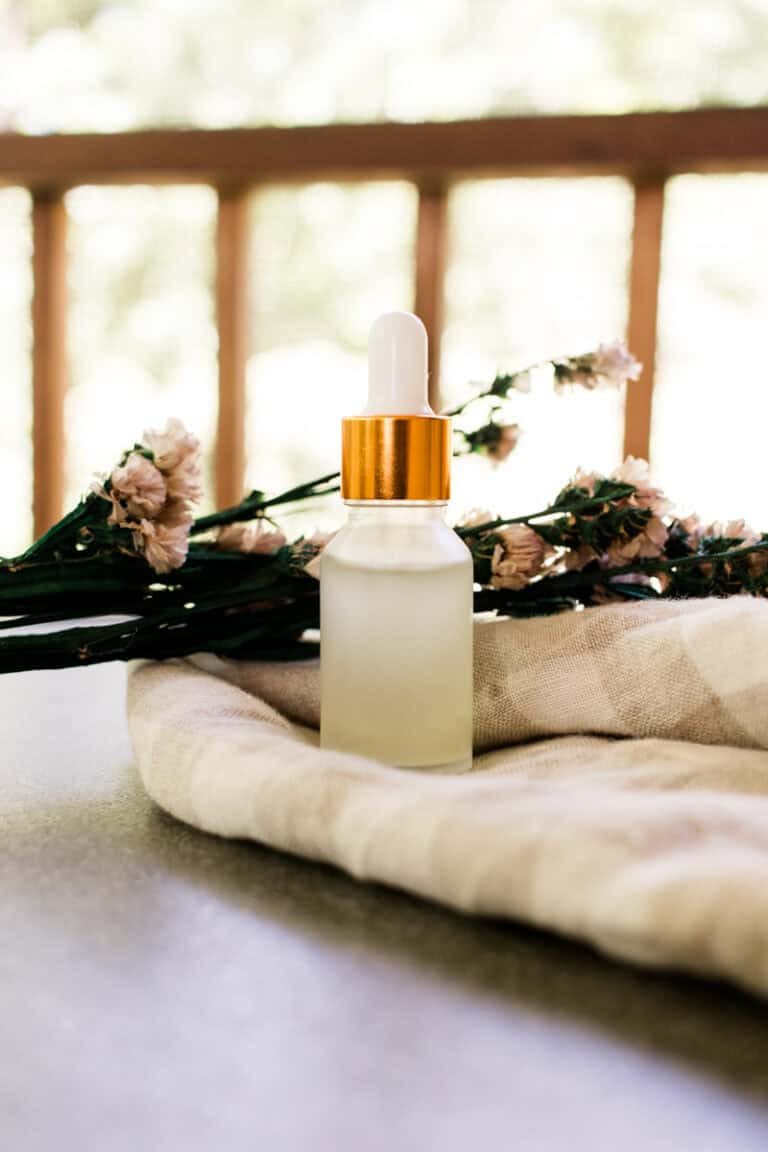
Eye serum has a more liquid consistency and is less moisturizing than eye cream. It is also more concentrated, so you can get all of the anti-aging benefits in one small application.
You can make both eye cream and eye serum at home with simple, natural ingredients. Our recipe for eye cream uses essential oils to provide anti-aging properties, while our homemade serum contains rosehip oil to brighten and tighten the skin.
Either product is an excellent choice for the skin and works to reduce signs of aging. You can choose the one that’s best for your skin type and preferences.
We would suggest using eye serum in the morning, as it’s quick to absorb and goes well under makeup. Then, apply eye cream before bed to moisturize and get long-lasting benefits as you sleep. If you’d like, you can even use both!
What goes into this
- Fractionated coconut oil: This will be our main carrier oil for the DIY. It’s lightweight and relatively inexpensive. Be sure to use fractionated coconutoil, not virgin coconut oil. Feel free to experiment with other lightweight carrier oils, too, such as grapeseed oil or sweet almond oil.
- Aloe vera gel: Aloe vera has a whole host of uses around the eye area. There are numerous articles describing the benefits of aloe, including this article by WebMD, stating aloe alone can be used for fine lines, wrinkles, and dry skin.
- Rosehip oil: We've already touched on the rosehip above, but consider this little ingredient the superstar of this DIY.
- Geogard 221: Because we are adding aloe vera, we’ll need to use a preservative to extend the shelf life. If you would rather not use a preservative, you will need to store this in the fridge.
Tip: You can make your own rosehip oil if you want to DIY even more!
How to make this DIY
Before you begin, wash your hands thoroughly with soap and water. In a well-ventilated area, wipe down your workspace and all equipment with rubbing alcohol.
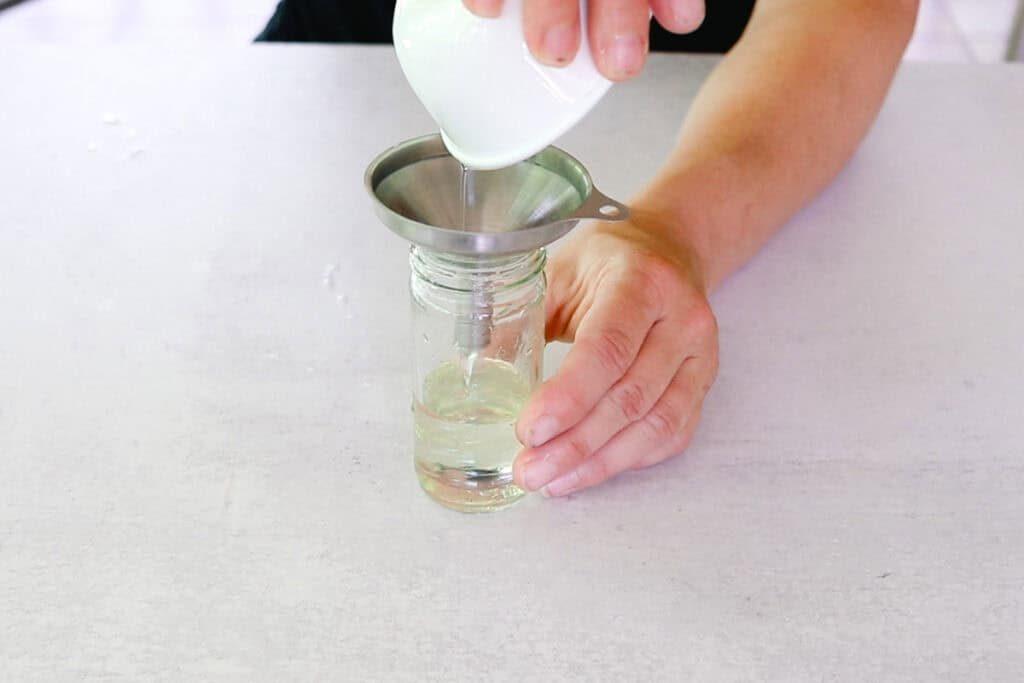
Step 1. Carefully add the fractionated coconut oil and rosehip oil into the glass beaker.
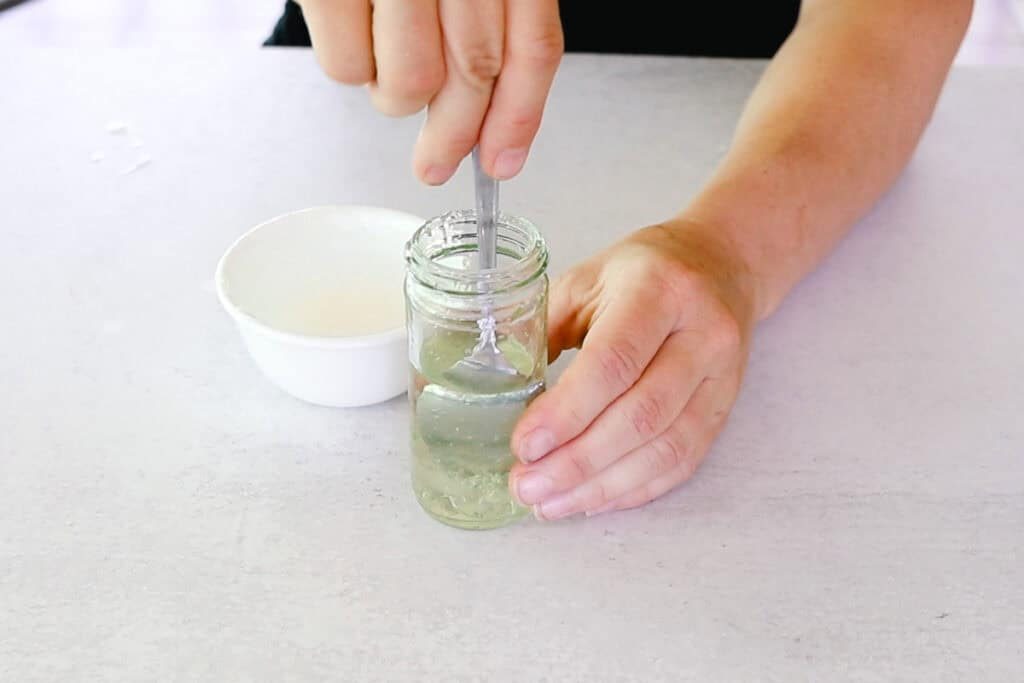
Step 2. Add the aloe vera gel and stir in well.
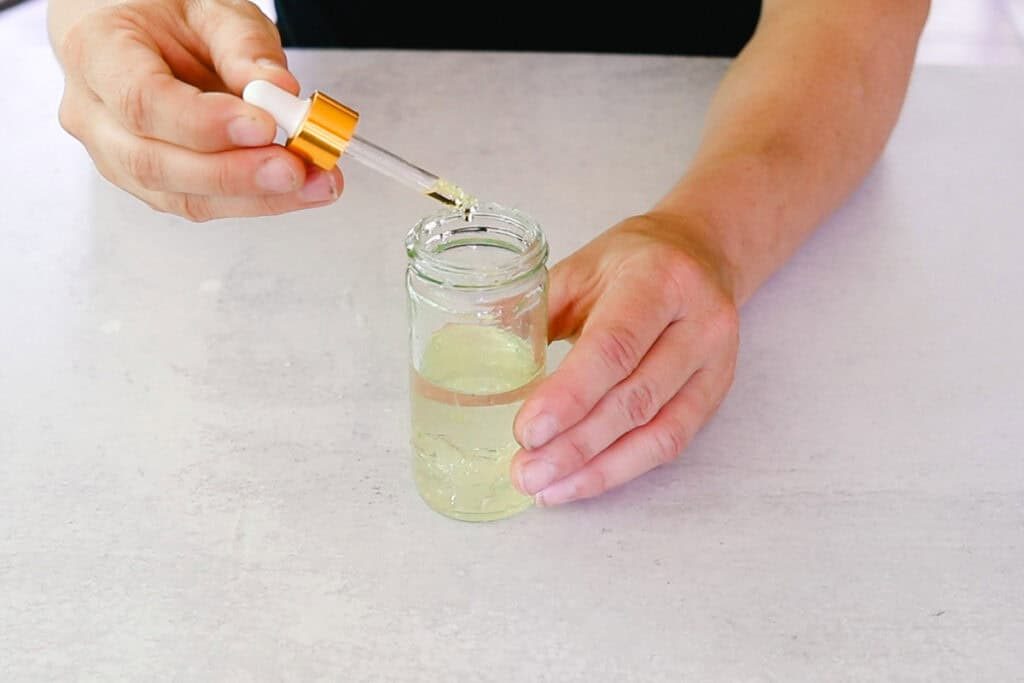
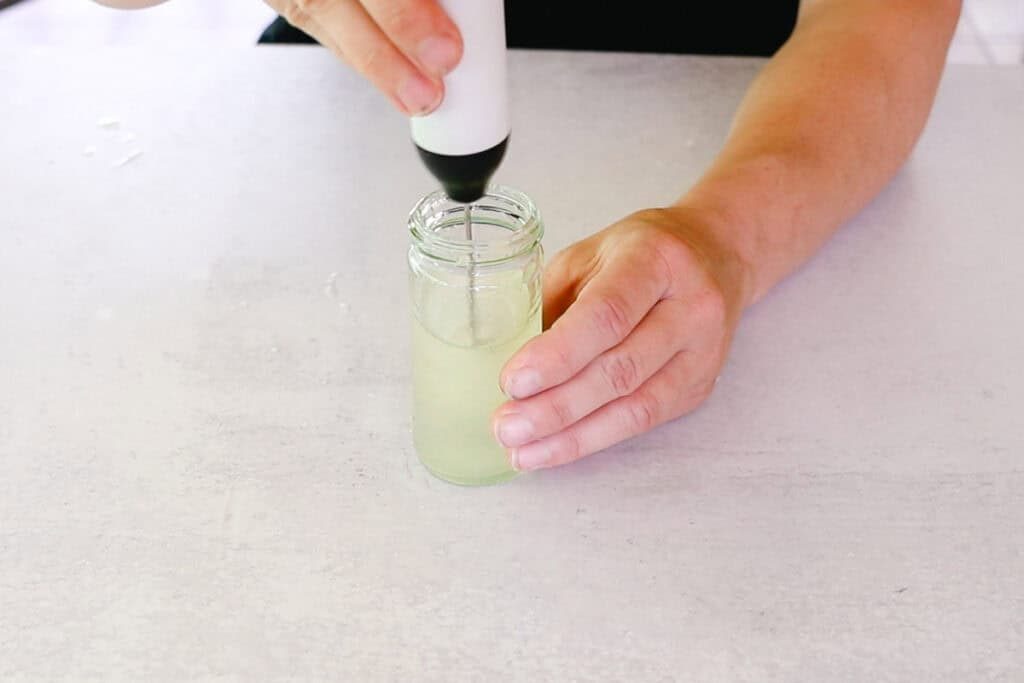
Step 3. Finally, add the Geogard 221 preservative and use a high-speed mixer to incorporate the ingredients fully.
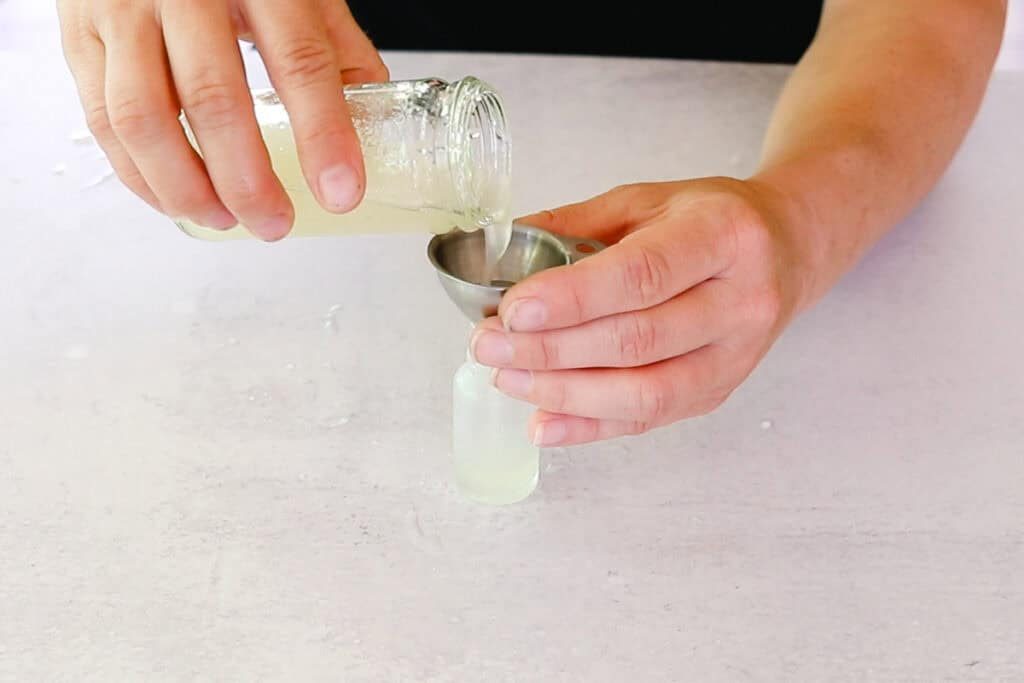
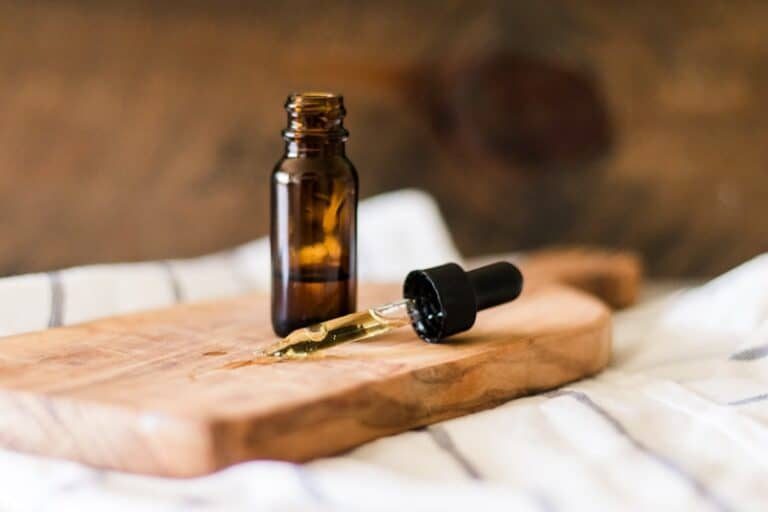
Step 4. Transfer to a dropper bottle and store in a cool, dark place
How to Apply Eye Serum
For best results, apply eye serum once a day. Anti-aging products are never one-and-done products; they are best used consistently as you age.
Shake the serum well before each use. After washing and drying your face, apply a very small amount under the eye. A little bit goes a long way; start with a couple of drops.
While this recipe uses natural ingredients, they can be harmful if you get them in your eyes. Be gentle as you dab and rub the serum into the delicate skin under your eyes. Apply the serum with clean hands, being very cautious around the eyes.
Along with serum under the eyes, you may want to reduce the appearance of fine lines and wrinkles on the rest of your face. We have several recipes for nourishing serums for anti-aging.
You can find those, along with our masks and creams, in our roundup of DIY anti-aging skincare recipes.
DIY Eye Serum FAQs
How long does this eye serum last?This DIY serum lasts up to a month at room temperature when you use the Geogard 221. If you decide to skip the preservative, be sure to keep the serum in the refrigerator to maintain a similar shelf life.
Are eye serums safe?As with any new product you use around the eyes, you’ll want to do a patch test first to check for any sensitivities. We suggest applying a small amount to your inner elbow and checking for any adverse reactions after 24 hours.
How much serum should we use?You only need a few drops of serum for the under-eye area.
Expert Tips
Tip #1: You may find that you are unable to use the whole bottle before it goes bad. While it is tempting to halve the recipe to prevent waste, we have tried this and it’s simply not enough product to measure and properly mix. If you’d like to be sure it all gets used, we recommend gifting half to a friend. They’ll surely appreciate it and you can avoid waste!
Tip #2: It may go without saying, but this should not be applied to the eyes! Make sure you only use a small amount of product so it doesn’t run, and apply it to the under-eye area only.
Tip #3: Always consult with a dermatologist before using this product or any new product on your face.
And that’s all there is to it! Once you have made this DIY, amp up your brow game with our DIY eyebrow tint! Its a simple recipe that delivers bold, beautiful brows to leave you feeling confident all day long.
Related content
- Anti-Aging Matcha Face Mask
- DIY Anti-Aging Face Cream
- Essential Oil Roller Bottle for Anti-Aging
- How to make an under eye mask
If you tried this Homemade Eye Serum Tutorial or any other tutorial on our website, please leave a 🌟 star rating and let me know how it went in the 📝 comments below. Thanks for visiting!
5 from 1 voteDIY Eye Serum
By the studio Ascher Prep: 5 minutes minsActive: 10 minutes minsTotal: 15 minutes mins Yield: 1 bottle SaveSaved Pin Print Give the skin under your eyes a glowing, youthful look with DIY eye serum! This powerful combination of natural ingredients helps to minimize fine lines and dark spots while reducing eye puffiness.
 Equipment
- digital scale
- Gloves
- Rubbing alcohol
- Glass beaker
- High-speed mixer
- A dropper bottle, roller bottle, or other small container
Ingredients
- 3.04 oz Fractionated coconut oil, approx. 87 grams
- 0.8 oz Aloe vera gel, approx. 23 grams
- 0.08 oz Rosehip oil, approx. 2.2 grams
- 0.02 oz Geogard 221, approx. 0.6 grams
Instructions
- Wash your hands thoroughly with soap and water. In a well-ventilated area, wipe down your workspace and all equipment with rubbing alcohol.
- Using the digital scale and gloves, carefully measure out the fractionated coconut oil and rosehip oil into the glass beaker.
- Add the aloe vera gel and stir in well.
- Finally, add the Geogard 221 preservative and use a high-speed mixer to fully incorporate the ingredients.
- Transfer to a dropper bottle and store in a cool, dark place.
Video
Notes
Add a few drops to the palms of your hands and gently massage it into the skin underneath your eyes.- Be very cautious applying this product to avoid getting it in your eyes.
- This recipe lasts for about a month with the Geogard 221. If you prefer to skip the preservative, store the product in the refrigerator.
- If you don’t have fractionated coconut oil, you can substitute it for grapeseed oil or a similar lightweight carrier oil.
- Always consult with a dermatologist before using this product or any new product on your face.