DIY Tinted Lip: Balm with Natural Ingredients
Also filed inBath and Beauty
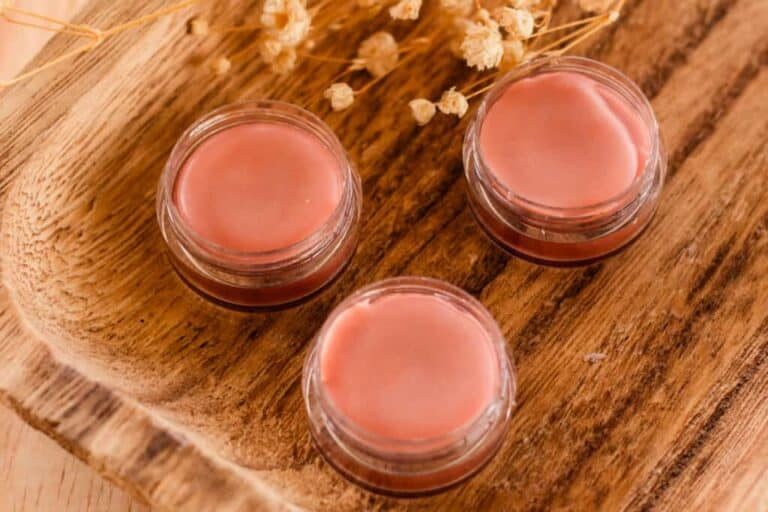
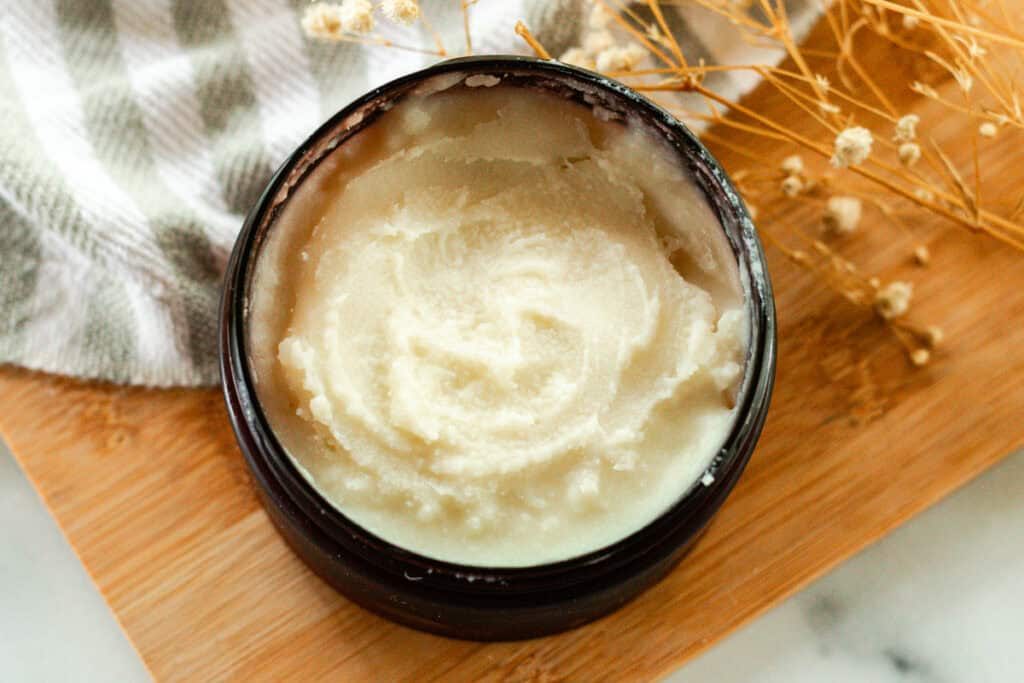
This DIY tinted lip balm is perfect for moisturizing your lips while adding a pop of color! Made with all-natural ingredients, it’s a great, affordable recipe for everyday use.
We've been making our own lip balm, like our tallow lip balm recipe, for years. Every fall, we make a big batch to last us all winter; our entire family loves it!
We recently saw tinted lip balm at the store and thought, why not make our own? We love to create DIY products with eco-friendly ingredients, so it was a no-brainer.
Natural tinted lip balm is the perfect everyday-use product to add a touch of color and hydrate dry lips. We added it to our makeup routine and we love how it keeps our lips soft and healthy while making me feel more put-together.
Why Make Your Own Tinted Lip Balm?
There are so many reasons to make your own lip balm! We first started because we wanted to ensure that the ingredients we put on our skin were top-notch, and now we'll never go back.
We recently started making this tinted lip balm, and we may love it even more than our original DIY lip balm recipe! With highly moisturizing oils and just a touch of color, it is the perfect combination of lipstick and regular lip balm.
One reason we love making our own lip balm is we know exactly what is going in it. We can customize the recipe to suit individual needs and we can ensure that only natural ingredients are going on our skin.
We purchased a set of lip balm containers years ago, and we reuse them again and again. If you have empty containers sitting around, you can even reuse those. In addition, we're always looking for ways to cut down on our plastic use, and making our own lip balm has been a great way to do that.
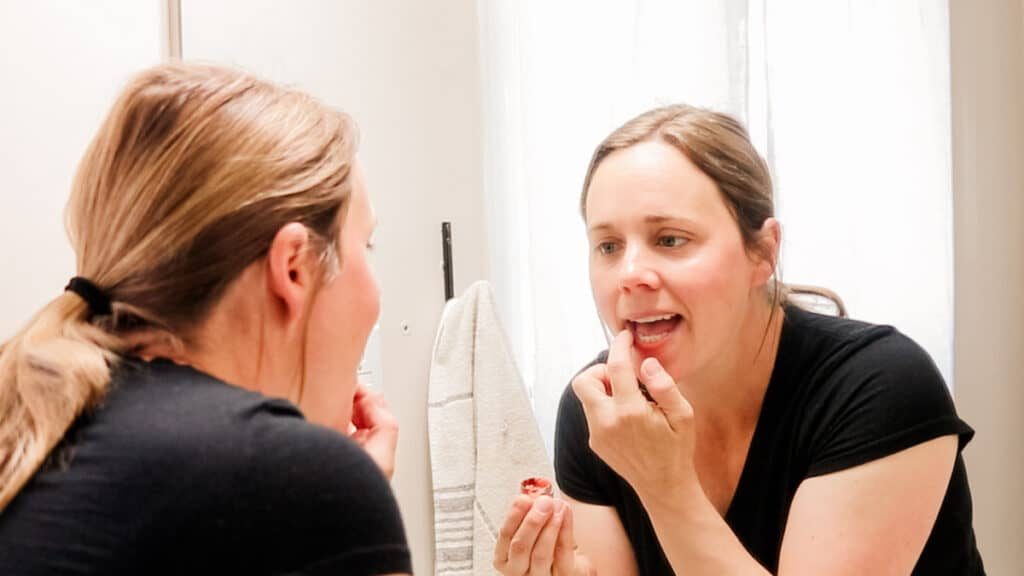
How to Make Tinted Lip Balm
It’s amazing how easy it is to make your own lip balm. All you have to do is carefully melt the ingredients and transfer them into the plastic tubes.
We like to make a big batch and keep the extras with the lids on and out of direct sunlight. They will last a long time in the right conditions and we can have more whenever we need it.
Those extras make the cutest little gifts, too, which is why this tinted balm made our list of homemade stocking stuffers this year!
What You’ll Need
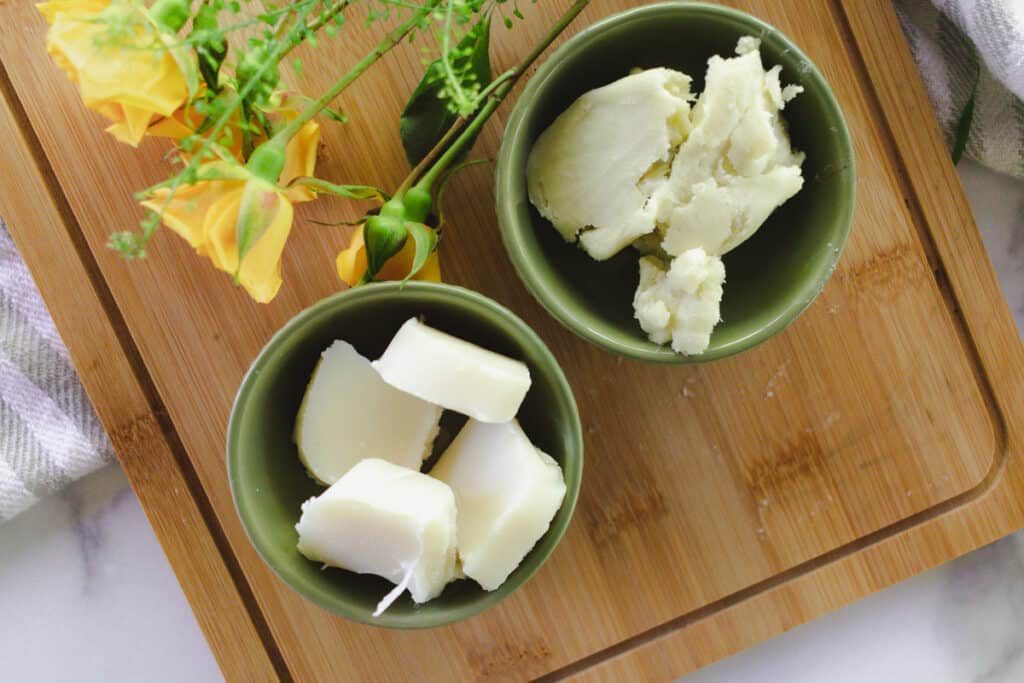
- 1 oz beeswax: We like using beeswax pellets, which melt much quicker. However, if you have a block, you can easily shred it with a box grater before melting.
- 1 oz cocoa butter: Beyond its moisturizing benefits, we love the chocolatey aroma it brings!
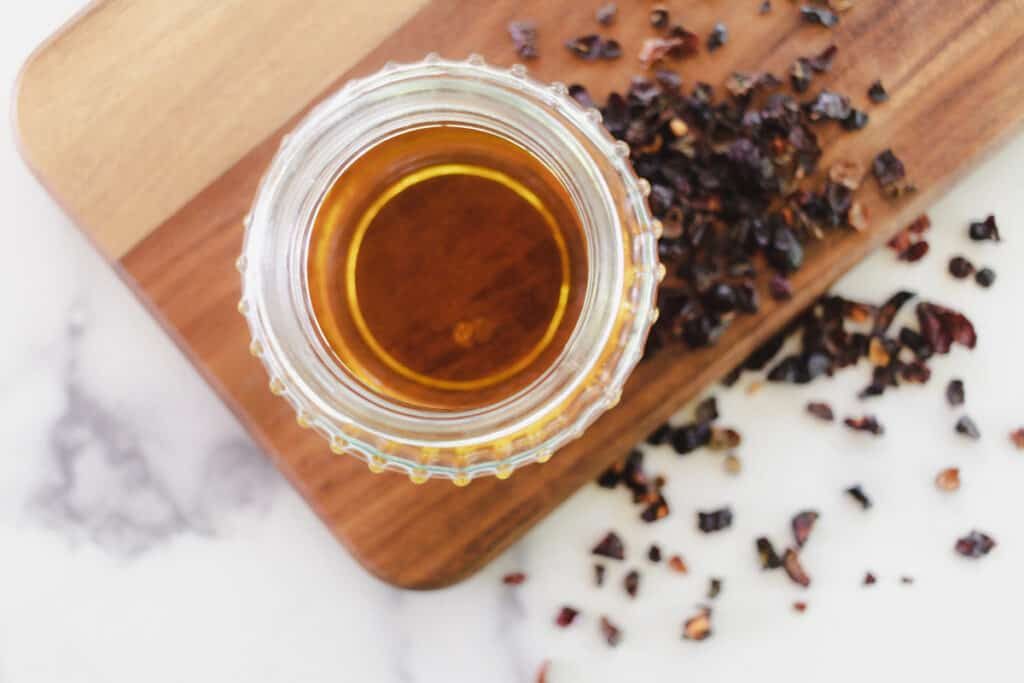
- 0.75 oz coconut oil: Please note this is regular unrefined coconut oil, not fractionated coconut oil.
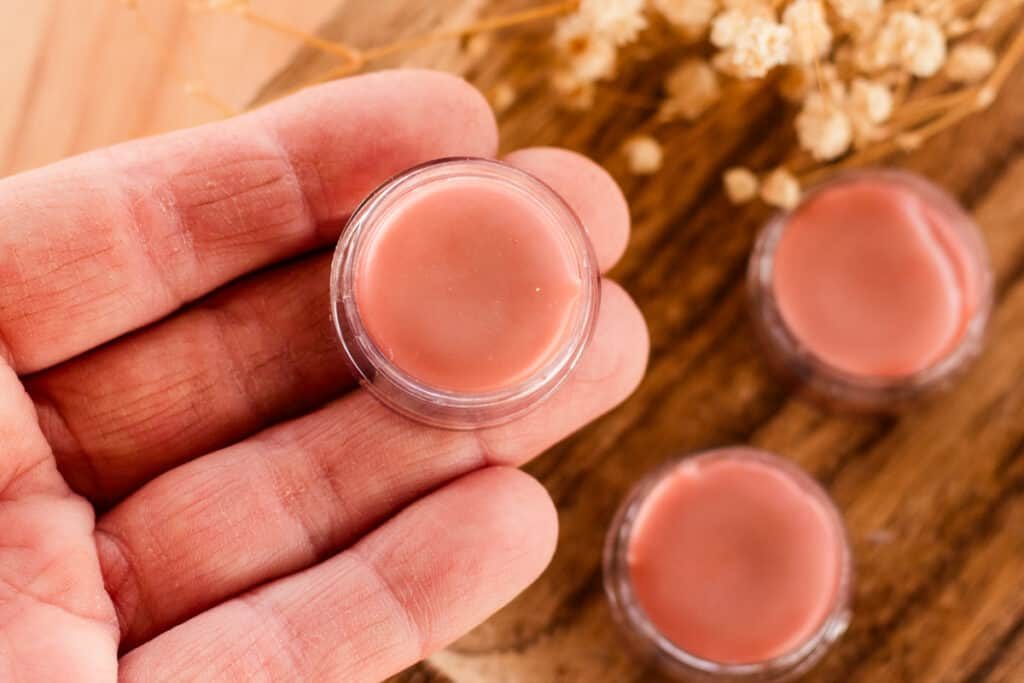
- 1/4 tsp mica powder: We used a brownish red, but of course, the color is up to you.
- Plastic lip balm tubes or shallow lip balm jars: You can reuse old ones or purchase empties online.
Step-By-Step Instructions
Step 1. Combine beeswax, cocoa butter, and coconut oil in the top part of your double boiler.
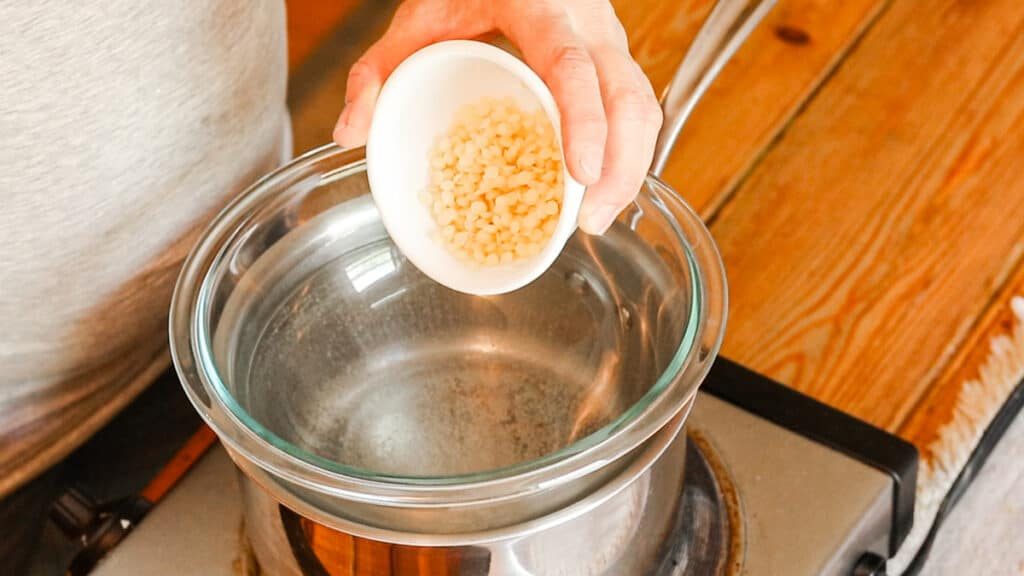
Step 2. Heat over medium heat until melted, stirring occasionally.
Step 3. Remove from heat and stir in mica powder.
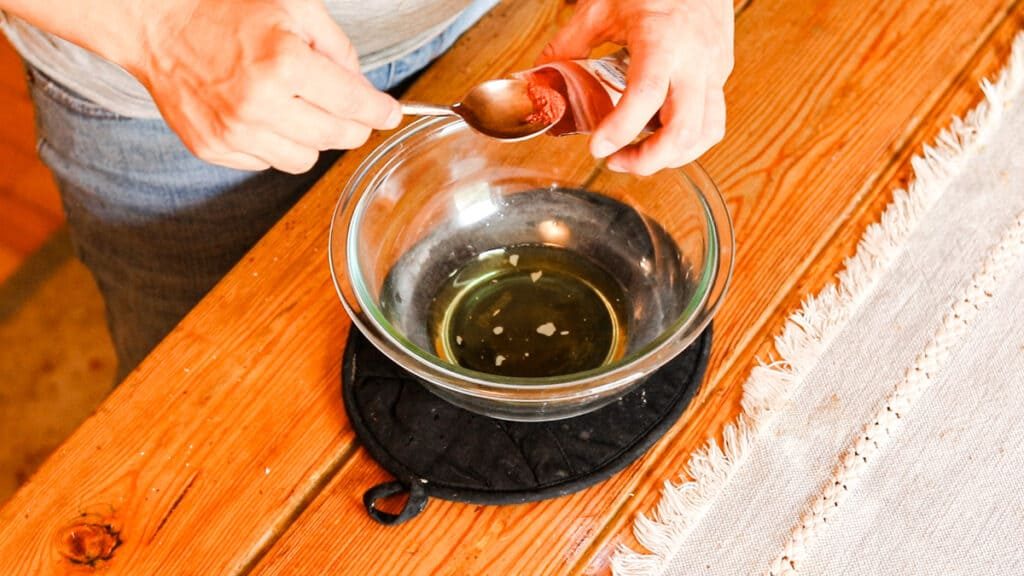
Step 4. Transfer the melted balm to a pourable container.
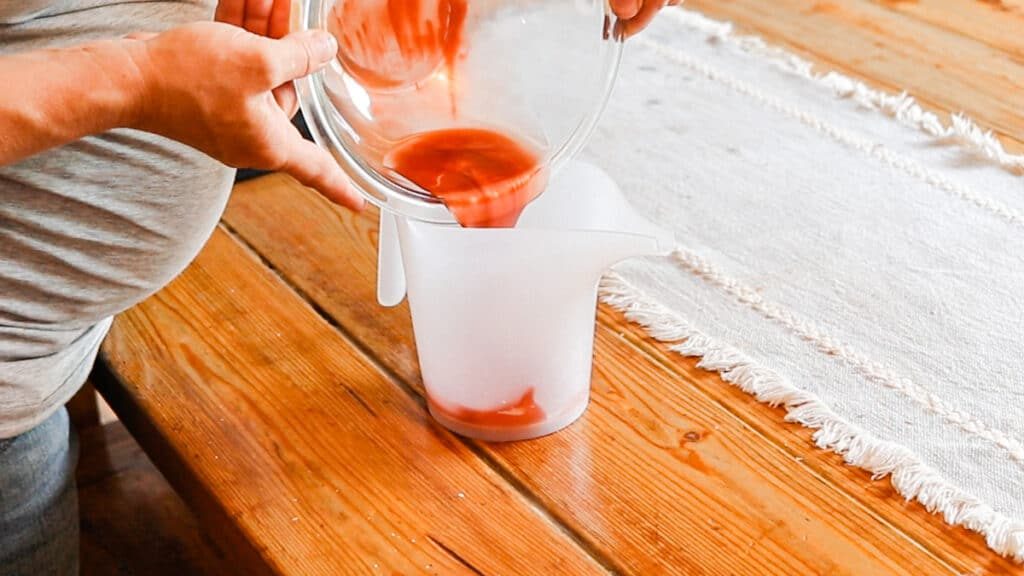
Step 5. Pour the balm into your empty tubes or shallow plastic tubs.
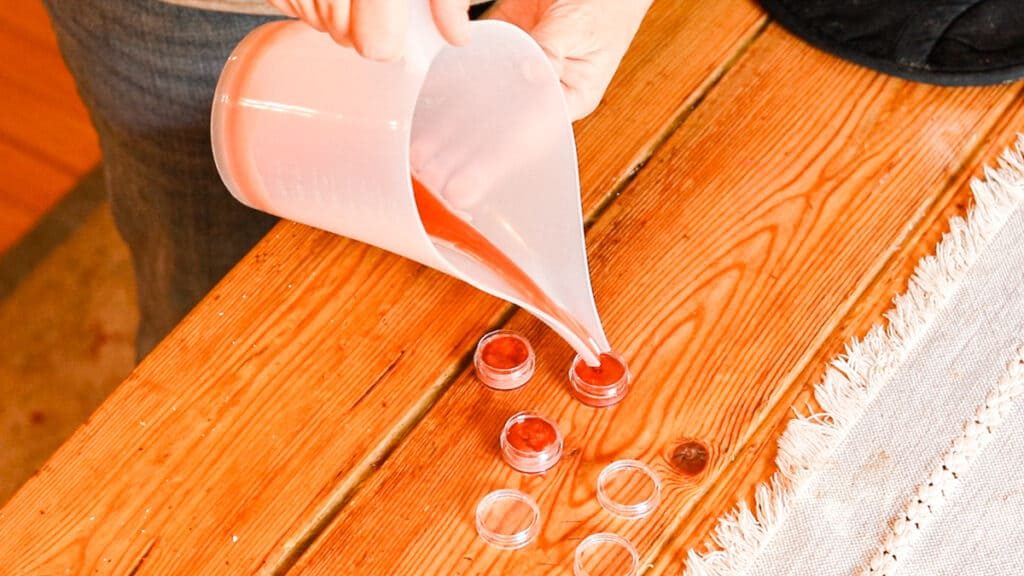
Step 6. Allow the balm to harden completely before securing the lid.
Tips
- It’s always a good idea to perform a patch test before using a new product. Rub a bit of lip balm on your inner arm and wait 24 hours. Watch for adverse effects such as a rash, redness, itching, or hives.
- If you reuse an old lip balm container, be sure that it is fully unscrewed before pouring the lip balm mixture in.
Mixing the Color
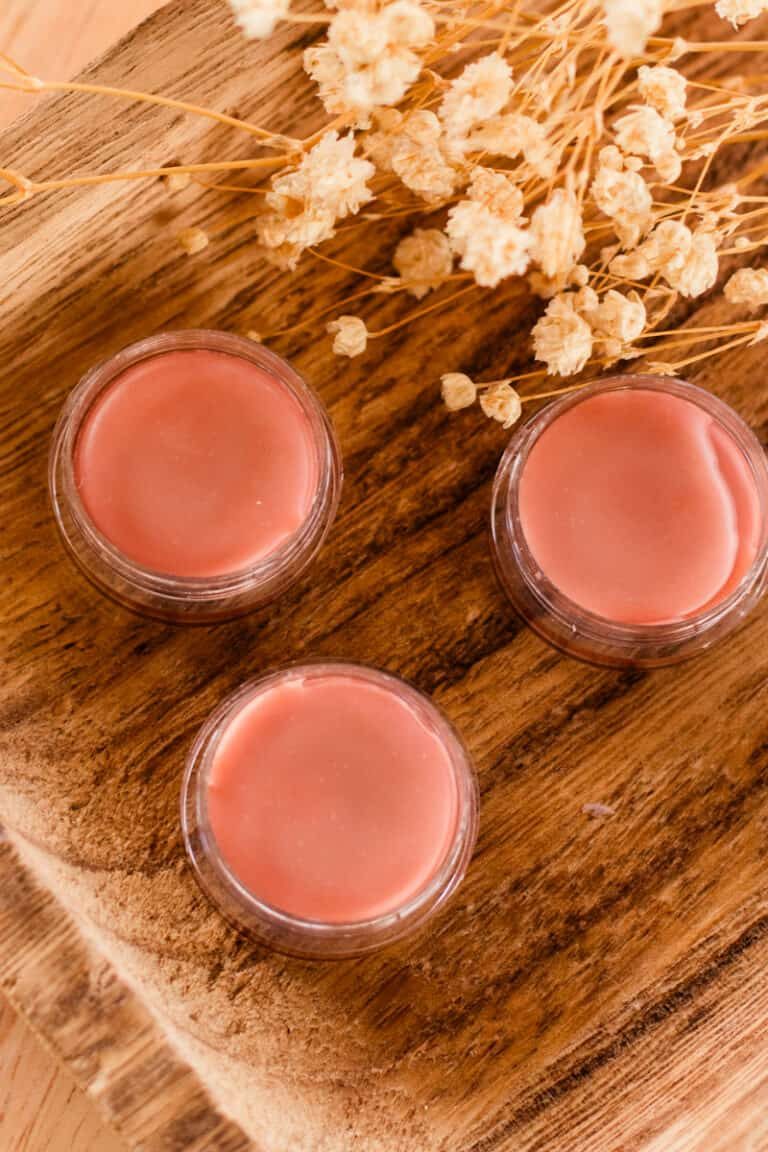
We love getting experimental and trying out unique shades. If we am not happy with it, we have time to adjust before pouring the mixture into our lip balm tubes. Part of the fun of making your own tinted lip balm is you can have complete control over the color.
As you mix up the colors and try to find the perfect shade, we recommend starting slow. Add a pinch of red or pink mica powder, mix it in, then continue adding colors bit by bit until you reach your desired shade.
A Note on Mica Powder
This recipe uses mica powder as a natural colorant for tinted lip balm. Mica powder is a great way to tint homemade makeup products without any artificial coloring.
We am happy to report that we feel comfortable using it again because we found a company we trust. After much research, Mad Micas checked all the boxes for me. You can read their ethics statement for more information. We have avoided mica powder in our natural DIY recipes in the past because it is typically sourced in an unethical manner.
We have found mica powder to be the most effective colorant for this tinted lip balm, but there are other options. If you would still like to avoid mica powders, you can experiment with iron oxides or dehydrated fruits and vegetables such as beet powder or raspberry powder.
We haven’t tried them in this recipe myself, but we have had great results with both of these alternatives in our other recipes, such as homemade blush cream or mineral makeup.
Substitutions and Variations
- If you don’t want to use beeswax, you can substitute quality soy wax in this recipe. It’s a great option if you’d like to make tinted vegan lip balm.
- Cocoa butter can be substituted with mango butter or shea butter if that’s what you have on hand. We like to use a combination of them on occasion.
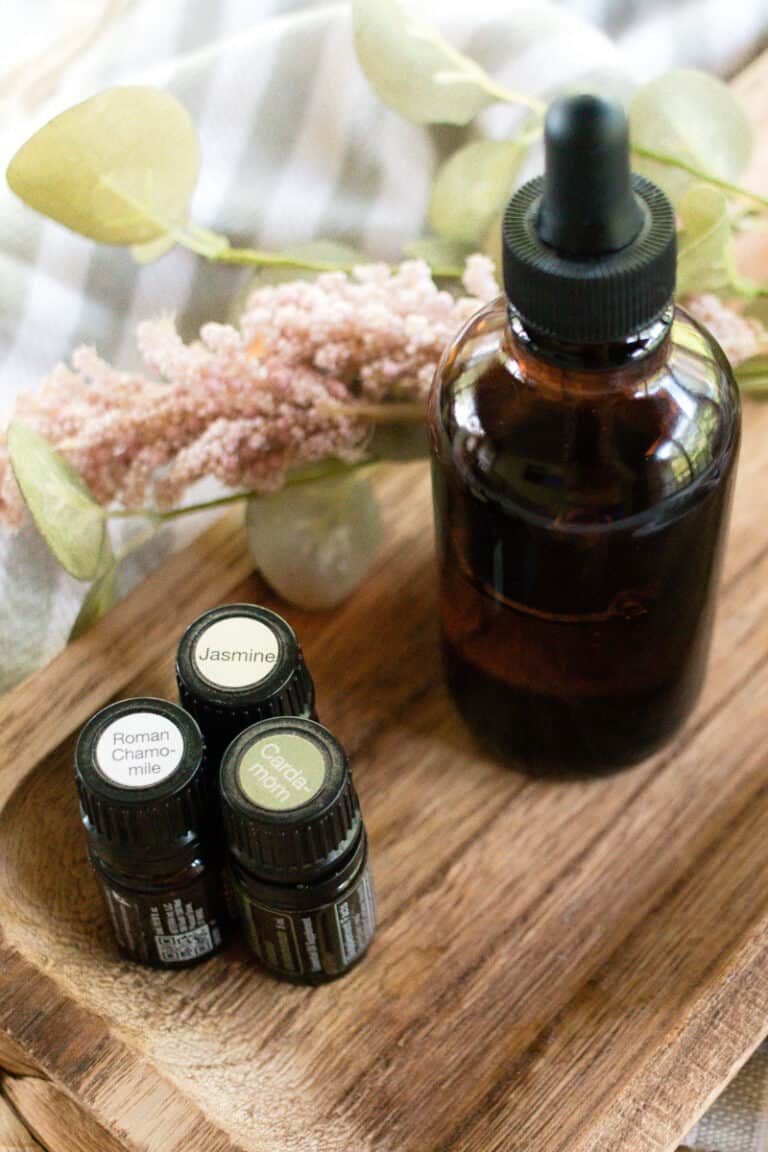
- Feel free to add your favorite essential oil to give your tinted lip balm a nice smell. We particularly love peppermint and lavender. If you add essential oils, be sure to avoid photosensitive oils such as citrus oils.
- You can make this tinted lip balm even more silky and moisturizing by adding liquid carrier oil. A bit of sweet almond oil, castor oil, olive oil, or jojoba oil will give it an extra boost of moisturizing power. You’ll find that adding liquid oils makes the lip balm a little softer, which may be preferable for you.
More DIY Natural Lip Products You’ll Love
- DIY Lip Gloss
- Coconut Oil Lip Scrub
- DIY Lip Oil for Moisturized Lips
- Lip Masks for Hydration and Exfoliation
- Homemade Lip Liner
- Homemade Lip Plumper
- How to make Lipstick
If you made this recipe and loved it, we would love for you to come back and give it five stars!
5 from 2 votesDIY Tinted Lip Balm
By the studio Ascher Prep: 5 minutes minsActive: 25 minutes minsTotal: 30 minutes mins Yield: 12 tubs SaveSaved Pin Print This DIY tinted lip balm is perfect for moisturizing your lips while adding a pop of color! Made with all-natural ingredients, it's a great affordable recipe for everyday use.
 Equipment
- Double Boiler
- Lip balm tubes or small jars if you use these, this recipe will make 12 tubs.
Ingredients
- 1 oz beeswax
- 1 oz cocoa butter
- 0.75 oz coconut oil
- ¼ tsp mica powder
Instructions
- Combine beeswax, cocoa butter, and coconut oil in the top part of your double boiler.
- Heat over medium heat until melted, stirring occasionally.
- Remove from heat and stir in mica powder.
- Transfer the melted balm to a pourable container.
- Pour the balm into your empty tubes or shallow plastic tubs.
- Allow the balm to harden completely before securing the lid.
Video
Notes
- We've included step-by-step images in the post above for visual guidance. If you would rather watch, we've included the complete step-by-step video tutorial here in the recipe card!
- You can get creative with the mica powders until you find a color combination that works for you. Start with just a pinch of red or pink mica powder and add small amounts of different colors until you reach your desired shade.
- If you reuse an old lip balm container, be sure that it is fully unscrewed before pouring the lip balm mixture in.
- Always do a patch test before using a new product to ensure you don’t have an adverse reaction.