Homemade Rose: Clay Face Mask
Also filed inGo NaturalBath and BeautySkincare
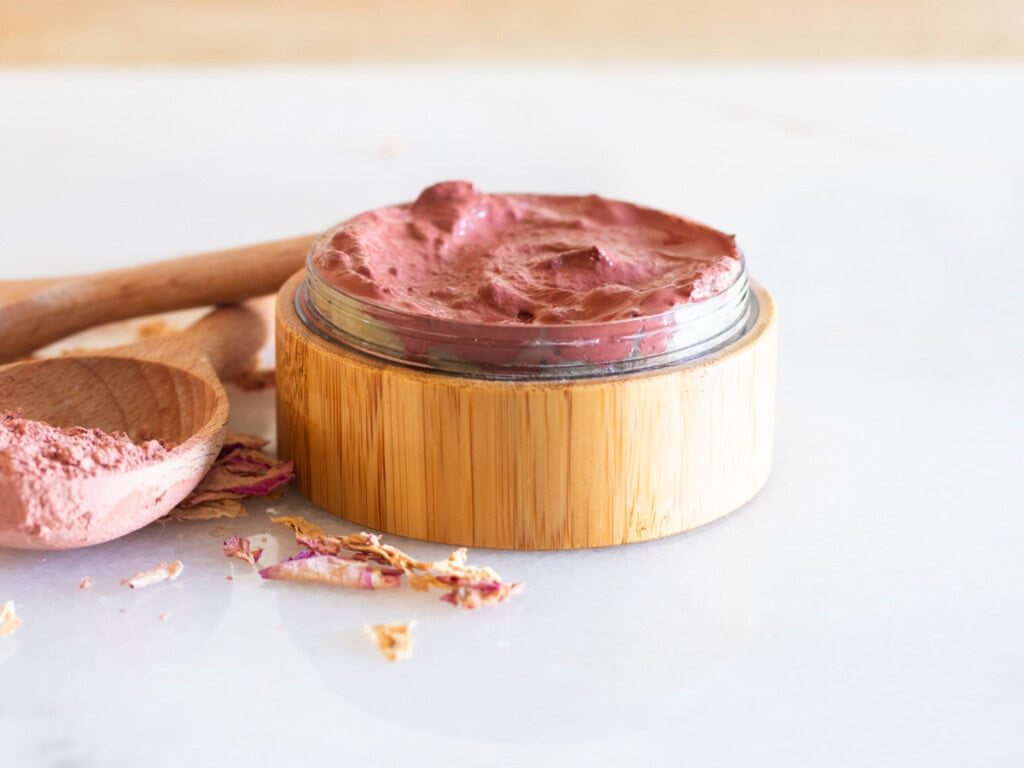
This beautiful homemade rose clay face mask is hydrating and nourishing to the skin. Rose clay benefits the skin in so many ways, and this face mask is one of our must-have recipes!
This rose clay face mask feels so luxurious! It’s silky smooth and fun to smear on your face, and our skin always feels soft and glowy afterwards.
We have always enjoyed making our own face masks (like this glowing skin face mask) at home. We get to choose exactly what’s in them and, at the same time, save money! Natural skincare products can be very pricy, but making your own is a great way to make them more affordable.
The minerals found in clay help moisturize and exfoliate the skin, reduce excess oil, and may improve the appearance of blemishes. No wonder the idea of smearing clay on our faces started long ago with the ancient Egyptians!
What is rose clay?
Rose clay is a type of kaolin clay, often referred to as pink kaolin clay. It has a light pink color with a very fine texture. Rose clay can be used to naturally color soaps, homemade bath bombs, or to tint homemade makeup (like DIY foundation). It also has many great benefits for the skin. Rose clay is very gentle, making it great for sensitive skin.
Rose clay is especially favorable for those with dry skin. This face mask is very hydrating for the skin when used regularly.
Before we get started
Learning how to make a rose clay face mask, or any face mask, such as an anti-aging face mask or a sea moss face mask, is a rather simple task.
We have a whole post with all of our DIY face mask recipes in one spot if you ever want to see the rest of the ones we make.
For this mask, we am using rose clay, homemade apple cider vinegar, water, and rose essential oil. It is important to use wooden utensils and a glass bowl when making this clay mask. Never use iron or metal utensils when working with clay.
We make just enough for a one-time use, so we don’t have to worry about storing it or using any type of preservative.
If you want to make more at a time, you can add a vitamin E antioxidant or rosemary antioxidant to prevent oxidation and stabilize the face mask.
What You’ll Need
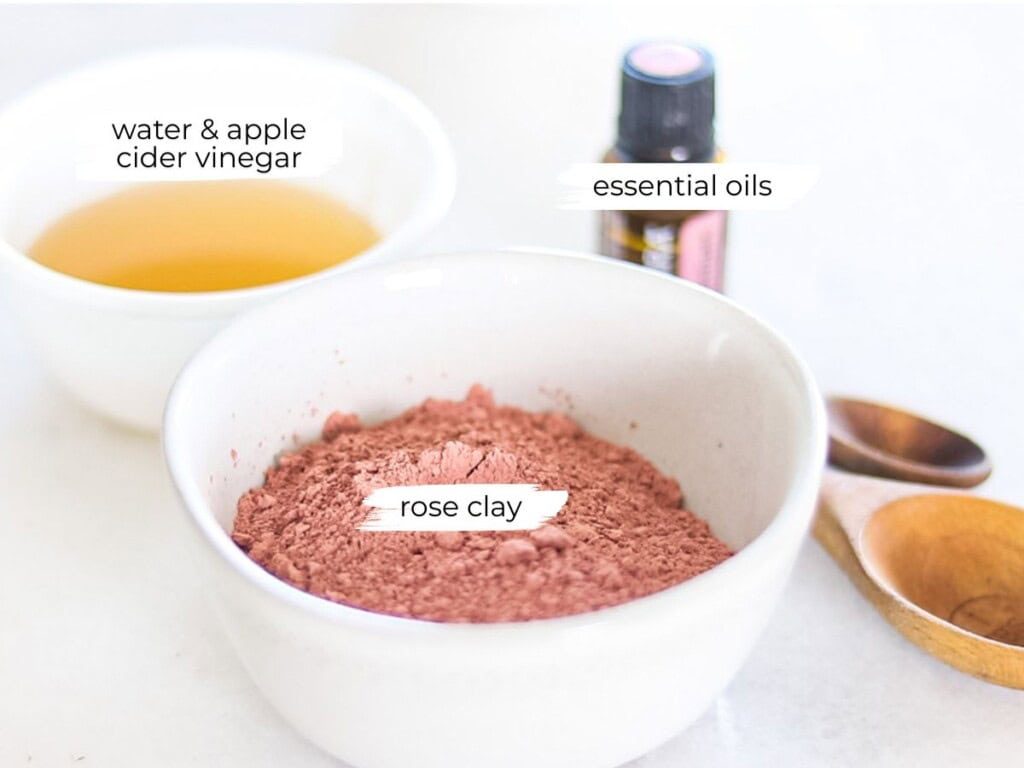
- Rose clay: The star of this recipe, rose clay is very gentle, moisturizing, and nourishing to the skin. It’s also a great natural colorant, and we use it in our homemade lipstick for this purpose!
- Apple cider vinegar: ACV is extremely beneficial to the skin. We use it in a variety of skincare recipes, including our DIY facial toner and clarifying face wash, and this face mask.
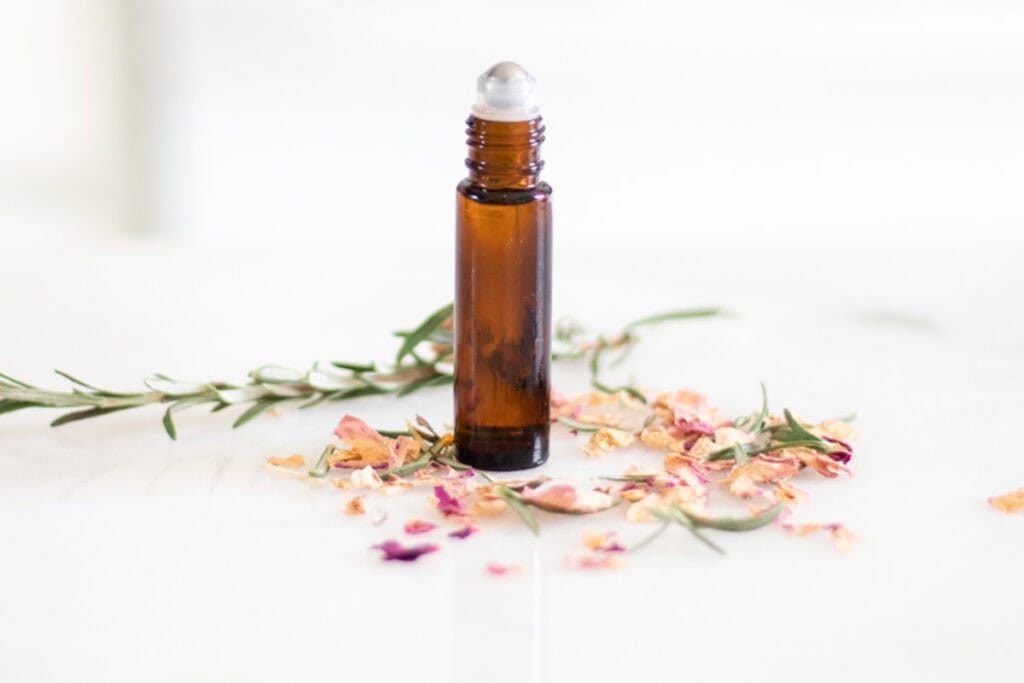
- Rose essential oil: Rose essential oil has a lot of benefits, and it even makes an appearance in our homemade anti-aging roller bottle. It is a very expensive oil, so we like to use it sparingly. Thankfully, it is very concentrated, and you only need a few drops. For a cheaper option, try using geranium essential oil, as it has similar properties.
- Bowl and spoon: It’s important to never use metal with clay, so be sure to use a glass/ceramic bowl and a wooden spoon.
How to Make a Rose Clay Face Mask
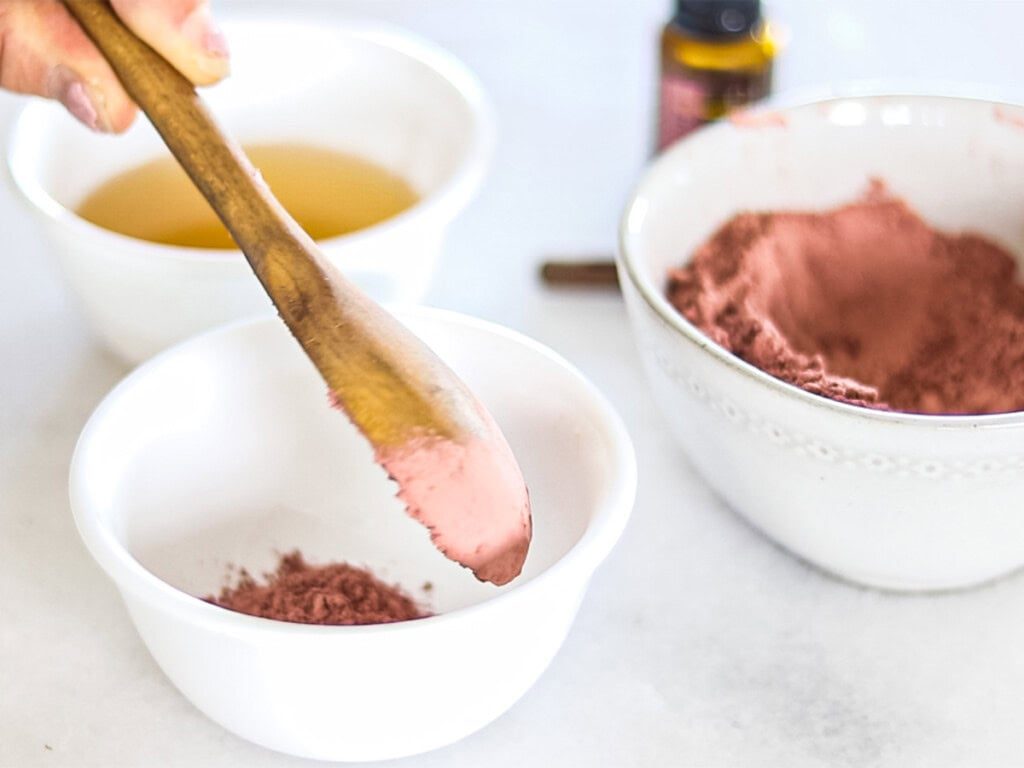
Step 1: Place the clay, apple cider vinegar, and water into a glass bowl.
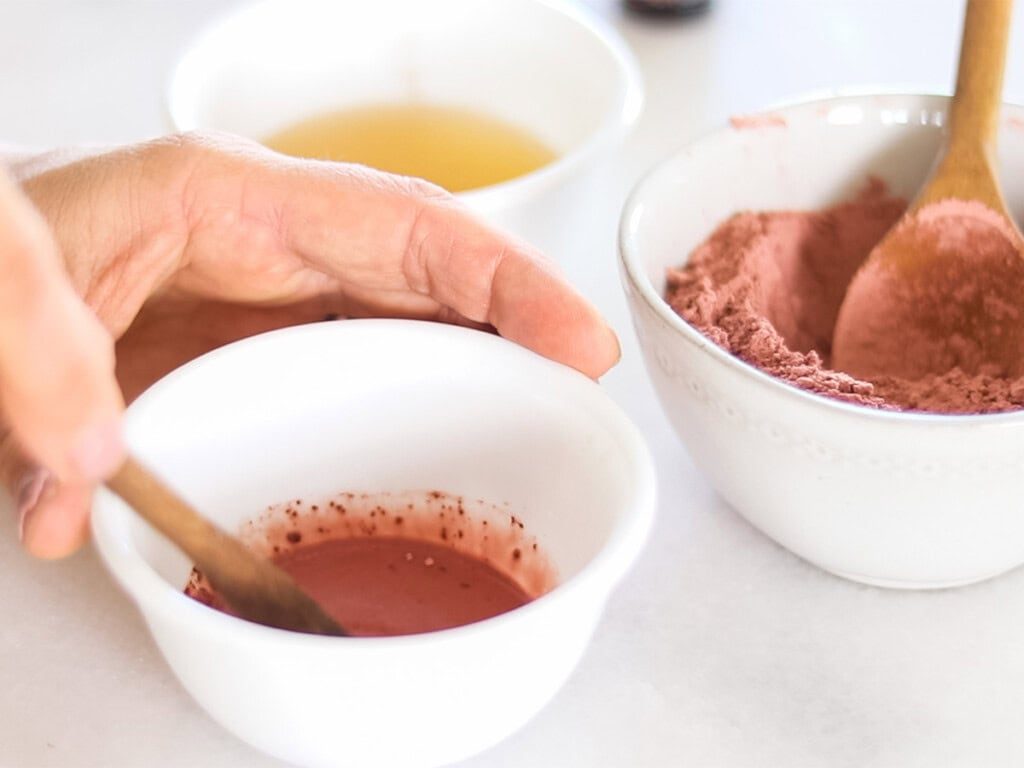
Step 2: Stir using a wooden spoon. Never use iron or metal utensils when working with clay.
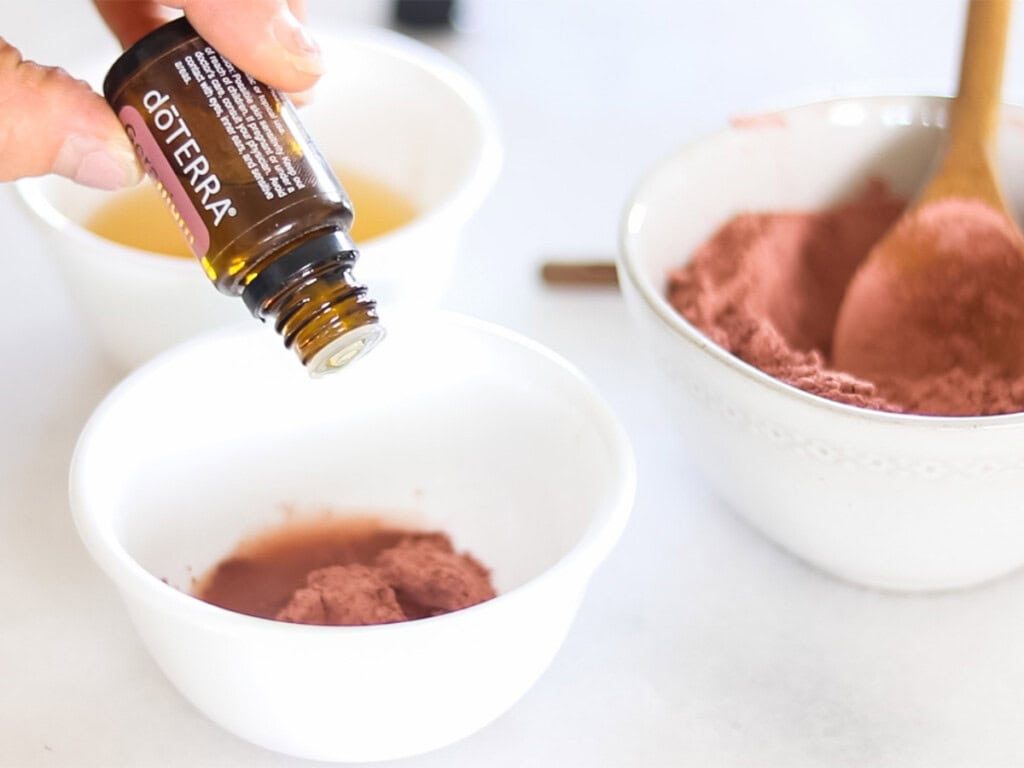
Step 3: Add 3 drops of essential oil and stir well.
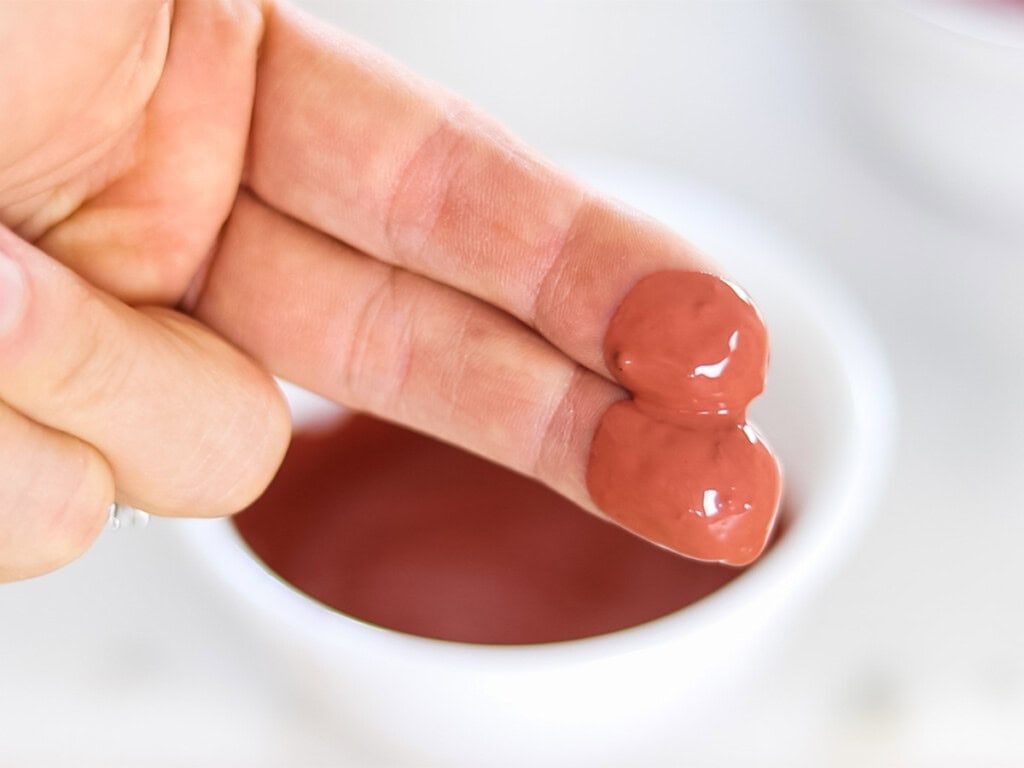
Step 4: Use immediately.
How to Apply This Mask
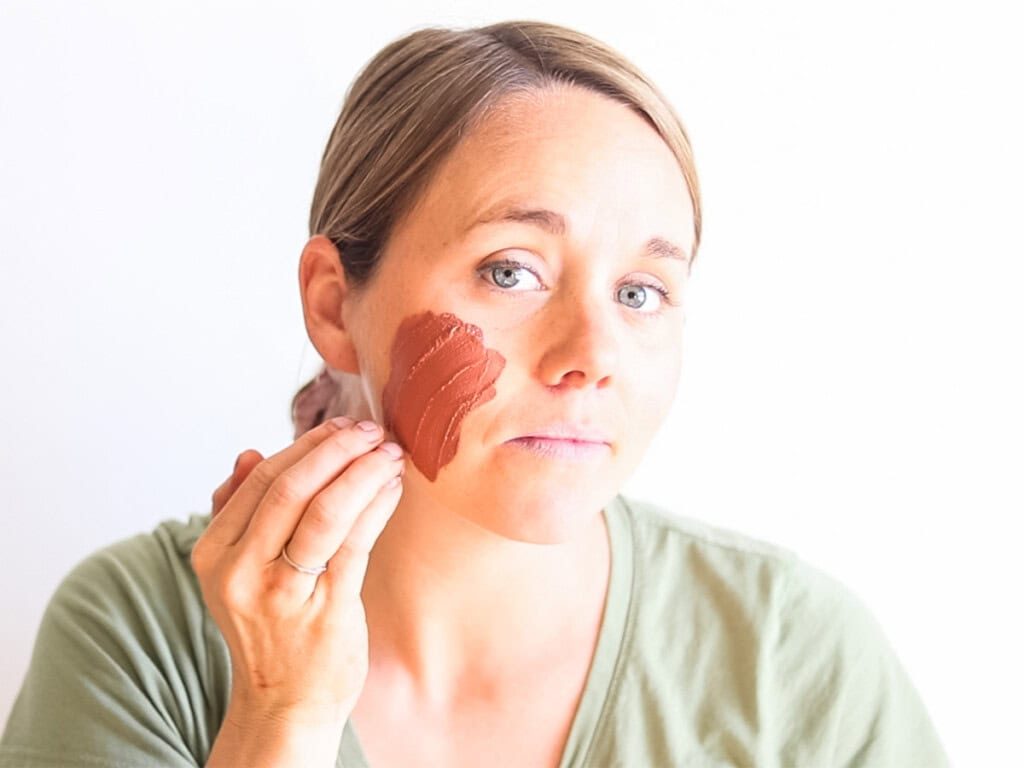
Apply a thin, even layer to the face and neck. Leave the mask on for 3–5 minutes to allow it to work its magic! Avoid the eyes, the inside of the nose, and the ears.
It is best to apply after the face has already been washed. Be sure to apply a homemade face moisturizer when you’re finished with the mask.
To remove the homemade clay mask, rinse it off with warm water. Use a soft cloth to scrub if needed.
This mask is day three of our 12 days of homemade self-care, so if you’d like a few more nights of pampering planned out for the holidays, they’re all waiting for you!
Expert Tips
- Apply the clay face mask in a thin layer. If it’s too thick, it will get clumpy and crumbly as it dries. You may need to add more water to reach the right consistency.
- You should always perform a patch test before using a new product. Apply a bit of the face mask to your inner arm and check for adverse reactions before using it on your face.
- Always wash your face before using a face mask, and use moisturizer after.
FAQ
What is the best clay for a face mask?One of the most common clays to use for face masks is bentonite clay, as we do in our bentonite clay mask recipe. Some other popular clays include Brazilian clay, French green clay, kaolin clays, rose clay, and sea clay.
According to Brambleberry, rose clay, Brazilian clay, and kaolin clay are best for dry skin. French green clay, bentonite clay, and sea clay work well for oily skin. Any clay can be used on normal skin types.
They also dry out the sebum underneath your pores, helping to shrink them naturally. Washing your skin regularly and applying a clay face mask may help to reduce the appearance of pores. Clay masks can be effective at shrinking pores as they pull out impurities when removed from the skin.
How often can we use this face mask?For best results, applying a clay face mask 2-3 times weekly is recommended. If you have oily skin that is prone to breakouts, it may be best to use a clay face mask or try a gentle homemade face scrub a few times a week. For sensitive skin, limit use to once a month.
Related Skincare Recipes
- Matcha Face Mask for Skin Tightening
- Top 10 Oatmeal Face Mask Recipes
- How to Make and Use a Baking Soda Face Mask
- Charcoal Peel-off Mask
- DIY Green Tea Toner
If you made this Homemade Rose Clay Face Mask tutorial or any other tutorial on our website, please leave a 🌟 star rating and let me know how it went in the 📝 comments below. Thanks for visiting!
5 from 8 votesHomemade Rose Clay Face Mask
By the studio Ascher Prep: 2 minutes minsActive: 5 minutes minsAdditional Time: 10 minutes minsTotal: 17 minutes mins Yield: 1 face mask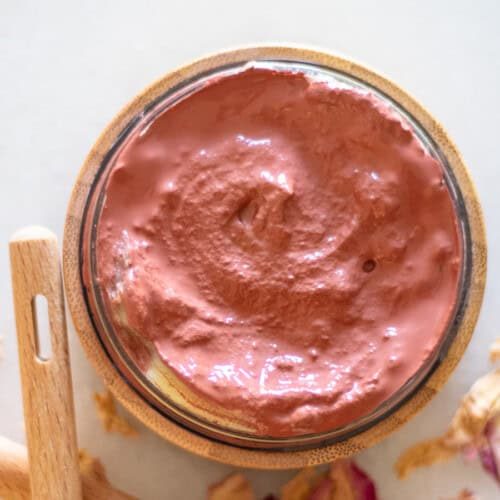 SaveSaved Pin Print This beautiful homemade rose clay face mask is hydrating and nourishing to the skin. Rose clay benefits the skin in so many ways, and this face mask is one of our must-have recipes!
 Equipment
- Wooden Spoon
- Glass Bowl
Ingredients
- 1 tablespoon rose clay
- 1 tablespoon apple cider vinegar
- 1 teaspoon water
- 3 drops rose essential oil or geranium essential oil
Instructions
- Add clay, apple cider vinegar, and water into a glass bowl.
- Stir using a wooden spoon. Never use iron or metal utensils when working with clay.
- Add 3 drops of essential oil and stir well.
- Use immediately.
Notes
- For visual reference, we've included the video of me making this recipe in the post above!
- It is important to use wooden utensils and a glass bowl when making this clay mask. Never use iron or metal utensils when working with clay.
- This recipe is for a single use and should be applied immediately. It isn’t intended to be shelf-stable.
- Apply the clay face mask in a thin layer. If it’s too thick, it will get clumpy and crumbly as it dries. You may need to add more water to reach the right consistency.
- You should always perform a patch test before using a new product. Apply a bit of the face mask to your inner arm and check for adverse reactions before using it on your face.
- Apply a thin, even layer to the face and neck. Leave the mask on for 3–5 minutes to allow it to work its magic! Avoid the eyes, the inside of the nose, and the ears.
- It is best to apply after the face has already been washed. Be sure to apply a homemade face moisturizer when you’re finished with the mask.
- To remove the homemade clay mask, rinse it off with warm water. Use a soft cloth to scrub if needed.