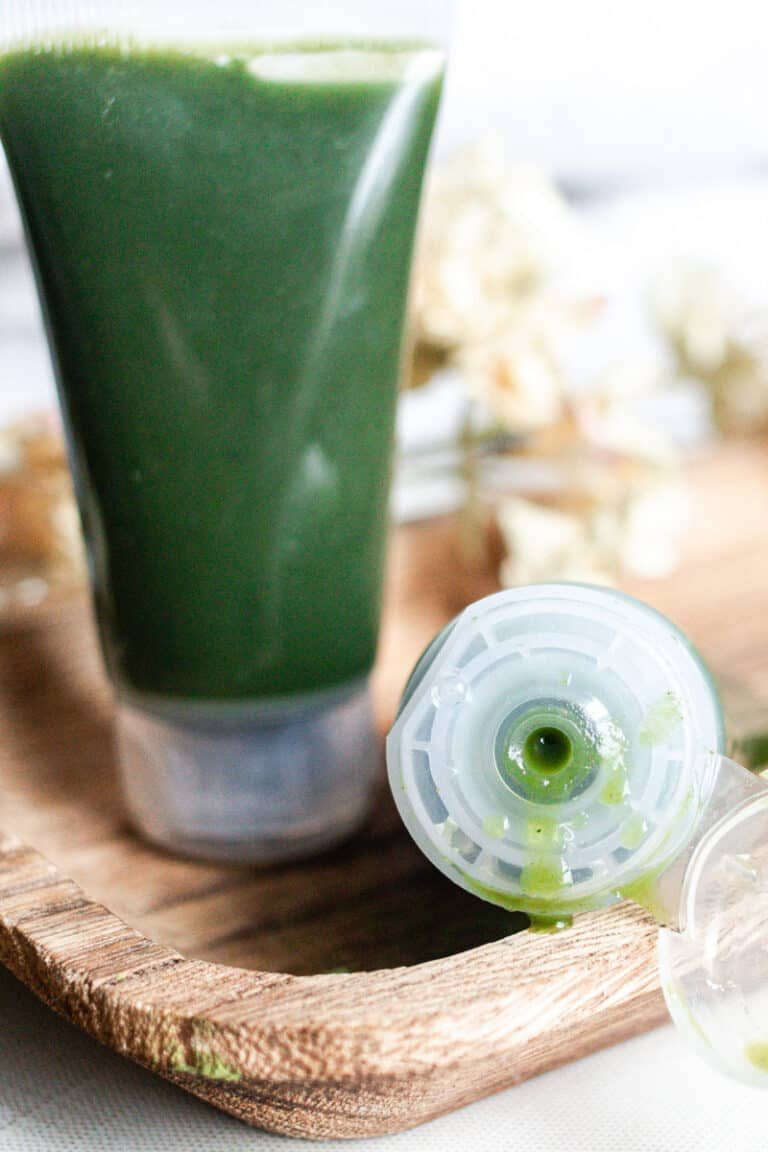
Homemade Face Moisturizer
Also filed inPopularGo NaturalBath and BeautyDIYSkincareLotionWinterAll Natural
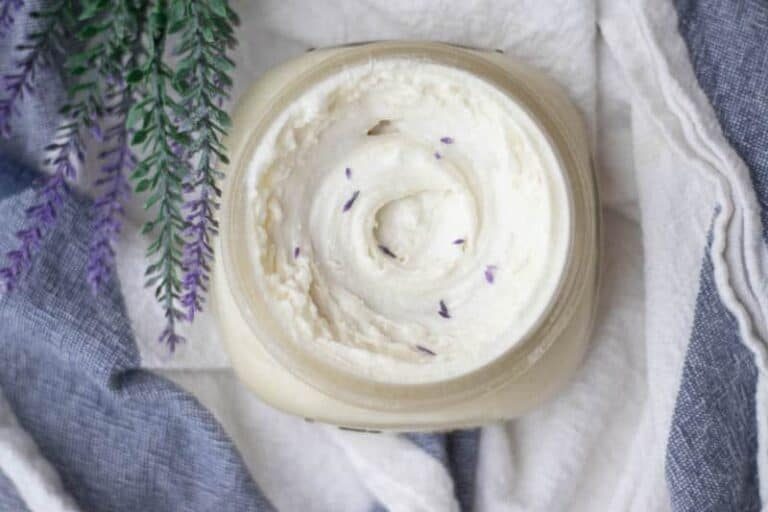
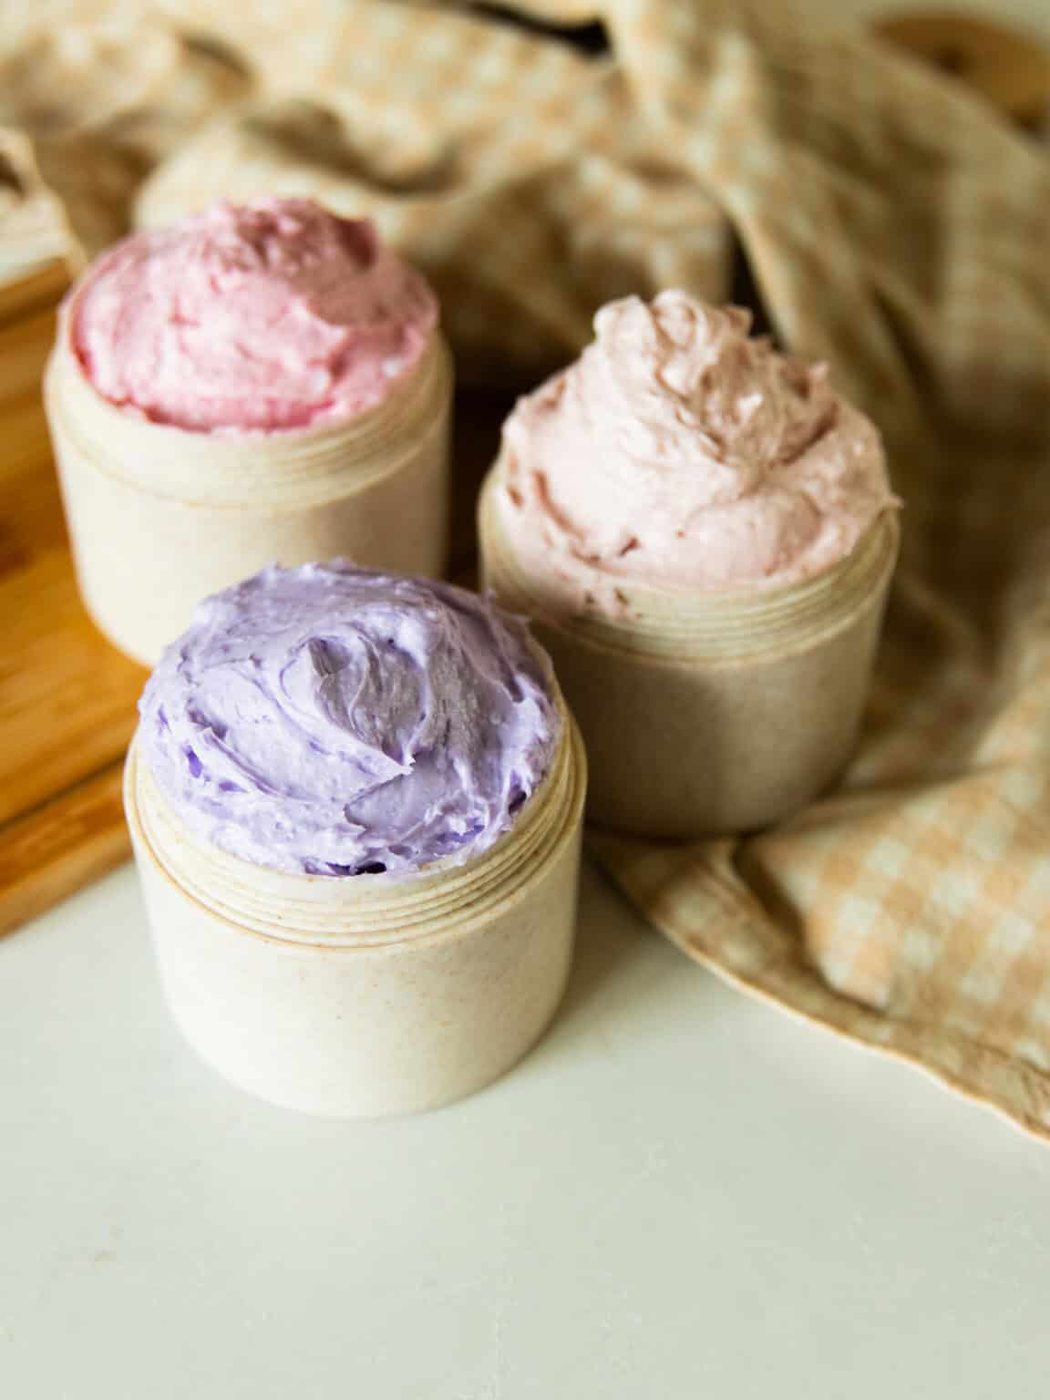
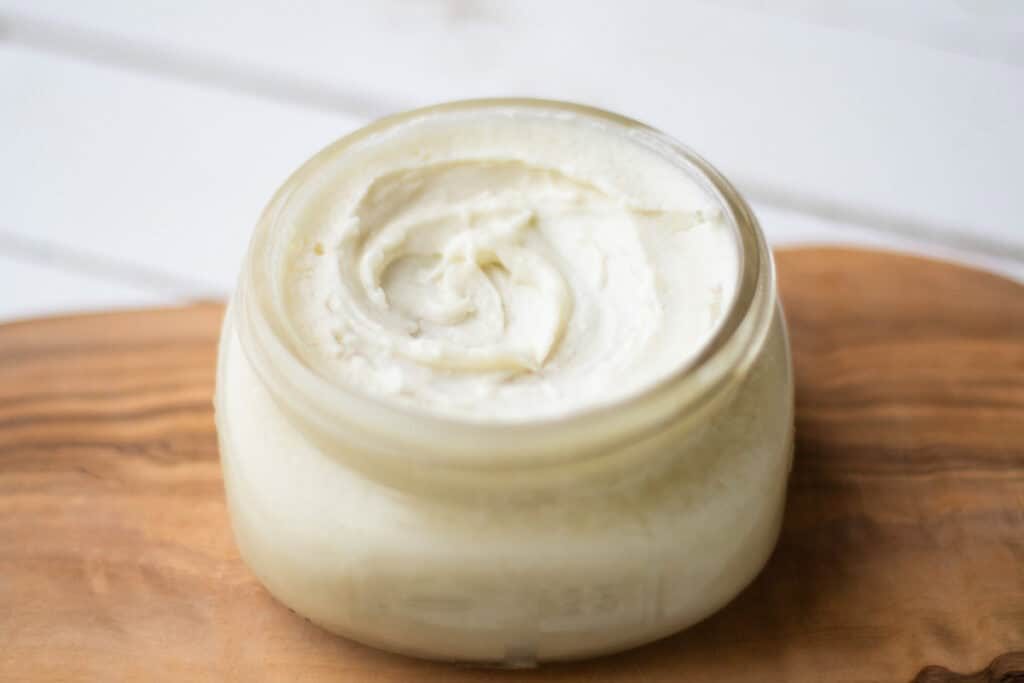
You are going to love this homemade face moisturizer. It’s made with 3 simple ingredients, and you can choose to leave it fragrance-free or customize it with natural essential oils to suit your preferences.
During the winter months, we go through so much moisturizer! Those cold Midwest winters are no joke! Right now, as we're writing this, the temperature outside is hovering around zero. That’s why we rely on this moisturizer, paired with a DIY facial oil.
It’s the perfect combination for keeping our skin feeling soft and nourished while knowing exactly what we're putting on it.
If you have sensitive skin or just want to make simple, natural skincare swaps, this recipe is perfect. It’s lightweight, hydrating, and made with just three easy ingredients.
Natural skincare is easier than you think. Once you get started, you will see! To make your life even easier, we have a free ebook with all our favorite skincare recipes!
Recipe Ingredients
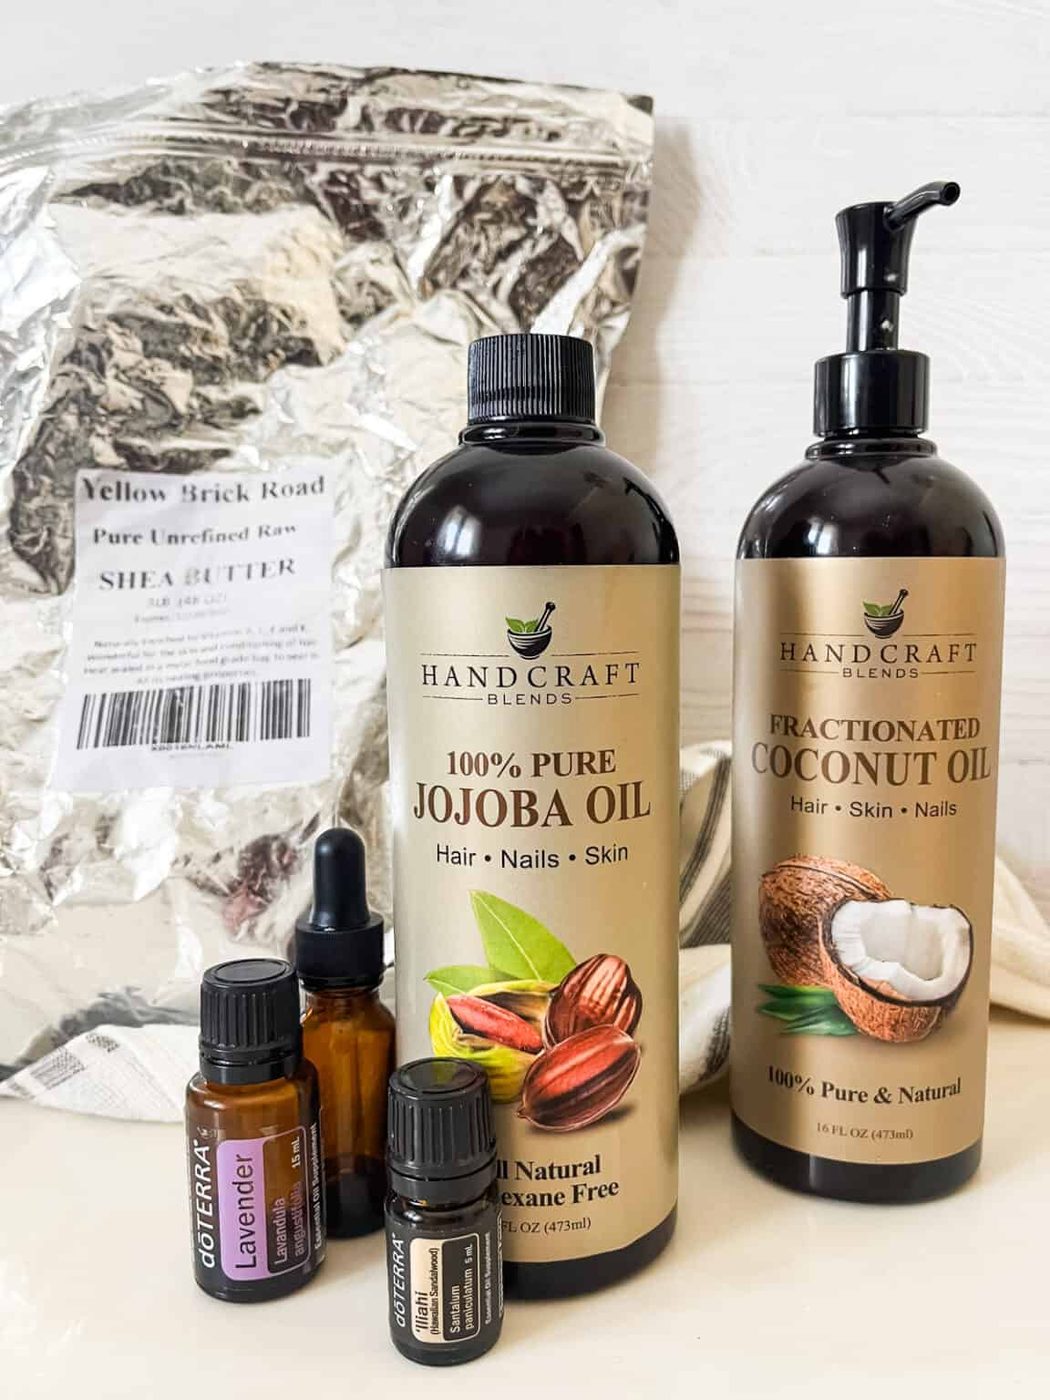
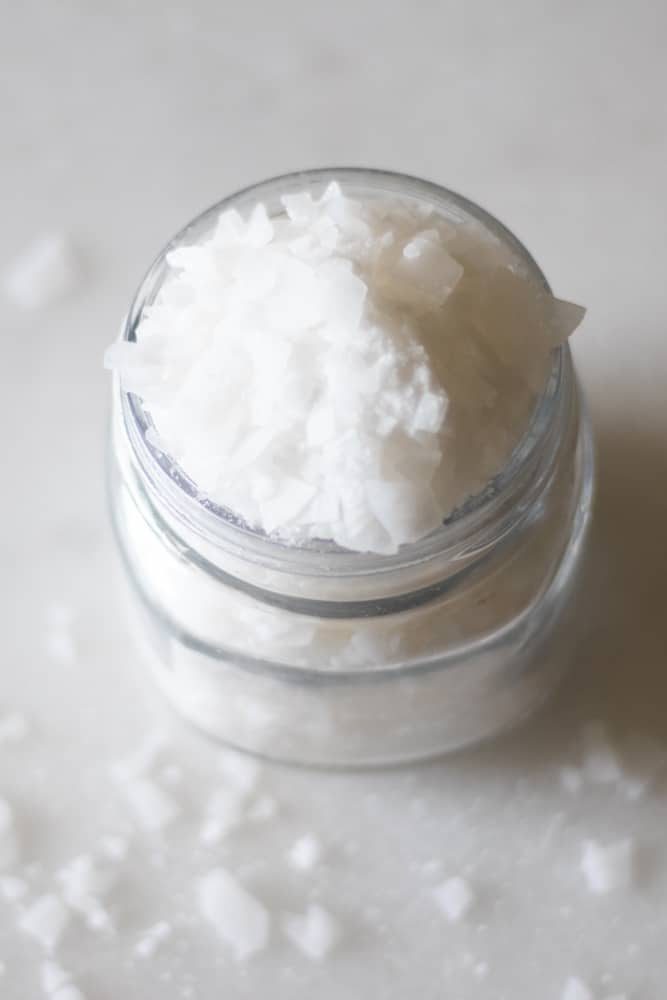
- Shea Butter: Shea butter is perfect for DIY skincare recipes. It is also used in many different lotions, creams, and conventional cosmetics. We love that it has a rich, creamy texture and feels so moisturizing on our dry skin!
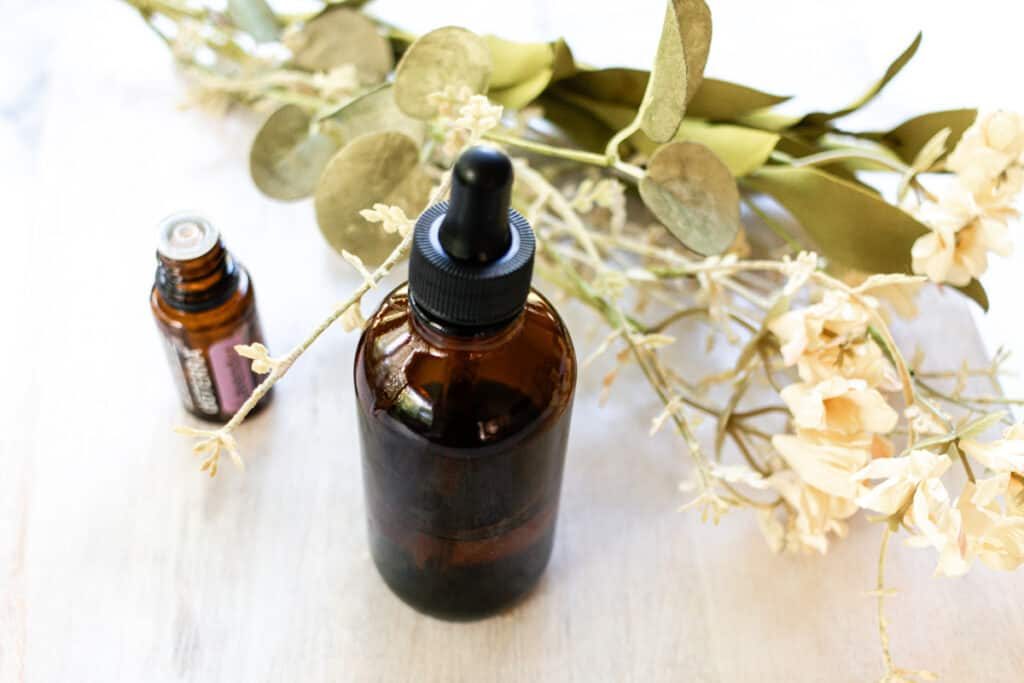
- Jojoba Oil: This oil is one of our favorite carrier oils for its light yet nourishing touch. As a natural emollient, it’s perfect for adding to homemade face moisturizers. It absorbs easily and leaves a smooth, non-greasy finish, making it suitable for all skin types.
- Fractionated Coconut Oil: We love using this oil in our face products because it’s naturally sourced, eco-friendly, easy to blend into lotions, and has a long shelf life!
- Essential Oils (optional): You are free to keep this fragrance free, but if you would like to add some delightful scents, we do provide several different essential oil blends below!
Ingredient Variations
- If you don’t have shea butter, you can substitute it for cocoa butter or mango butter. The texture will be slightly harder, but it will still work just fine.
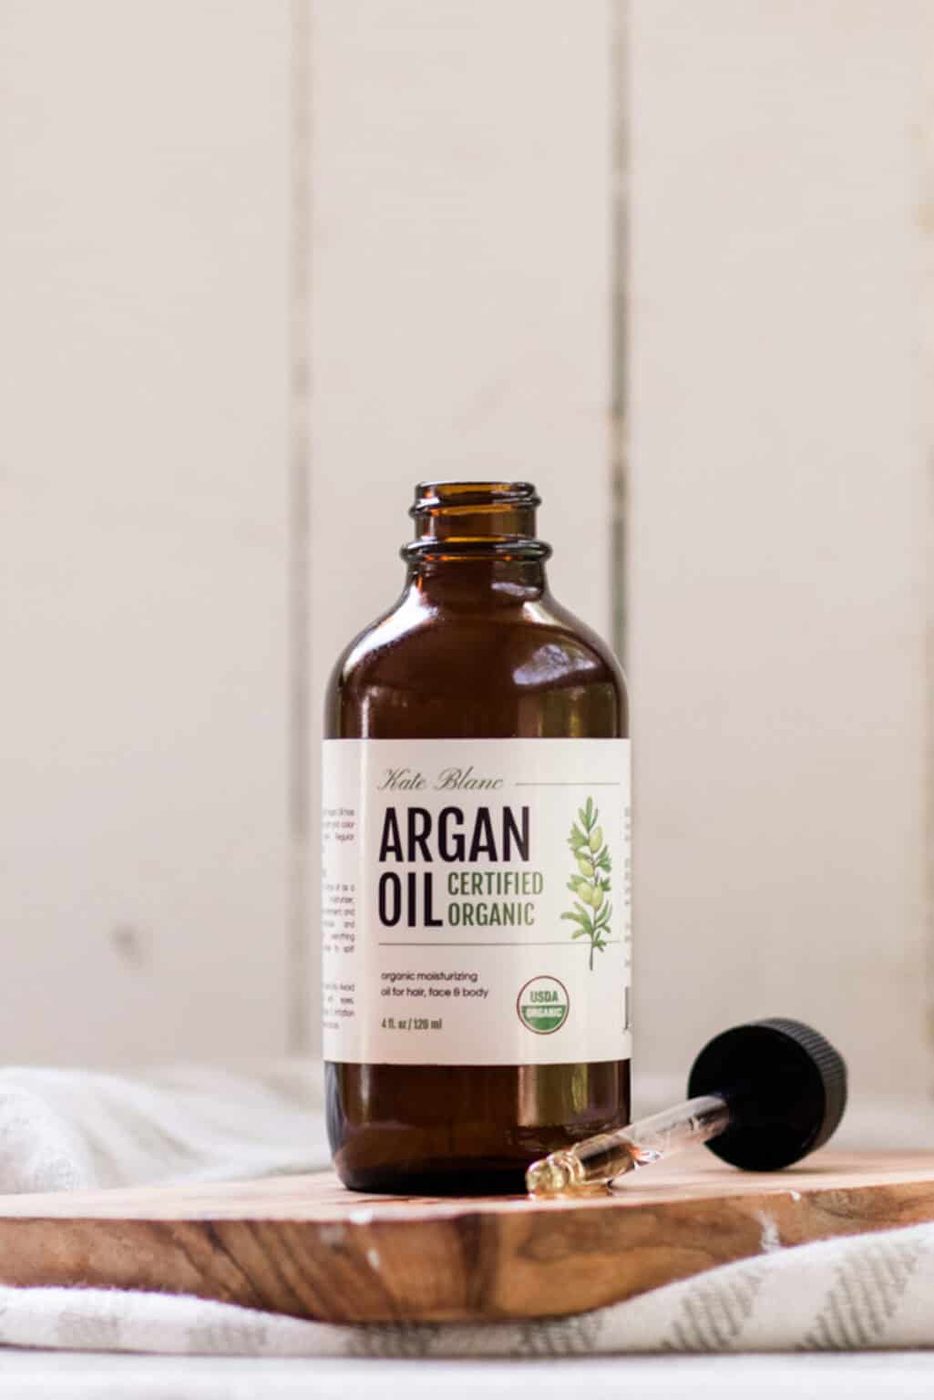
- Other carrier oil options include argan oil, avocado oil, sweet almond oil, grapeseed oil, hemp seed oil, or rosehip oil. You can also make your own rosehip oil if you would like! You can read more about the best carrier oils to decide which one is best for your skin.
Homemade Face Moisturizer Recipe
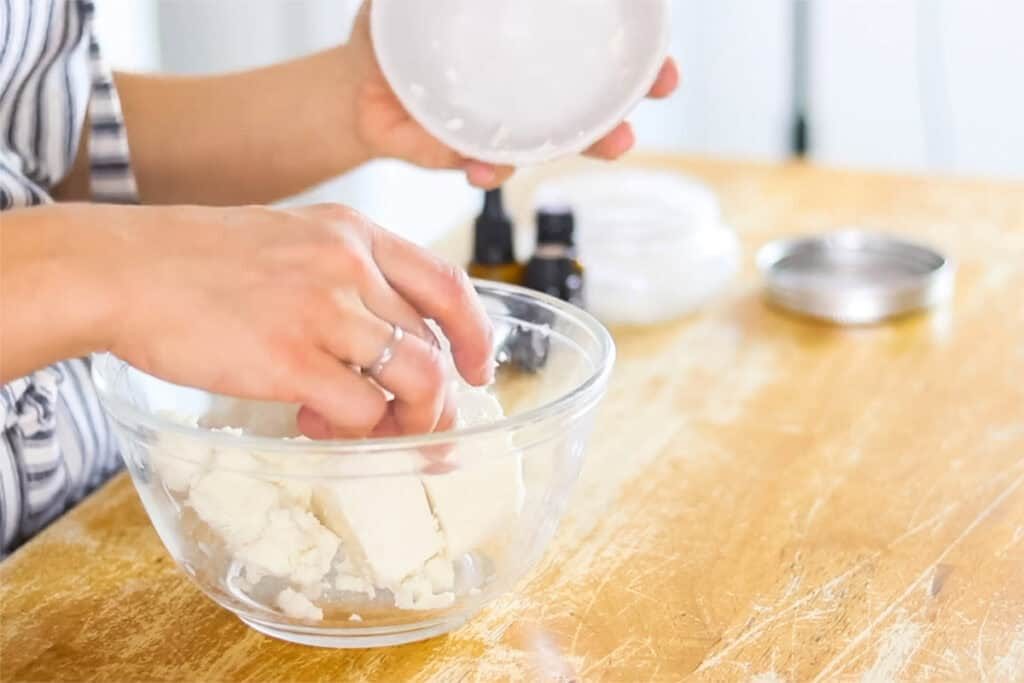
Step 1: Add shea butter, jojoba oil, and fractionated coconut oil to the top of a double boiler or a large glass mixing bowl over a pot of water and bring it to a boil.
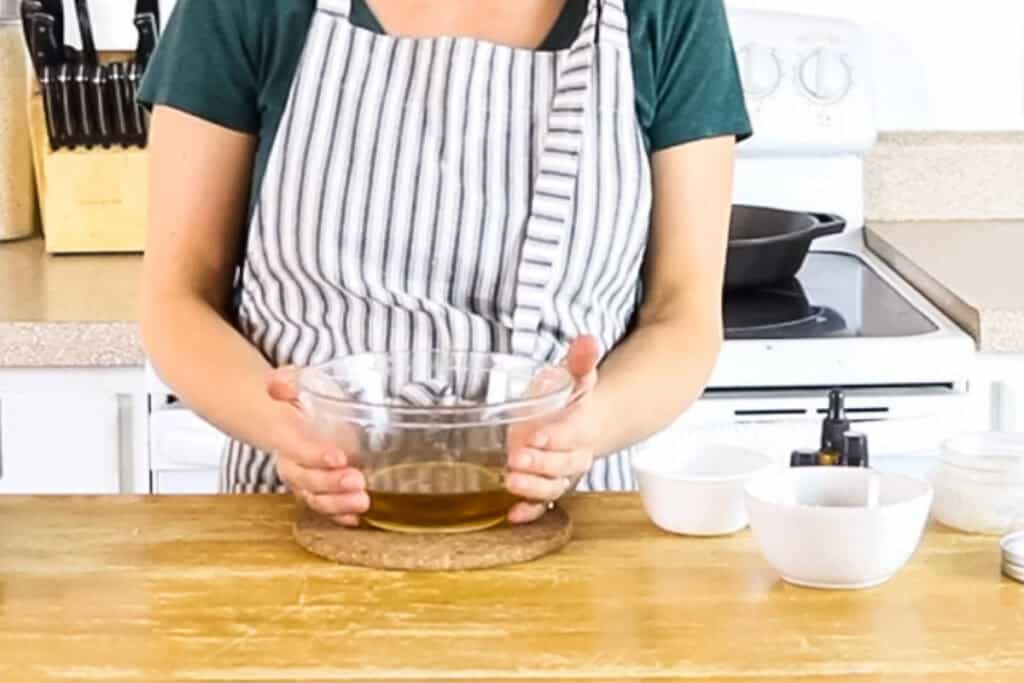
Step 2: Once the butter and oils are melted, remove them from the heat to cool slightly.
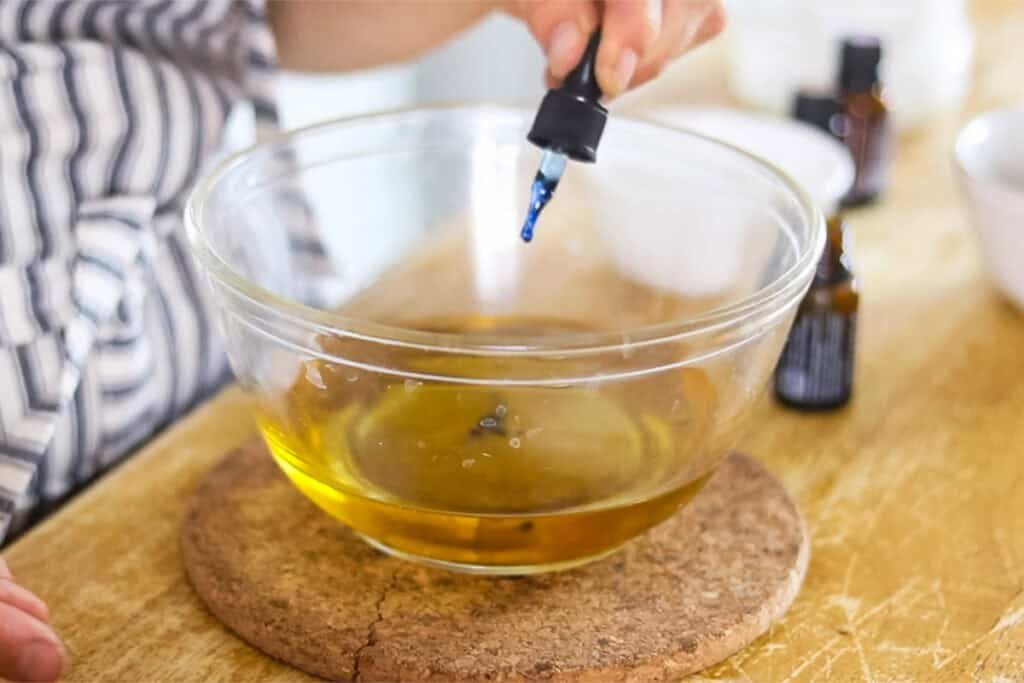
Step 3: Add essential oils if you are using them, and stir them well.
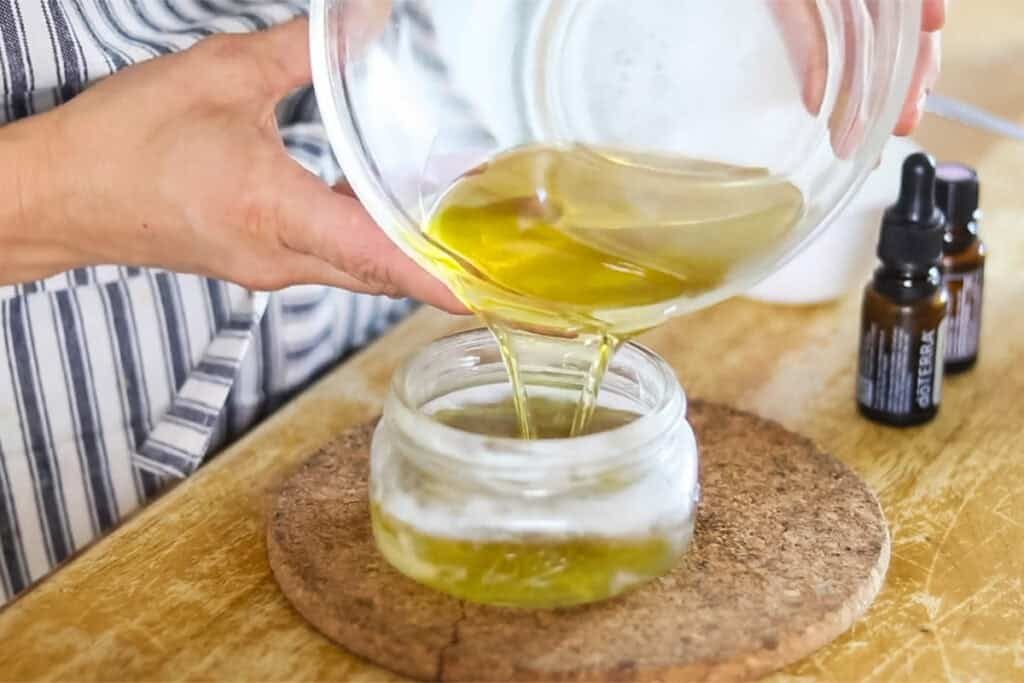
Step 4: While the moisturizer is still melted, carefully pour it into your clean storage container. Allow it to cool completely before securing the airtight lid.
Recipe Tips
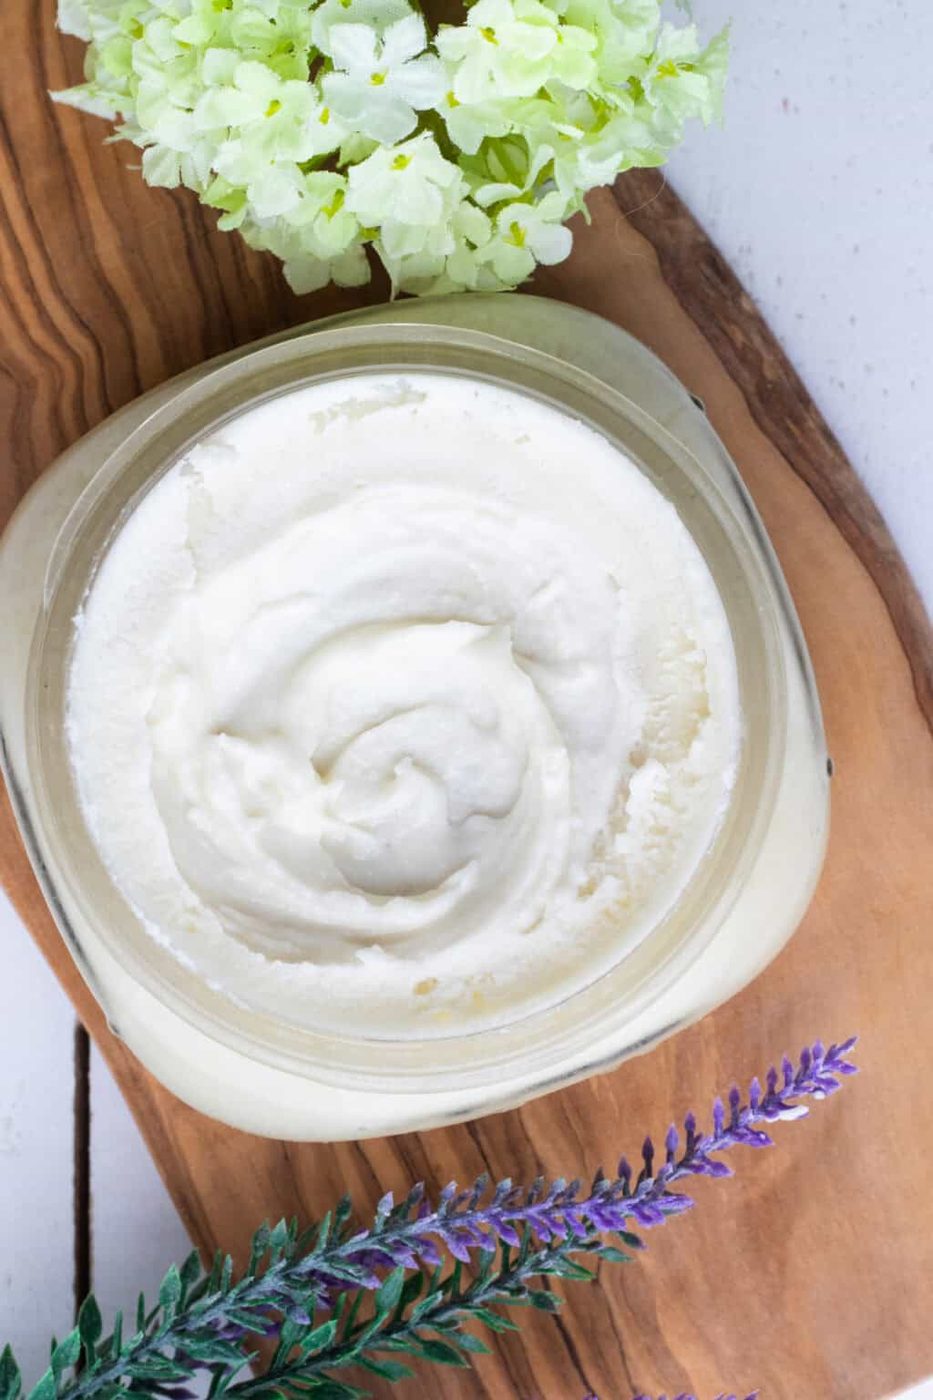
Whip the ingredients for a softer final product. Similar to our whipped body butter recipe, you can wait for the melted ingredients to set up ever so slightly and then whip it with a hand mixer for 60 seconds or until light and airy. Then, simply use a spoon to scoop it into your container.
Avoid using citrus essential oils on the face. If you do want to use citrus essential oils, avoid direct sunlight for 24 hours due to photosensitivity. You can learn more about photosensitive essential oils here.
Make sure you’re working in a clean space. Keeping everything sterile helps avoid contamination and ensures your product has the best possible shelf life.
Be sure to label your homemade face moisturizer! After making plenty of DIYs, we can tell you that adding a label is a total lifesaver—it helps keep everything organized and easy to identify.
Essential Oil Blends
Essential oils are very concentrated and potent. Diluting them before using them topically is important, especially when using them on the face. Here are some of our favorite blends for this moisturizer.
Clear skin
- 5 drops frankincense
- 5 drops lavender
- 5 drops tea tree
Learn more about essential oils for clear skin.
Anti-aging
- 3 drops frankincense
- 3 drops rose
- 3 drops helichrysum
- 2 drops myrrh
- 2 drops lavender
Learn more about essential oils for anti-aging.
Dry skin
- 5 drops myrrh
- 5 drops lavender
- 5 drops sandalwood
Rejuvenating blend
- 5 drops lavender
- 5 drops sandalwood
- 5 drops yarrow pom
This is our favorite blend!
Recipe FAQs
Can coconut oil be used on the face?Coconut oil may cause breakouts on your face, depending on your skin type. That is why we use fractionated coconut oil in this recipe because it absorbs easily into the skin. We do use regular coconut oil in several of our lotion recipes, including our homemade lotion bars, with no issues.
How long will this moisturizer last?If stored in an airtight container, your face moisturizer will last up to one year. Store at room temperature out of direct sunlight.
Do we have to refrigerate this moisturizer?No. Because this doesn’t contain any water-based products, we are able to store it at room temperature without it spoiling.
What kind of container should we store this in?We suggest a glass jar, such as a shallow, wide-mouth mason jar. You can also use old moisturizer containers or heavy-duty plastic containers.
Can we use this homemade face moisturizer on other parts of our body?Yes! This moisturizer is gentle and hydrating, making it perfect for use on other dry areas like your hands, elbows, or even your neck. For more skincare ideas, see our DIY hand mask and our skincare recipes for oily skin.
How do you use face moisturizer?
Always use any face moisturizer with a clean face! We like to use one of our 5 DIY face wash recipes first.
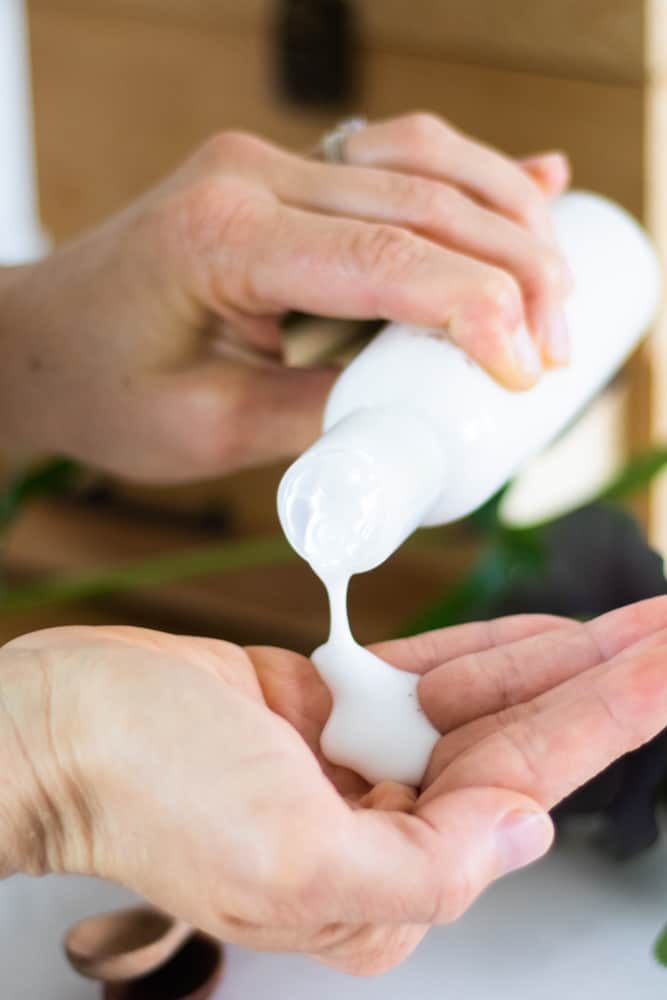
Then, add about a dime-size amount of face lotion to the palm of your hand and massage it into the skin. For best results, use daily.
We do suggest doing a small patch test with this product first to ensure it suits your skin type.
Related Recipes
- Homemade Face Toner
- Face Lotion for Anti-Aging
- Homemade Body Cream
- Tinted Moisturizer for all skin types
- How to Make a Face Mist
If you tried this Homemade Face Moisturizer Tutorial or any other tutorial on our website, please leave a 🌟 star rating and let me know how it went in the 📝 comments below. Thanks for visiting!
4.91 from 521 votesHomemade Face Moisturizer
By the studio Ascher Prep: 5 minutes minsActive: 10 minutes minsTotal: 15 minutes mins Yield: 4.5 oz SaveSaved Pin Print This simple, all-natural homemade face moisturizer is made from carefully chosen ingredients, perfect for keeping your skin moisturized and refreshed.
 Equipment
- Double Boiler
- Airtight container
Ingredients
- 2.75 oz shea butter, approximately ½ cup of raw shea butter
- 0.5 oz jojoba oil, 1 tbsp
- 0.5 oz fractionated coconut oil, 1 tbsp
- 5 drops lavender, optional
- 5 drops sandalwood, optional
- 5 drops yarrow pom, optional
Instructions
- Add shea butter, jojoba oil, and coconut oil to a glass bowl.
- Set the glass bowl over a pot of water to create a double boiler. Melt all ingredients together.
- Remove from heat and allow to cool slightly.
- Add in essential oils if you are using them, and stir together well.
- Transfer to an airtight container and allow it to cool completely before securing the lid.
Video
Notes
- We have included the essential oil amounts in the recipe; however, if you prefer to leave it fragrance-free, you can simply omit them.
- Be sure to see the detailed step-by-step images in the post.
- Whip the ingredients for a softer final product. Similar to our whipped body butter recipe, you can wait for the melted ingredients to set up slightly and then whip it with a hand mixer for 60 seconds or until light and airy. Then, simply use a spoon to scoop it into your container.
- Avoid using citrus essential oils on the face. If you want to use citrus essential oils, avoid direct sunlight for 24 hours due to photosensitivity.
- Make sure you’re working in a clean space.
- Be sure to label your moisturizer! After making plenty of DIYs, we can tell you that adding a label is a total lifesaver—it helps keep everything organized and easy to identify.