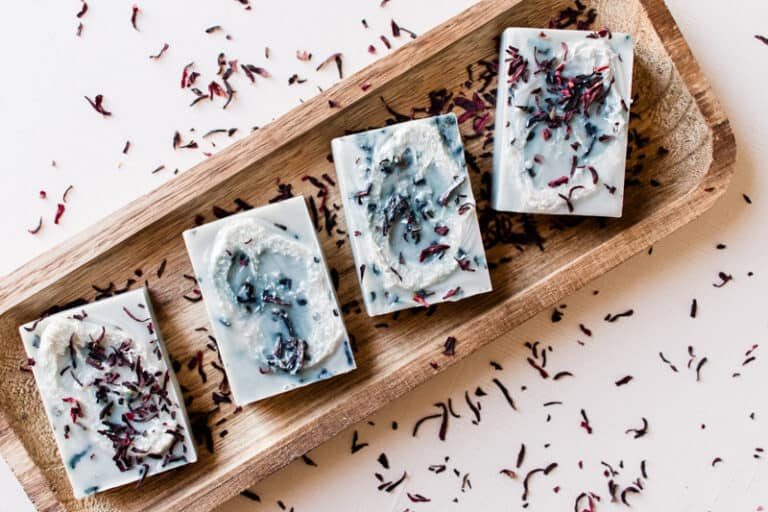
Homemade Peppermint: Layered Soap
Also filed inChristmas
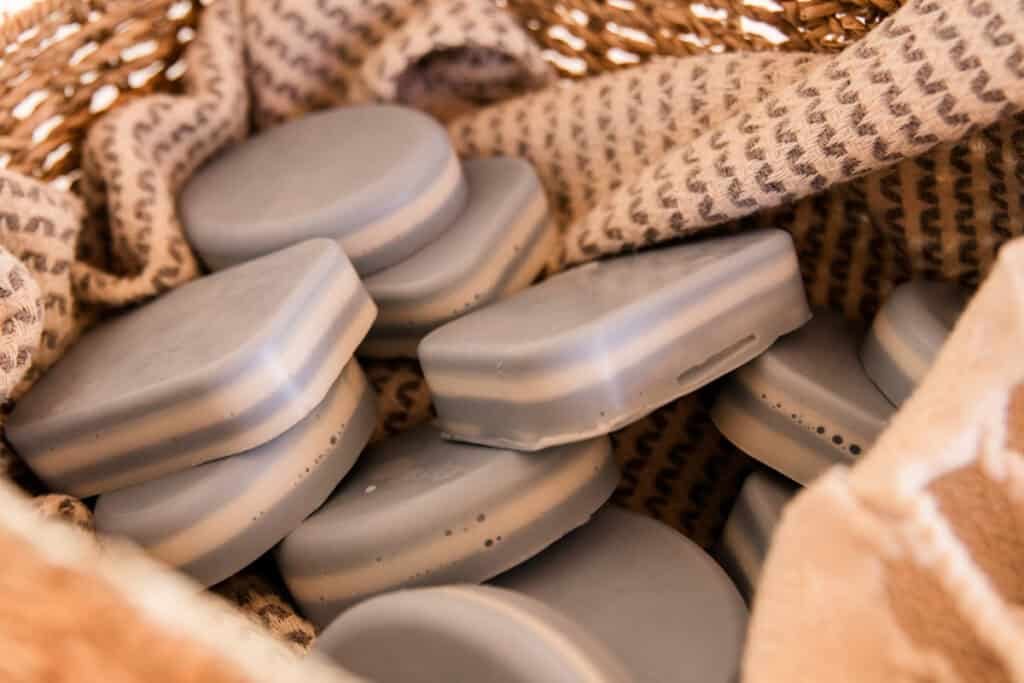
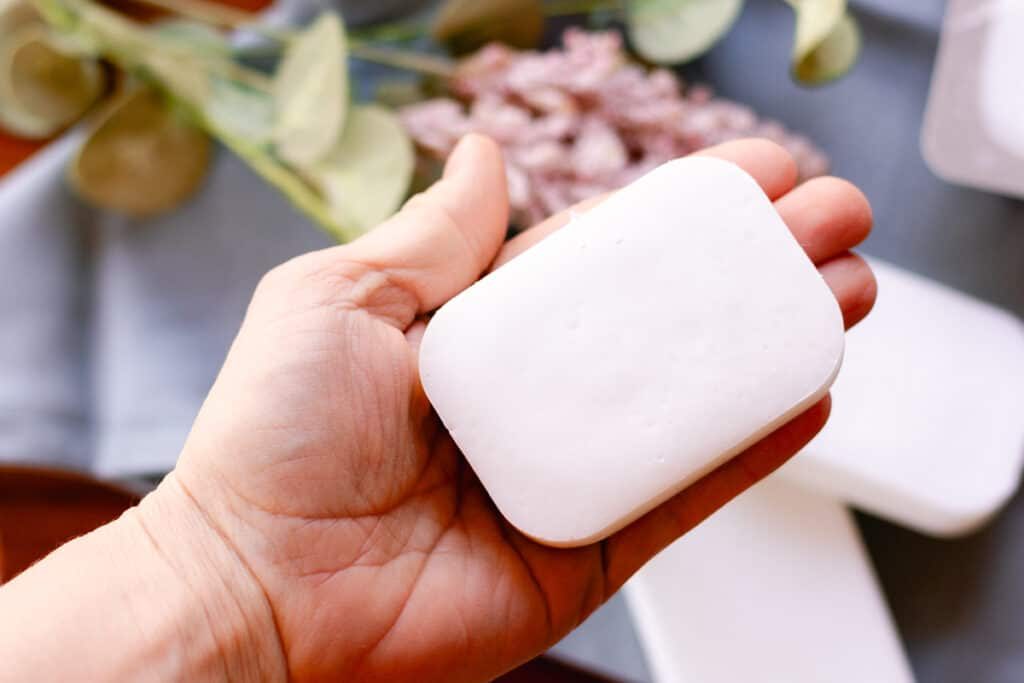
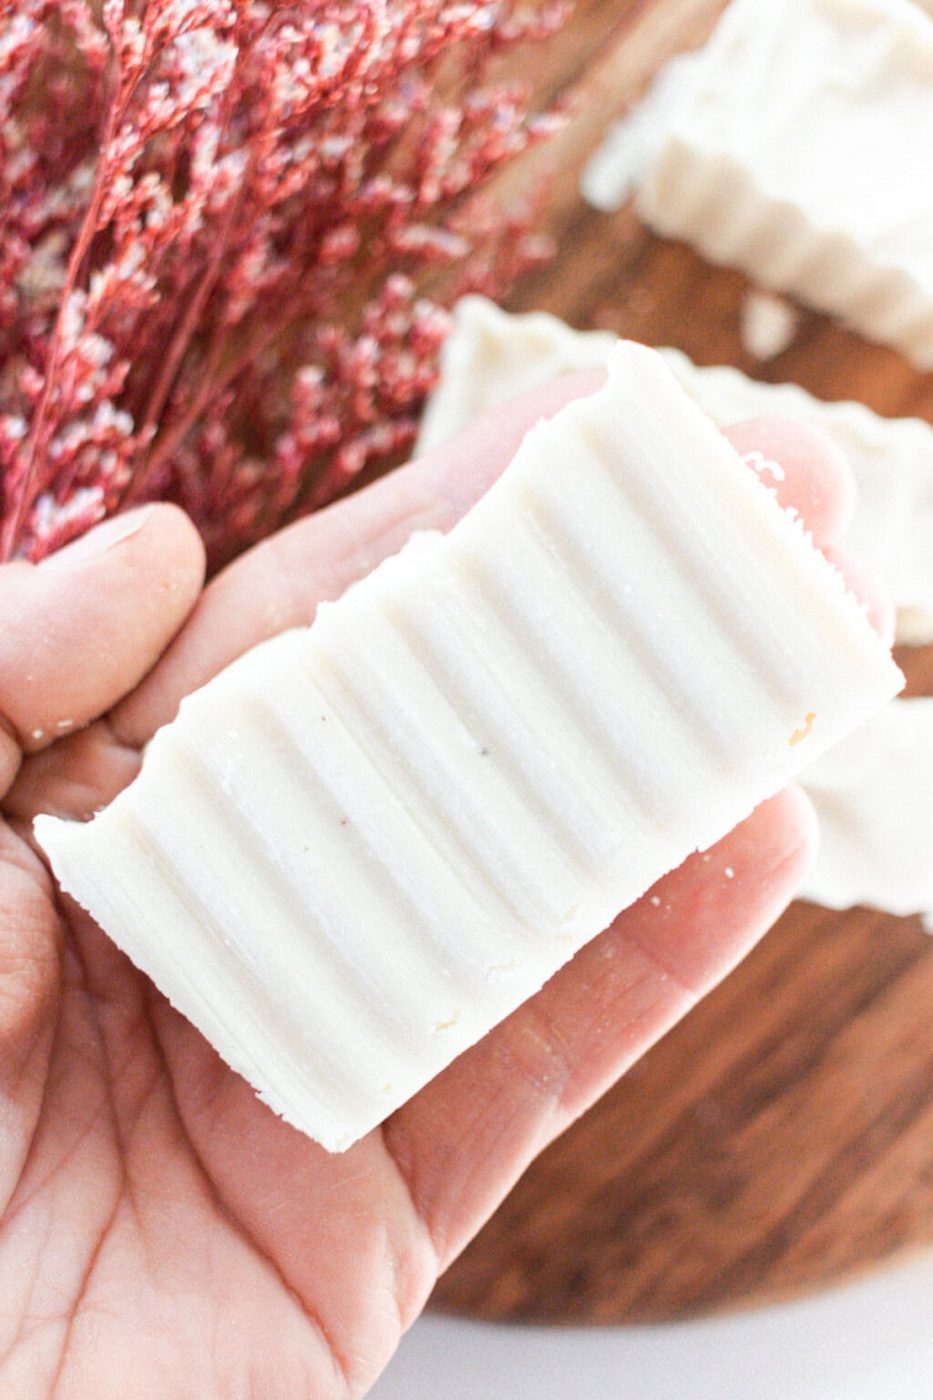
These homemade peppermint layered soap bars are fun and soothing! An easy melt and pour recipe, you’ll love making beautiful layered bars with a nourishing soap base. Give them as holiday gifts or enjoy them yourself all winter long!
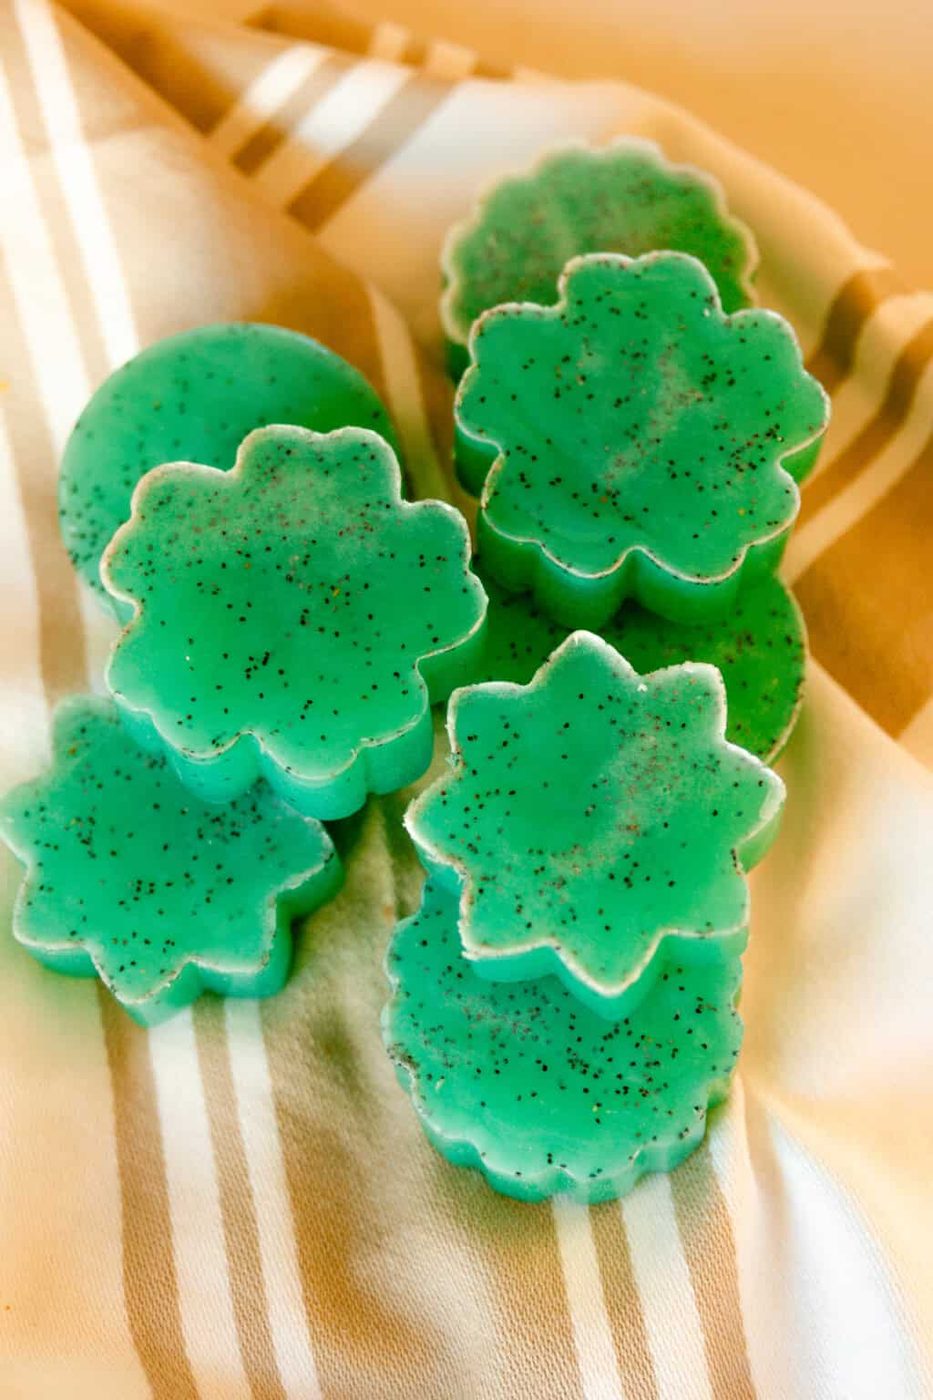
If you love a minty bar but want something for the warmer months, our mint lime melt and pour soap is a bright summer take that smells just like a mojito.
There’s something about the smell of peppermint that is so soothing.
The cooling effect it has on your skin and the aromatherapy benefits you get from it make peppermint such a great scent for bath and body products.
We love adding peppermint to just about everything during winter and Christmastime. This year, we made a big batch of peppermint bath salts, peppermint mocha face scrub, and these peppermint layered soaps.
Homemade peppermint layered soap bars are such a fun DIY. They have a unique layered look, a rich lather, and that wonderful minty smell!
If you’re looking for an easy-to-make holiday gift or simply need to restock your soap supply, give these peppermint layered soap bars a try!
Why You’ll Love this recipe
- Melt and pour: If you aren’t ready to dip your toes into cold process soapmaking or you want a quick and straightforward DIY, melt and pour soap is the way to go! All you have to do is melt your pre-made soap base, mix in any additions, and pour the soap into molds. No lye or curing required!
- Seasonal: When Christmastime and winter roll around, we just love the cooling, invigorating smell of peppermint. These soap bars are a must-make DIY for the cold season!
- Easy to make: Peppermint layered soap takes less than 45 minutes to make and the results are so rewarding. This is a great recipe for a girls’ night or a craft day with older kiddos!
- Natural: When it comes to the ingredients we put on our skin, we like to keep it as simple as possible. With a nourishing, natural soap base, mica powder, and pure essential oils, these soap bars are a perfect natural option.
Ingredients needed
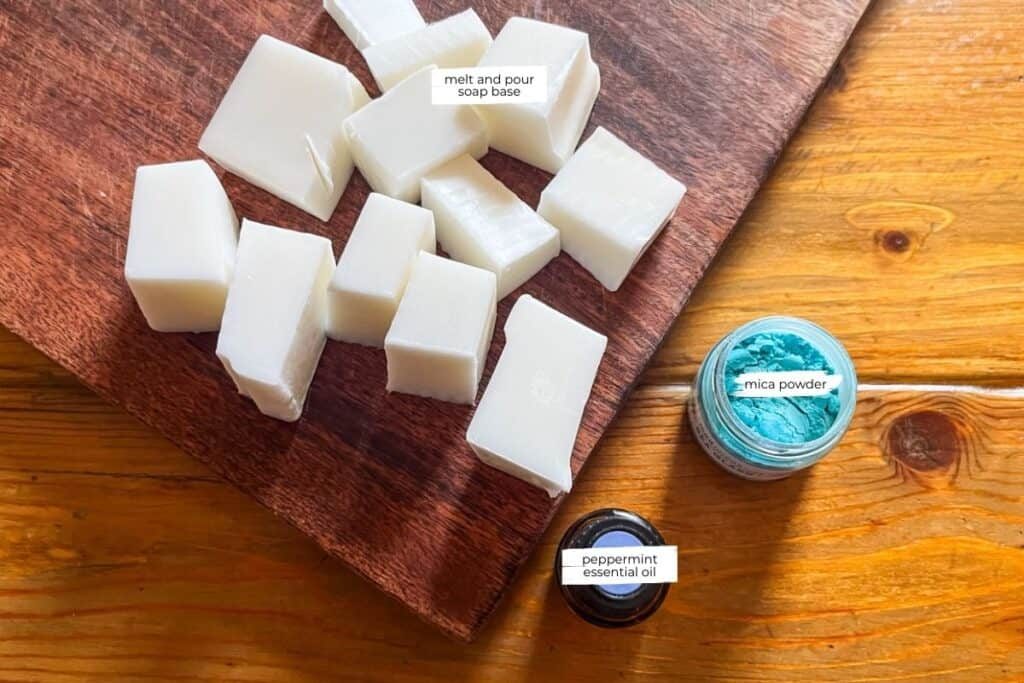
- Melt and pour soap base: You can choose whichever type of melt and pour soap base you prefer. We used a shea butter base.
- Mica powder: We’ll be using mica powder as a natural colorant. Be sure to do some research on the company before you purchase, as many mica powders are sourced with unethical practices. We use Mad Micas because of their comprehensive ethics statement. You can also use any soap-stable colorant of your choosing.
- Peppermint essential oil: Essential oil will give the soap a delightful smell without any artificial fragrance. If you don’t want to use peppermint, you can substitute any essential oil you like!
- Silicone soap molds: You can use any shape for your soap mold, but we do recommend sticking with silicone molds. They don’t require any prep and getting the soap out is very easy.
Homemade Layered Peppermint Soap
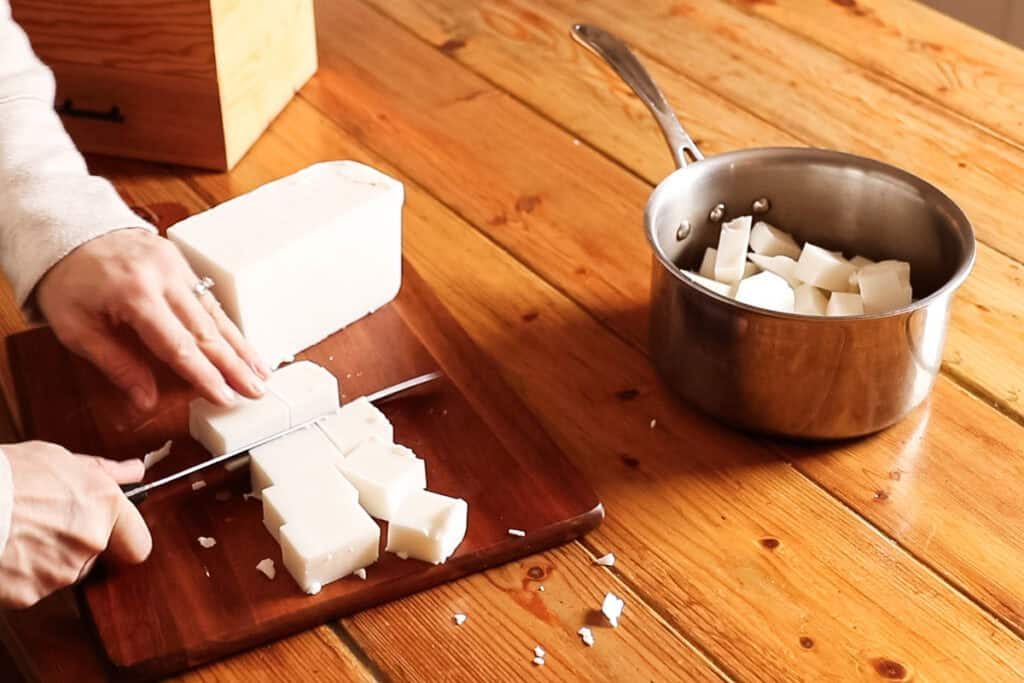
Step 1: Chop the soap base into small pieces and place in a medium saucepan or a double boiler.
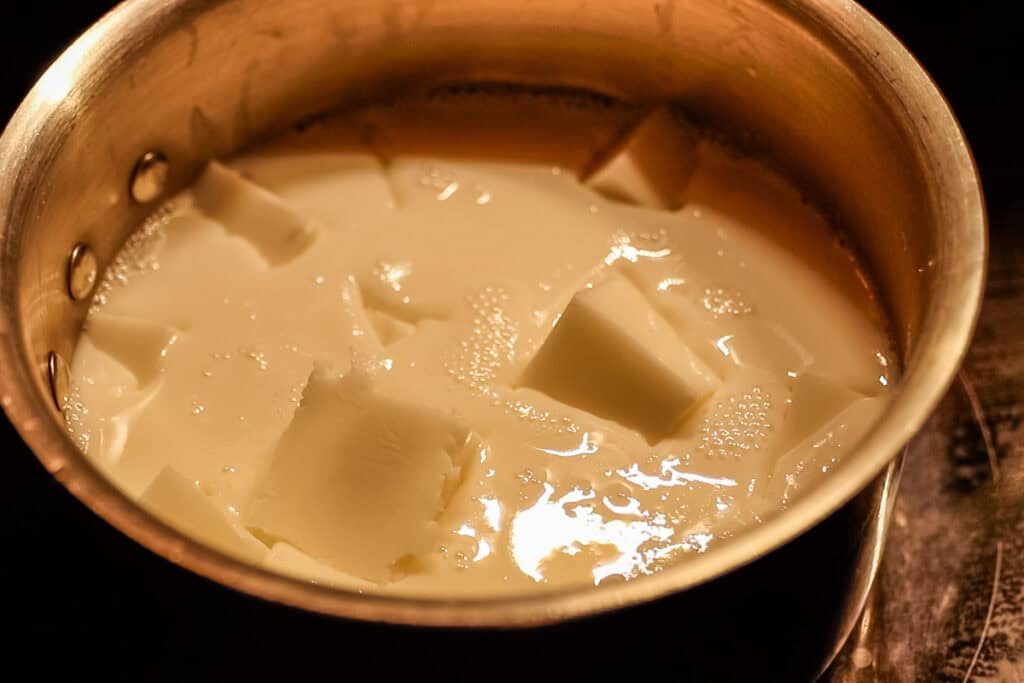
Step 2: Melt the soap base over medium heat, stirring frequently, until it is a smooth consistency.
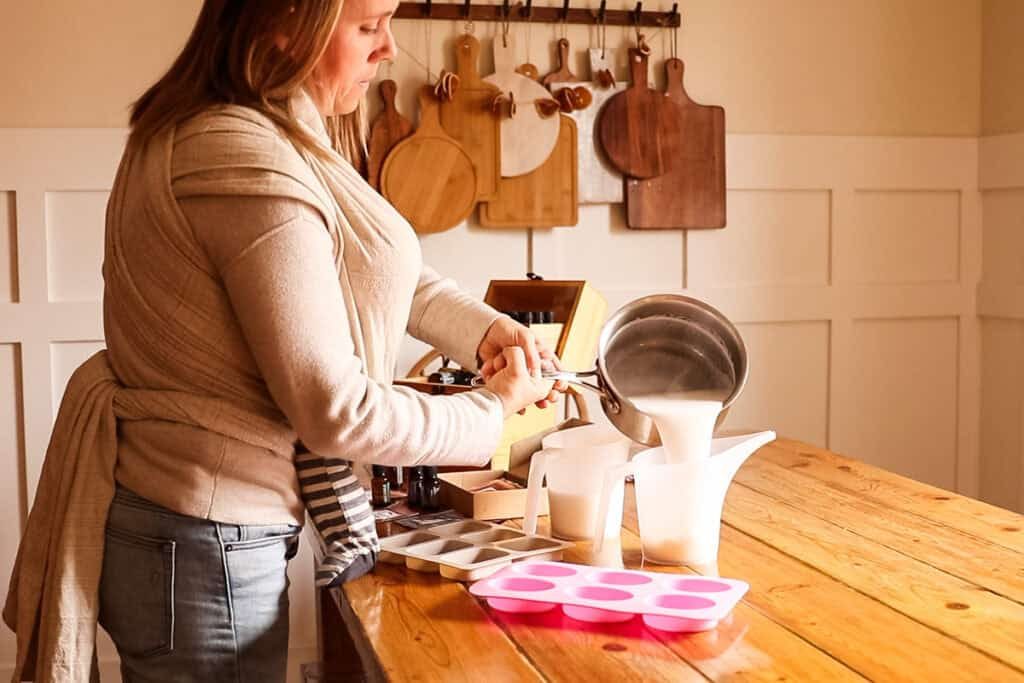
Step 3: Remove from heat and stir in the peppermint essential oil. Then, pour the melted soap equally into two pitchers.
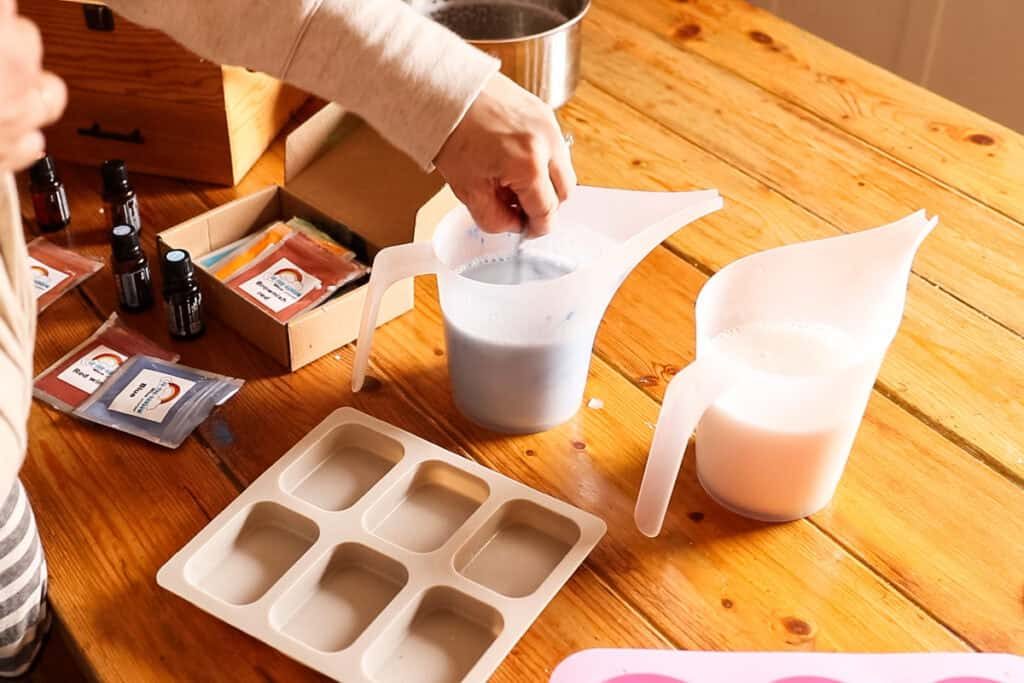
Step 4: Stir the mica powder into one of the pitchers of melted soap base.
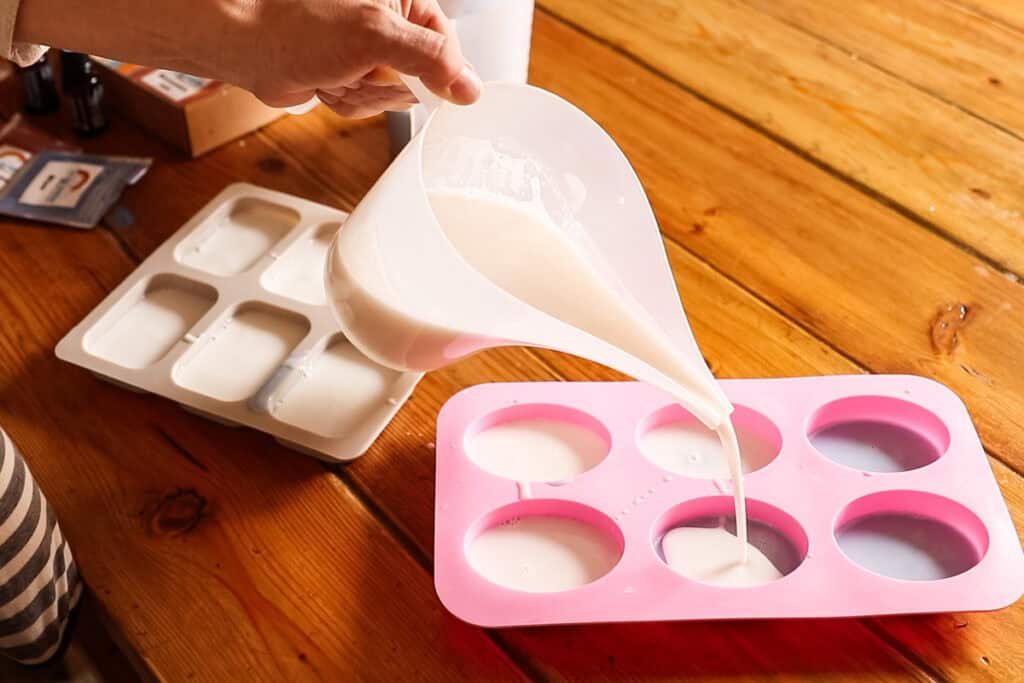
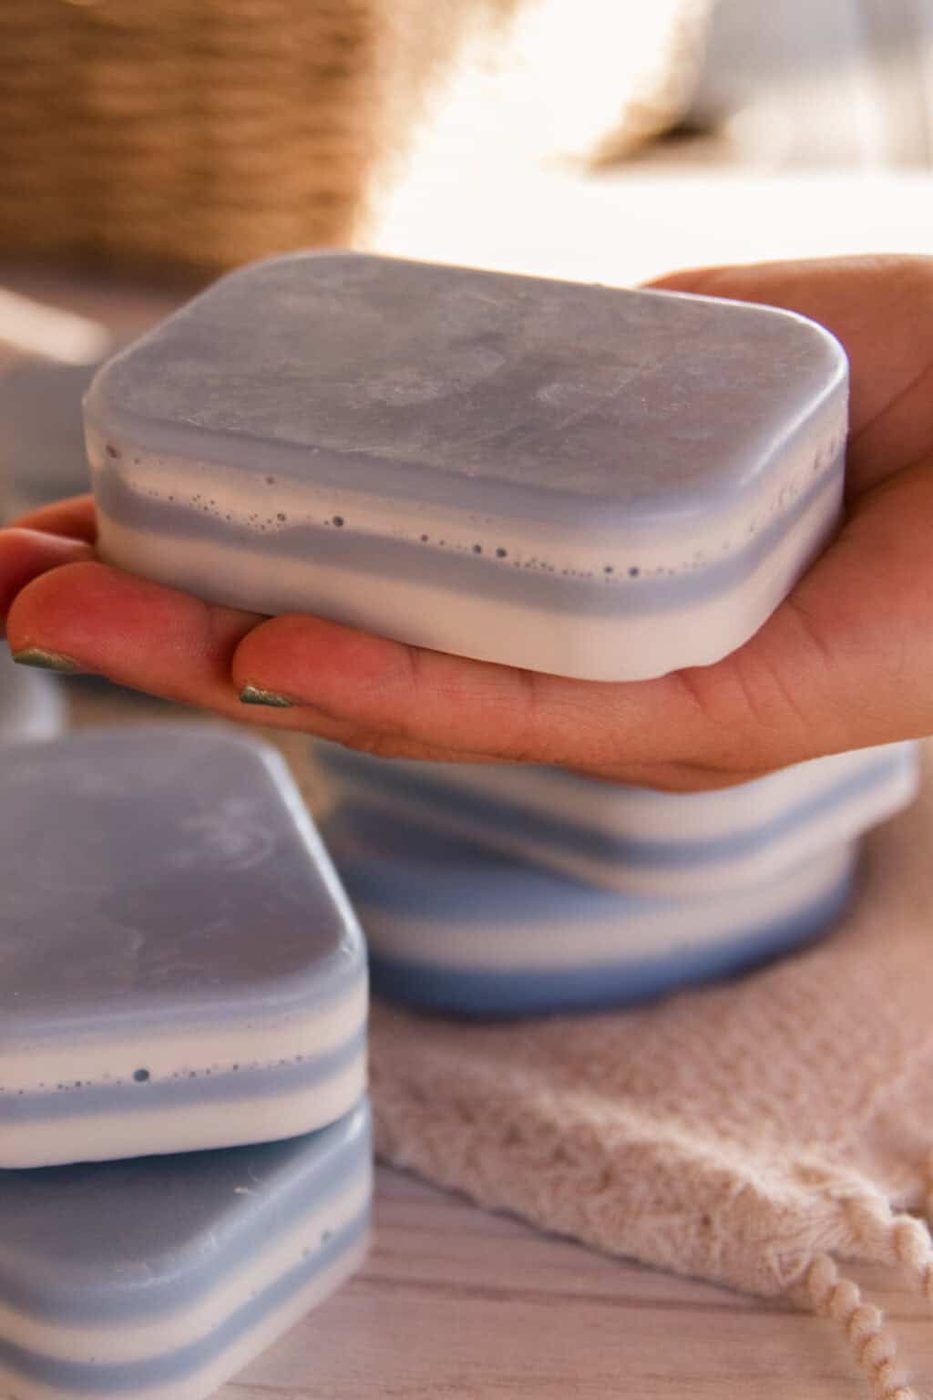
Step 5: Pour the melted soap into your silicone molds one layer at a time, waiting about 5 minutes before pouring the next layer. You can make them as thick as you want; we made our layers about a quarter of an inch thick.
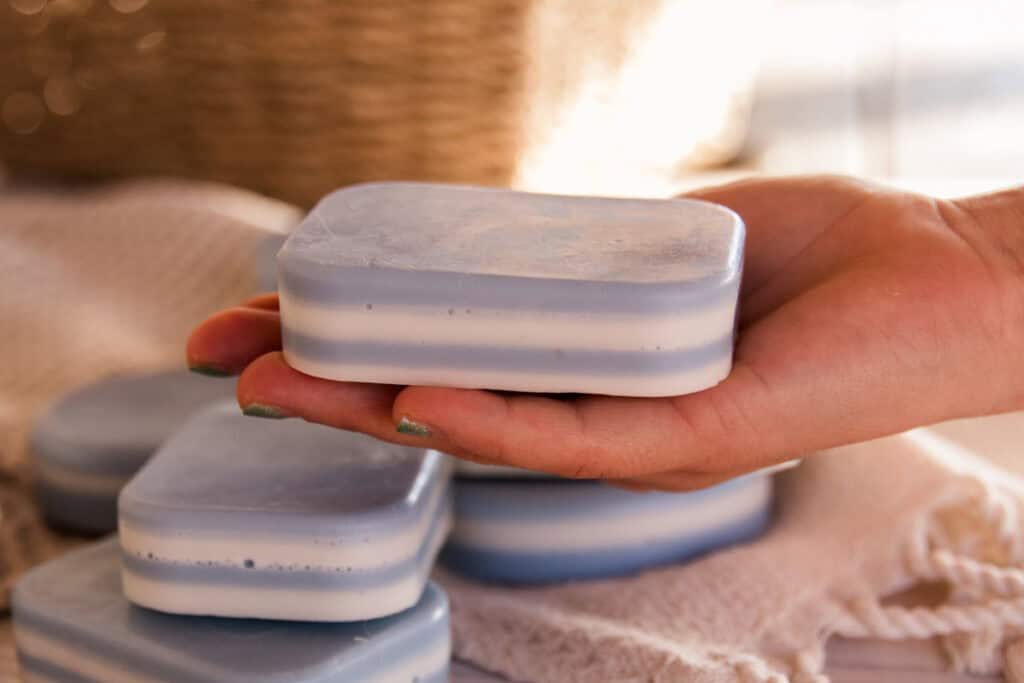
Step 6: Allow the soap bars to harden before removing them from the molds.
Expert Tips
- If you want to add more colored layers to this recipe, you can just separate the soap into more pitchers and stir in different colors of mica powder.
- This recipe will make about 12 soap bars, depending on the size of your molds.
- The soap base can take quite a while to melt down, so we recommend cutting it into small pieces. The smaller the chunks, the faster it will melt.
- Homemade soap bars make excellent holiday or Christmas gifts! We like to tie them up with twine and add them to a Christmas gift basket, give them for a hostess gift, or use them as stocking stuffers.
Recipe FAQs
What’s the best kind of melt and pour soap base?It depends on your soap preferences and skin type, but we prefer shea butter. We recommend trying a few to find your favorite!
What’s the difference between melt and pour soap and cold process soap?Melt and pour soapmaking allows one to avoid the use of lye and is a much simpler process for beginners, children, or anyone who wants an easy DIY. Cold process soap means soapmaking from scratch using fats, oils, and lye, which go through a chemical reaction called saponification. Cold process soap allows for more customization and offers an exciting challenge. Melt and pour soap involves melting down a pre-made soap base, adding different inclusions, and pouring the soap into molds.
Do we need to let our melt and pour soap cure?Nope! That’s one of the great things about melt and pour soap. Just let the soap harden for a few hours in the molds and it’s ready to use.
More Seasonal Soap Recipes
- 5 Christmas Soap Recipes | Melt and Pour
- DIY Orange Creamsicle Soap (melt and pour)
- Homemade Candy Cane Soap (cold process)
- Holiday Spice Soap Bar Recipe (cold process)
If you tried this Peppermint Layered Soap Bar Recipe or any other tutorial on our website, please leave a 🌟 star rating and let me know how it went in the 📝 comments below. Thanks for visiting!
5 from 1 voteHomemade Peppermint Layered Soap
By the studio Ascher Active: 45 minutes minsTotal: 45 minutes mins Yield: 12 bars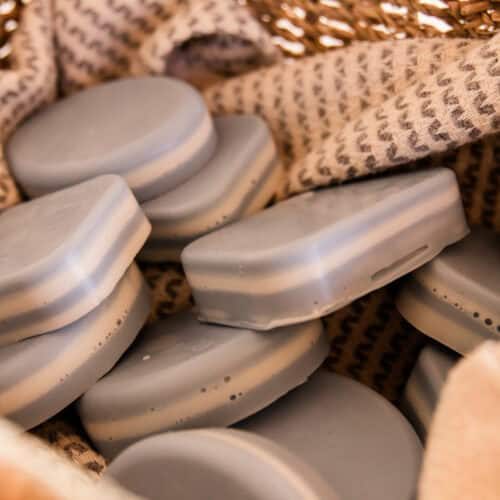 SaveSaved Pin Print This layered peppermint soap is soothing, cooling, and nourishing to the skin. A simple melt and pour recipe, you'll love these easy soap bars this Christmas and winter!
 Equipment
- Silicone soap molds
Ingredients
- 2 lb melt and pour soap base
- 1 tsp mica powder
- 25 drops peppermint essential oil
Instructions
- Chop the soap base into small pieces and place in a medium saucepan.
- Melt the soap base over medium heat, stirring frequently, until it is a smooth consistency.
- Remove from heat and stir in the peppermint essential oil. Then, pour the melted soap equally into two pitchers.
- Stir the mica powder into one of the pitchers of melted soap base.
- Pour the melted soap into your silicone molds one layer at a time, waiting about 5 minutes before pouring the next layer. You can make them as thick as you want; we made our layers about a quarter of an inch thick.
- Allow the soap bars to harden before removing them from the molds.
Video
Notes
- If you want to add more colored layers to this recipe, you can just separate the soap into more pitchers and stir in different colors of mica powder.
- This recipe will make about 12 soap bars, depending on the size of your molds.
- The soap base can take quite a while to melt down, so we recommend cutting it into small pieces. The smaller the chunks, the faster it will melt.
- Homemade soap bars make excellent holiday or Christmas gifts! We like to tie them up with twine and add them to a Christmas gift basket, give them for a hostess gift, or use them as stocking stuffers.