*This transformative deck staining project was completed in partnership with Sherwin-Williams ®. I am collaborating with Sherwin-Williams throughout this year and received compensation for my contributions to this endeavor. All products featured were generously provided by Sherwin-Williams, and every thought, opinion, and ounce of hard work shared herein comes directly from me!*
Transforming Our Outdoor Living: A Deep Dive into Deck Staining with Sherwin-Williams SuperDeck
Hello, fellow home and garden enthusiasts! I’m still absolutely buzzing from the incredible reception our backyard makeover reveal received. Your overwhelming love and support mean the world, and we’ve been soaking up every moment in our refreshed outdoor haven. Well, we *were* enjoying it immensely before a rather relentless heatwave descended upon us, pushing temperatures well above 106 degrees for weeks on end. It’s been truly unbearable outside! I’m eagerly awaiting cooler weather so we can fully reclaim and savor our beautiful new space.
Even before this intense heat arrived, we started to feel the warmth while tackling one of the most significant projects of the entire makeover: staining our expansive deck. Thankfully, I managed to complete this crucial step just before the real scorchers set in. Today, I’m thrilled to take you through the entire process, sharing the detailed journey of how I transformed our deck from natural redwood to a rich, inviting extension of our indoor living.
Blurring the Lines: The Vision for Our Deck
My primary ambition for our outdoor space was for it to feel like a seamless extension of our home’s interior. I yearned to blur the boundaries between indoors and outdoors, creating a cohesive design aesthetic. I knew that staining the deck would be pivotal in achieving this vision. While the natural redwood possessed its own inherent beauty, I didn’t want a typical “wood deck” look or feel. Instead, I aimed to replicate the warm, inviting tones of our interior hardwood floors, extending that cozy elegance right into our backyard.
The Essential Waiting Game: Preparing Redwood for Stain
Because our deck was constructed using redwood, an important waiting period was necessary before applying any stain or protective coating. This crucial step allows the wood to thoroughly dry out, releasing its natural oils and ensuring optimal stain absorption and vibrant color payoff. Our deck build concluded in February, and we patiently allowed it to cure for five full months before I embarked on the staining project in July. For those working with different wood types, such as pine or Douglas fir, the waiting period might be significantly shorter, or even non-existent. Once my game plan was meticulously outlined, I placed a convenient curbside pickup order for all my stain and materials from Sherwin-Williams, ready to embark on this exciting transformation.
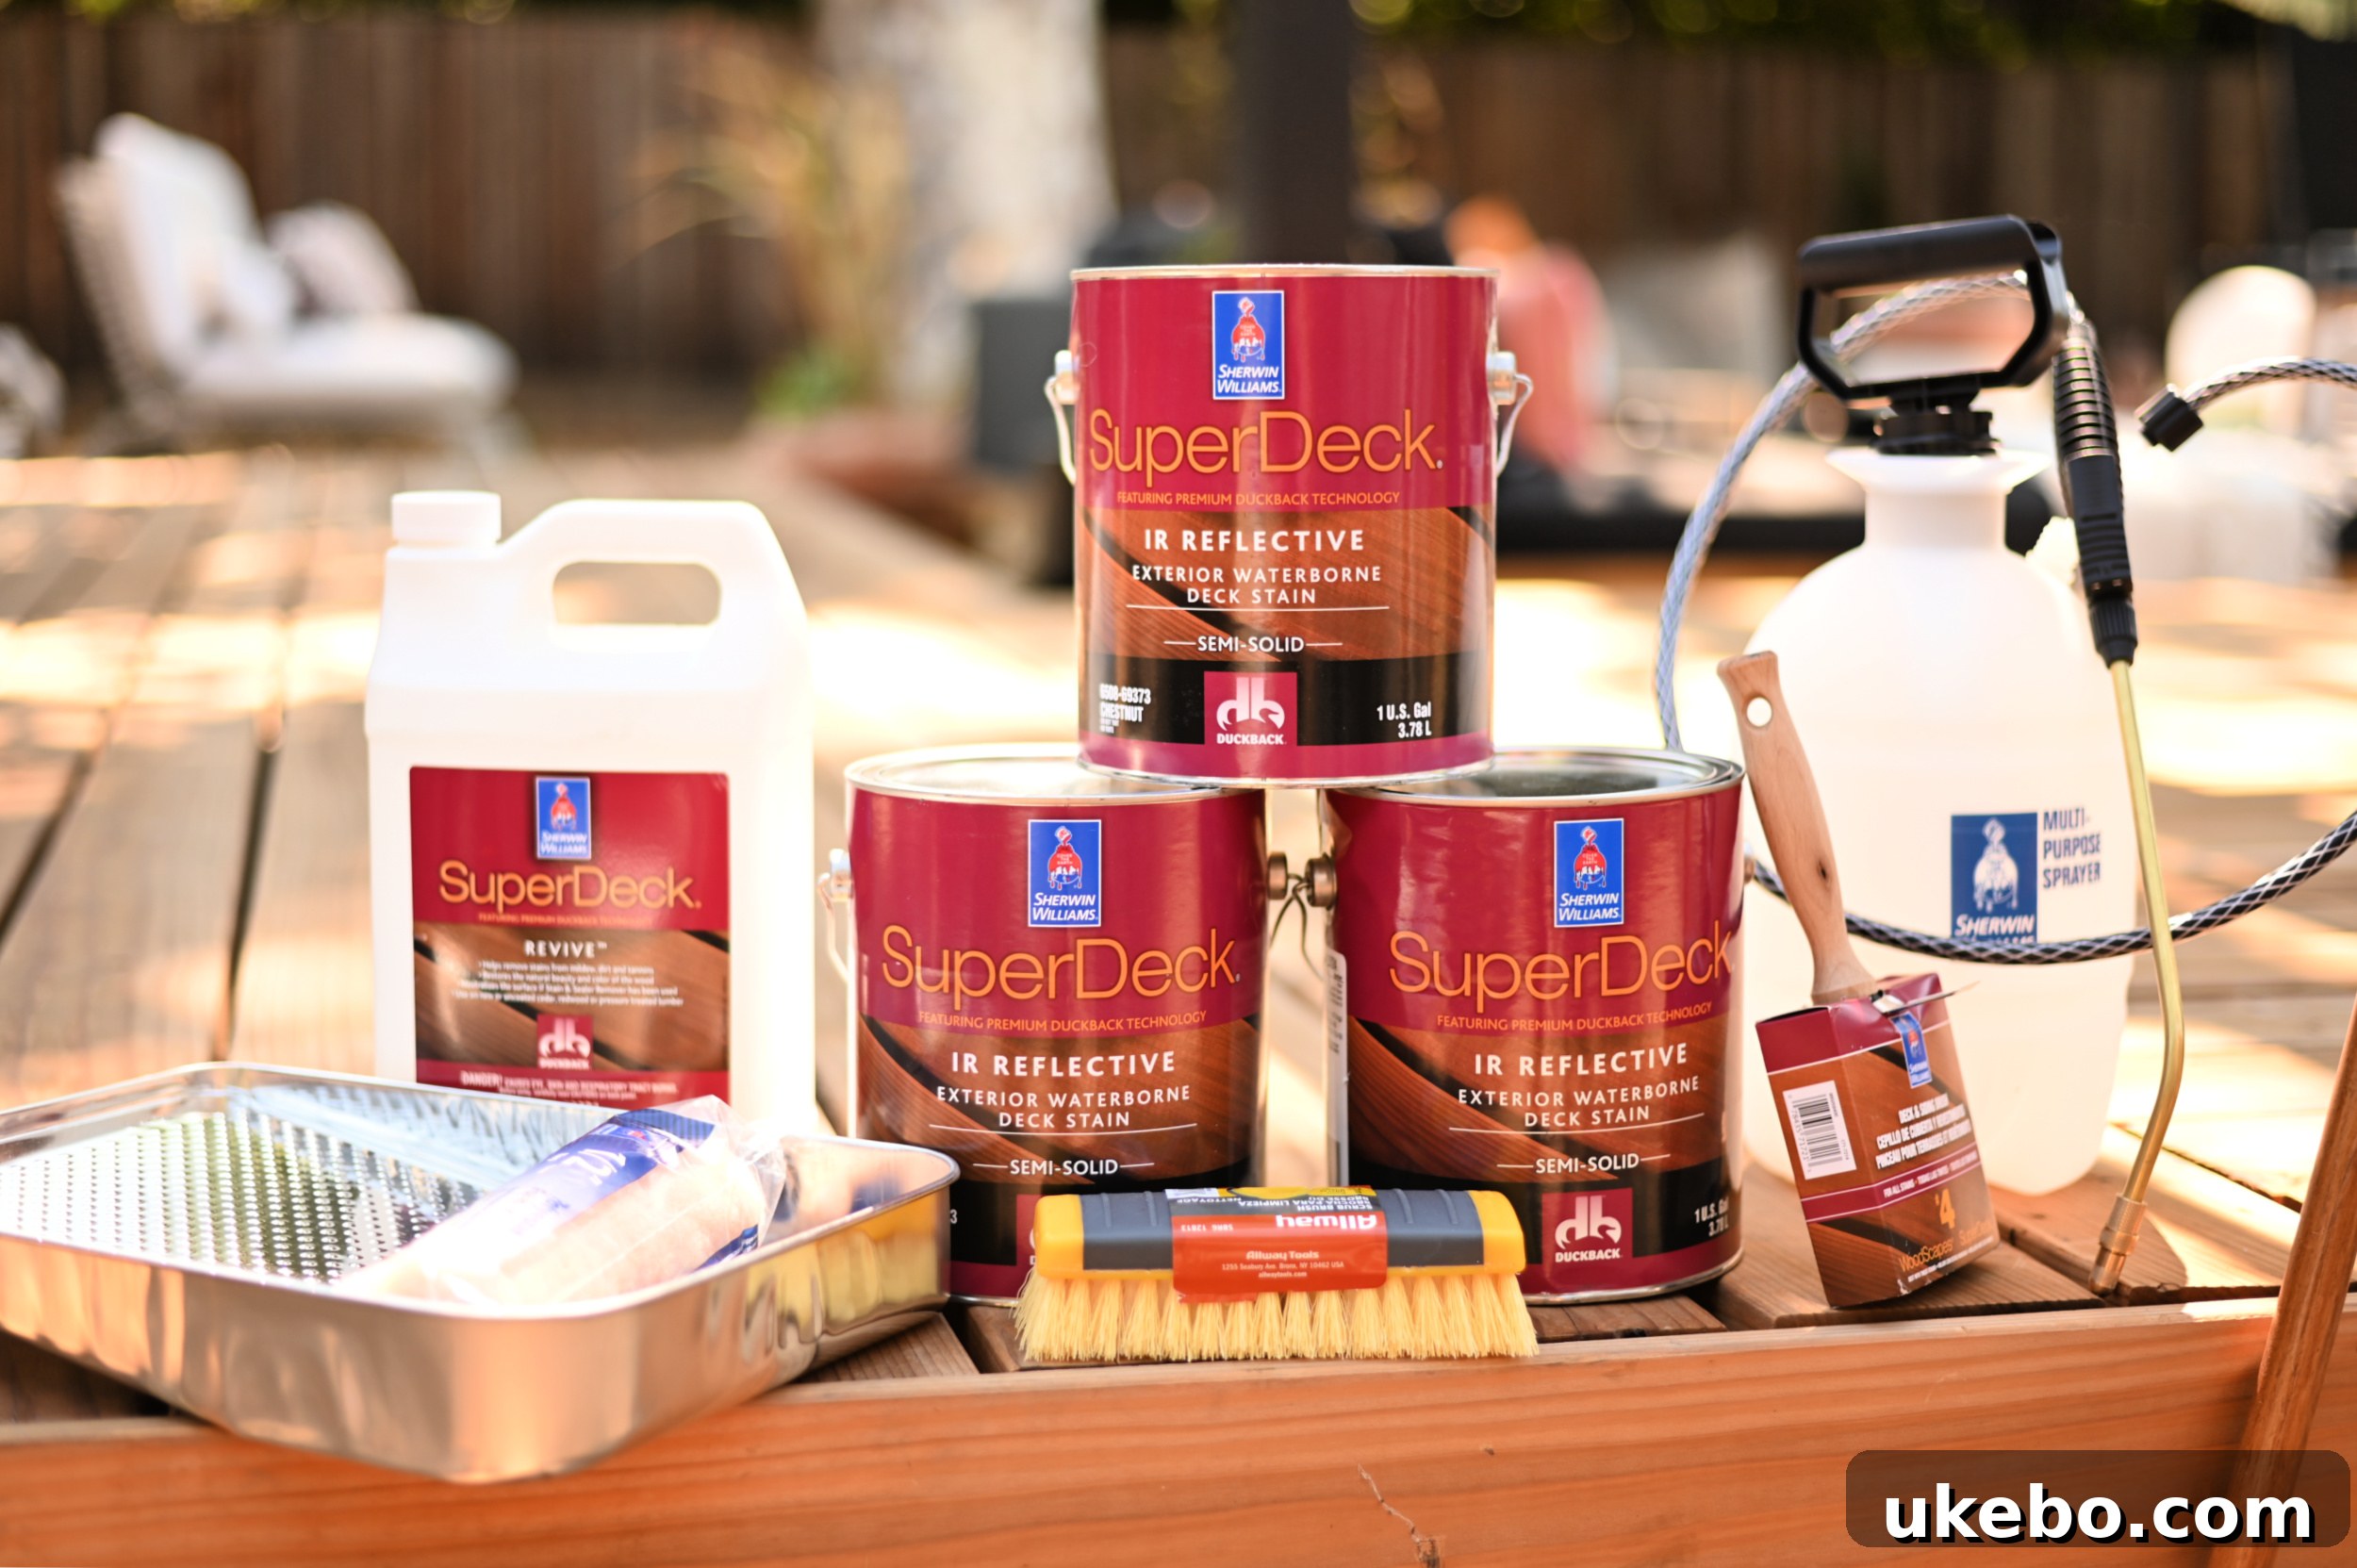
To successfully execute this project, I gathered a comprehensive set of tools, including various brushes, a roller, a durable metal tray, a spray pump, and, of course, the star products: Sherwin-Williams SuperDeck cleaner and stain.
The Foundation of Success: Thorough Deck Preparation
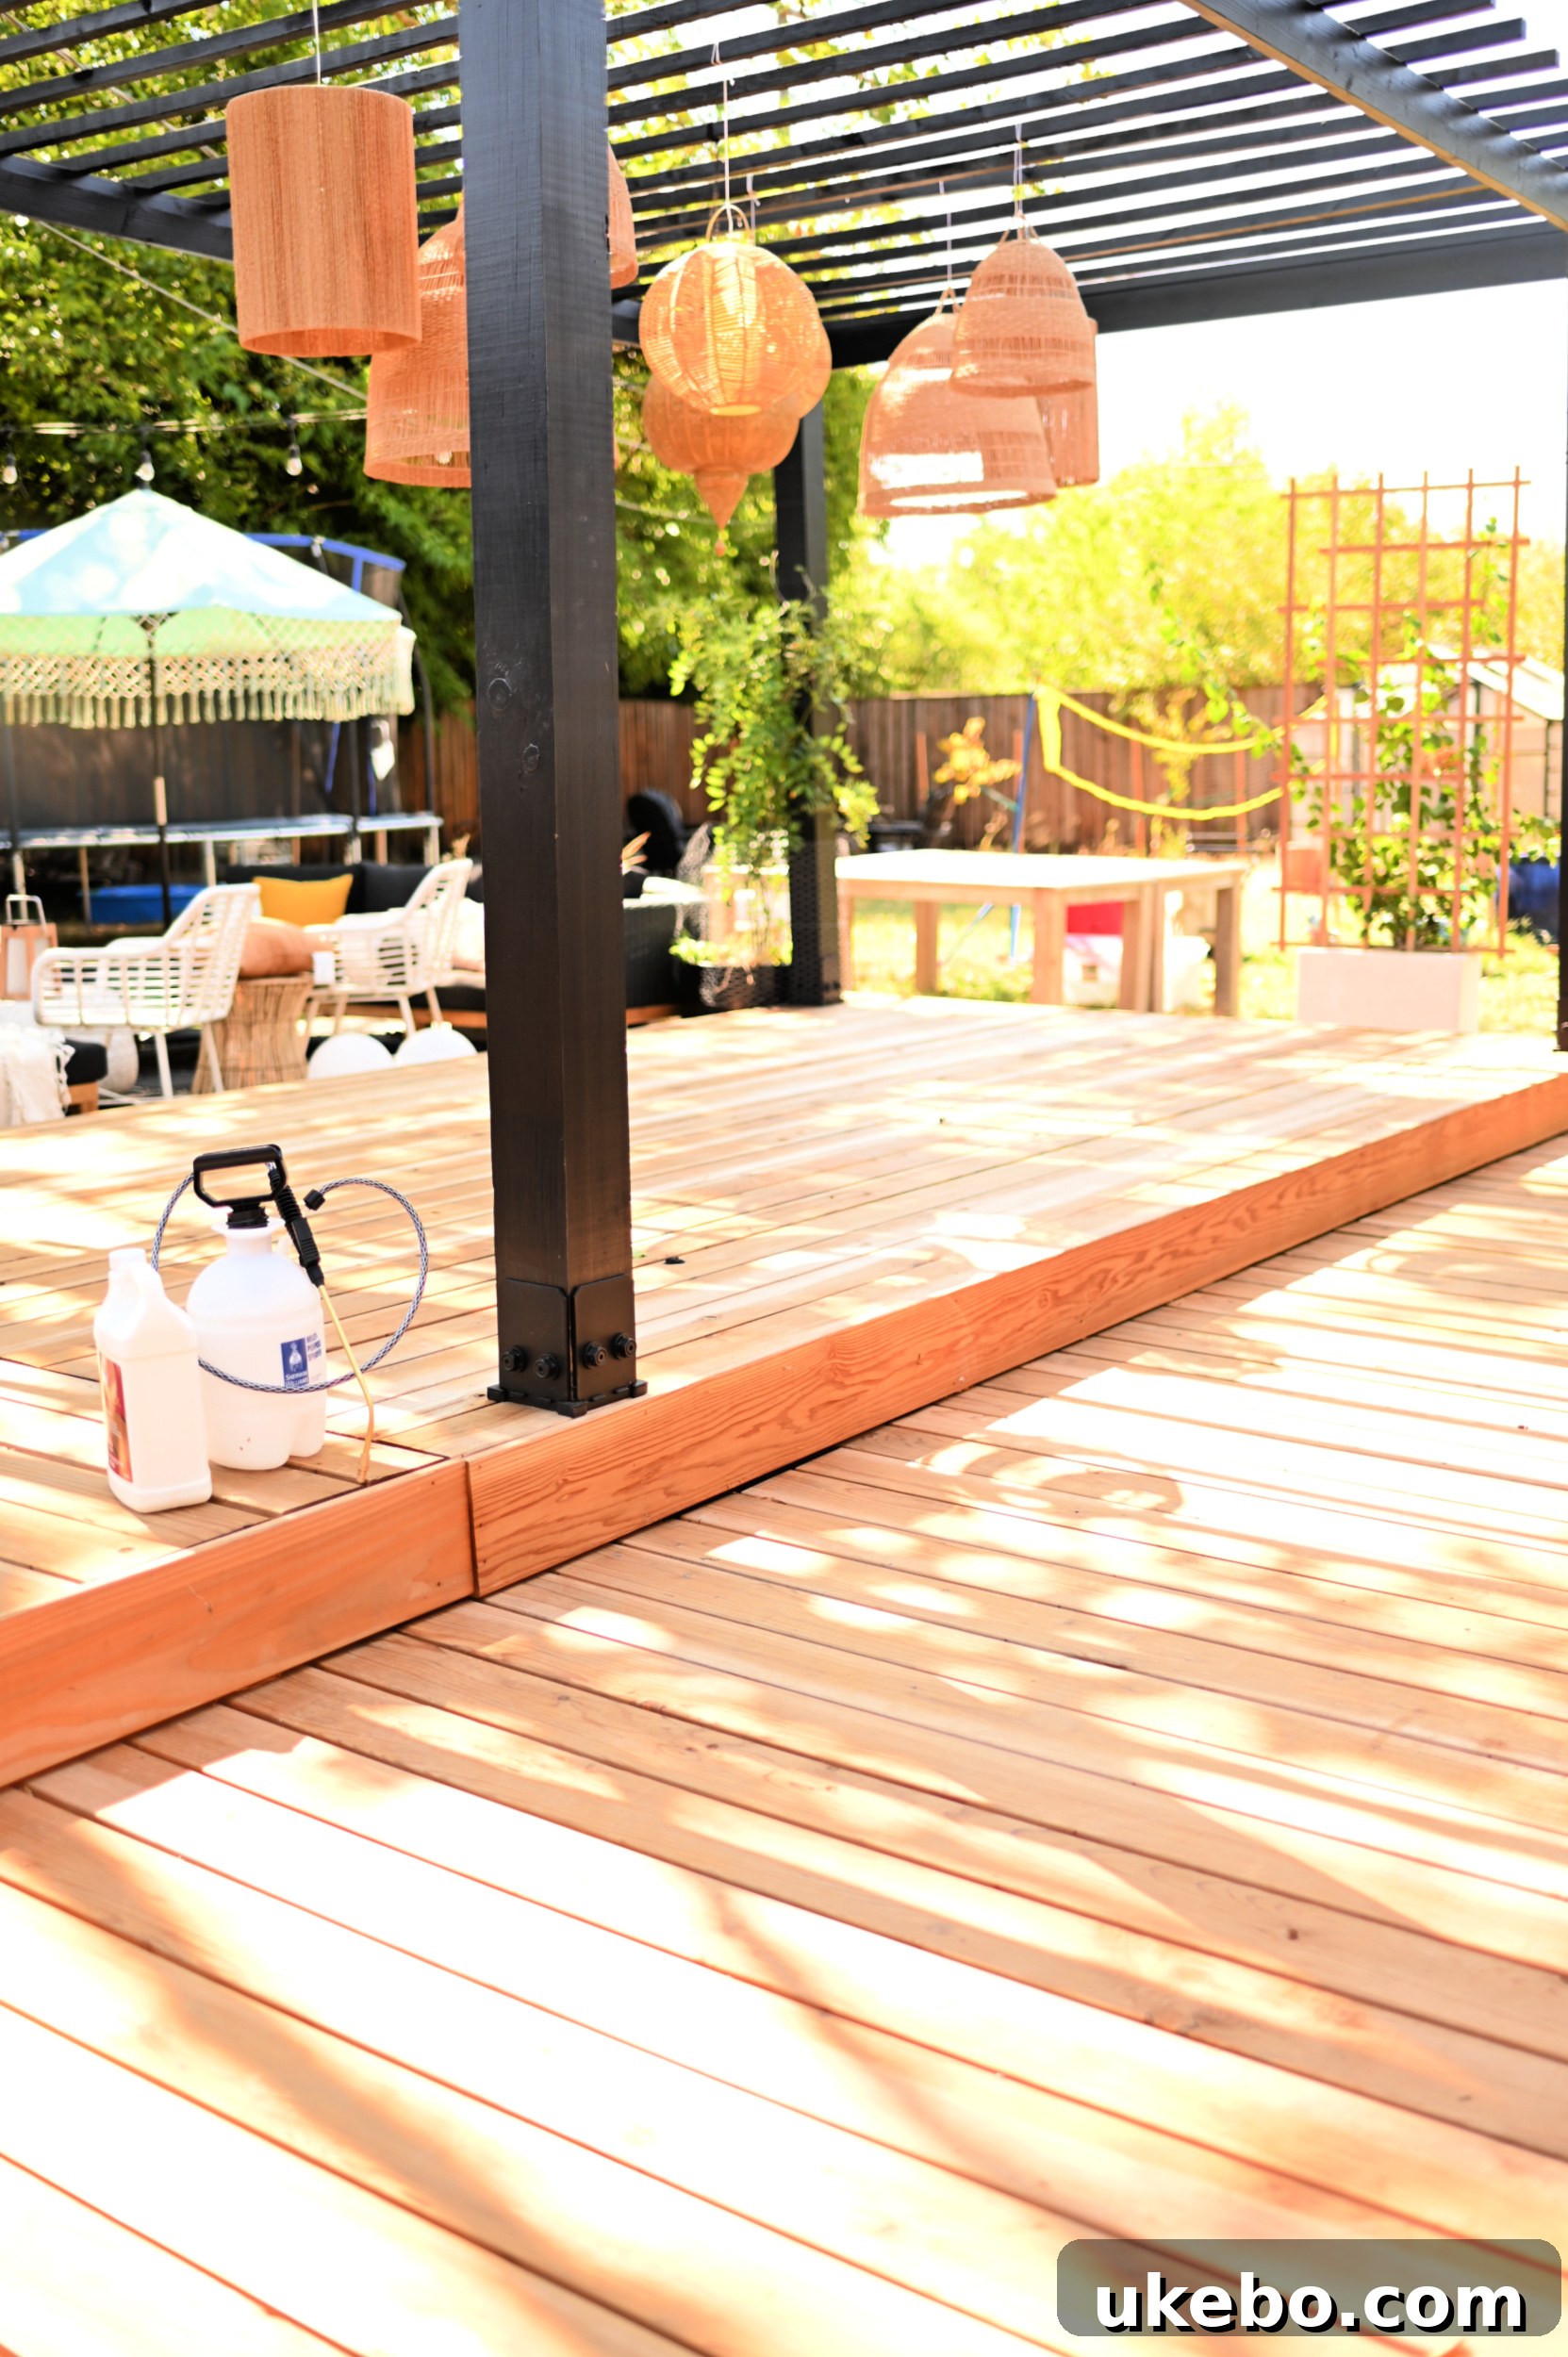
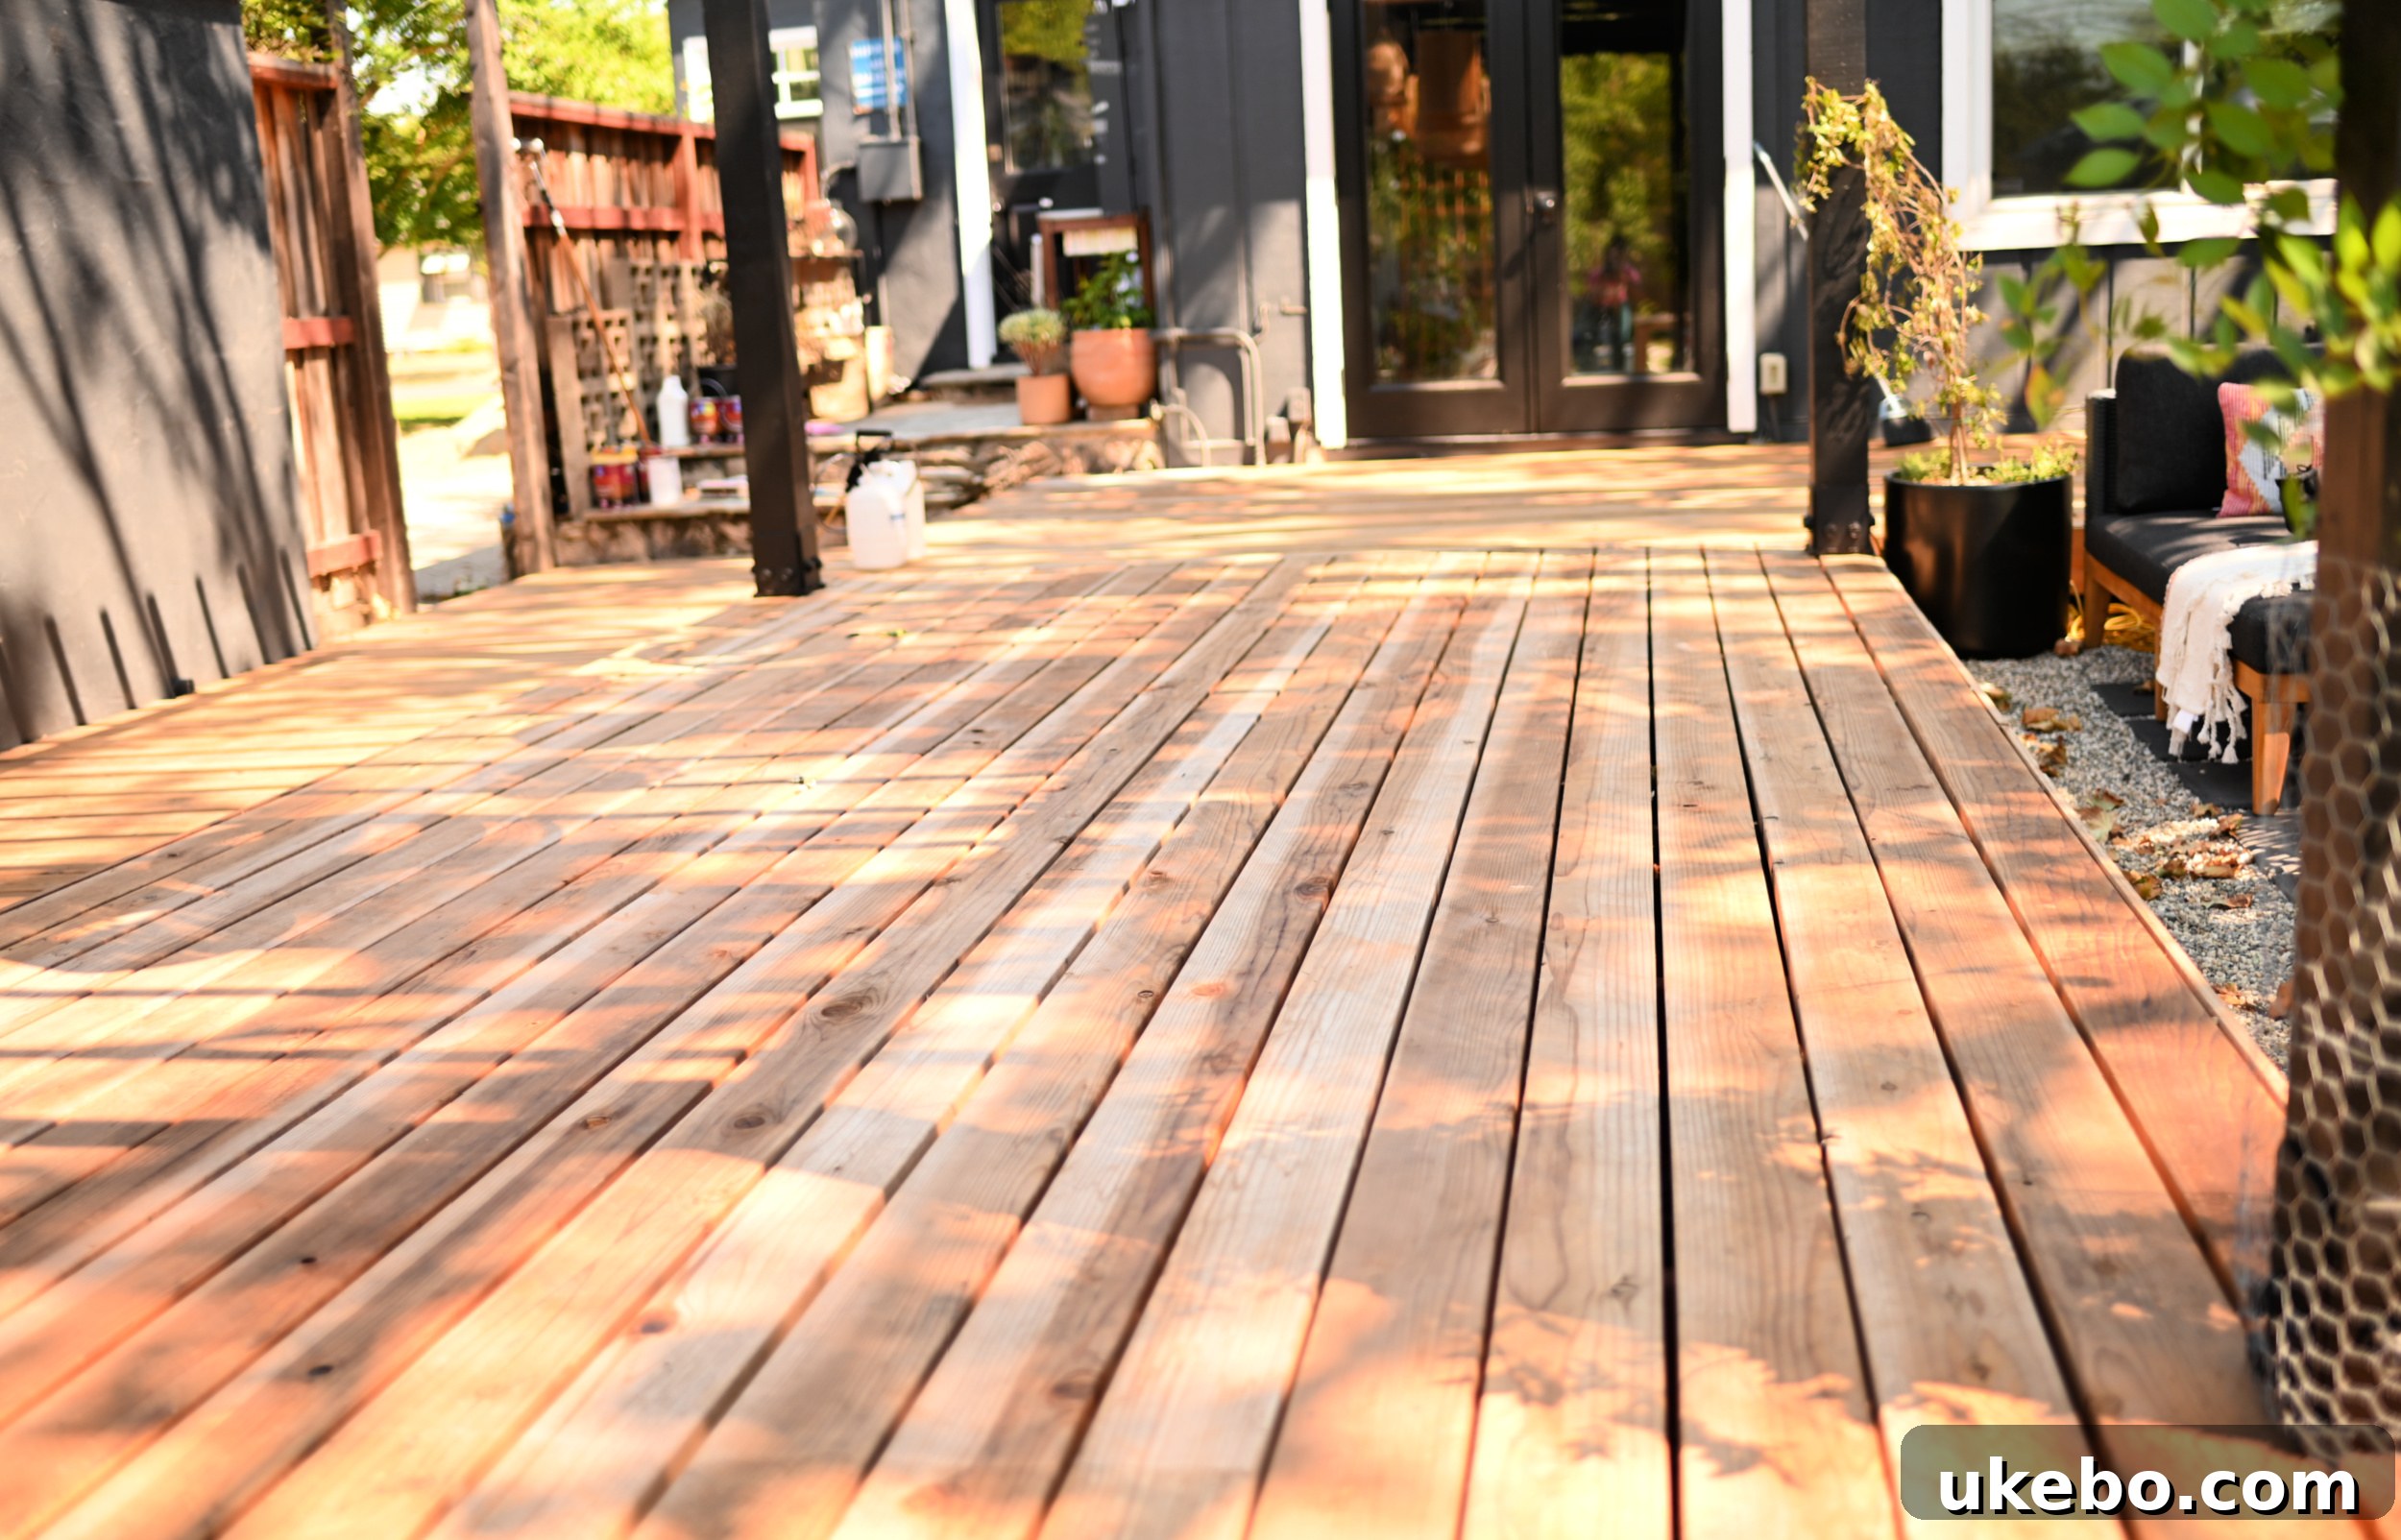
As with any painting or staining endeavor, the secret to a professional and long-lasting finish lies in meticulous preparation. I began by completely clearing the deck of all furniture and decorative items, followed by a thorough sweep to remove loose debris. The next crucial step was a deep scrub-down. For this vital cleaning and washing phase, I utilized the SuperDeck Revive Deck and Siding Brightener. This specialized formula is expertly designed for use on new or uncoated cedar, redwood, or pressure-treated lumber, making it the perfect choice for our new redwood deck. It not only cleans but also brightens the wood, preparing it perfectly to accept the stain.
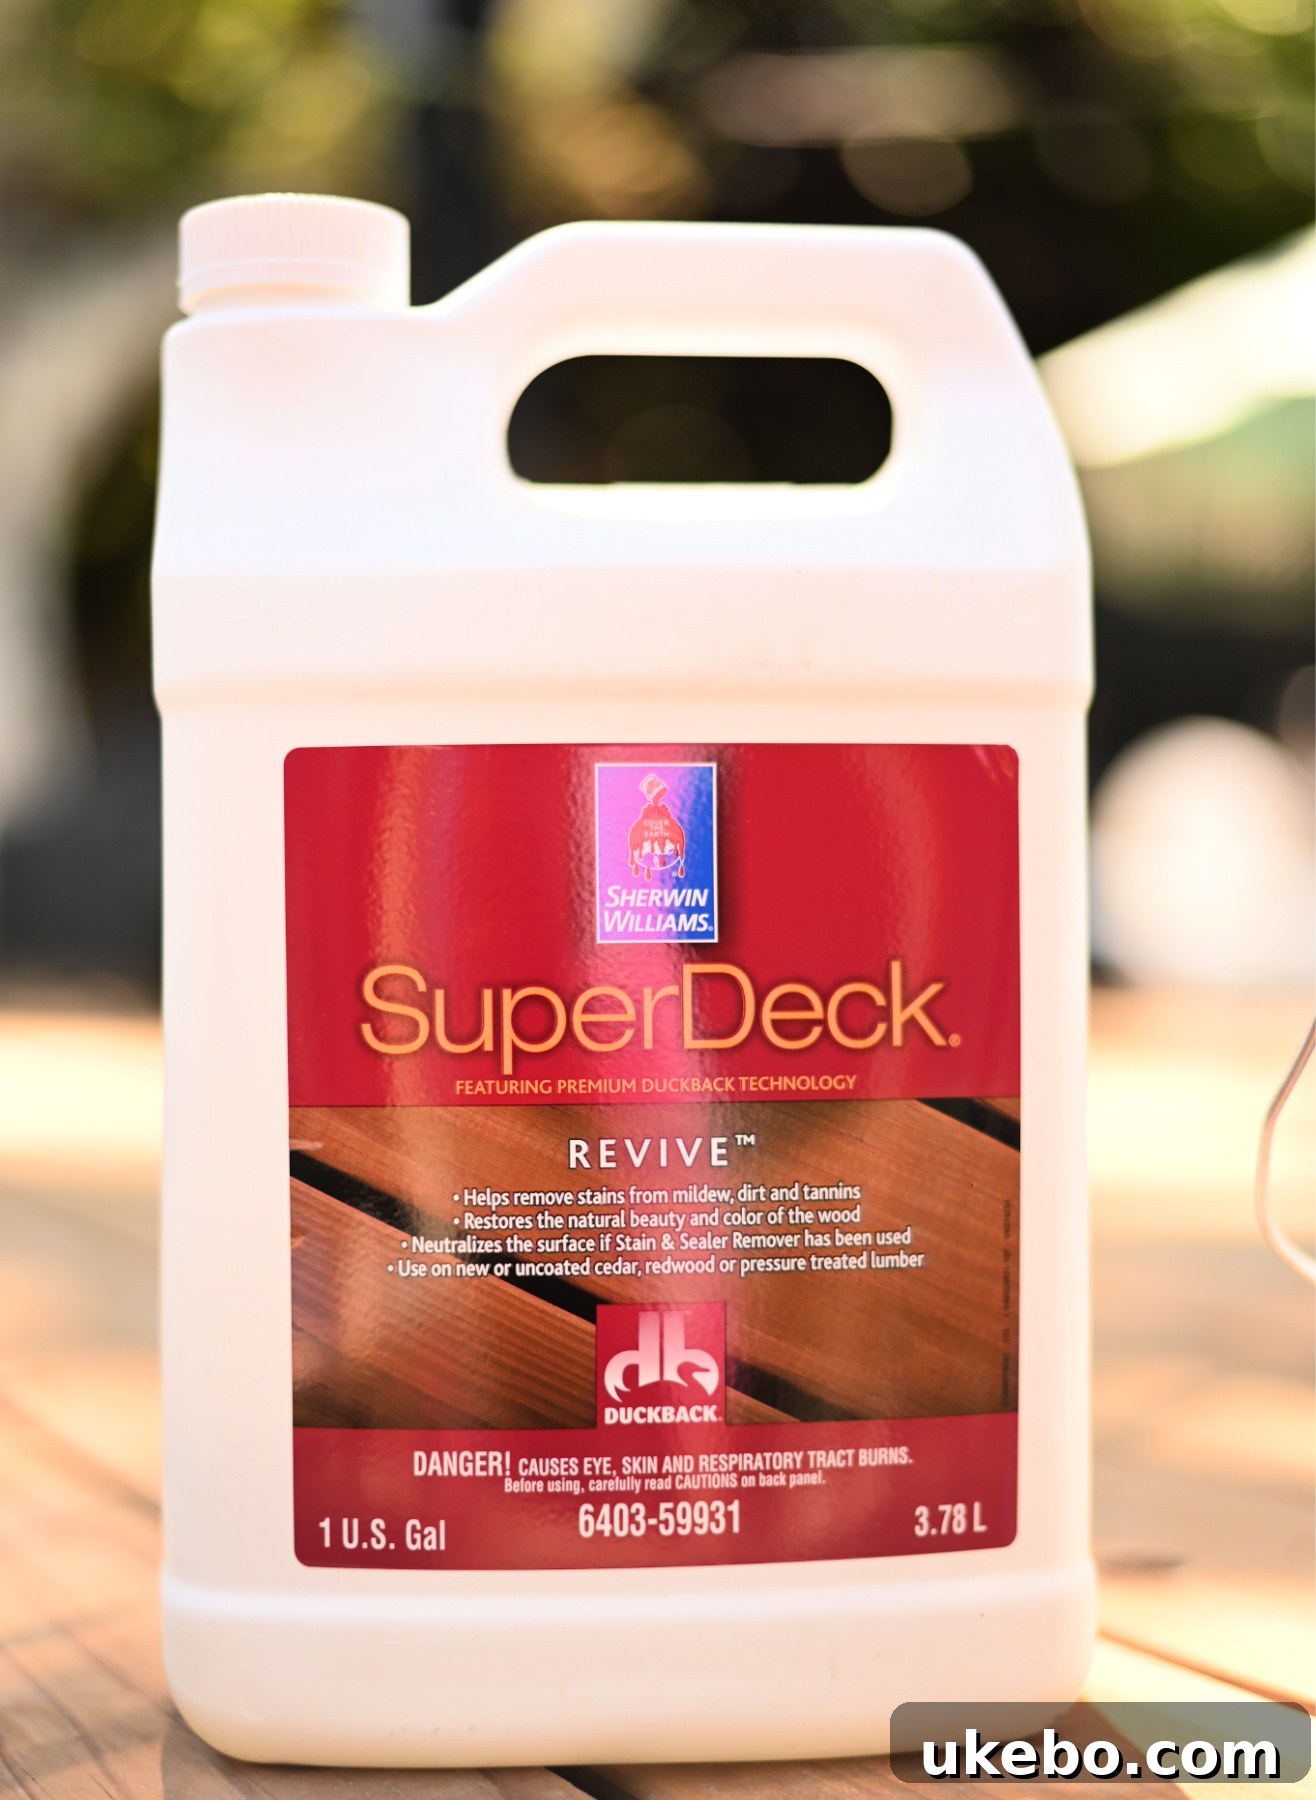
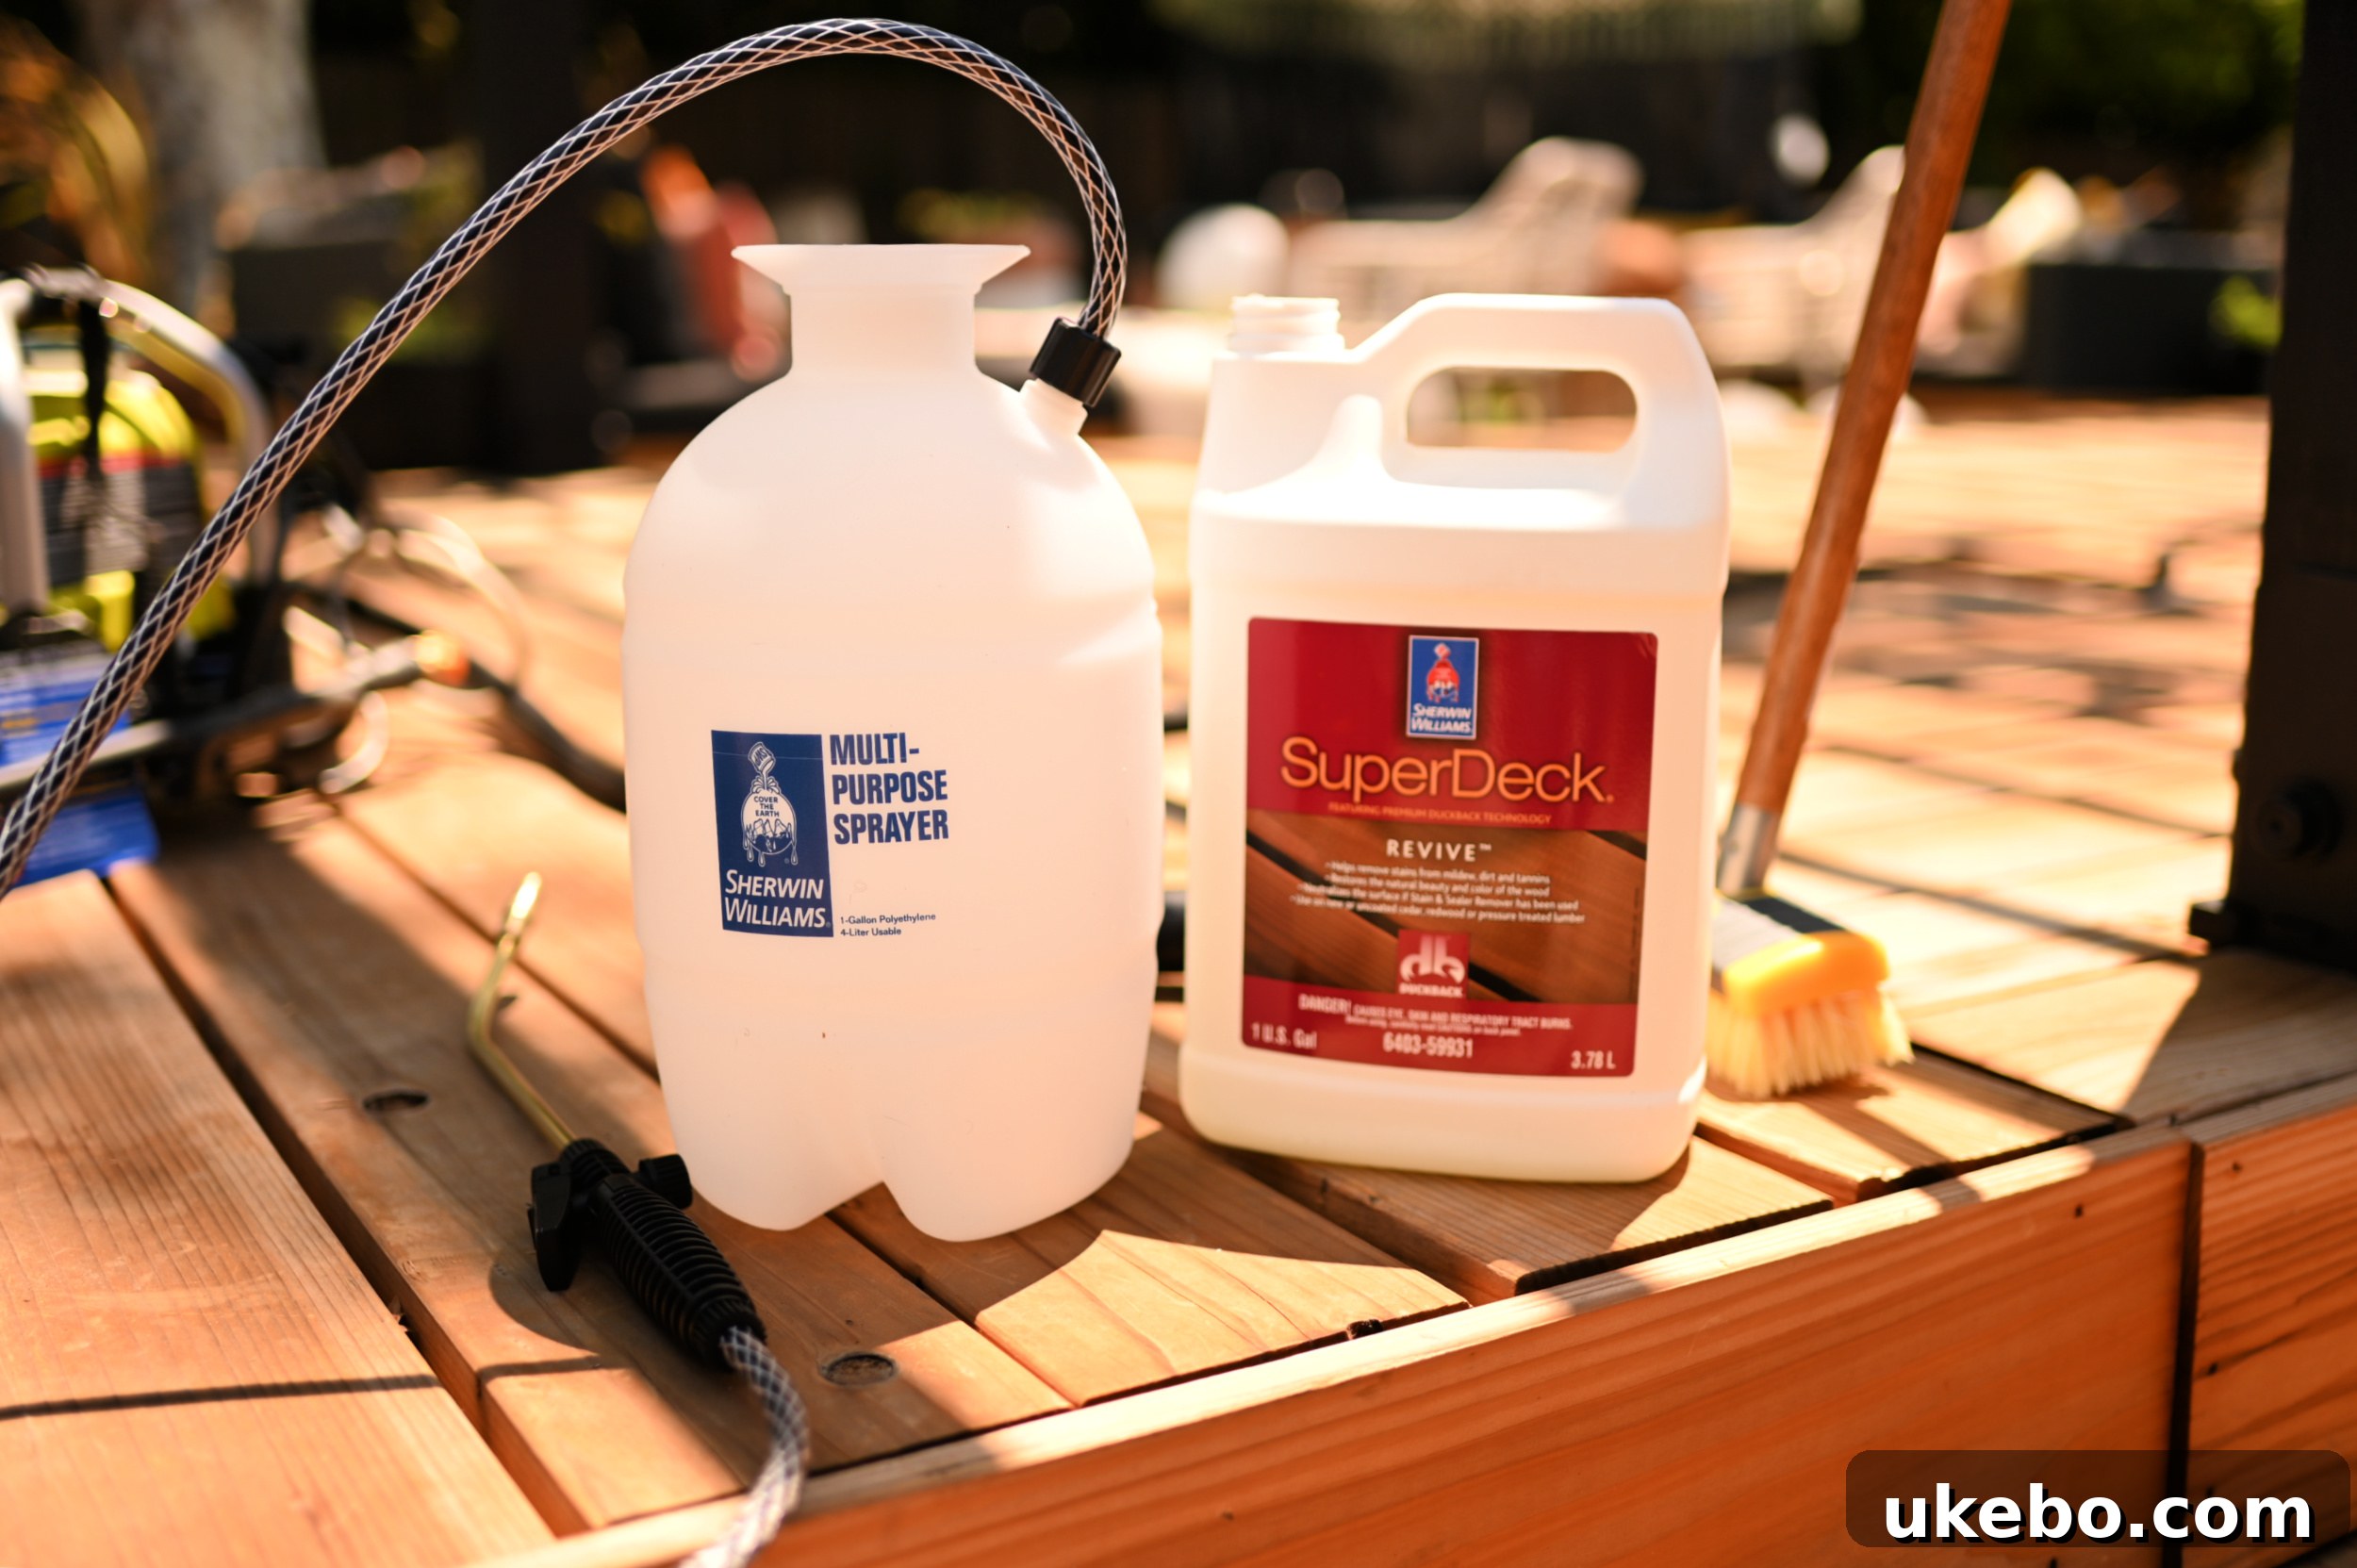
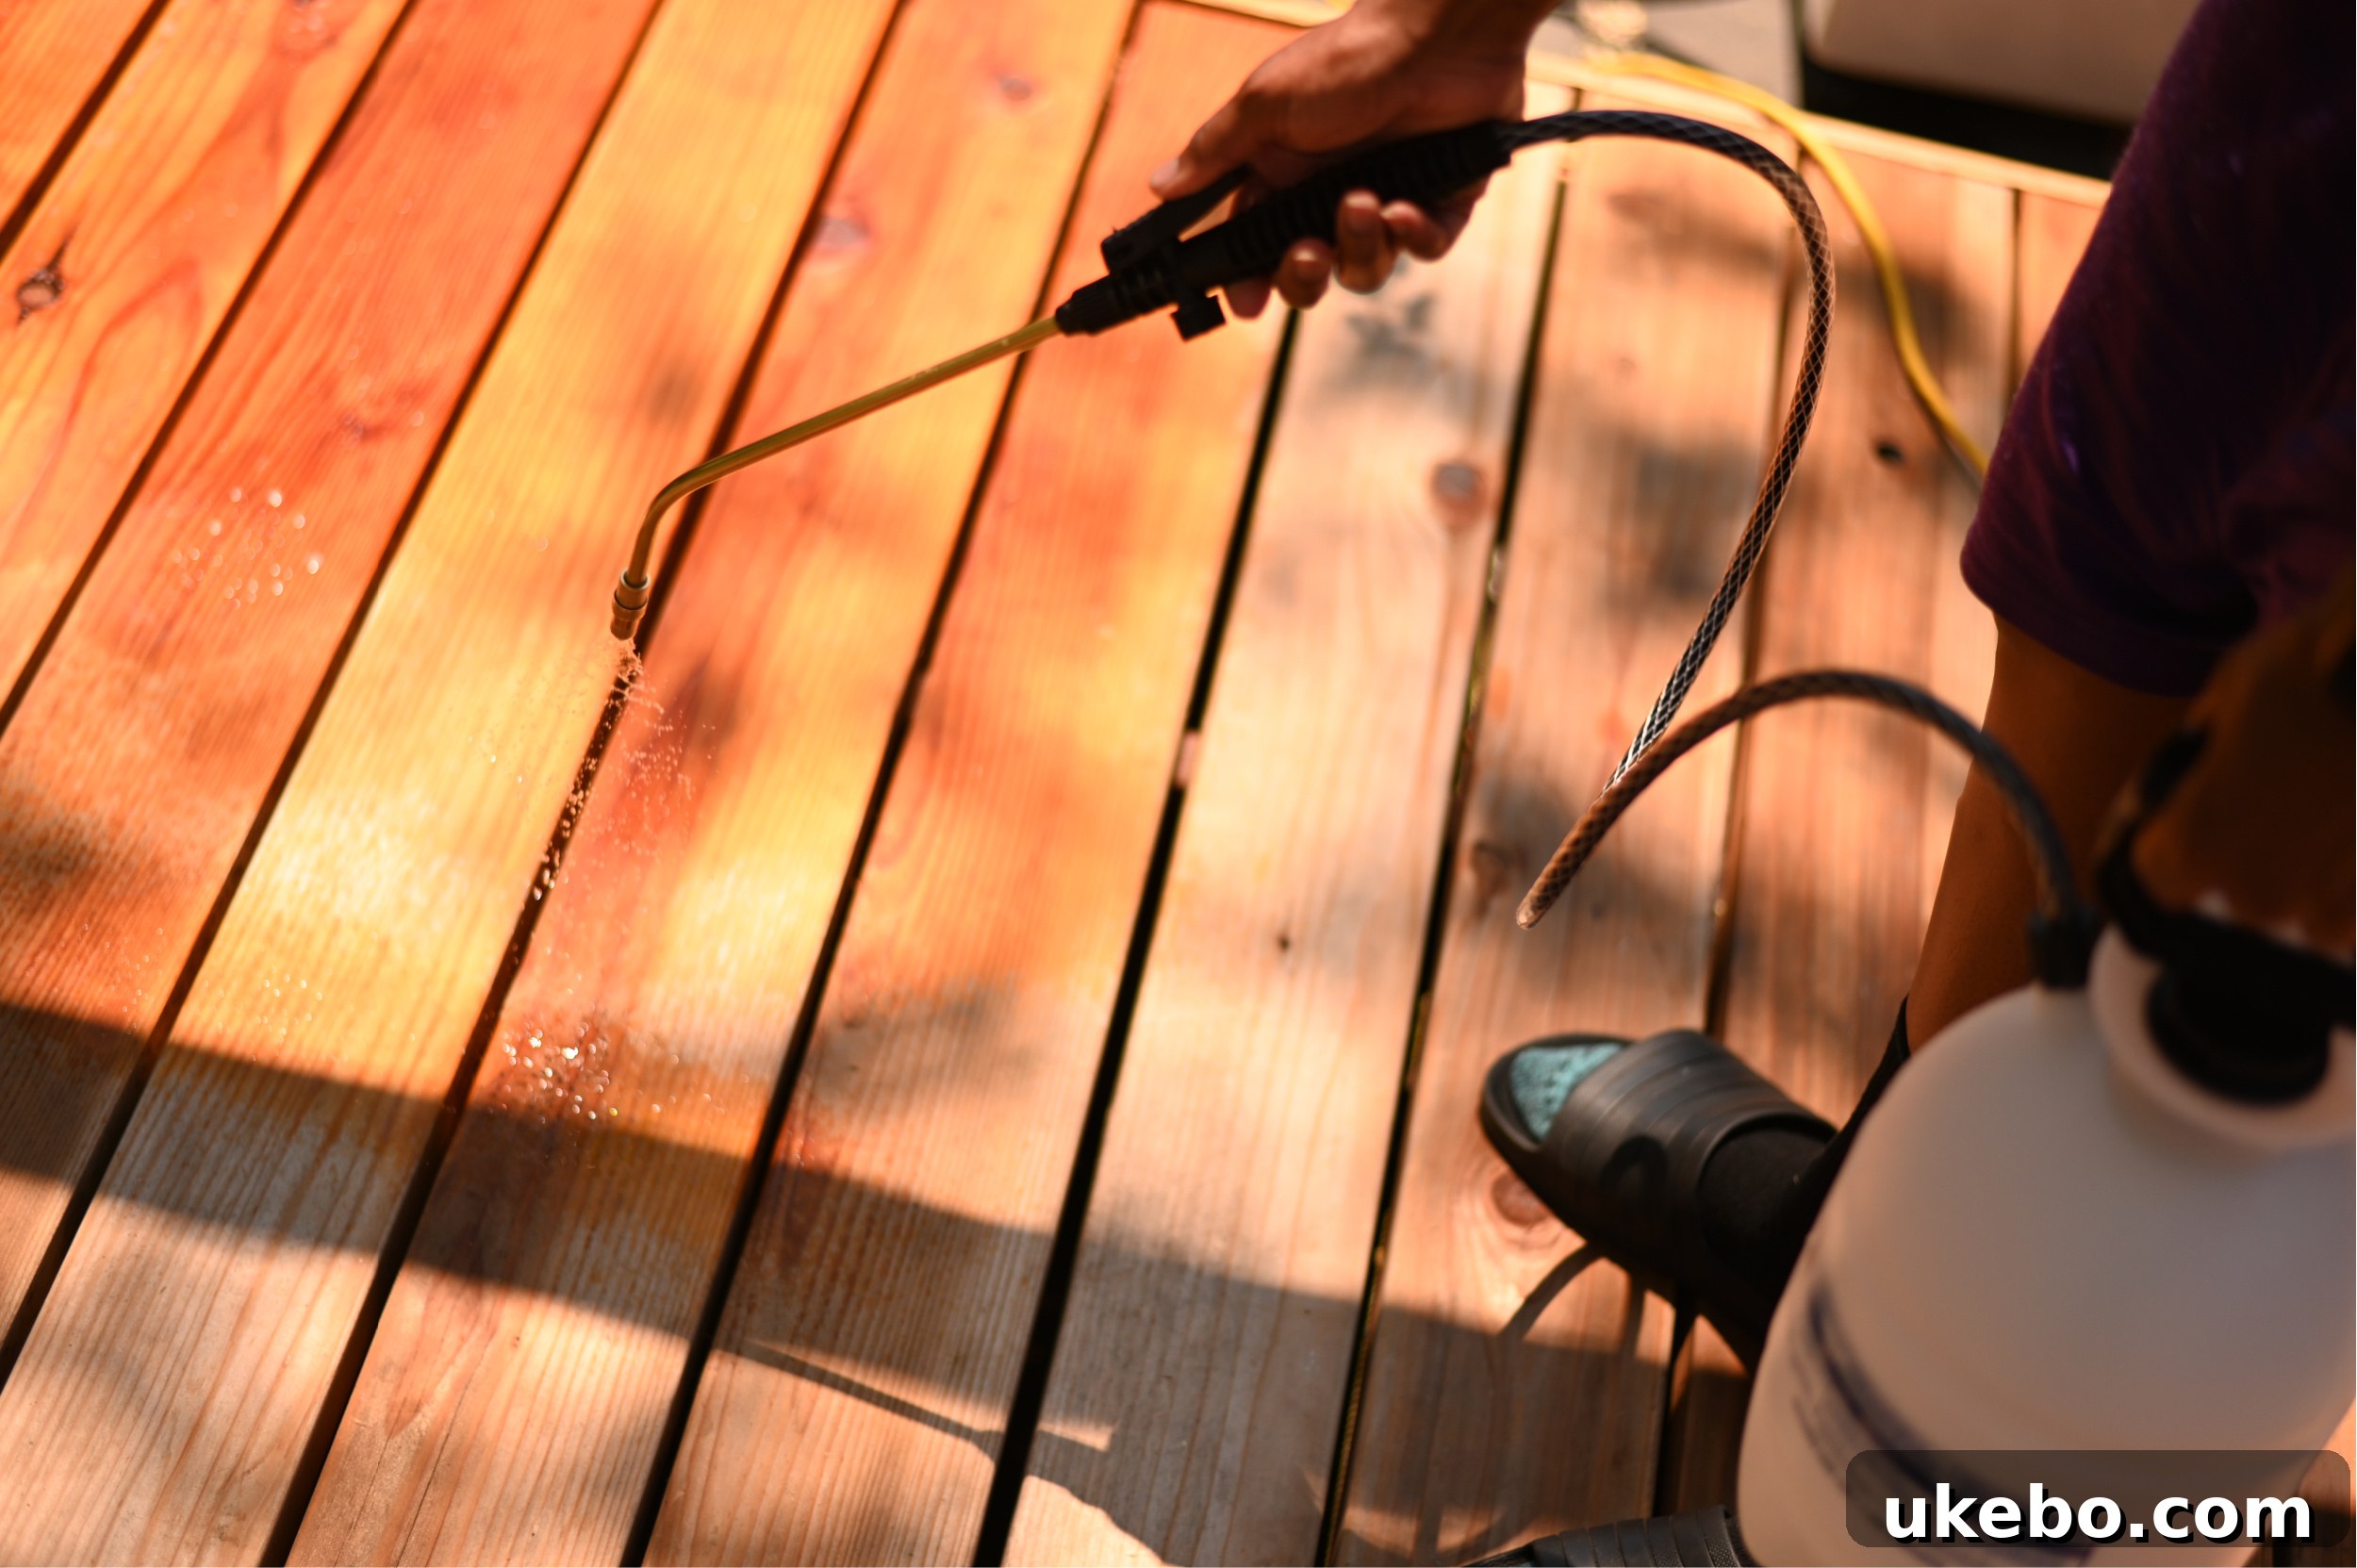
I enlisted some much-needed assistance for this portion of the project, as it’s imperative to prevent the cleaning product from drying on the wood during application. Naomi and I worked efficiently in small, manageable sections, wetting the area thoroughly before applying the SuperDeck Revive with a pump sprayer. This technique ensures even coverage and prevents streaking or uneven results, which is key for a flawless finish later on.
After applying the brightener, Naomi expertly used a poly bristle brush to vigorously scrub each section. We then allowed the product to penetrate for approximately 10 minutes, following the manufacturer’s recommendations, before rinsing the entire area thoroughly with a hose on a high-pressure setting. This ensures all traces of the cleaner and loosened grime are completely removed.
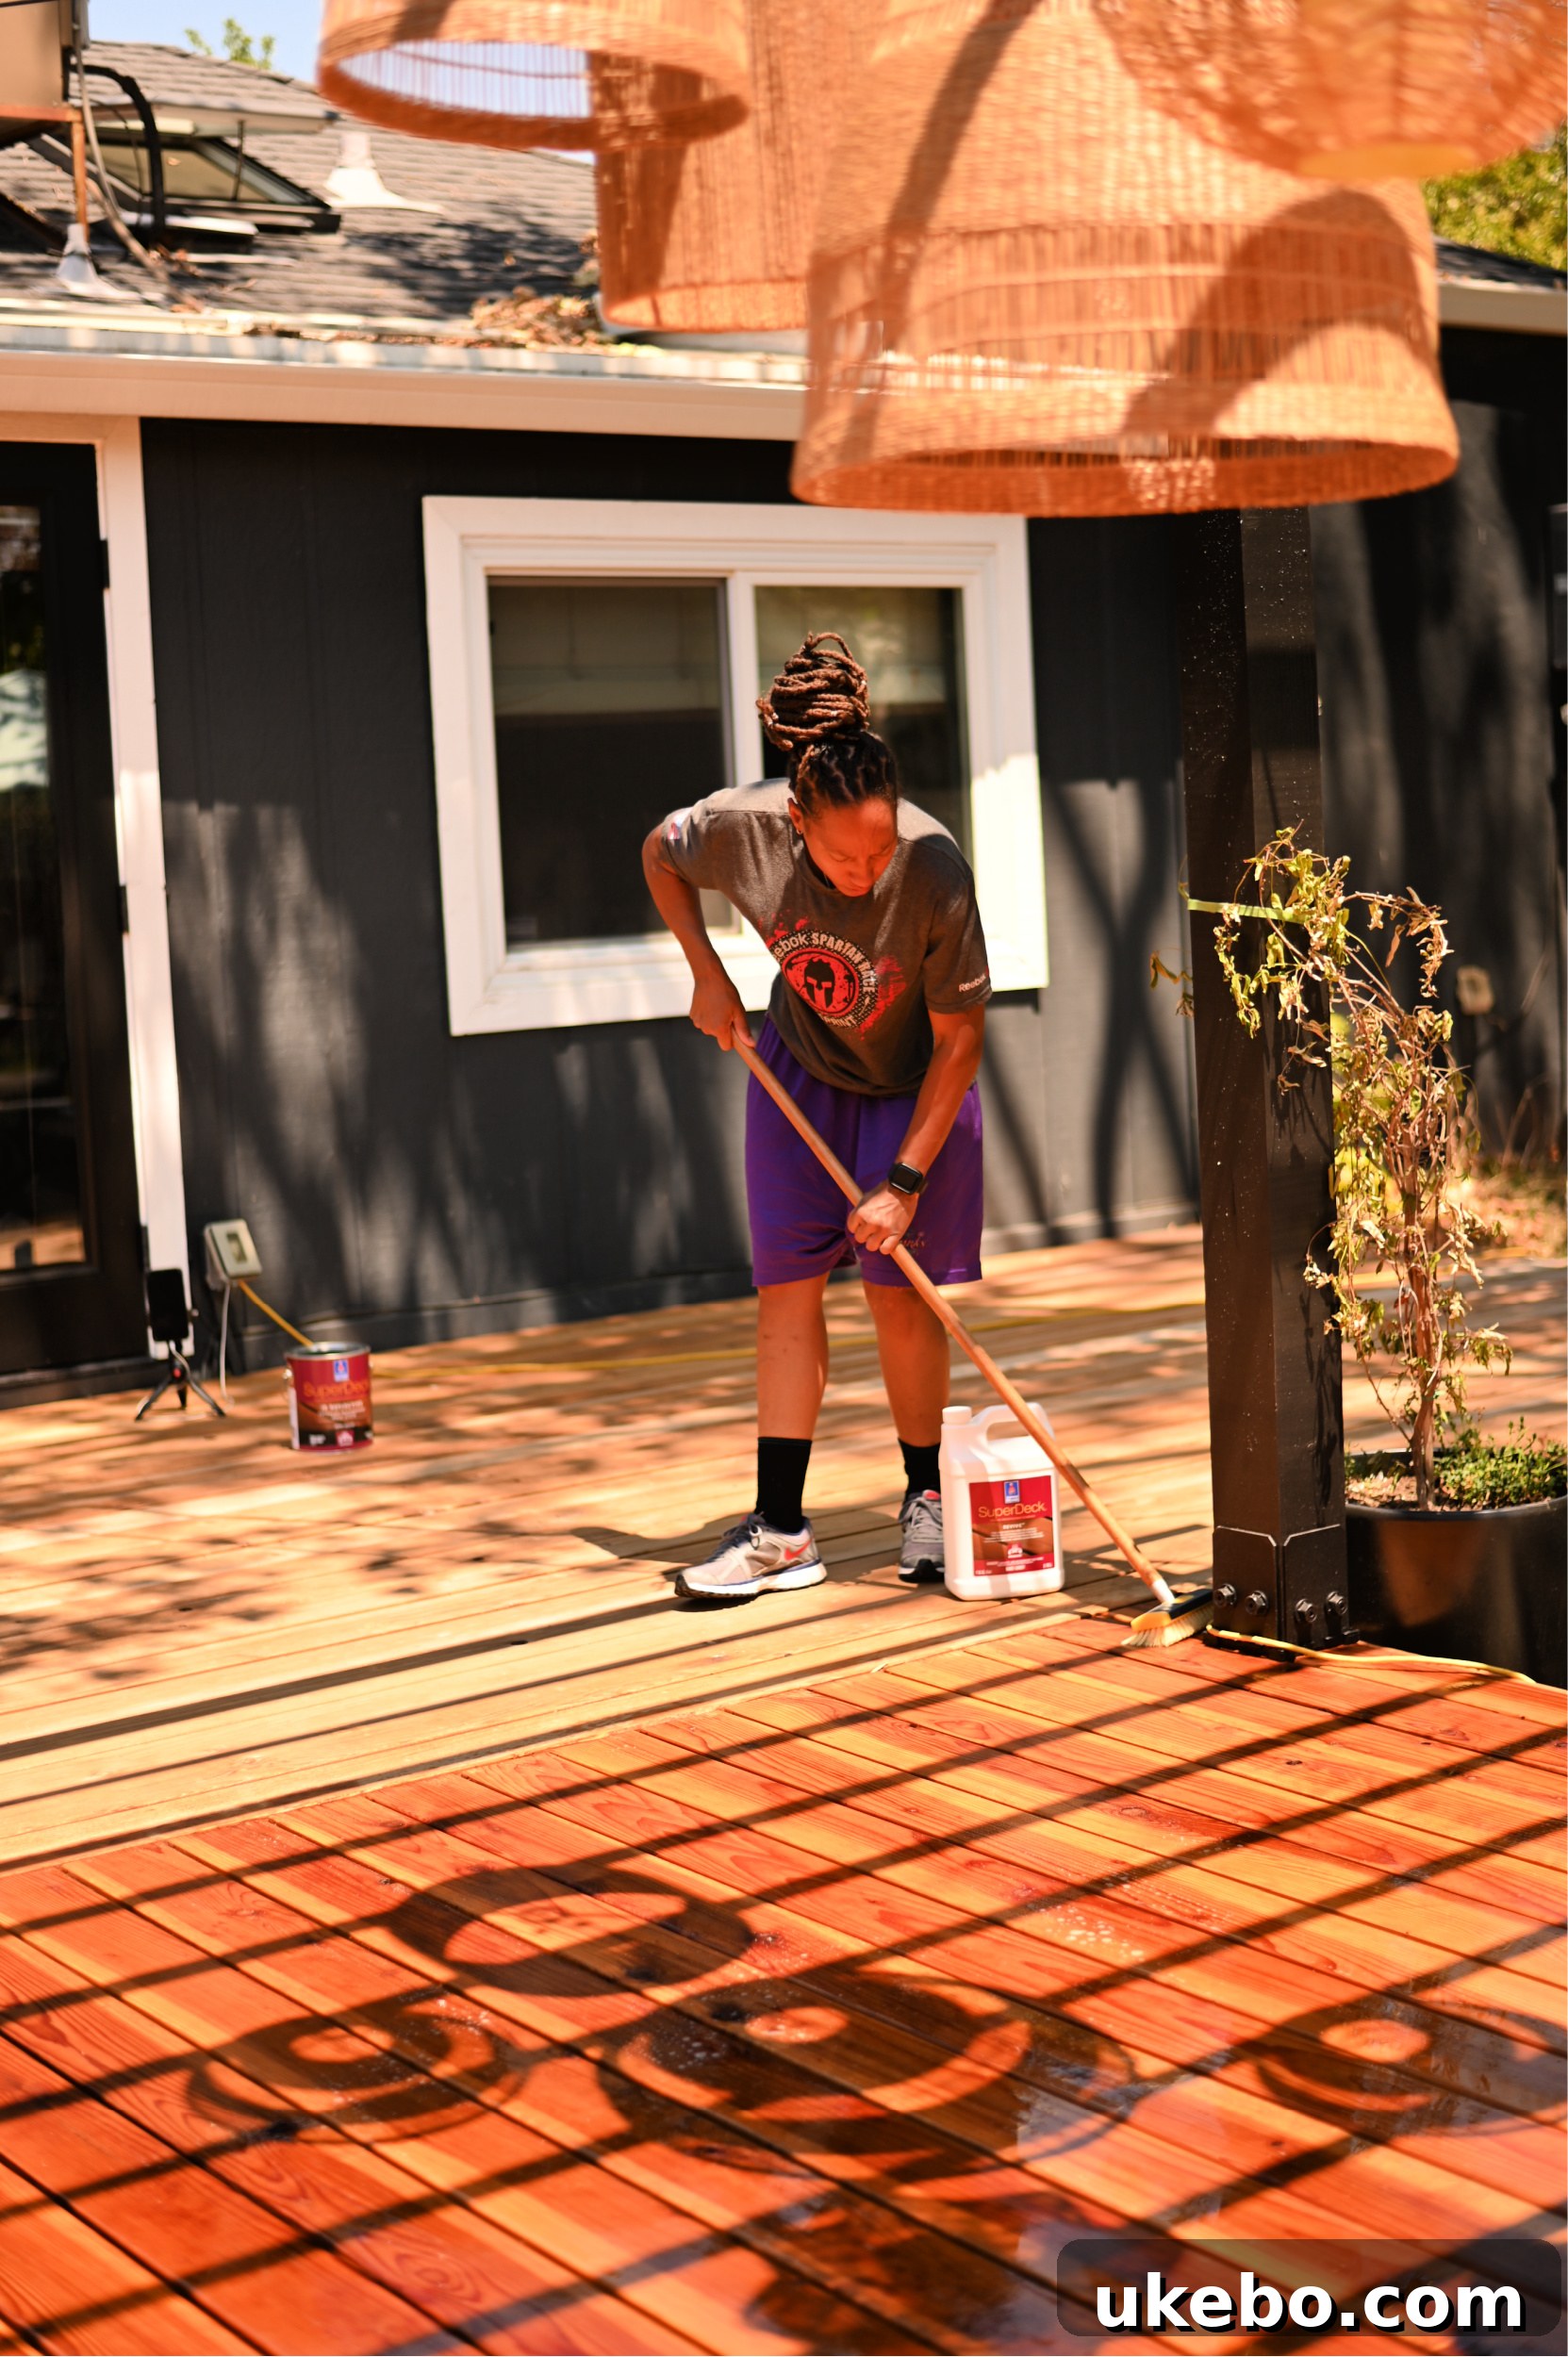
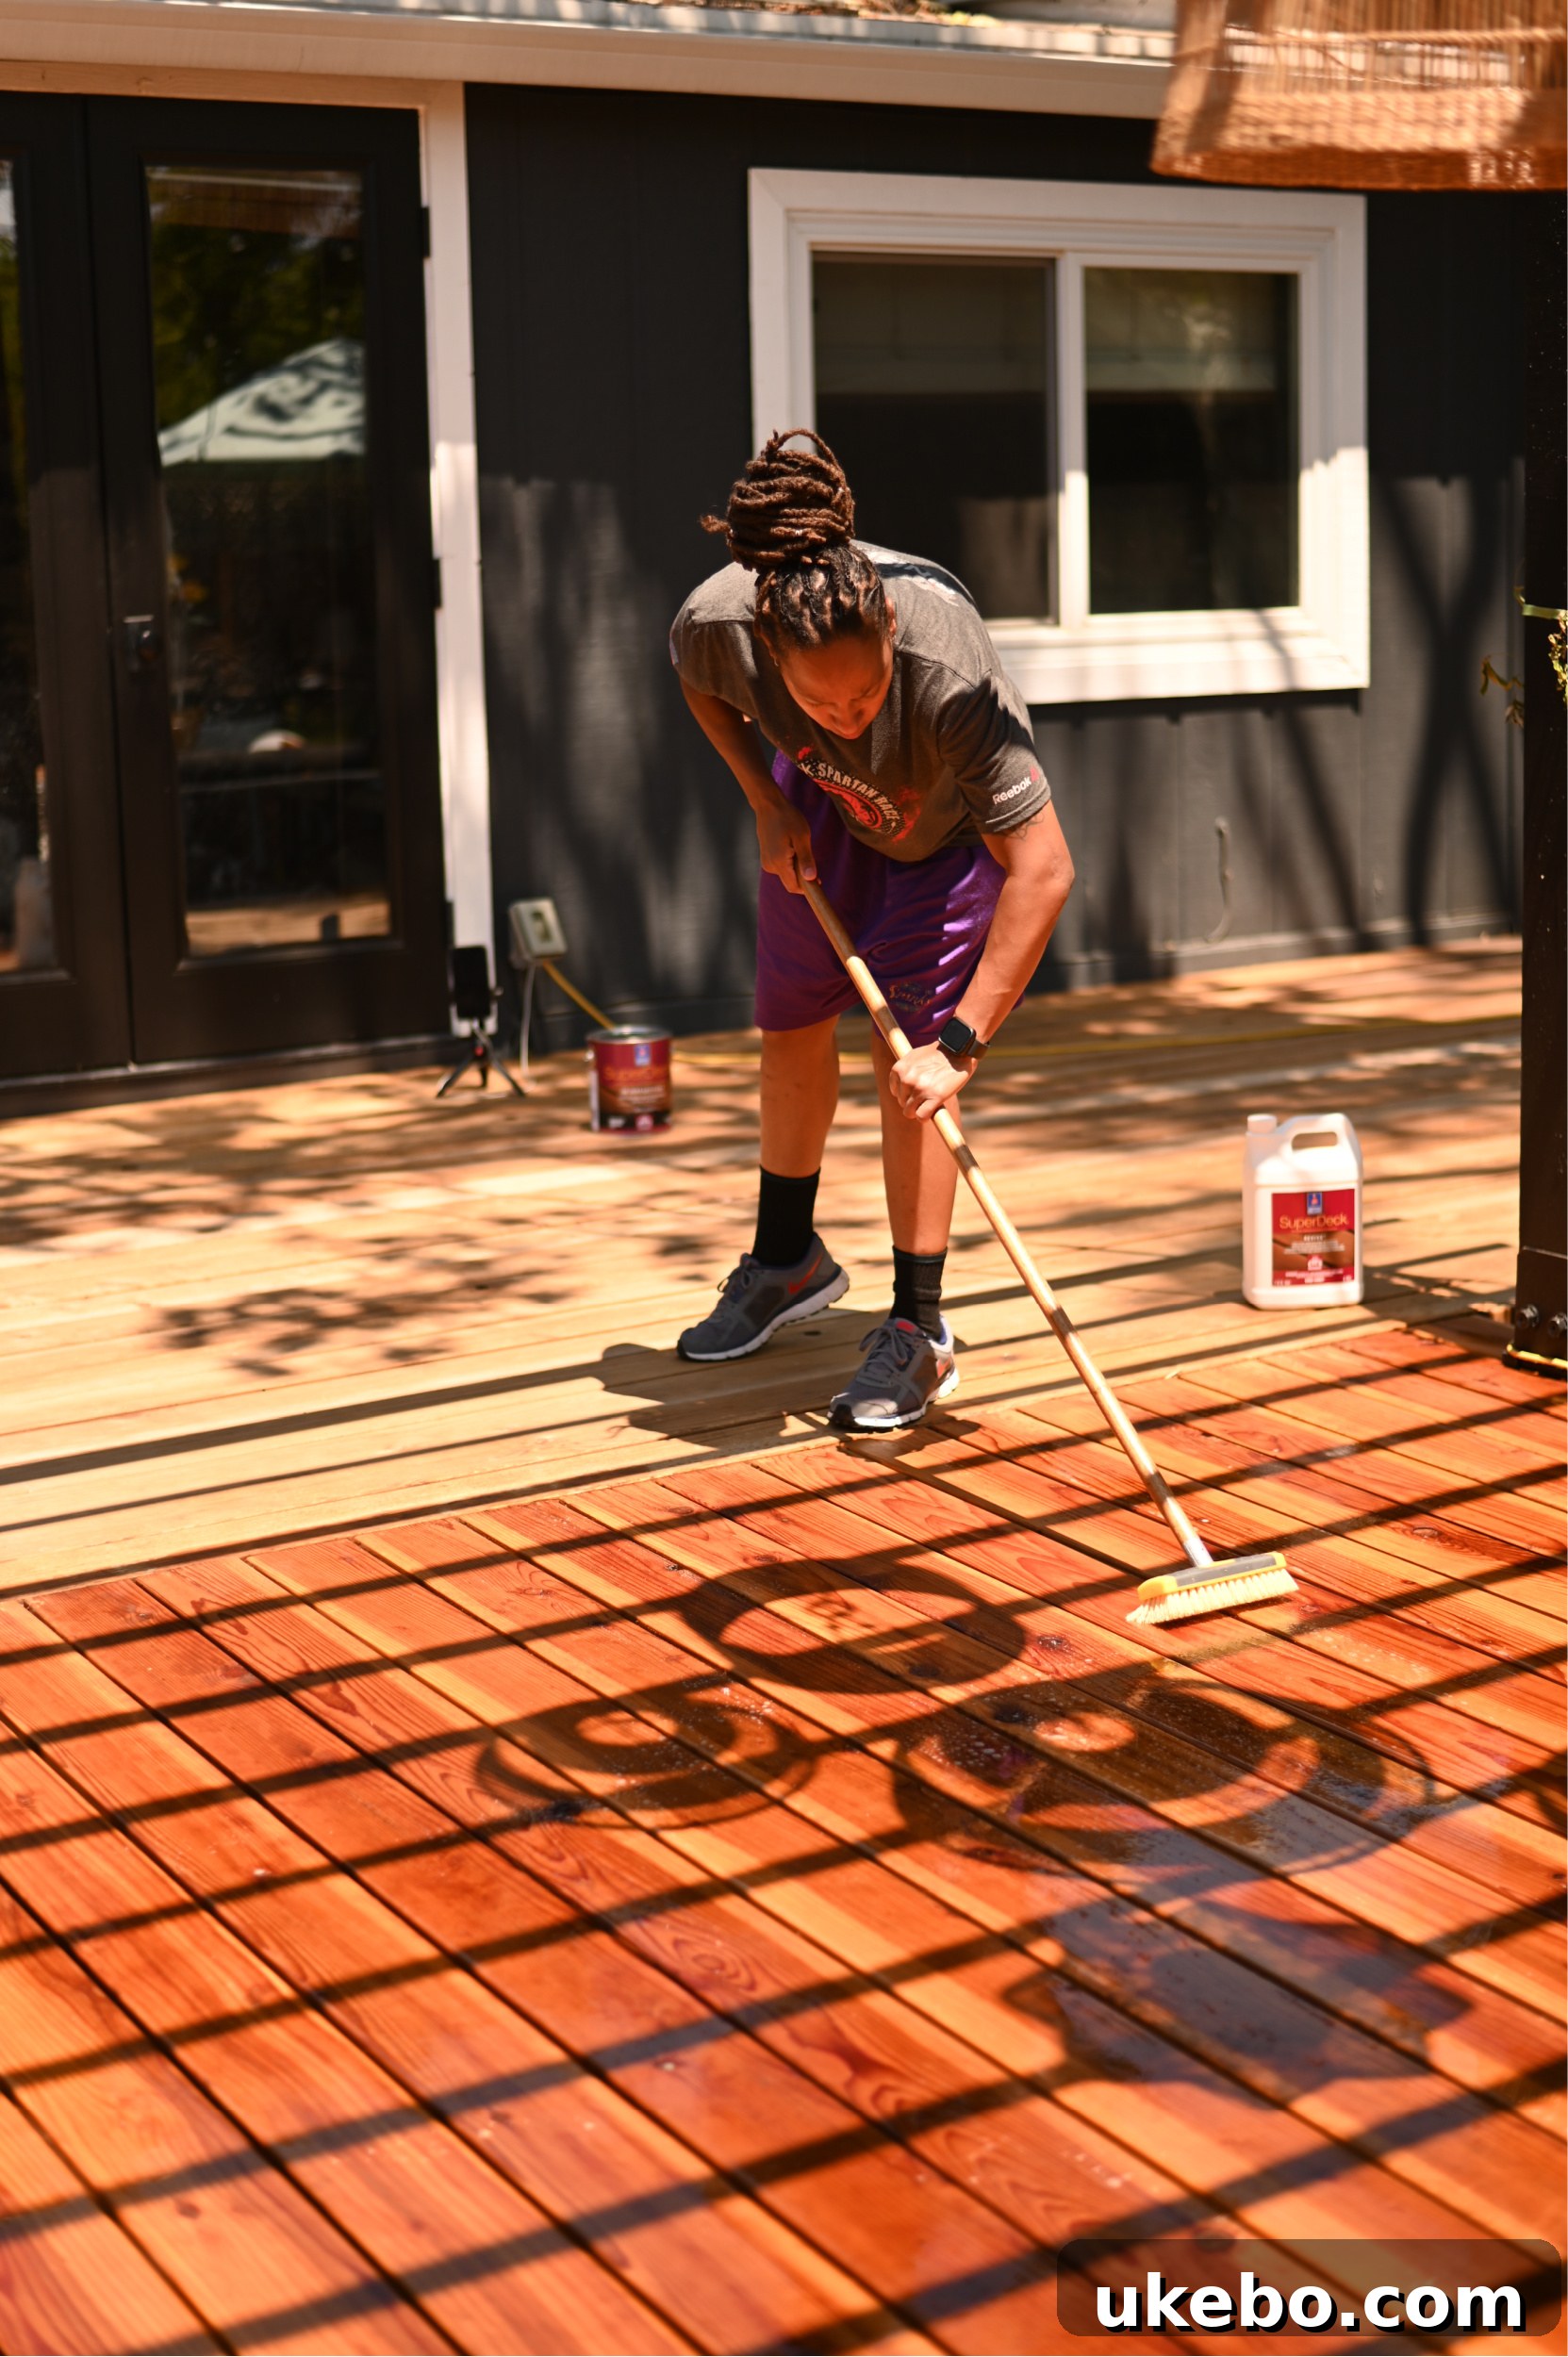
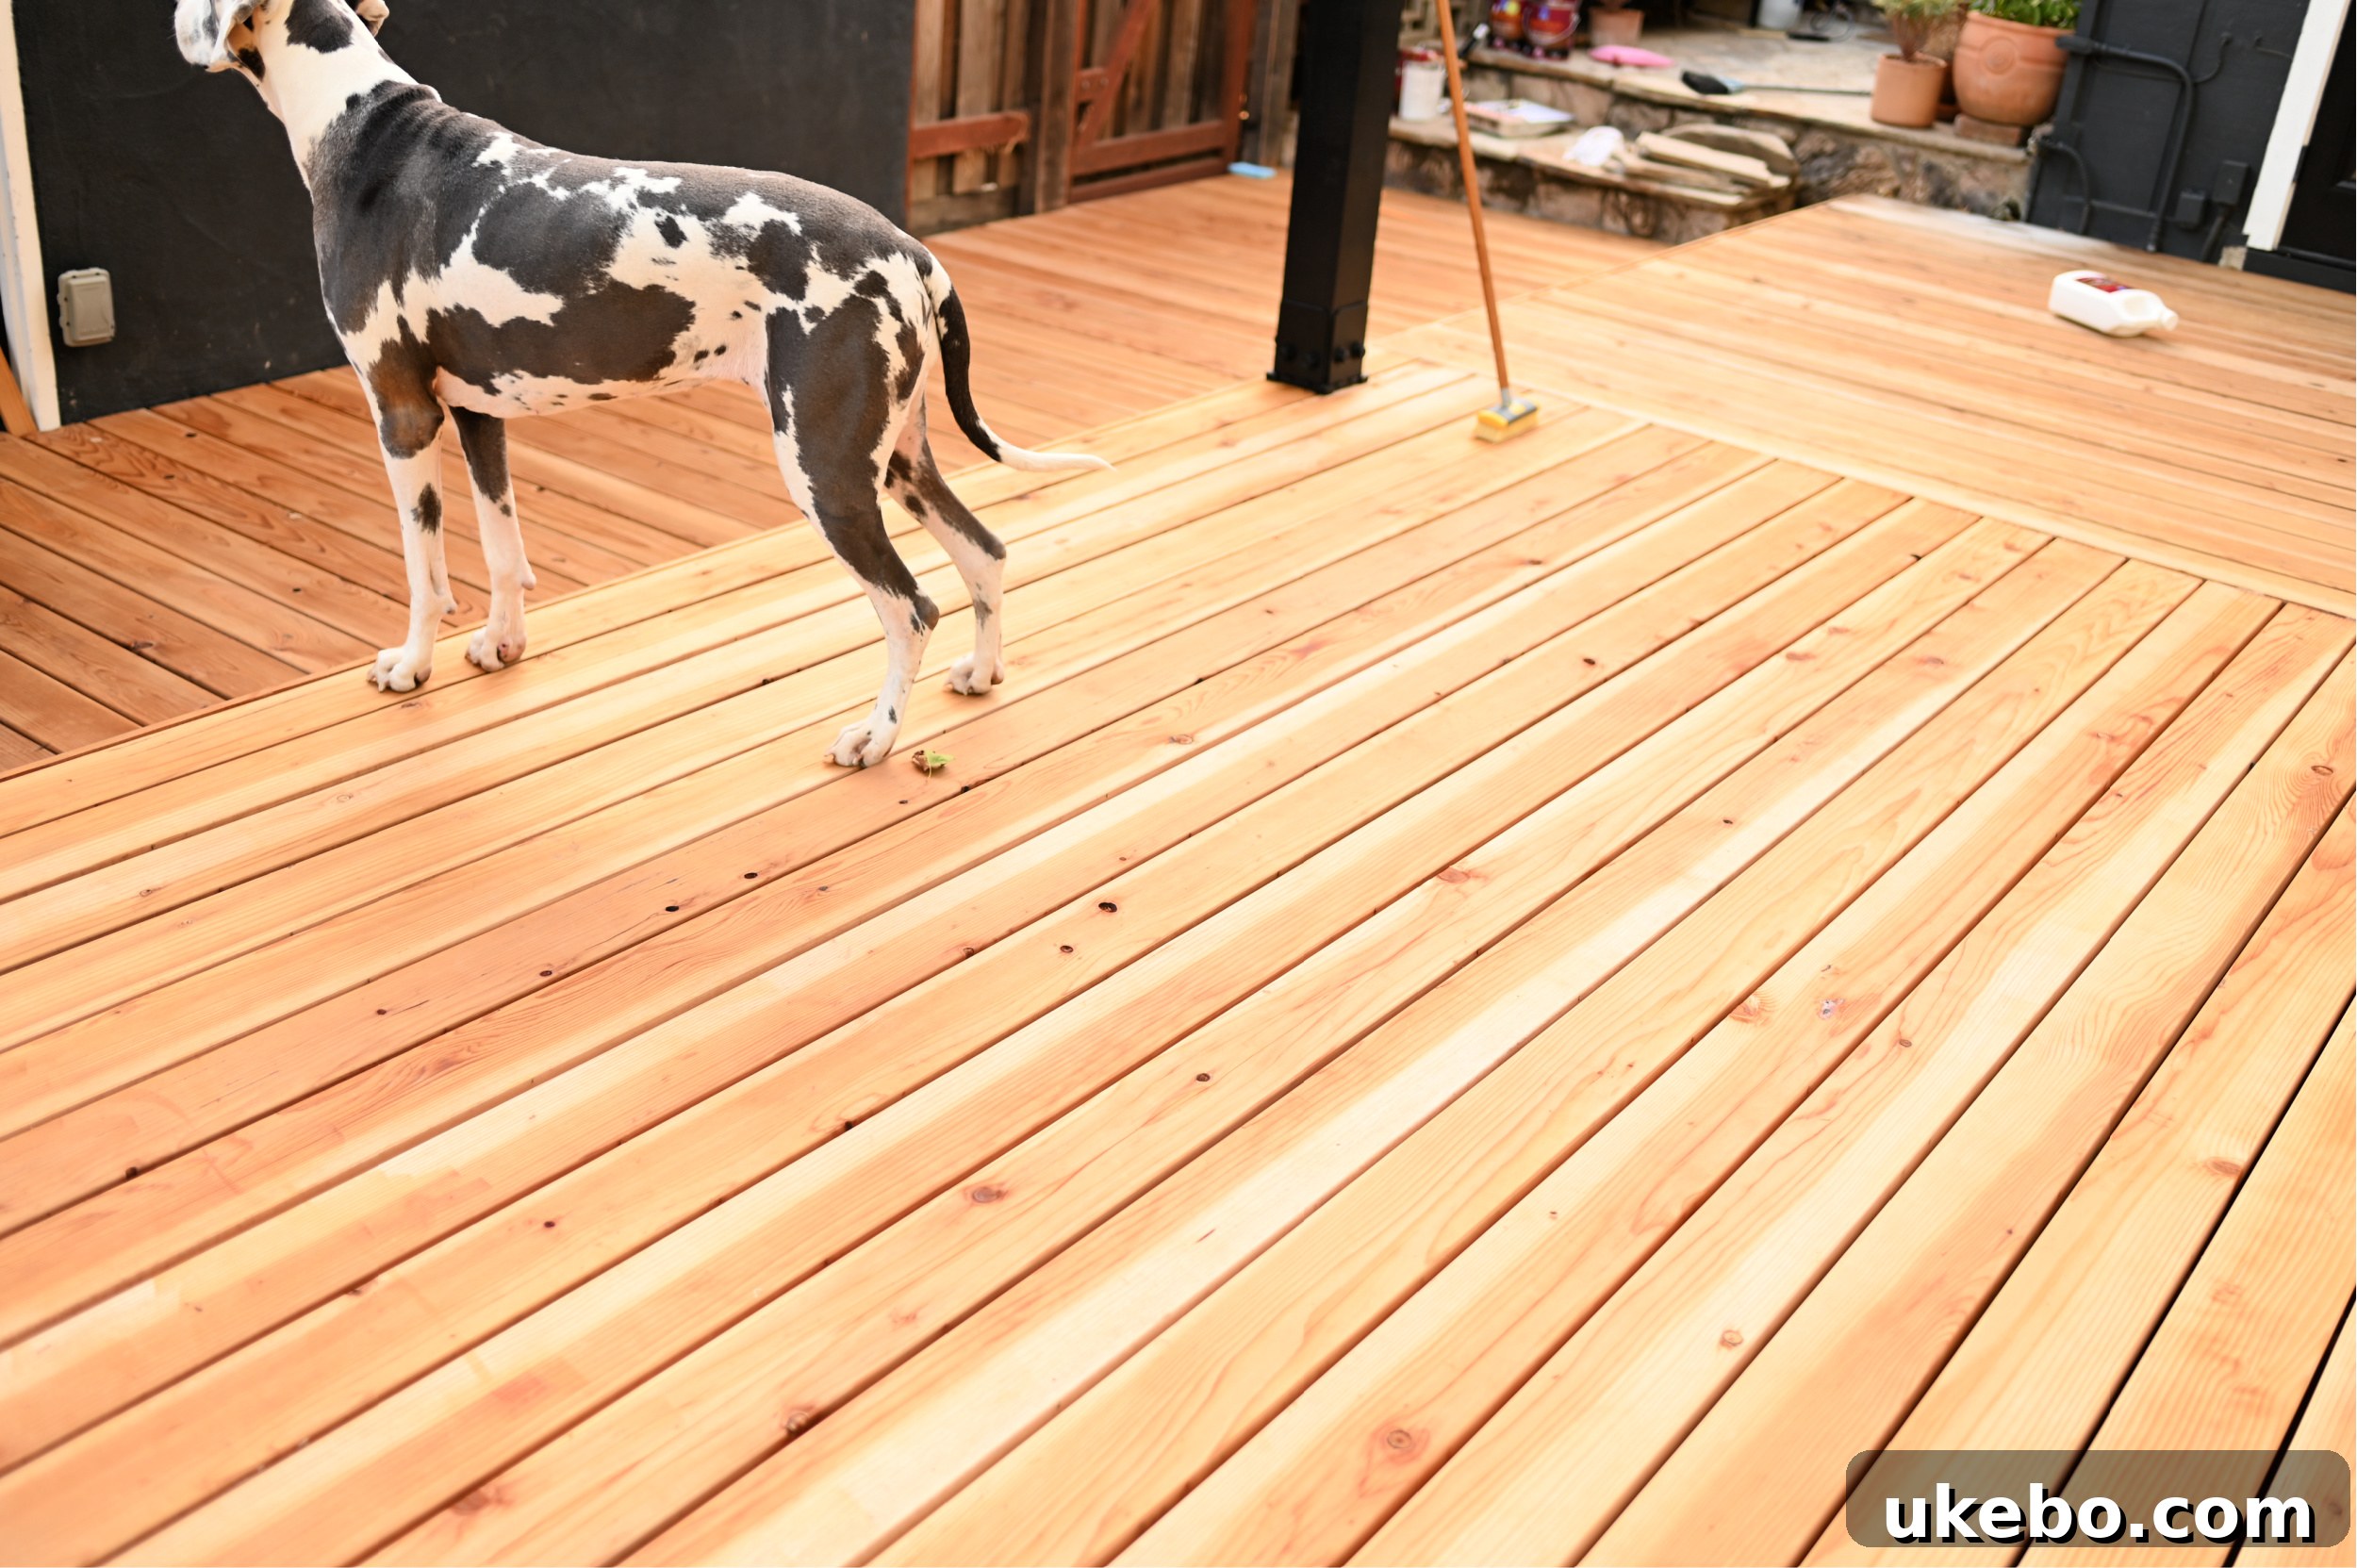
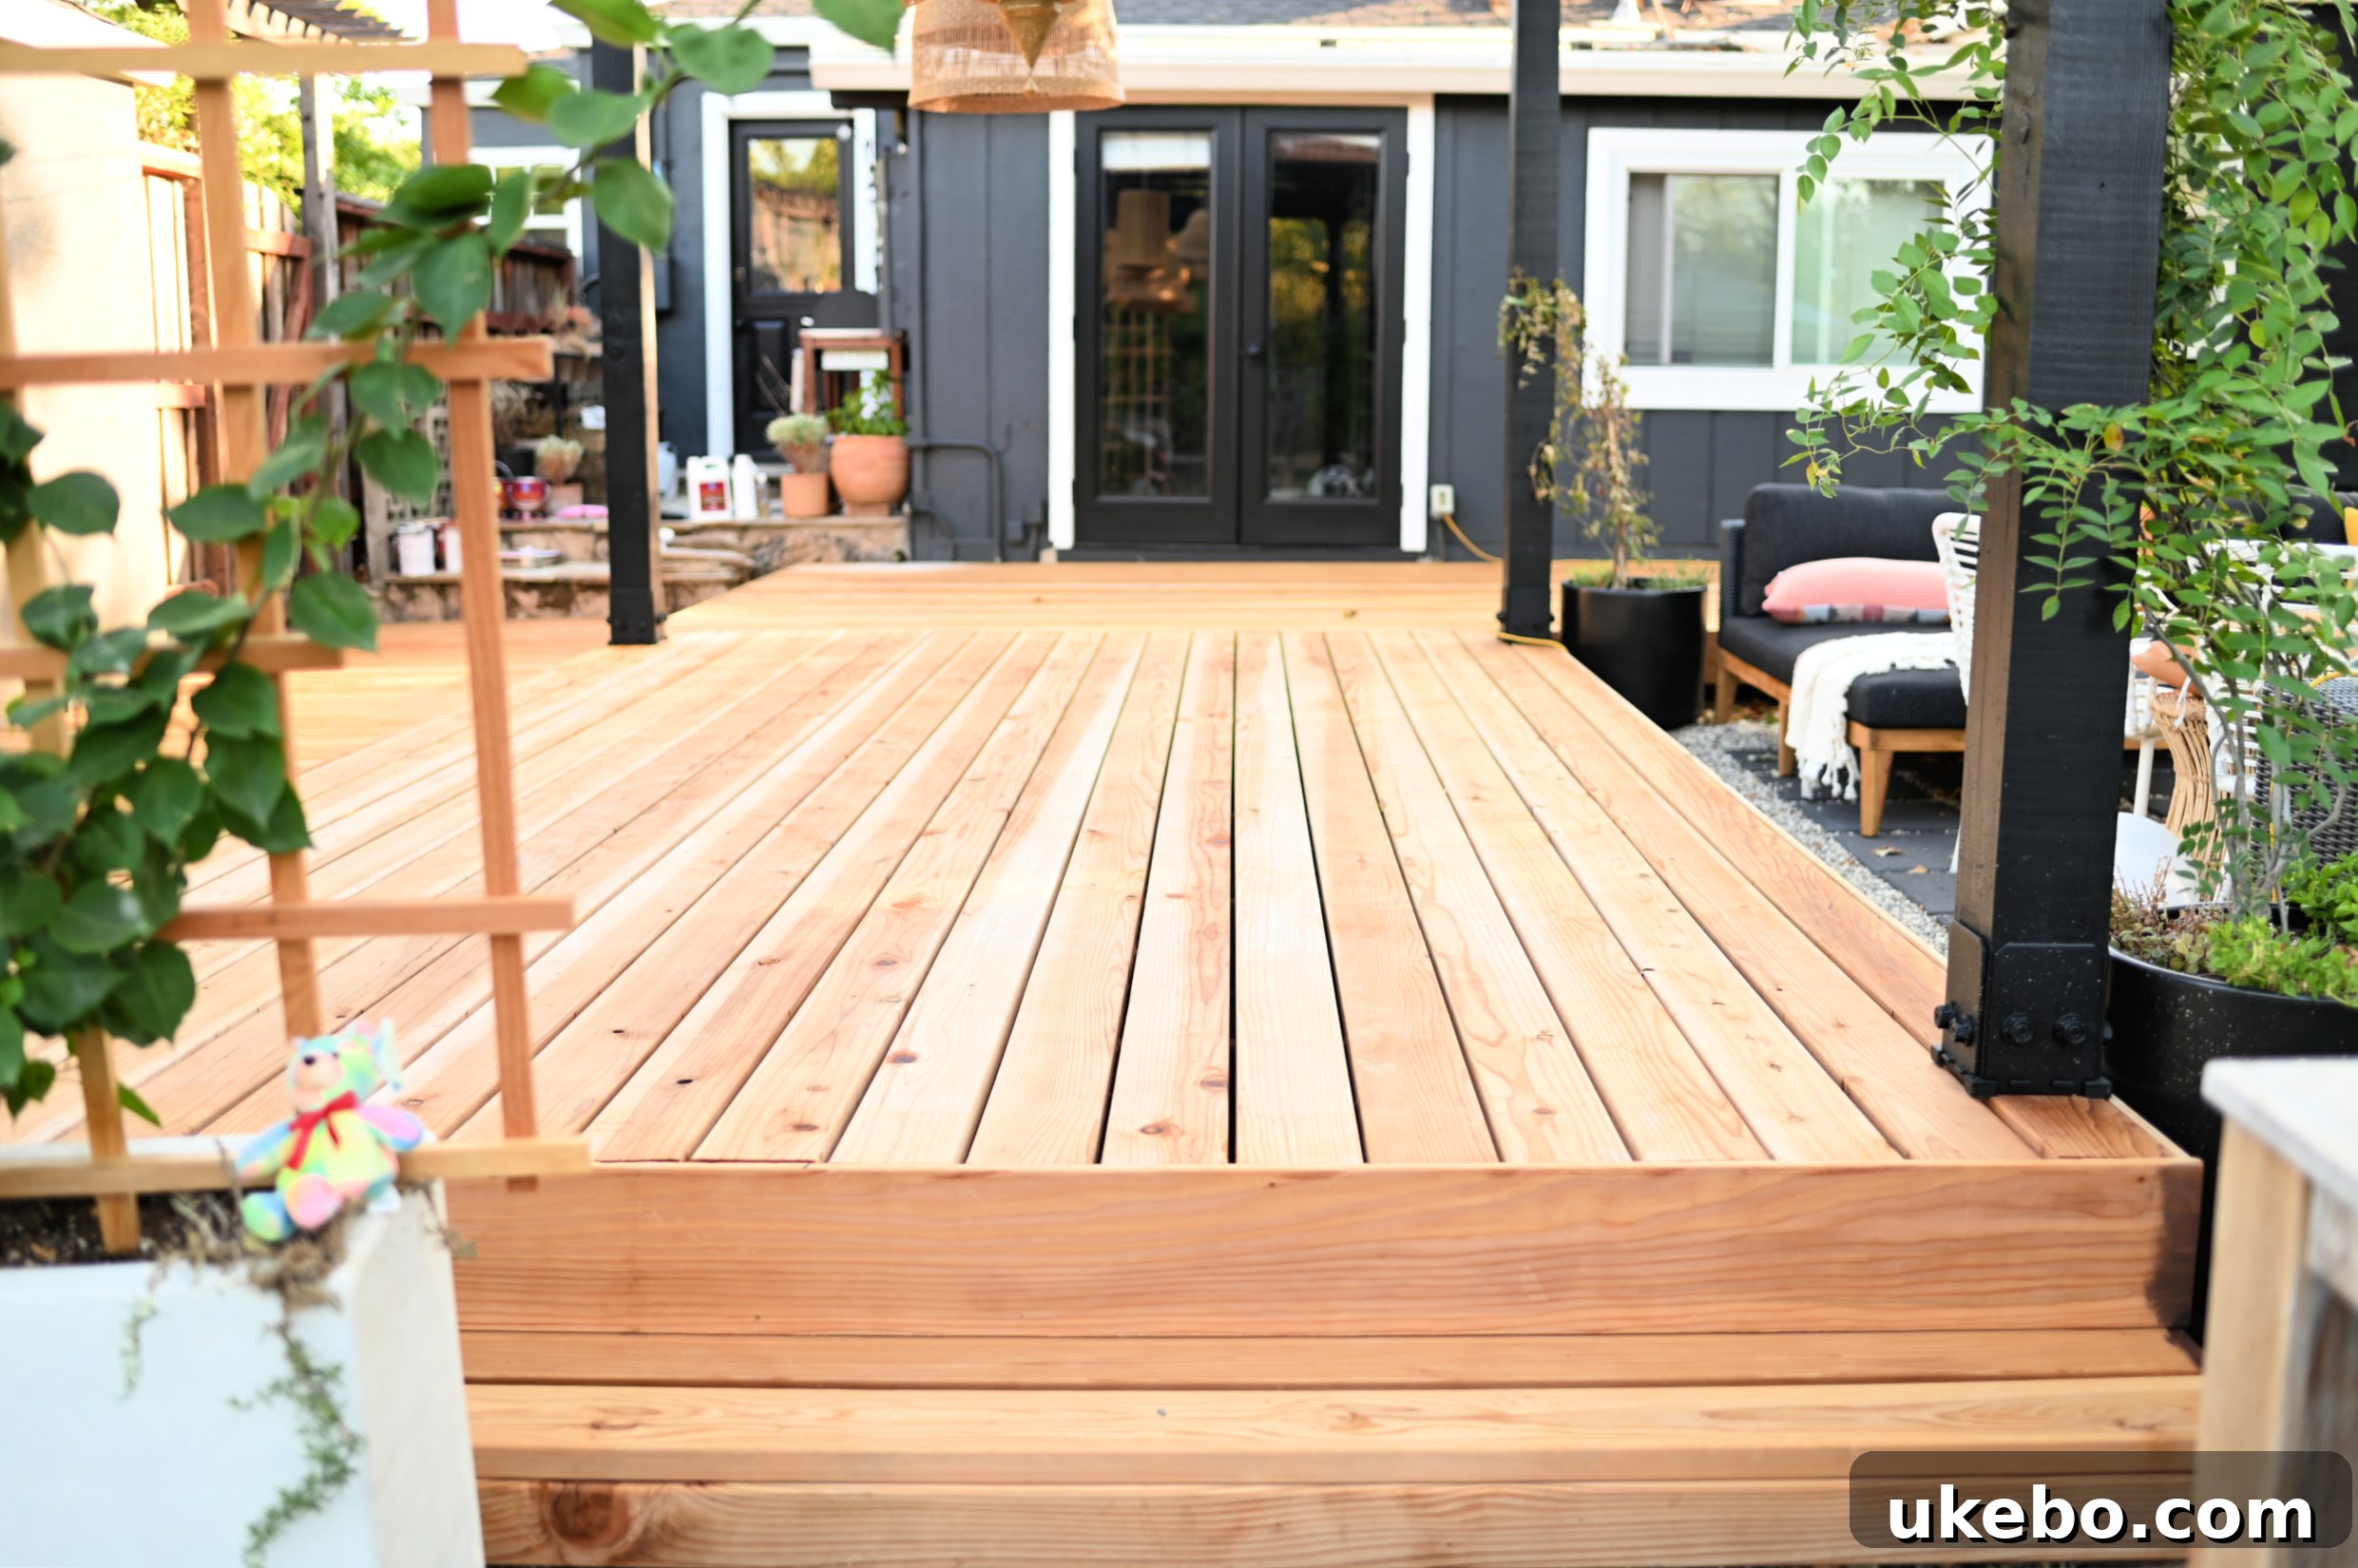
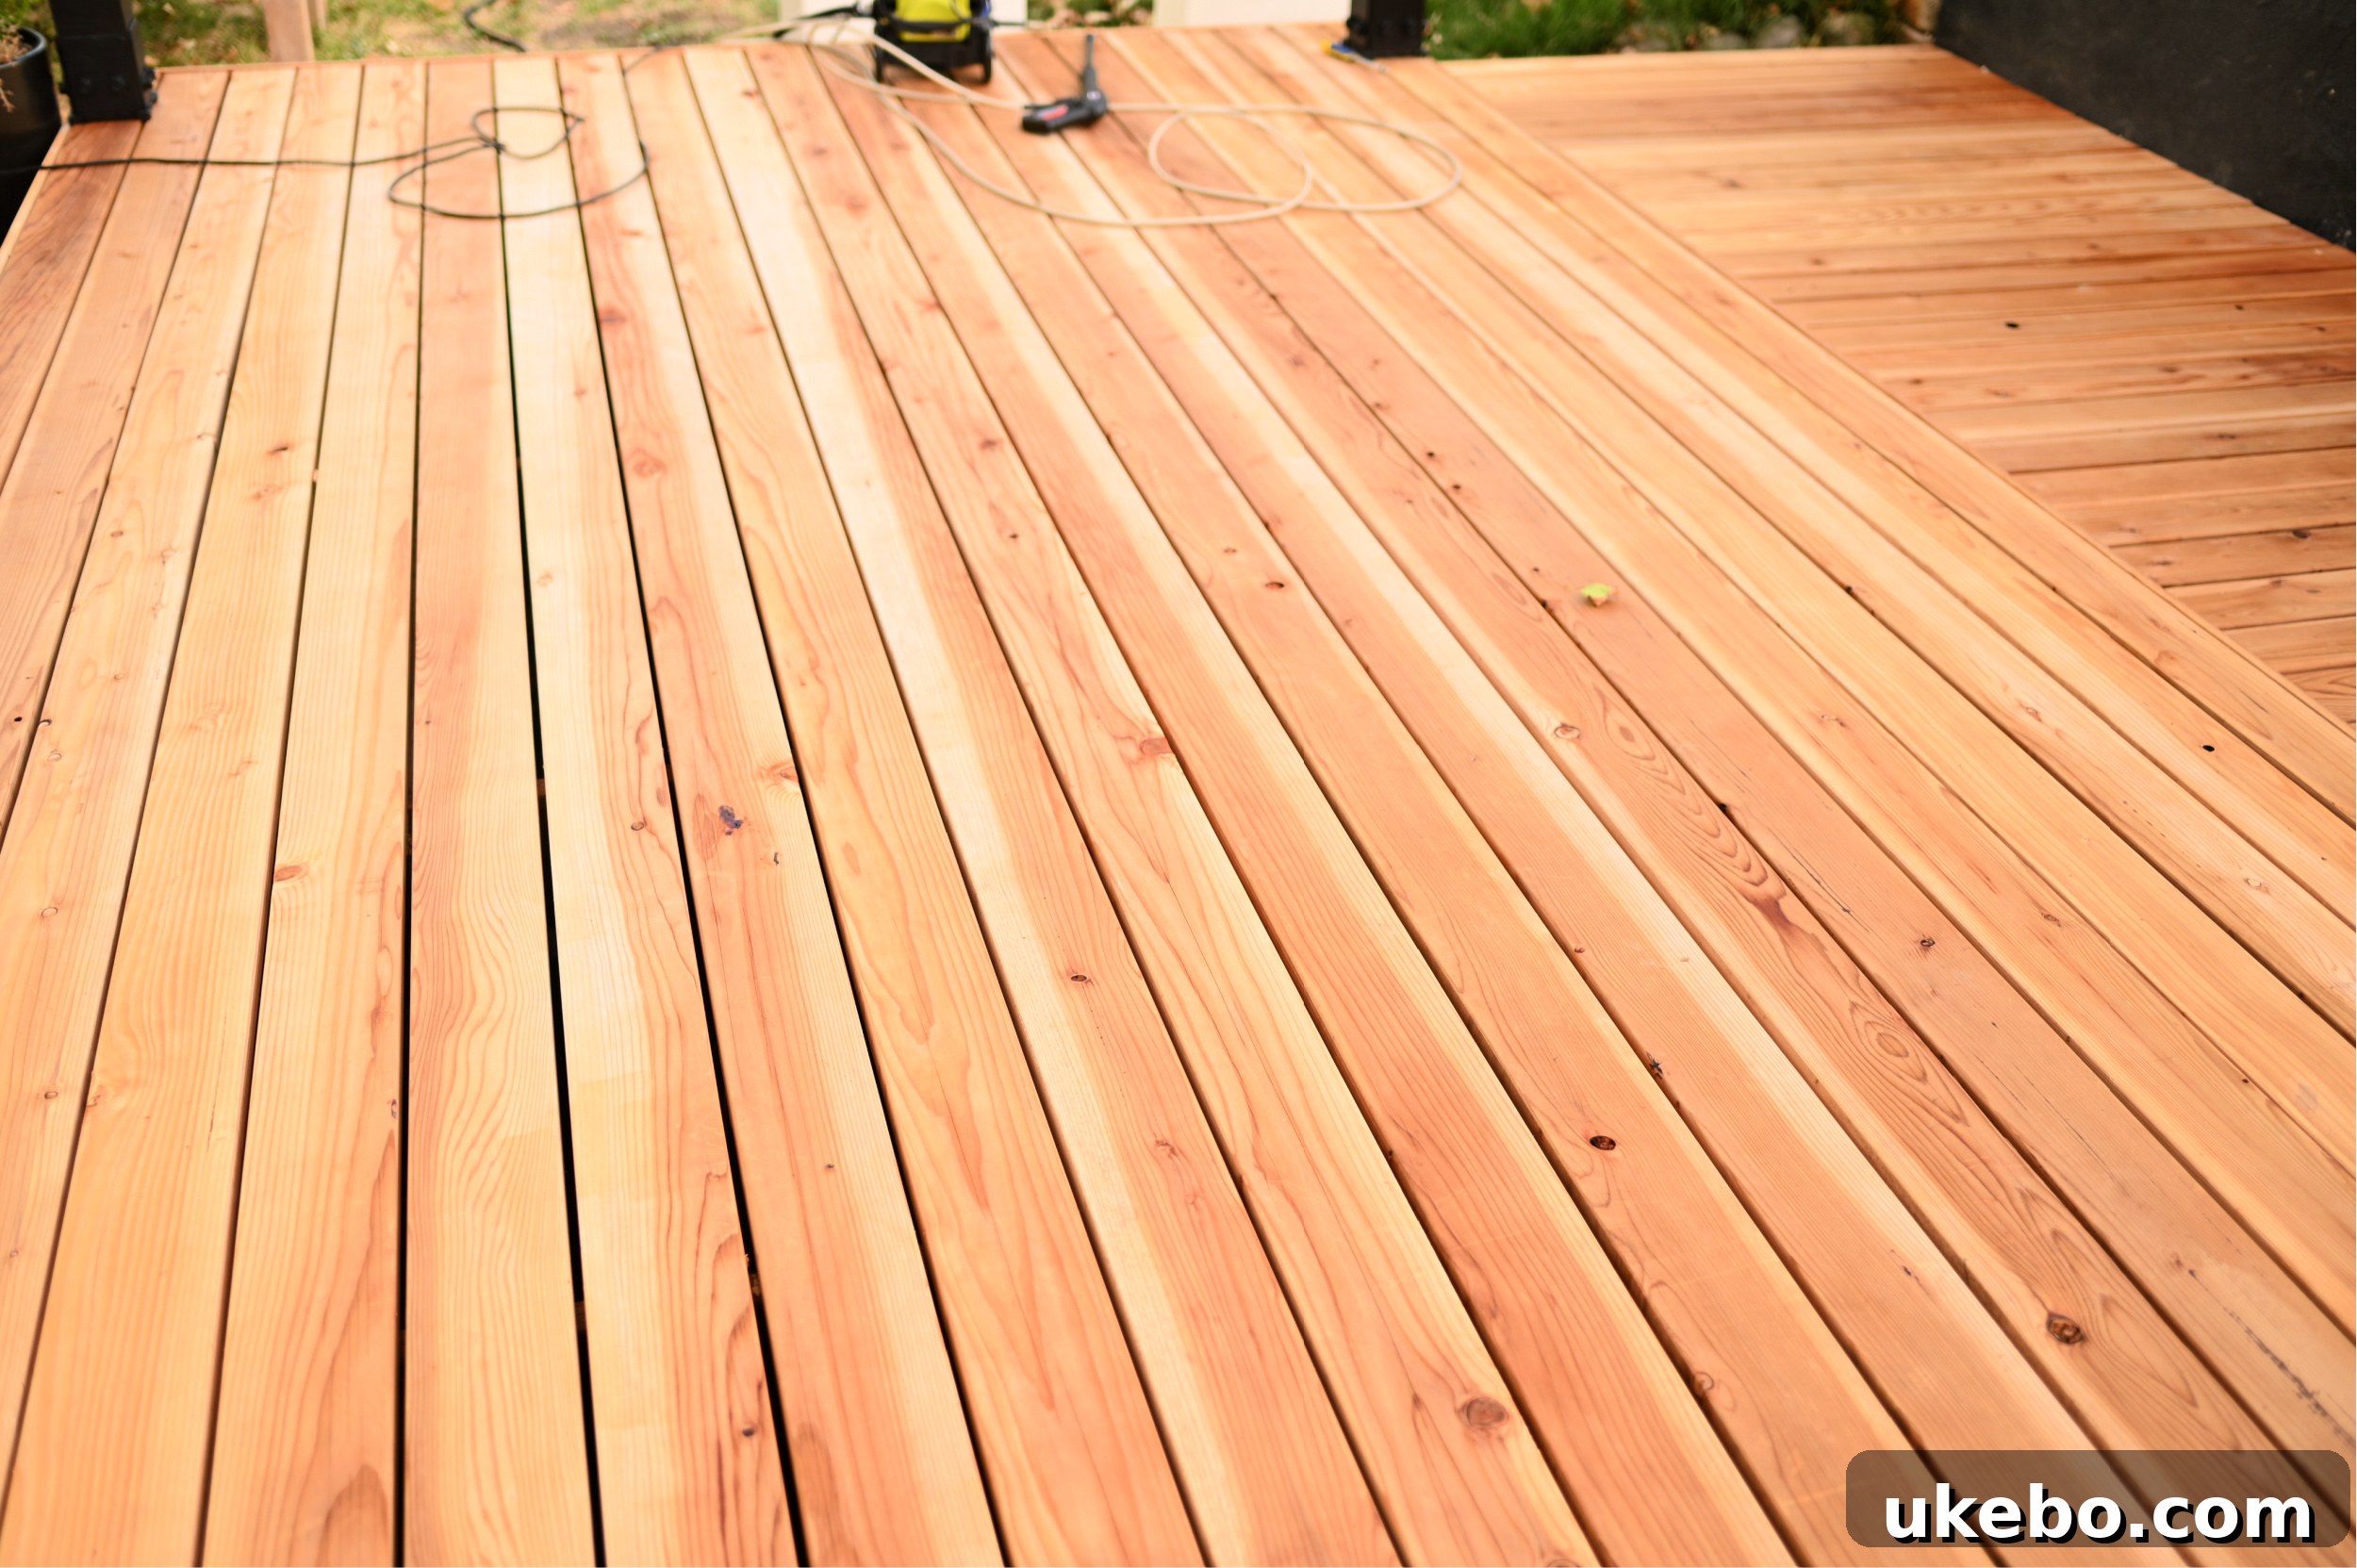
Once we established a rhythm, the cleaning process progressed surprisingly quickly. After the entire deck was meticulously cleaned, we allowed it to dry completely overnight. The following morning, the transformation was evident: the wood looked incredibly fresh, renewed, and truly revived—as if it were brand new again! This critical cleaning step is not just about aesthetics; it ensures proper adhesion and a beautiful, consistent finish for the stain.
Protecting and Preparing for the Stain Application
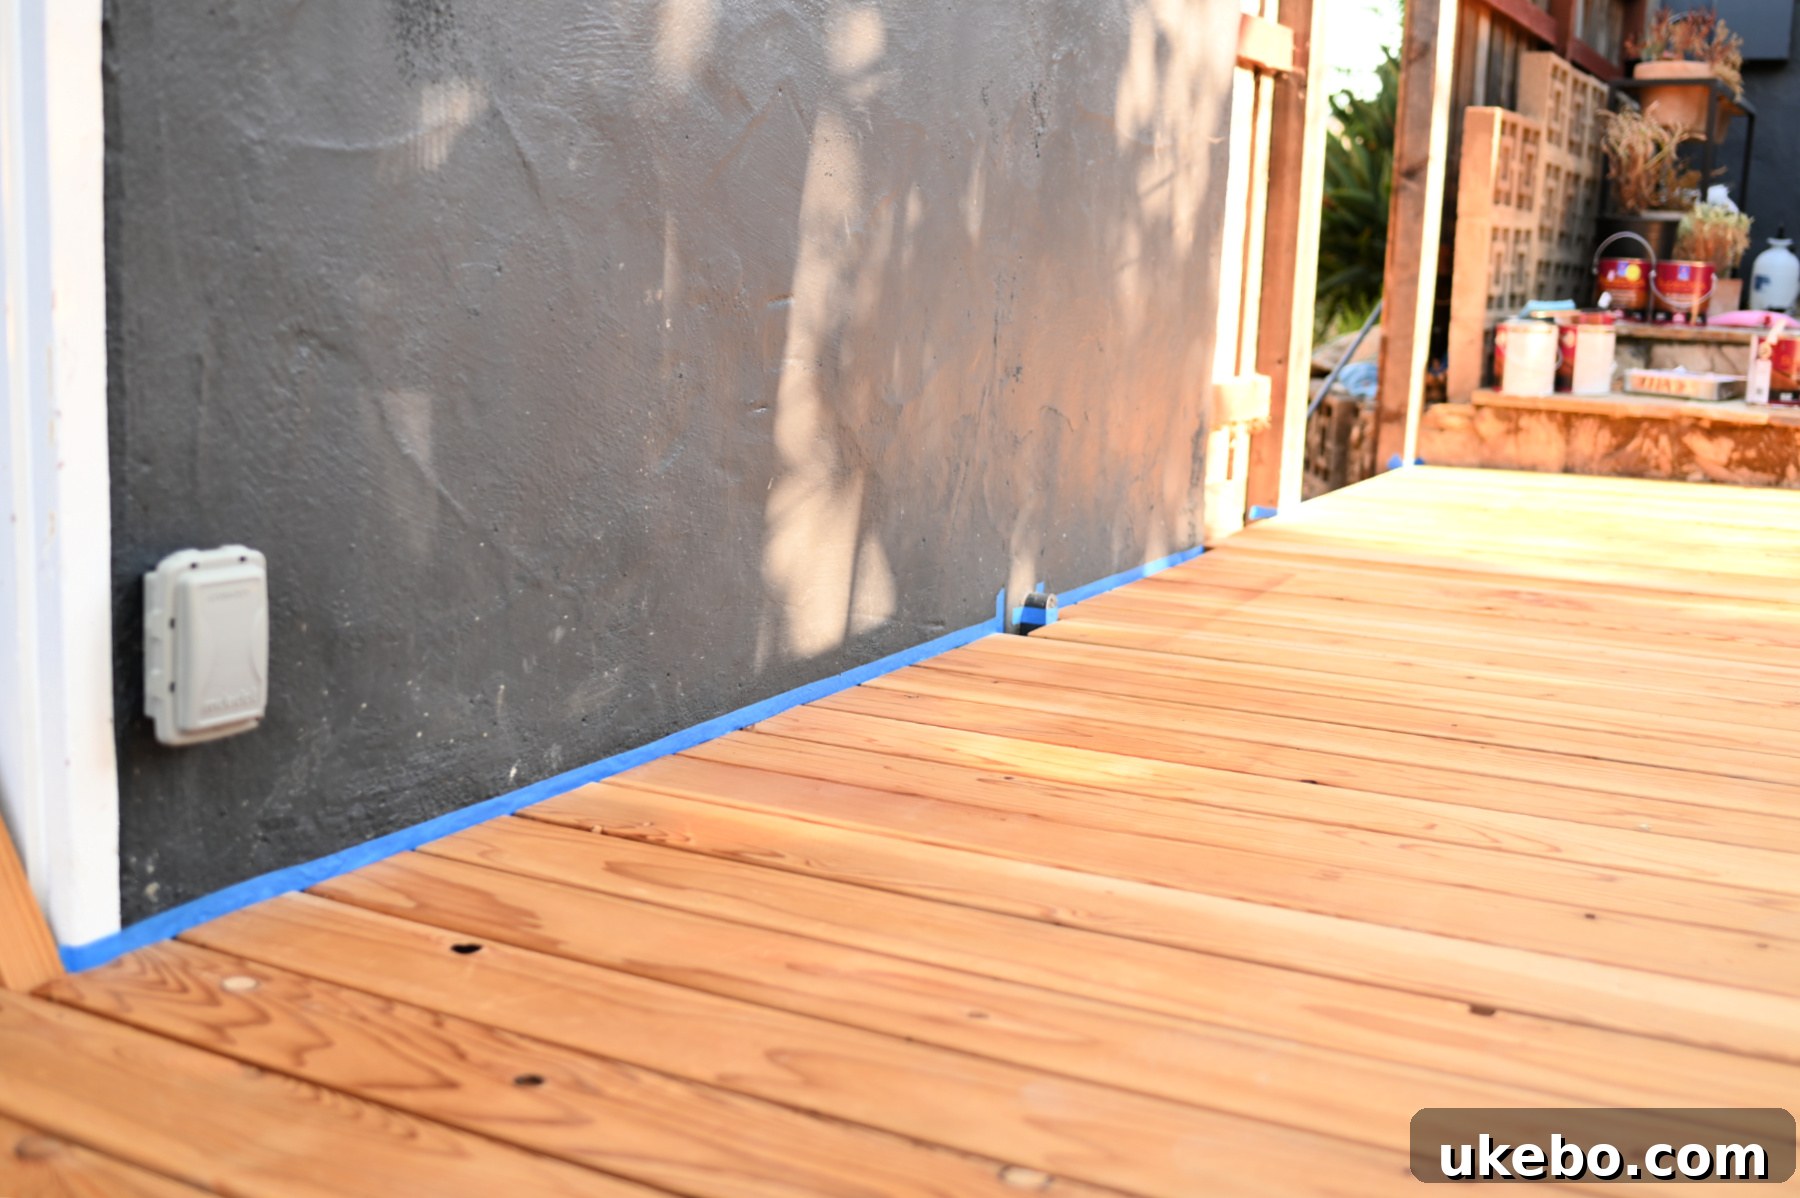
With the deck thoroughly cleaned and perfectly primed for staining, I performed one final pass with a broom to ensure no lingering dust or debris remained. Next, I carefully taped along the house where the deck met the exterior, meticulously protecting the existing paint from any accidental stain drips or splatters. This small but vital step saves immense time and effort in touch-ups later on, ensuring a clean, professional finish.
Choosing the Perfect Shade: Sherwin-Williams SuperDeck Stain
Now, the moment of truth: it was time to apply the stain. I opted for SuperDeck Exterior Waterborne Semi-Solid Color Stain. When selecting a deck stain, it’s crucial to consider future maintenance and how frequently you anticipate needing to re-coat. A general guideline to remember is that the darker or more opaque the stain’s transparency, the less frequent the maintenance typically required. Clear coats and semi-transparent stains, while showcasing more of the natural wood grain, often demand more frequent upkeep and reapplication. Conversely, semi-solid or solid stains offer greater durability and longevity between applications. A fantastic benefit of the SuperDeck waterborne formula is its versatility; it can even be applied to slightly damp wood, which can be a real time-saver in certain conditions.
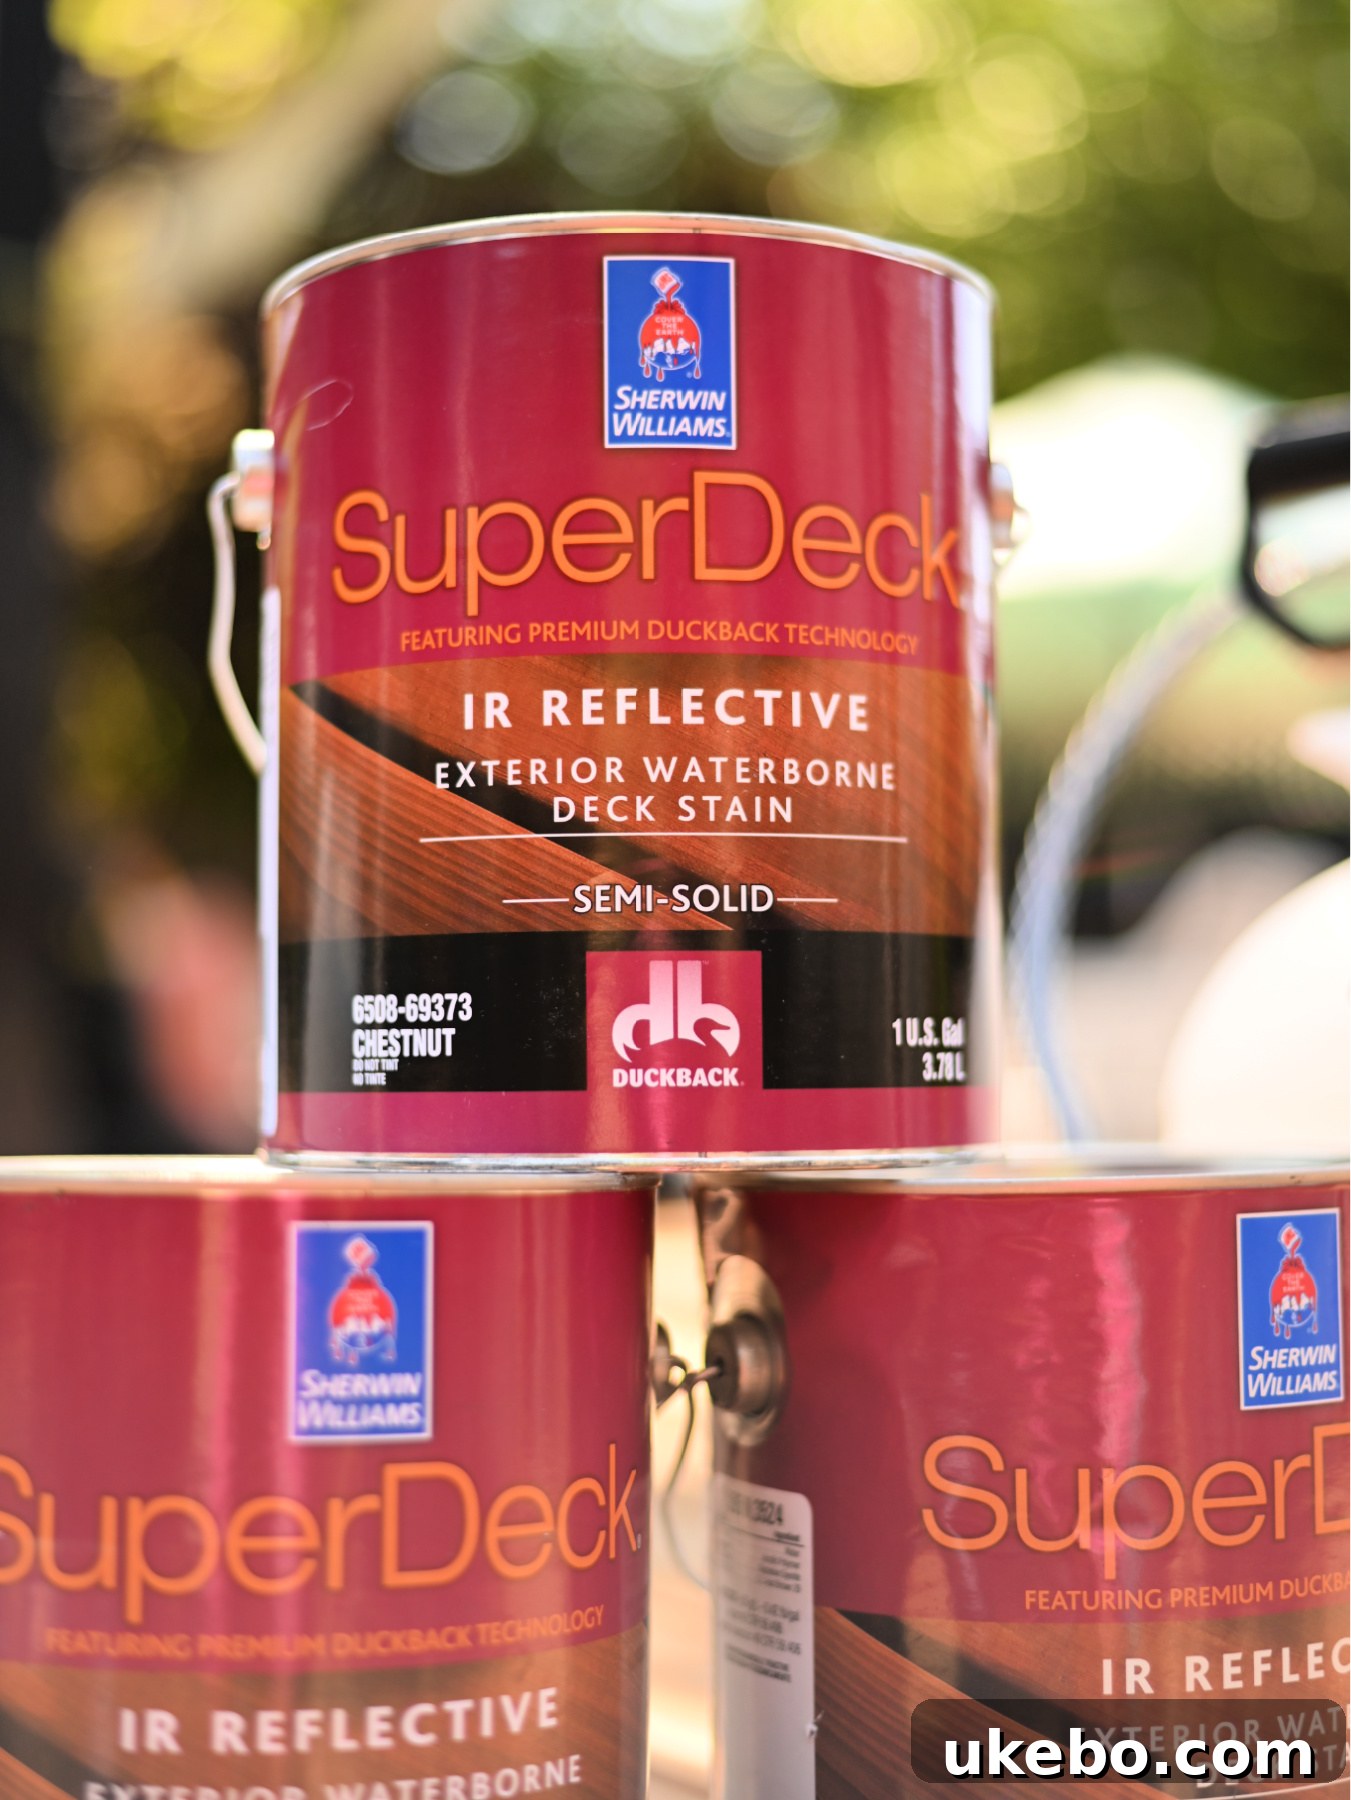
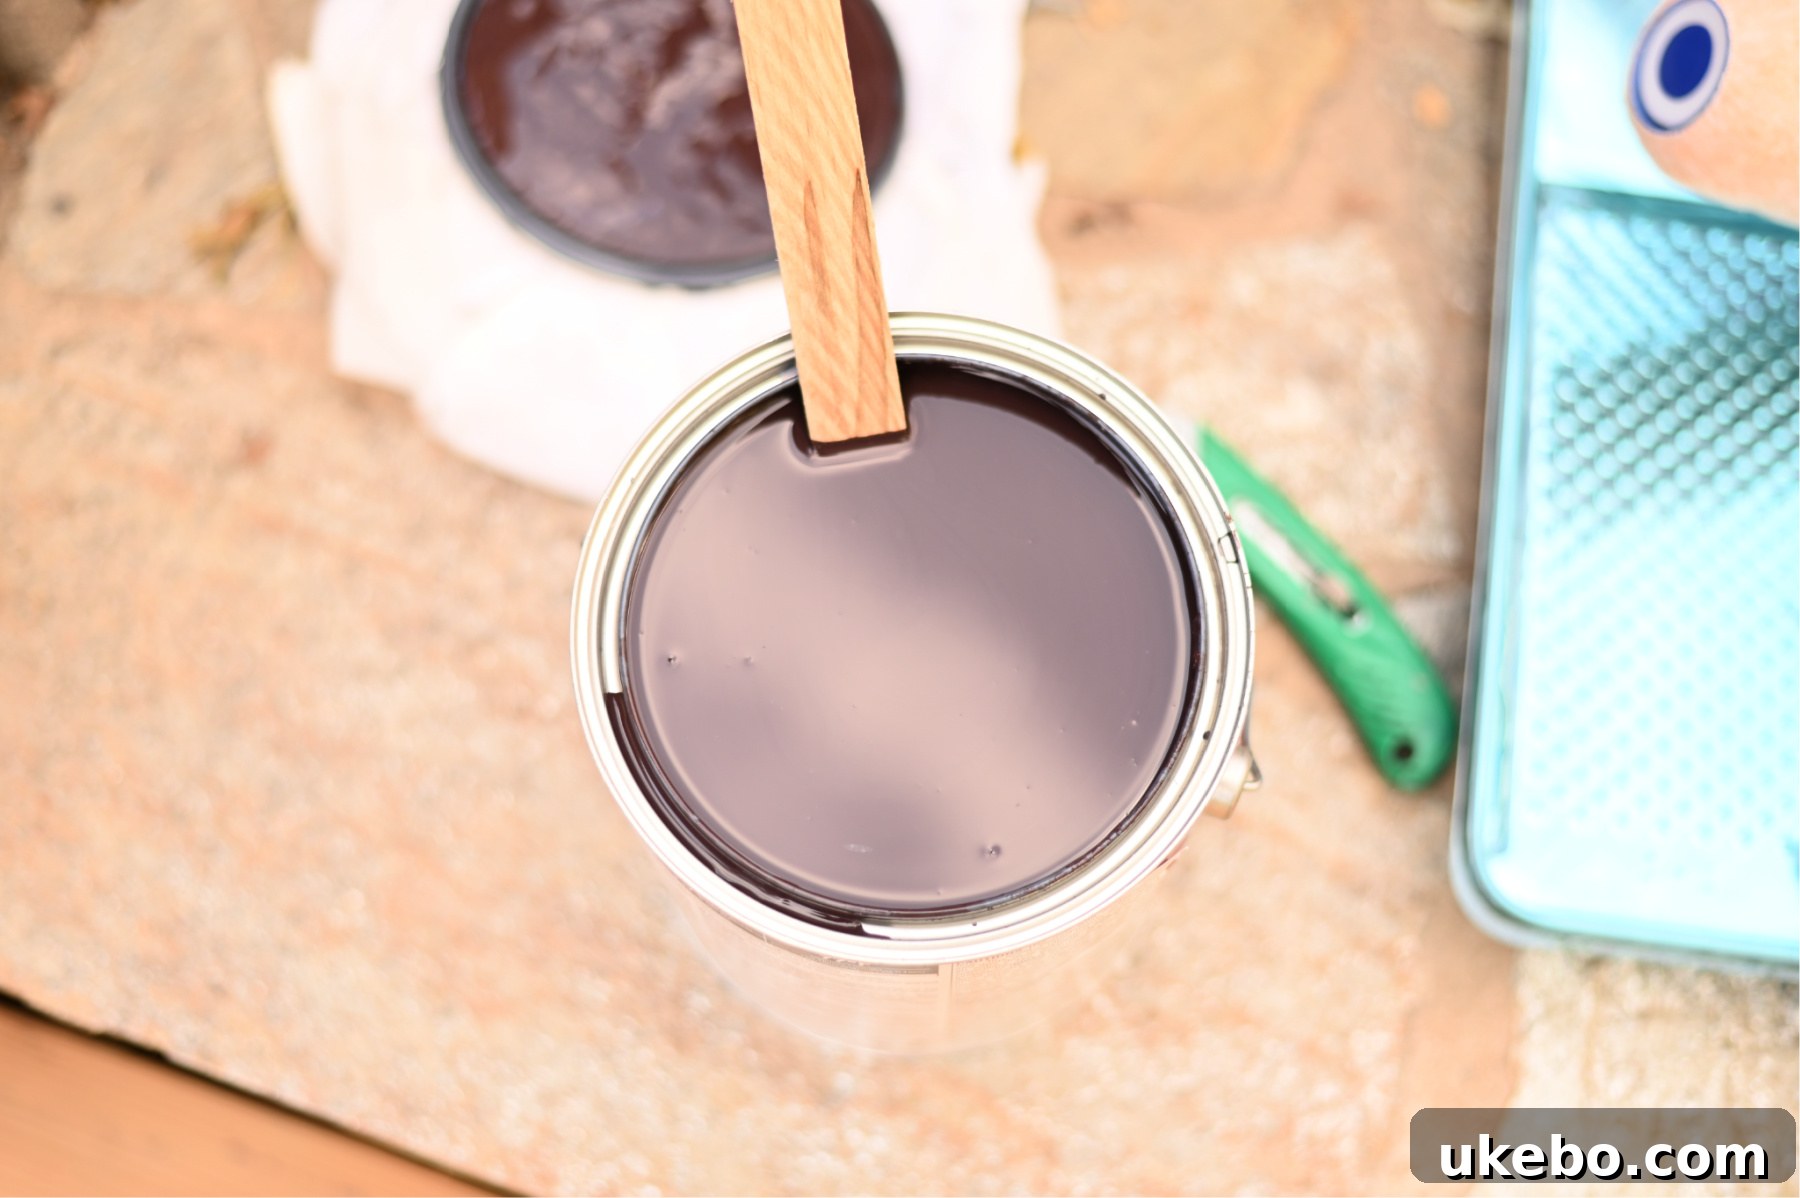
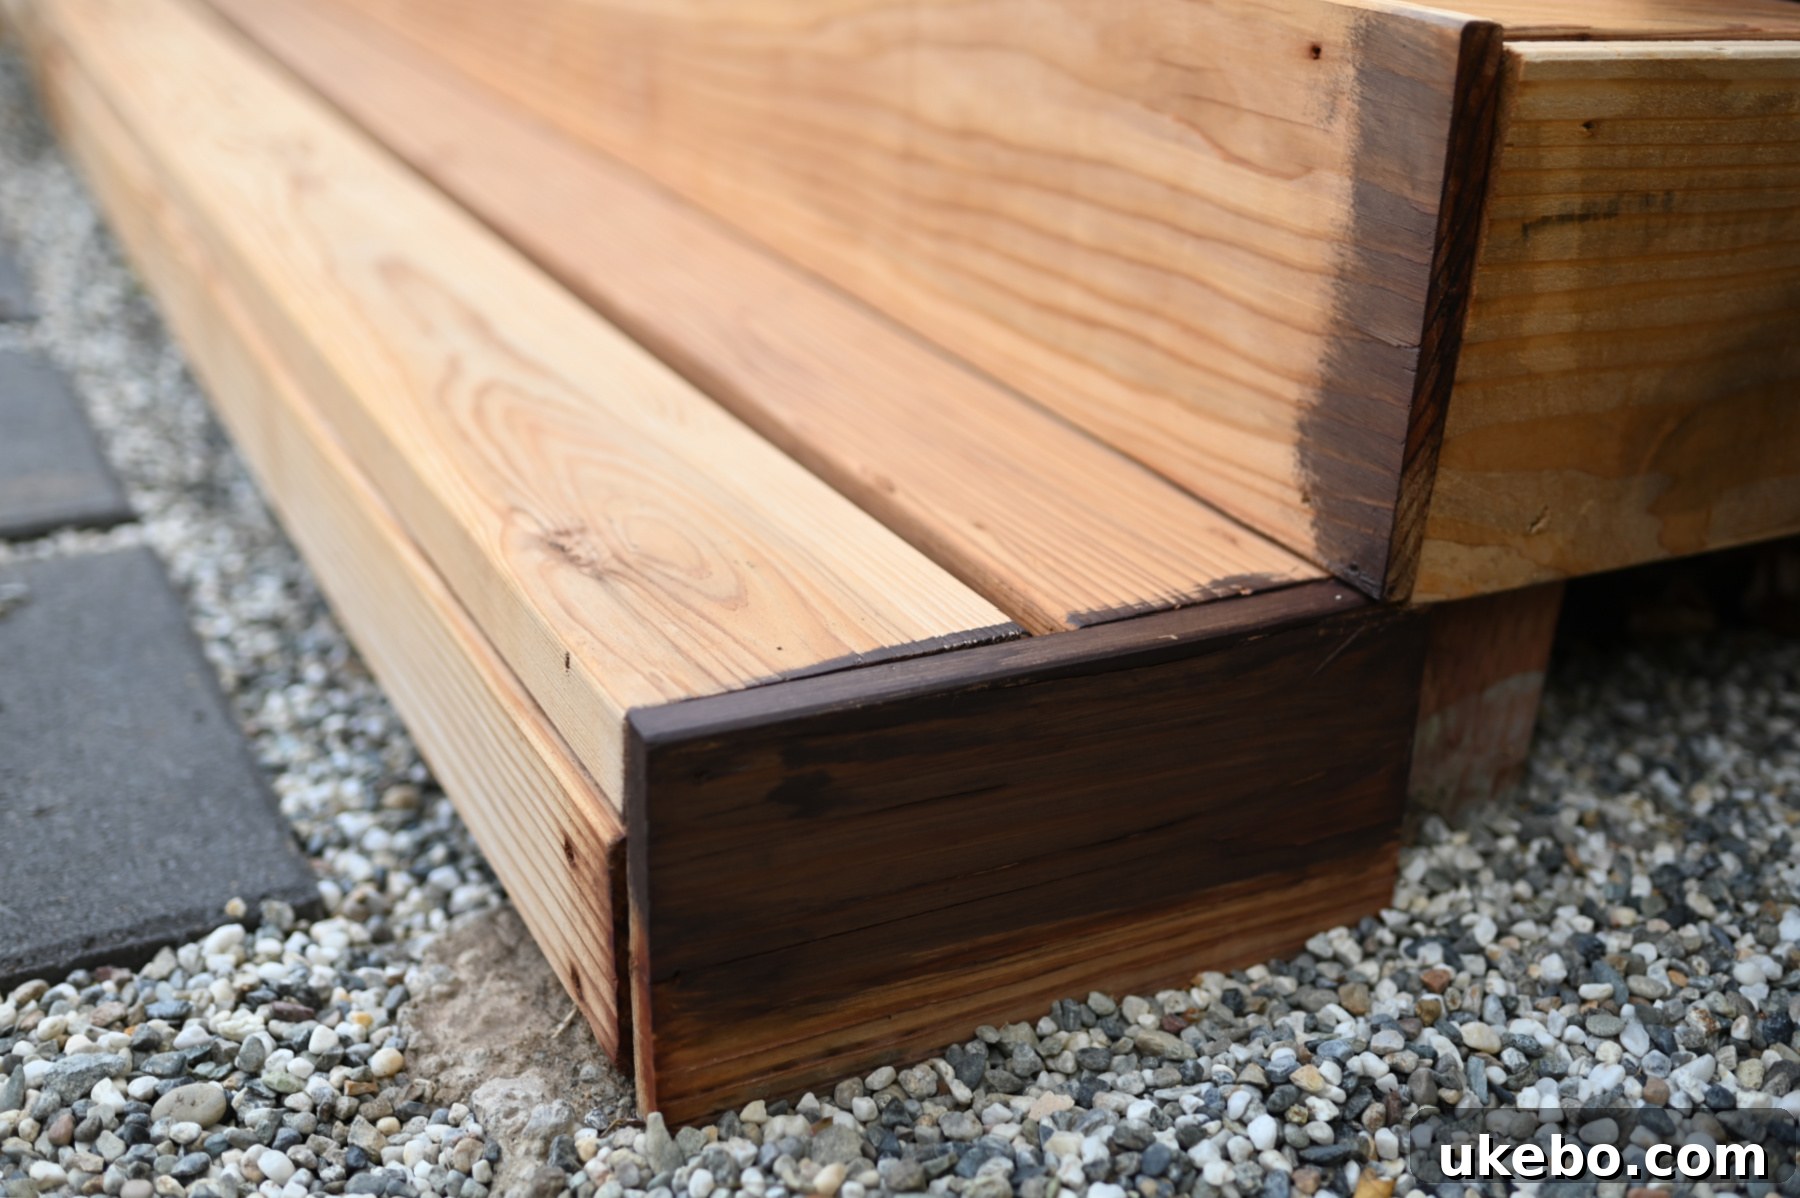
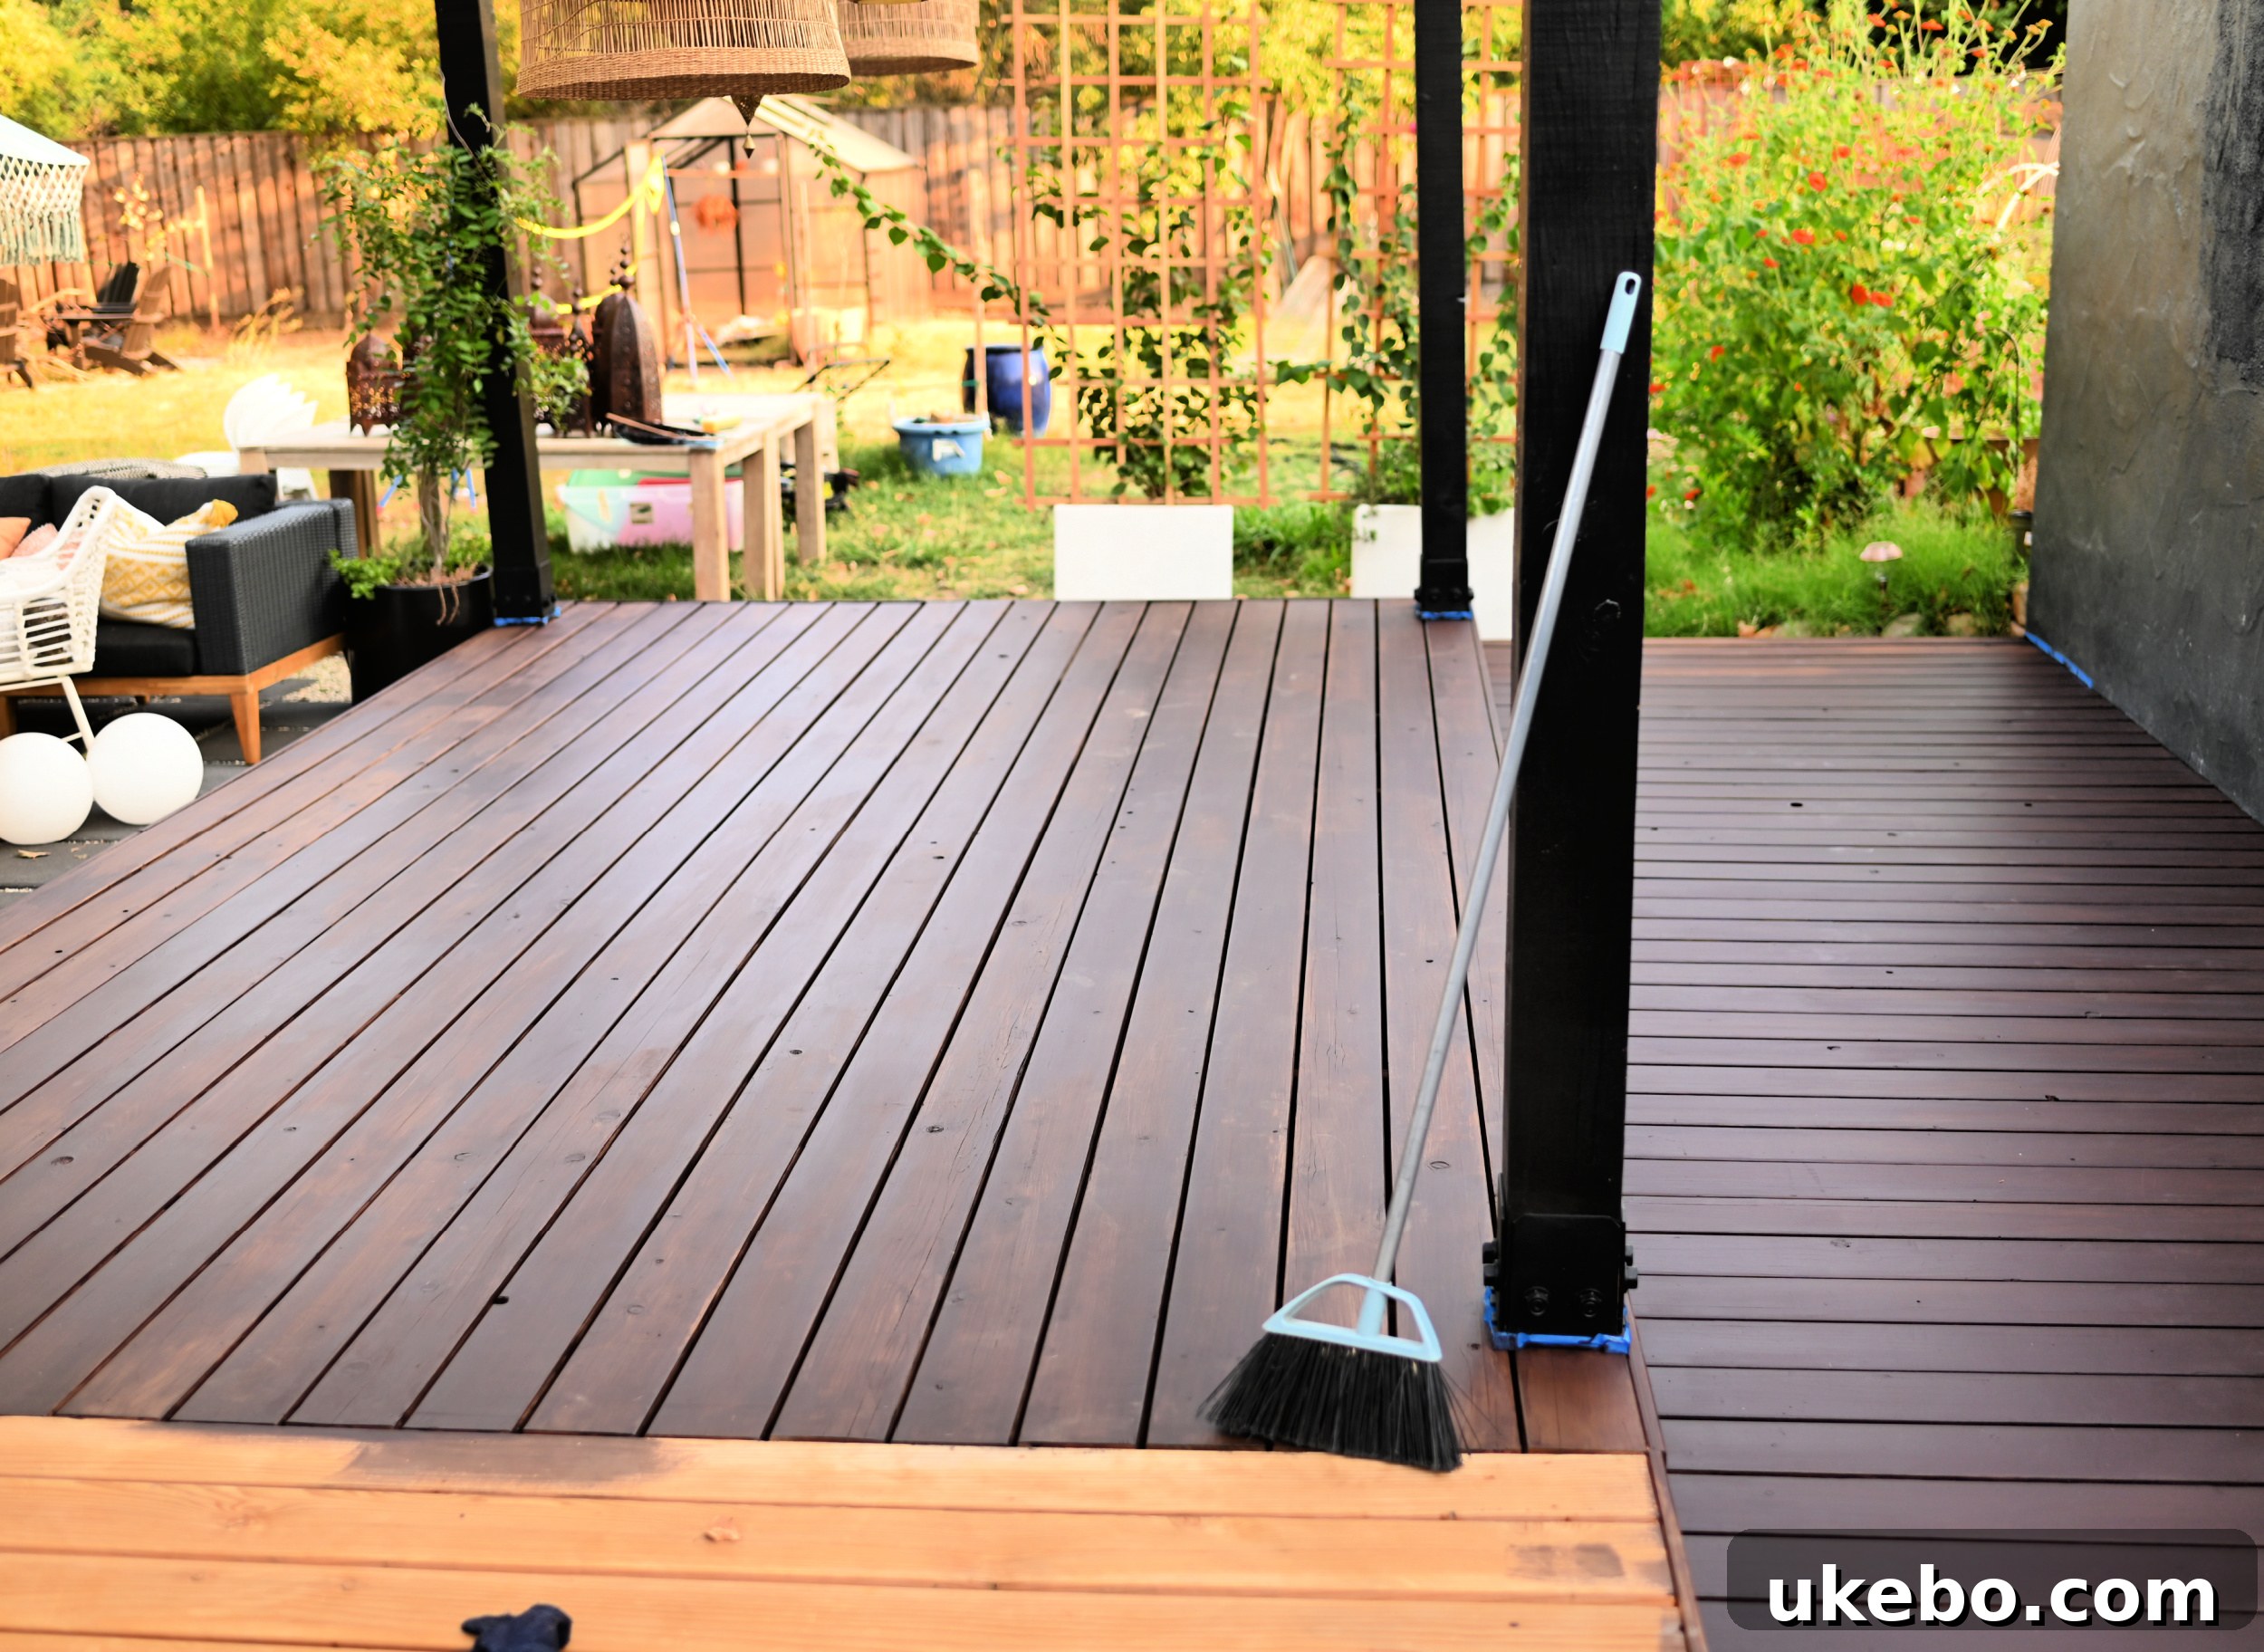
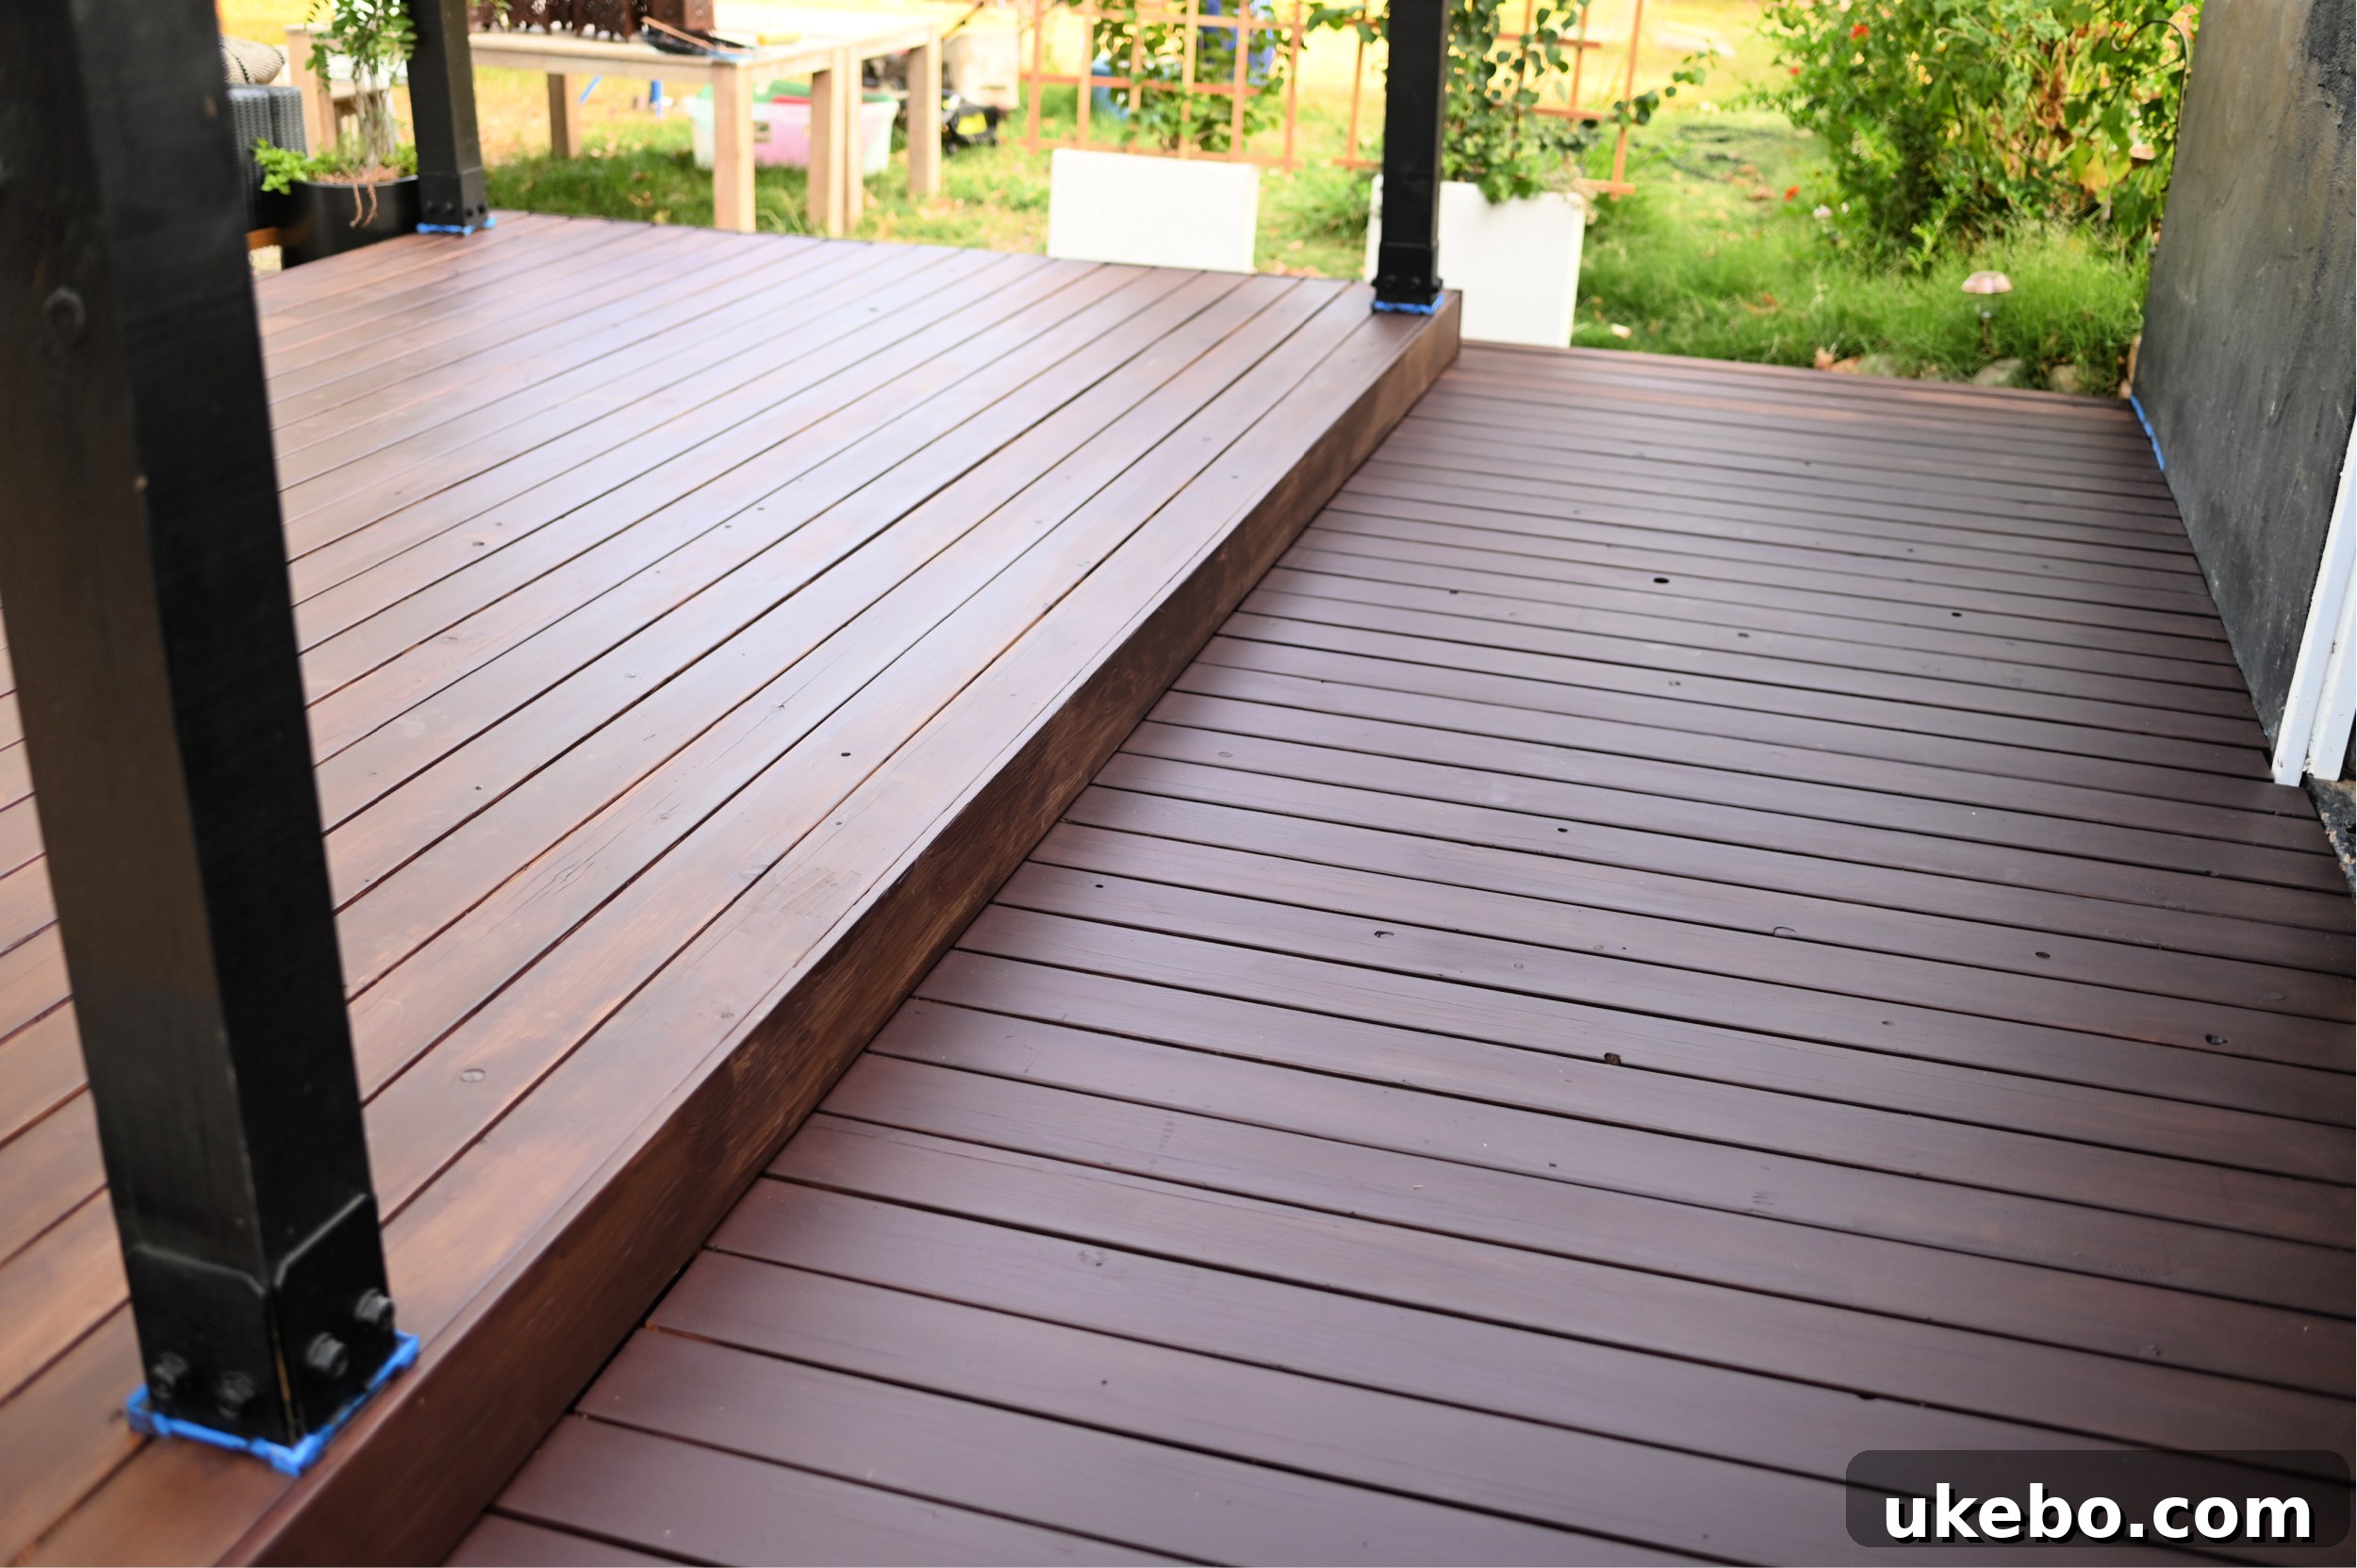
The SuperDeck stain line boasts an impressive array of color options, and after careful deliberation and testing, I chose the rich hue of Chestnut SW 3524. I was specifically seeking a deep, luxurious brown that would echo the warmth of our interior spaces, and this color proved absolutely perfect when I sampled various swatches several months prior. Before committing to the entire deck, I applied a small swatch one more time, just to confirm with absolute certainty that this was indeed the ideal direction for our outdoor aesthetic. This final check provides invaluable peace of mind before embarking on such a large project.
The Staining Process: Trusting the Vision and the Tools
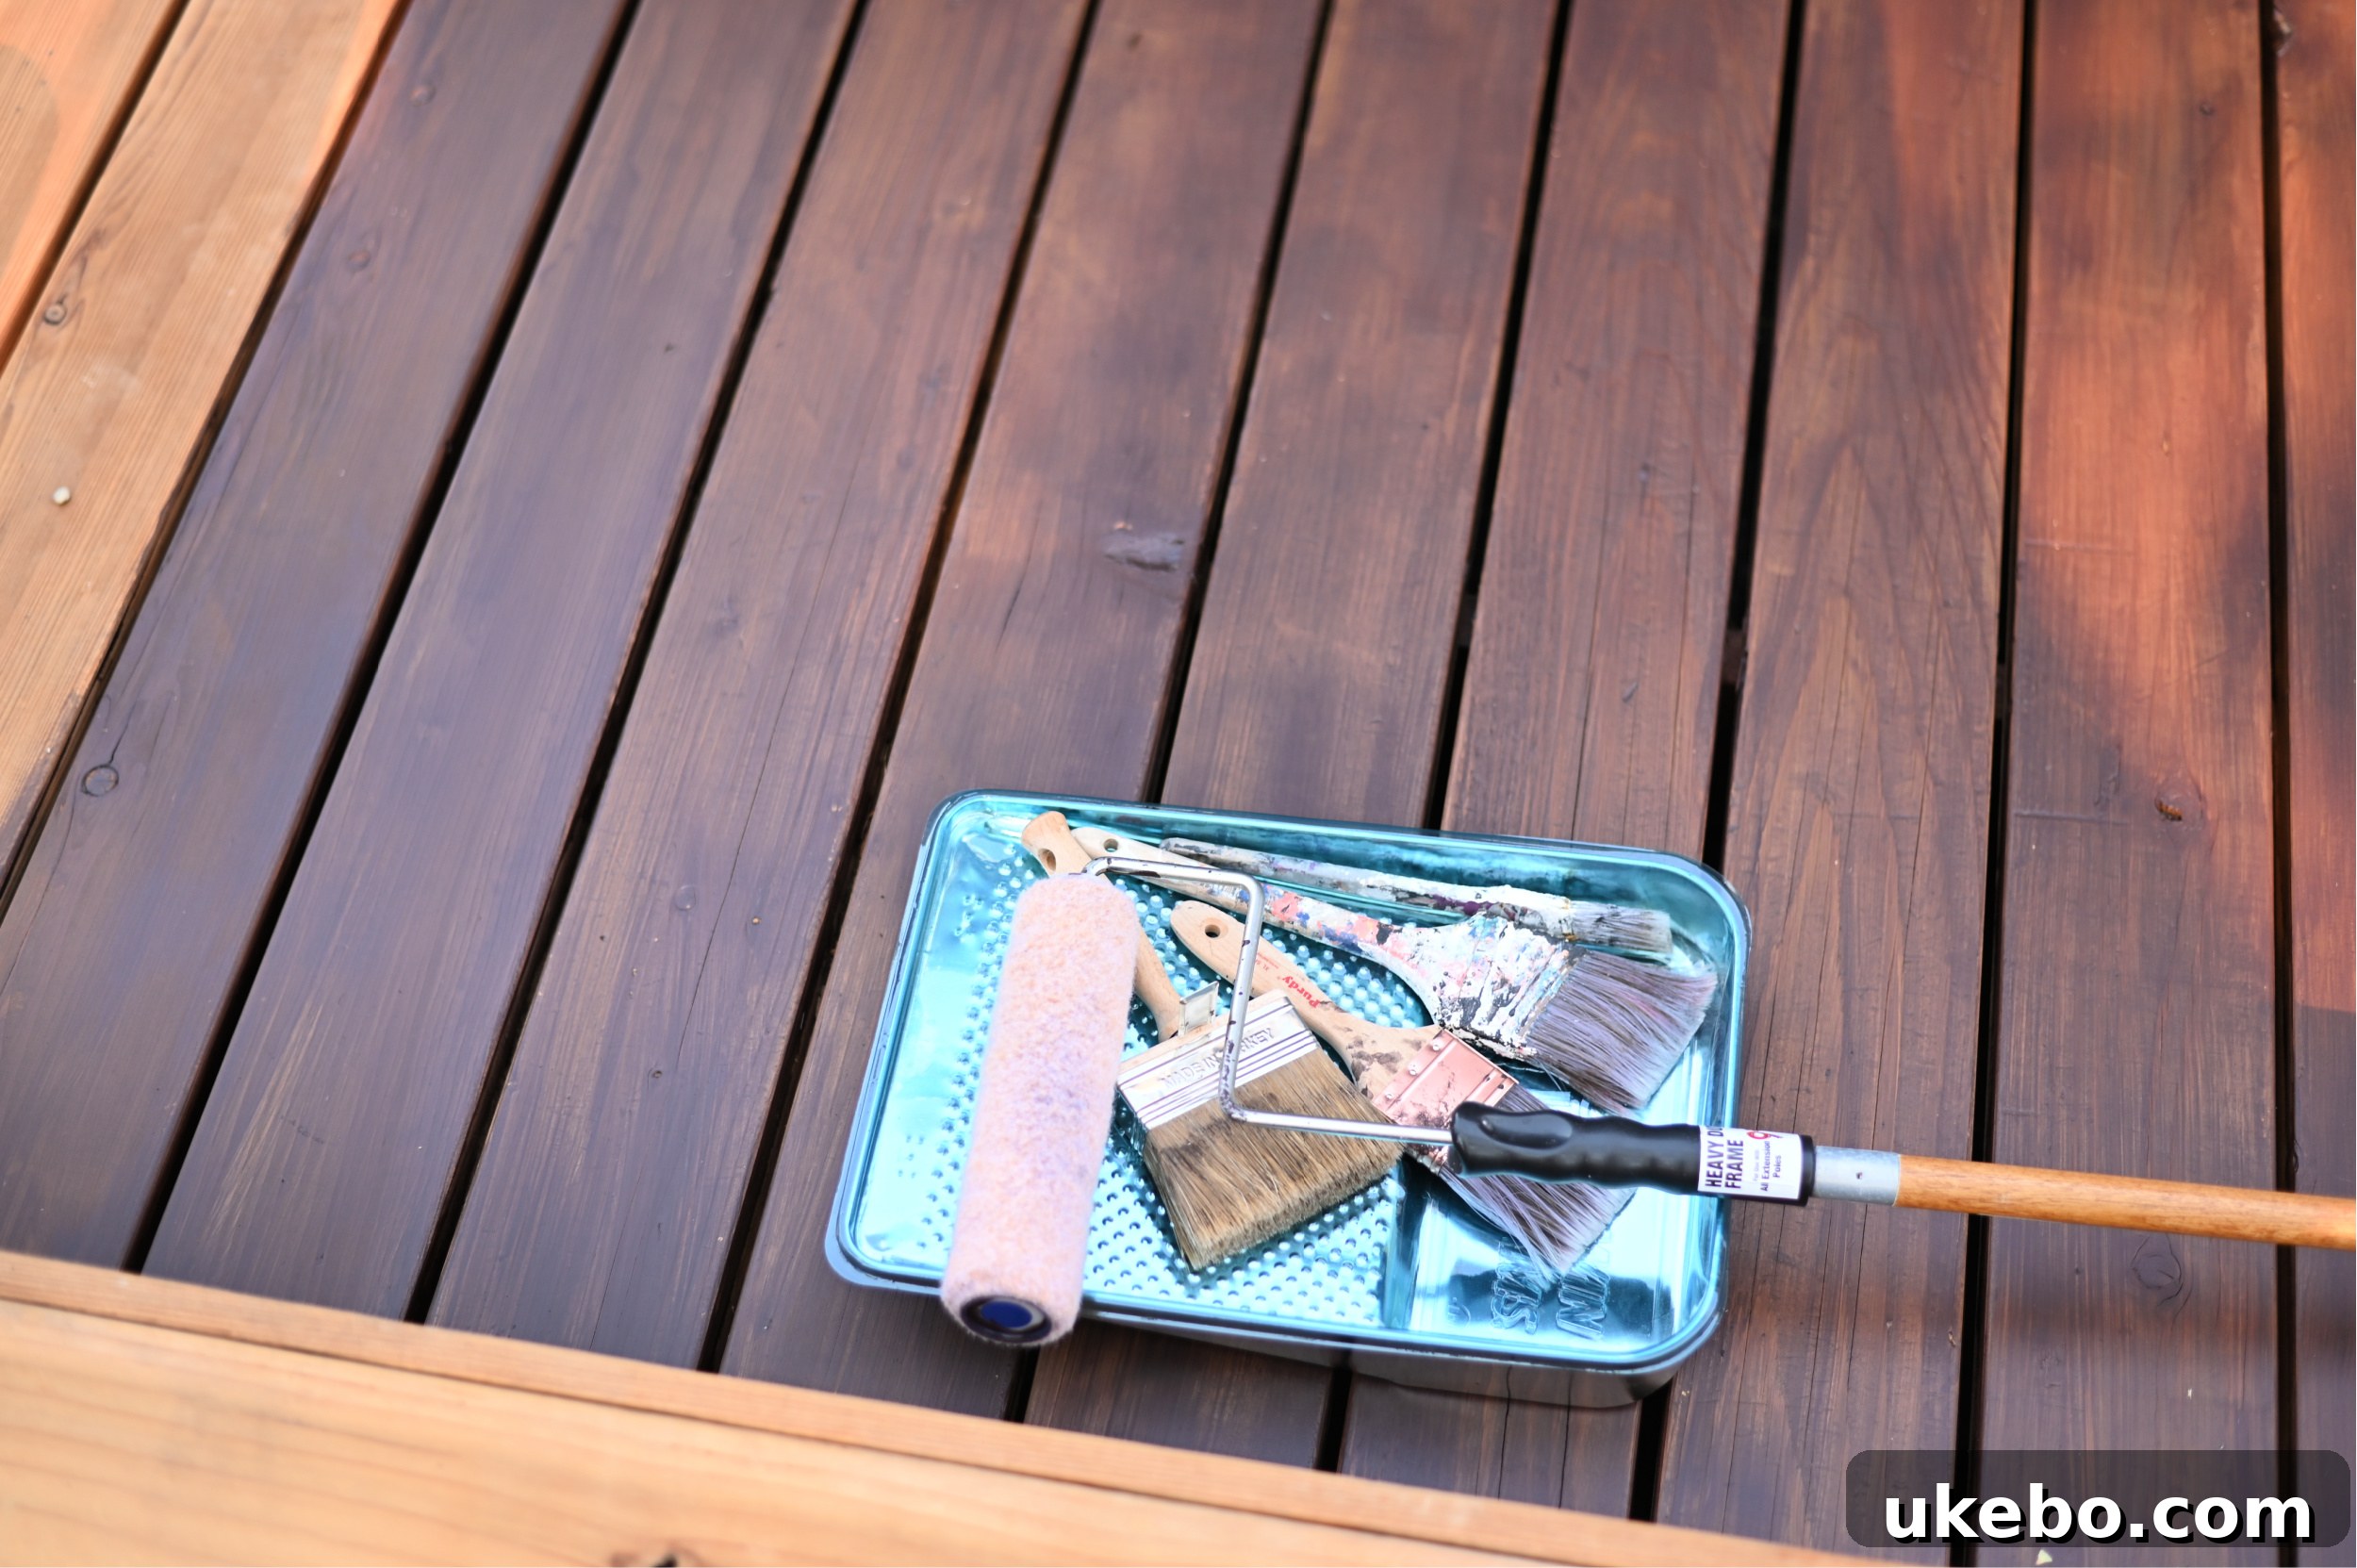
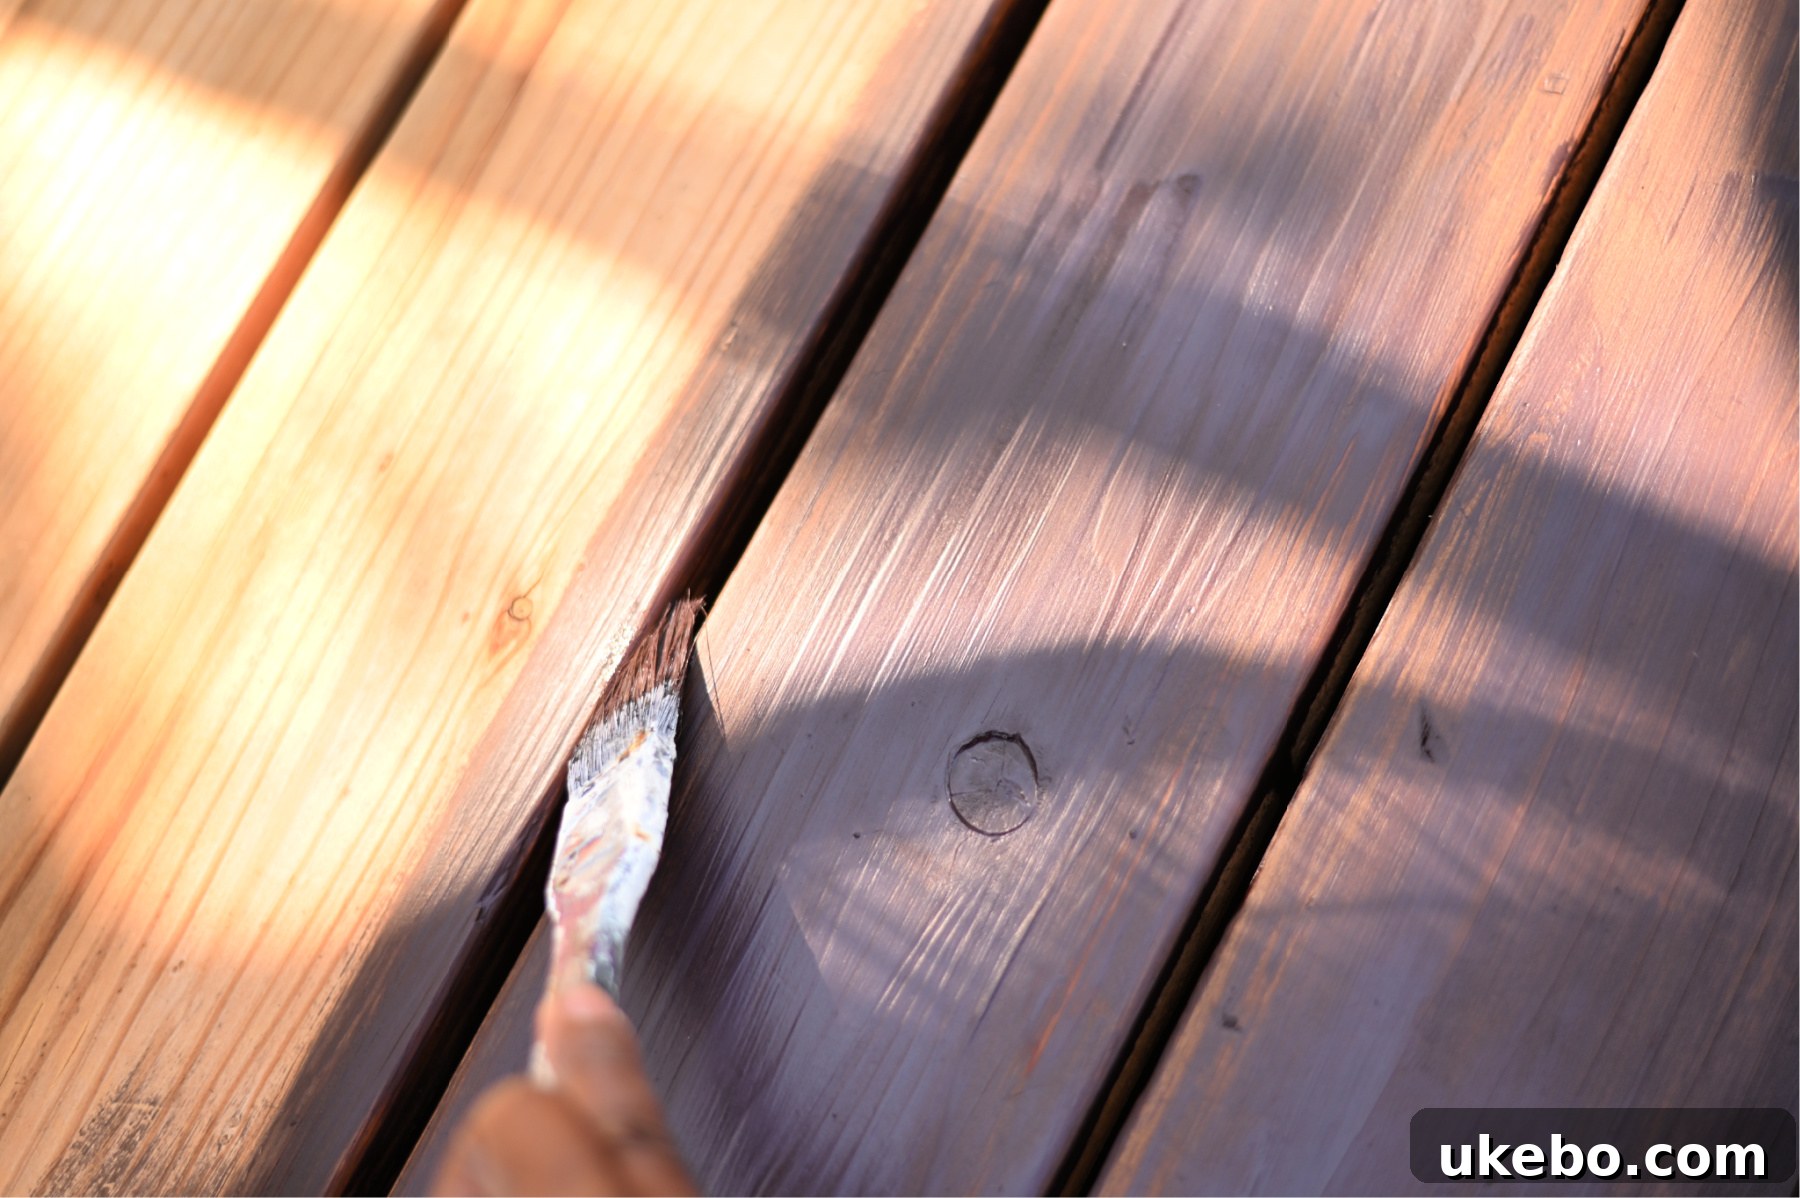
Now, let me tell you, friends – I was genuinely terrified to make that very first brush stroke. Seriously, super scared! We had saved for a considerable time to have this deck built, and the absolute last thing I wanted to do was inadvertently ruin it. This project truly pushed me to trust my aesthetic vision and, more importantly, to trust the process. I initiated the application by rolling on the stain with a short nap roller, ensuring even distribution across the boards. Immediately after, I used a 6-inch deck brush to gently back-brush over the rolled areas, smoothing out any excess and ensuring the stain penetrated deeply and evenly, always working with the direction of the wood grain for a flawless finish.
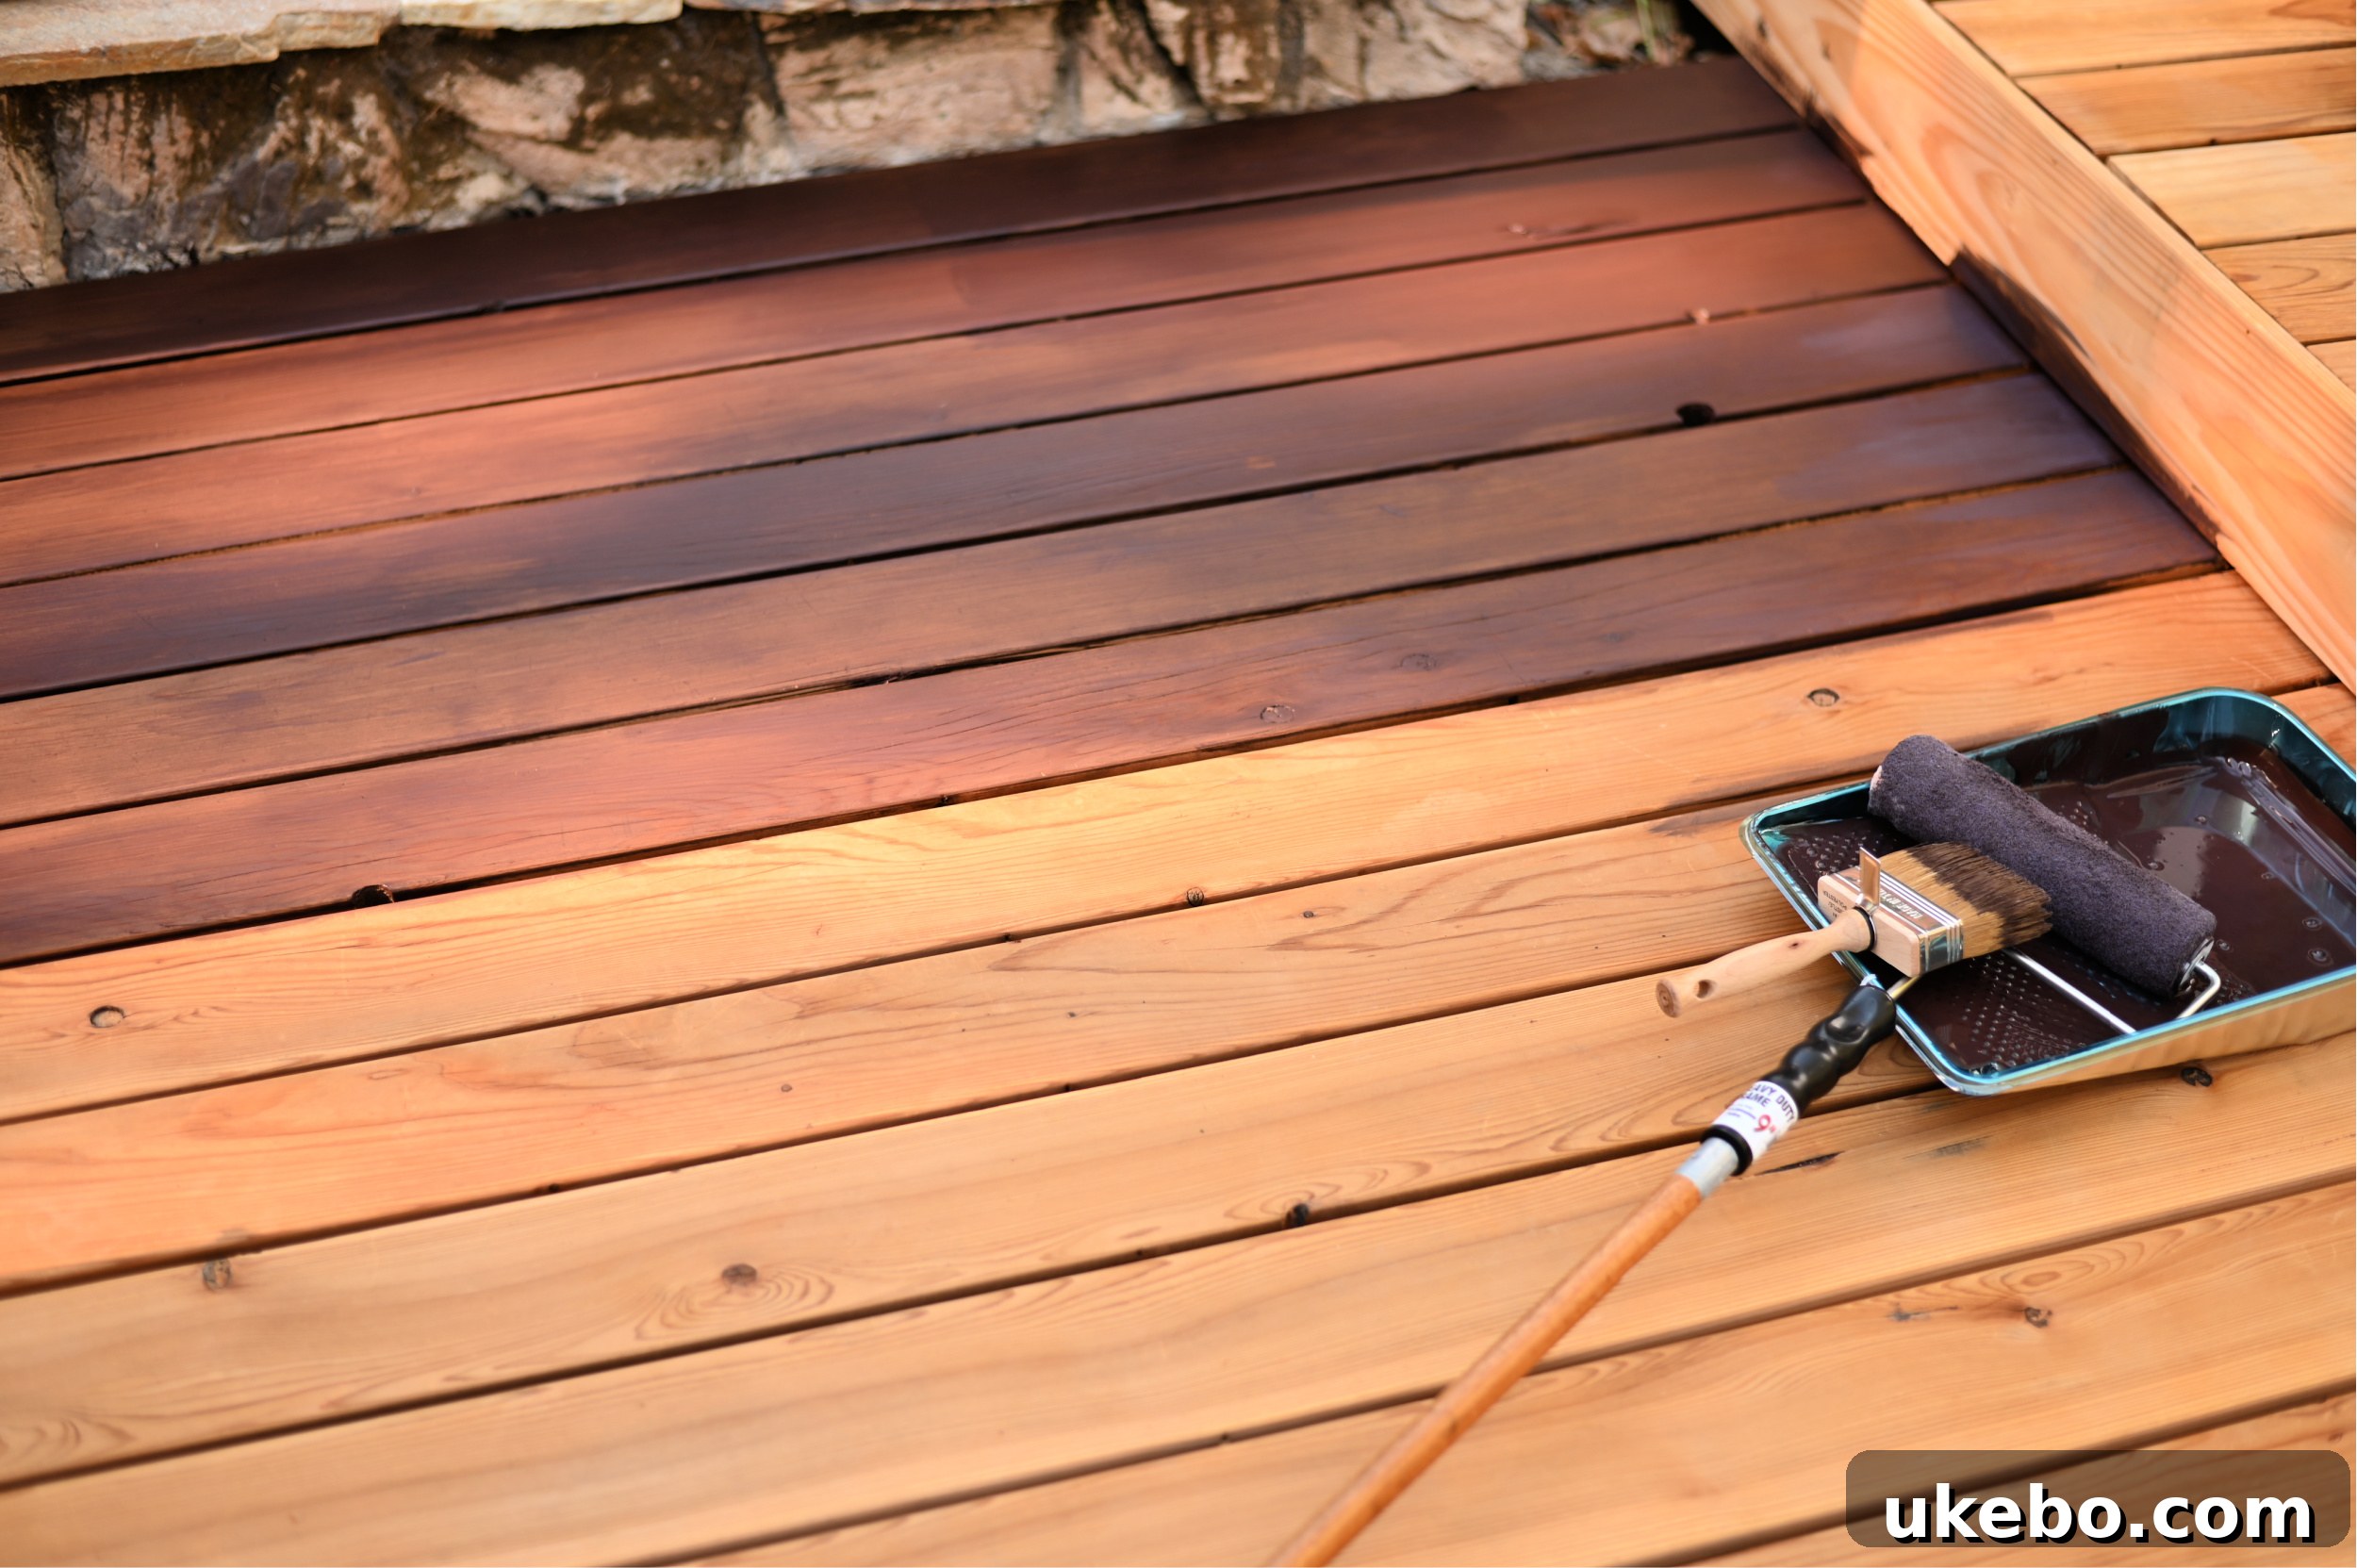
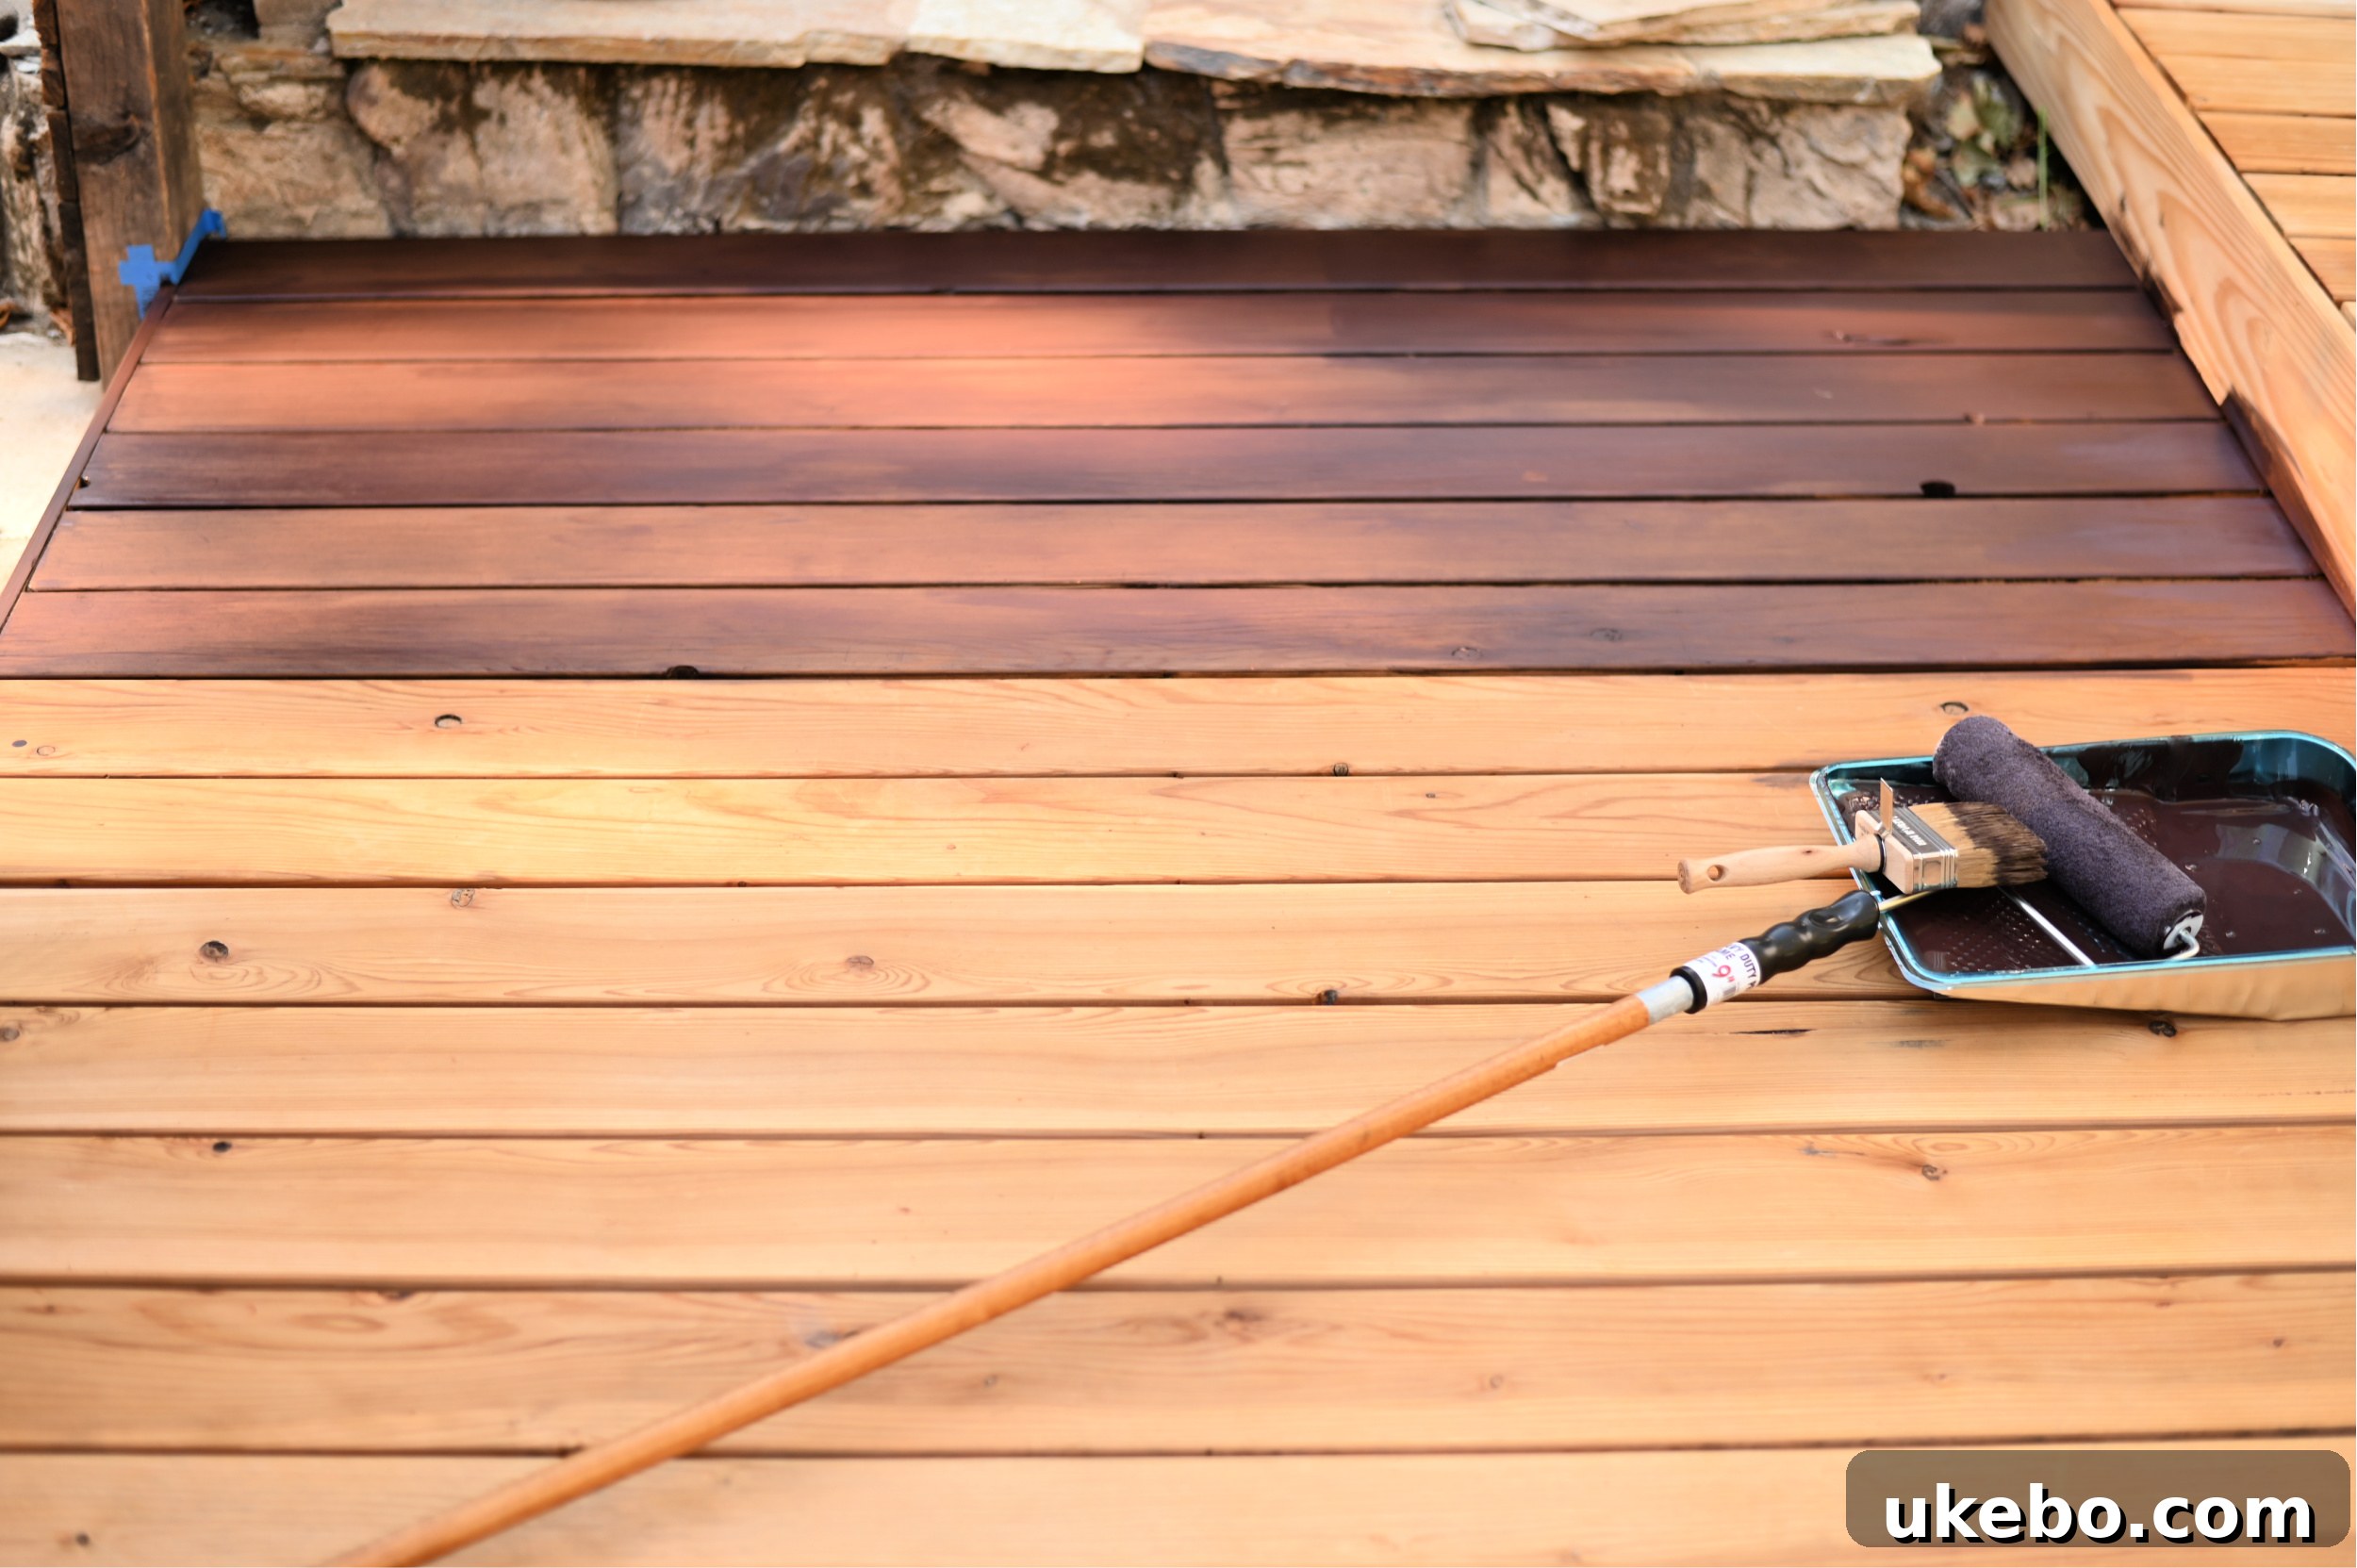
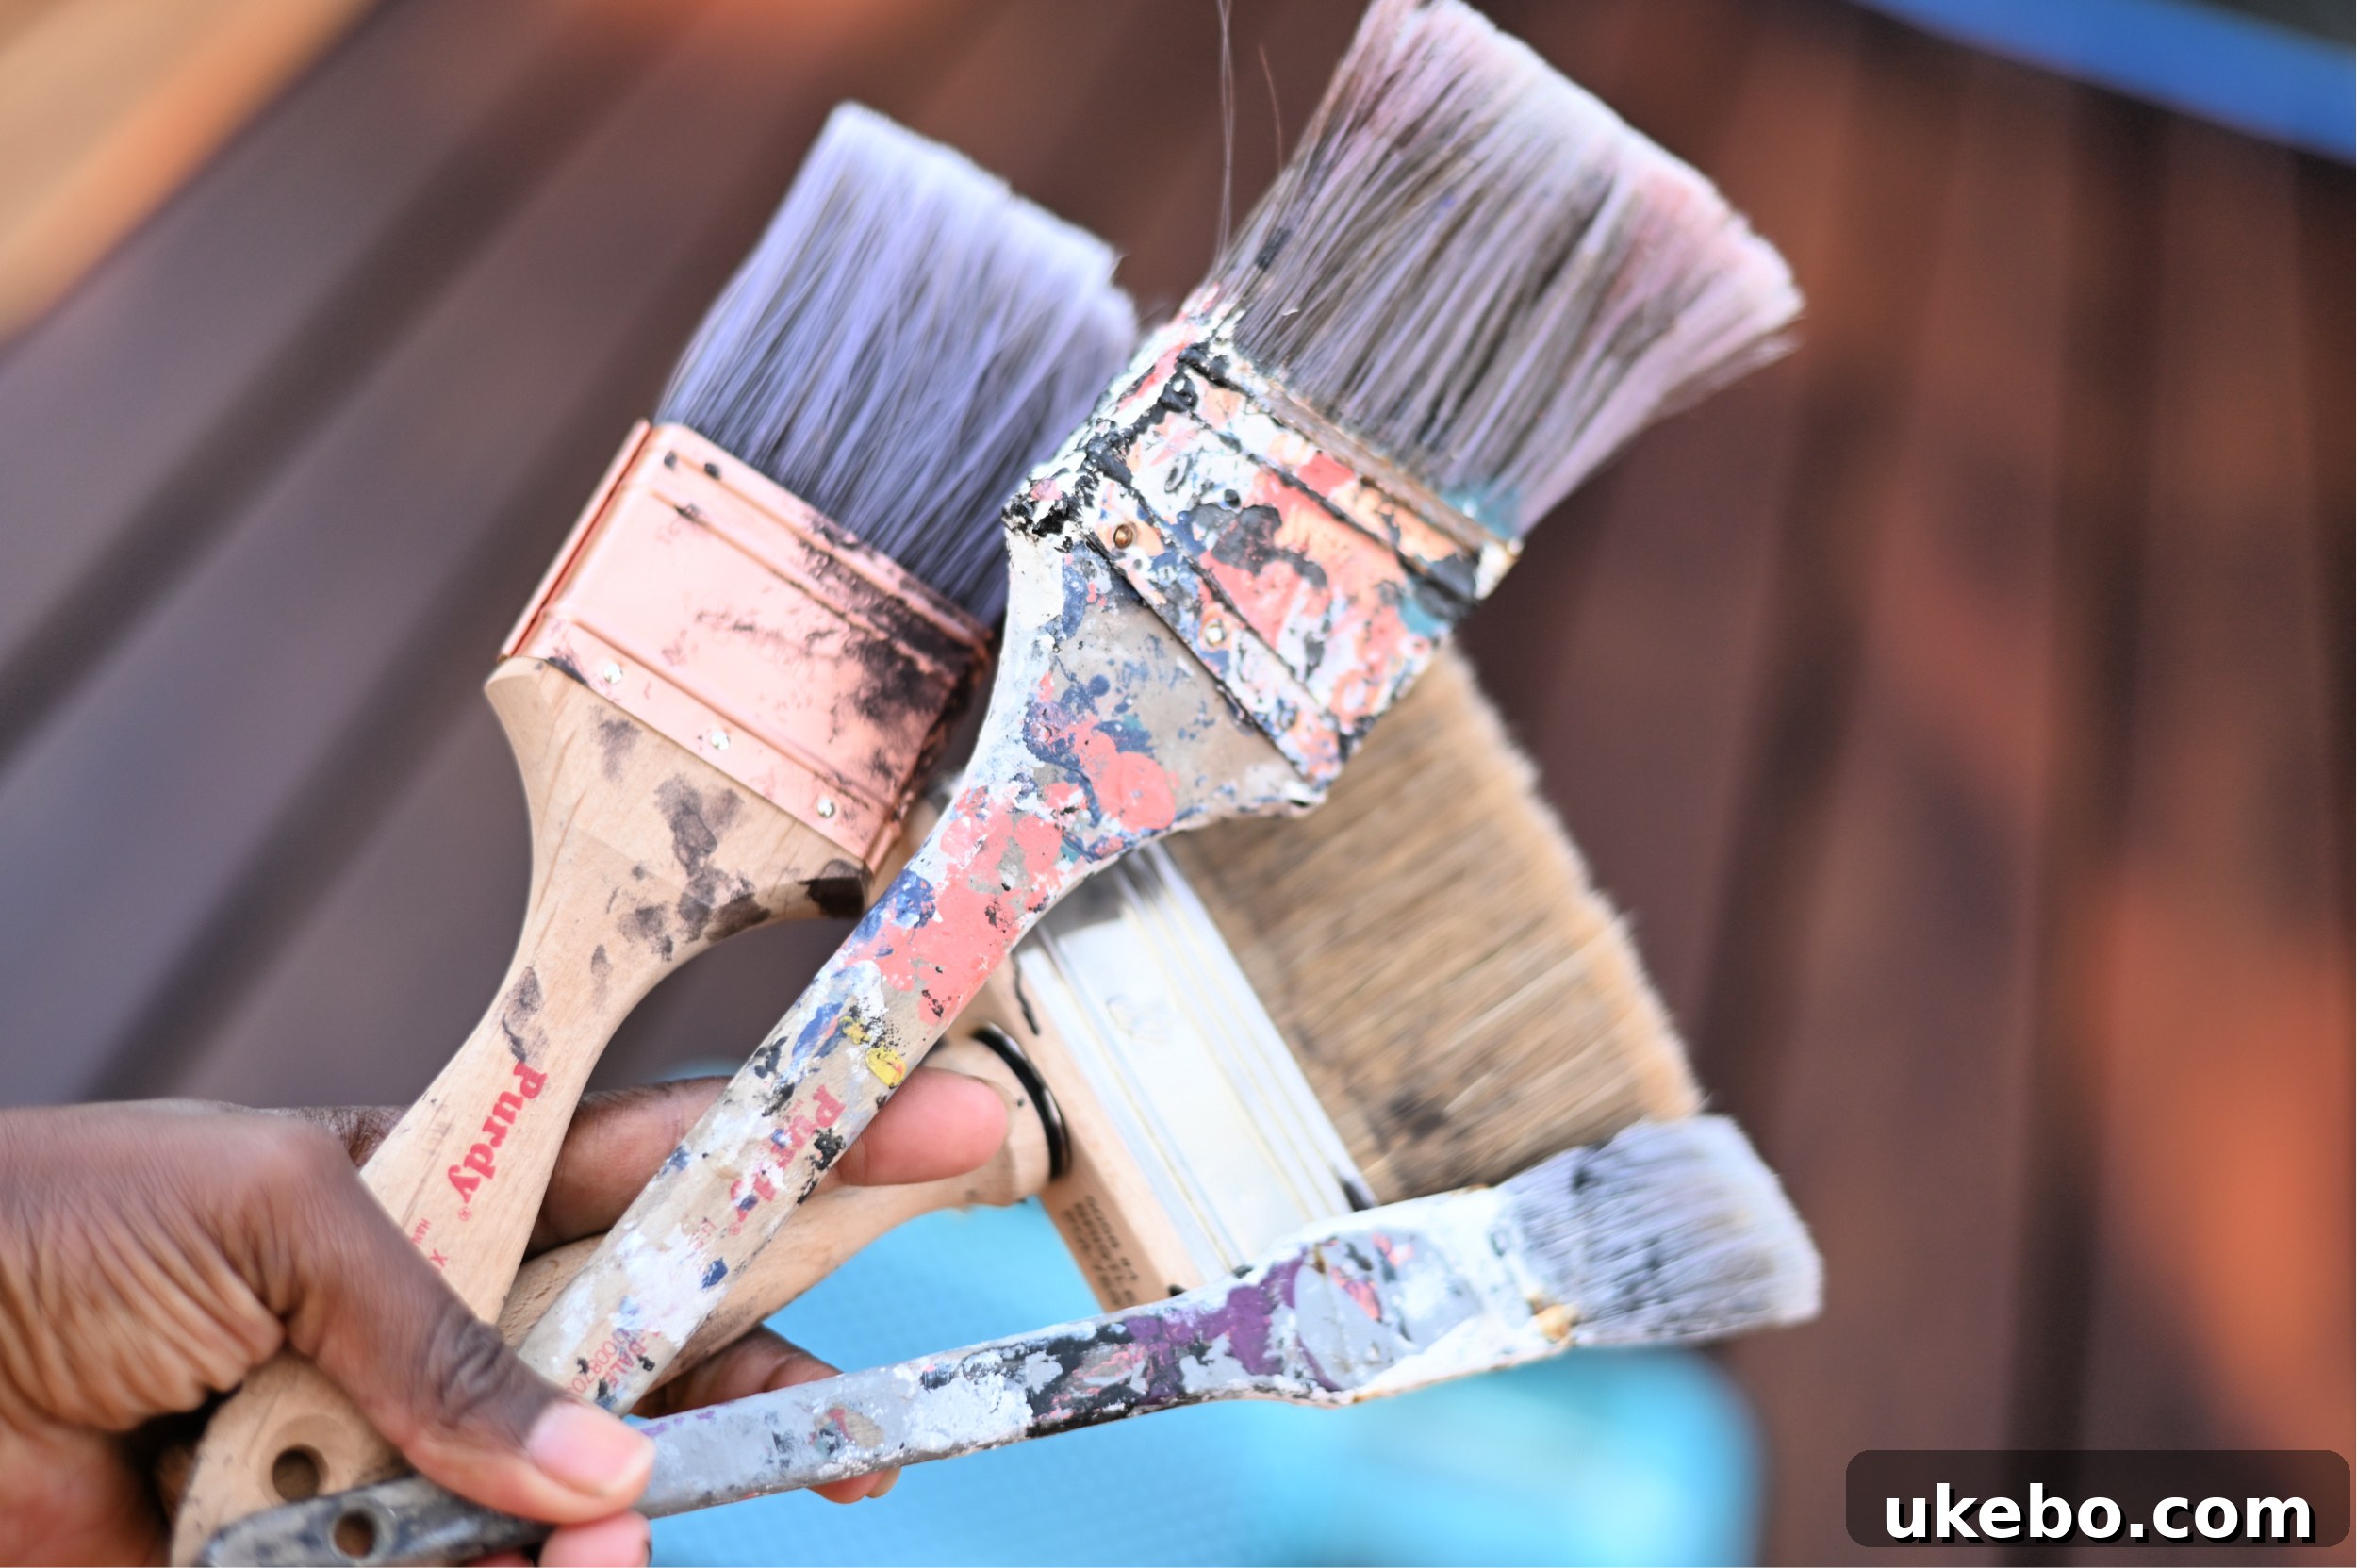
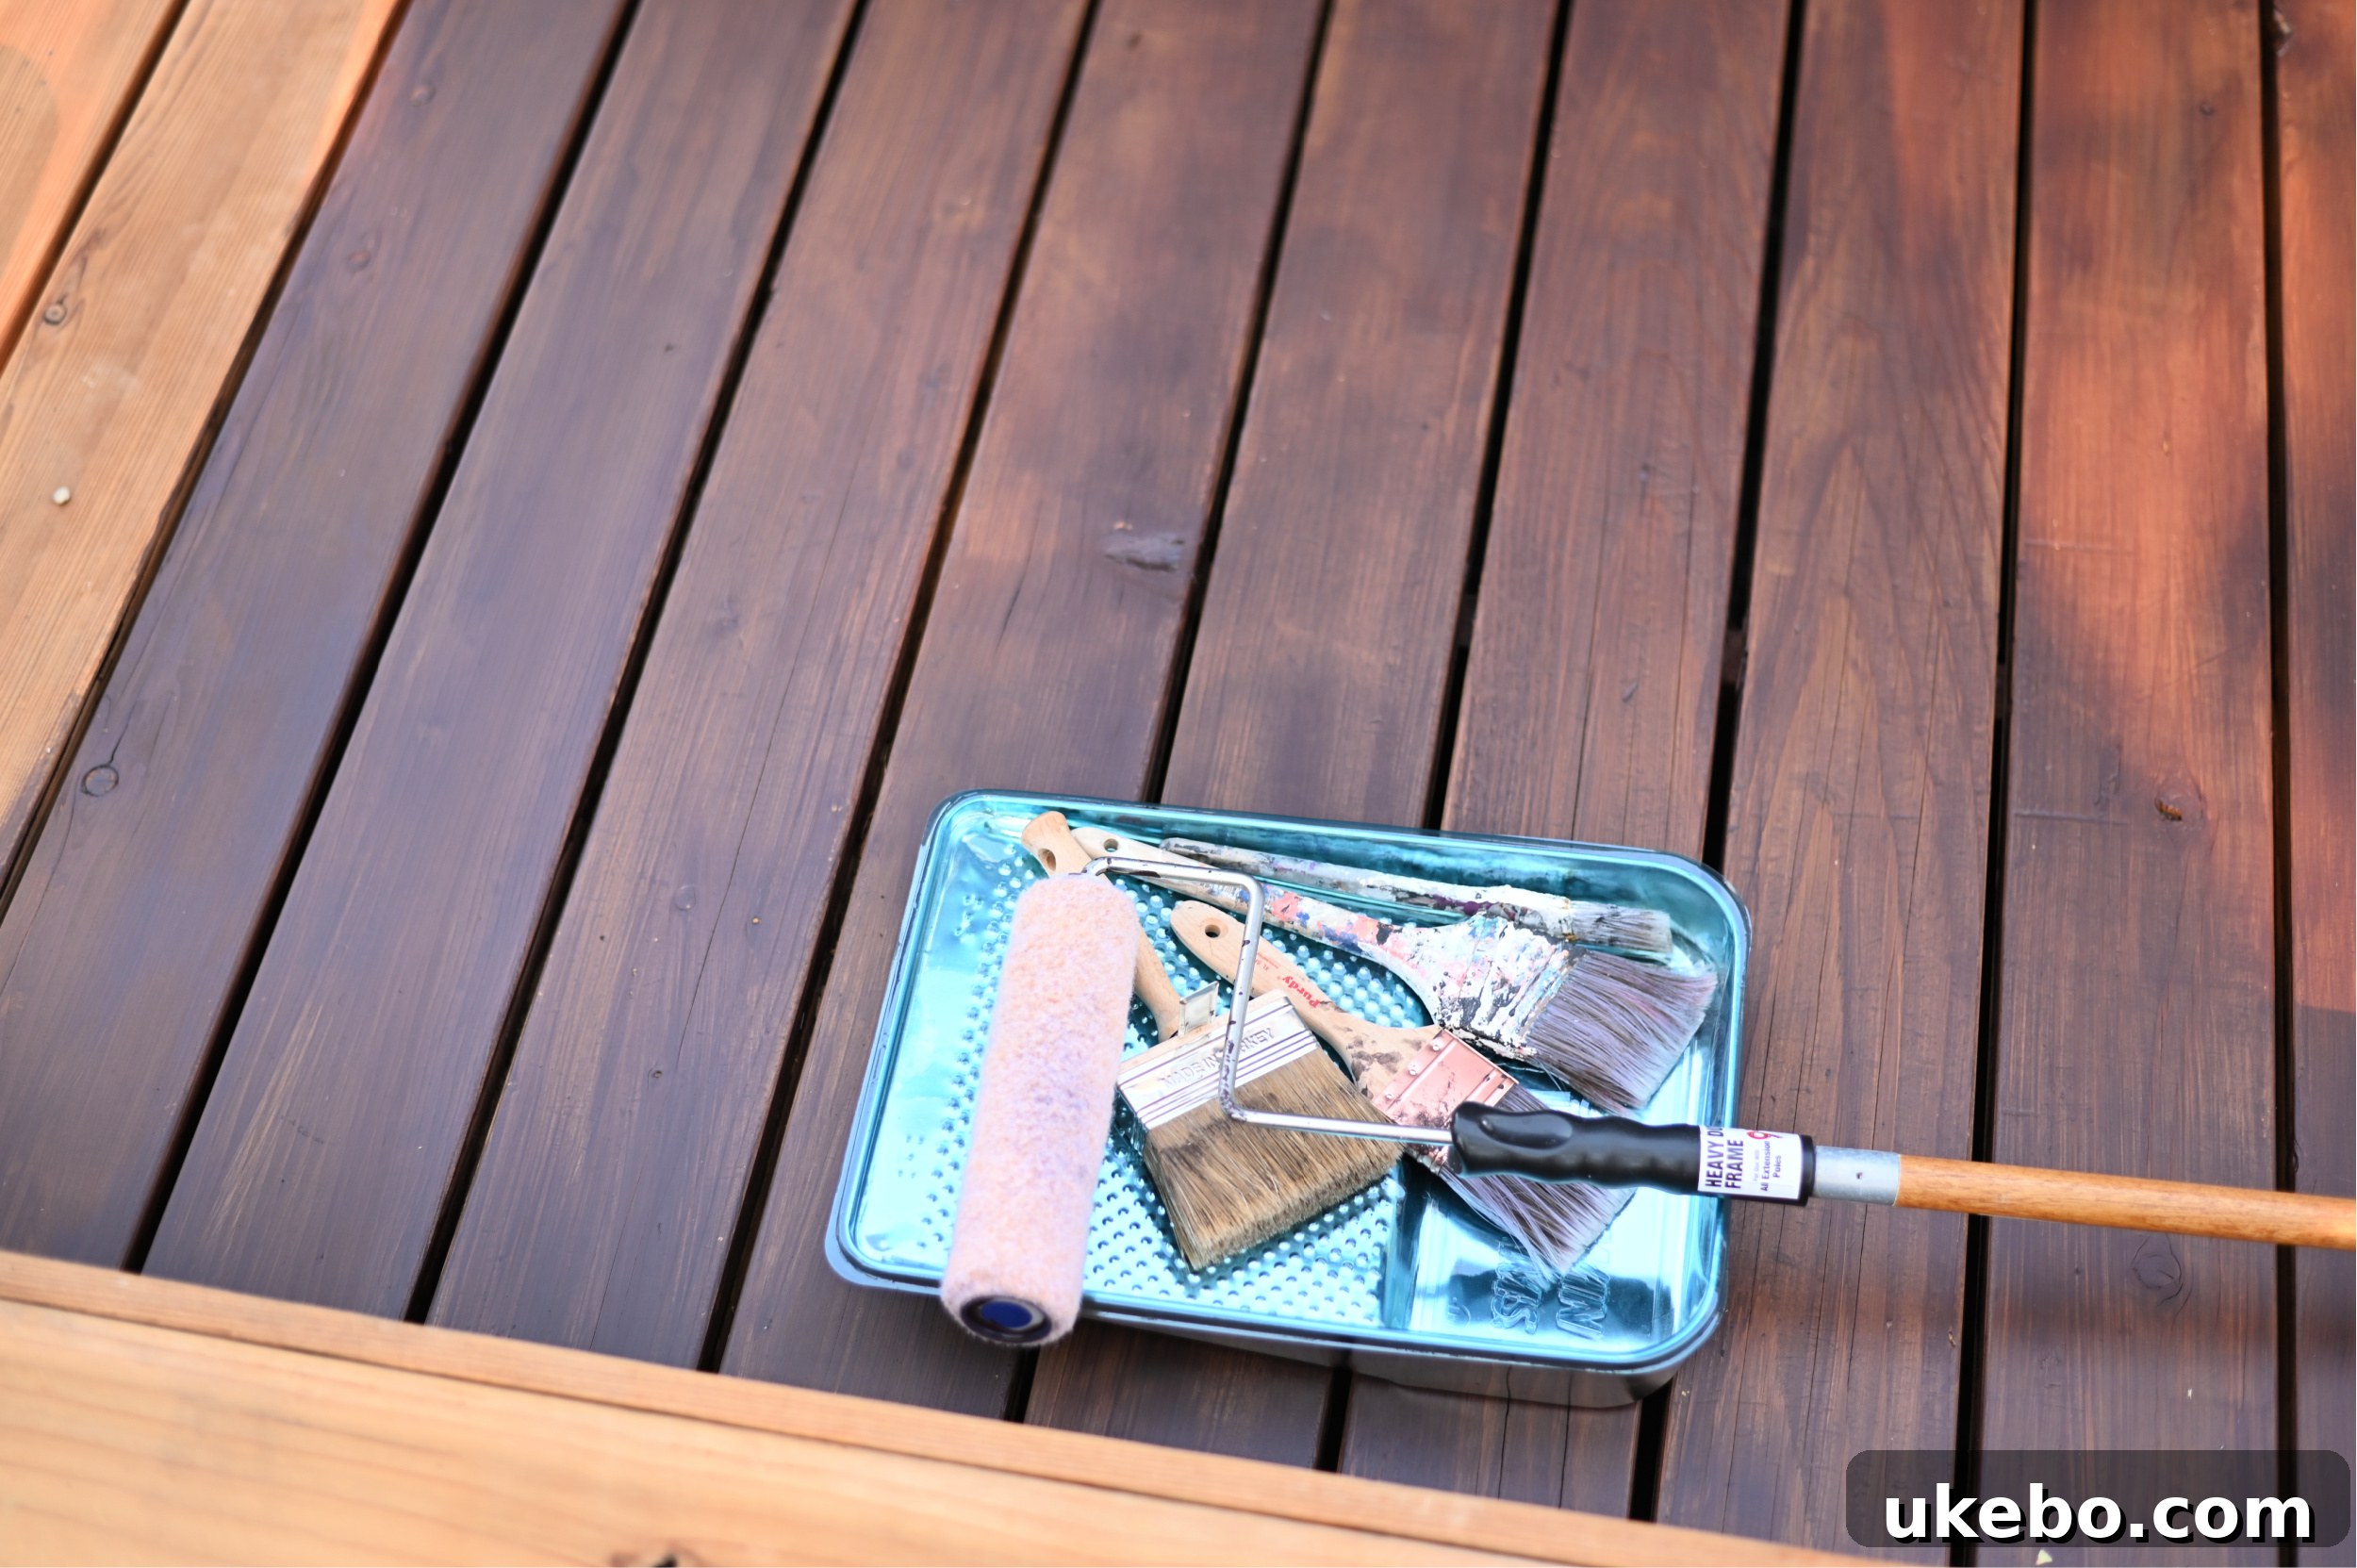
There was definitely a slight learning curve when working with this particular stain, as its application differed from other stains I’d used previously. You apply it much like you would paint, simply rolling or brushing on the product without wiping off the color after allowing it to sit on the wood for a few minutes. It took me a little while to get my bearings and find my rhythm, but once I did, it was smooth sailing. I was also battling against rising temperatures, which necessitated moving quite quickly to avoid the stain drying too fast. After the first day, I realized I preferred the precision and control of applying the stain exclusively with a brush. Consequently, I switched to some of my trusted workhorse brushes – Purdy’s are my absolute favorite for their quality and durability! – and utilized them for the remainder of the project.
Endurance Test: The Reality of Staining a Large Deck
Oh my goodness, if I ever get the “crazy idea” to stain a deck again, please remind me of this experience! When I tell you this took an incredibly long time, I mean *forever*! I honestly had no idea just how massive our deck truly was until I began the painstaking process of staining it by hand, board by excruciating board. Its sheer size extended the project far beyond my initial estimates. Furthermore, I was constrained by the weather, only able to work for short periods in the early mornings and later evenings when temperatures dipped below 90 degrees. For anyone considering a deck staining project, I cannot stress enough the recommendation to undertake it during the fall or spring. These seasons offer more temperate conditions, avoiding both extreme heat and cold, just be sure there’s no rain in the forecast. And don’t even get me started on the meticulous task of having to brush between every single board – it’s a true test of patience and perseverance!
Seeing the Vision Come to Life: First Coat Complete
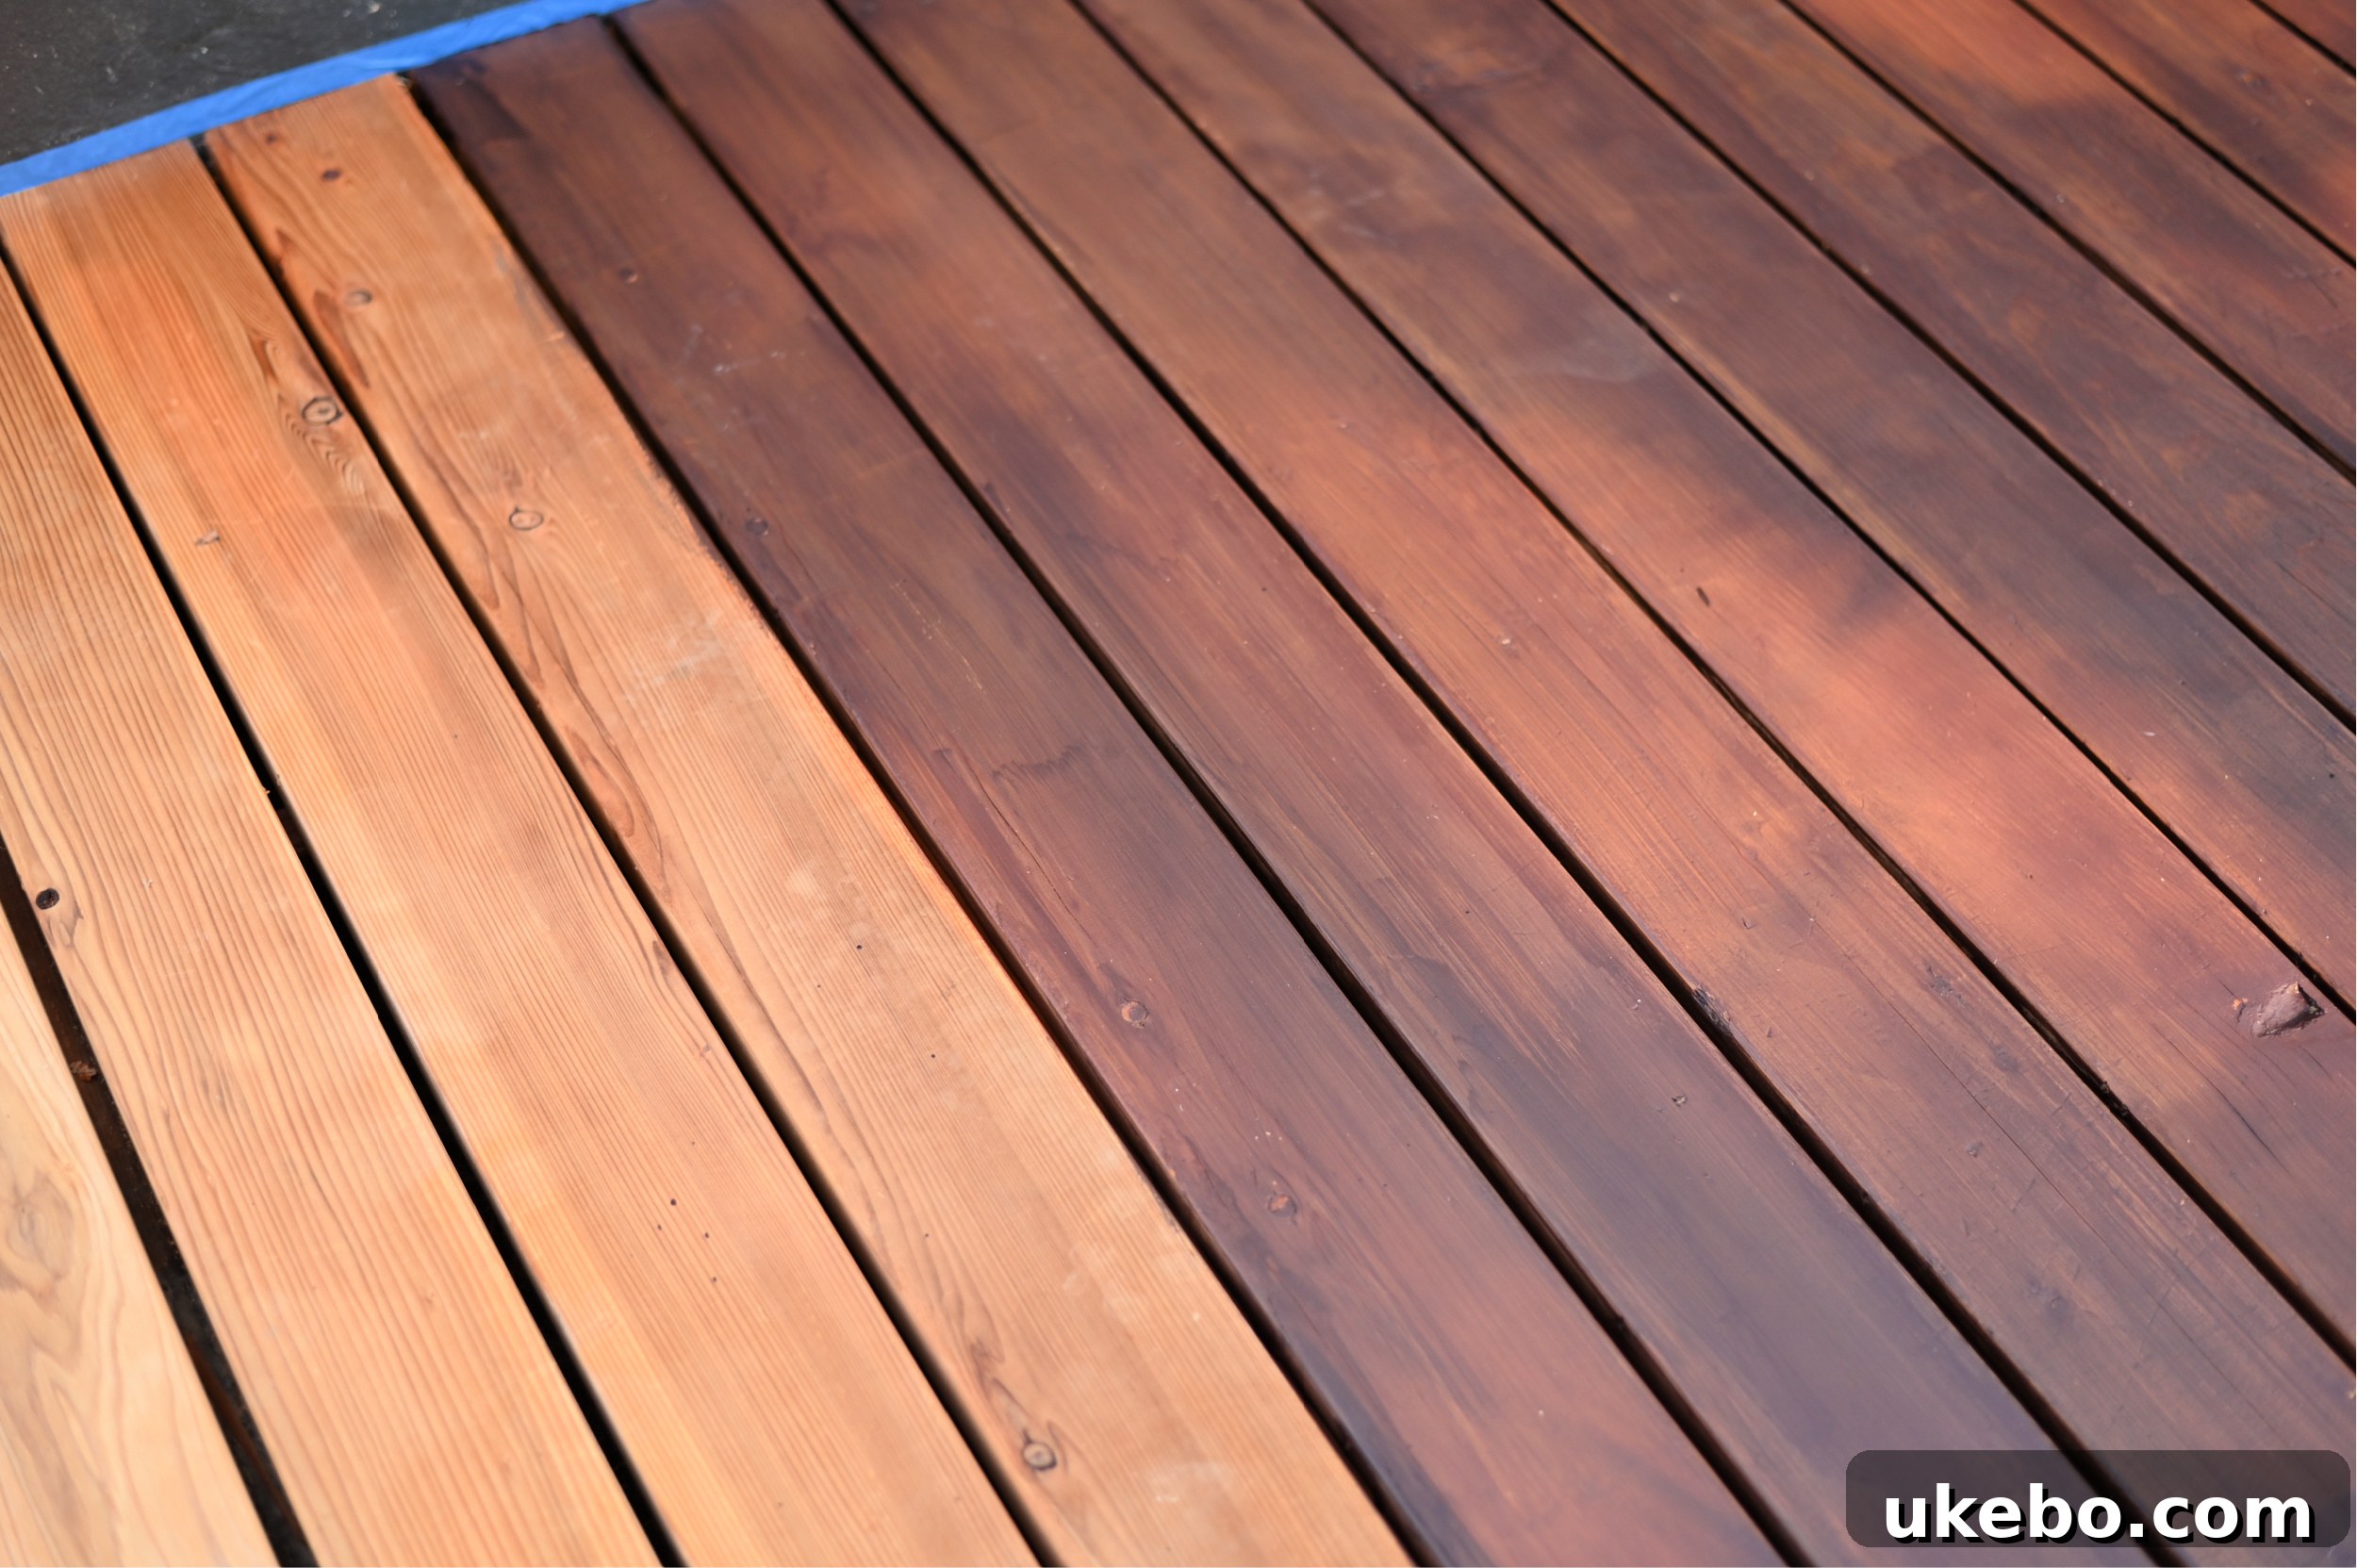
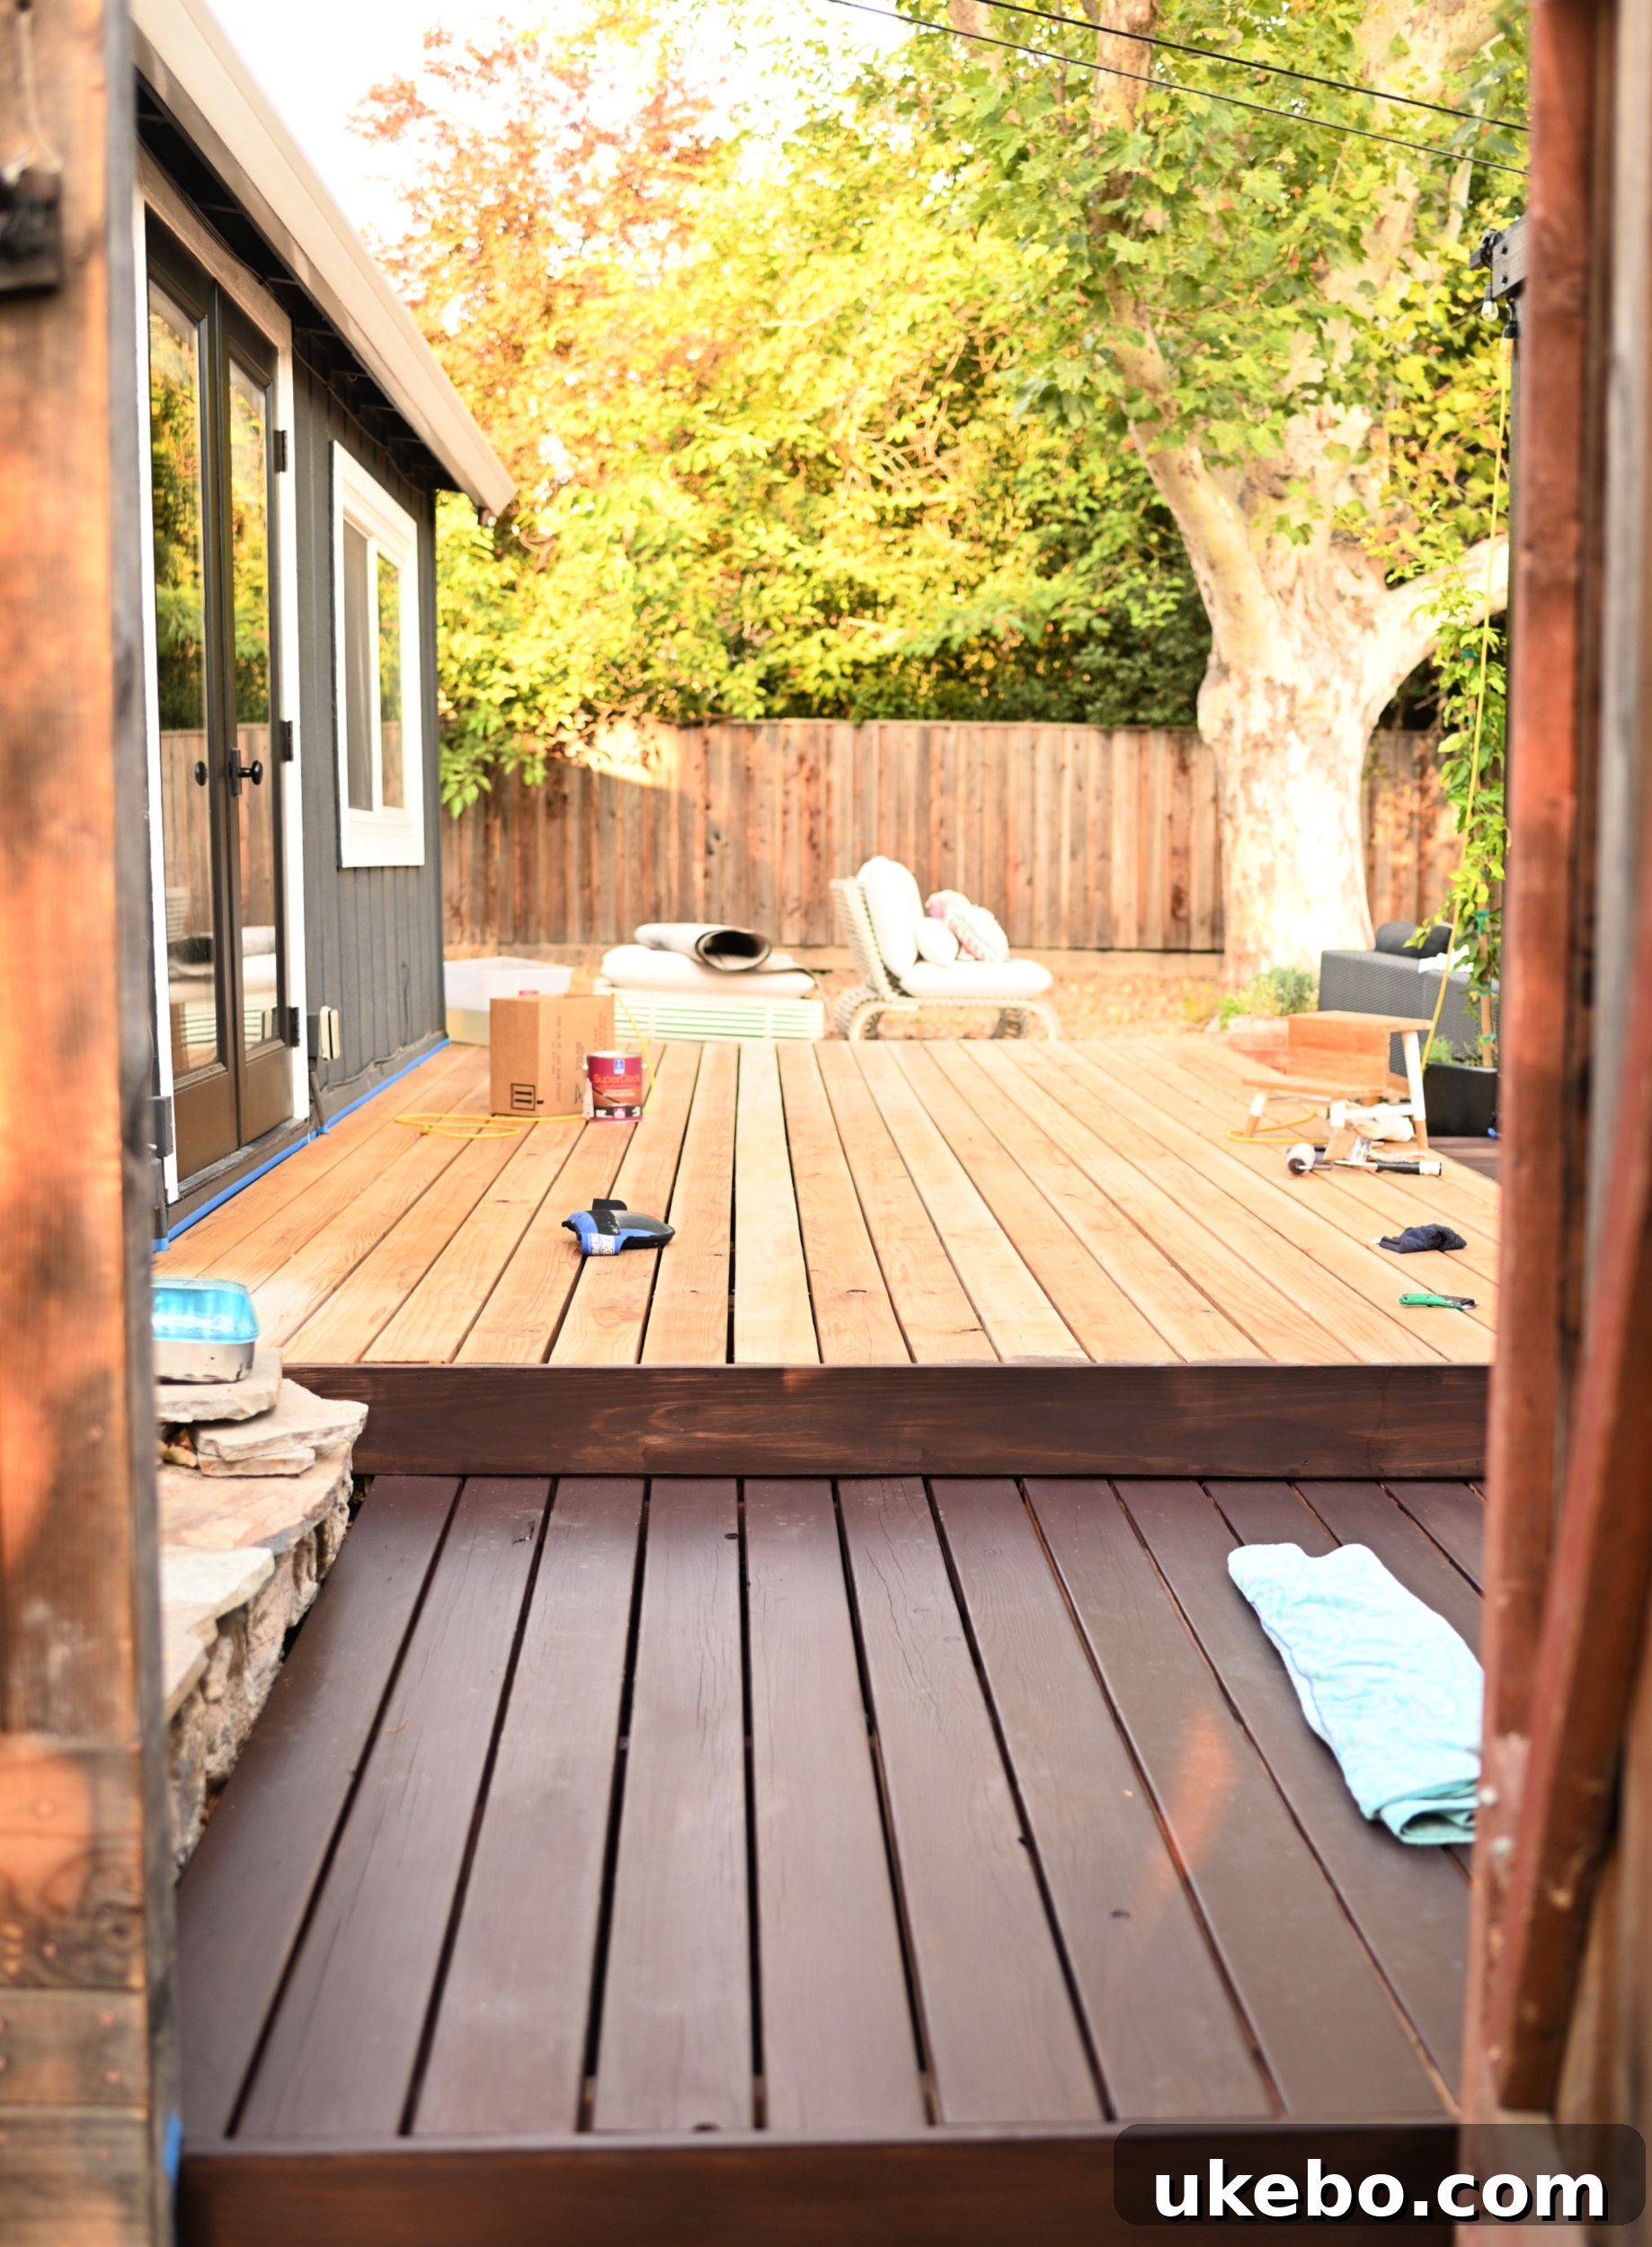
It took a diligent couple of days, but I finally completed the first coat of stain. I deliberately took my time, ensuring a nice, even, and consistent finished result across the entire surface. Little by little, with each stroke, I could truly see my initial vision for the space starting to materialize into reality. The deep, rich Chestnut color was beginning to transform the deck from a simple wooden structure into a sophisticated outdoor retreat.
The Final Layer: Two Coats for Optimal Protection and Beauty
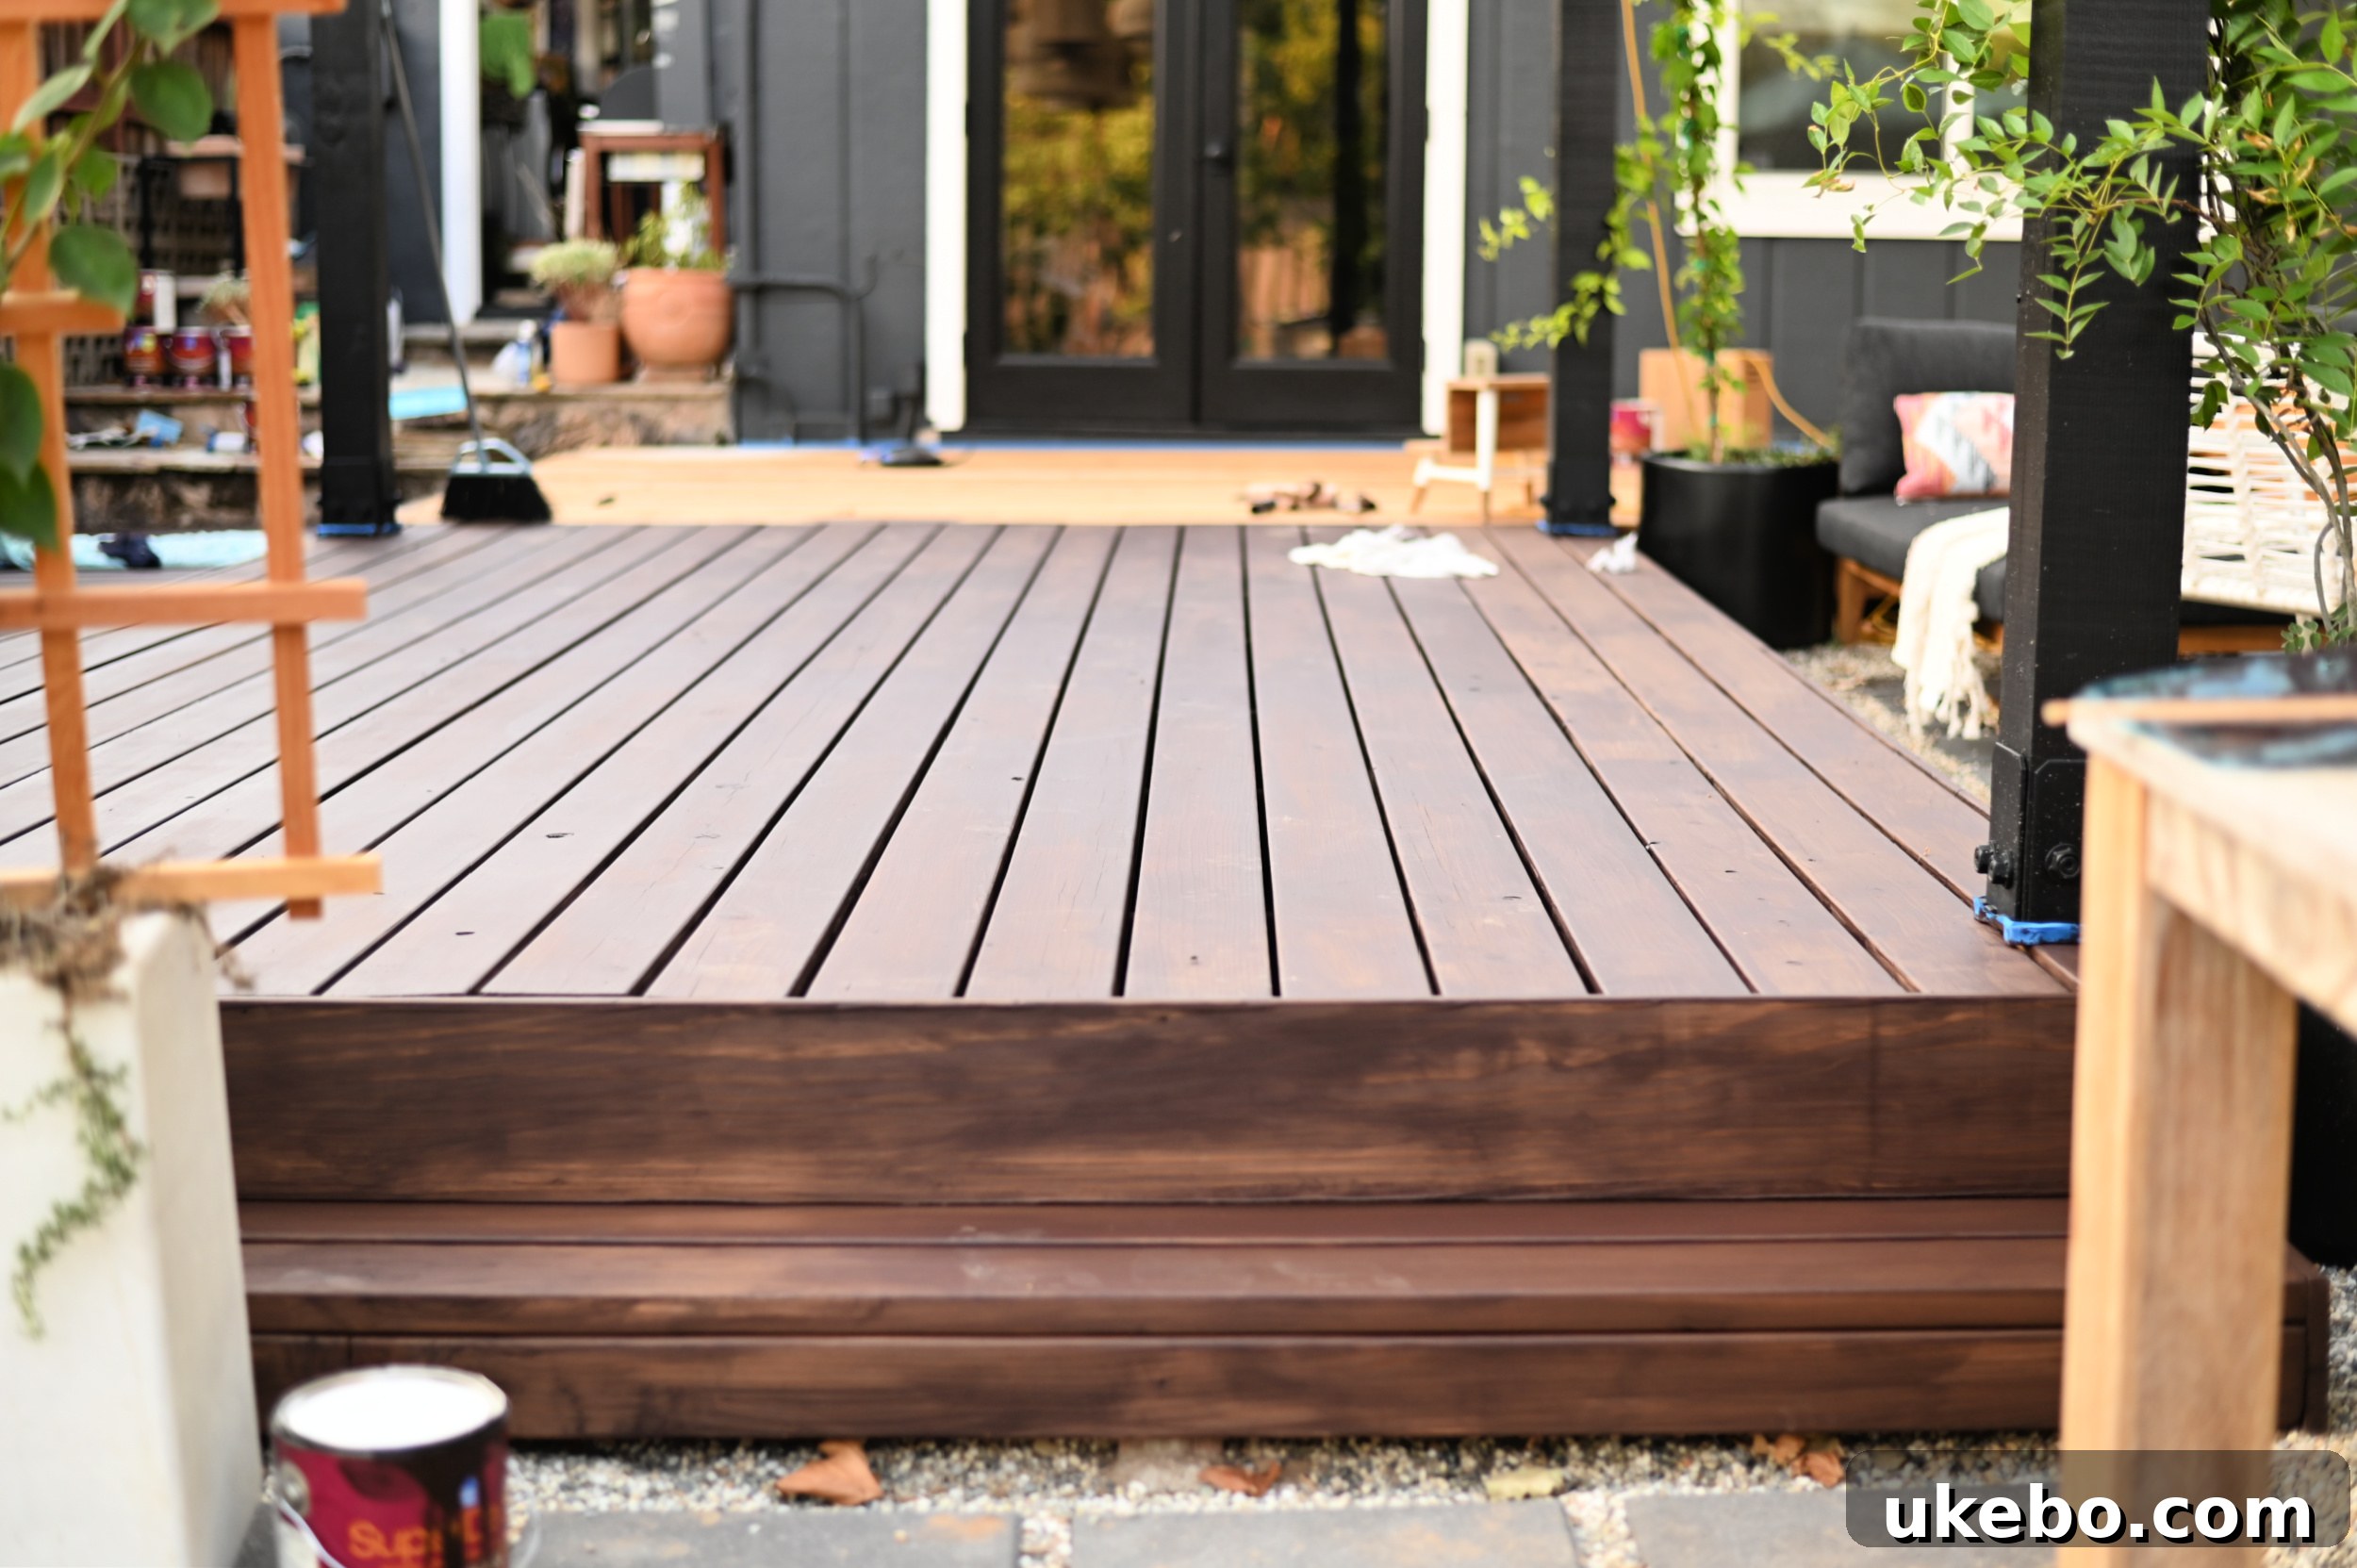
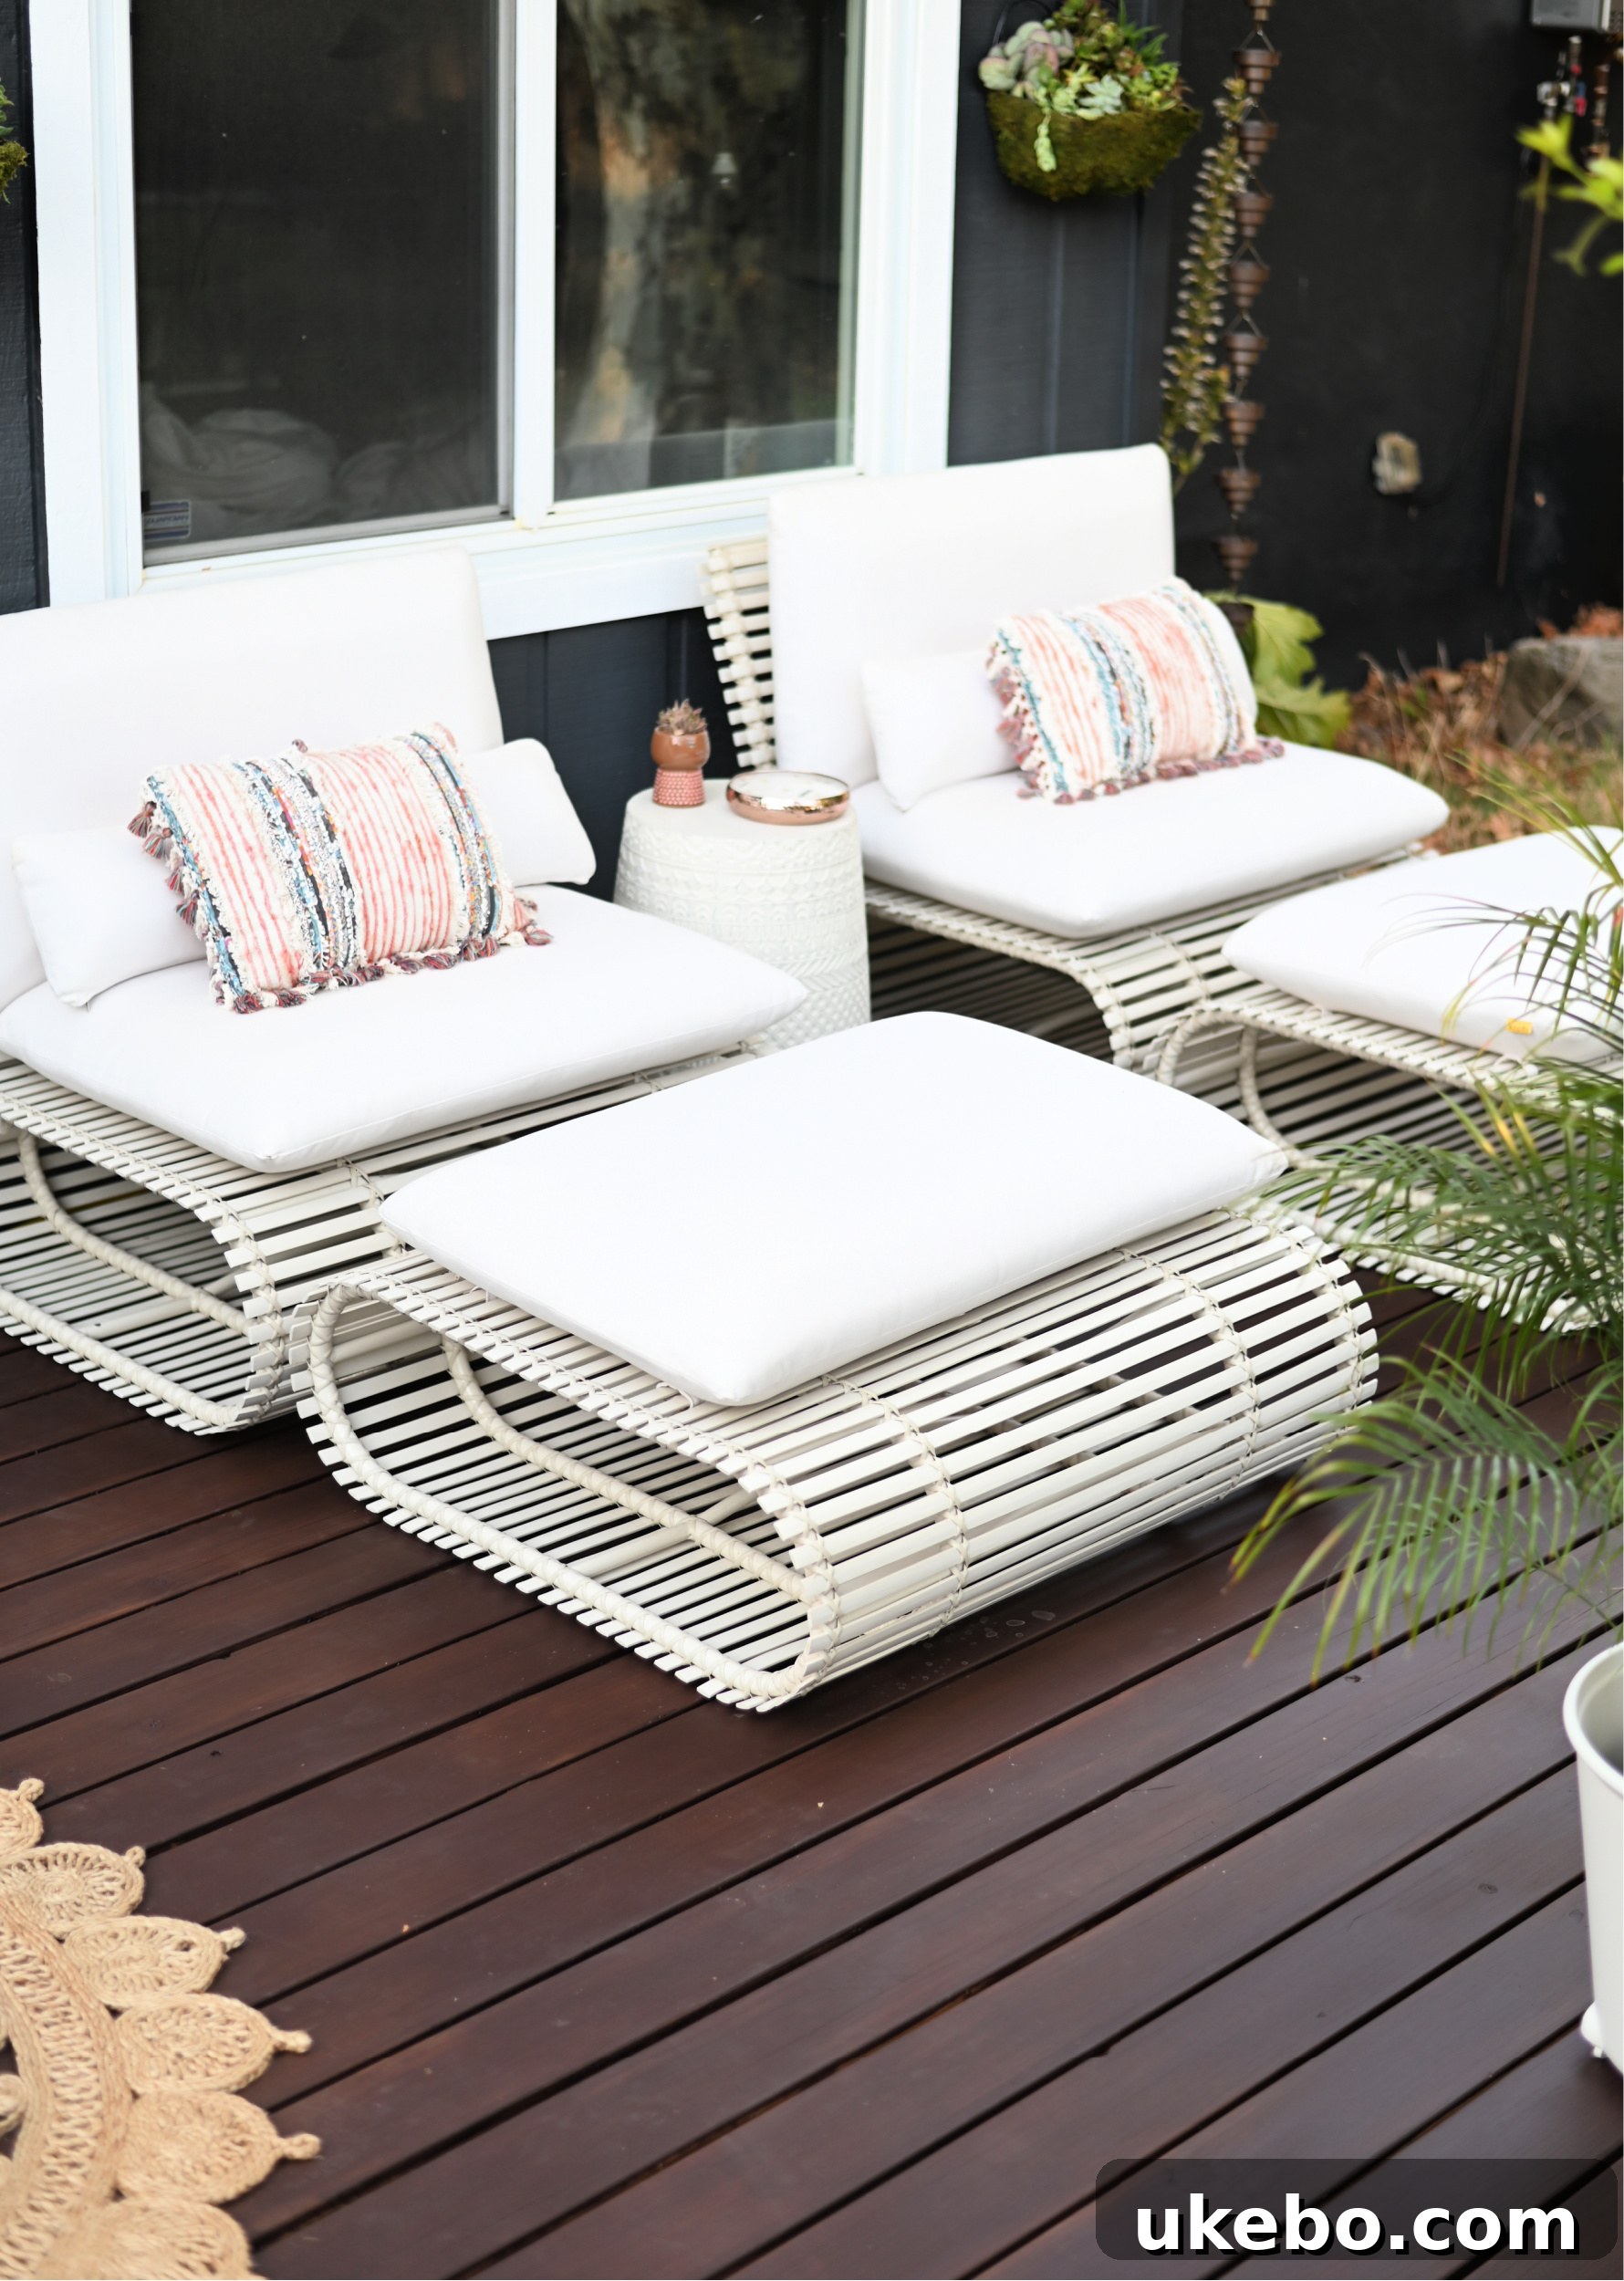
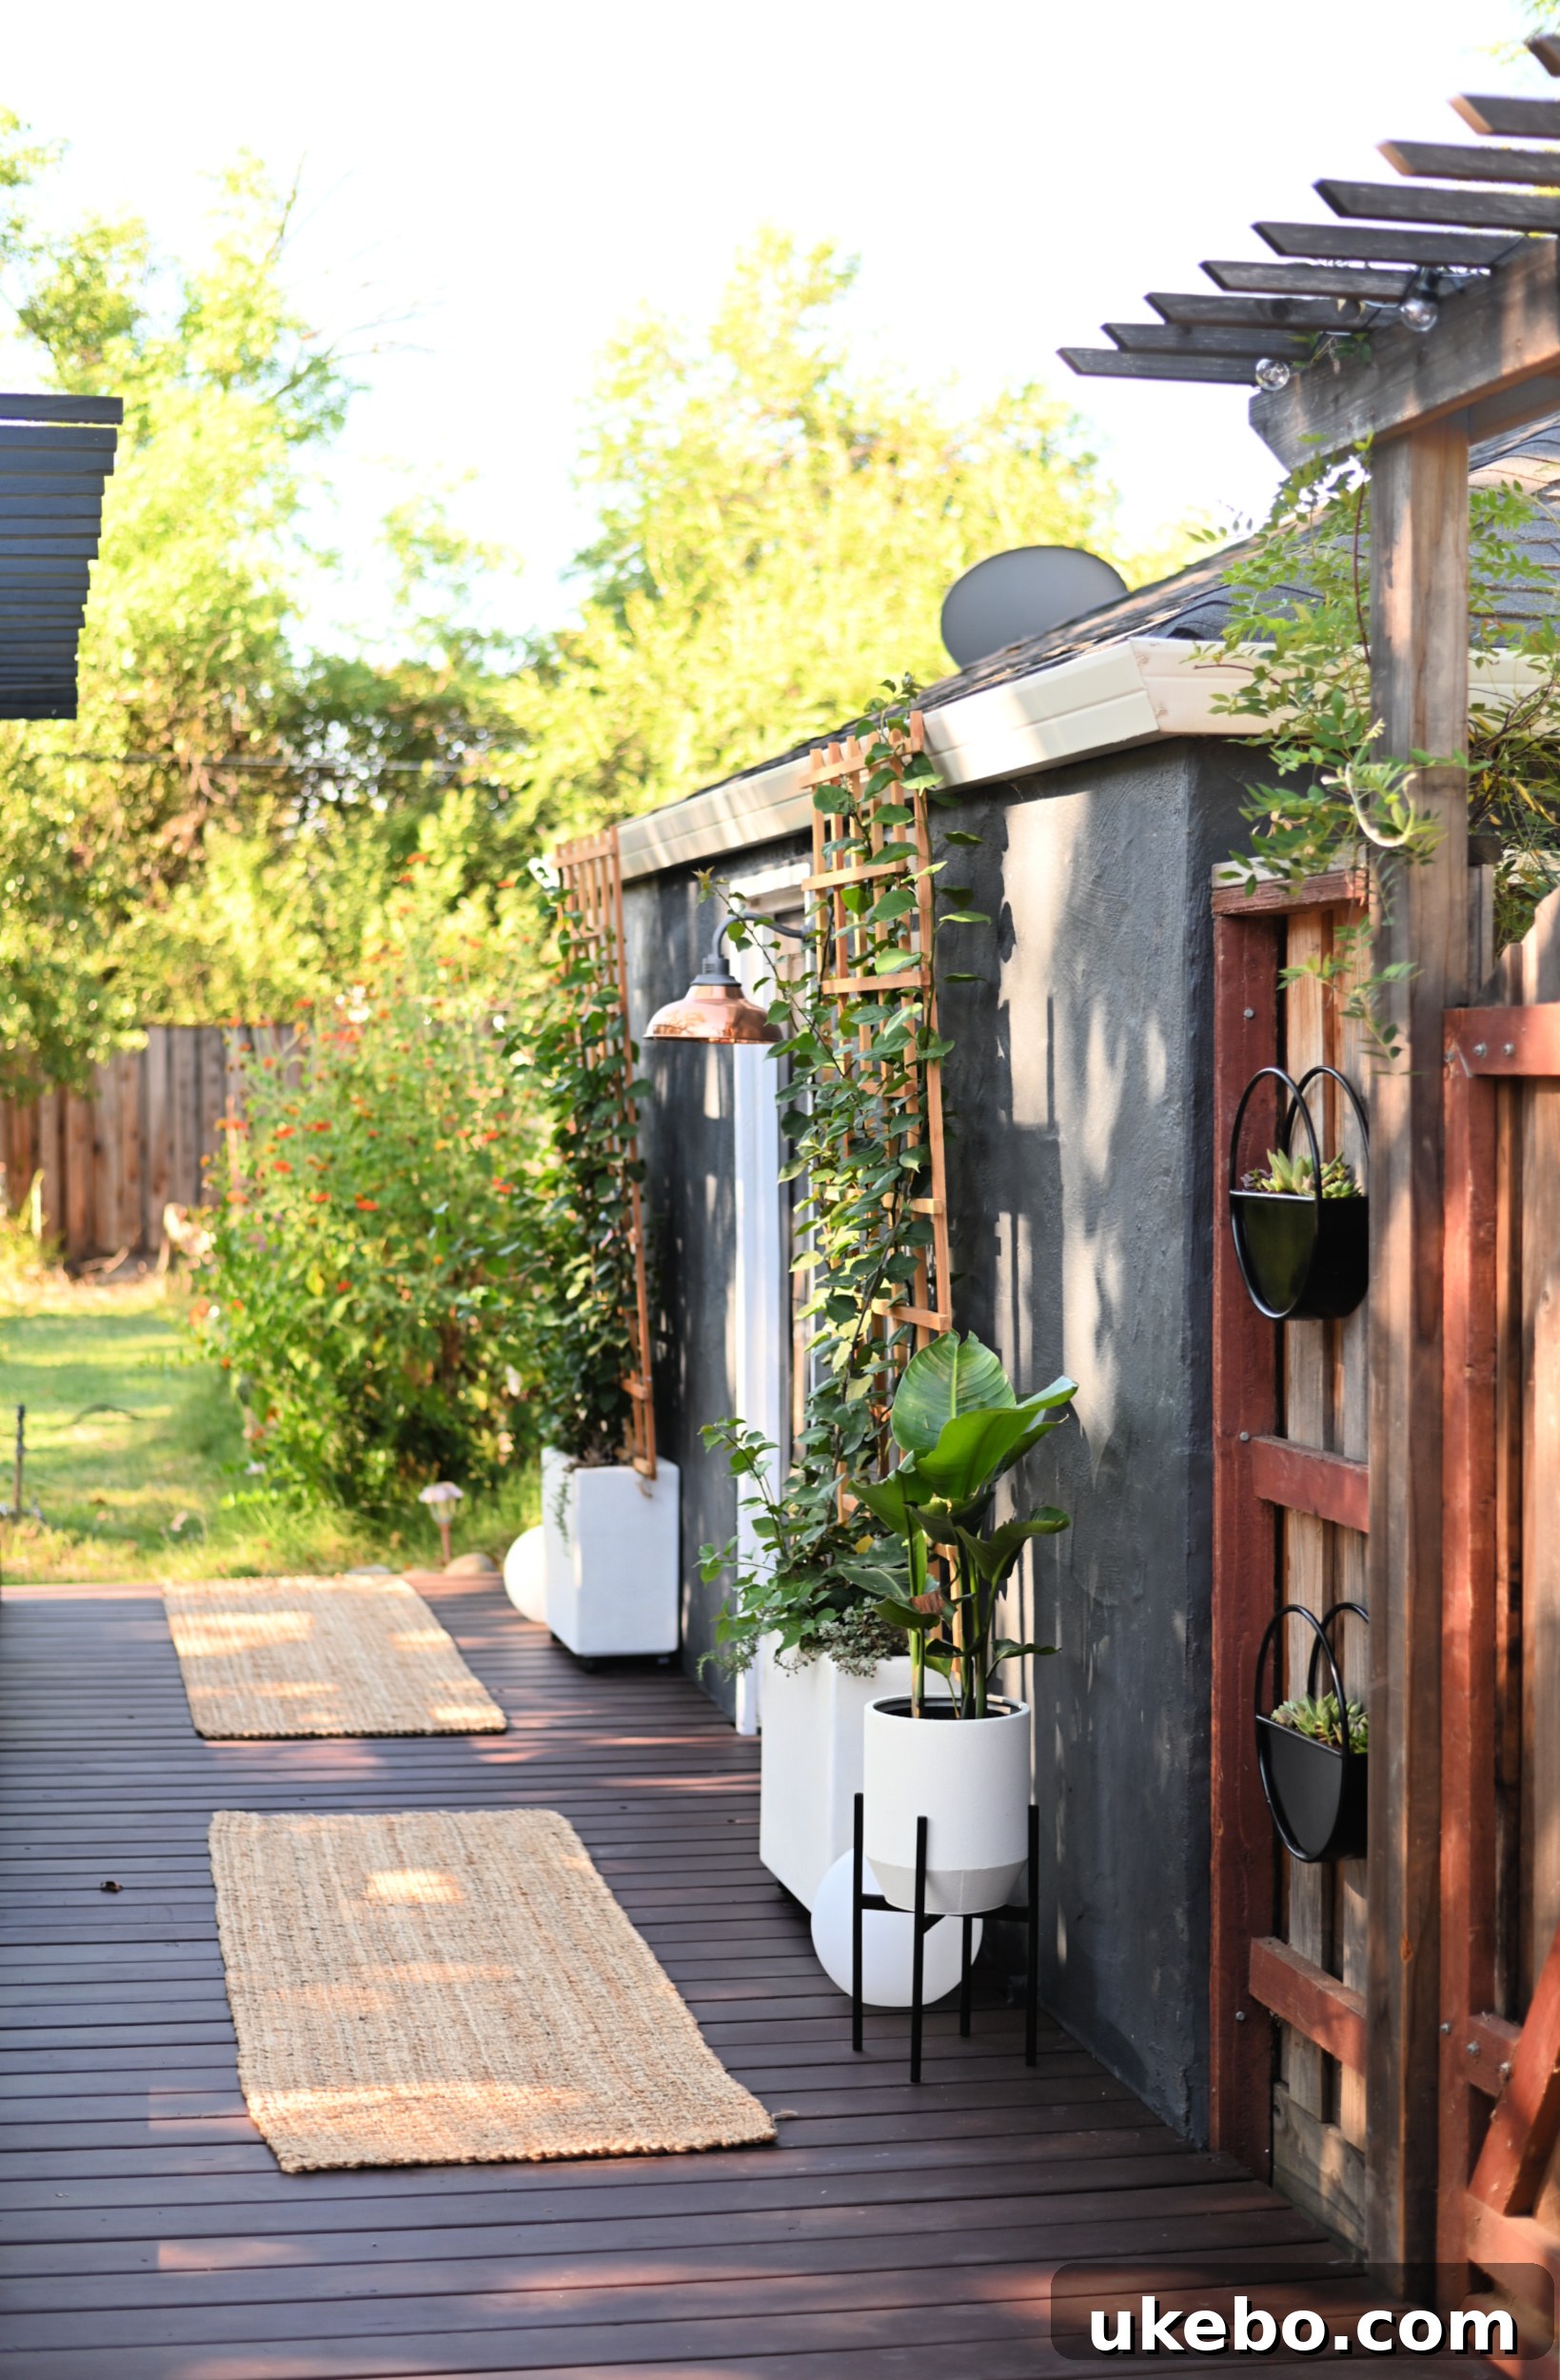
One of the significant advantages of the Sherwin-Williams SuperDeck stain in its waterborne formula is its remarkably quick drying and recoat times. You can apply additional coats after a mere four hours, which significantly speeds up project completion. For optimal results with a semi-solid finish, it is recommended to apply two thin, even coats. Depending on the scale of your project, this efficient drying time means you could potentially complete the entire staining process in just one day! After successfully applying the second coat, I allowed the deck to dry thoroughly overnight, ensuring maximum curing, before carefully returning all the furniture and decorative elements to our newly transformed outdoor space.
Durability Confirmed: The Water Test
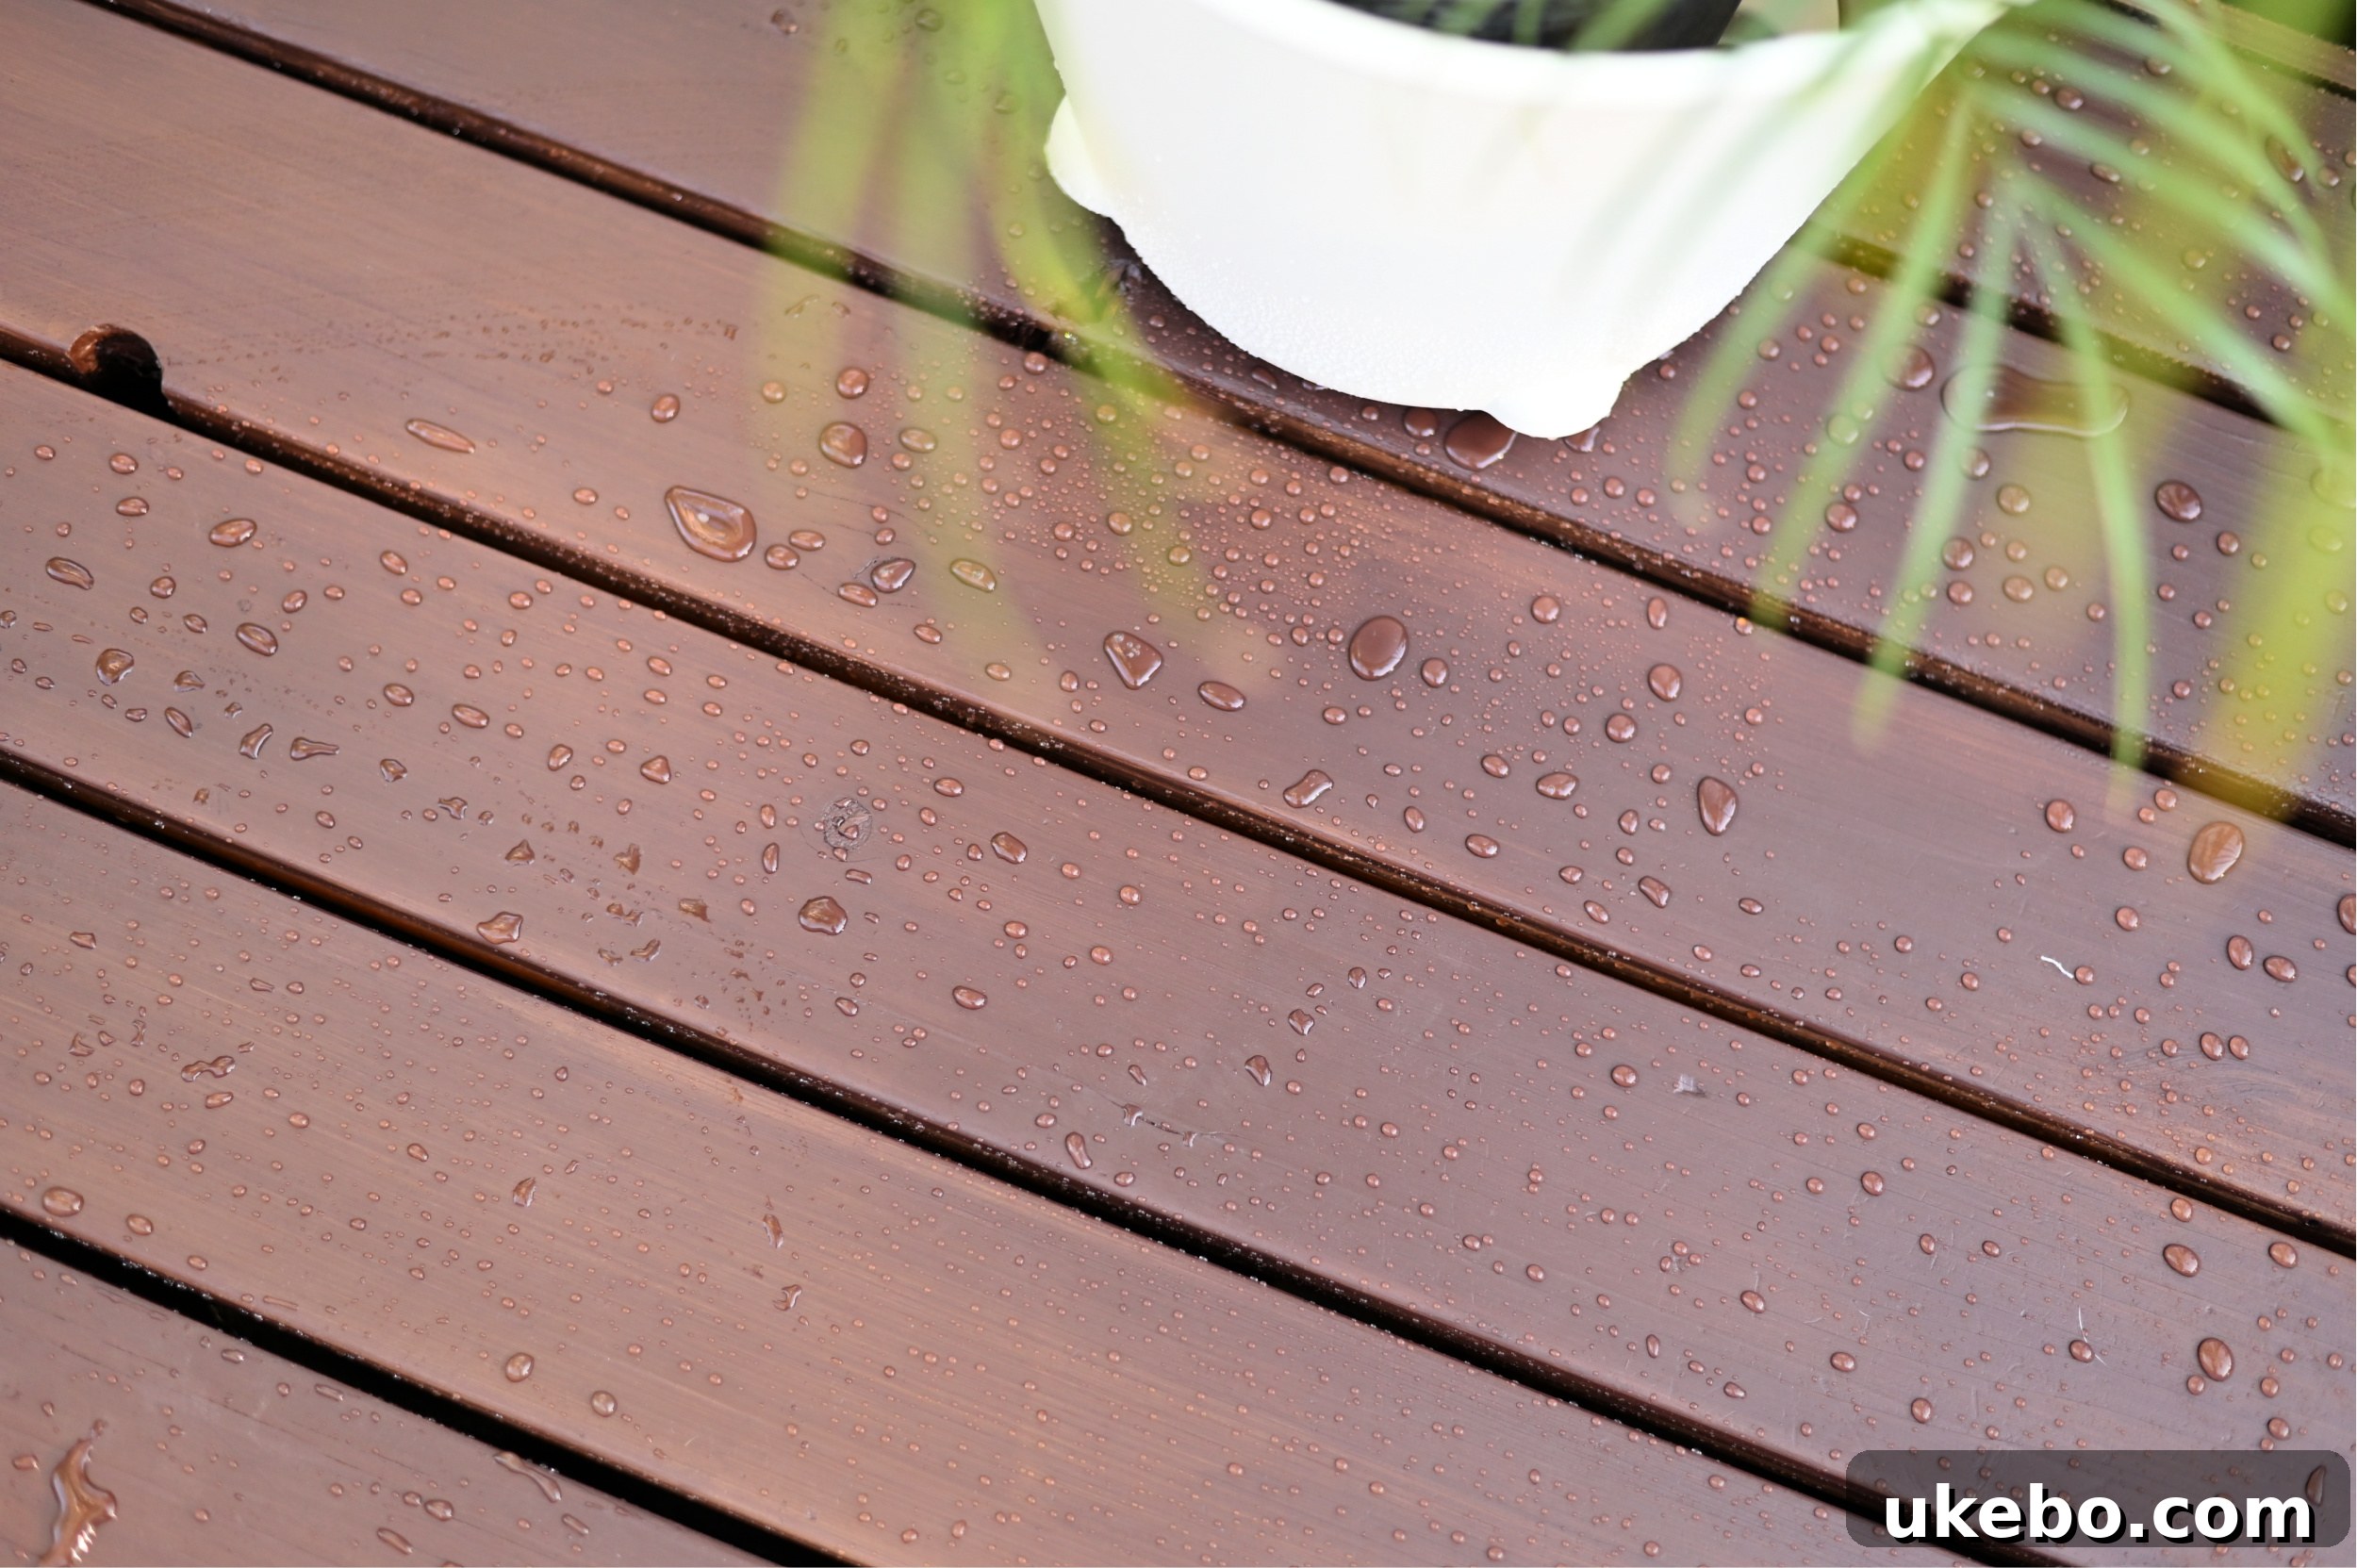
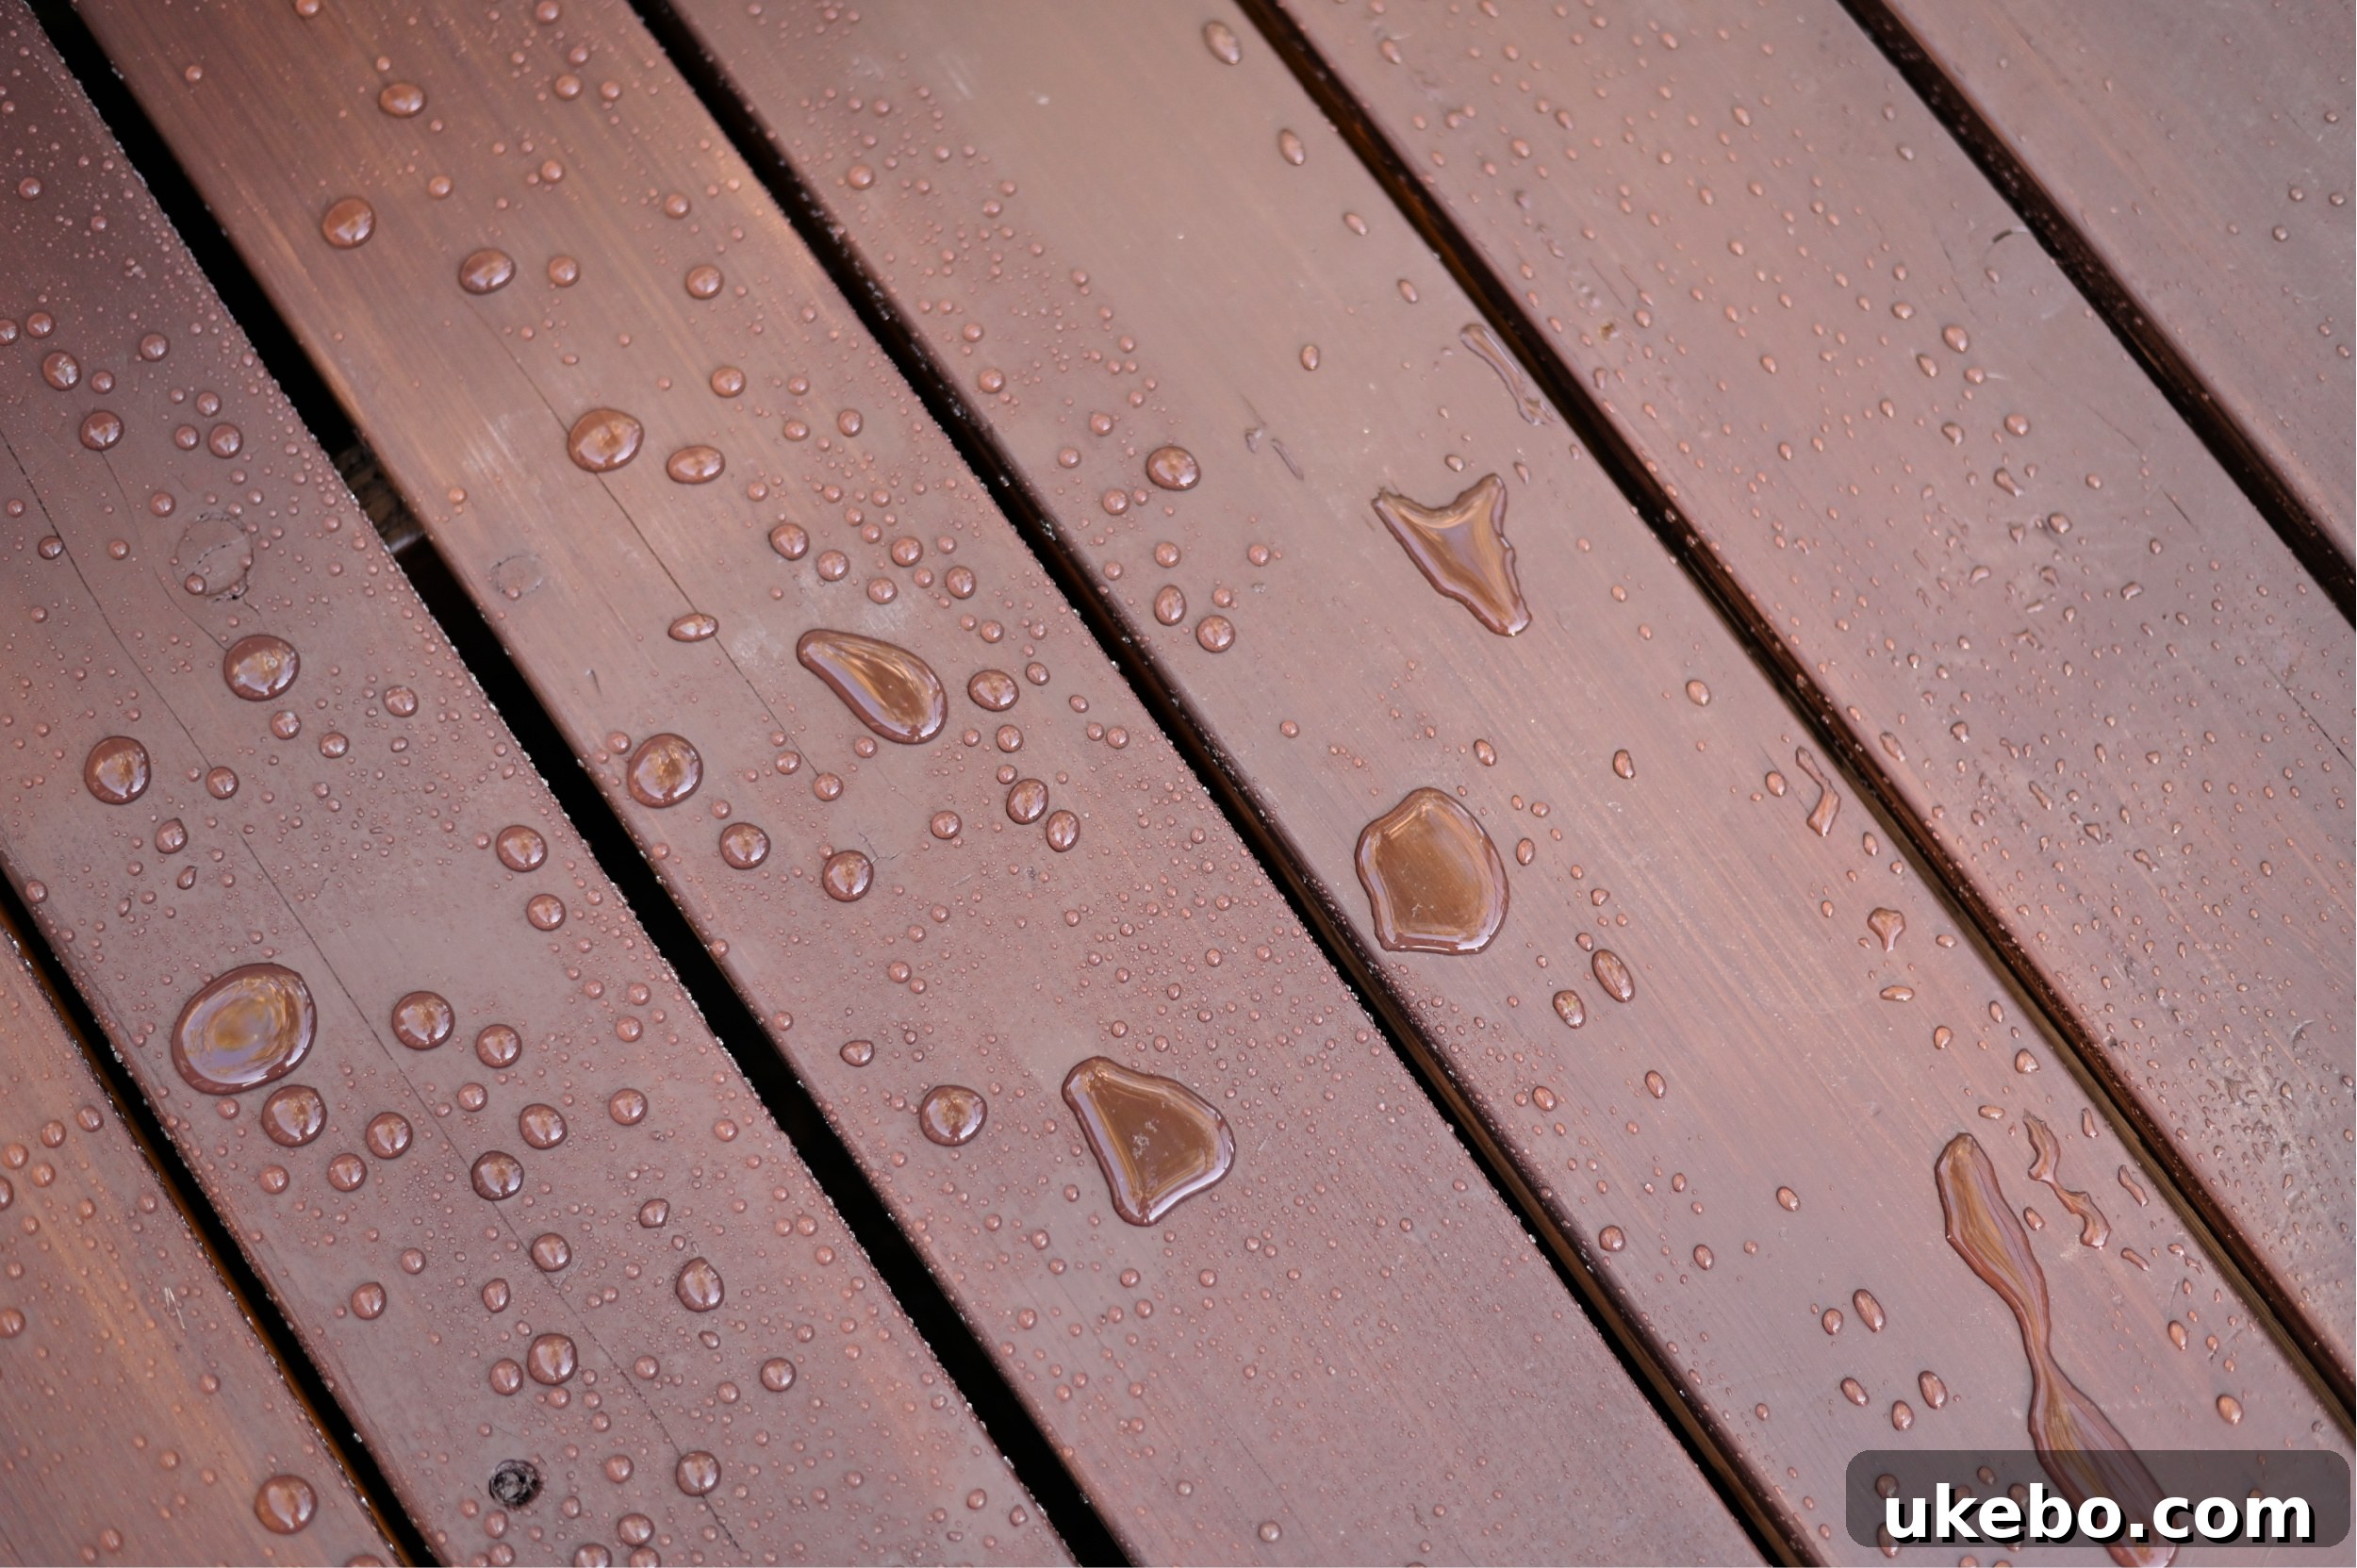
Approximately 48 hours after the final coat had dried, I performed a simple yet crucial water test to assess how effectively the stain would resist moisture. It was incredibly satisfying to witness the water immediately bead up and roll right off the surface, a clear indicator of the stain’s excellent protective qualities and hydrophobic properties. This confirmed that our deck was now beautifully colored and robustly protected against the elements, ready to withstand whatever weather comes its way.
Why Stain Redwood? Aesthetic and Longevity Benefits
I believe many people were initially surprised when I mentioned my intention to stain our deck, particularly because it was built with redwood. Often, homeowners opt to leave redwood decks in their natural state, appreciating its fantastic quality, inherent resistance to rot, and natural resilience against the elements. If left untreated or unstained, redwood naturally weathers over time into a beautiful warm grey. While I admit its natural state was indeed lovely, I had always planned to stain it from the very beginning of the build. I am absolutely delighted with the final result. The rich Chestnut color looks stunning, and it genuinely elevates the entire space, making it feel less like a backyard deck and more like a luxurious resort vacation destination right at home. Beyond aesthetics, staining also offers an additional layer of protection, enhancing the wood’s longevity and preserving its structural integrity for years to come.

My Recommendation: Sherwin-Williams SuperDeck Products
If you’re contemplating a deck staining project, I wholeheartedly recommend Sherwin-Williams SuperDeck products. Their quality and performance truly impressed me. It’s worth noting that they also offer an oil-based formula, which I’m keen to try for my next deck staining adventure. I confess, I’m one of those somewhat “peculiar” individuals who genuinely enjoys working with oil-based products. I appreciate the extended open time they offer, providing a bit more control during application. While they typically dry slower than water-based stains (which can be a drawback for some), this slower drying time offers a valuable amount of “wiggle room,” allowing you to take your time and achieve a truly perfect application, especially in intricate areas.
For additional guidance and inspiration, you can find a wealth of information on how to stain a deck and tackle various other paint and stain projects, including incredibly helpful how-to videos tailored for both beginners and seasoned DIYers, all available on the comprehensive Sherwin-Williams website. Their resources are invaluable for planning and executing your next home improvement endeavor.
Until our next project, happy DIYing!
*A friendly reminder that you can still utilize my exclusive coupon code for all your paint and stain purchases through the end of the year. This special offer can even be stacked on top of some existing sales, giving you even greater savings!*