
Hello fellow garden enthusiasts!
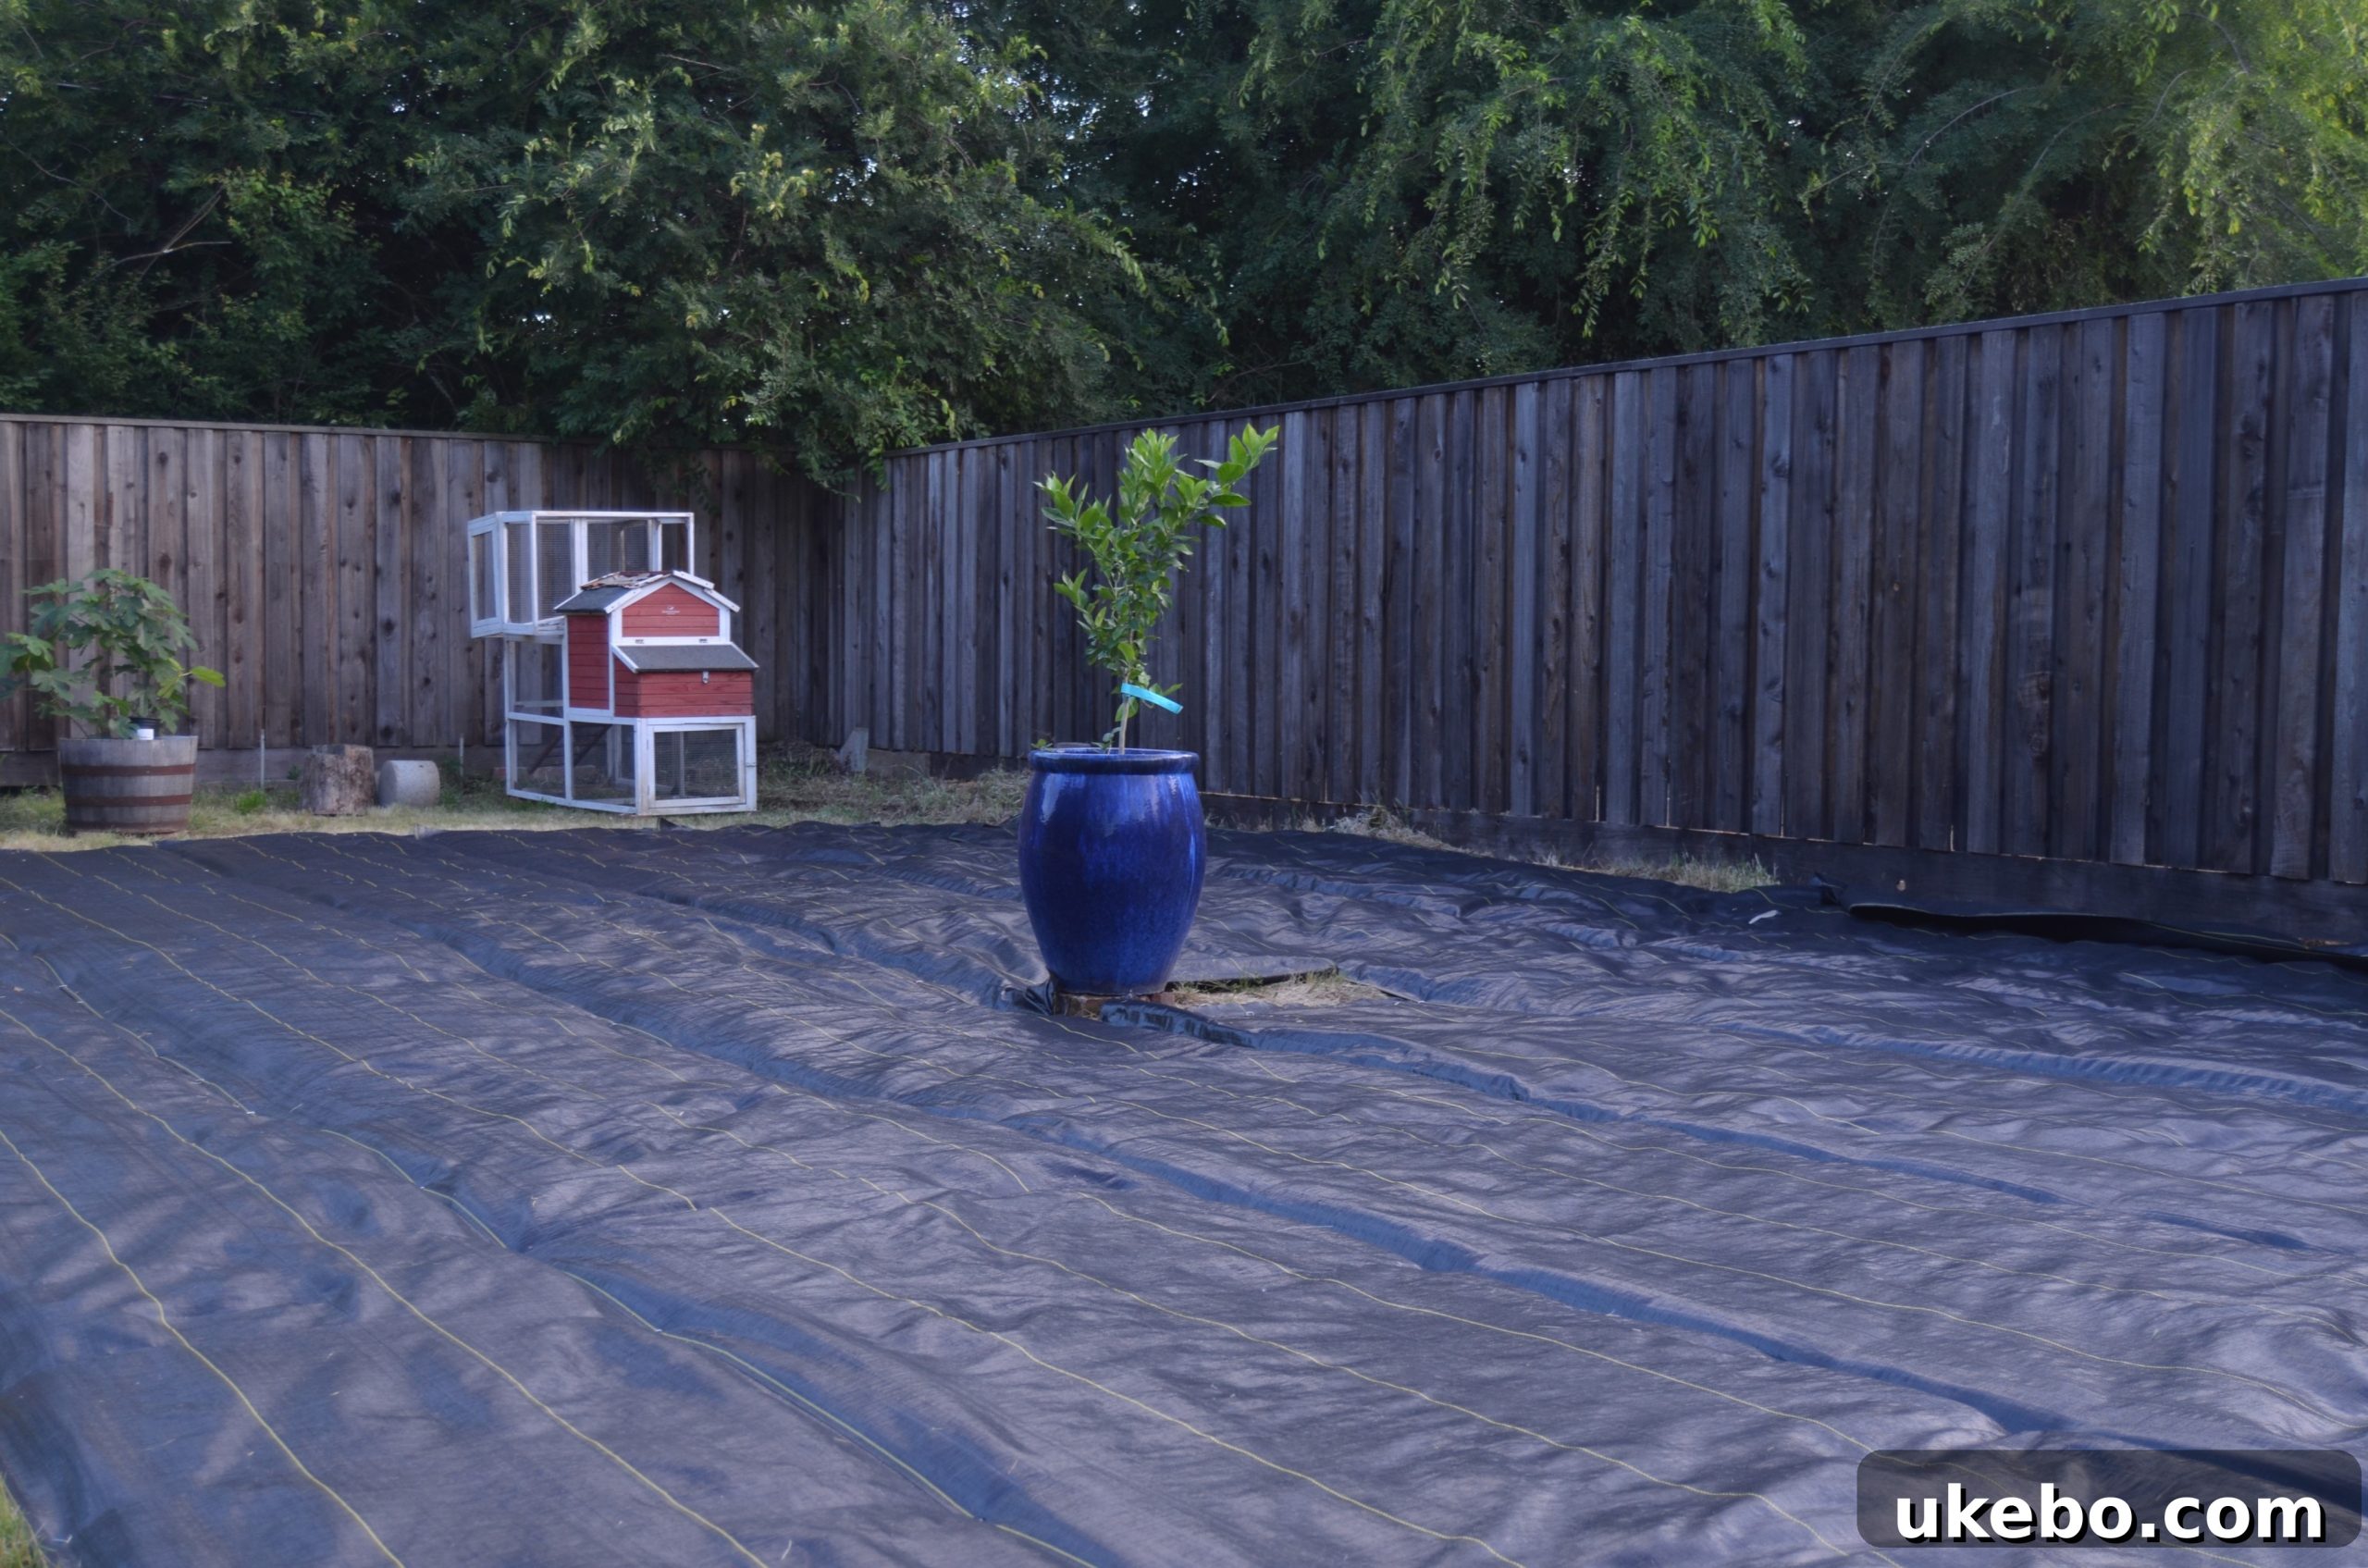
It feels like a significant moment since my last garden update, and there’s much to share as we check in on the progress of our burgeoning potager. This year, Northern California has experienced one of the wettest rainy seasons in decades, throwing a curveball into my initial garden construction timeline. In fact, as I pen these words, the rain continues to fall! Typically, our region sees little to no precipitation after March or April, making these mid-May thunder and rainstorms quite unusual and unseasonal. While beautiful in their own right, these persistent downpours have unfortunately placed yet another hold on our garden building efforts. Nevertheless, we seized a brief window of drier weather last month, allowing us to kickstart the plan. This crucial initial phase focused on installing the garden’s central focal point and meticulously laying down the weed barrier, two foundational steps towards creating our dream potager.
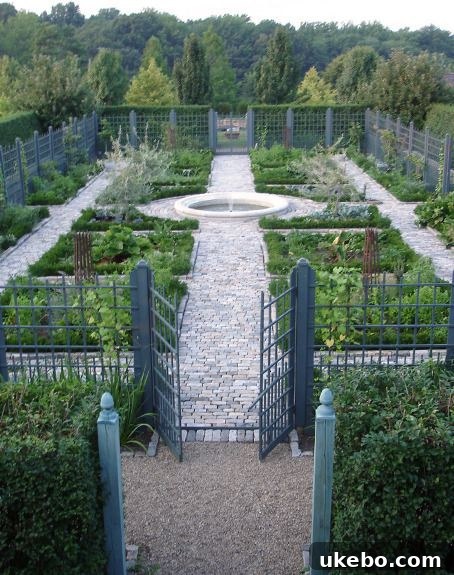
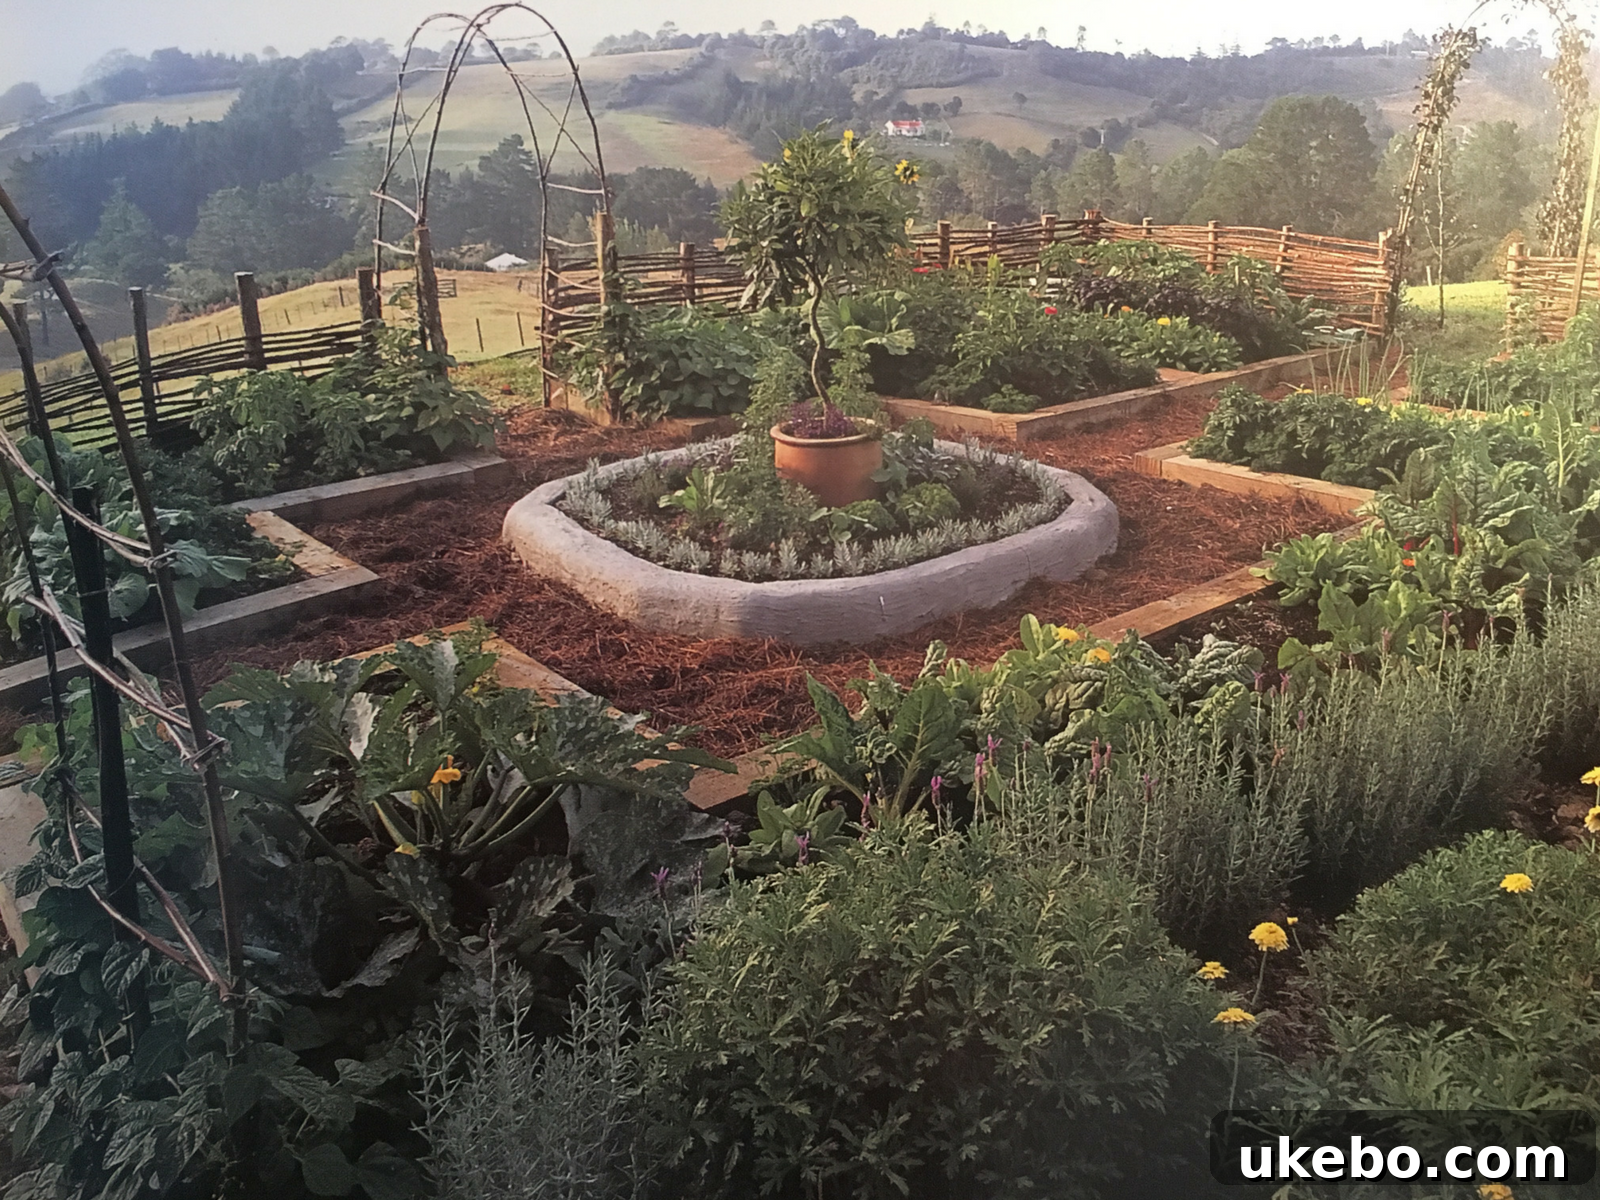
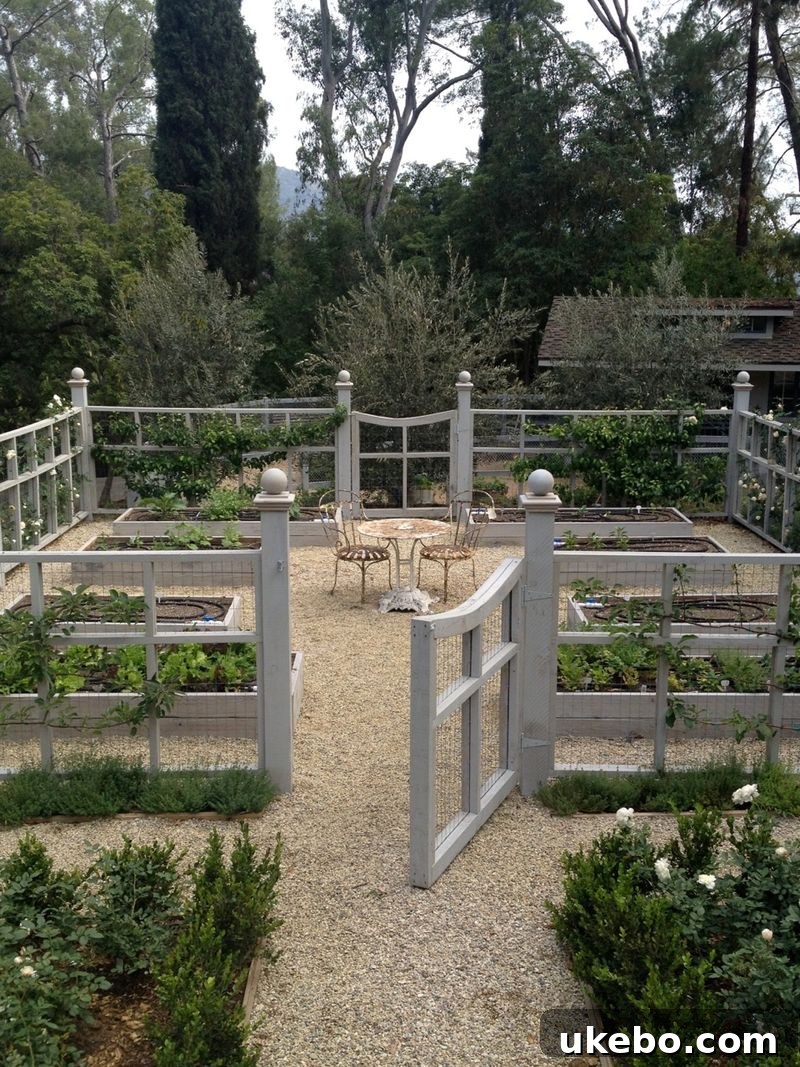
One of the most enchanting aspects of a potager garden, often referred to as a kitchen garden, is the deliberate emphasis on its visual appeal. Unlike purely utilitarian vegetable patches, potagers are designed to be integrated into the landscape as works of art, blending edible plants with aesthetic beauty. This thoughtful design approach elevates gardening into a truly immersive experience, where every element contributes to a harmonious and inspiring outdoor space. A recurring design principle in many potager layouts is the inclusion of a prominent focal point, strategically positioned at the garden’s center. This central feature draws the eye, anchors the design, and often serves a practical purpose as well. Common choices for these captivating focal points include elegant trees, soothing water fountains or other captivating water features, inviting seating areas for quiet reflection, majestic obelisks, or other beautifully crafted garden structures that add vertical interest and charm.
via
via
via
Choosing the Heart of the Potager: Our Eureka Lemon Tree
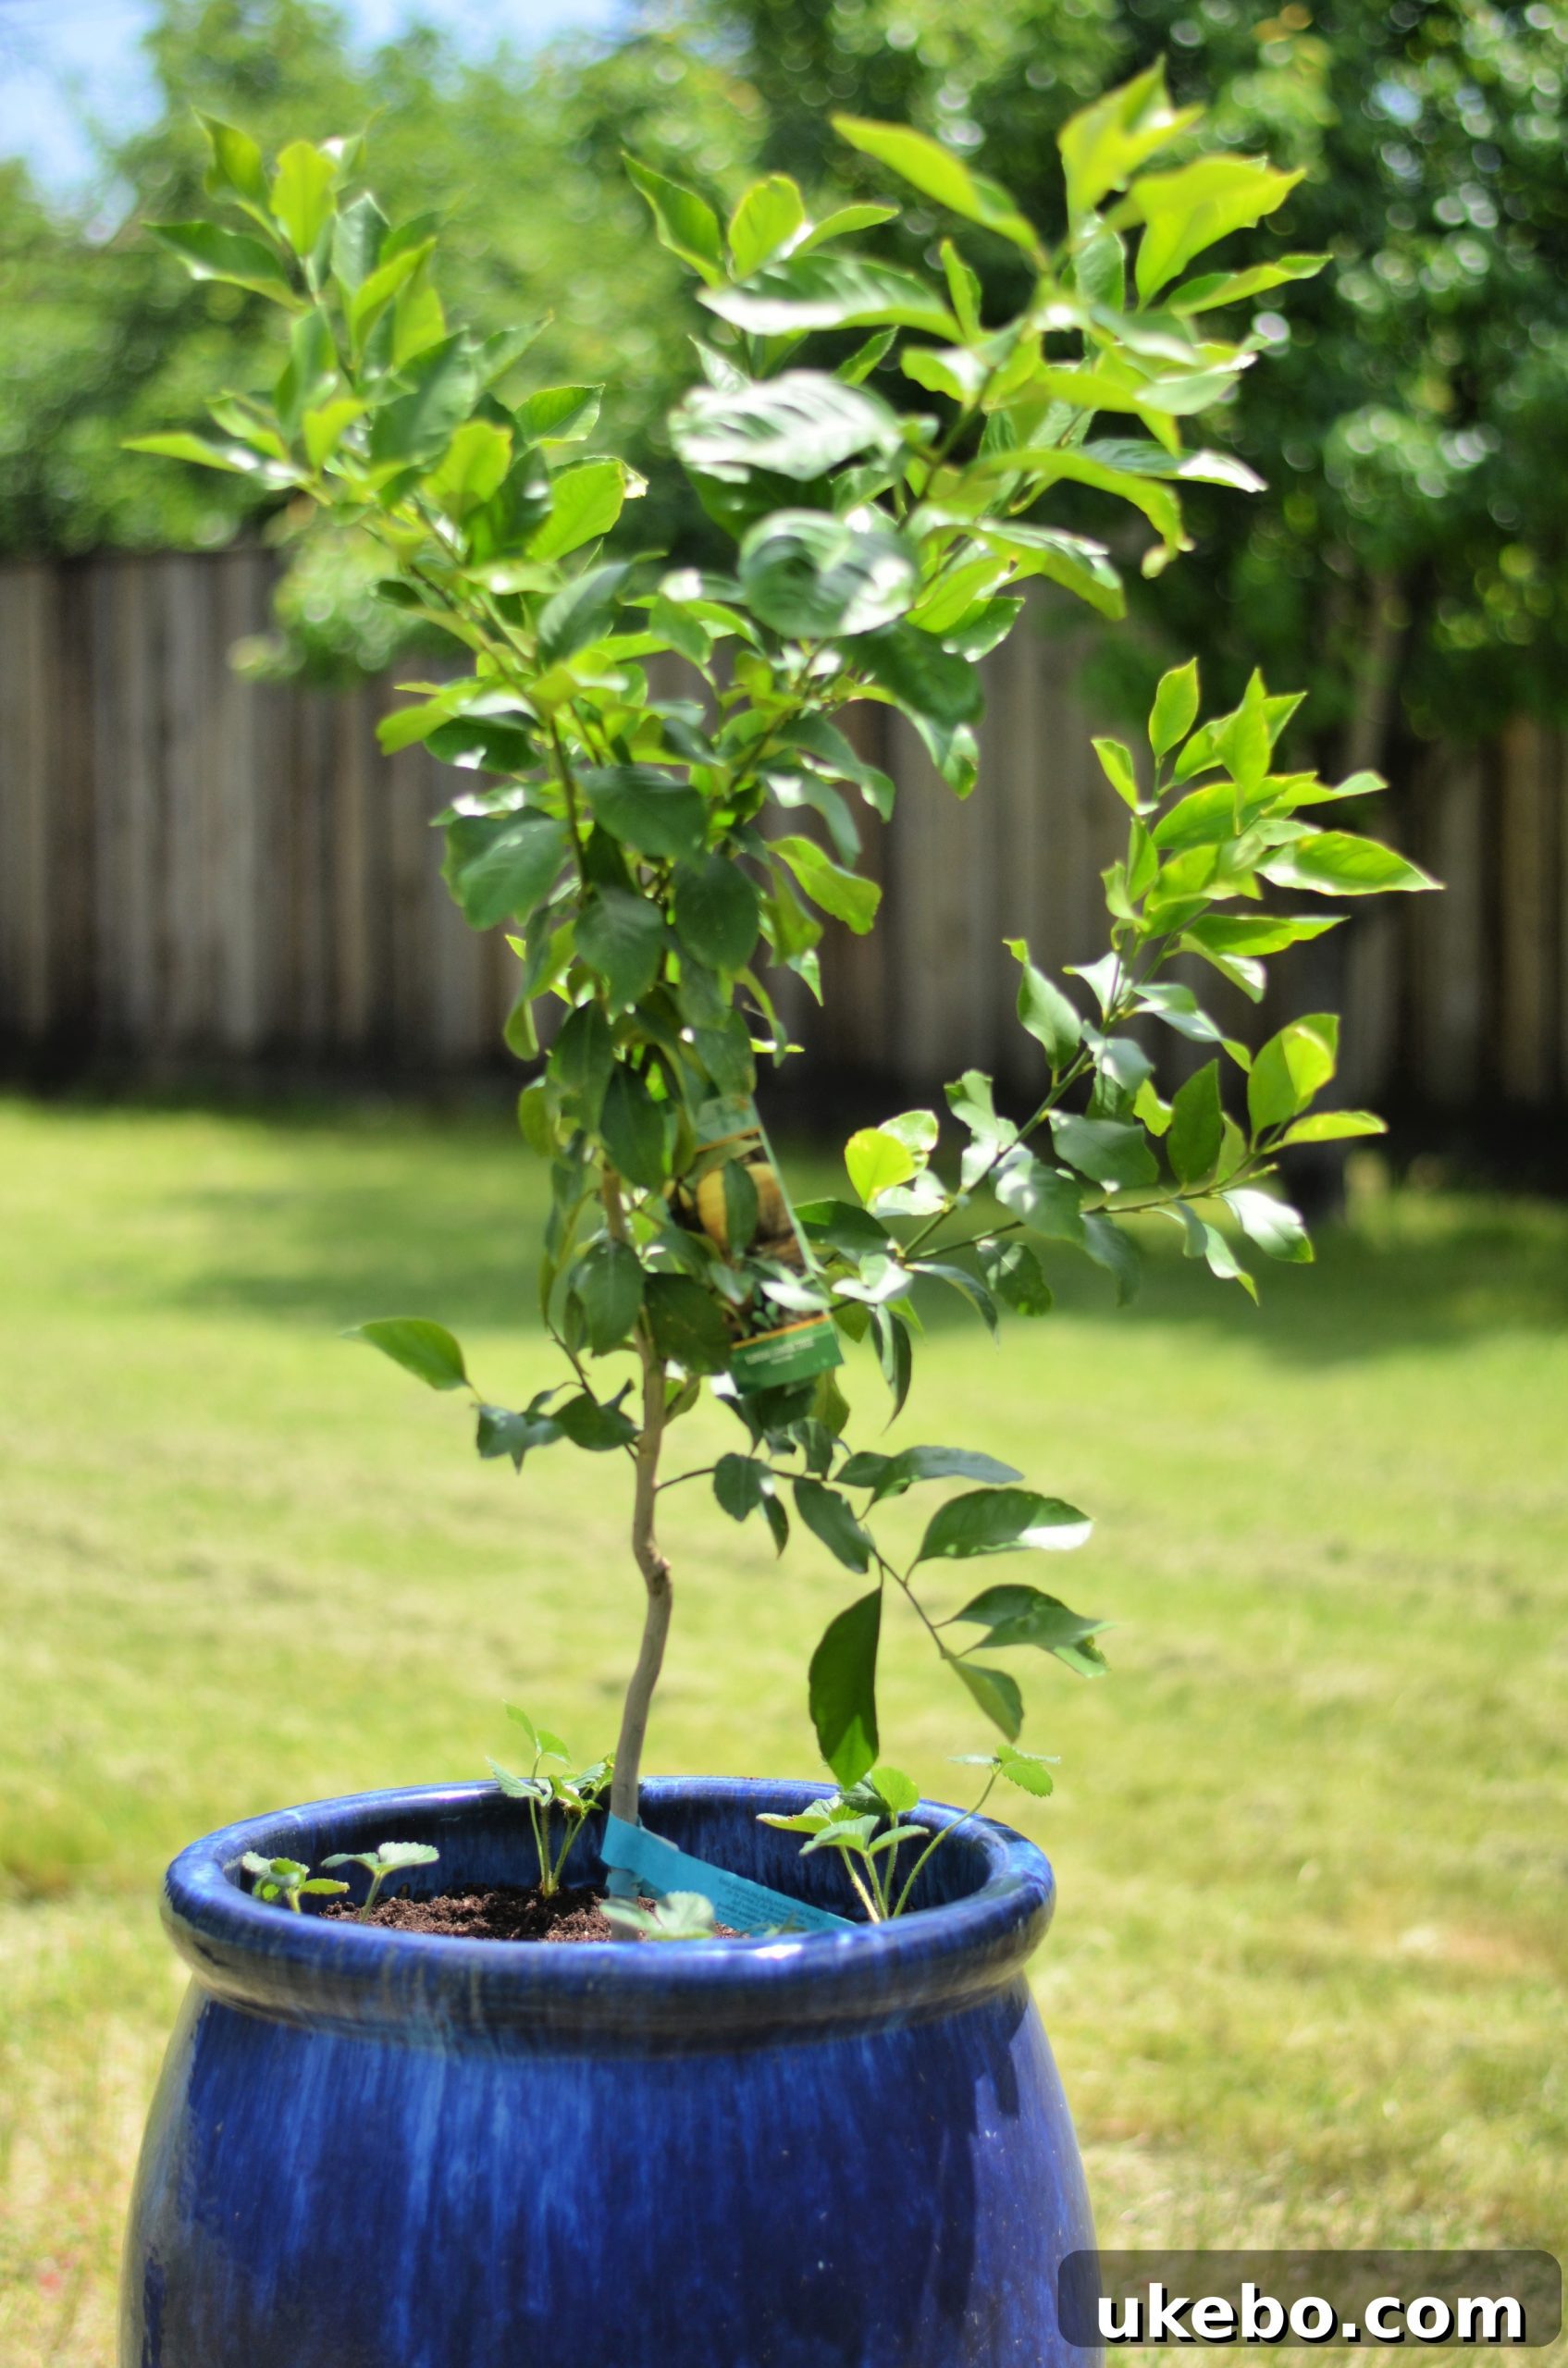
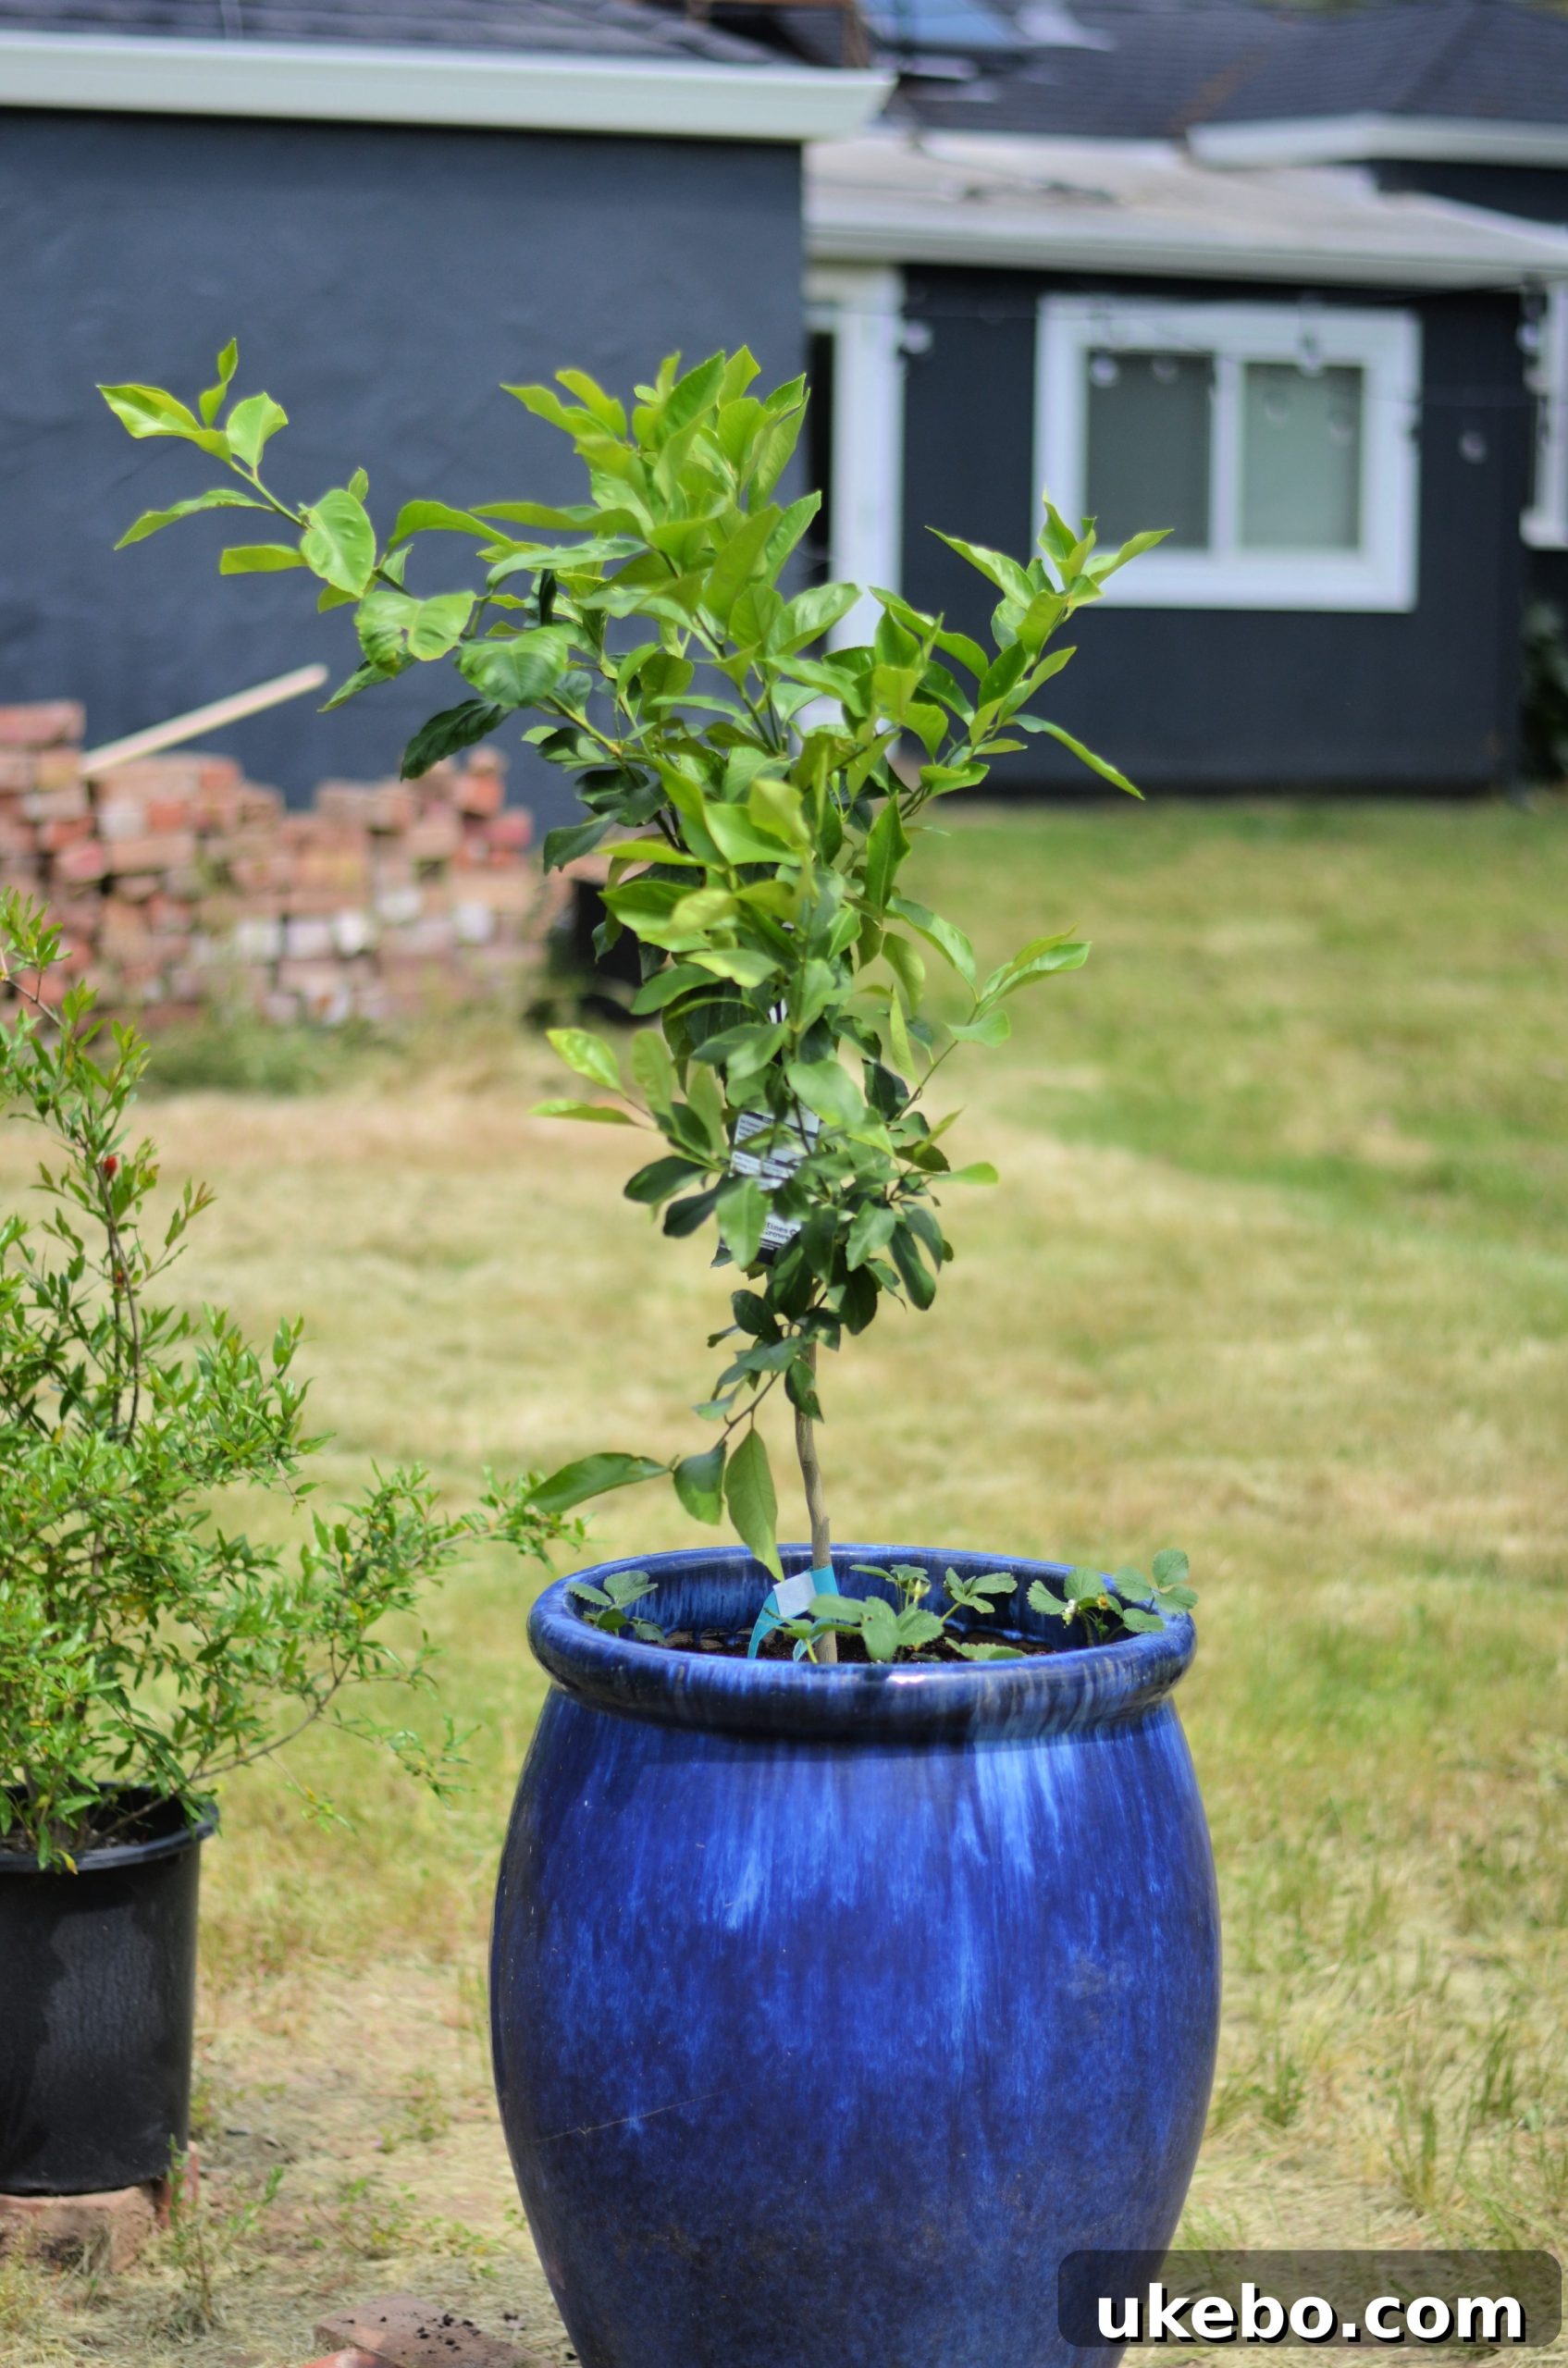
When I first envisioned the layout and aesthetic of this garden space, my initial thought for the focal point leaned towards a repurposed stone water fountain, transformed into an elegant planter for a vibrant collection of herbs and succulents. While this idea had its charm, a new inspiration blossomed: planting a beautiful fruiting tree instead. For a considerable time, I’ve harbored a desire for a Eureka lemon tree. Given that citrus trees not only survive but truly thrive in our Northern California climate, this seemed like the perfect convergence of opportunity and aspiration. It wasn’t just about fulfilling a long-held wish; it was also an ideal chance to utilize resources we already possessed. I have three magnificent, very large indigo ceramic pots that have been patiently awaiting their purpose. I immediately pictured the striking contrast of the bright yellow lemons against the deep blue of the pot, creating a visually stunning centerpiece that would greet anyone entering the garden. This choice promises not only beauty but also the delightful reward of fresh, homegrown lemons, adding both aesthetic and culinary value to our potager.
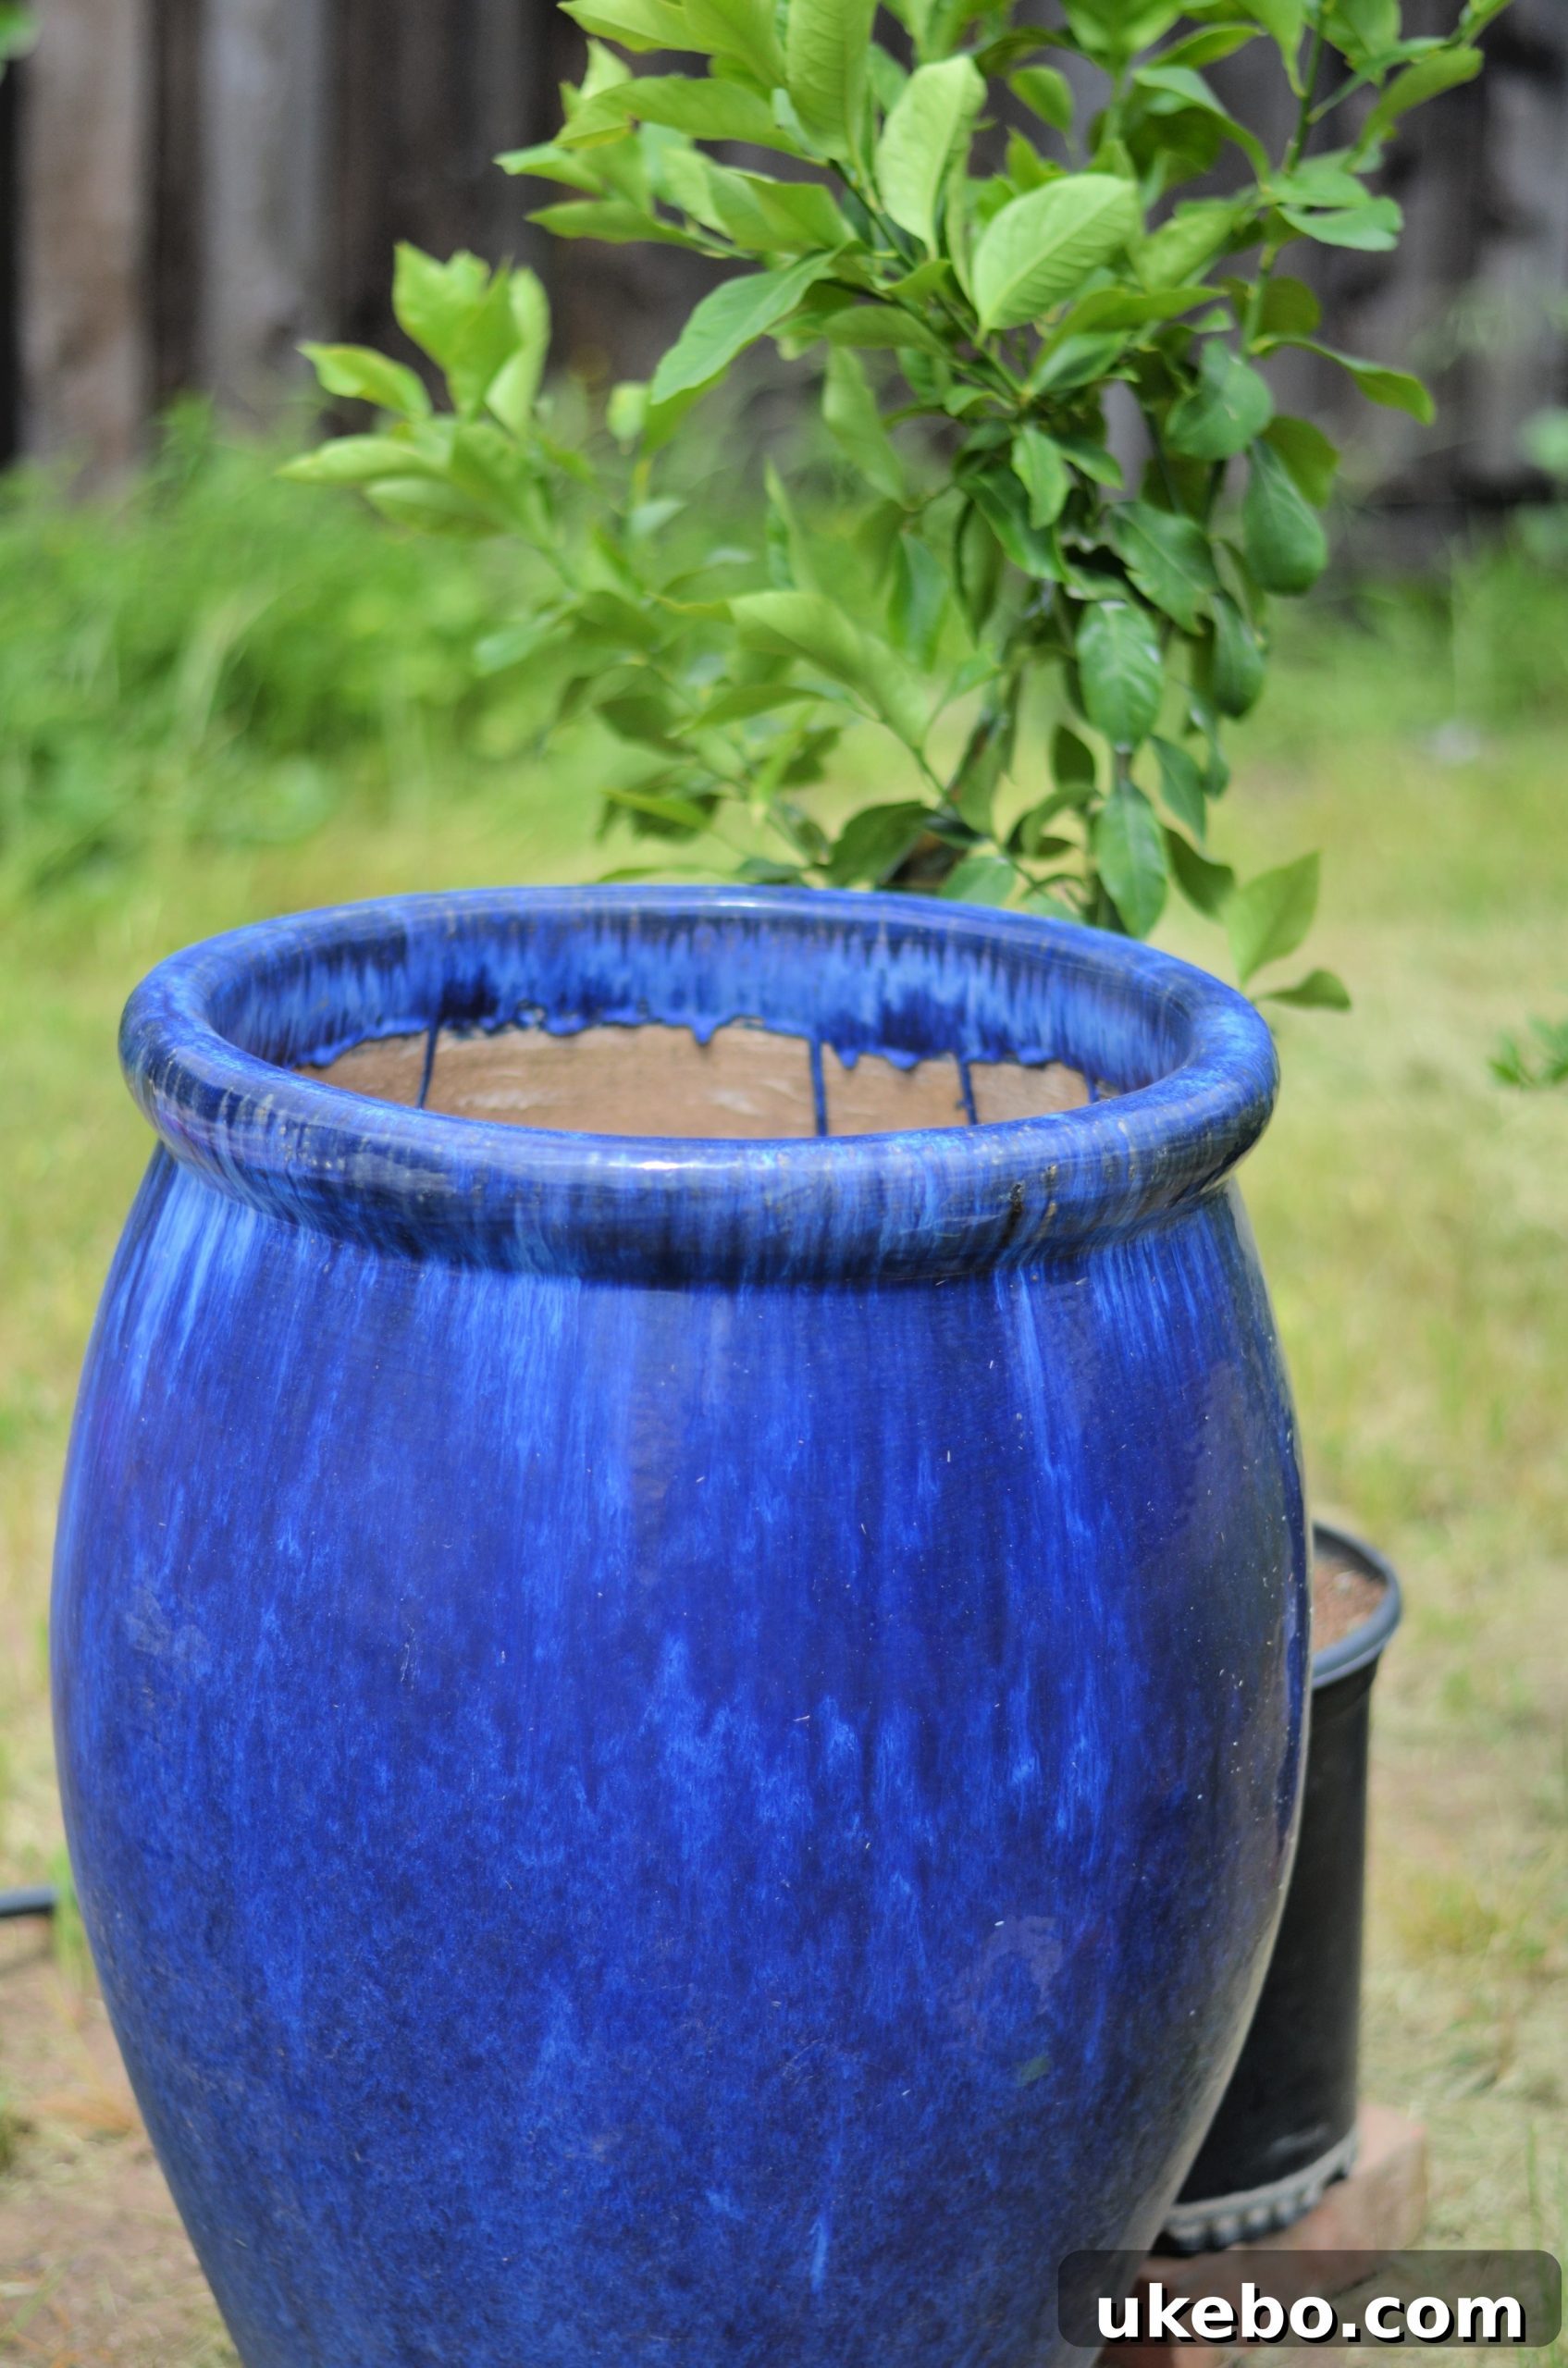
Sourcing and Planting Our Citrus Gem
With a clear vision in mind, I embarked on a trip to my absolute favorite local nursery, Green Acres Nursery & Supply, known for its extensive selection and knowledgeable staff. My mission: to find the perfect Eureka lemon tree. A key consideration was ensuring this particular variety could flourish in a container, as it would be the focal point of our potager. While growing citrus in containers is a well-established practice, it’s more common to see dwarf Meyer lemons in pots here. Therefore, I wanted to confirm that a semi-dwarf Eureka would also thrive in this setup. The expert staff at Green Acres reassured me that it absolutely could, emphasizing the importance of a generously sized container to accommodate its growth. With their expert advice, the decision was sealed, and I was thrilled to bring home our new lemon tree.
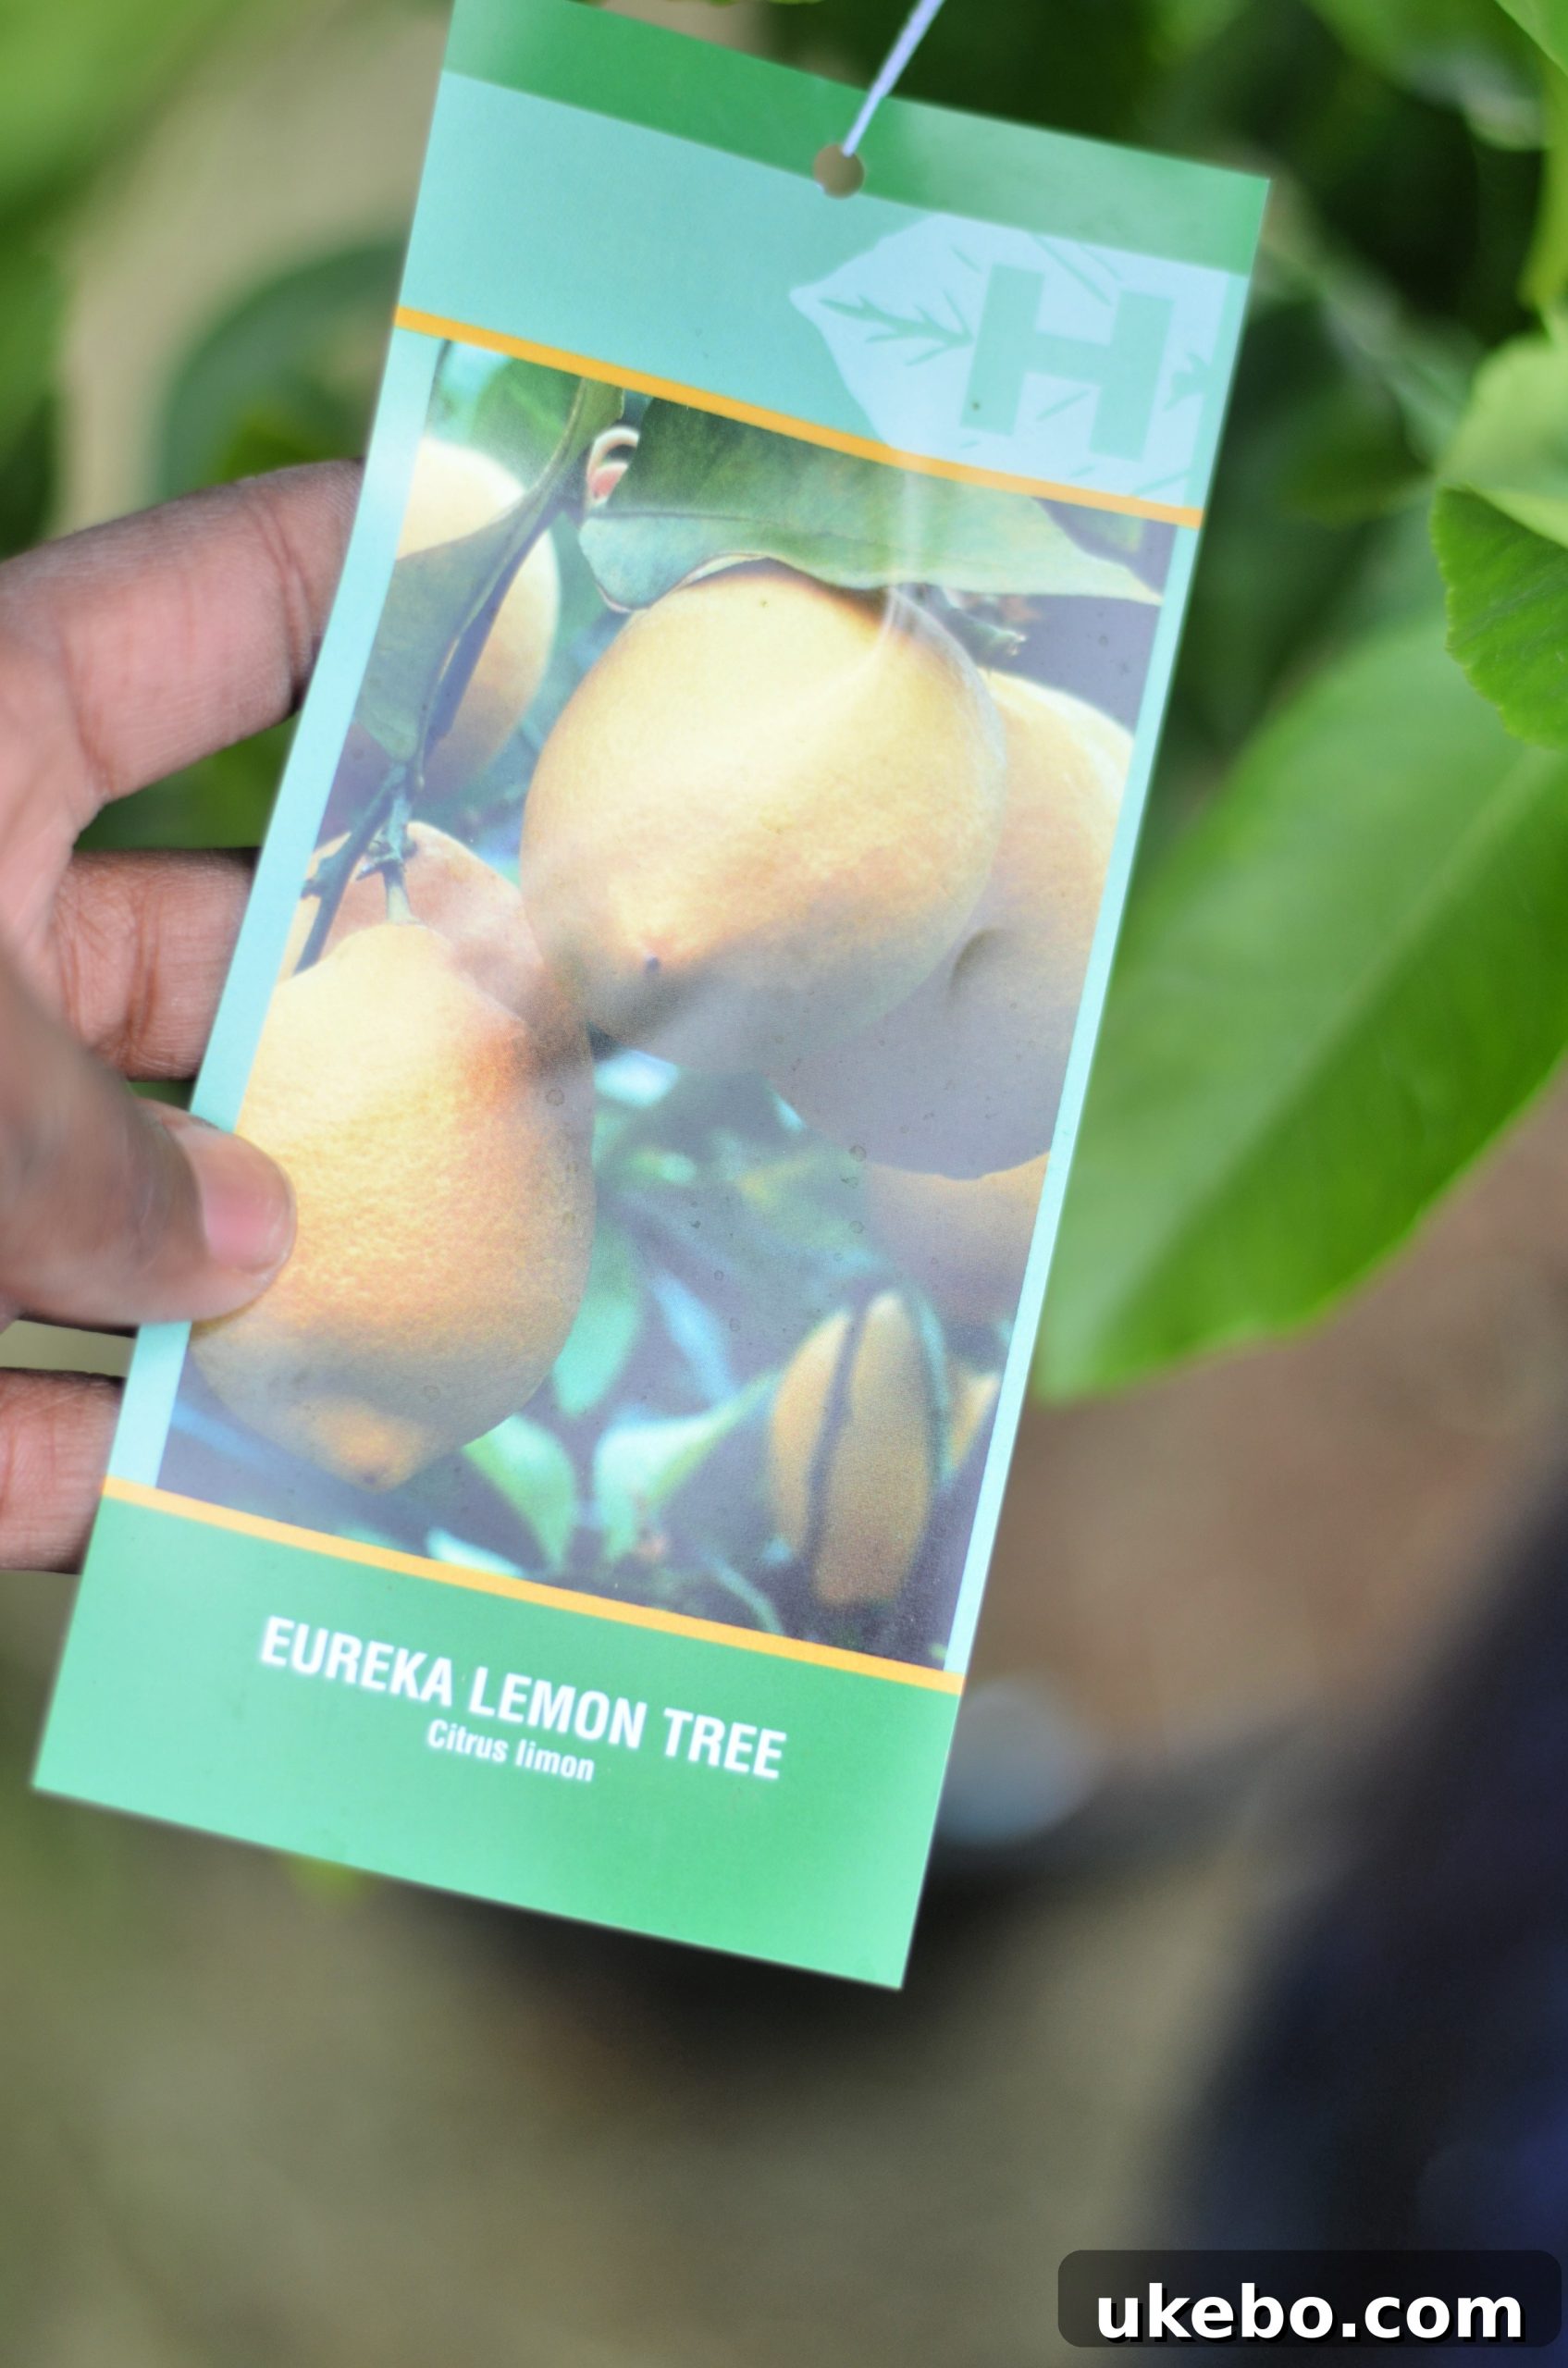
Beyond the Eureka lemon, my shopping cart quickly filled with essential supplies. I picked up premium potting soil, nutrient-rich compost, and a selection of vibrant strawberry plants, envisioning a harmonious underplanting for our citrus centerpiece. This thoughtful selection of companions and high-quality amendments sets the stage for a thriving garden from the very beginning.
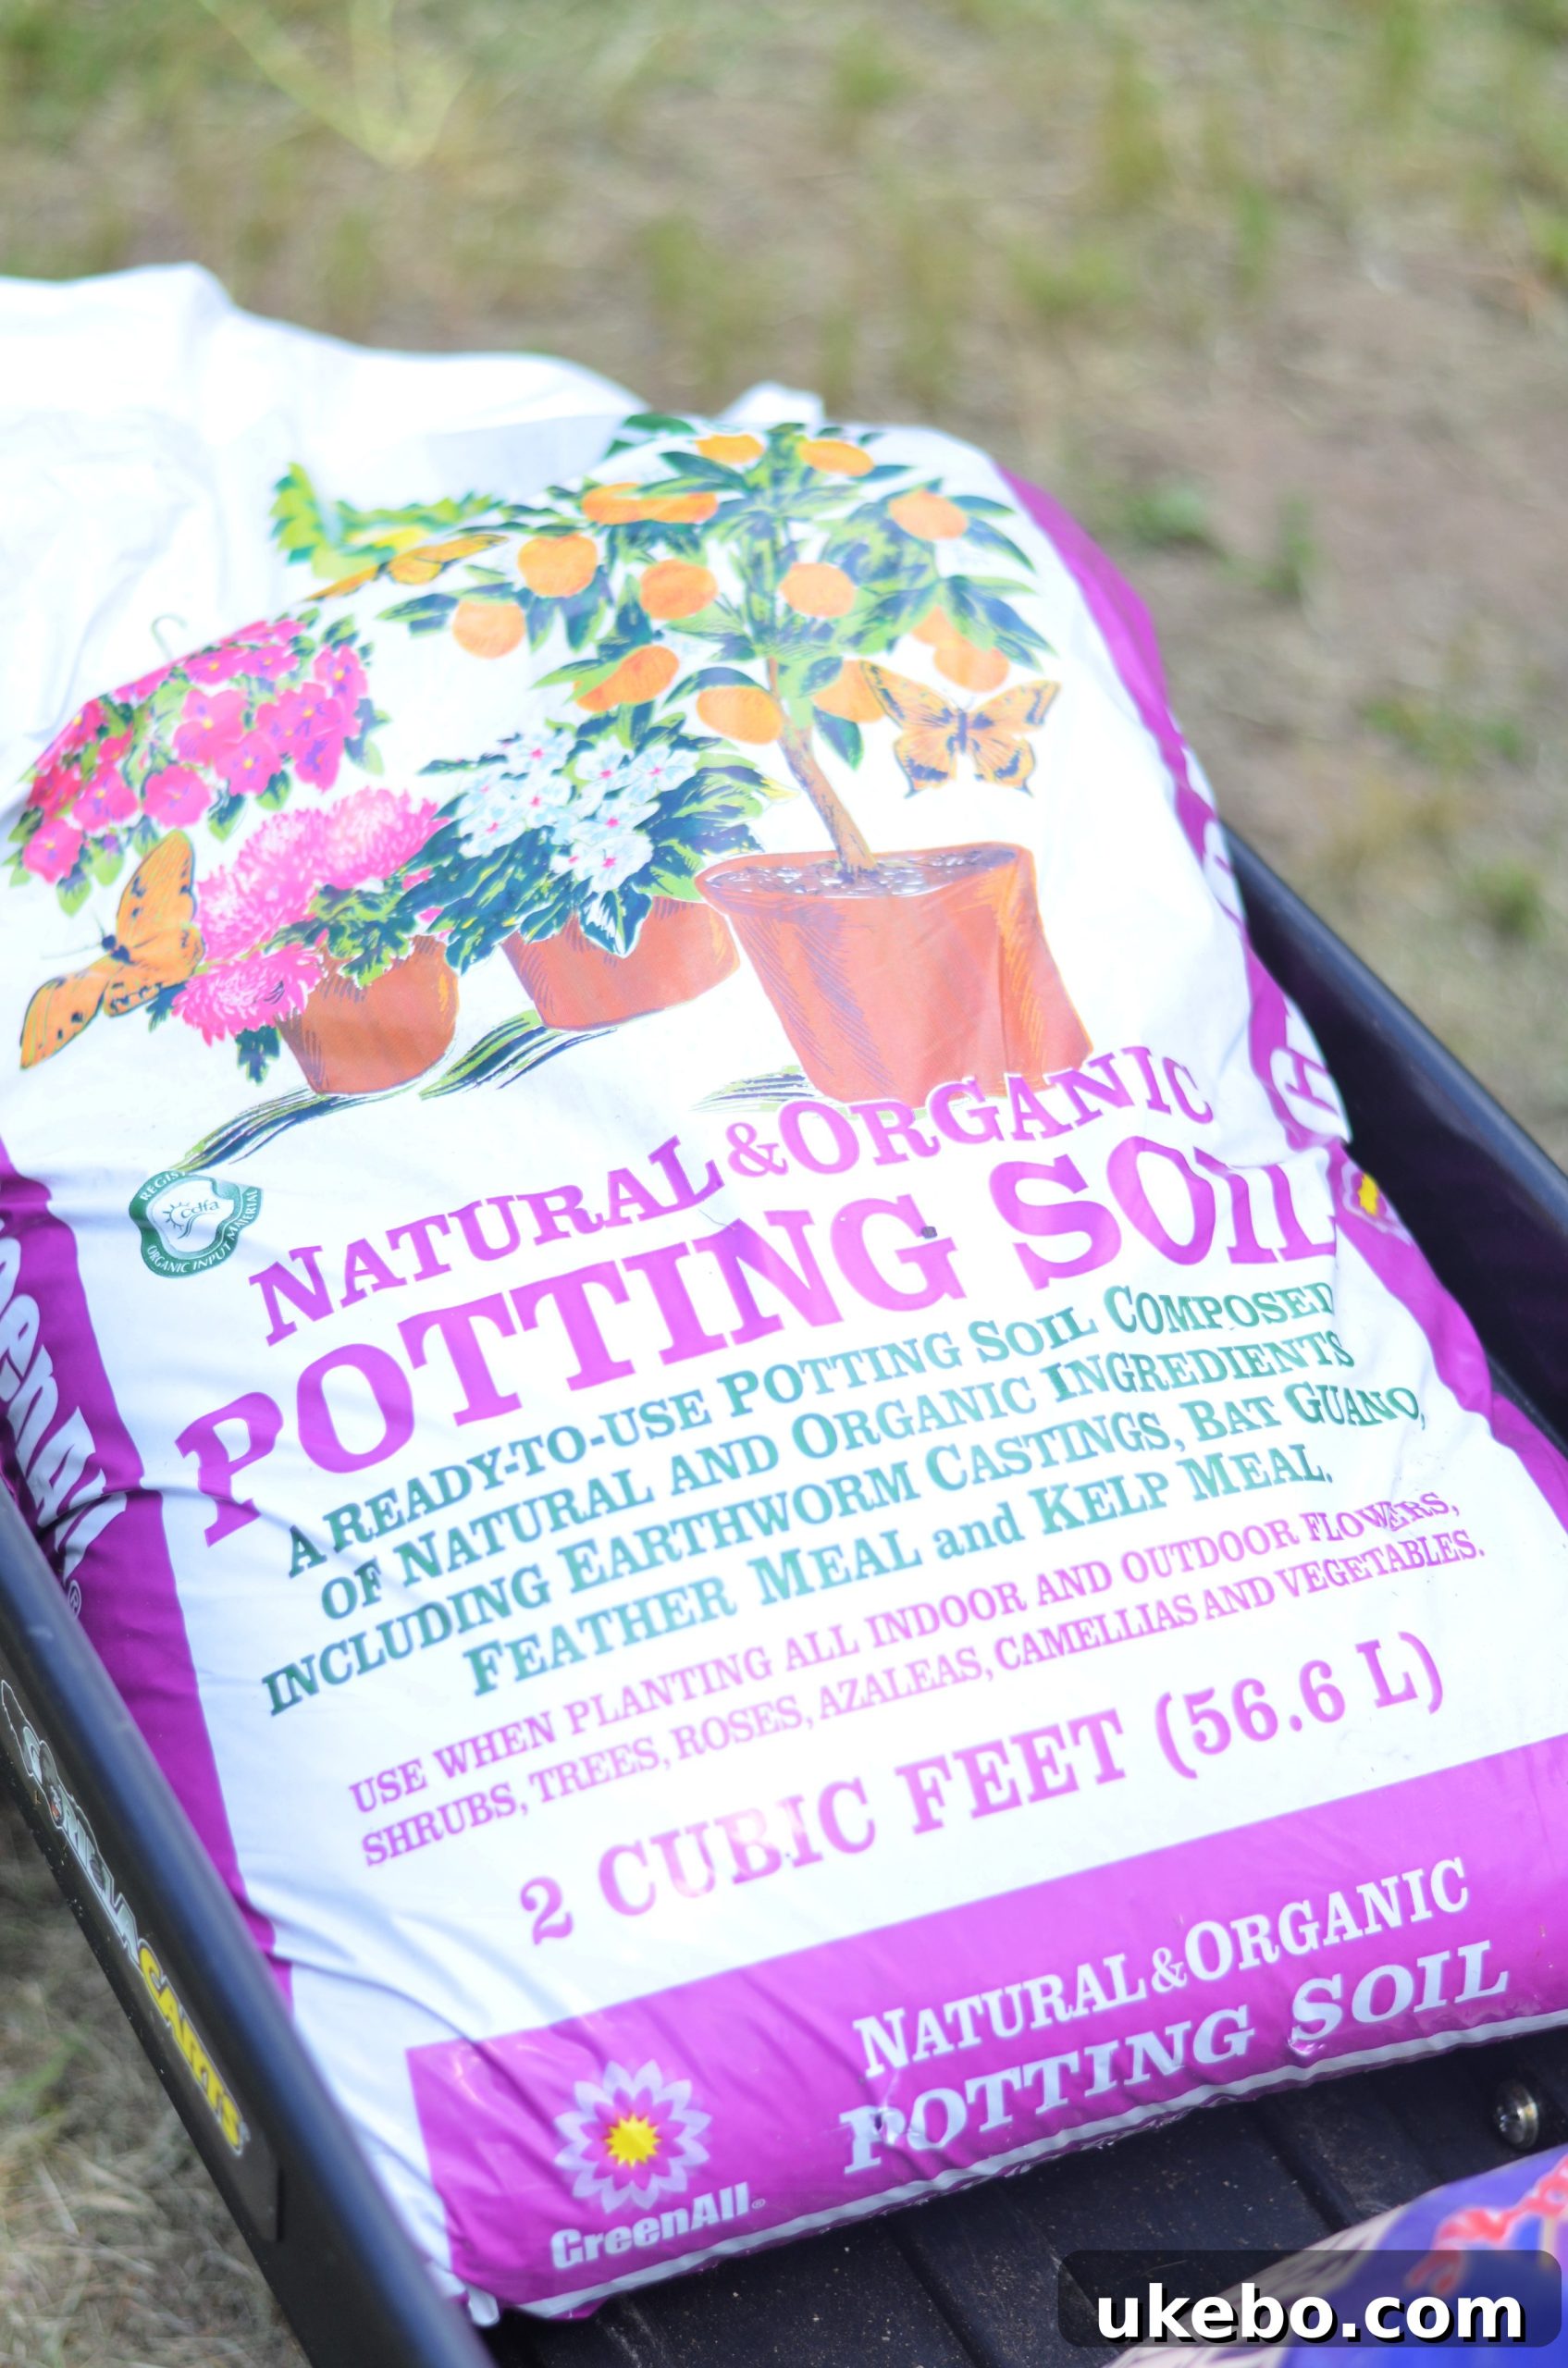
The Right Foundation: Premium Soil and Organic Amendments
For all my potted plants, EB Stone potting soil is my undisputed favorite. In fact, EB Stone stands as my go-to brand for all soil and garden amendments, a testament to years of consistent, successful use. Their commitment to offering exceptional organic products is something I deeply appreciate, especially given their base in San Jose, which is local(ish) to our Sacramento area. Products like their Potting soils, Sure Start, specialized Citrus Food, and Soil Conditioner are staples that I always keep in stock. These formulations are meticulously designed to provide the ideal growing environment, promoting strong root development and vigorous plant health. I recently added their Earthworm Castings to my collection and am eagerly anticipating the impressive benefits these natural soil enhancers will bring to my garden, enriching the soil microbiome and nutrient availability.
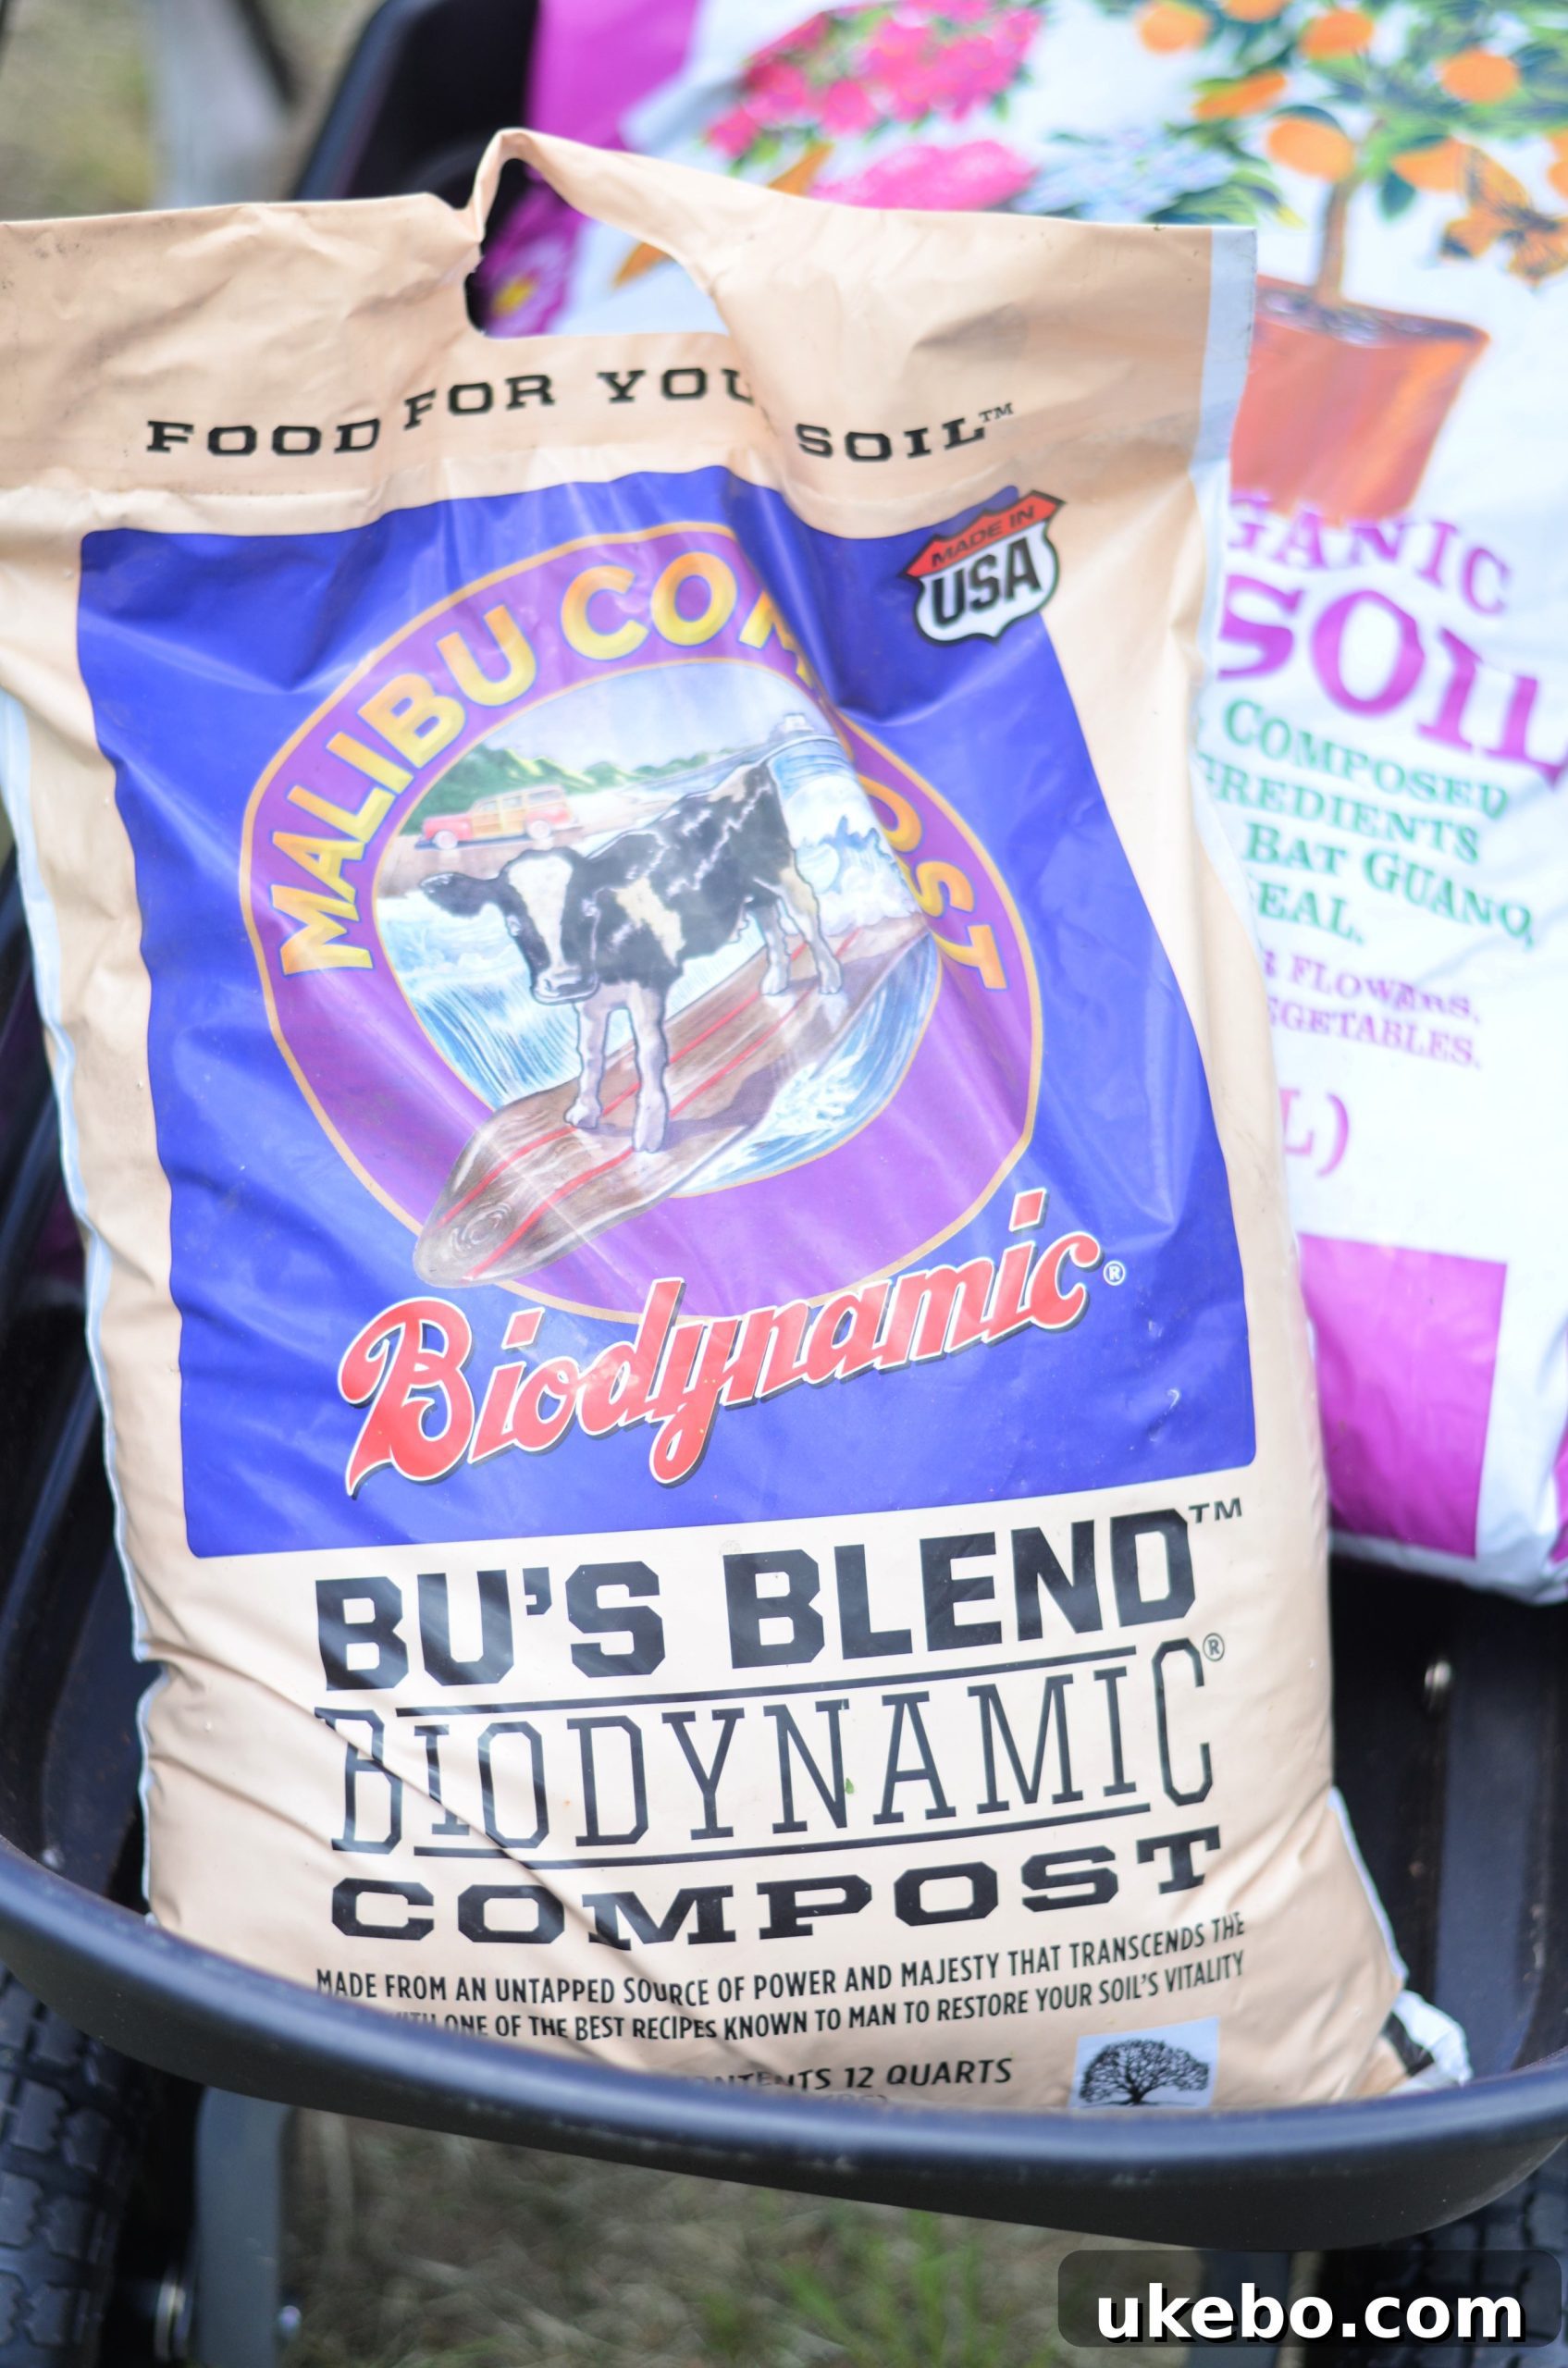
This spring, I’ve also been diligently incorporating Bu’s Blend biodynamic compost into my perennial beds, and both my plants and I have seen fantastic results. Its rich organic matter and microbial diversity greatly improve soil structure and fertility. Naturally, I decided to extend these benefits to our new lemon tree, adding a generous amount to its potting mix. Complementing the lemon tree, I opted to plant several strawberry plants at its base. My vision is for these strawberries to flourish, growing robustly and gracefully cascading over the sides of the indigo pot by next year, adding another layer of beauty and bounty to our focal point. This companion planting strategy is not merely aesthetic; both lemons and strawberries share very similar growing requirements—ample sunlight, consistent moisture, and well-draining, nutrient-rich soil—making them excellent companions in a single container. Fingers crossed for a mutually beneficial and visually delightful pairing!
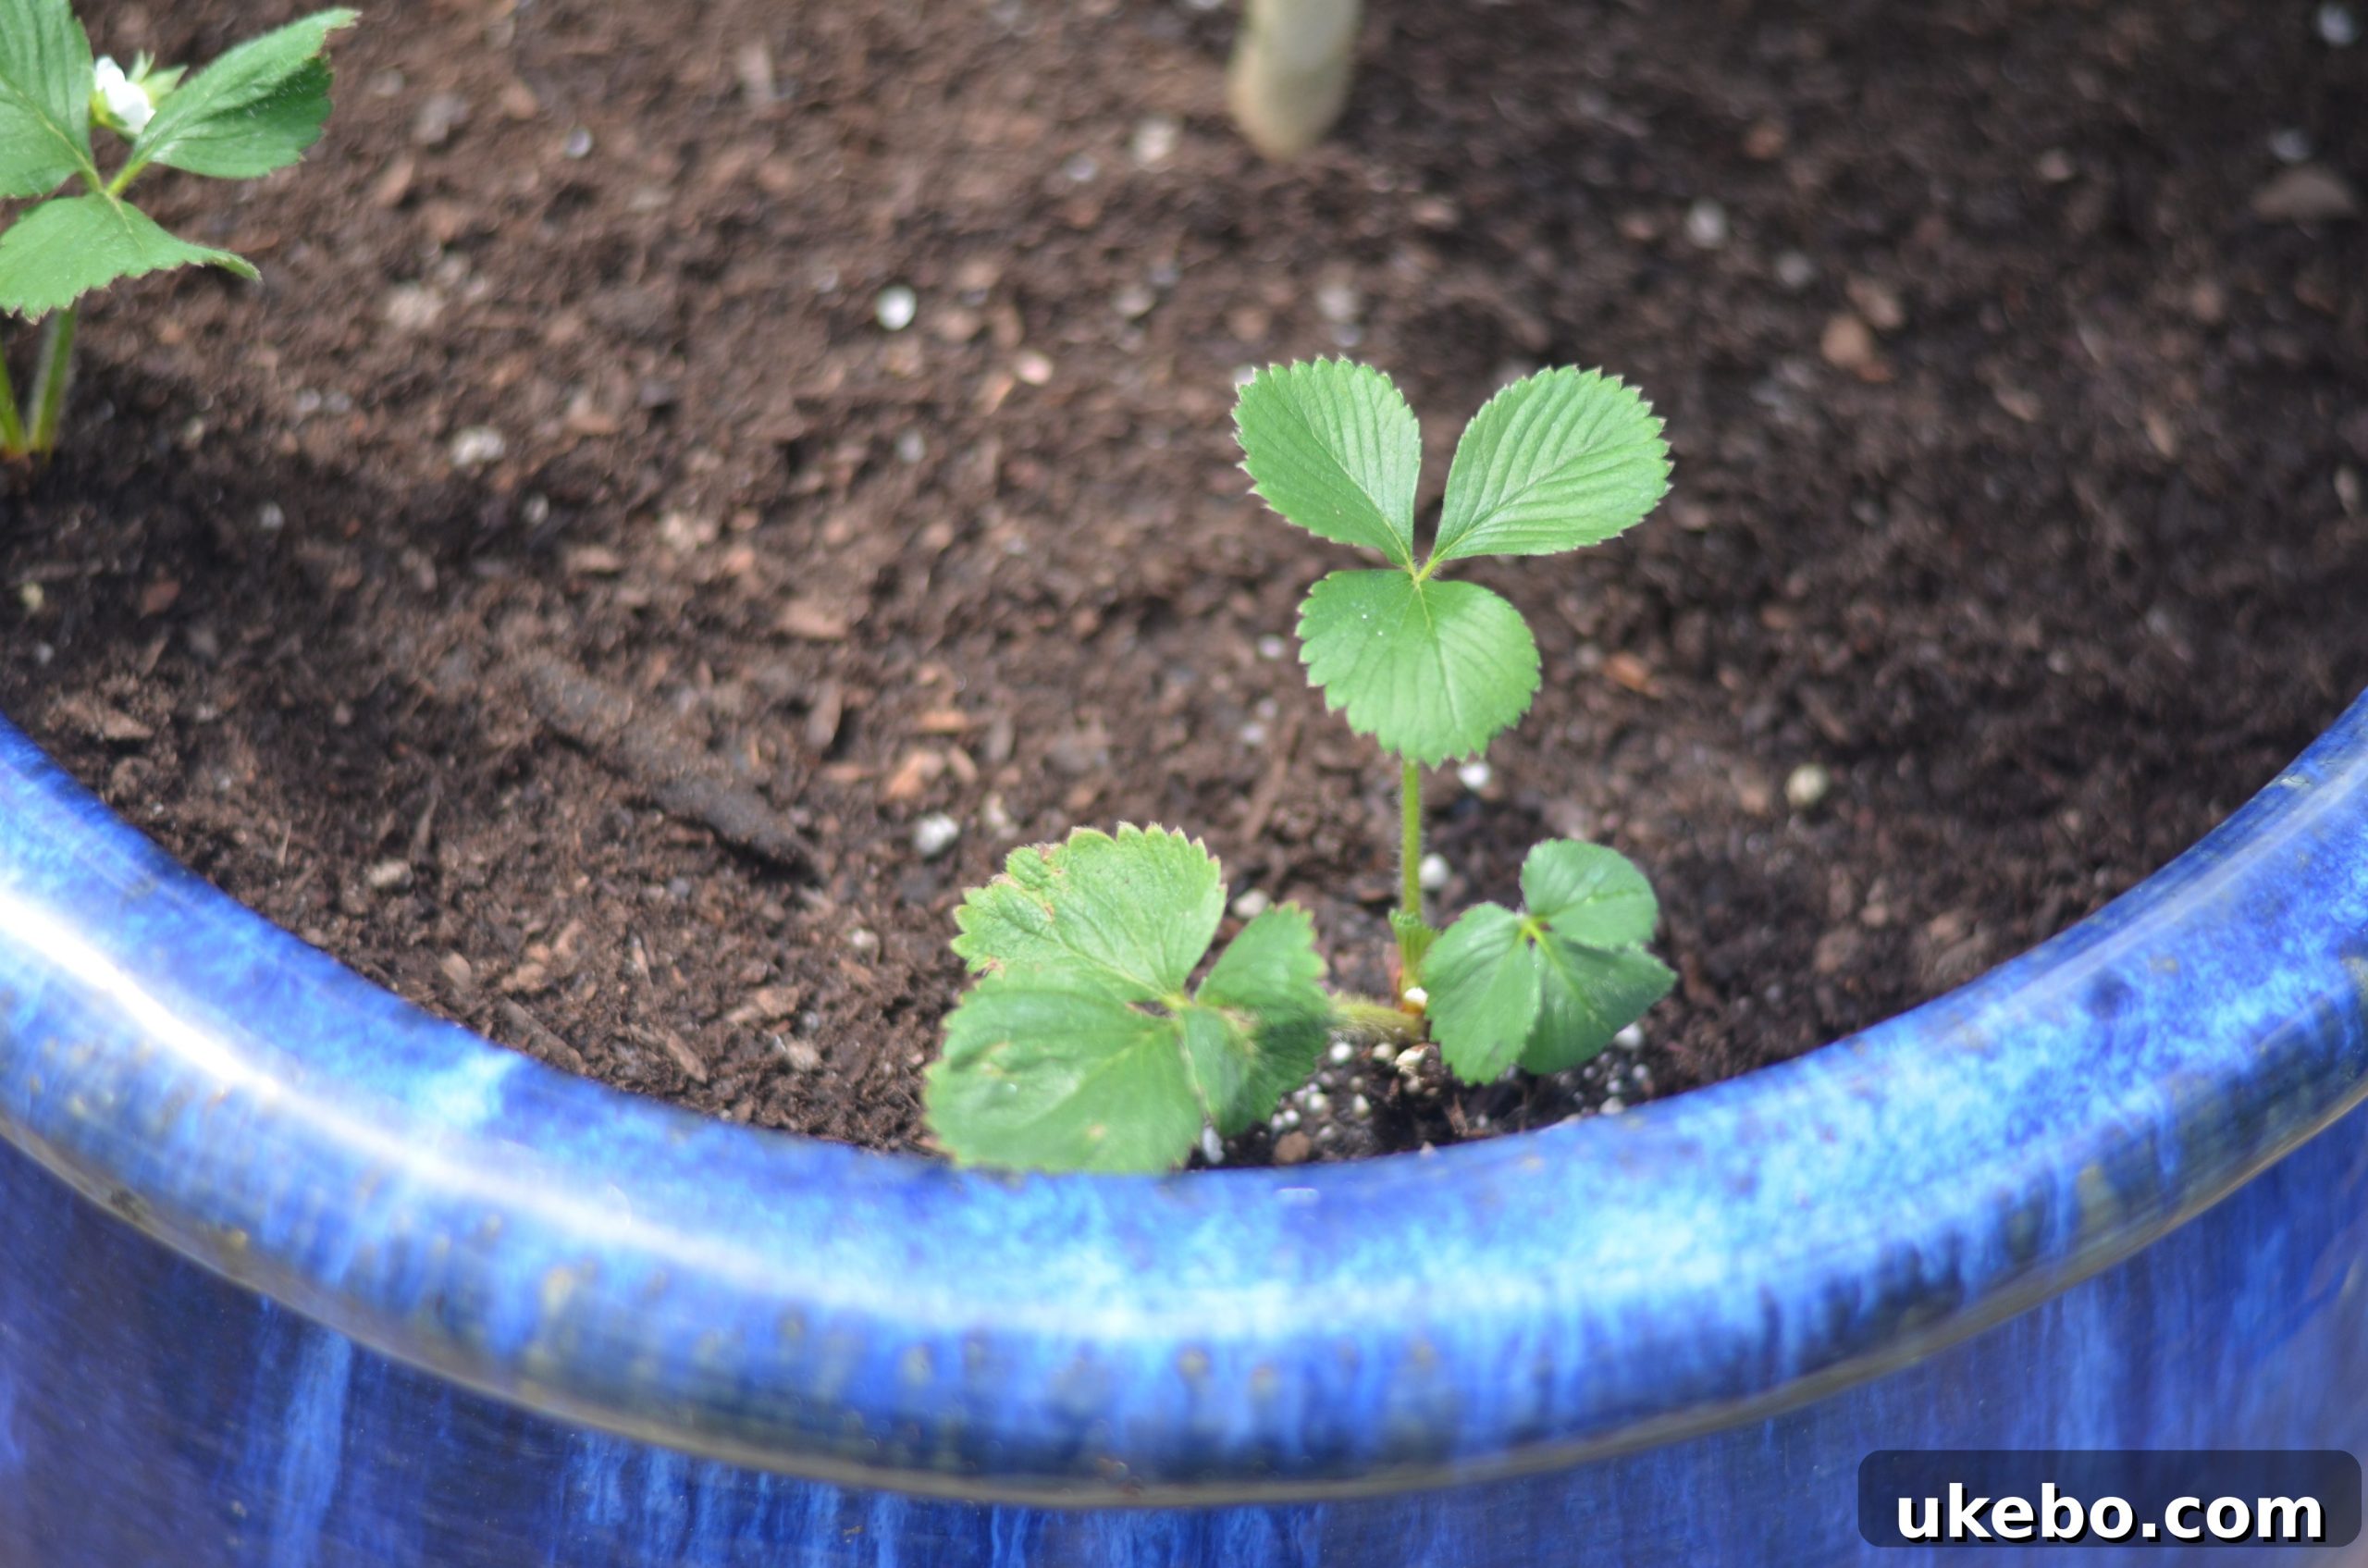
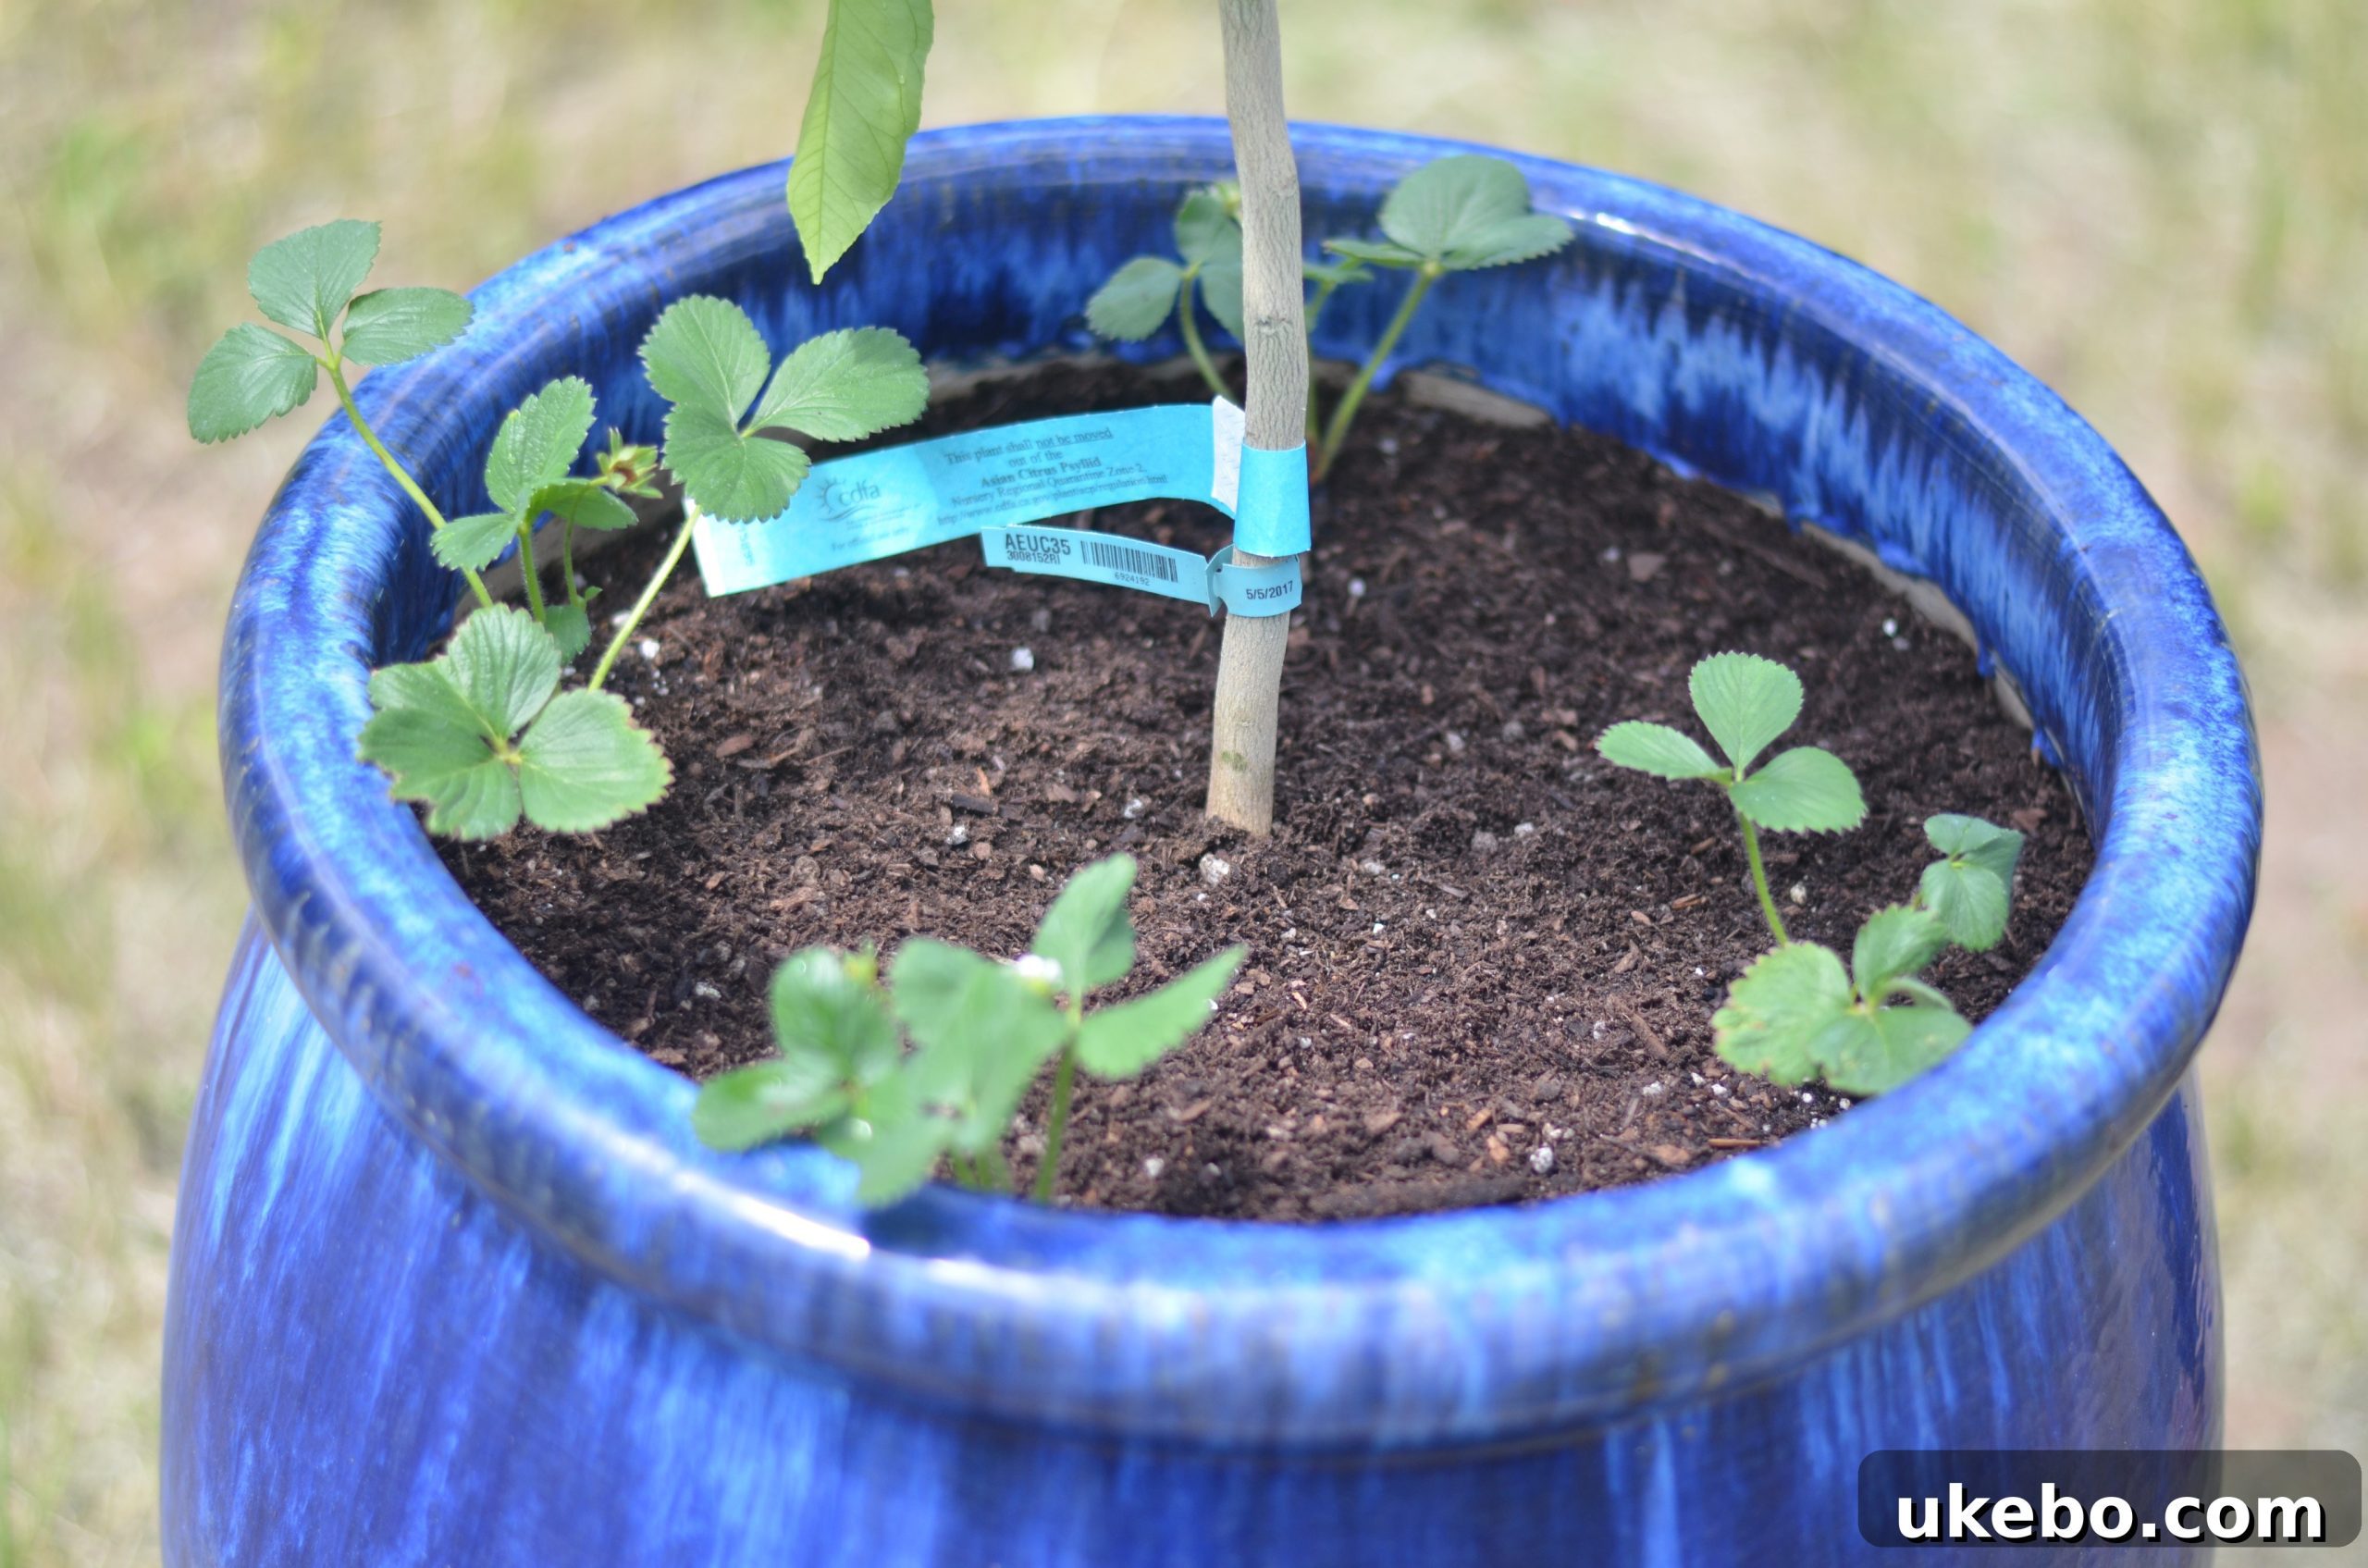
Indeed, the shared needs of lemons and strawberries for adequate sun exposure, consistent yet not waterlogged hydration, and a rich, slightly acidic soil make them ideal companions. This intelligent pairing not only maximizes the use of space in our potager’s central feature but also creates a miniature ecosystem where both plants can thrive side-by-side. The strawberries might even offer a living mulch effect, helping to retain soil moisture and regulate temperature for the lemon tree.
Laying the Groundwork: Effective Weed Barrier Installation
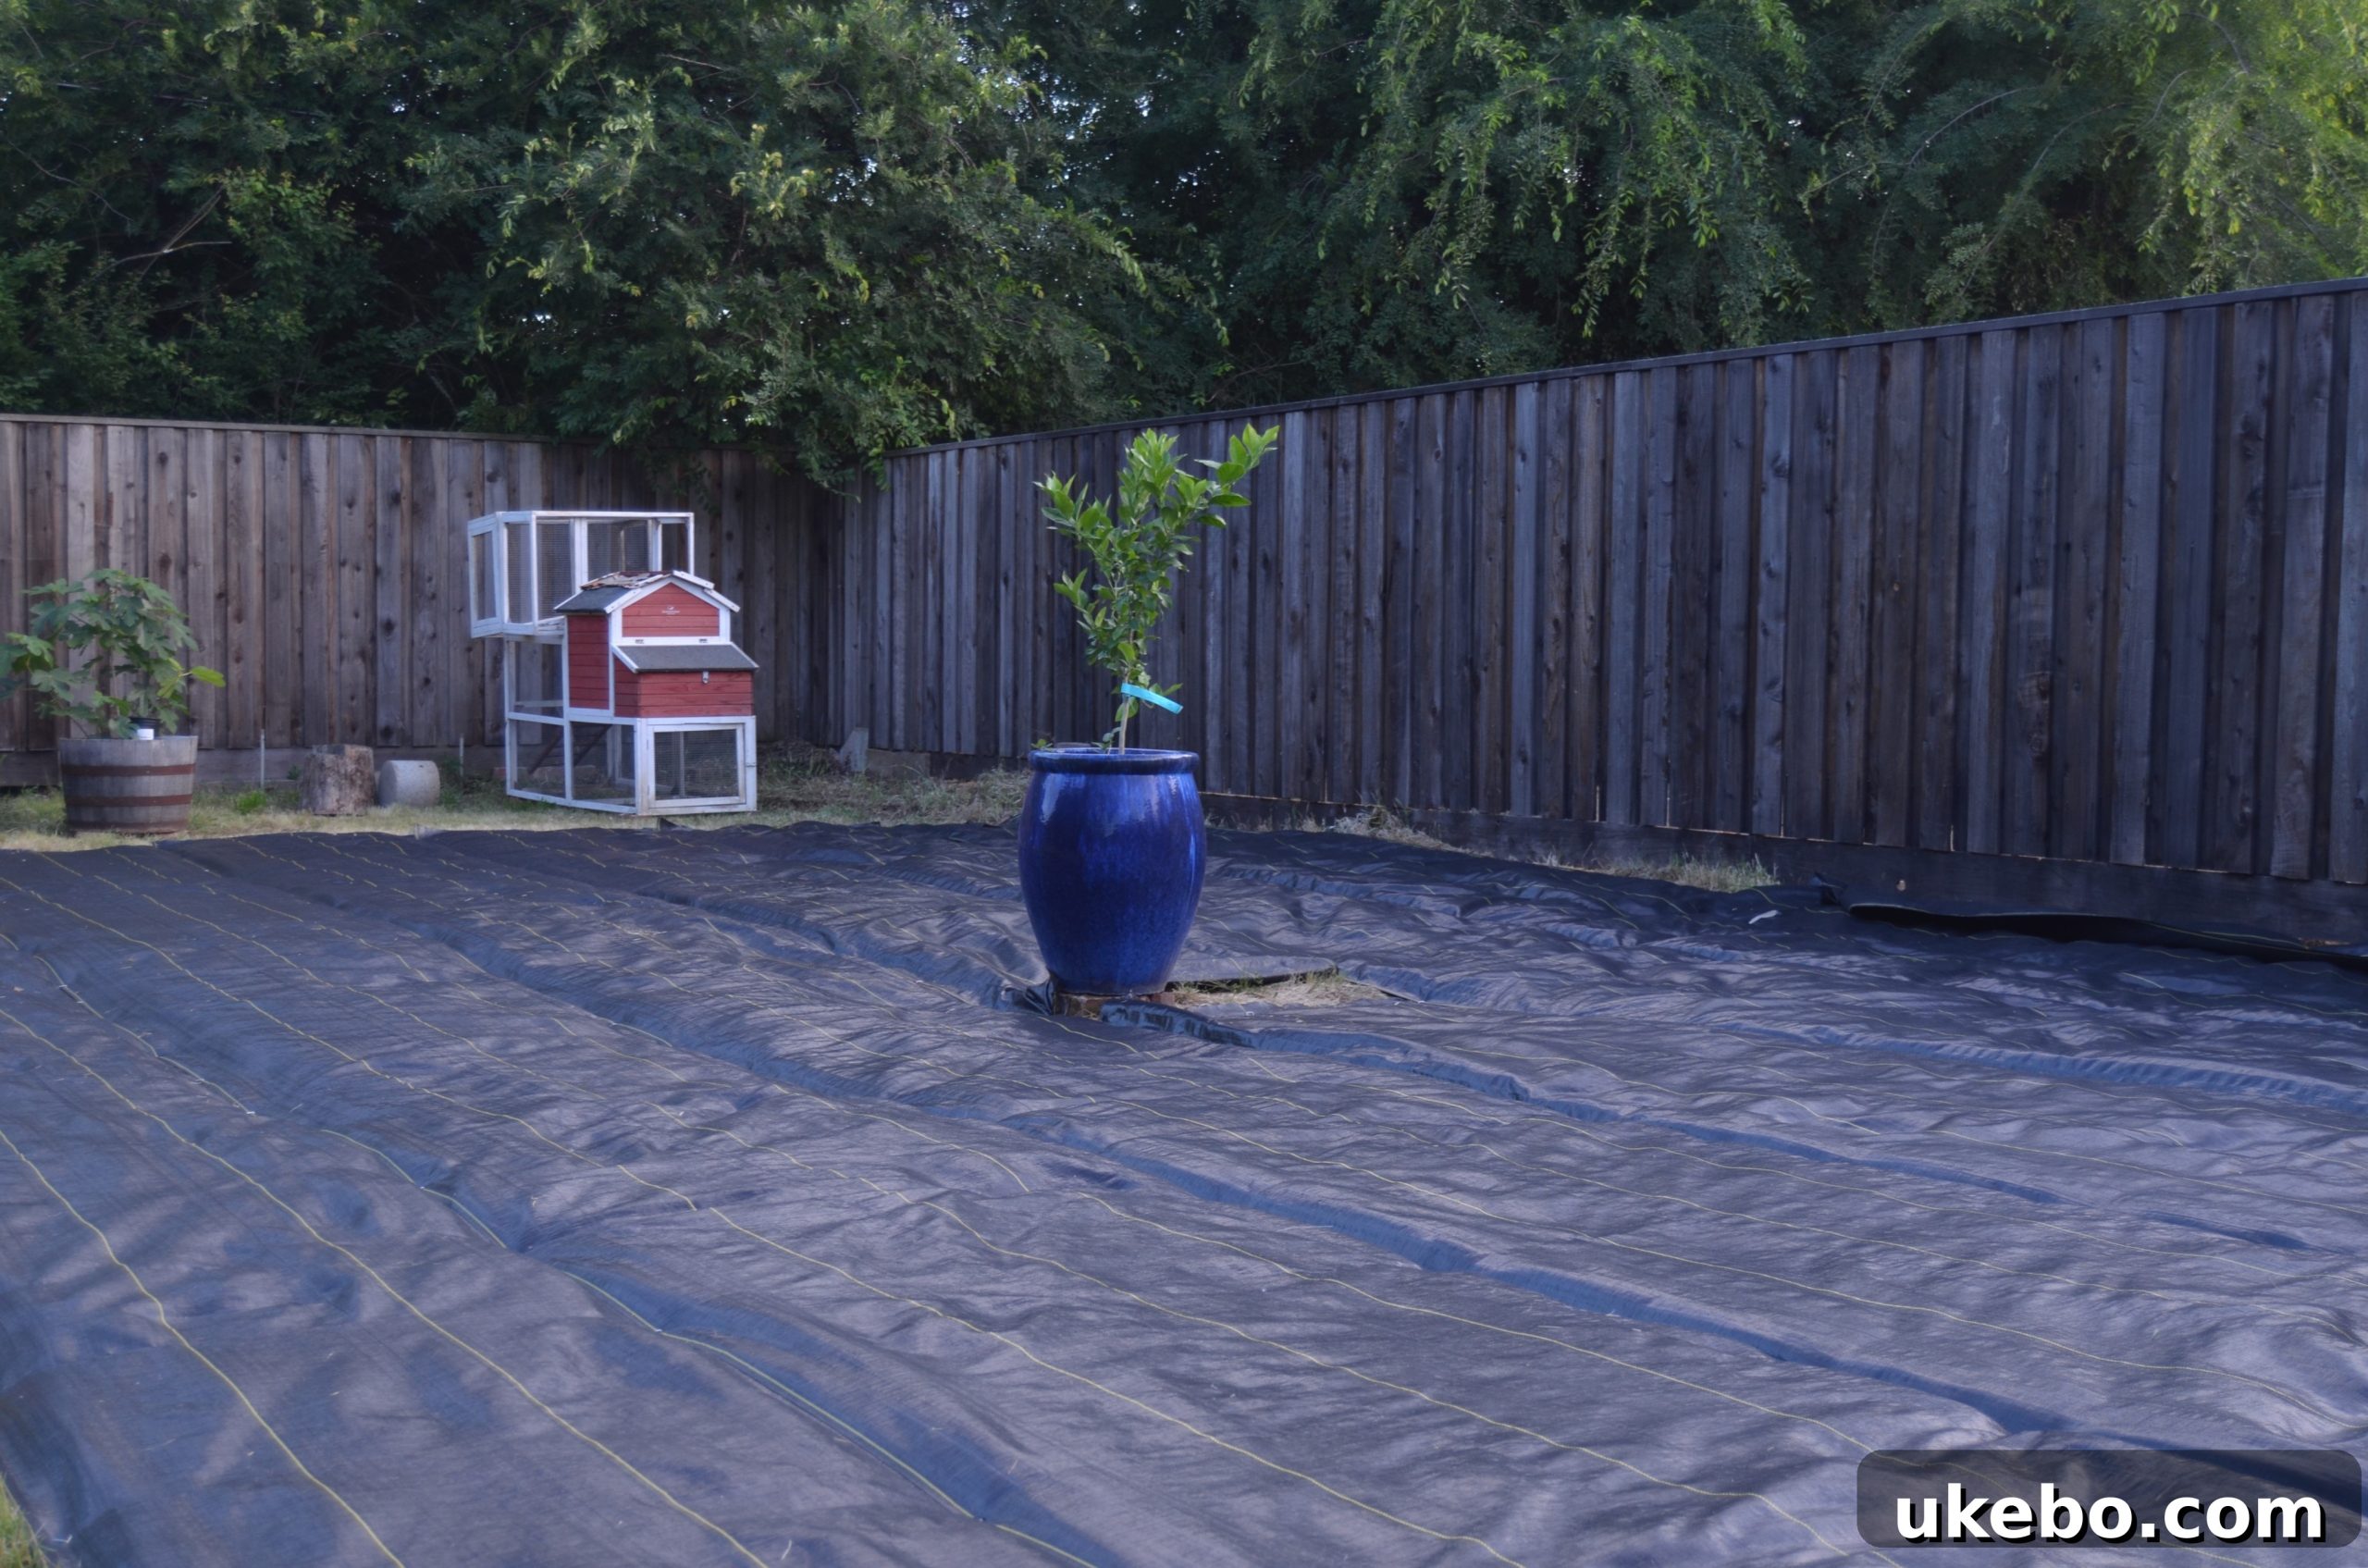
With our magnificent lemon tree proudly planted, the next critical step in establishing the potager was laying the weed barrier. I had braced myself for a laborious and time-consuming task, anticipating a significant challenge, but to my pleasant surprise, the process proved to be far more manageable than expected. The recent deluge of rain, while delaying other aspects of the garden, had a silver lining: it perfectly softened the soil. This meant that the landscape staples, essential for securing the barrier, went in with virtually no resistance, making the installation incredibly smooth and efficient. Once I found my rhythm, the work progressed swiftly, which was particularly fortunate as more rain was predicted for that very night. This quick installation allowed us to beat the weather, protecting our freshly prepared ground.
Selecting the Right Weed Barrier for Long-Term Success
The choice of weed barrier material was not made lightly. I invested a considerable amount of time in thorough research, sifting through various options and countless reviews before making a decision. Ultimately, I opted for this particular product on Amazon, largely due to the overwhelming positive feedback regarding its efficacy in suppressing persistent weeds. Understanding the long-term vision for our potager, which includes raised beds and dedicated pathways, I knew that establishing a robust and reliable barrier base upfront was paramount. This proactive approach is designed to drastically cut down on future weed maintenance, allowing more time for enjoying the garden rather than battling unwanted growth. The material itself is a really thick, commercial-grade poly type, similar to what is favored in professional greenhouses and by commercial landscape designers. Its durability and proven performance give me great confidence that it will effectively do the trick, providing a long-lasting defense against weeds.
Preparation and Pathway Considerations
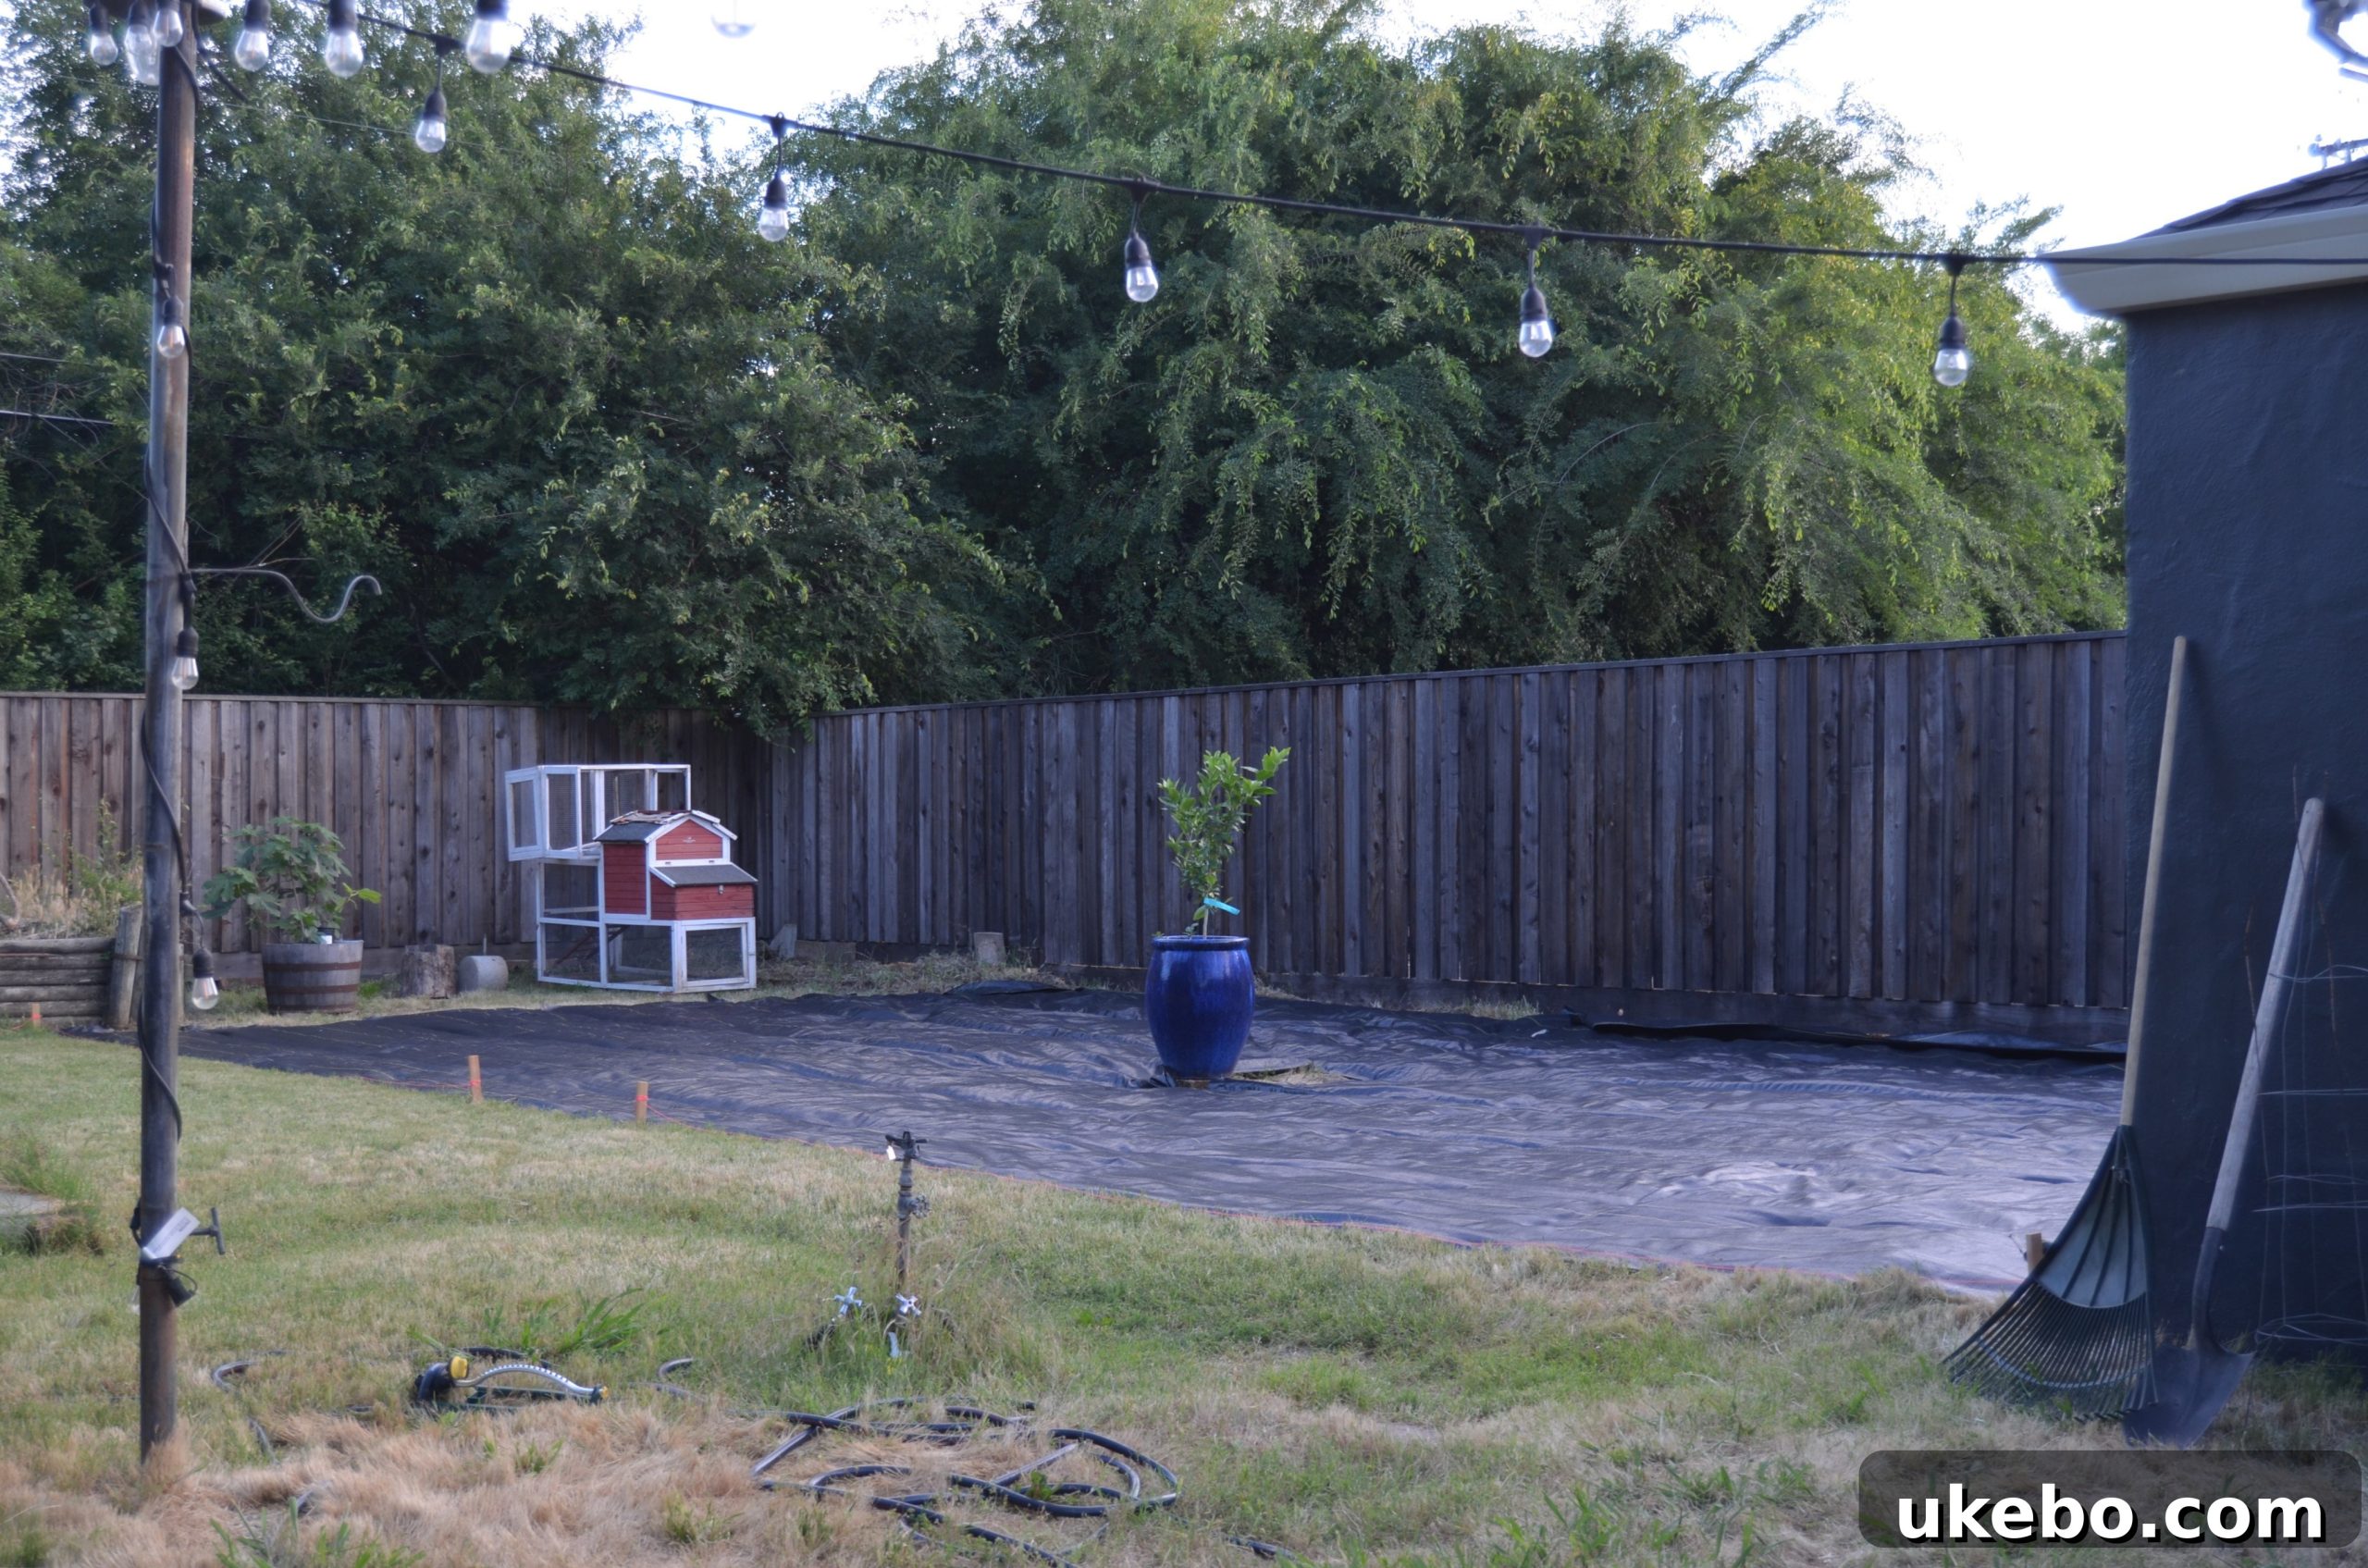
One aspect I deliberated extensively was whether to completely remove the existing grass before laying the barrier. After much internal debate, I consulted with a seasoned landscaper who provided invaluable advice: simply mowing the grass down first would be entirely sufficient. The logic behind this is straightforward; the barrier, being an impermeable or light-blocking material, will eventually kill any grass beneath it regardless. Furthermore, by the time I apply the chosen pathway material – which is still under consideration – the underlying grass will have completely flattened, creating a smooth and stable base. My current thoughts for the pathway material oscillate between playground fiber wood chips, admired for their soft texture and natural aesthetic, or walk-on bark, prized for its durability and rustic charm. Both options offer excellent drainage and a pleasant walking surface, complementing the overall design of a beautiful potager garden.
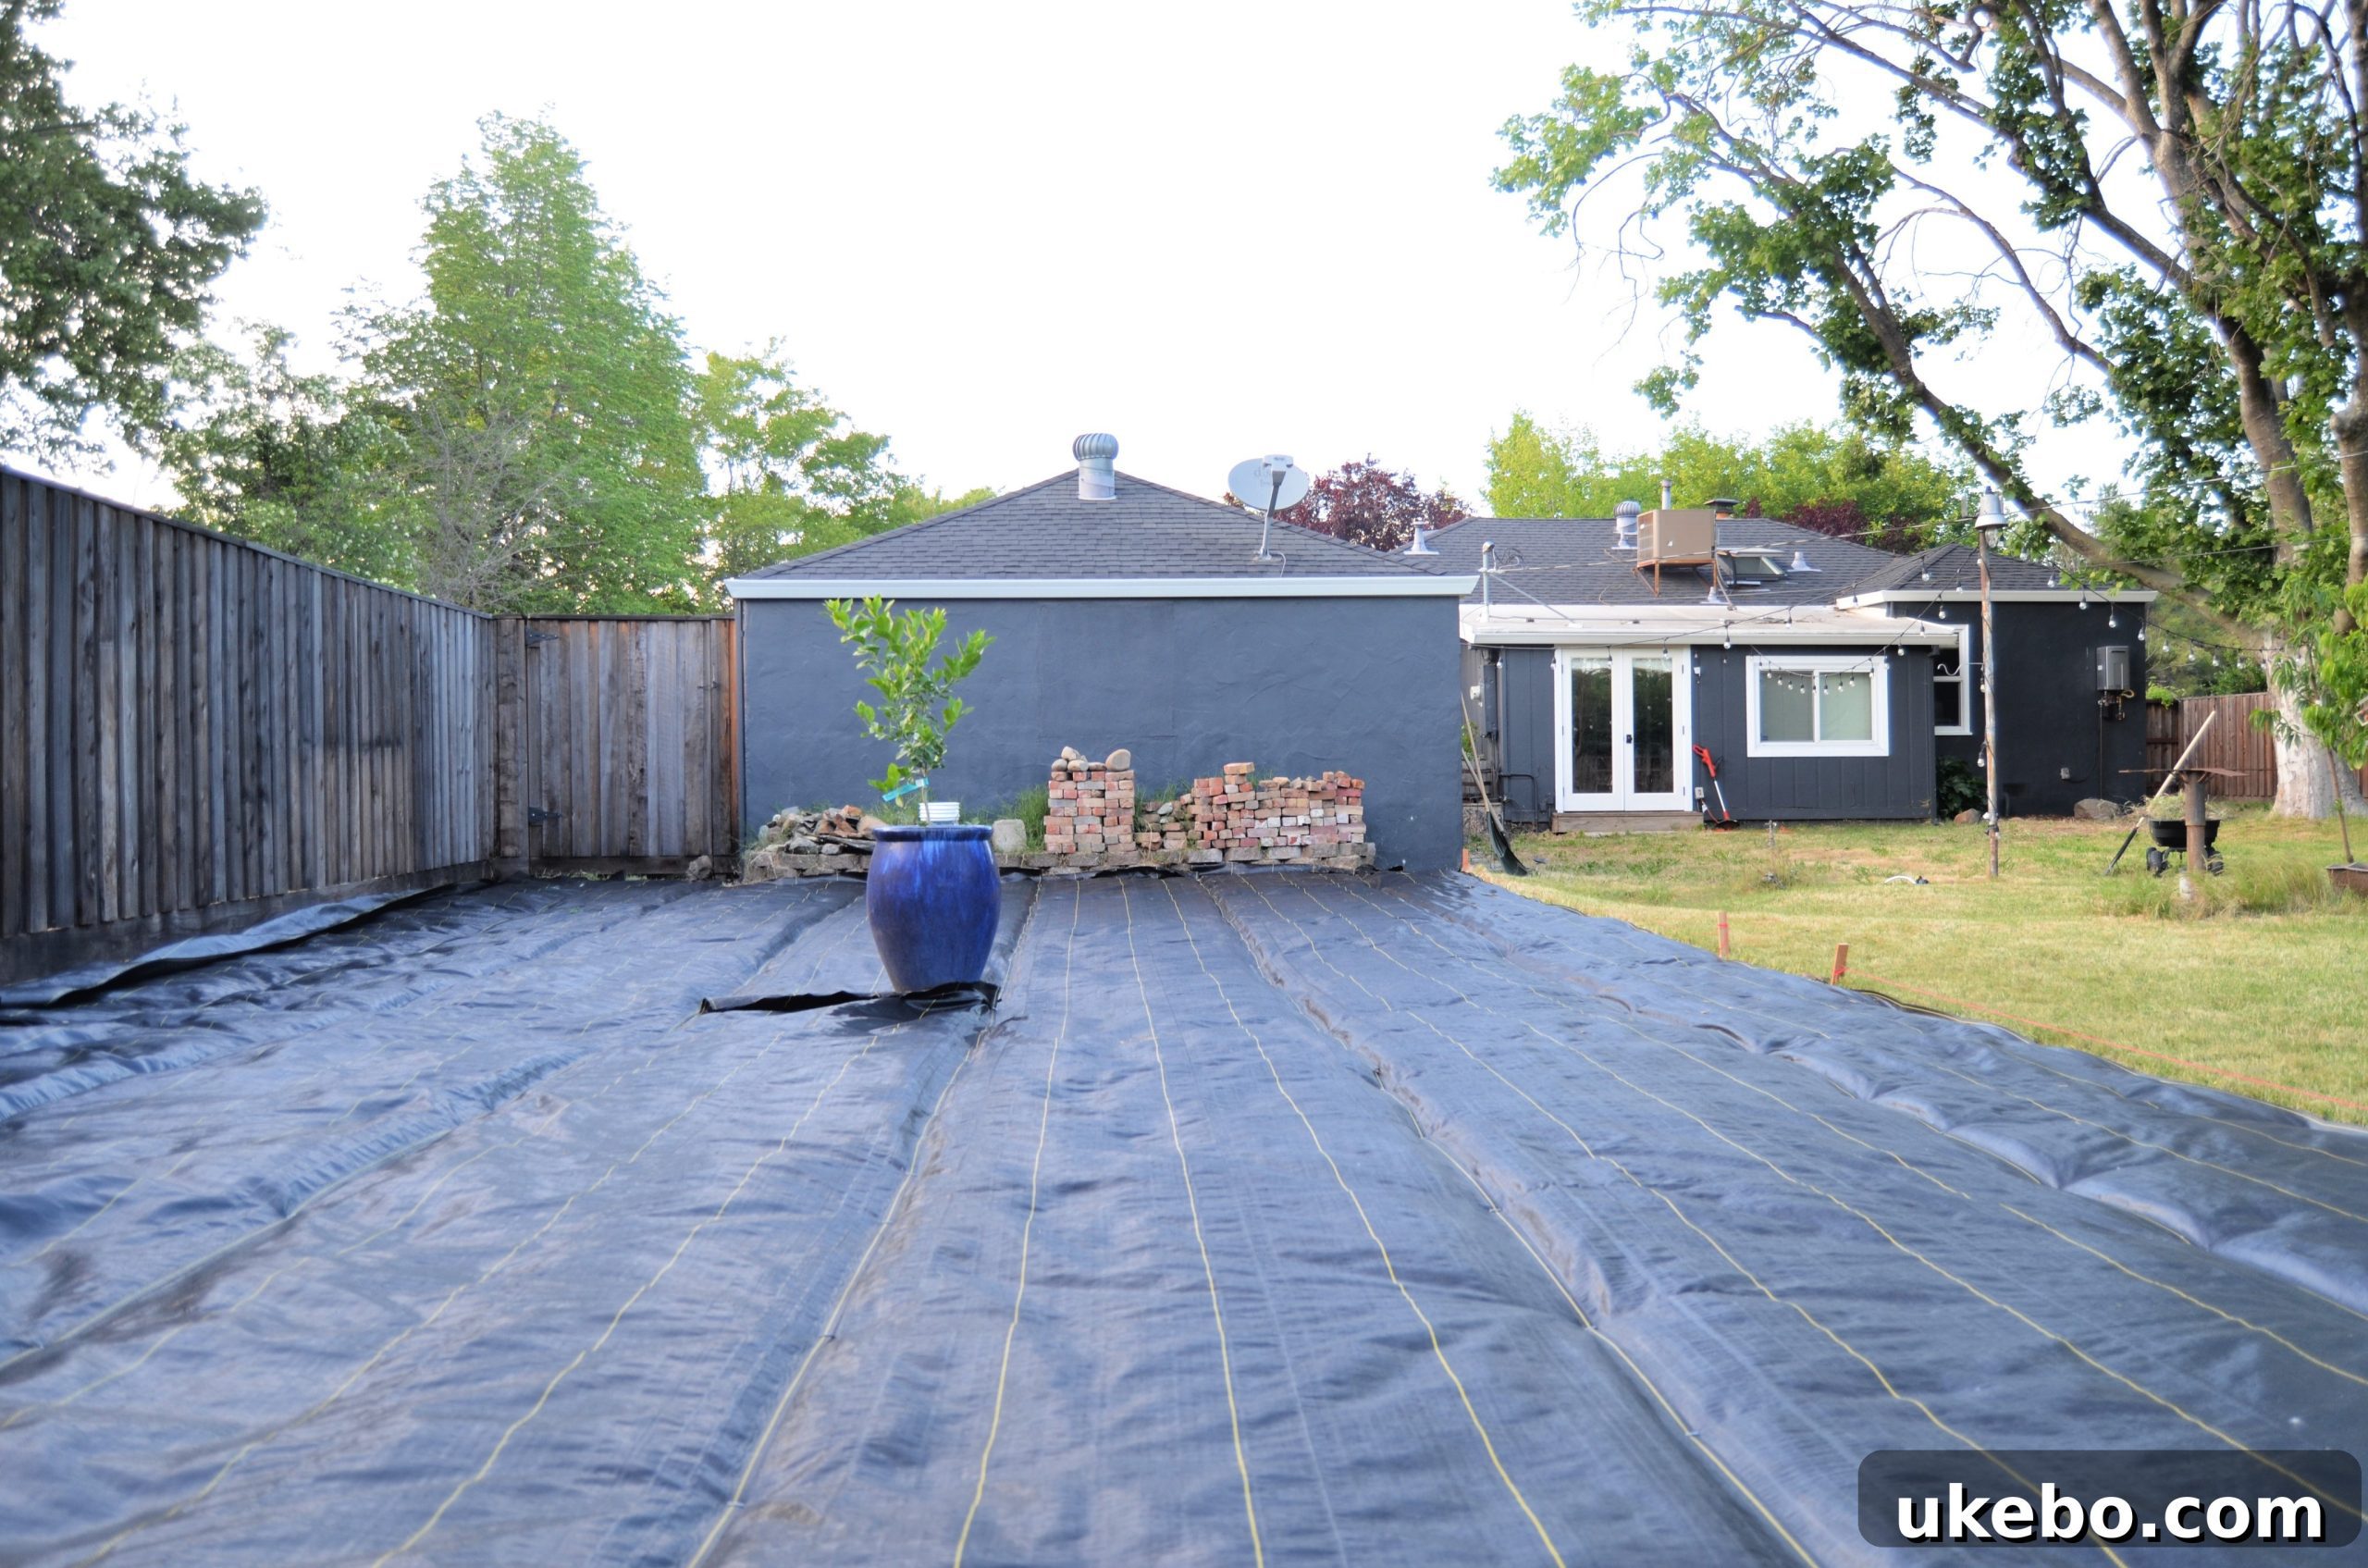
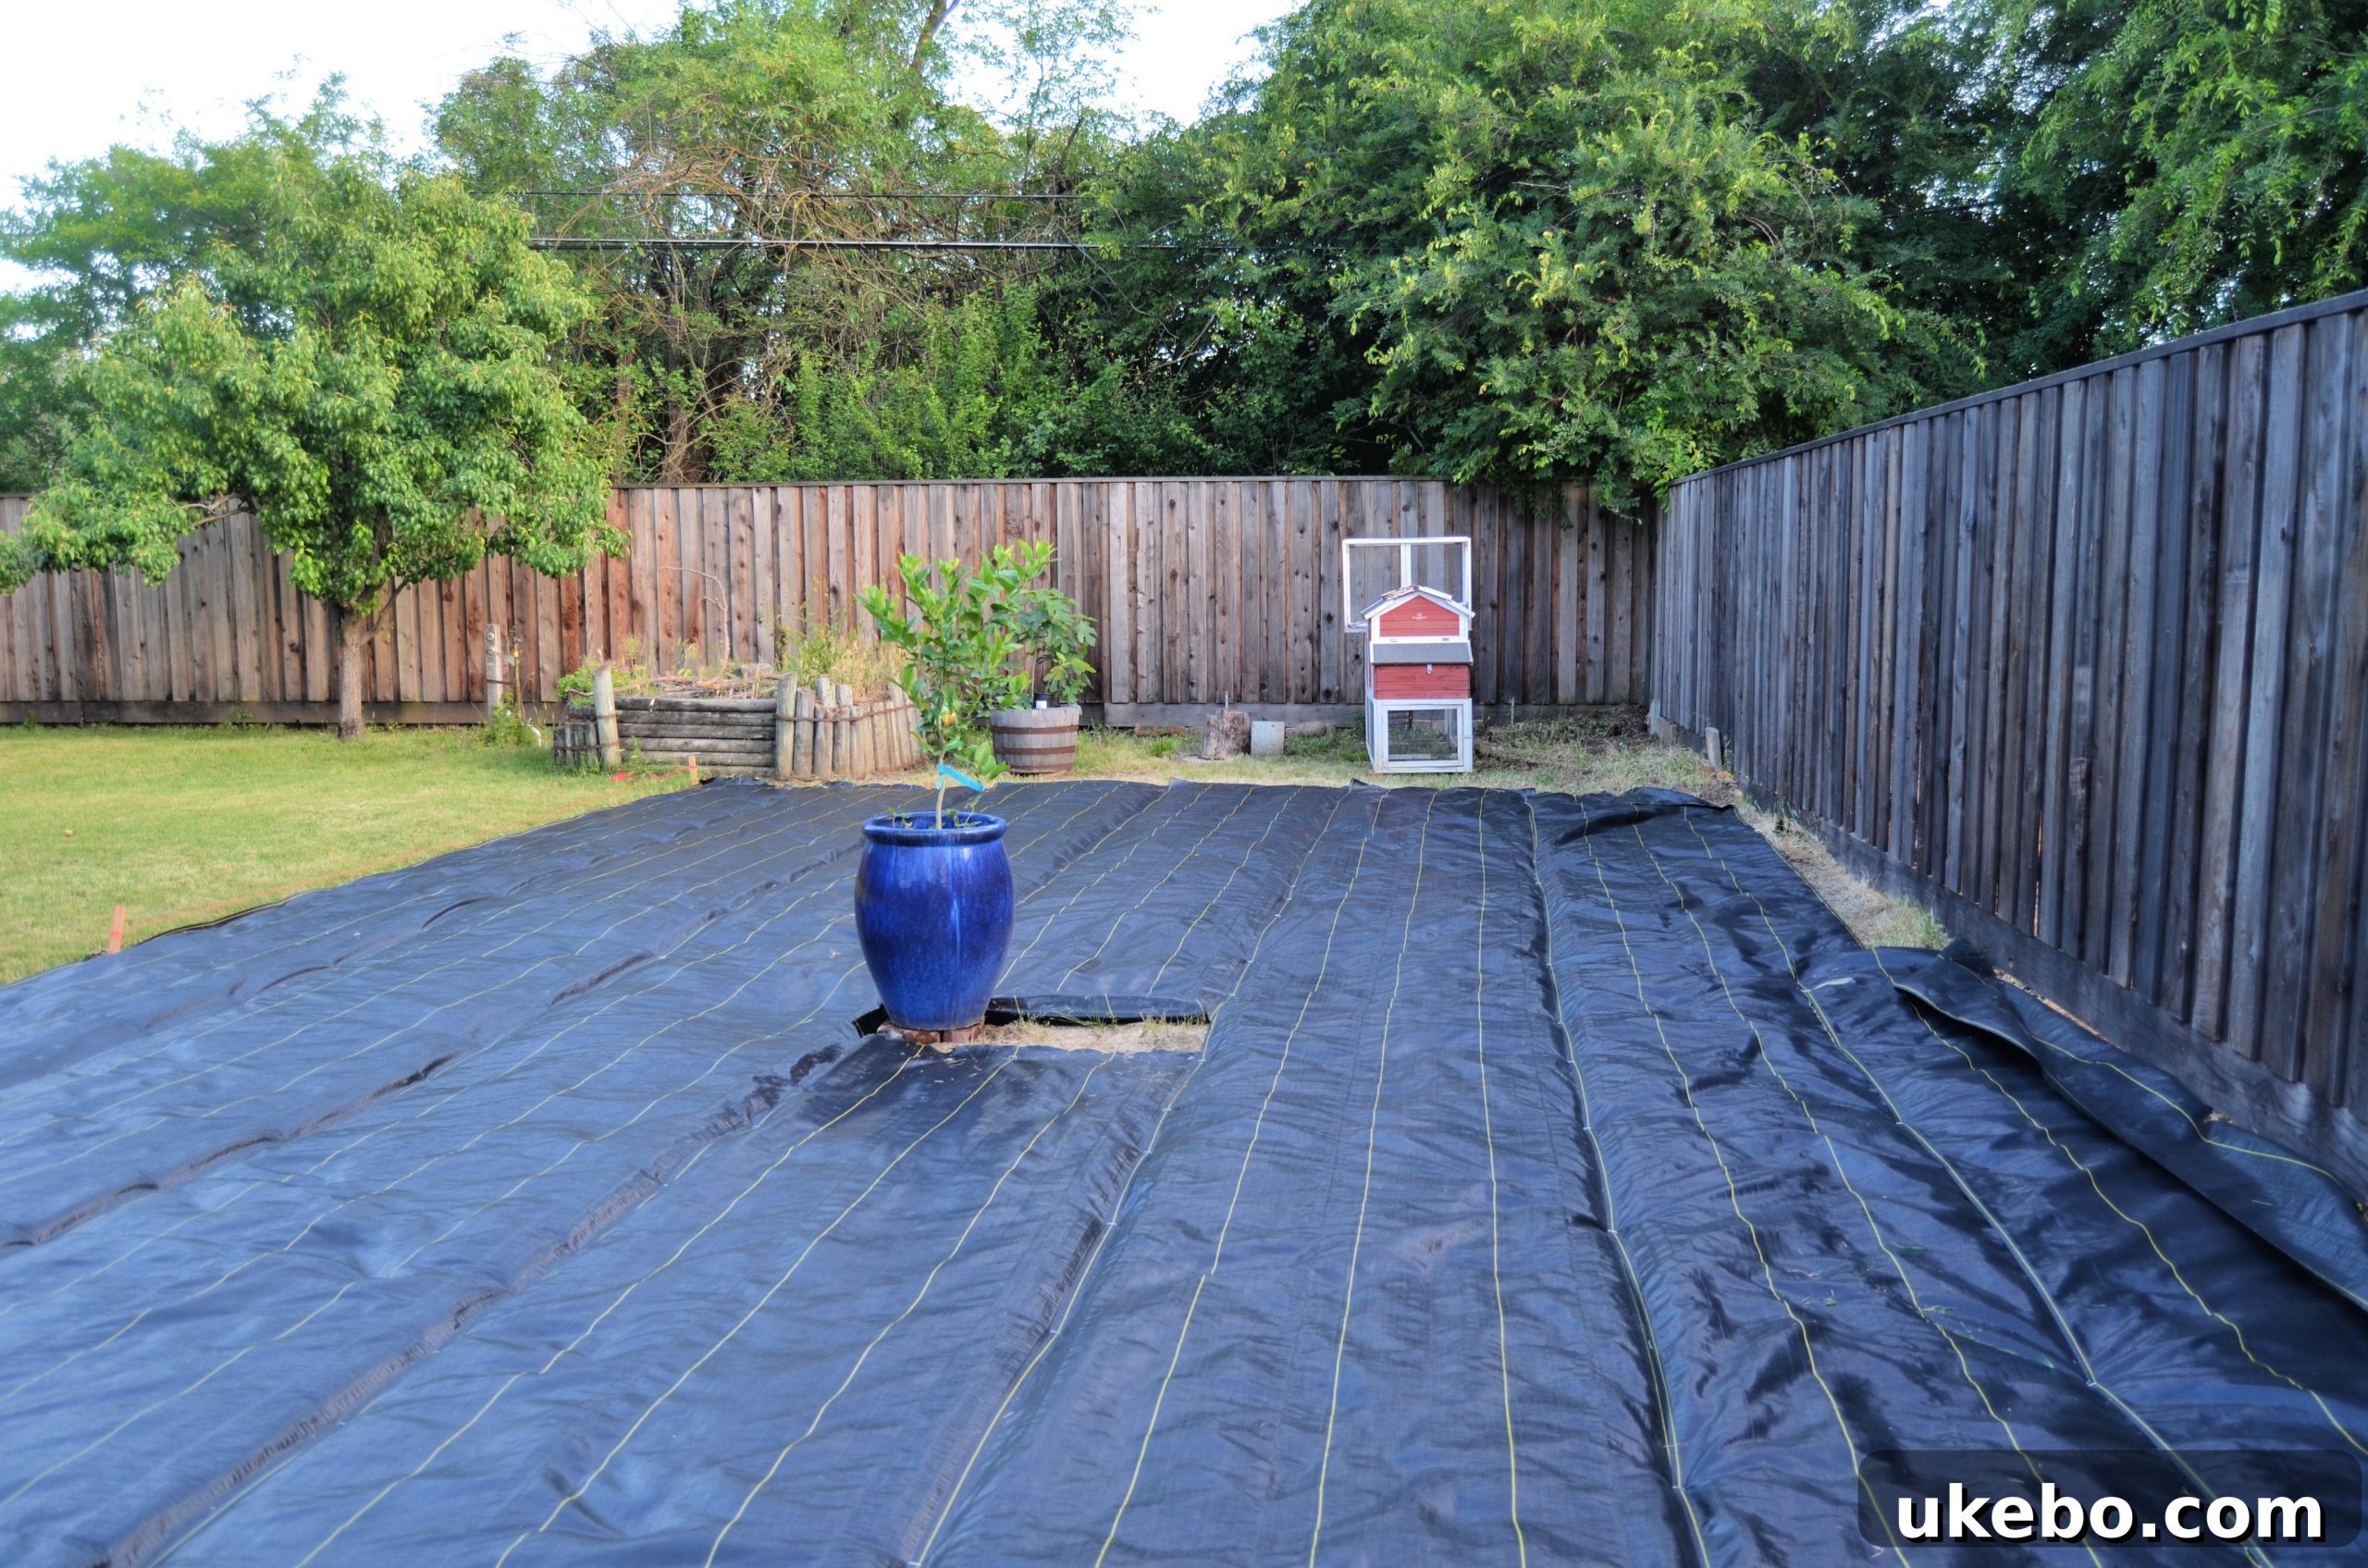
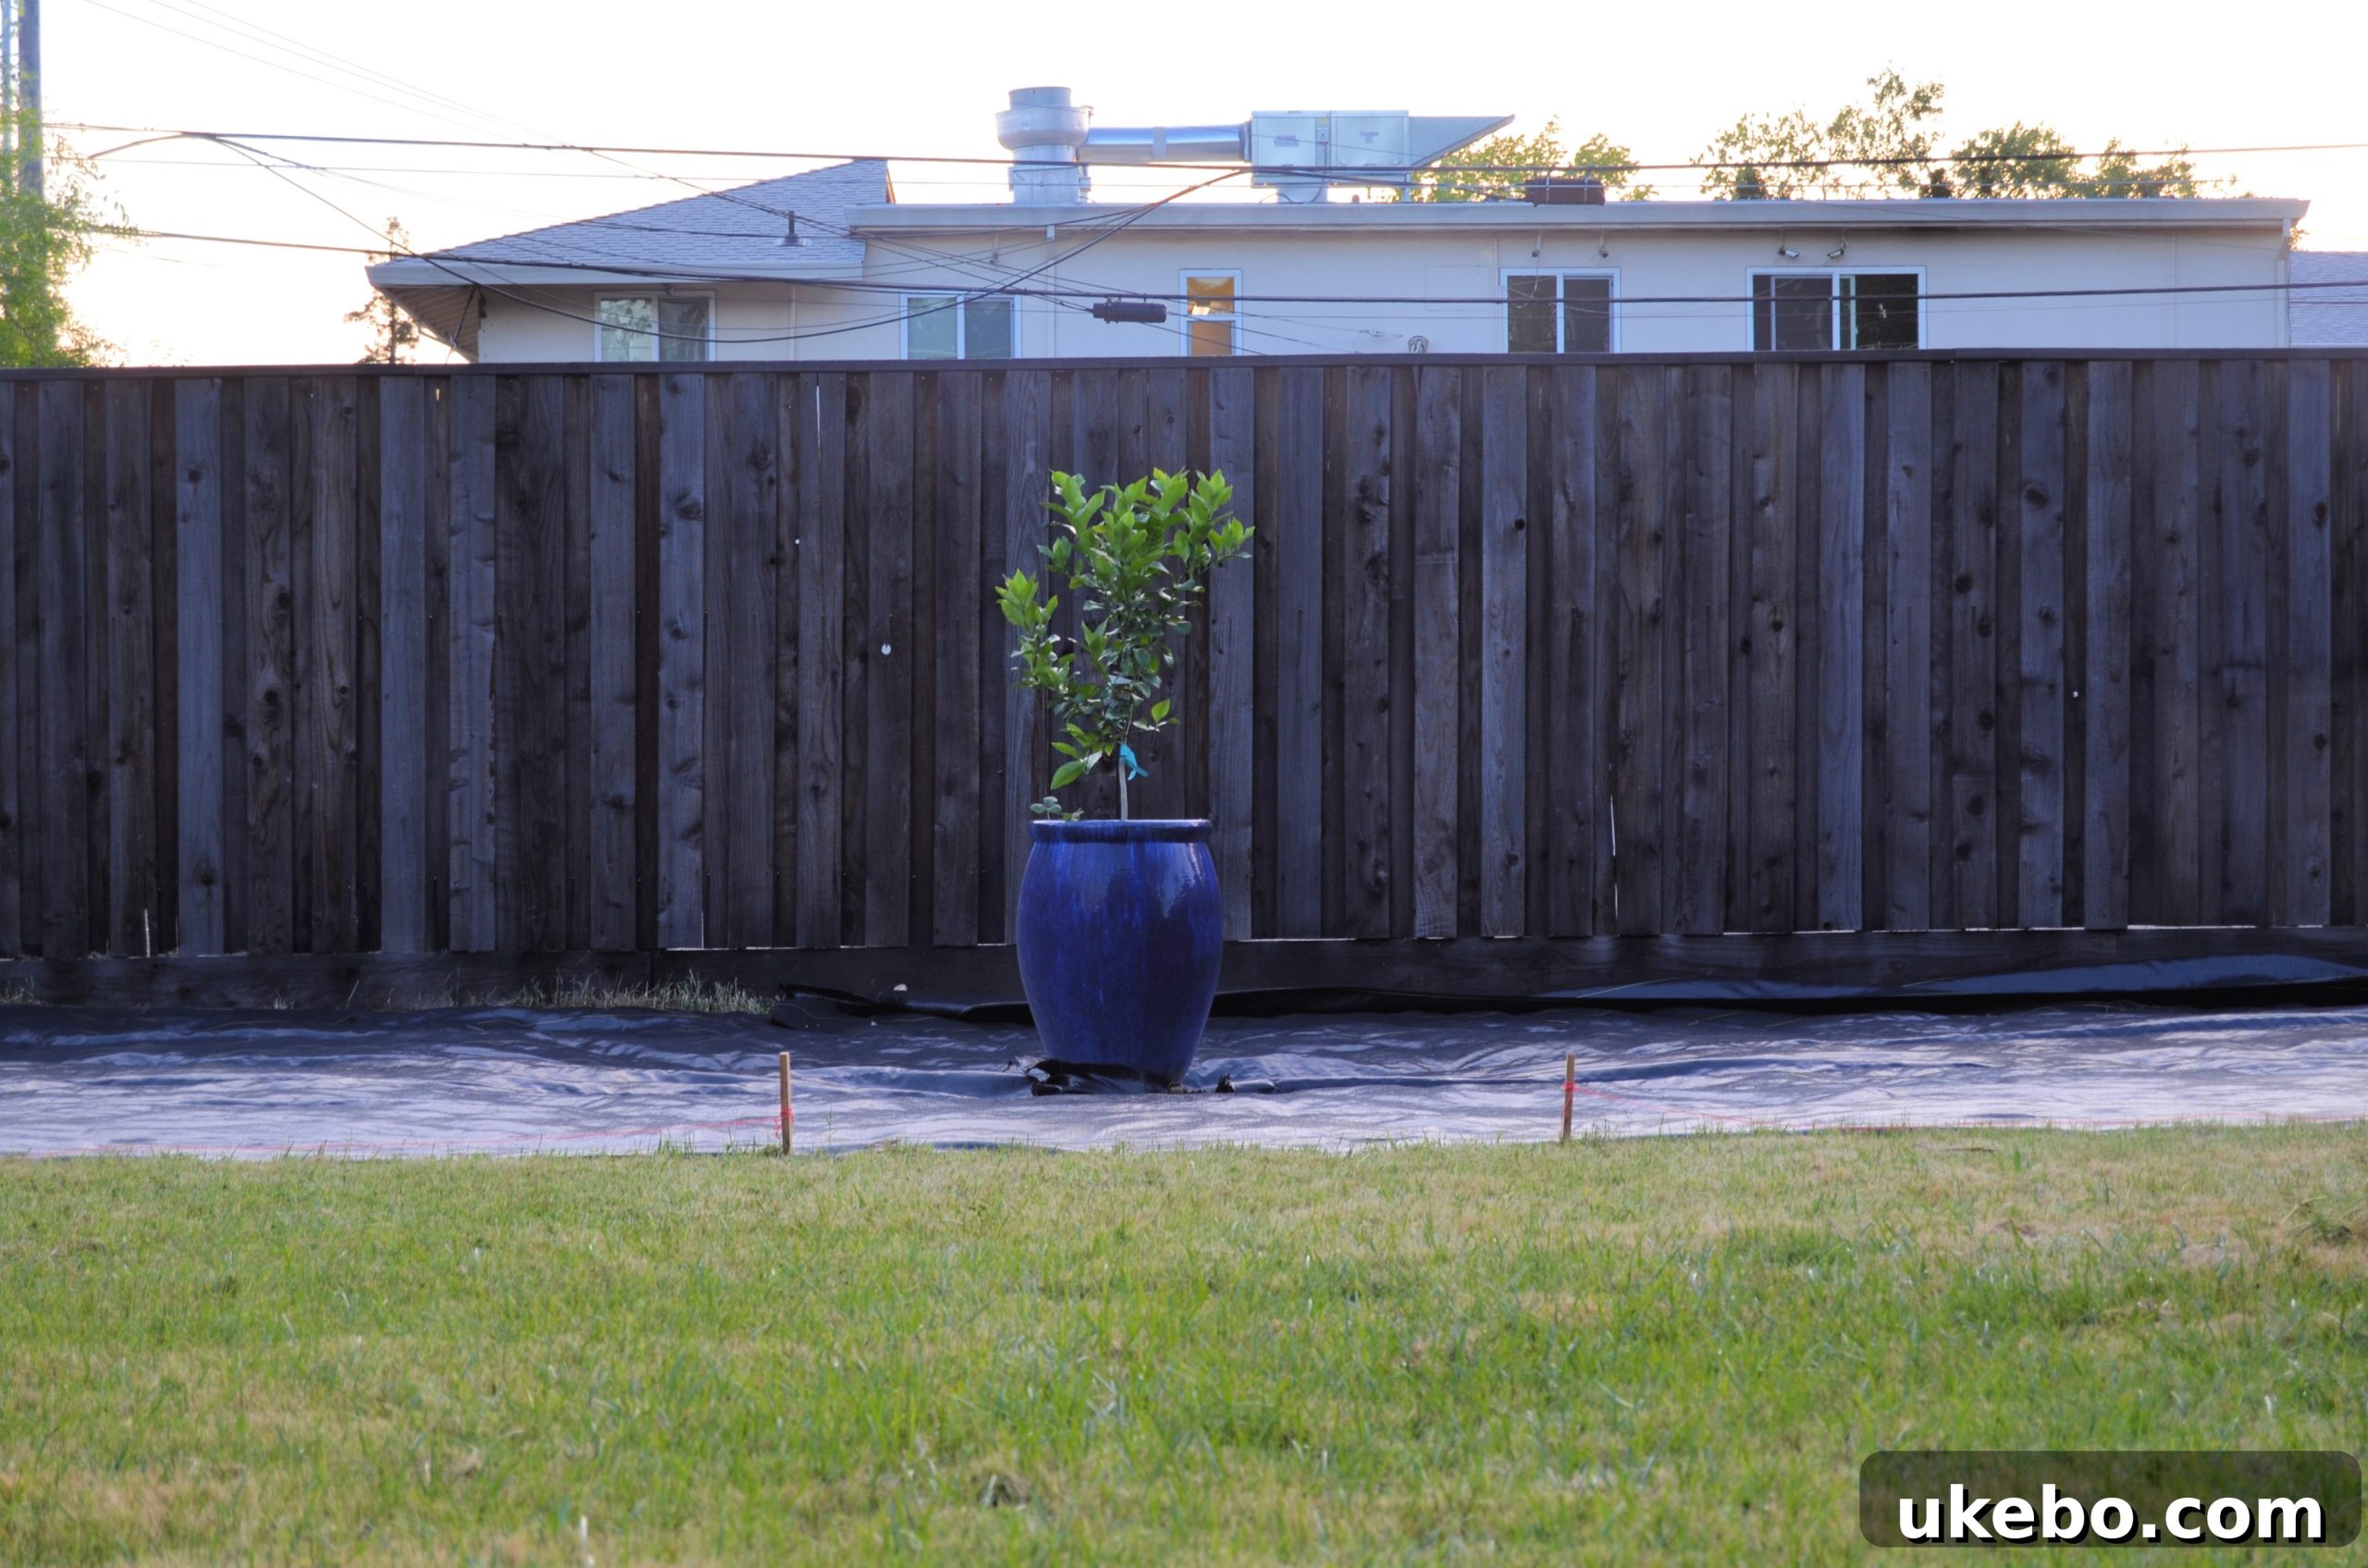
This single 300-foot roll of weed barrier proved remarkably efficient, covering nearly the entire designated garden area with precision. Only a small strip along the fence line and a modest patch adjacent to the potted lemon tree remained uncovered. However, once I trim the excess material from the fence perimeter, I’ll have more than enough to backfill these minor gaps, ensuring complete coverage. It’s worth noting that the very back section of the garden is specifically reserved for our chickens, so the fabric was strategically stopped where that portion will eventually be sectioned off, maintaining their dedicated space. An important question that frequently arose on Instagram was regarding the material’s water permeability. The answer is a resounding YES! The day after installation, we experienced three consecutive days of torrential rain, and not a single puddle of water collected or stood stagnant on the barrier’s surface, confirming its excellent drainage capabilities and suitability for our wet climate.
Looking Ahead: Raised Beds and Continuous Updates
With the foundational elements in place, the exciting next phase involves constructing the raised beds that will define the various planting zones of our potager. I’ve made a few minor adjustments to the original garden layout I previously shared, refining the design to better suit our needs and aesthetic vision. I’ll be detailing these updated plans, along with the entire raised bed construction process, in an upcoming post. With the forecast promising a stretch of beautiful, sunny weather, my primary goal is to have all the raised beds built and precisely positioned within the next couple of weeks, marking another significant milestone in bringing this garden to life.
For those eager to follow every step of this journey, I’ve created a dedicated Instagram page for #thecottagebungalowpotager. This platform will host daily updates, engaging IGTV videos, and real-time progress reports on the garden build, offering a more immediate and visual connection to our evolving outdoor space. It’s an ideal way to see the transformation unfold as it happens.
Phew! This has certainly been a comprehensive update, filled with progress and anticipation. Thank you for joining me on this gardening adventure. Until next time, friends, happy gardening!
*Green Acres Nursery & Supply has graciously partnered with me on #thecottagebungalowpotager garden build project. I am incredibly excited and grateful to be collaborating with a local company I genuinely admire and have supported for many years. While this particular post is not a sponsored one in its entirety, Green Acres has generously provided the Eureka lemon tree, the high-quality potting soil, and various amendments essential for this initial portion of the project. As always, all thoughts, experiences, and opinions shared are entirely my own, ensuring authenticity and transparency in every update.