Homemade Lotion Bars
Also filed infavoritesBath and BeautyAll NaturalDIYWinter
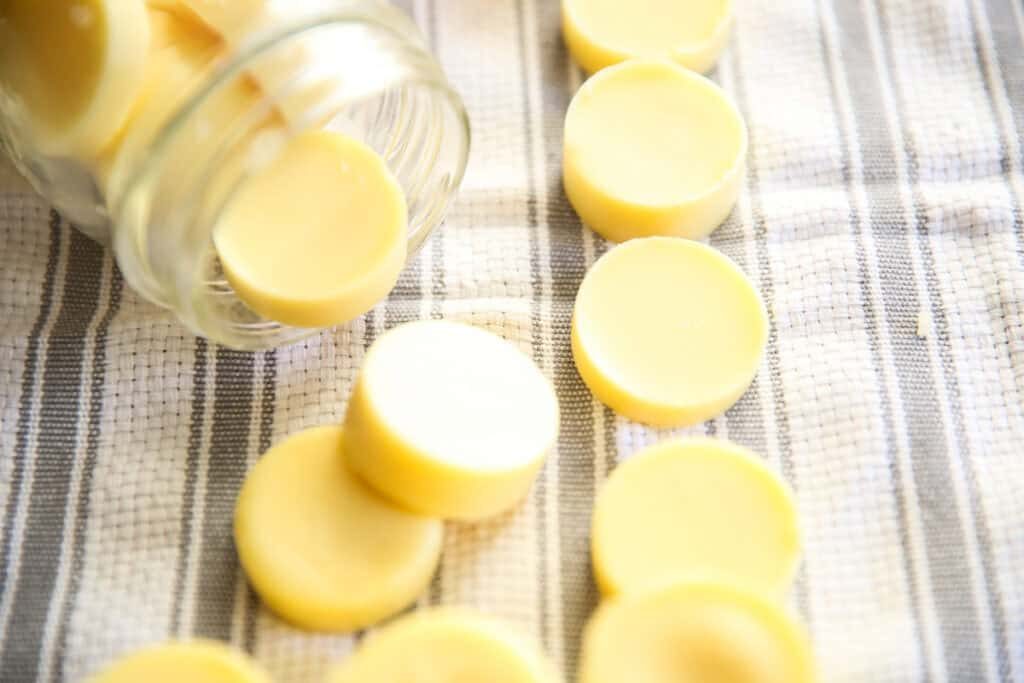
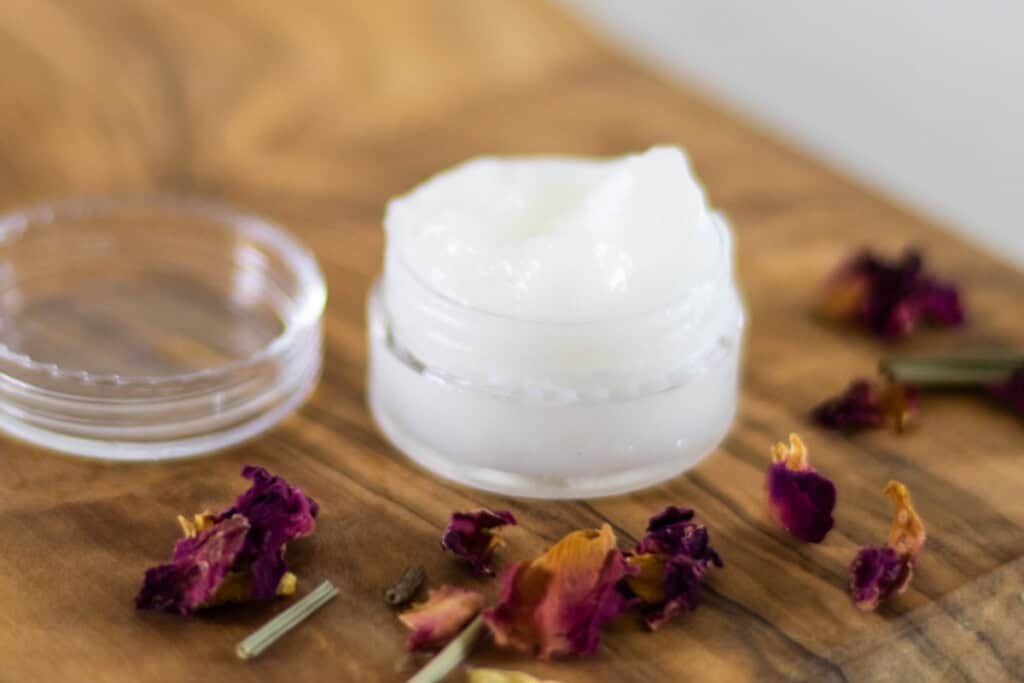
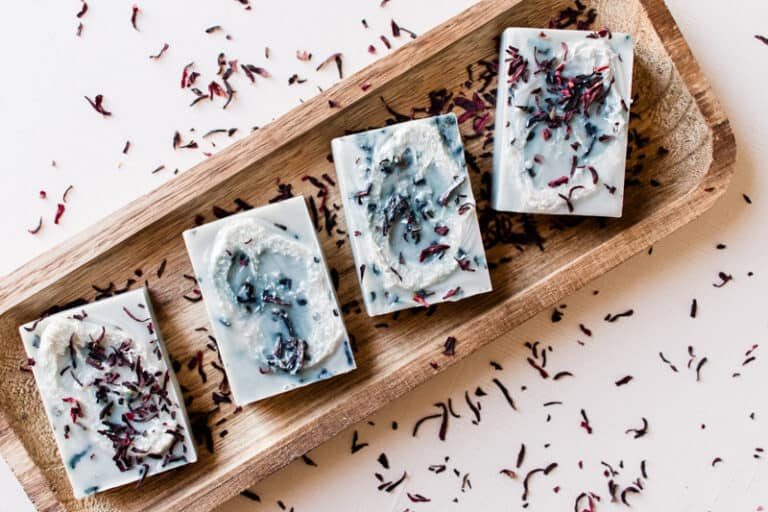
Learn how to make the easiest homemade lotion bars with essential oils. These bars are made with nourishing, moisturizing ingredients and come together in less than 30 minutes. They are perfect for everyone in the family and make a lovely handmade gift.
We have had several requests for a lotion bar recipe that was simple to make. Sharing several of the ingredients with our homemade whipped body butter, we came up with these homemade lotion bars that are made with all-natural ingredients and are very soothing and nourishing to the skin.
We love how these lotion bars make it easy to use natural products. They keep their shape with the added beeswax, but they melt slightly and soothe dry, cracked skin when rubbed on warm skin.
Perfect for the cold winter months and can be used in the summertime after being out in the sun for extended periods of time. Find relief from dry, scratchy skin in areas like knees, elbows, feet, and hands.
Why You’ll Love This Recipe
- These lotion bars are so easy to make! Simply melt the ingredients together and pour them into molds. You’ll have a big batch of lotion bars ready in no time.
- This is such a fun recipe! You can let your creativity shine by choosing unique essential oil blends for the scent and using molds in different fun shapes.
- Homemade lotion bars make the perfect gift! Everyone can benefit from nourishing, homemade lotion. These bars are beautiful to wrap and very customizable for your loved ones.
- With only simple, natural ingredients, your skin will love these hard lotion bars. We am always amazed at how soft and silky our skin feels after using them.
- Lotion bars are perfect for on-the-go and traveling. You don’t have to worry about spilling in your bag and they are very compact. We like to pack them for trips along with a homemade shampoo bar, a homemade conditioner bar, and a facial soap bar.
What goes into this Recipe
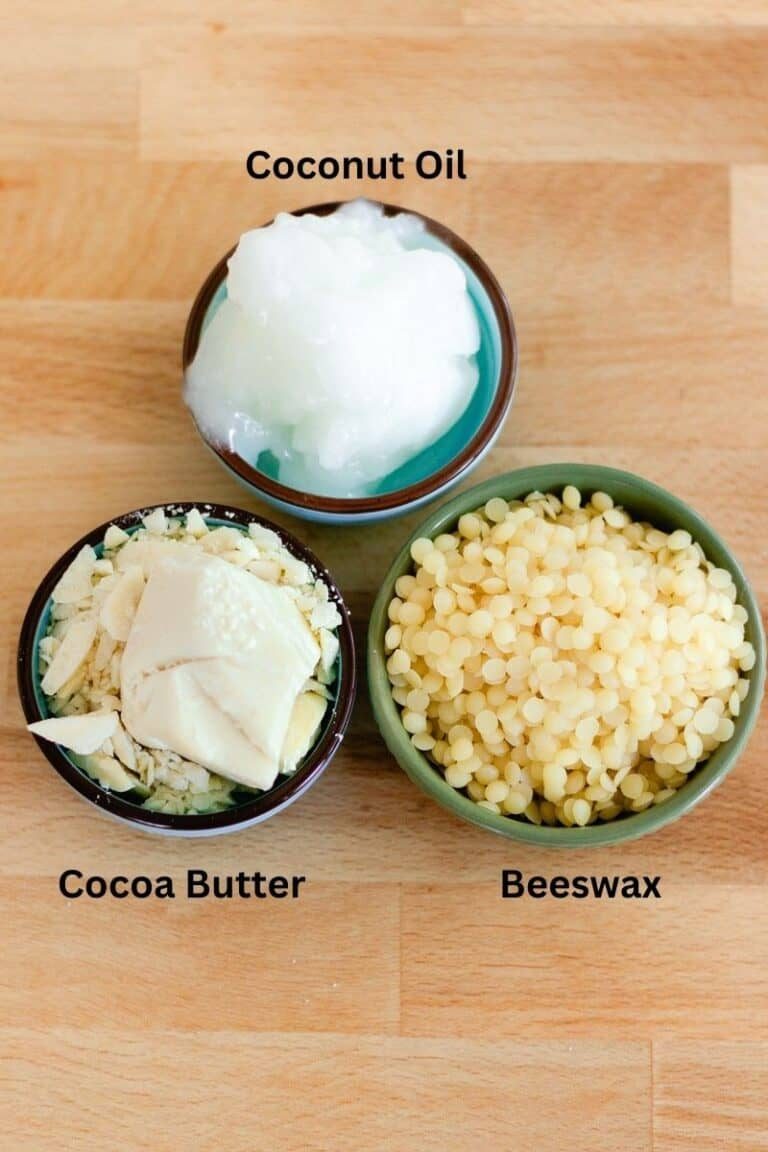
- Coconut oil: There’s a reason we use coconut oil in so many of our favorite skincare recipes! It is nourishing, soothing, and highly moisturizing. Be sure to use regular coconut oil, not fractionated coconut oil.
- Cocoa butter or shea butter: Cocoa butter will make firmer bars while shea butter will produce slightly softer bars. You can use a combination of the two if you prefer.
- Beeswax: Wax is essential for the bars to hold their shape. We use pellets rather than a block because they melt much more easily.
- Essential oils: These are optional, but they make your lotion smell amazing! Use any of your favorite essential oils, or see our suggested blends below.
- Silicone molds or metal tins
How to Make These Homemade Lotion Bars
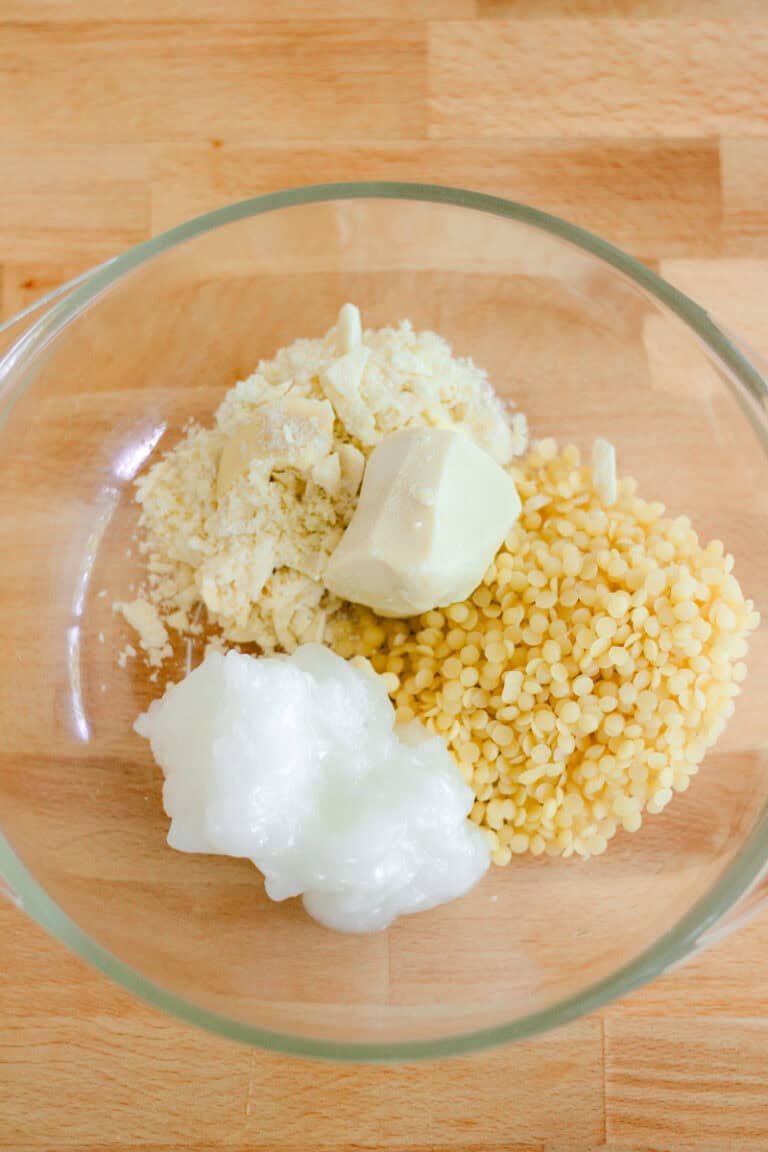
Step 1. Combine all of the ingredients, except the essential oils, in a double boiler or a glass bowl set atop of pot of water.
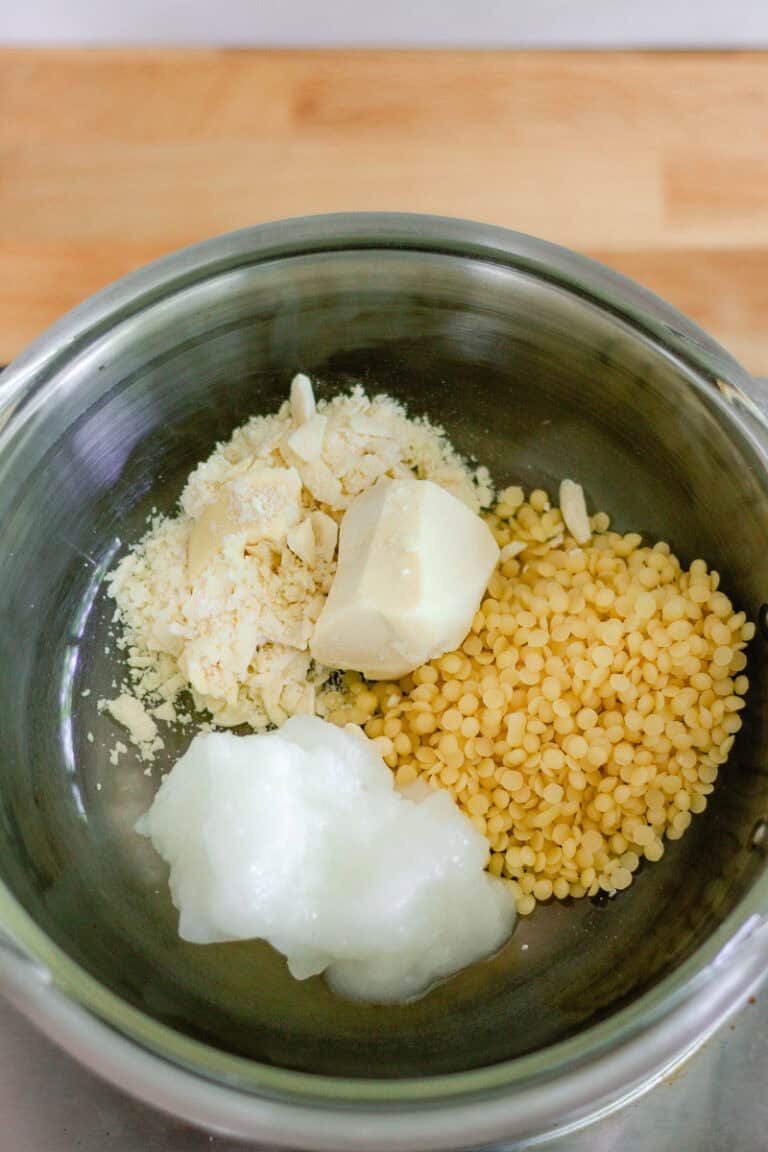
Step 2. Bring the water to a boil and melt the ingredients. Once the ingredients are completely melted, remove the bowl from the heat.
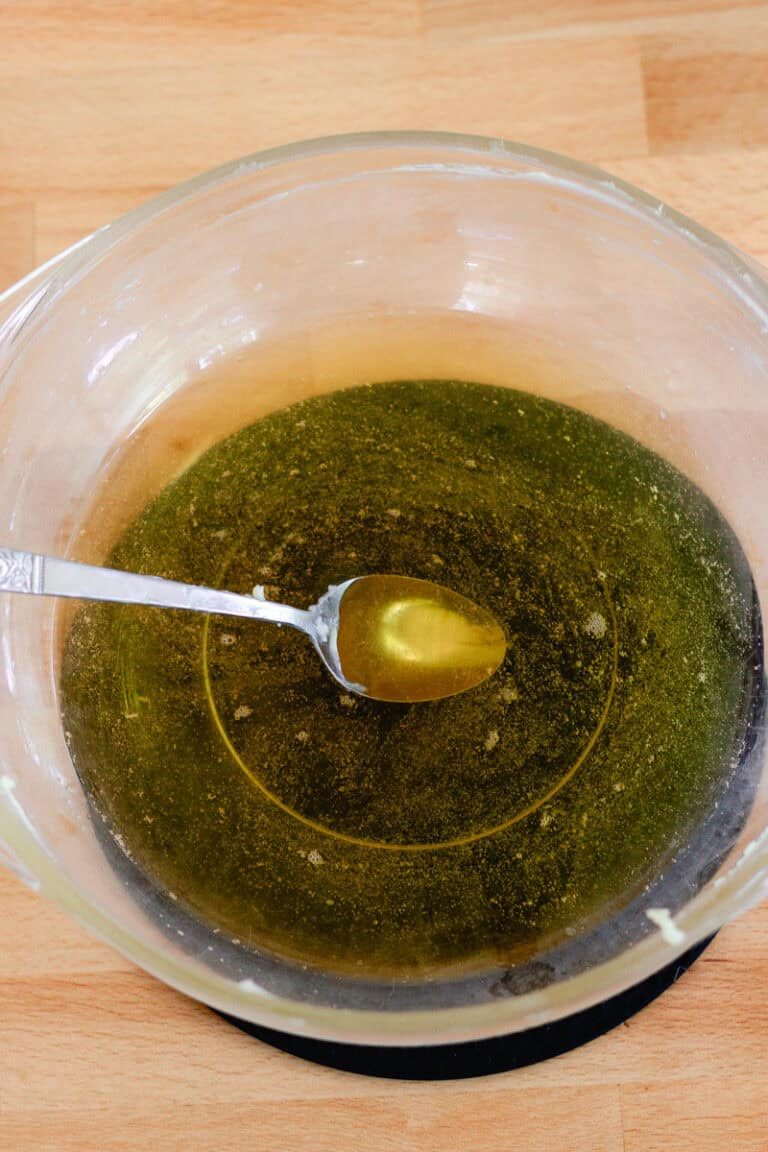
Step 3. Let the mixture cool slightly, then stir in the essential oils.
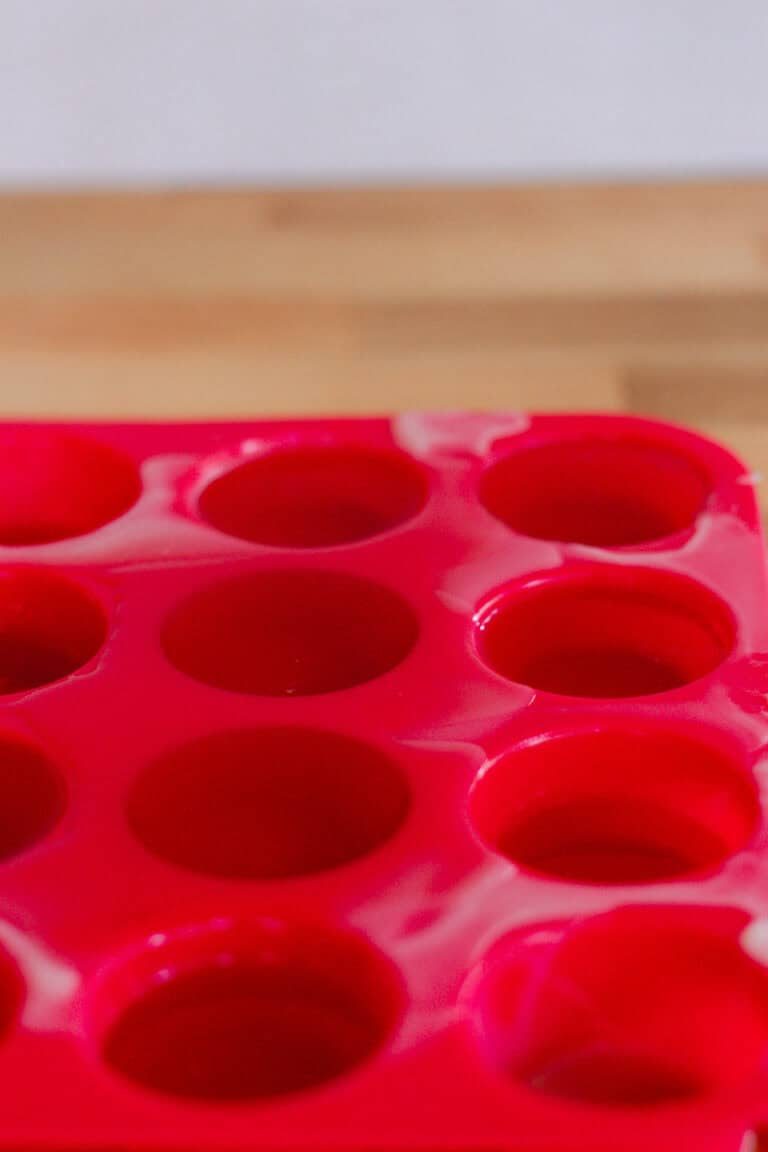
Step 4. Pour the mixture into silicone molds or metal tins.
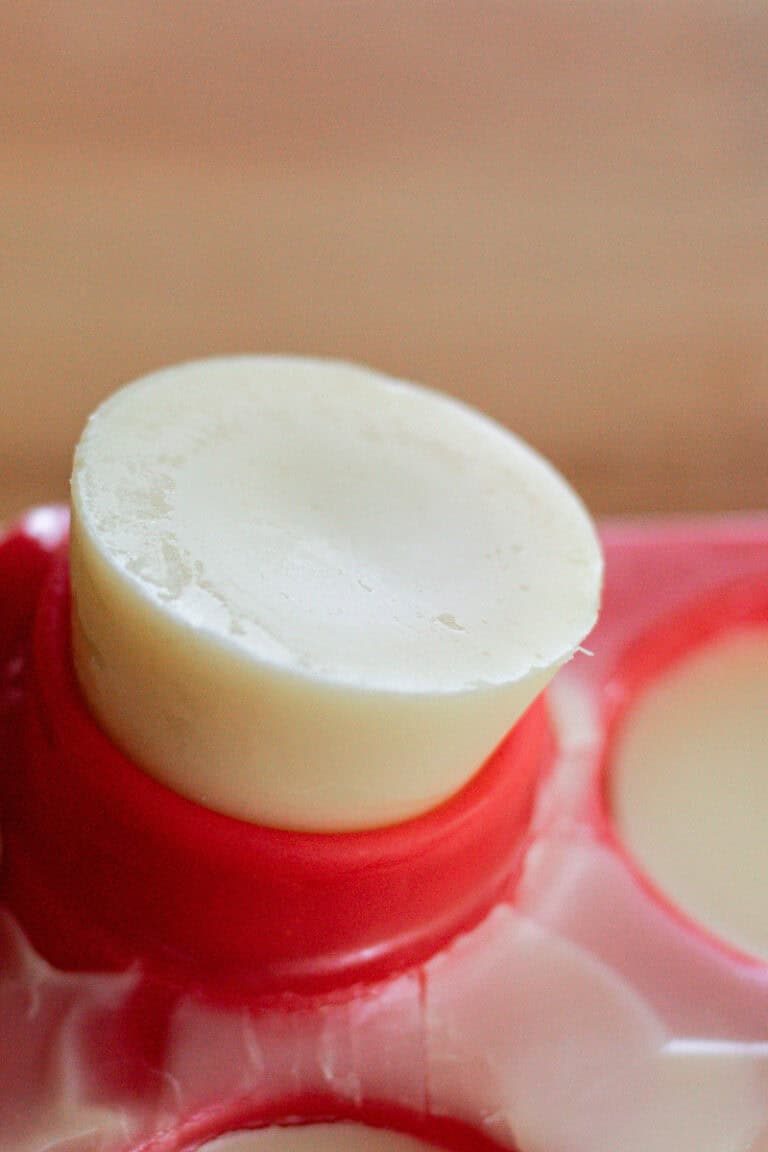
Step 5. Allow the mixture to cool completely, then pop the bars out of the molds.
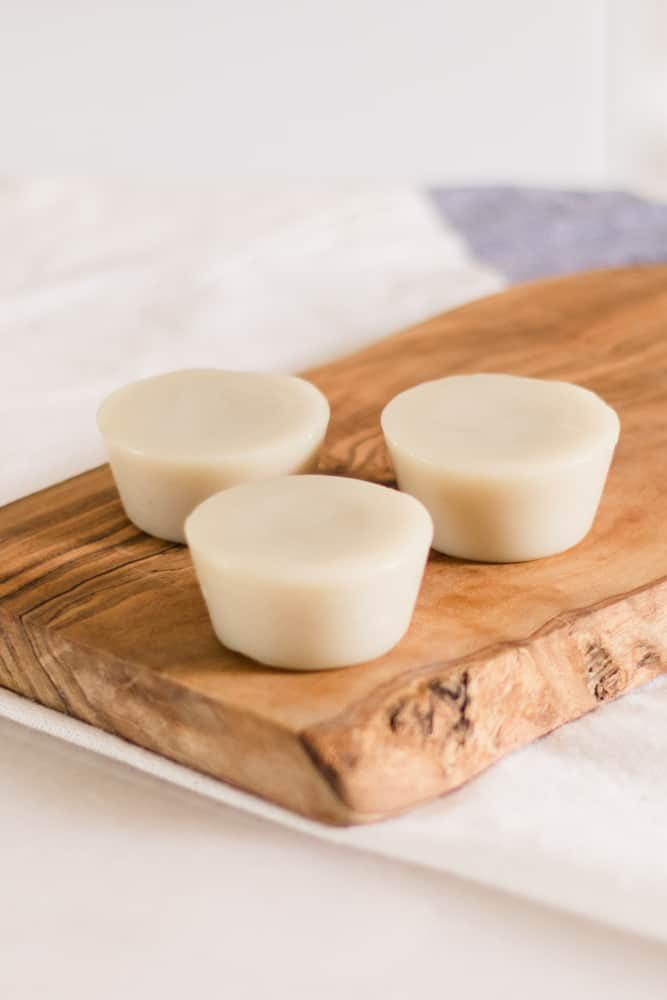
Now your lotion bars are ready to use! Store them in an airtight container for up to one year.
Expert Tips
- We have provided measurements in both weight and volume. Please be aware that for optimal results, measuring by weight would be best. If you don’t have a scale, we suggest watching the video below to see how to measure by volume.
- Get creative with the types of mold you decide to use! If you are making these for Christmas gifts, you can use Christmas molds and make these bars in the shape of snowmen or snowflakes. Use heart-shaped molds for Valentine’s Day.
- If you’re using silicone molds, store the bars in an airtight container after popping them out of the molds. They will last for up to a year.
- Store out of direct sunlight and in a cool room. If your house is above 78 degrees, the bars can melt and should be stored in the refrigerator.
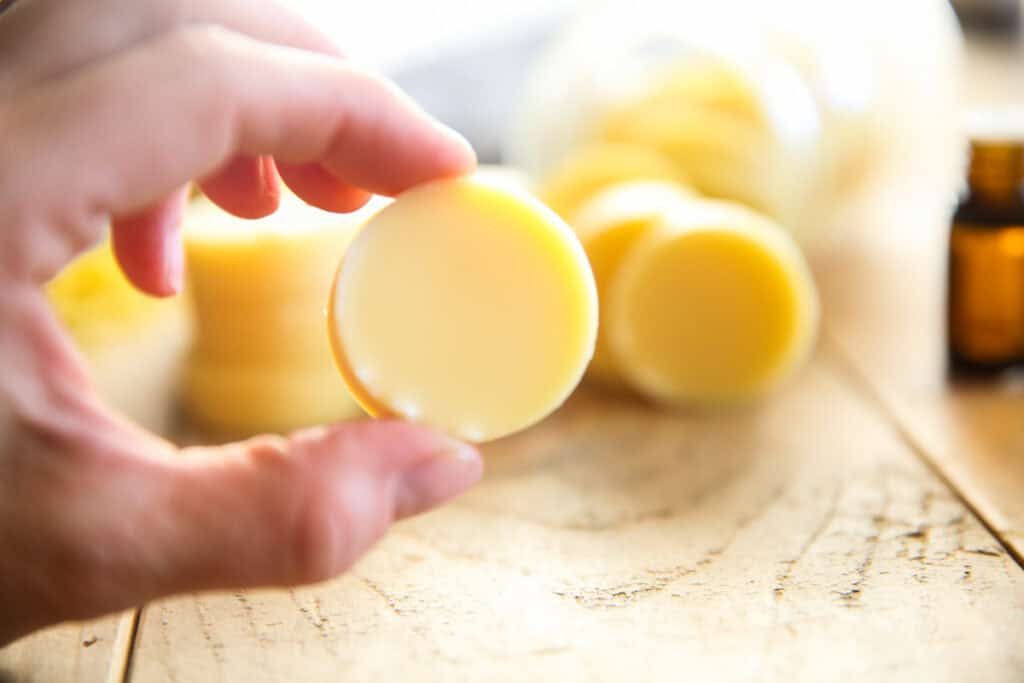
Best Essential Oil Blends for Lotion Bars
These are just a few of the essential oil blends we like to use in our skincare products such as these lotion bars, homemade body cream, and homemade pumpable lotion.
The benefit of making your own lotion bars is you get to choose the ingredients! With that in mind, feel free to add any of your favorite essential oils to get the scent you like.
- Frankincense + Yarrow Pom + Rose
- Lavender + Roman Chamomile
- Frankincense + Melaleuca + Lavender
- Lemongrass + Cedarwood
Recipe FAQs
How do we use these lotion bars?Rub the lotion bar directly onto the skin. When you rub it on the warm skin, it will melt slightly, making it easy to apply.
Can we make homemade lotion bars vegan?Yes! To make these lotion bars vegan, simply substitute the beeswax with a plant-based wax such as candelilla wax. That is how we make homemade vegan lip balm!
What are some good packaging options for homemade lotion bars?There are so many ways you can package lotion bars for a homemade gift! You can wrap them in cellophane or paper, package them in decorative boxes, or place them in metal tins or small drawstring bags.
What are the best molds for homemade lotion bars?We use circle-shaped silicone molds for our lotion bars, but you can use any molds you like! Bar-shaped molds are a good option, or you can use molds with fun shapes such as flowers or hearts.
Related Recipes
- Homemade Muscle Rub
- DIY Bug Repellent Lotion Bars
- Homemade Sunscreen Lotion Bars
- Homemade After Sun Lotion
- Homemade Body Butter Stick
If you tried this Homemade Lotion Bars Tutorial or any other tutorial on our website, please leave a 🌟 star rating and let me know how it went in the 📝 comments below. Thanks for visiting!
4.90 from 143 votesHomemade Lotion Bars
By the studio Ascher Prep: 5 minutes minsCook: 25 minutes minsAdditional Time: 4 hours hrsTotal: 4 hours hrs 30 minutes mins Servings: 15 bars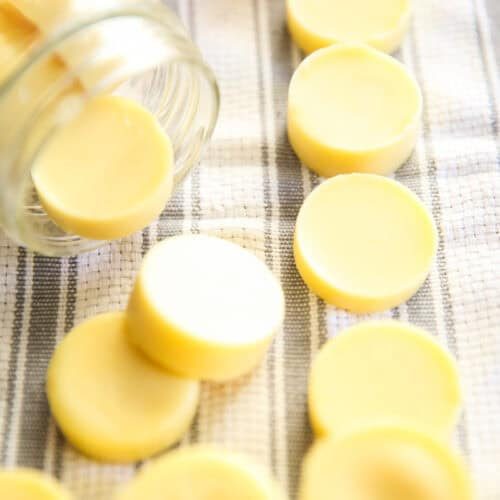 SaveSaved Pin Print The perfect lotion bar recipe for anyone with dry, cracked skin.
 Equipment
- Double Boiler
- Small silicone molds
Ingredients
- 3.8 oz coconut oil, approximately ½ cup
- 2.75 oz cocoa butter, approximately ½ cup
- 2 oz beeswax pellets, approximately ½ cup
- 15 drops essential oil, optional
Instructions
- Melt all the ingredients except essential oils in a double boiler. You can make your own double boiler by placing a glass bowl over a medium-size saucepan.
- Bring the water to a boil until all the ingredients are melted.
- Remove the bowl from the heat and let cool slightly.
- Stir in essential oils.
- Pour the mixture into silicone molds or metal salve tins, whatever you prefer to use.
- Let the mixture cool completely and then pop the bars out of the molds.
- Store in an airtight container for up to one year.