DIY Bronzer
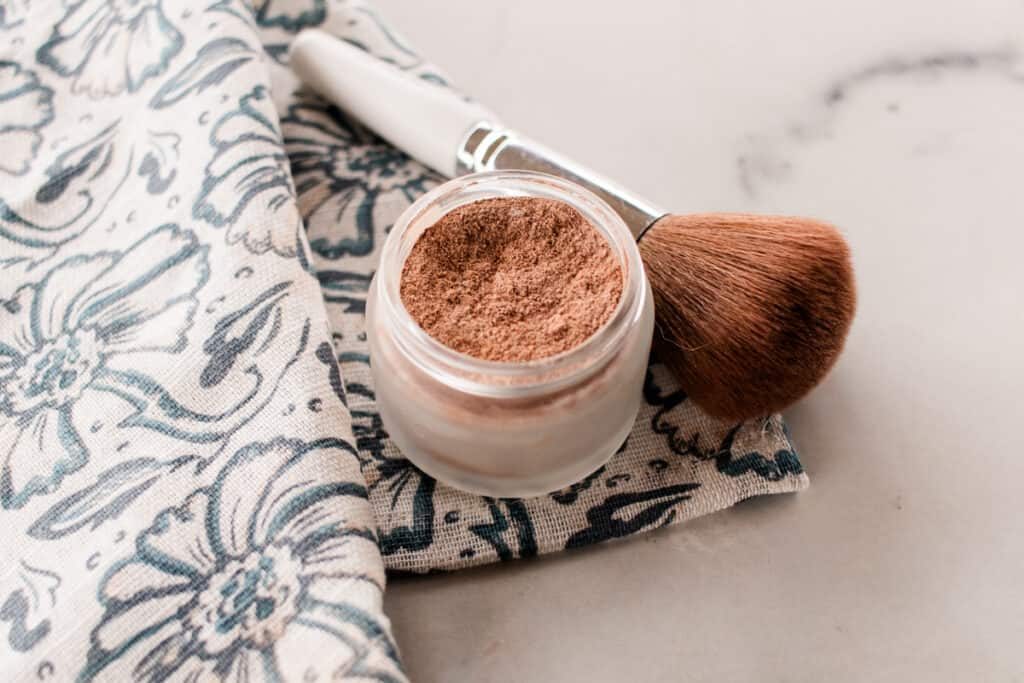
Achieving a beautiful sun-kissed look just got easier with this simple DIY bronzer recipe. With just a few natural ingredients, you can add a subtle golden contour to your face and elevate your beauty routine.
It’s no secret we're a big fan of DIY makeup. Partly because we enjoy making our own products, but we am also very particular about the ingredients we put onto our skin.
So, to get what we want, we generally have to make our own, which we love to do, so it’s a win-win!
It’s great having total control over the ingredients so we can customize the tint to match our skin tone perfectly, so it’s a no-brainer.
This delicious-smelling bronzer is the last step in our makeup routine before finishing off with our makeup setting spray. It’s so fun getting to use our own handmade beauty products, and we think you’ll love it, too.
Why you’ll love this bronzer
- With just a few simple and natural ingredients, you can feel good about applying this product to your skin.
- It looks good and smells good, too. Cocoa and cinnamon give this bronzer a delightful and warm aroma.
- This recipe is so easy to make. Simply mix everything together in a small container and apply to desired areas for a natural-looking glow.
How to make DIY bronzer
Ingredients
- 1 tablespoon arrowroot powder (or cornstarch)
- 2 teaspoons cocoa powder
- 1/2 teaspoon cinnamon
Instructions
Step 1. In a small container, add the arrowroot powder, cocoa powder, and cinnamon.
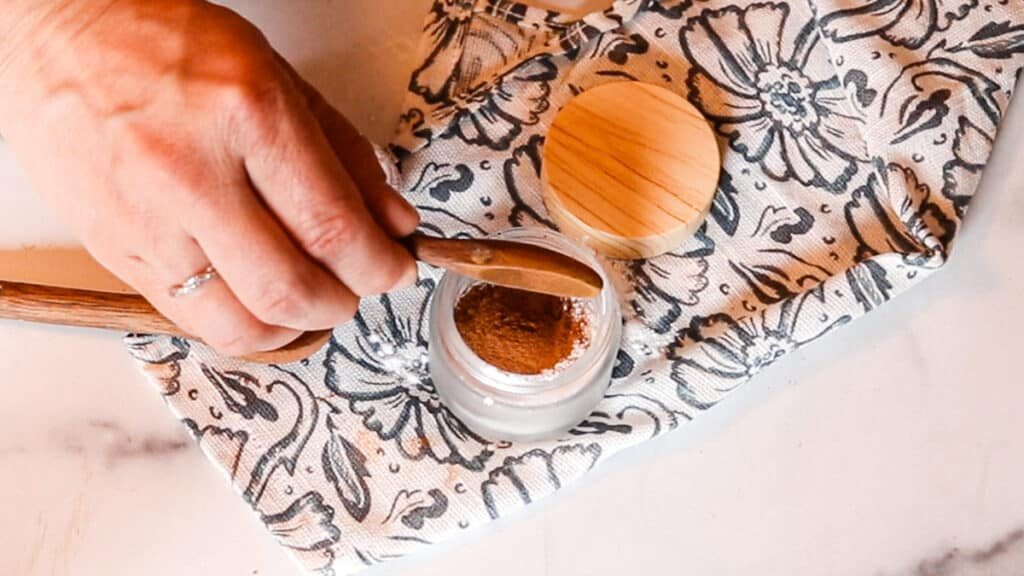
Step 2. Mix the ingredients together until they are thoroughly combined.
Pro tip: Adjust the amounts to match your skin type and the desired color hue you want. Everyone is different, and there is no one size fits all when it comes to bronzer.
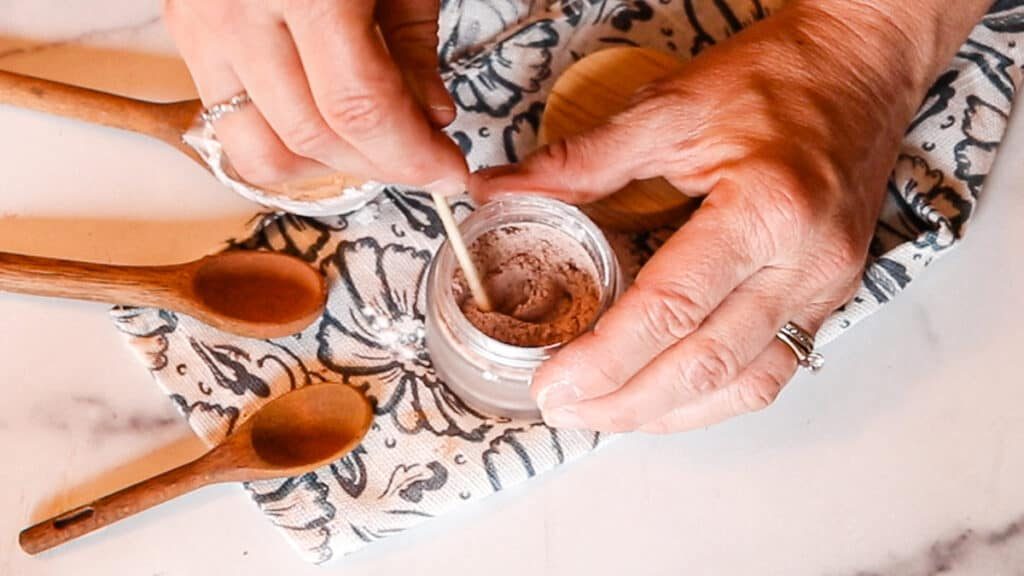
Step 3. Use a bronzer brush to apply the bronzer to desired areas. We like to brush it on our cheeks to define our cheekbones and on our nose, forehead, and temples for a sun-kissed glow.
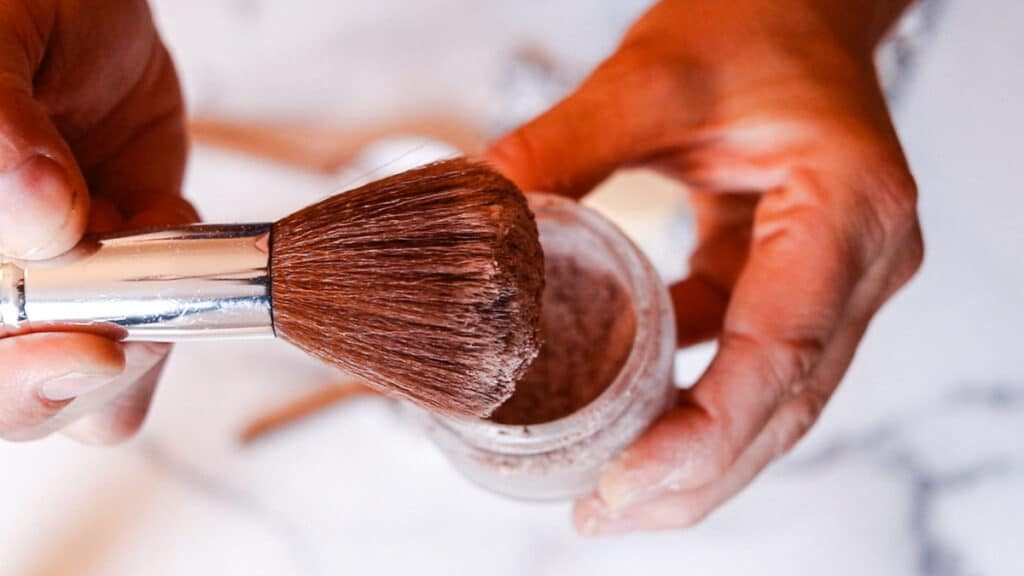
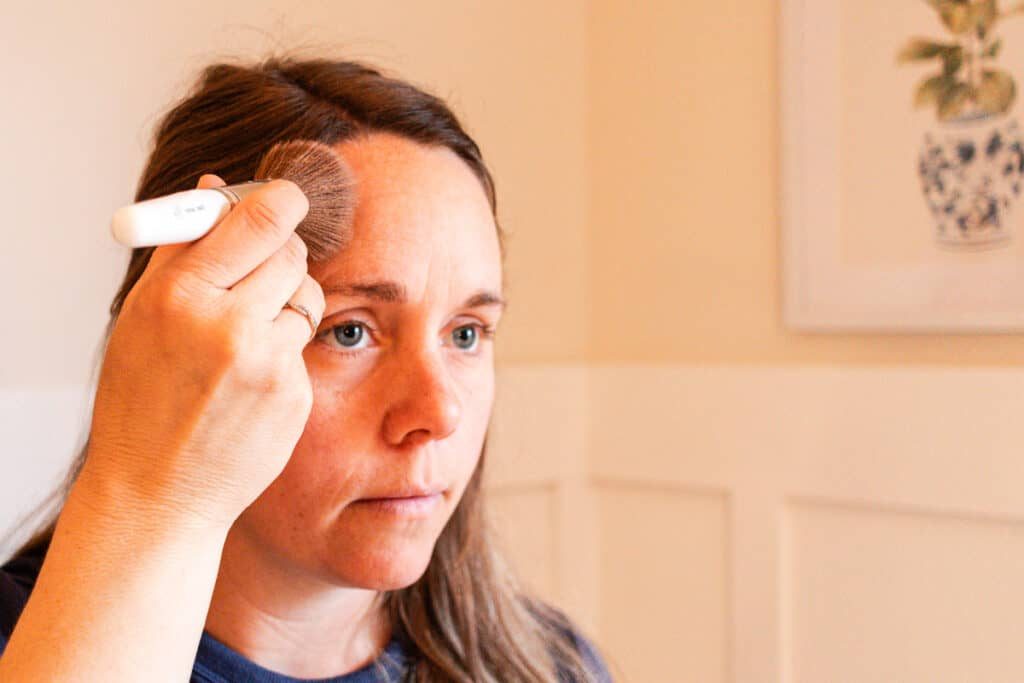
How to apply homemade bronzer
Bronzer is the last makeup product you should apply. Before beginning the bronzer application, start with your foundation and concealer.
Dip your clean bronzer brush into the powder and give it a light tap on the edge of your container to remove any excess product.
Then, begin applying the bronzer to your cheekbone, starting near the top of your ear and blending back and forth along the cheek to give a contoured look.
Apply more bronzer to the area around your hairline, working the brush along spots that would naturally be hit by the sun. We like to stay above the top half of our forehead and certainly avoid the eyes.
Blend some more into your temples and along your jawline.
Finish off by blending down the neck below your ears and softening any harsh lines with a circular motion.
Tips
- Always apply bronzer after your foundation and concealer have set.
- Avoid getting the bronzer too close to your eyes. You want to keep your eyes looking bright. For extra help hiding dark circles under the eyes, try our DIY concealer or our essential oils for dark circles blend.
- Bronzer comes in many different shades and consistencies based on skin type. You’ll need to experiment with the amounts of each ingredient to get the perfect customized combination for your skin tone and type.
- For the best results, always use a clean brush. We use our homemade makeup brush cleaner; you can grab the recipe here.
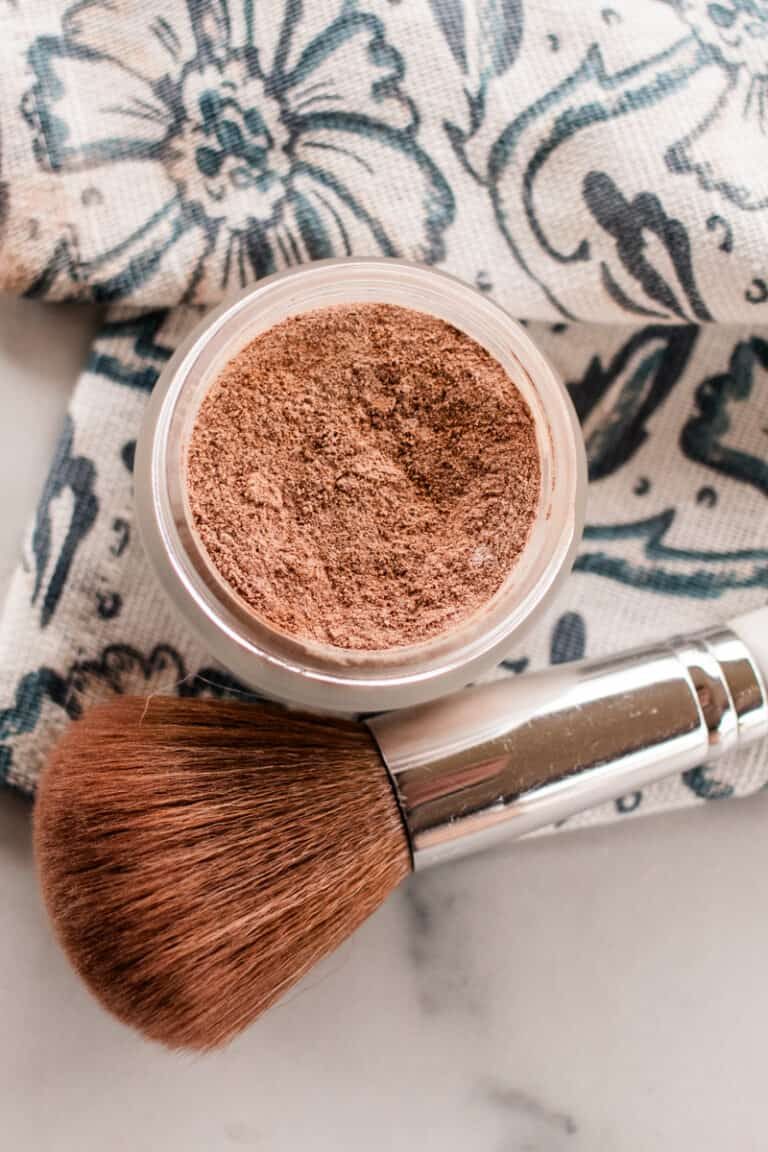
FAQ & Storage
What are the best ingredients for bronzer?A combination of arrowroot powder, cocoa powder, and cinnamon is perfect for mixing together a simple DIY bronzer that will give your skin a natural sun-kissed golden glow.
How dark should our bronzer be?You should go no more than two shades darker than your skin tone. The more cocoa you add, the darker the bronzer will be, so apply a little and test the bronzer before adding in extra cocoa.
Can we use bronzer instead of foundation?You can use bronzer alone instead of foundation, but bronzer aims to create a tanned look, while foundation usually provides an even, uniform skin tone.
How do we store bronzer?Store this powdered bronzer in an airtight container for up to one year.
Touching on the makeup for a second
As you can see, this is a powdered bronzer recipe. If you would prefer a liquid bronzer, we would suggest trying our tinted moisturizer recipe as an alternative.
While it is not technically a bronzer, it can be used as one. Plus, it will keep your skin moisturized!
So, if you are looking for an easy-to-make and cost-effective bronzer, this recipe is for you!
Additionally, if you made this recipe and loved it, we would love for you to come back and leave a review below!
See our favorite makeup recipes.
5 from 1 voteDIY Bronzer
By the studio Ascher Prep: 3 minutes minsActive: 5 minutes minsTotal: 8 minutes mins Yield: 1 jar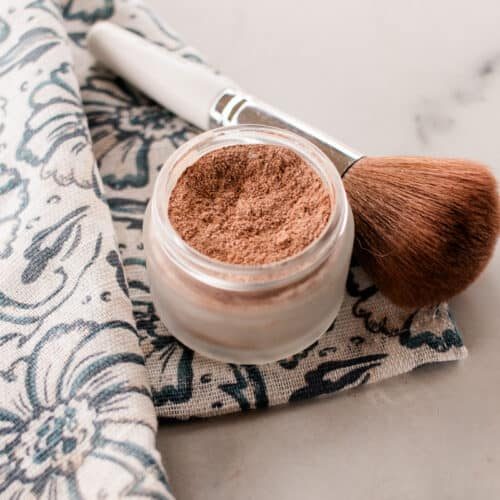 SaveSaved Pin Print Achieving a beautiful sun-kissed look just got easier with this simple DIY bronzer recipe. With just a few natural ingredients, you can add a subtle golden contour to your face and elevate your beauty routine.
 Equipment
- Storage container
Ingredients
- 1 tablespoon arrowroot powder, or cornstarch
- 2 teaspoons cocoa powder
- ½ teaspoon cinnamon
Instructions
- In a small container, add the arrowroot powder, cocoa powder, and cinnamon.
- Mix the ingredients together until they are thoroughly combined.
- Use a bronzer brush to apply the bronzer to desired areas. We like to brush it on our cheeks to define our cheekbones and on our nose, temples, and forehead for a sun-kissed glow.
- Secure container with a lid and store in a dry location.
Video
Notes
We've included step-by-step images in the post above for visual guidance. If you would rather watch, see the complete step-by-step video tutorial! To adjust the ingredients to match your skin tone:- Add more arrowroot powder to make it lighter.
- Add more cocoa powder for a darker shade.