
Welcome back, garden enthusiasts!
Following the tremendous response to my previous post about initiating our cottagebungalow potager, I’m incredibly excited to delve deeper into the specifics of this ambitious backyard garden transformation. Your enthusiasm for this project has been truly inspiring, and now that we’ve established the overall vision, it’s time to outline the concrete steps and design choices that will bring this dream to life.
Strategic Garden Placement: Finding Our Potager’s Home
One of the aspects I truly appreciate about our yard is its inherent zoning potential. Its thoughtful configuration allows us to easily delineate distinct areas while maintaining a cohesive flow throughout the property. From the very first moment I surveyed the space, I pinpointed the perfect location for our potager garden: the expansive, somewhat secluded area tucked neatly behind the detached garage. This particular spot offers an ideal blend of privacy and practicality, crucial for a thriving vegetable and flower garden.
While traditionally, the most coveted position for a potager is in close proximity to the kitchen – allowing for effortless meal planning, convenient maintenance, and quick harvesting – our home’s layout presented a different reality. Our kitchen windows offer views of the front yard and driveway, making a direct connection impractical. Furthermore, I had to consider the holistic use of our backyard by the entire family. Occupying the central lawn area was not an option, as it would disrupt shared recreational spaces. Therefore, positioning the garden behind the garage, though not textbook potager placement, emerged as the optimal solution for our unique needs and lifestyle. During the bustling spring and summer growing seasons, I spend a significant amount of time outdoors, and the garden’s location is just a few steps from the laundry room entrance, which conveniently connects to the kitchen. This makes daily checks and harvests surprisingly accessible and efficient.
From Neglected Corner to Pristine Canvas: The Transformation Journey
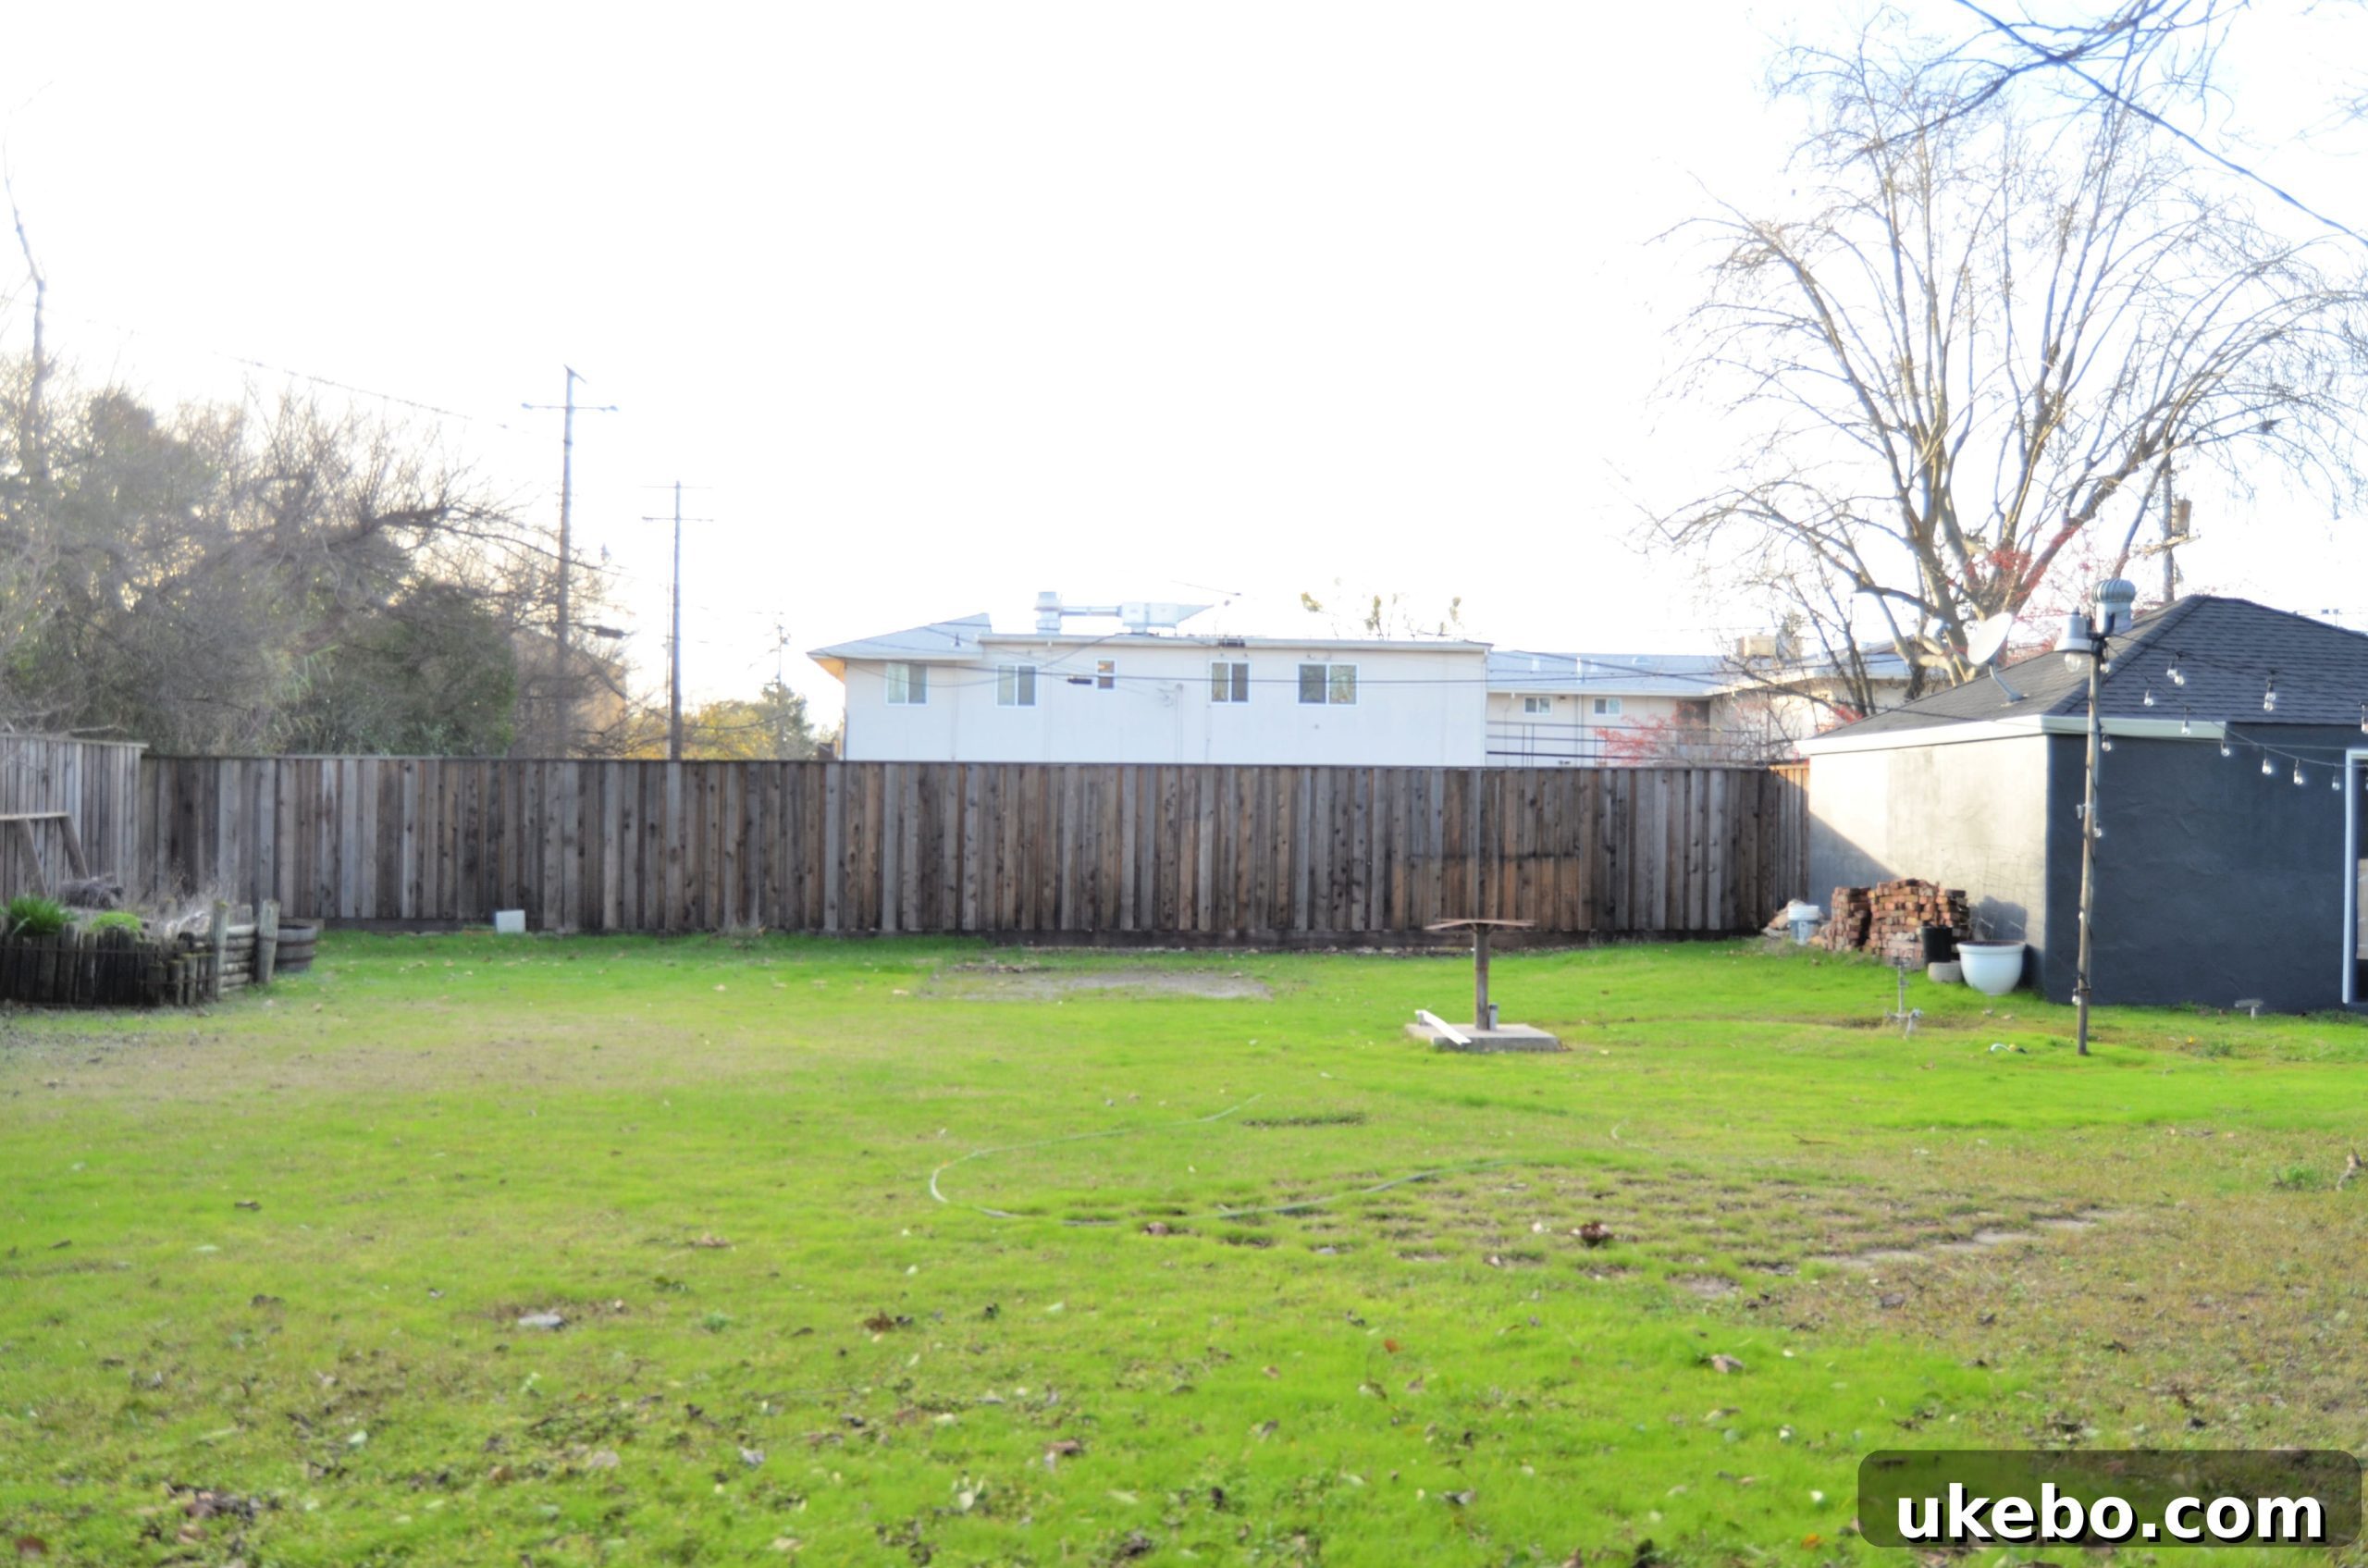
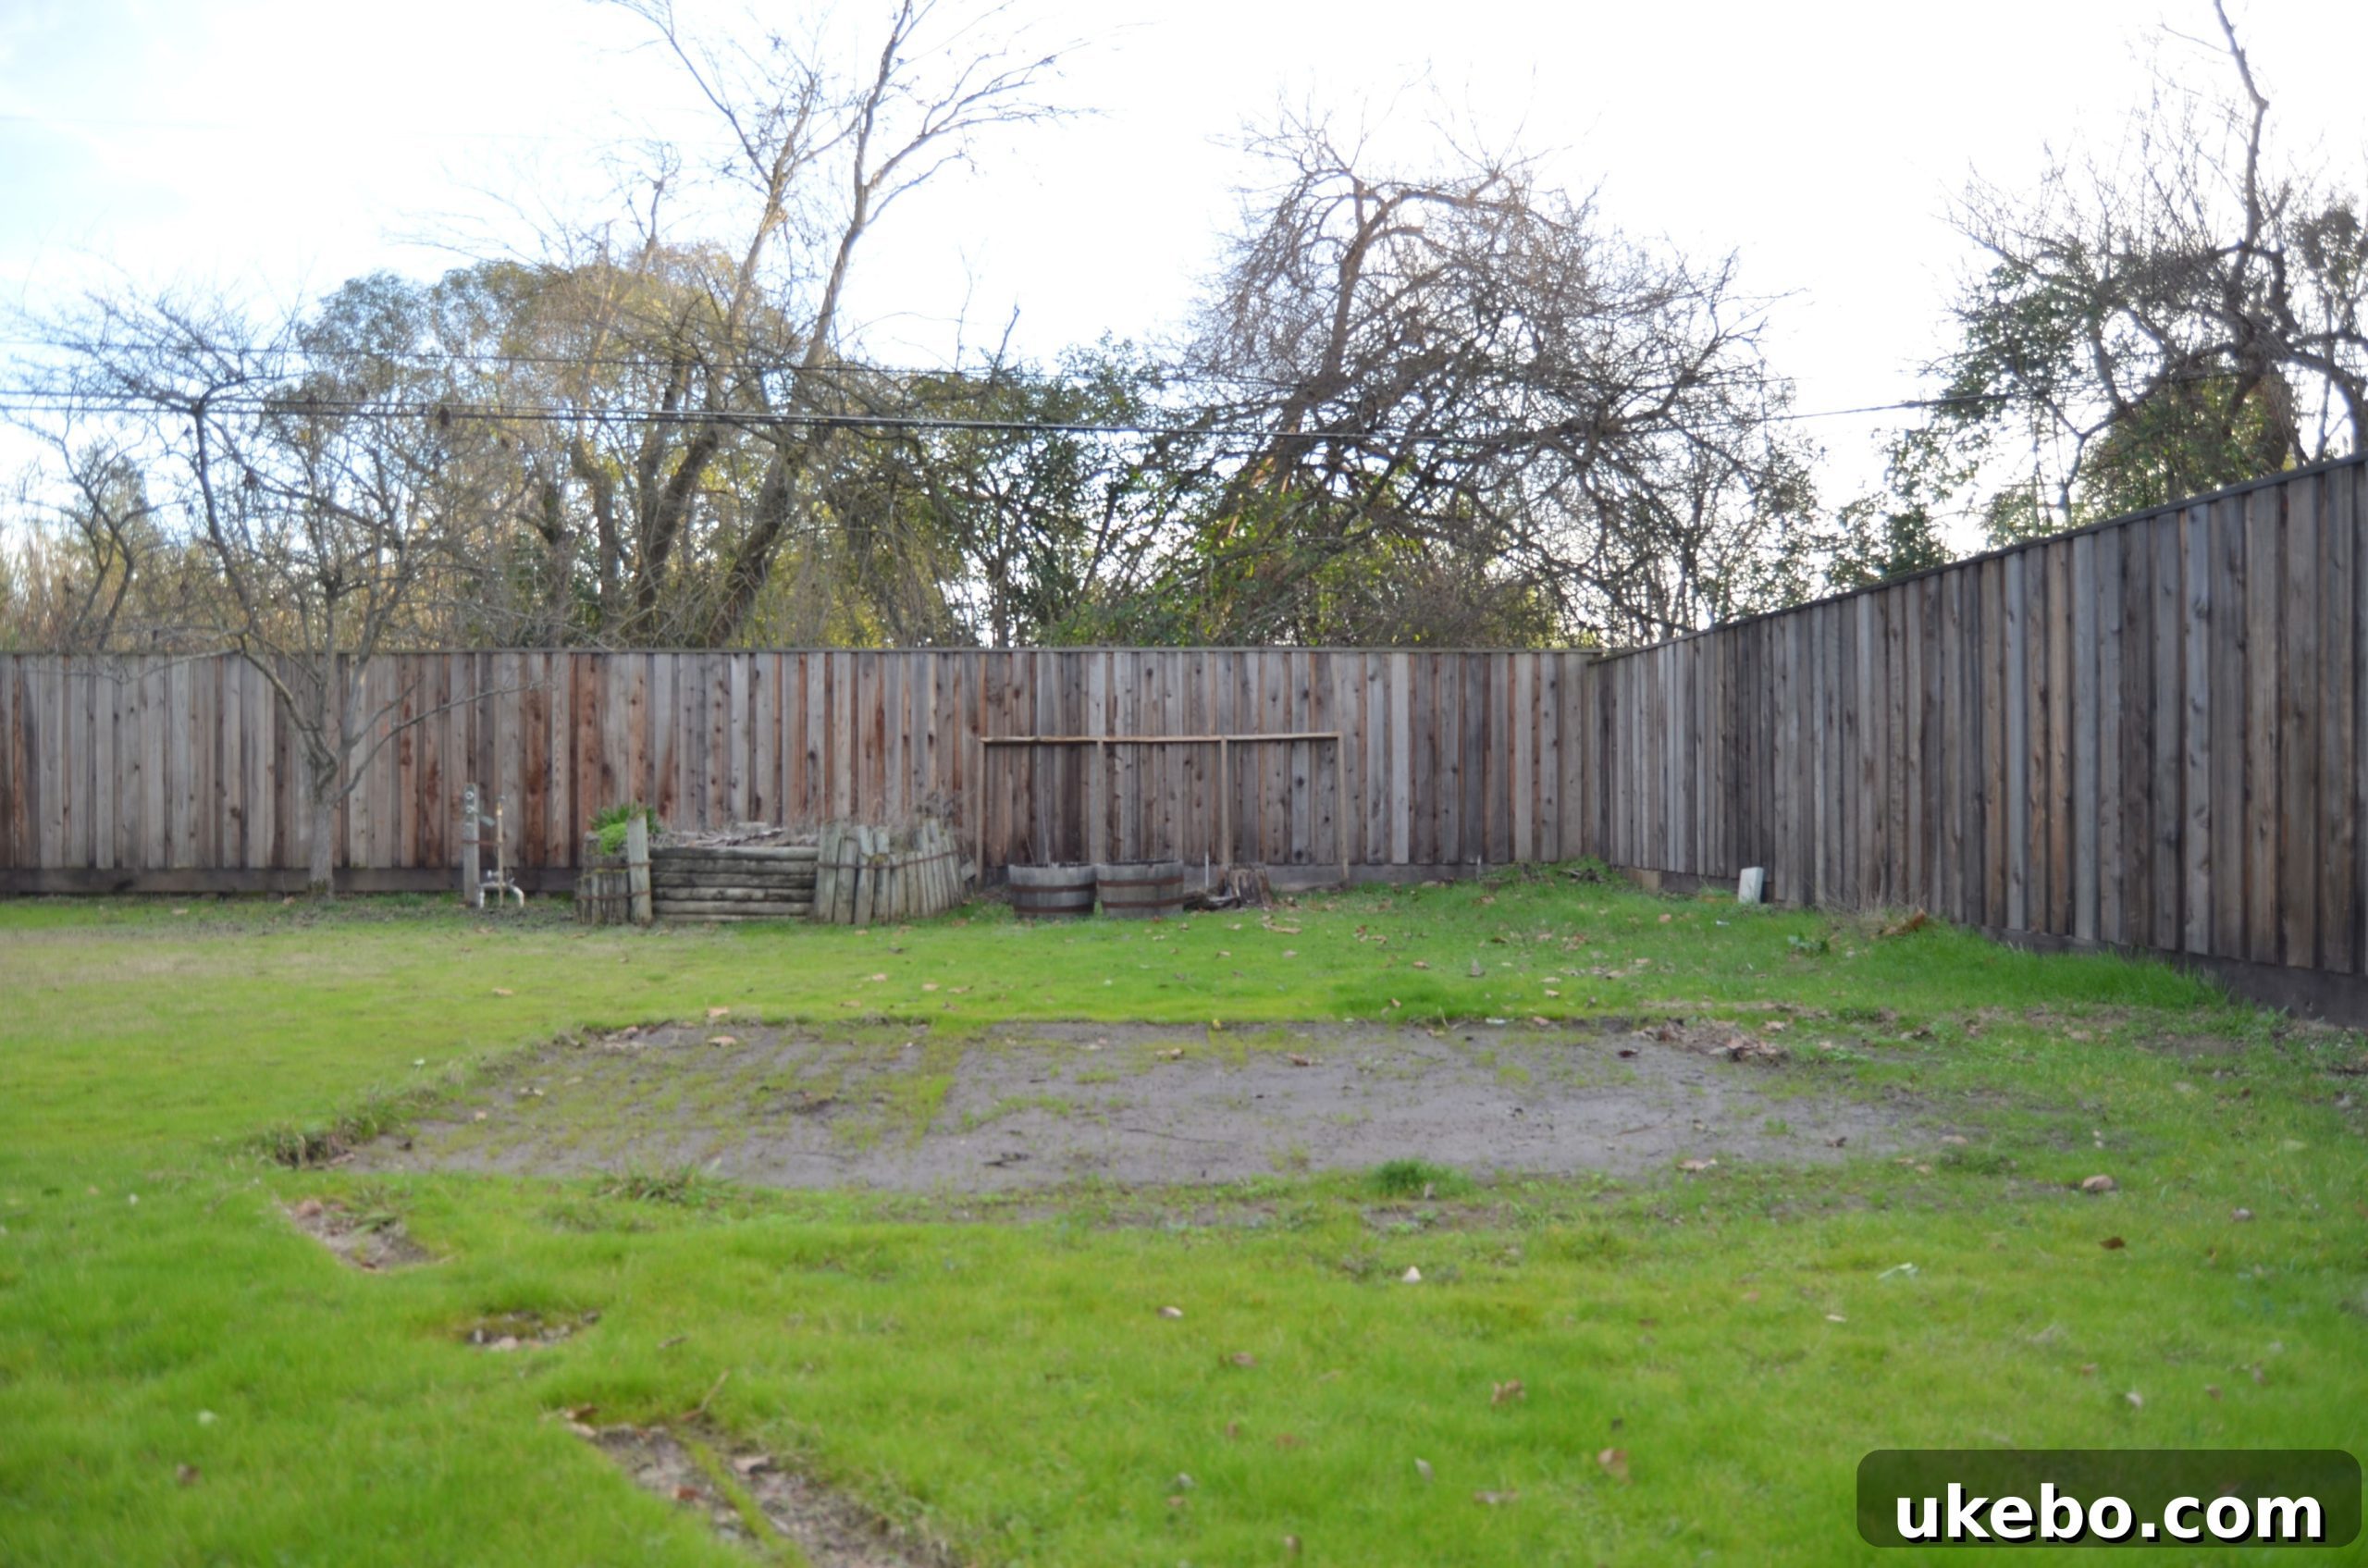
The area behind the garage, despite its potential as a prime garden zone, was initially far from idyllic. It was a cluttered and somewhat neglected space that required substantial clearing and remediation before any serious garden design could commence. A large, dilapidated shed occupied the heart of this potential growing area, alongside several randomly planted trees, including a liquid amber and a pine tree awkwardly situated within a peculiar raised bed. A section of the garage was boarded up and masked by an overgrown climbing flower bush, and the fence, frankly, was on its last legs. These “before” images vividly illustrate the extensive work required to prepare this space:
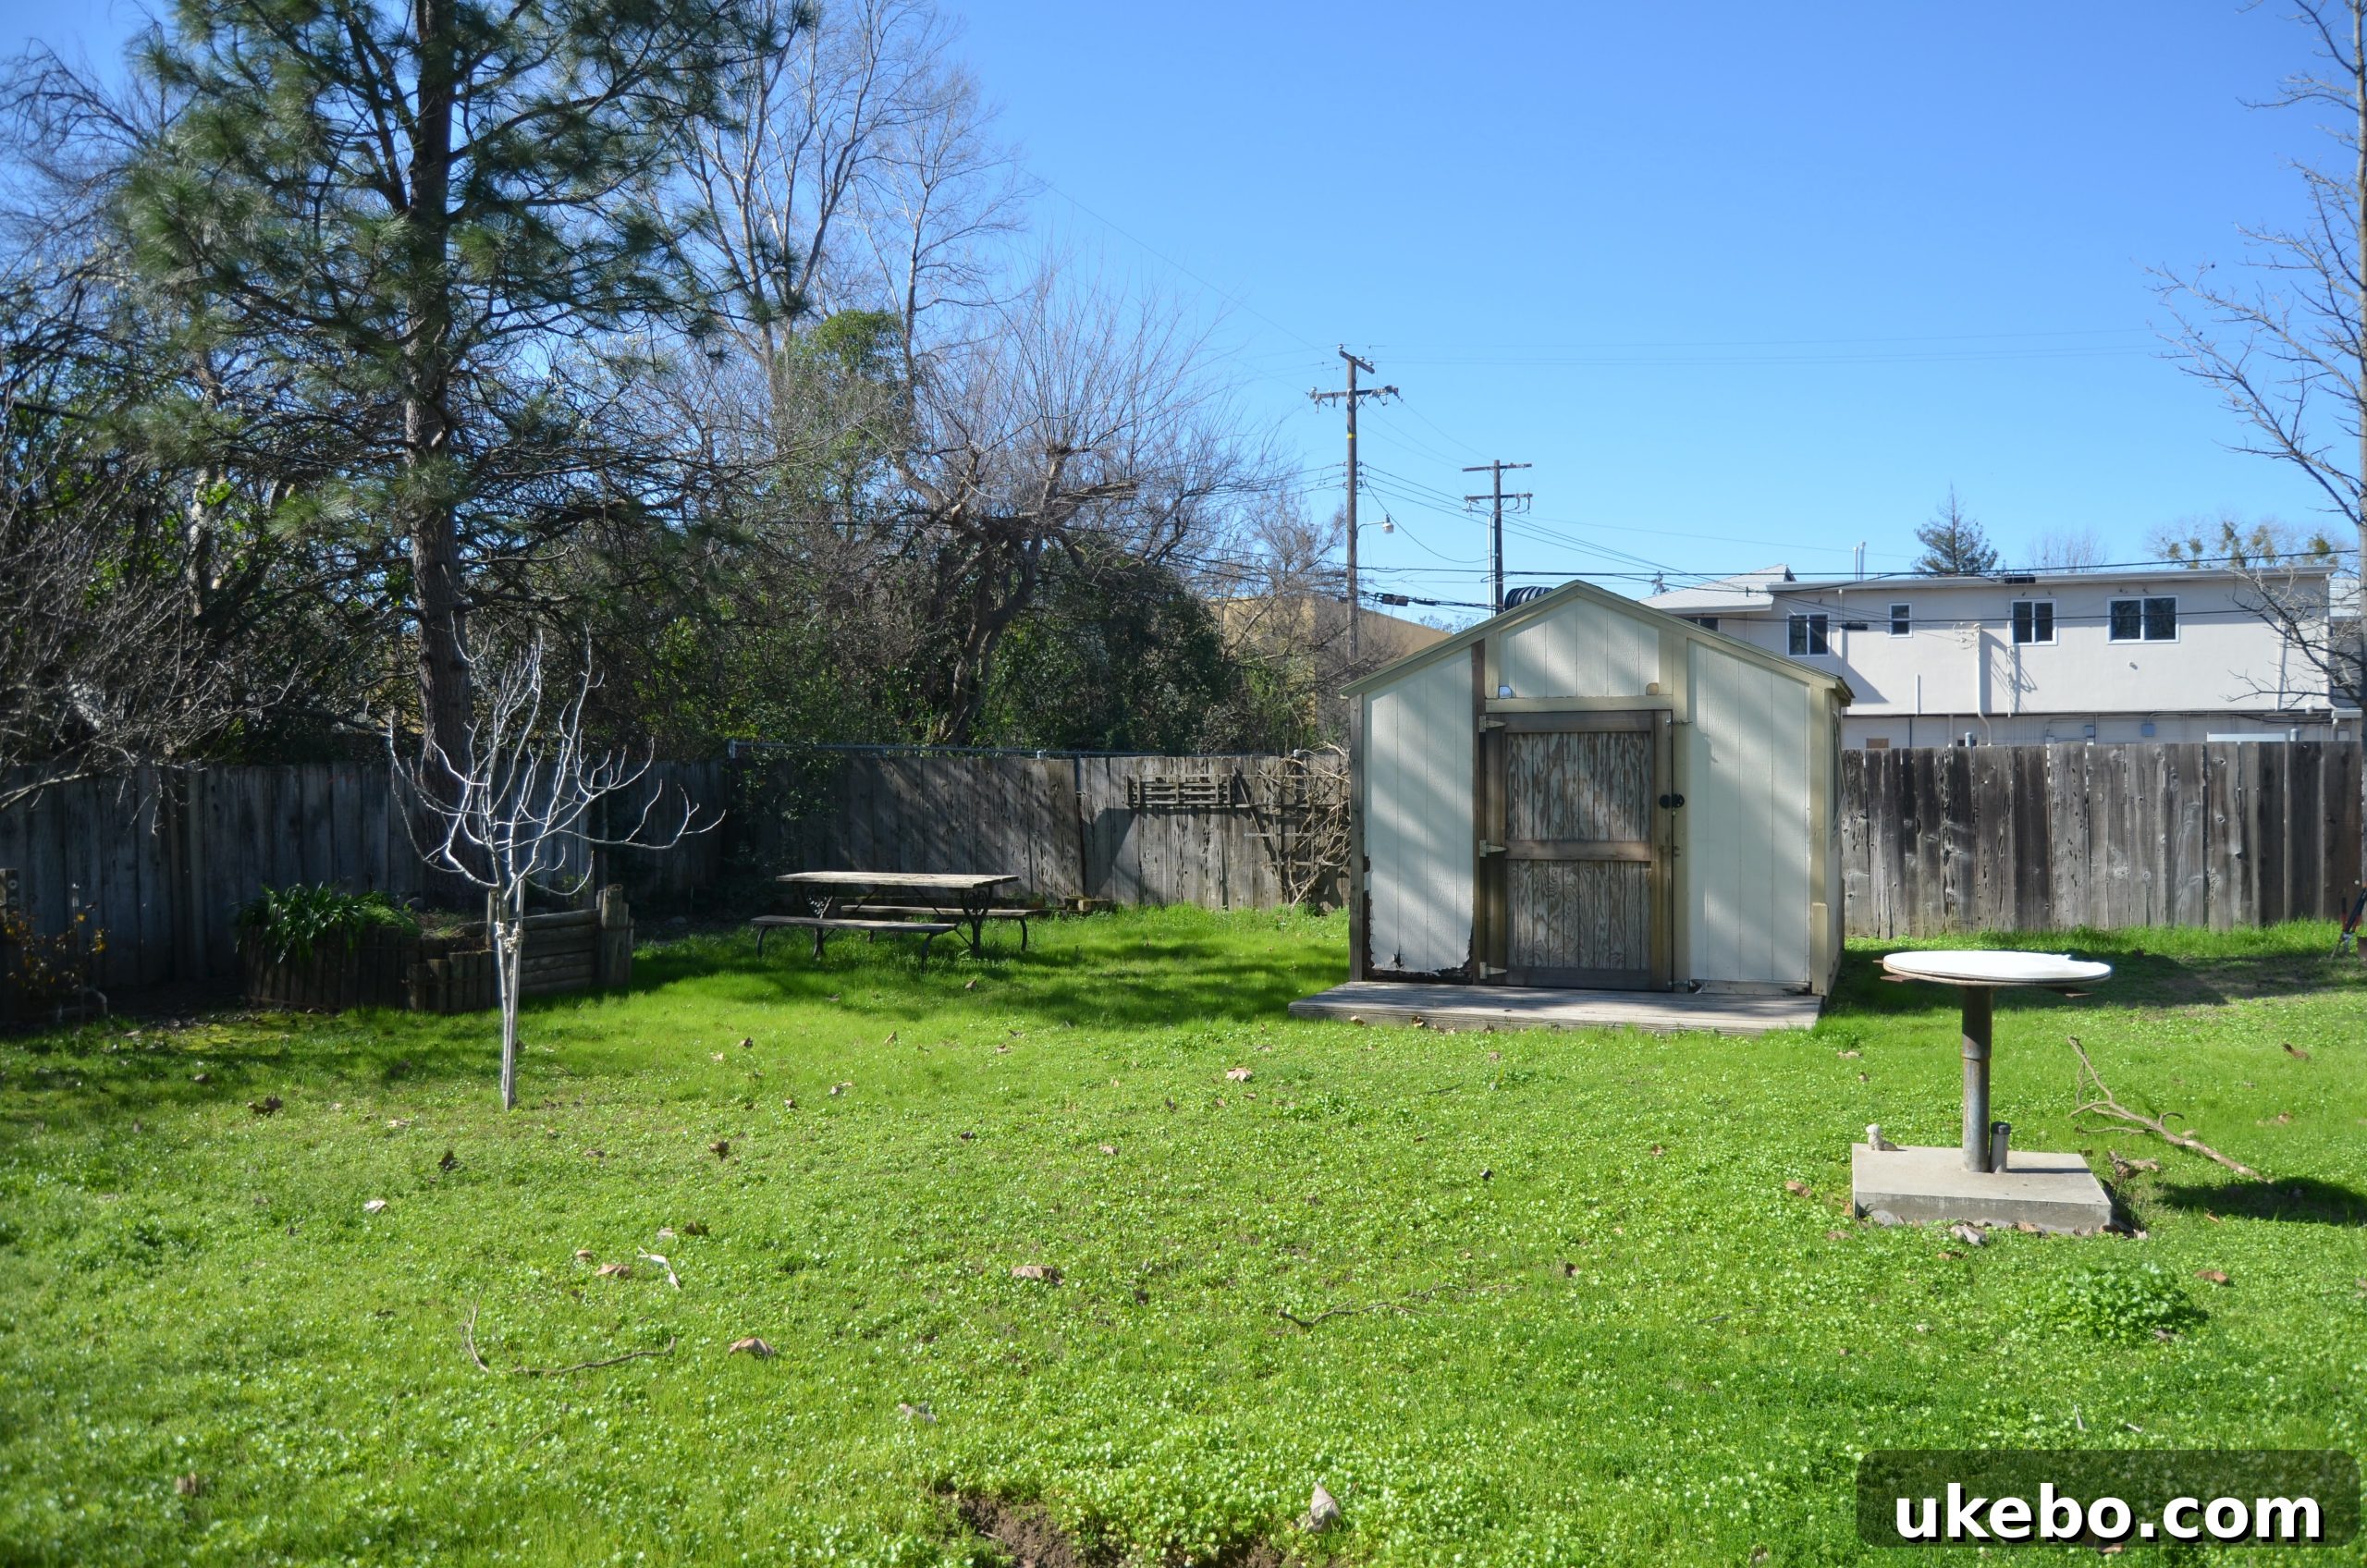
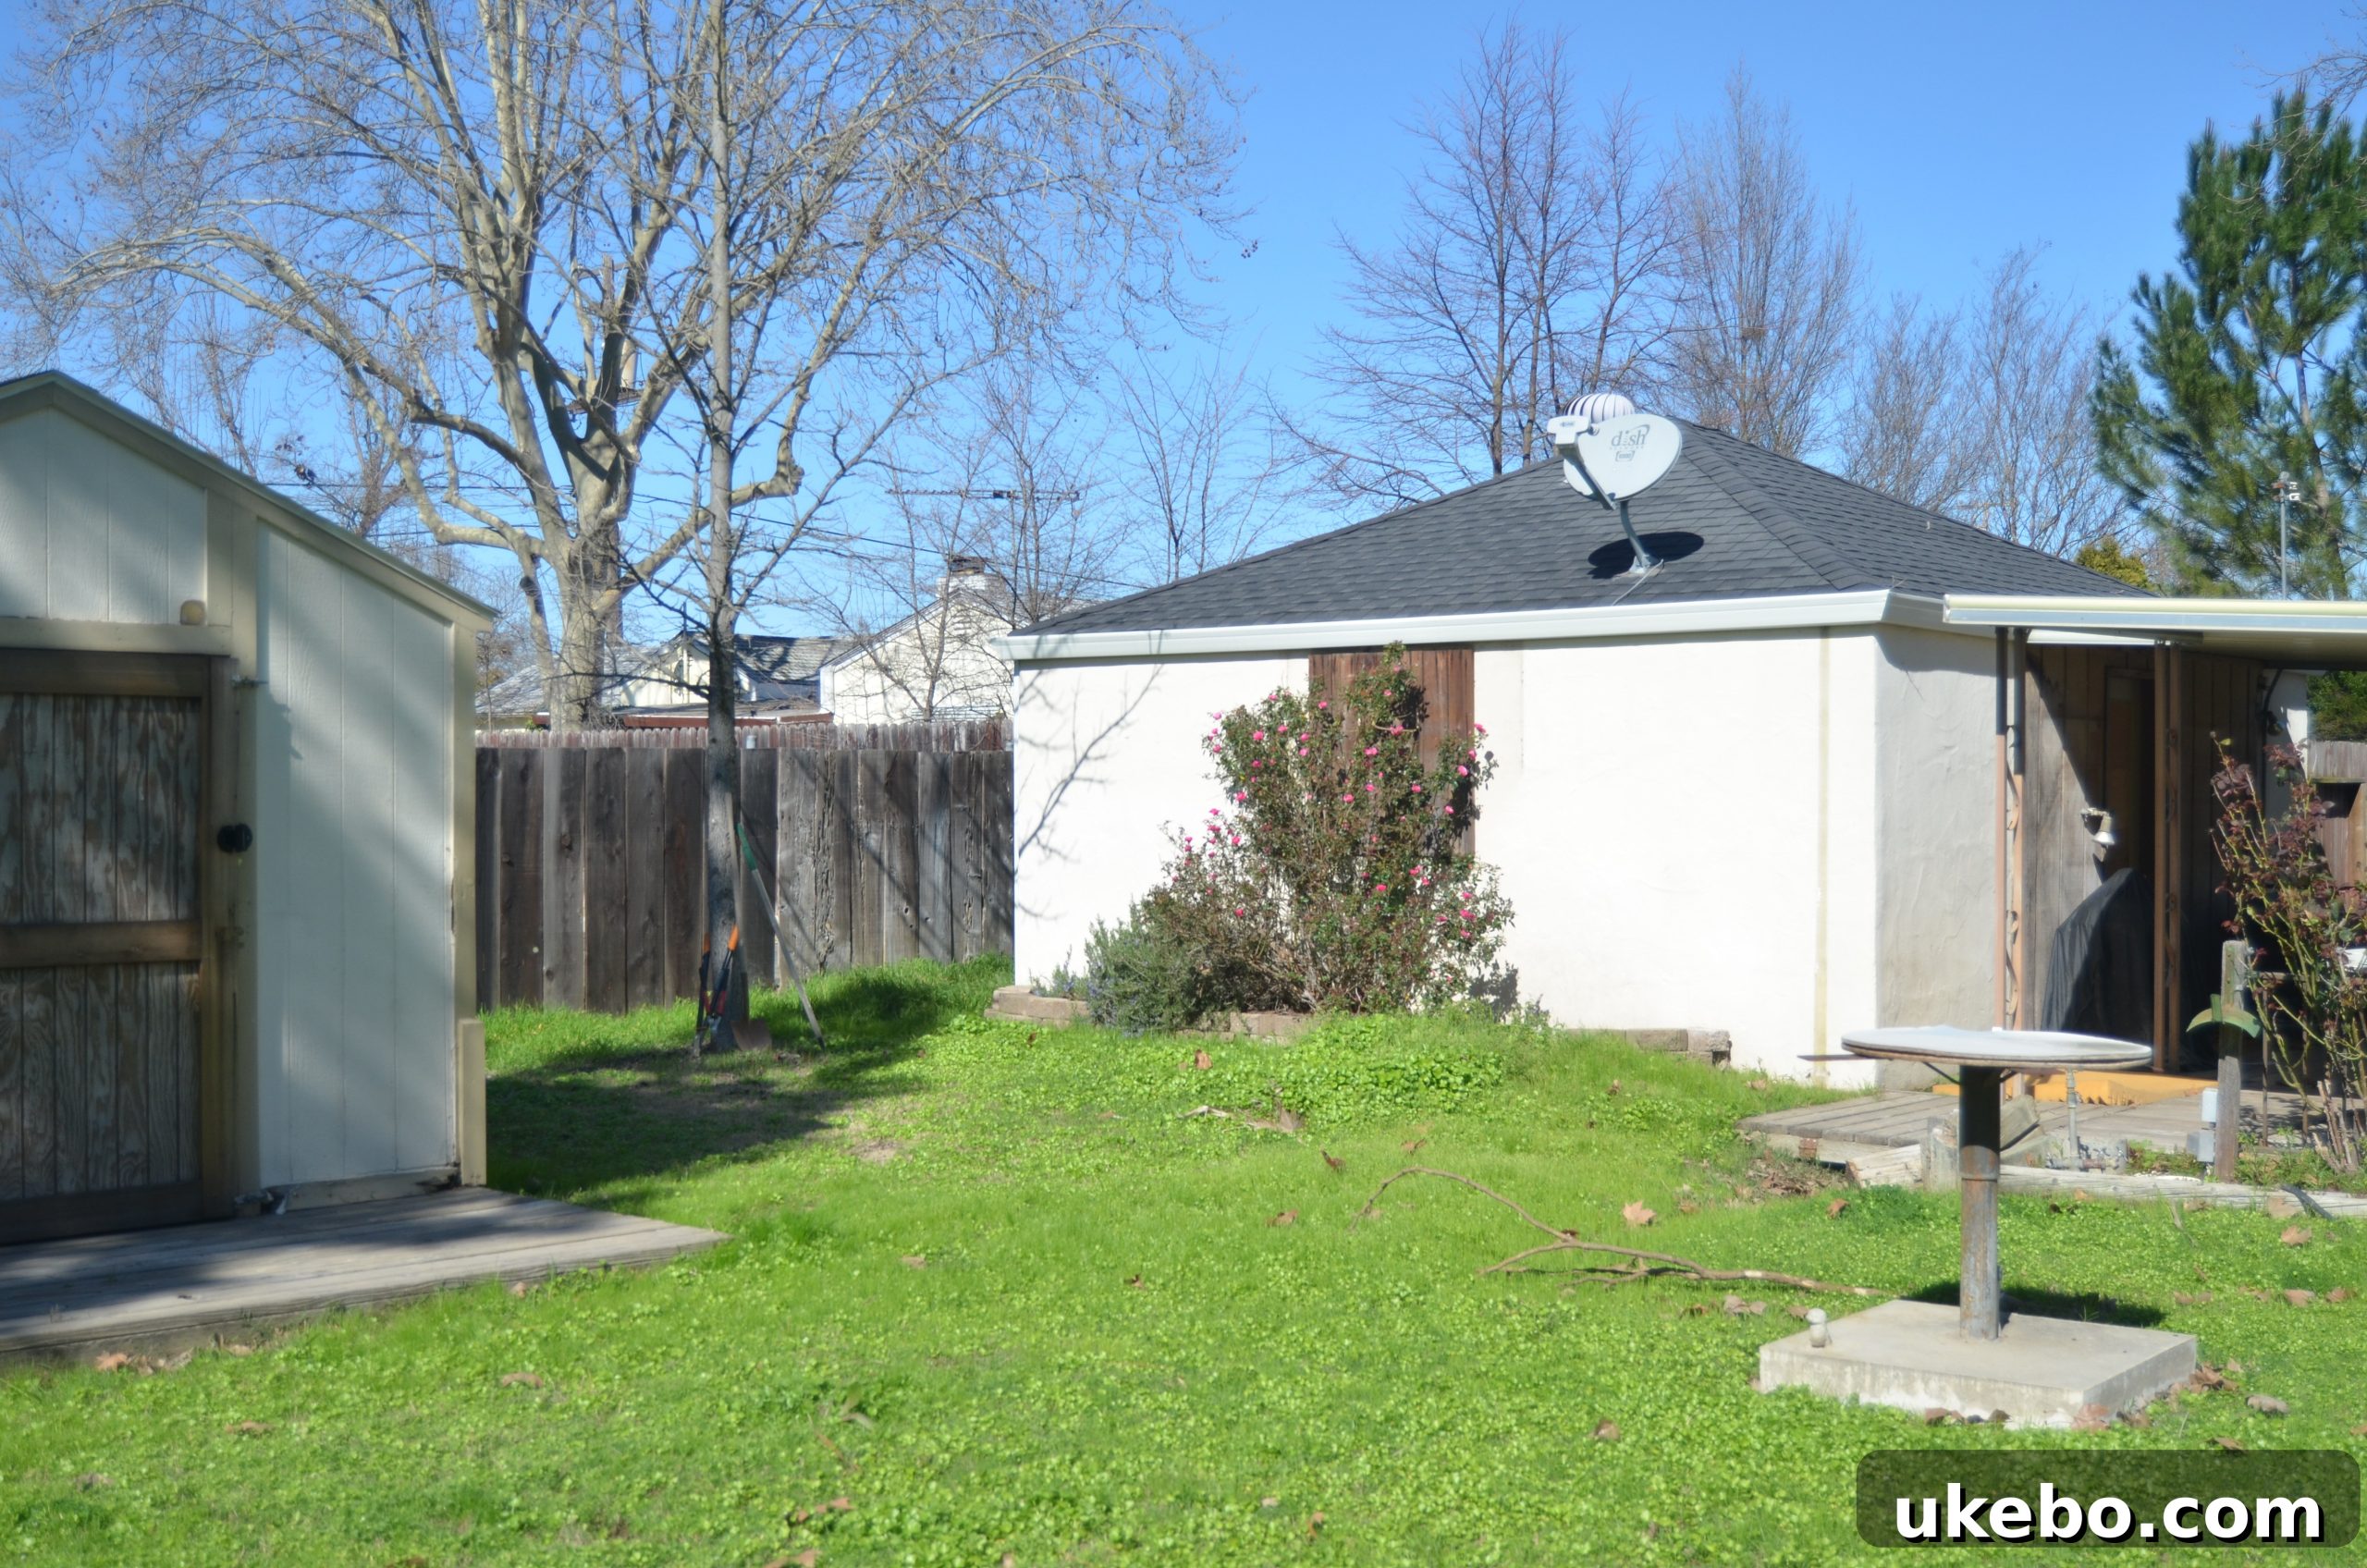
With my future potager garden dreams firmly in mind, I embarked on a mission to clear everything out, creating a clean slate for cultivation. Over the past few years, we have systematically undertaken a series of significant improvements. This included the crucial task of replacing the old fence with a new one that is two feet taller, enhancing both privacy and security. We also refreshed the exterior of our house with a new coat of paint and had the stucco on the garage meticulously patched. Crucially, several unwanted trees were removed, instantly opening up the space and improving sun exposure.
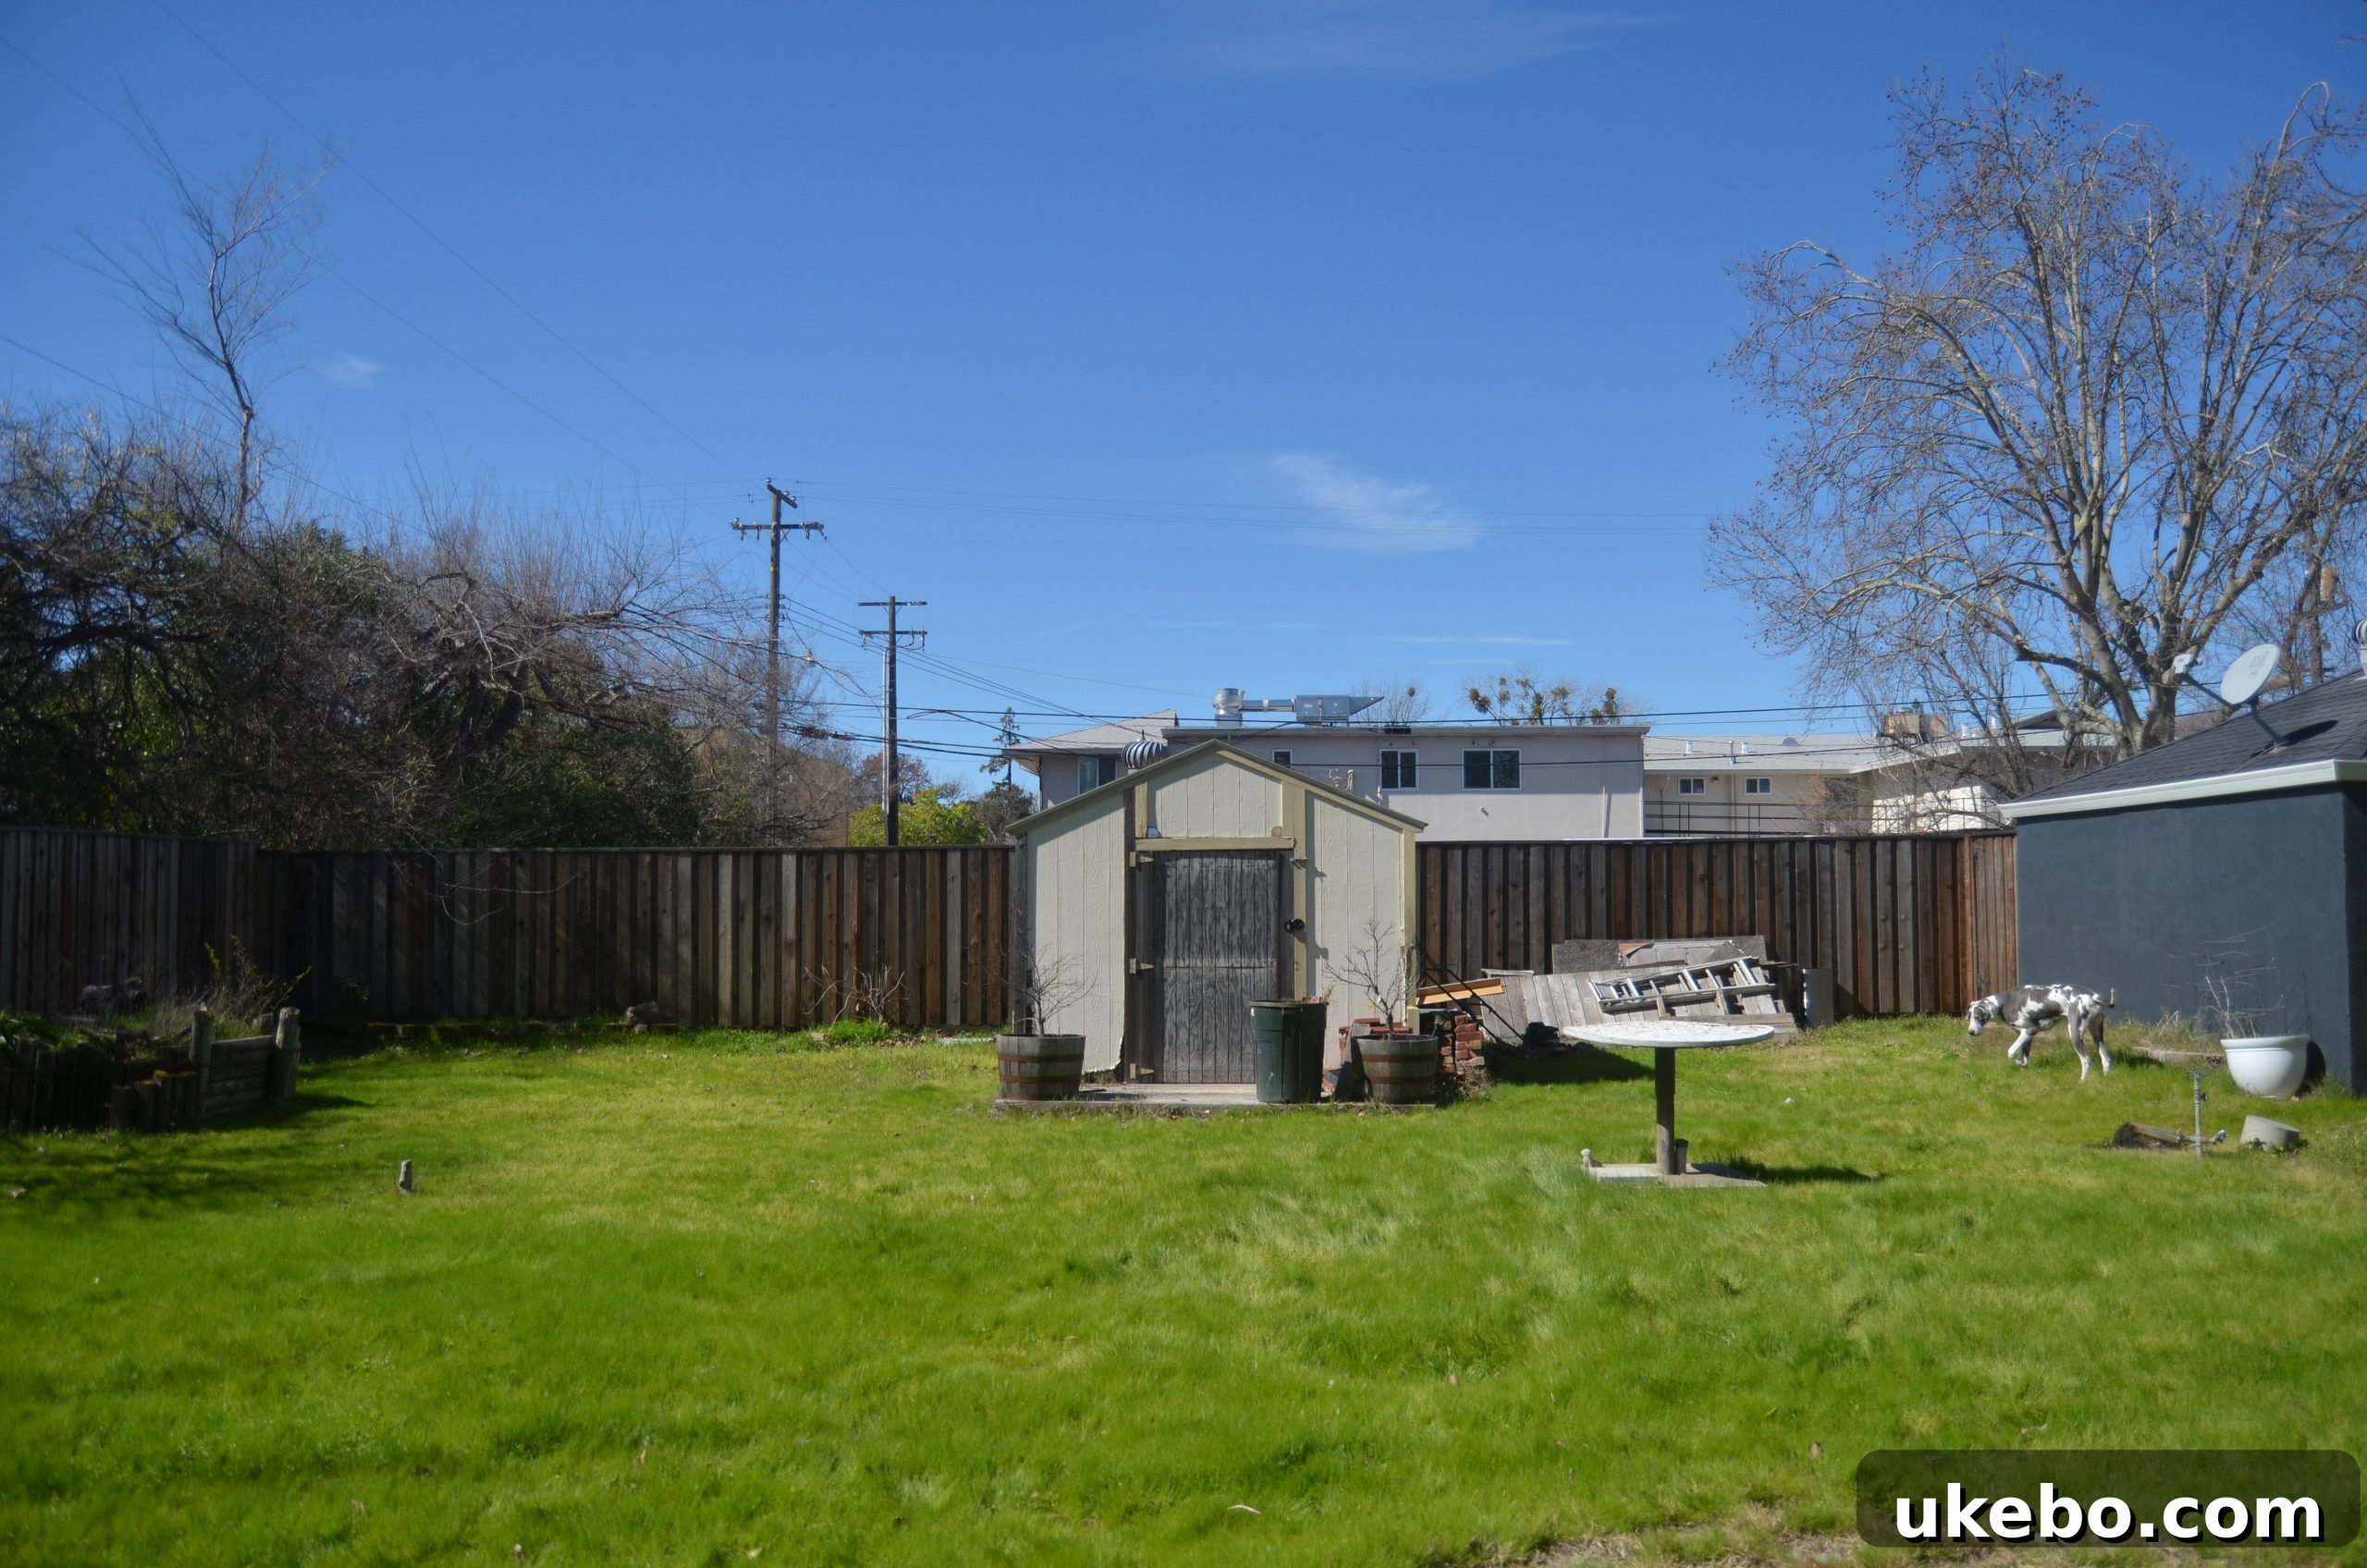
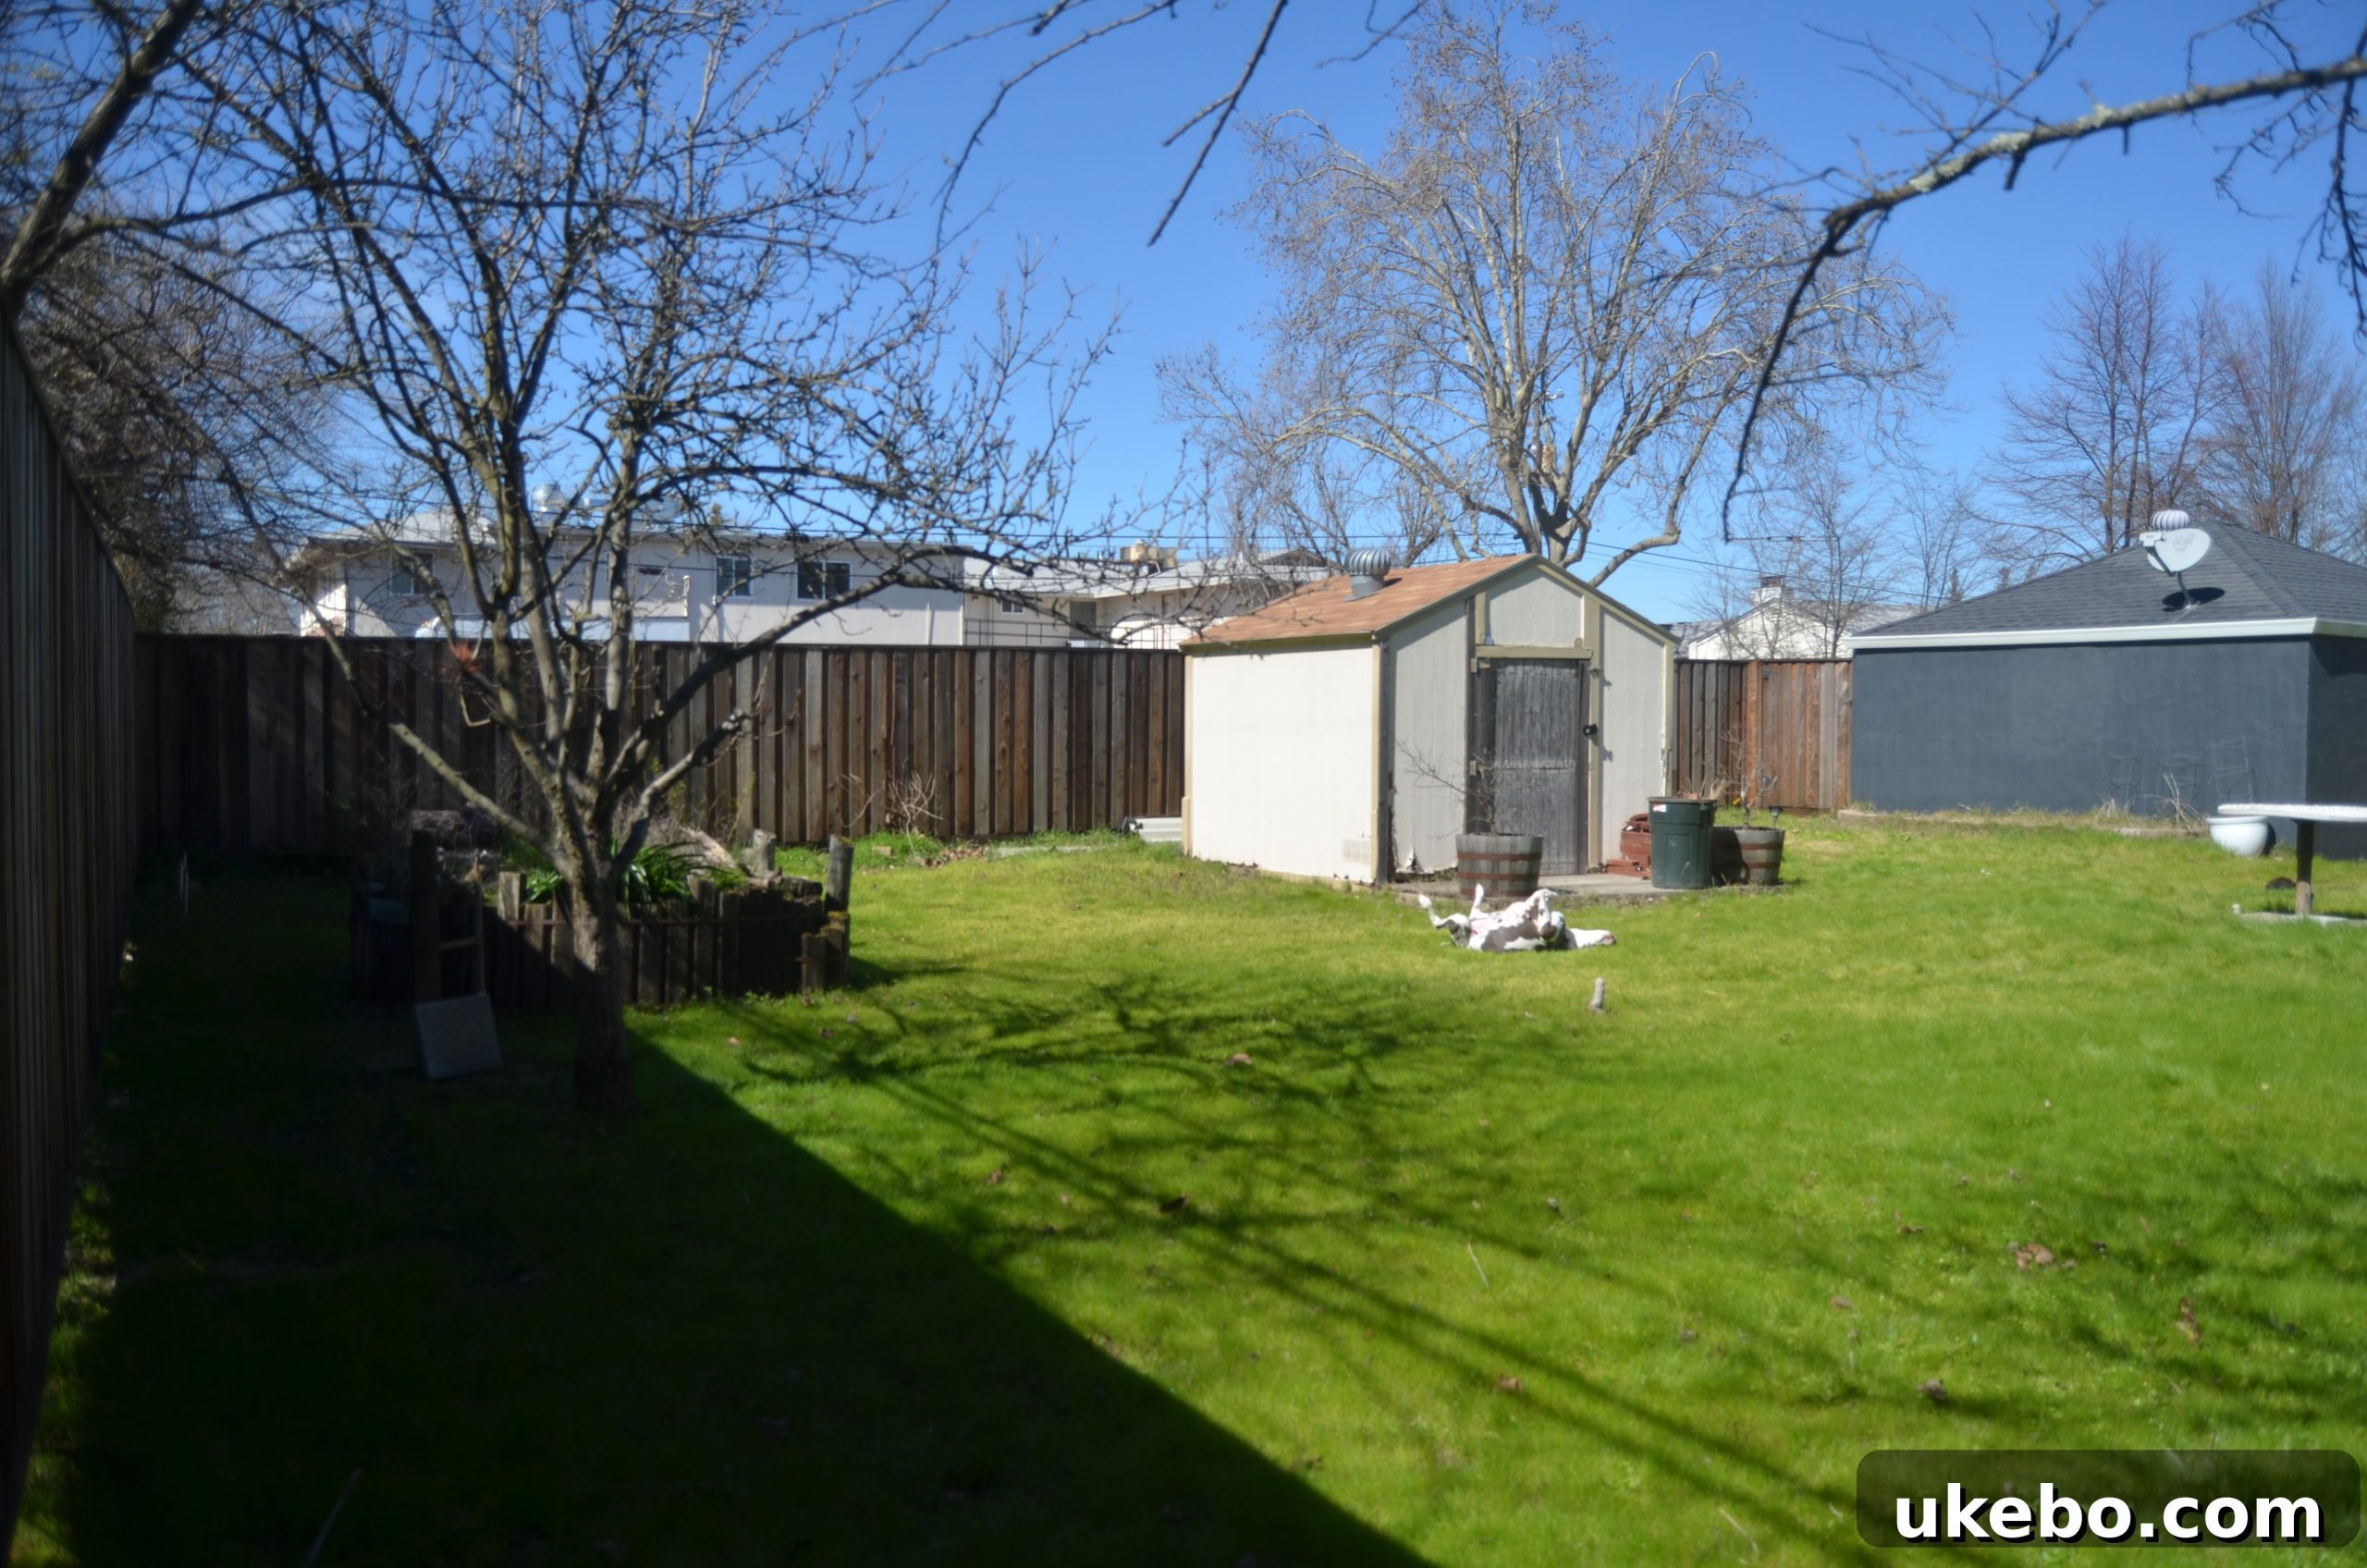
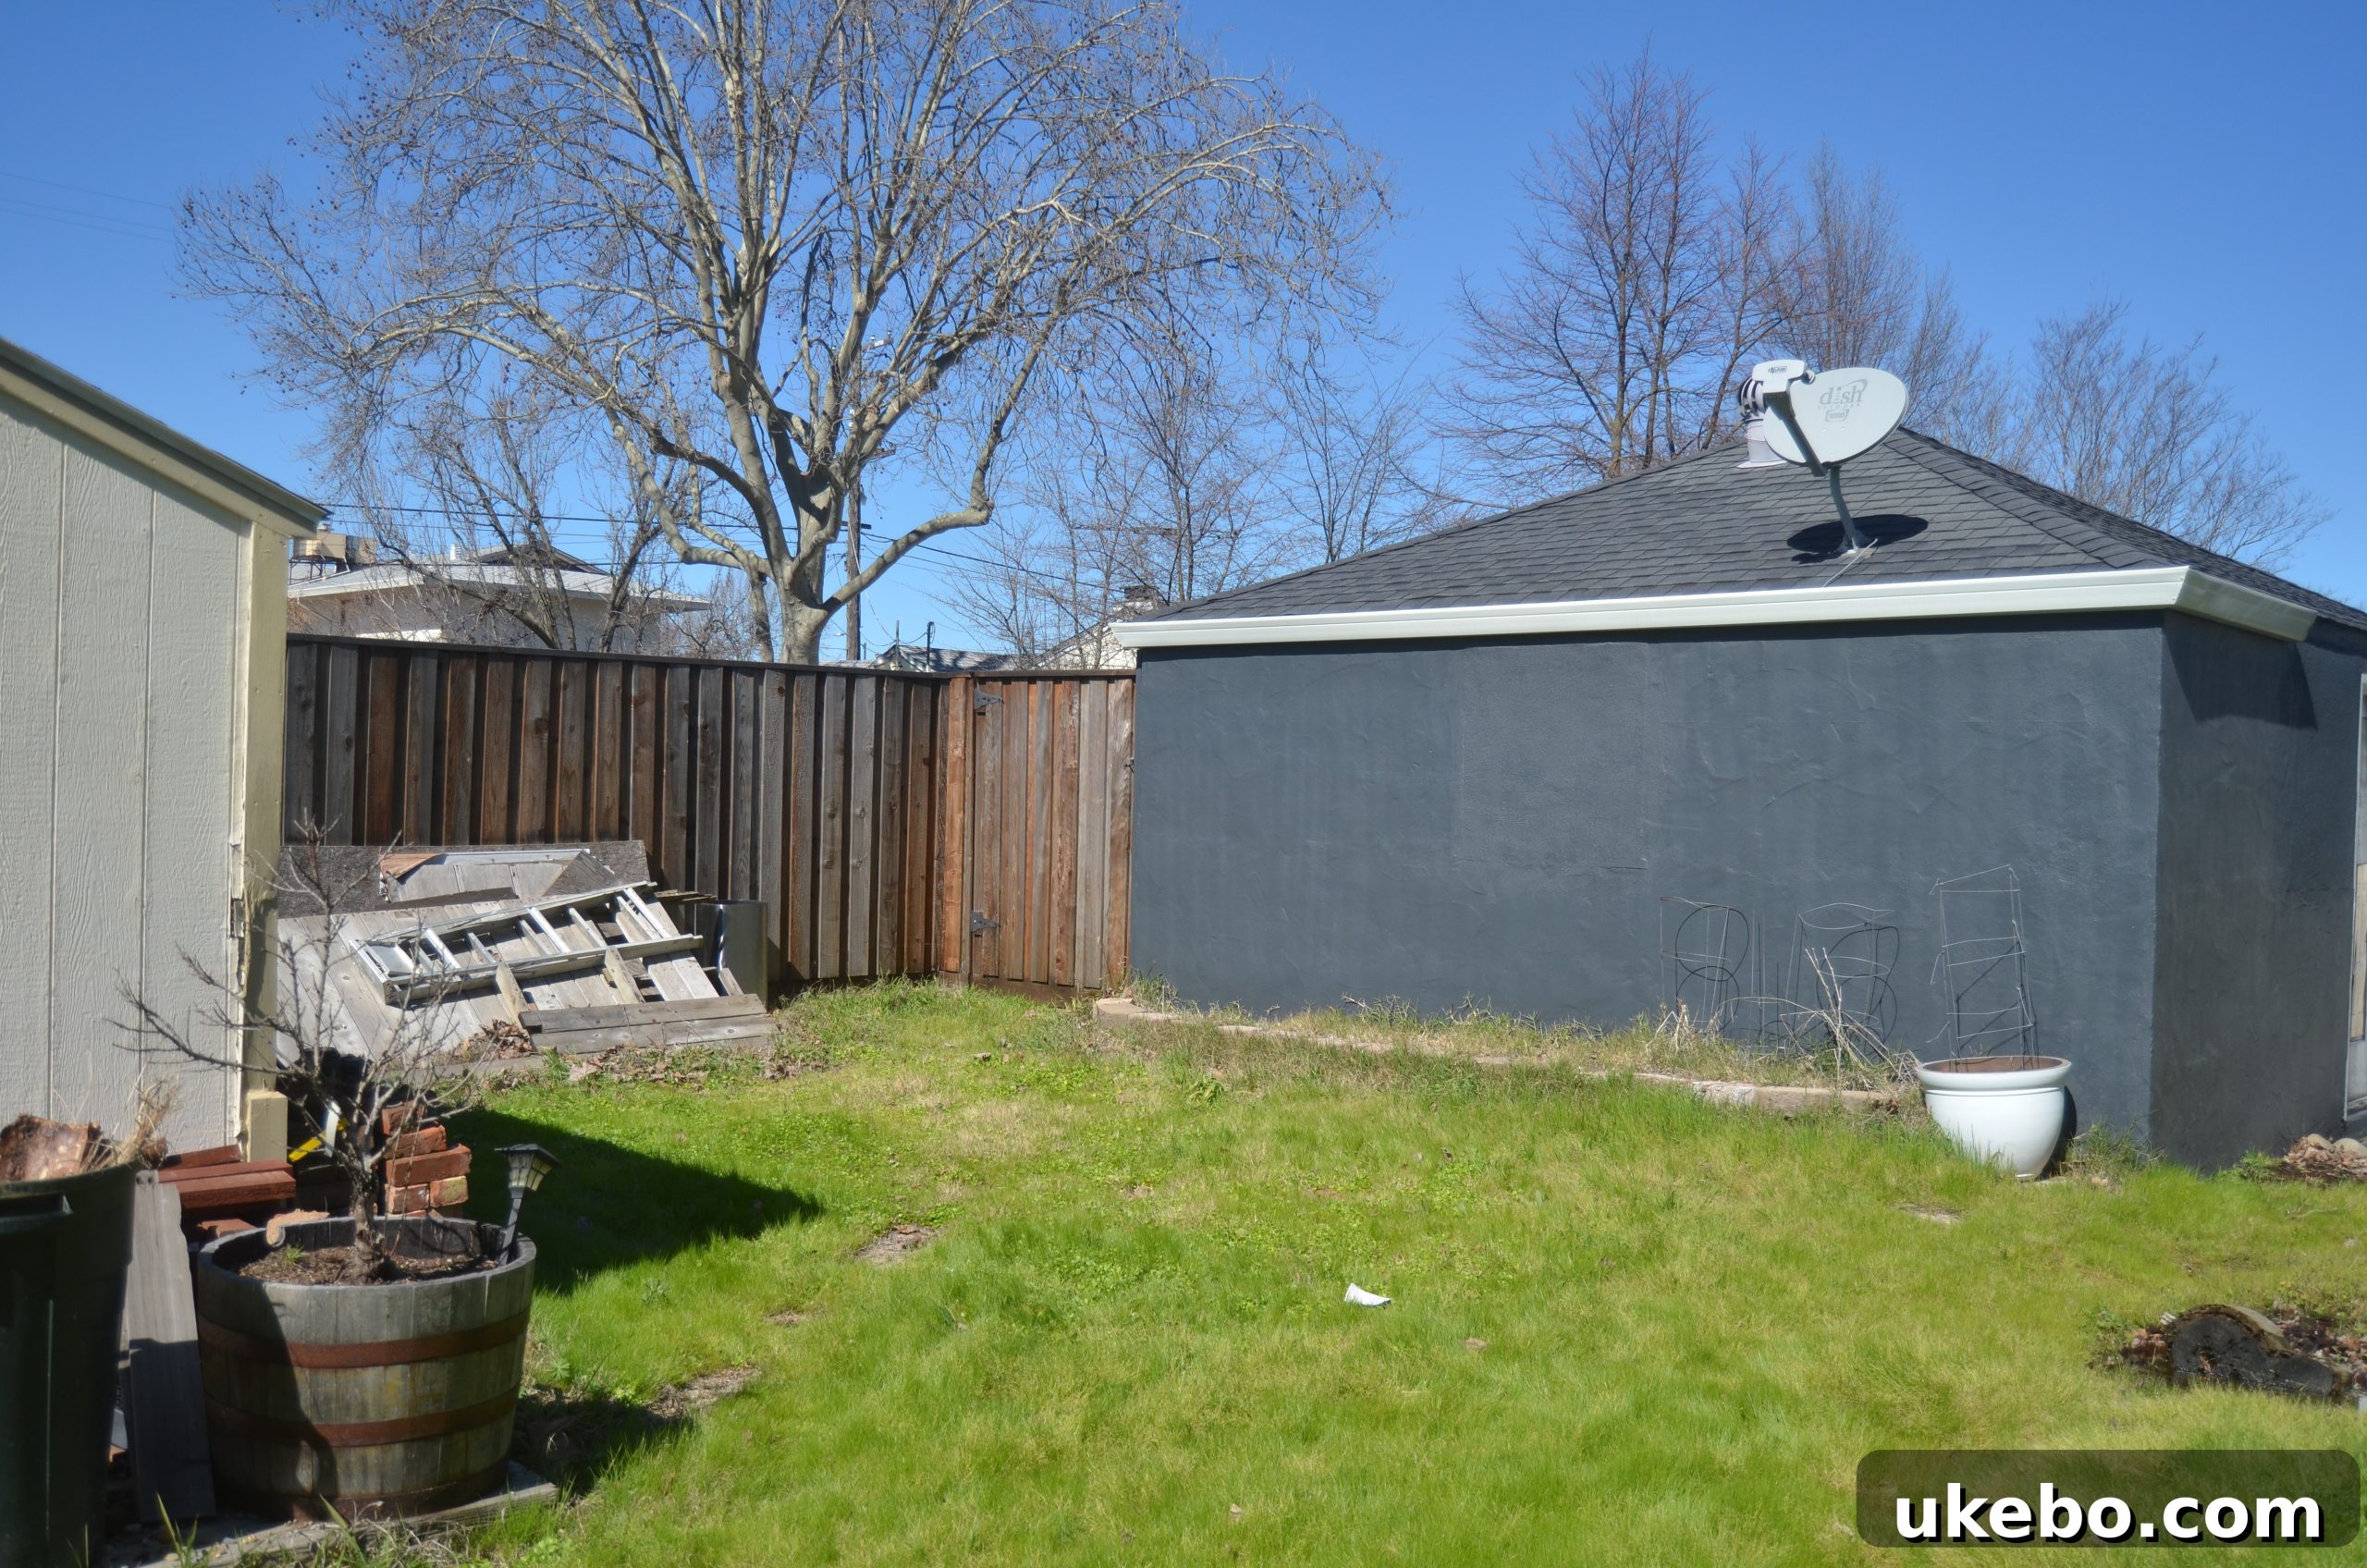
This past summer marked another major milestone with the complete removal of the shed, a significant step that further opened up the central growing area.
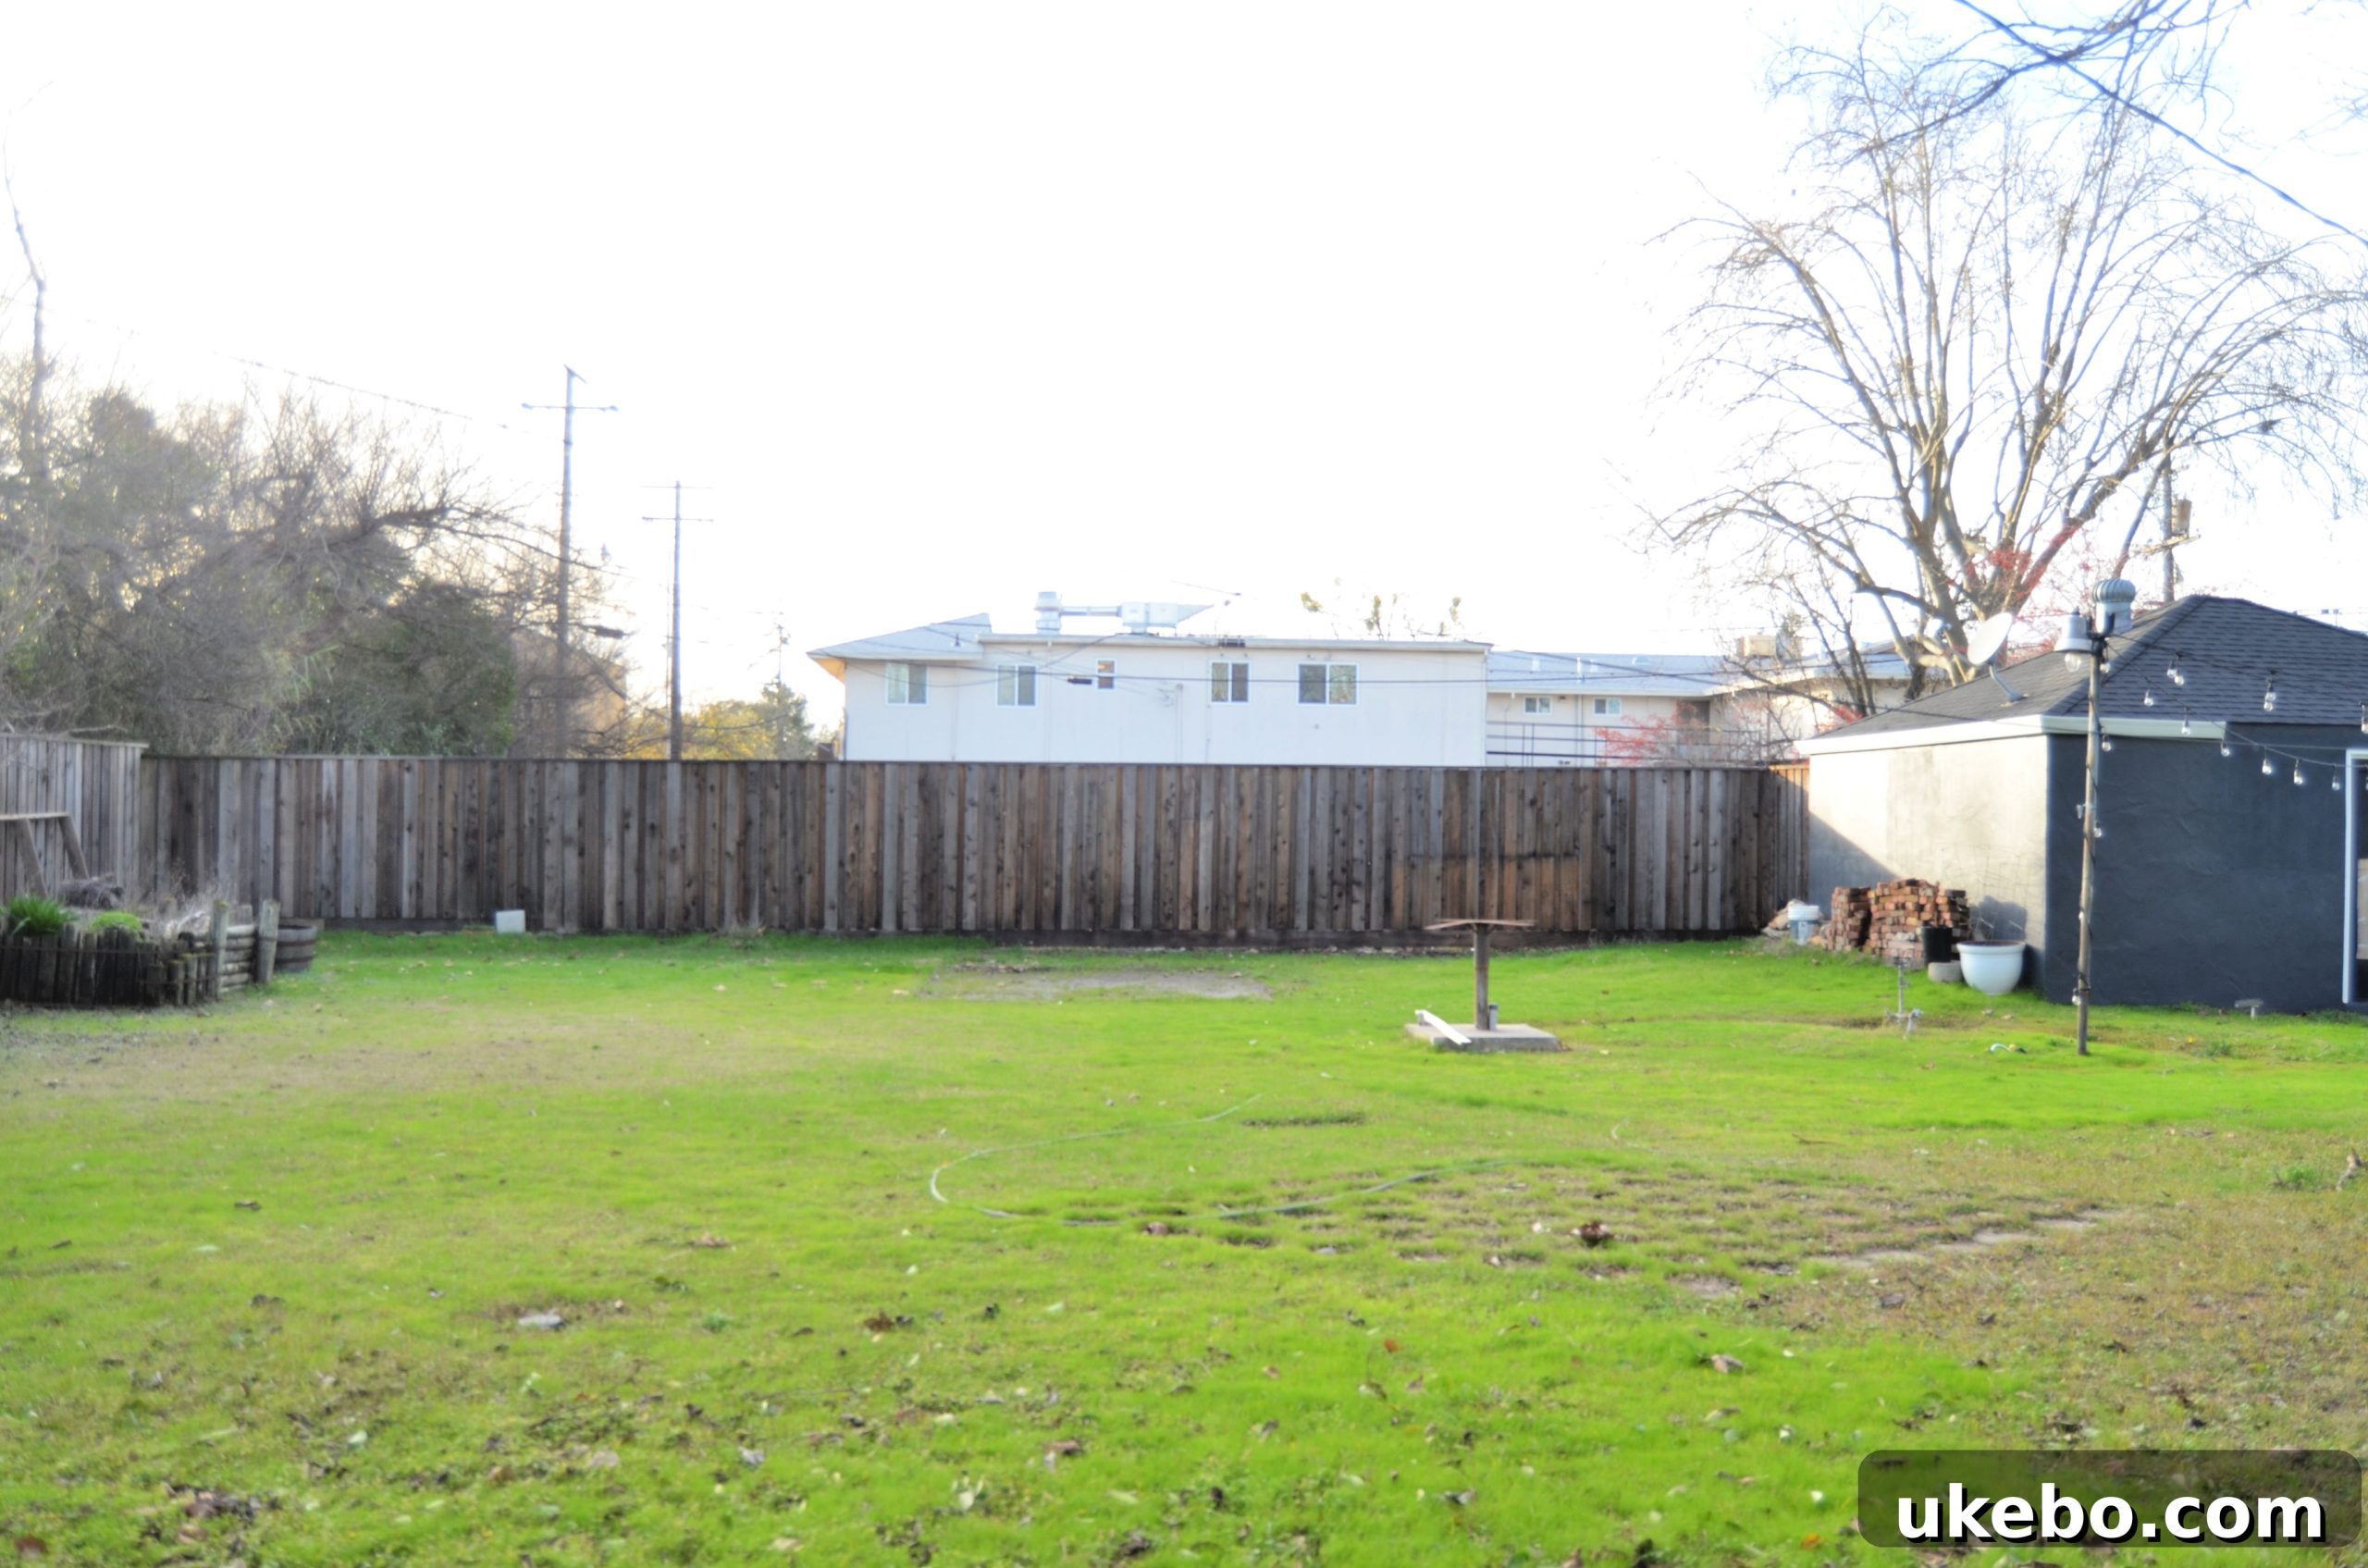
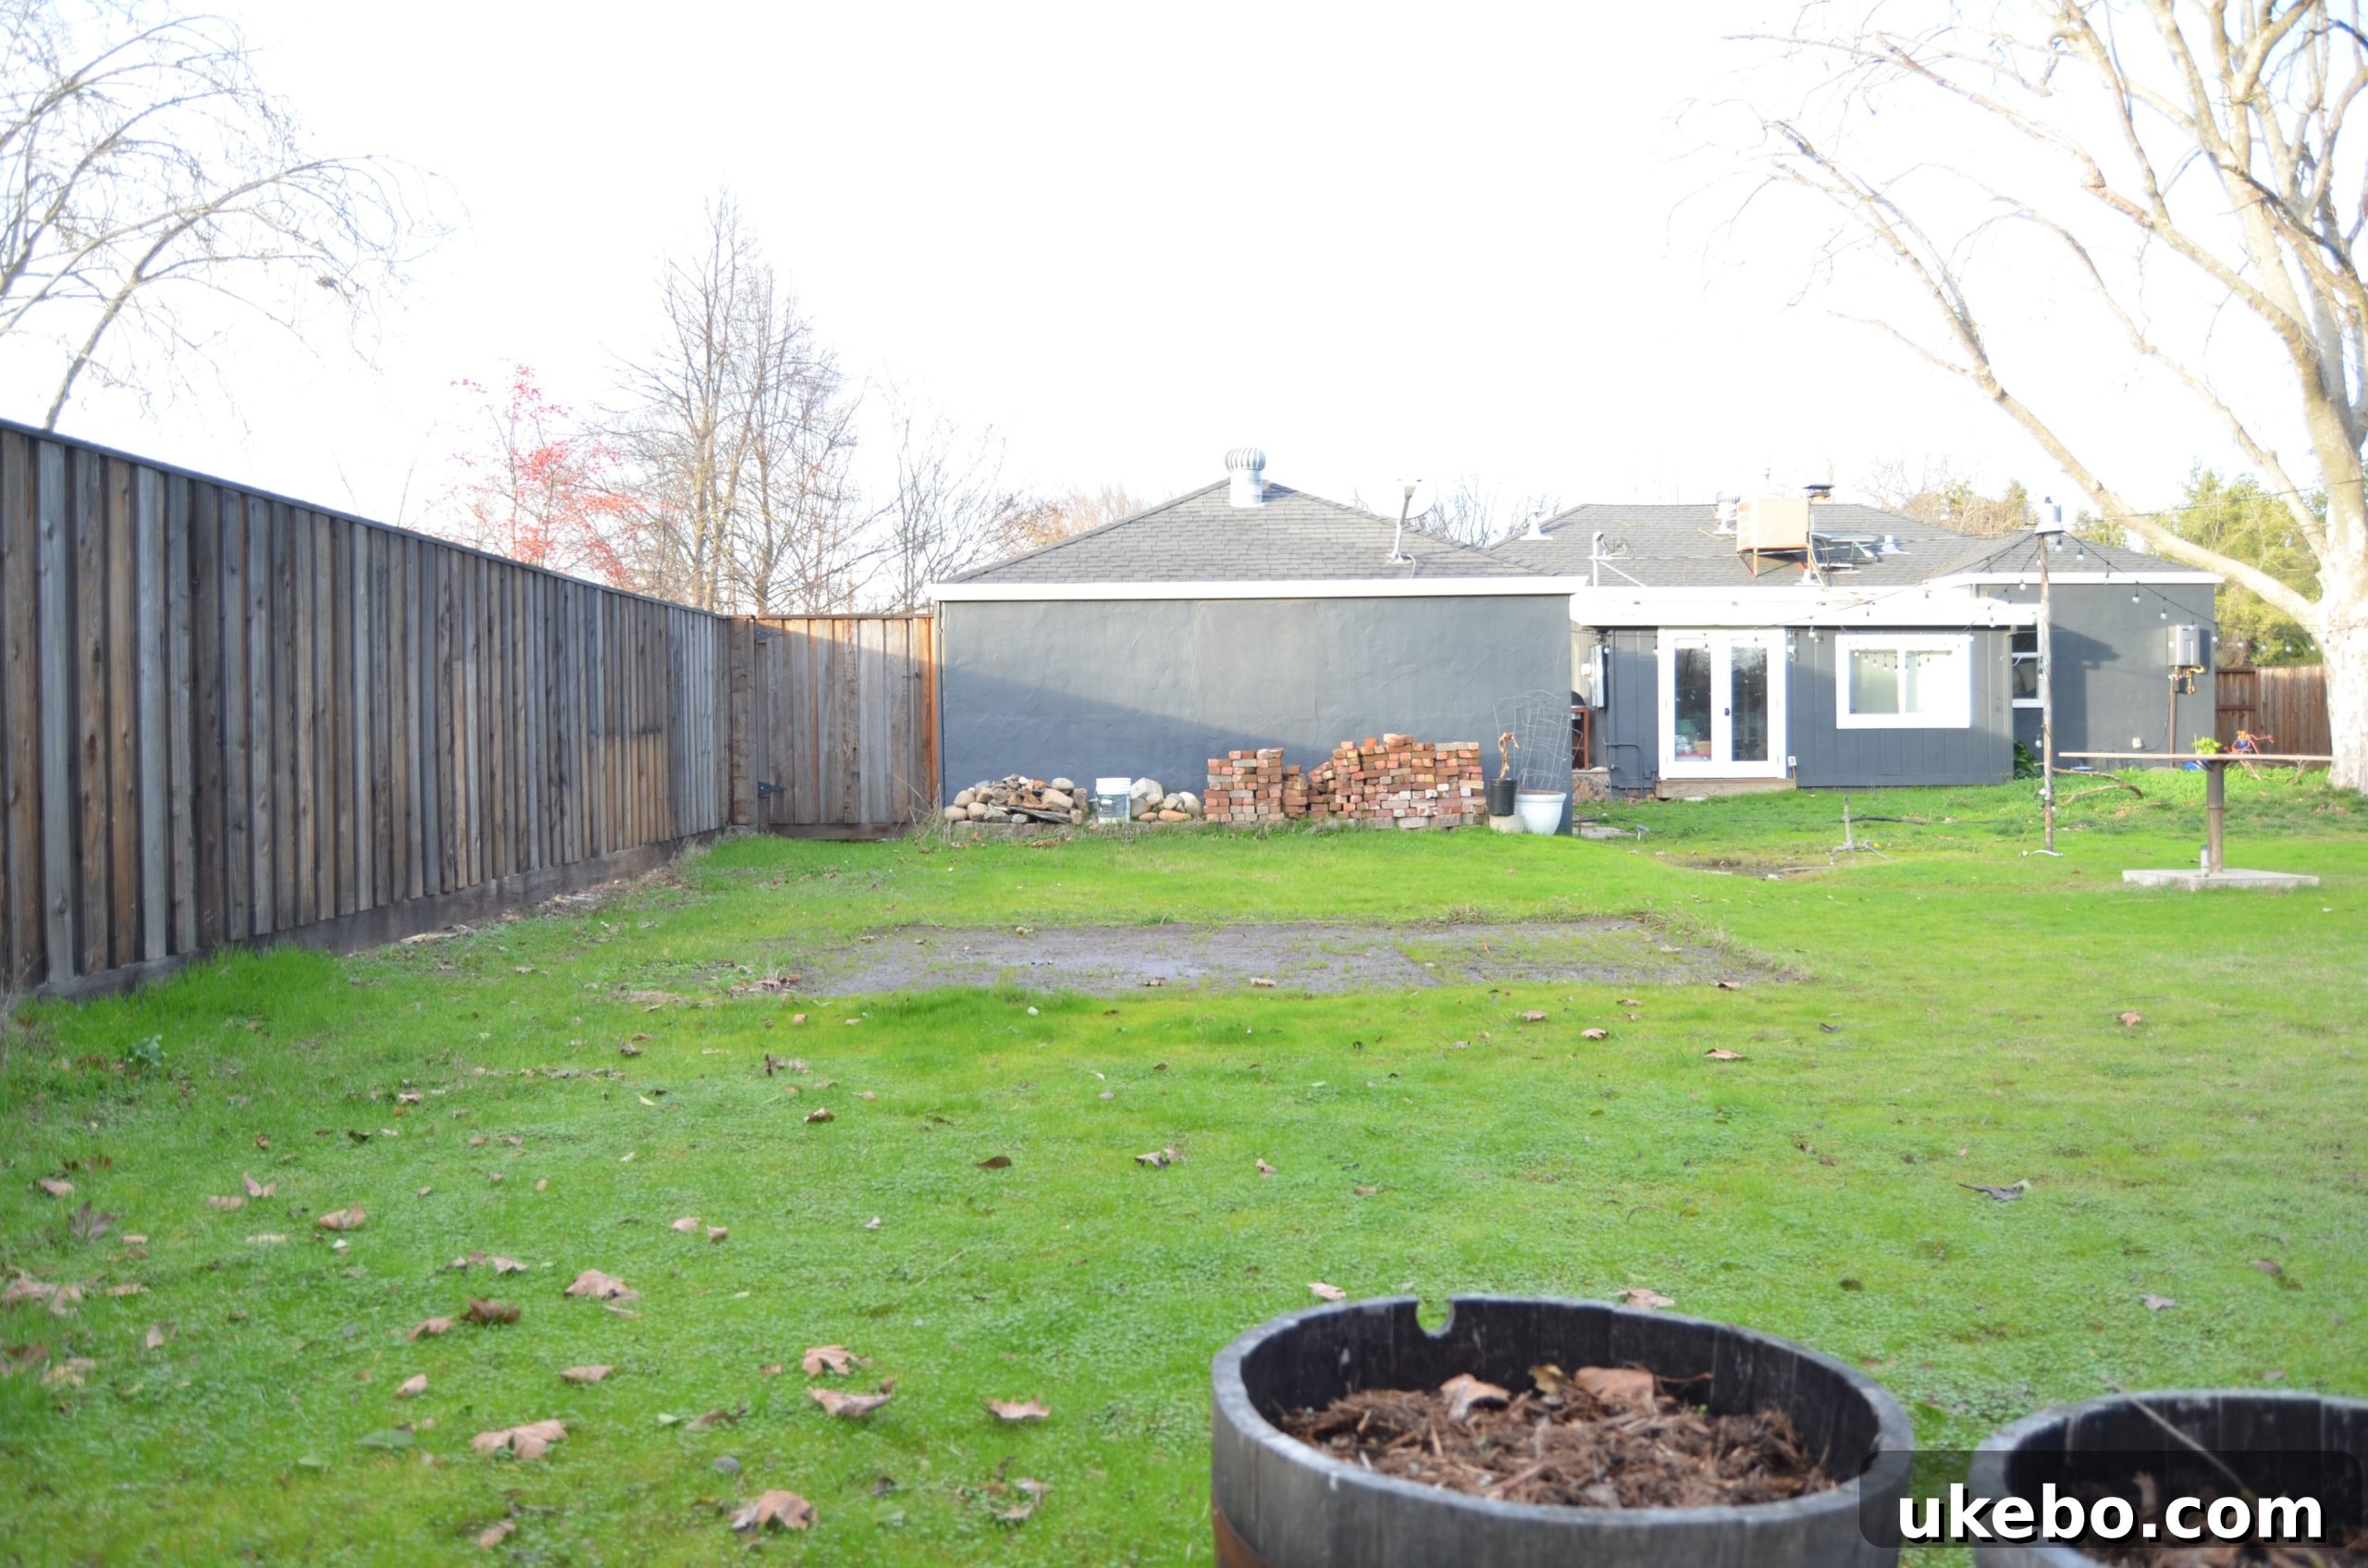
Once the persistent rainy weather finally subsides, the last remaining vestige of the past—the enigmatic raised bed in the corner—will be removed. This peculiar structure has puzzled us since we moved in. It appears to have once been a water fountain, yet a pine tree was planted within it, and there were even traces of electrical wiring. Its true purpose remains a mystery, but one thing is certain: it has to go to make way for our new sustainable garden.
Laying the Foundation: Site Analysis and Comprehensive Garden Plan
Over the last several years, I’ve diligently observed and monitored the natural dynamics of this section of our yard. This included tracking the sun’s path across the seasons, especially during the summer months when light is paramount for plant growth. I also noted how rainwater pools and drains during winter, and critically, how the wind currents sweep through the area. This comprehensive site analysis has been invaluable in informing the layout and design of a space that will be both highly productive and an efficient use of every square foot.
With the area finally cleared, I could begin conceptualizing a layout. After precise measurements, the space is approximately 25 feet wide (from the side fence to the end of the garage) and 61 feet long (from the back fence to the garage). This generous expanse provides ample room for cultivating a diverse array of fruits, vegetables, and flowers. Following extensive brainstorming about my ideal garden elements and practical needs, I translated these ideas onto paper, creating a detailed, scaled garden plan:
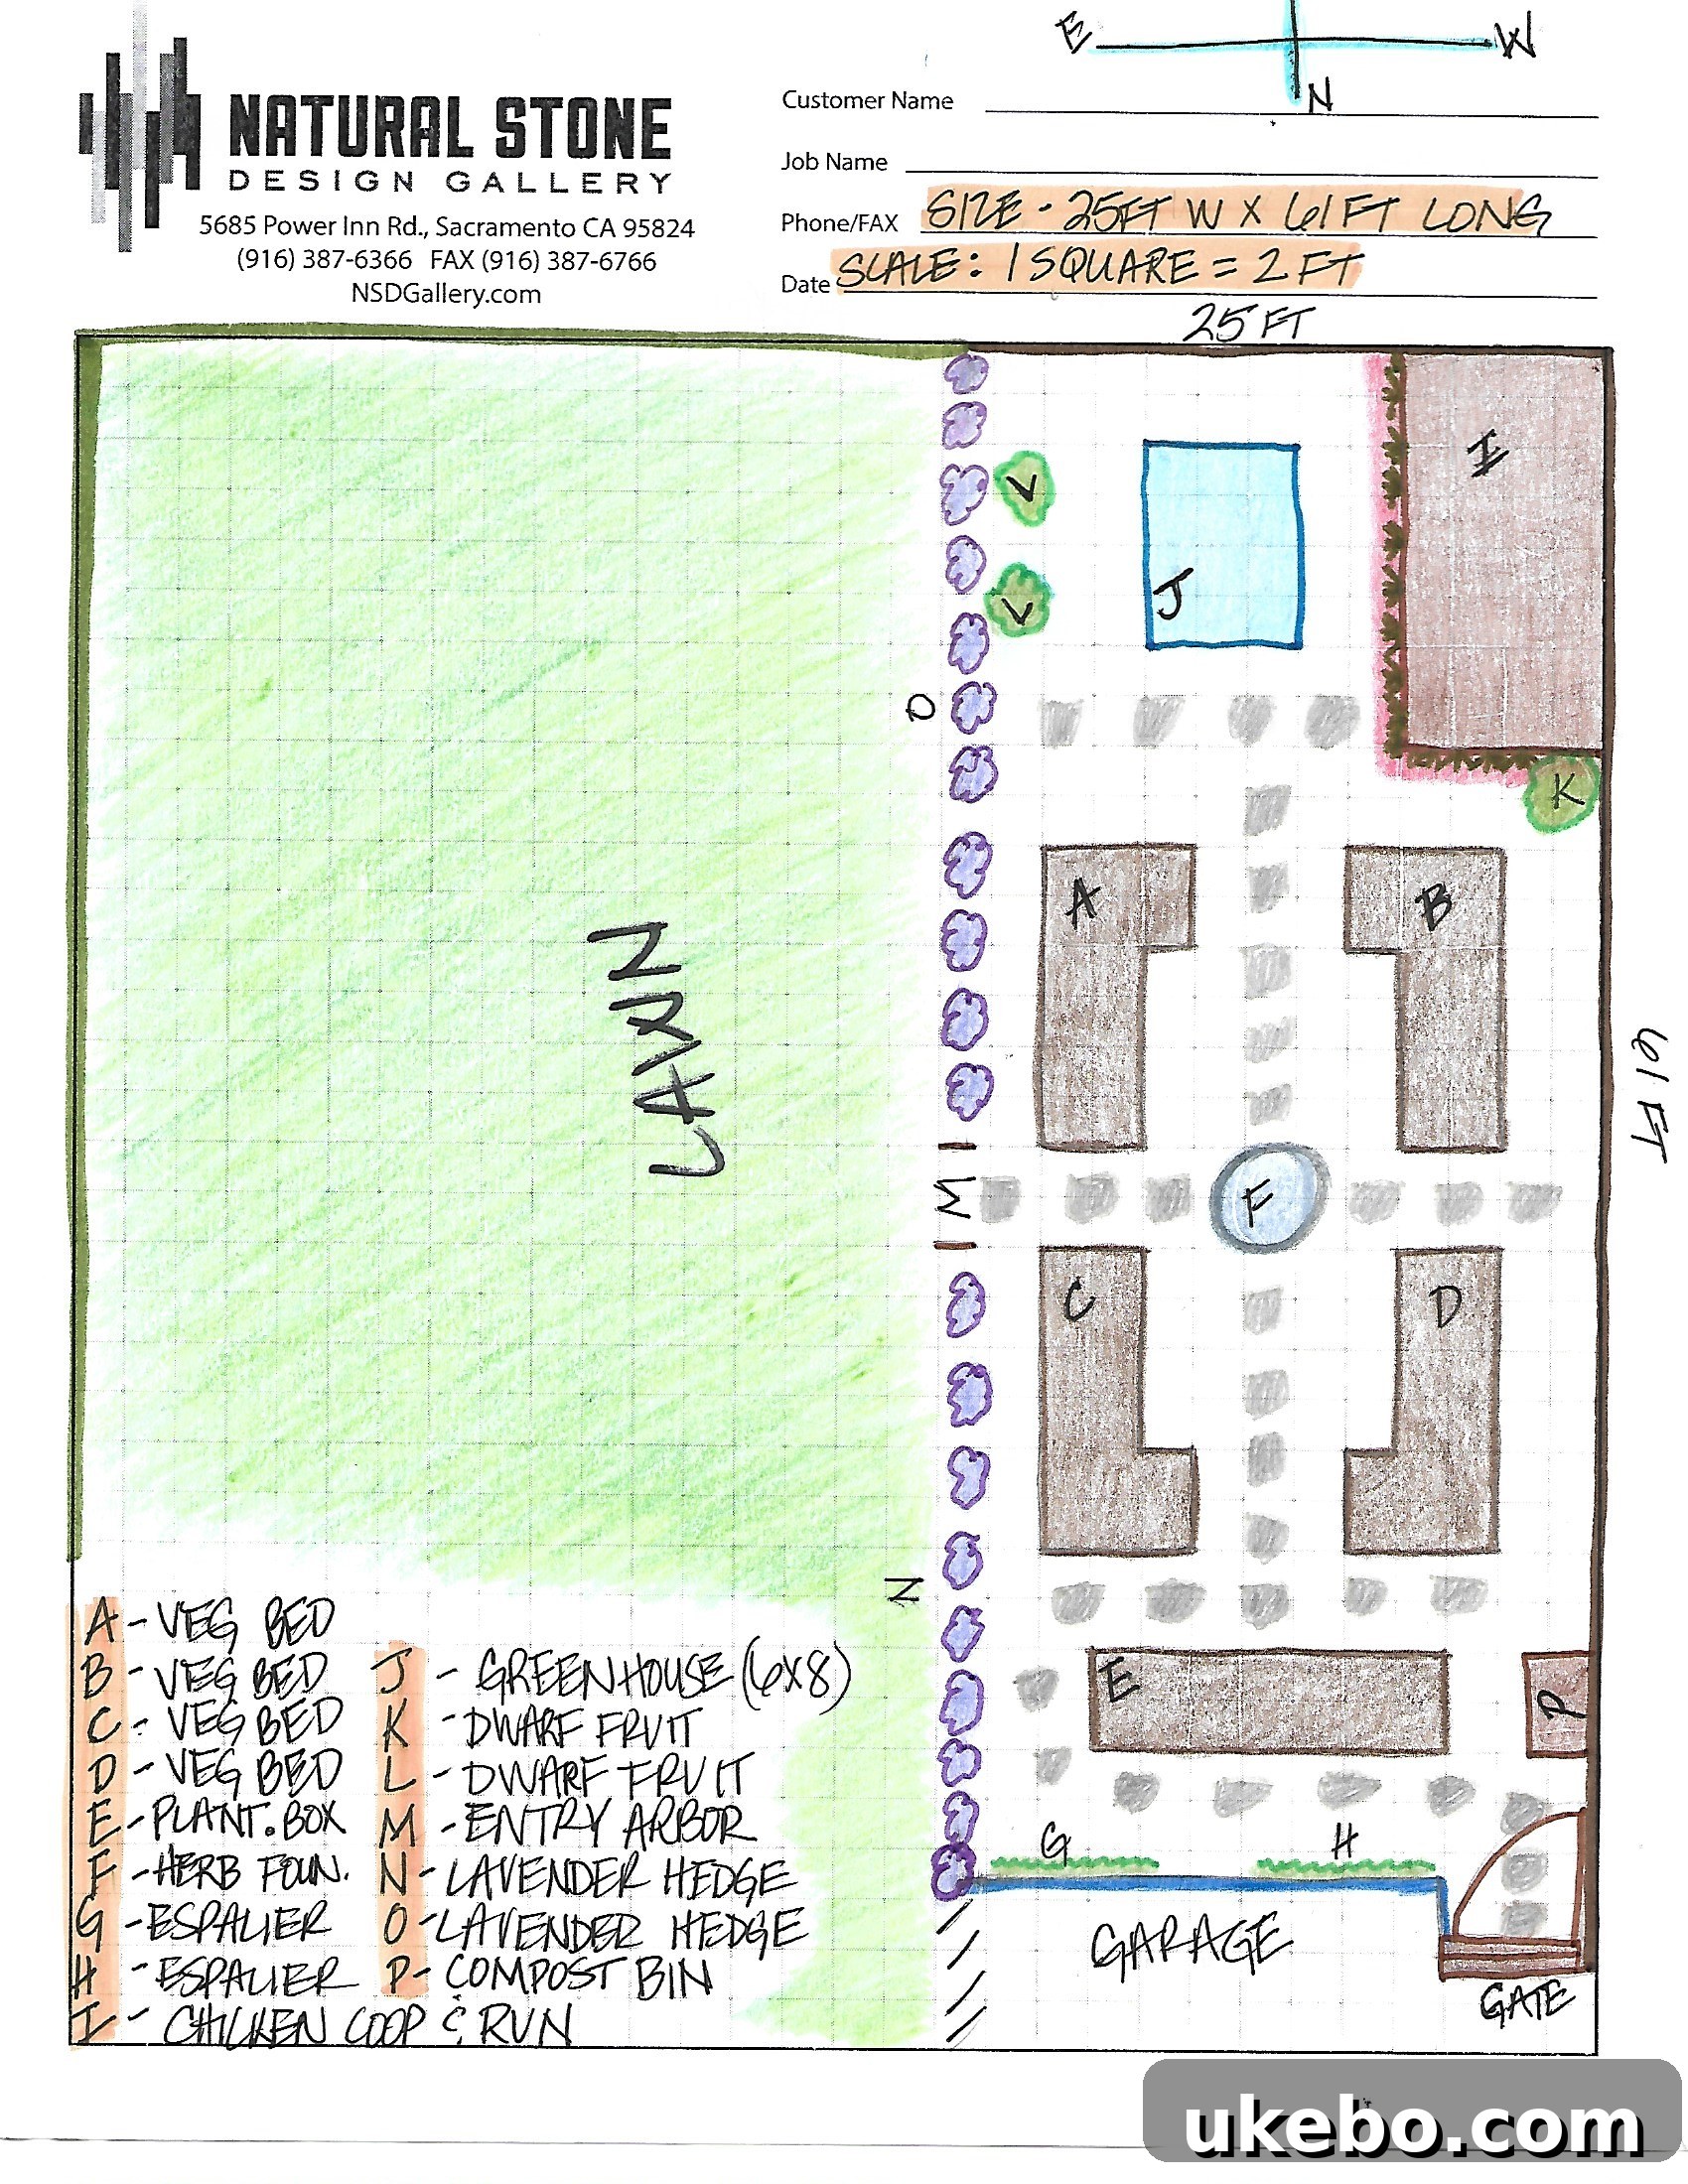
It’s important to note that this plan is not set in stone; flexibility is key in any garden planning endeavor. Life, and gardening, often present unexpected details that require adaptation, and I am fully prepared for adjustments along the way. However, this blueprint represents my core vision for the garden’s essential infrastructure. It meticulously integrates every item on my wish list – from centralized vegetable beds and space for chickens to a dedicated greenhouse – all designed to maximize the potential of this long, somewhat narrow space. Let’s explore some of the specific details that have garnered the most questions.
Key Elements of Our Dream Potager
Designing Productive Vegetable Beds
As evident from the plan, the vegetable beds are designed to be generously sized, strategically utilizing the full length of the available space. My preference leans towards having a few large, expansive beds rather than numerous smaller ones, as this often facilitates easier maintenance and more efficient planting. A common question I’ve received is regarding their construction: Will I opt for traditional wooden raised garden beds? Will I incorporate materials like durable cattle troughs? Or will I embrace a “no-dig” gardening philosophy? The honest answer, for now, is that the final decision is pending.
My choice between building raised beds and cultivating directly in our existing soil hinges significantly on a crucial step: a comprehensive soil test. This vital analysis will determine the composition, nutrient levels, and overall health of our current soil. If the results are favorable, I might adopt a “lasagna style” or no-dig gardening approach, focusing on intensive composting and amendment to enrich the existing ground. Conversely, if the soil proves unsuitable, I will proceed with constructing deep raised beds and importing high-quality new soil. Once this foundational question is resolved, I can then finalize the aesthetic and material choices for the beds. I am particularly drawn to the timeless and elegant look of beds bordered with natural rock or stone, which would beautifully complement the overall garden aesthetic.
A Natural Boundary: The Living Lavender Fence
Another frequently asked question pertains to how I intend to separate the main garden area from the rest of the lawn, especially given our beloved dog, Callie. My initial inclination was to construct a short, functional fence using wood and cattle wire. However, I ultimately preferred a softer, more natural division that would blend seamlessly with the landscape. Our backyard already features a considerable amount of fencing, and I was keen to avoid adding yet another rigid barrier across such a significant span. Fortunately, Callie is incredibly well-behaved, and I have no concerns about her disturbing the planting beds, negating the need for a robust exclusionary barrier.
via
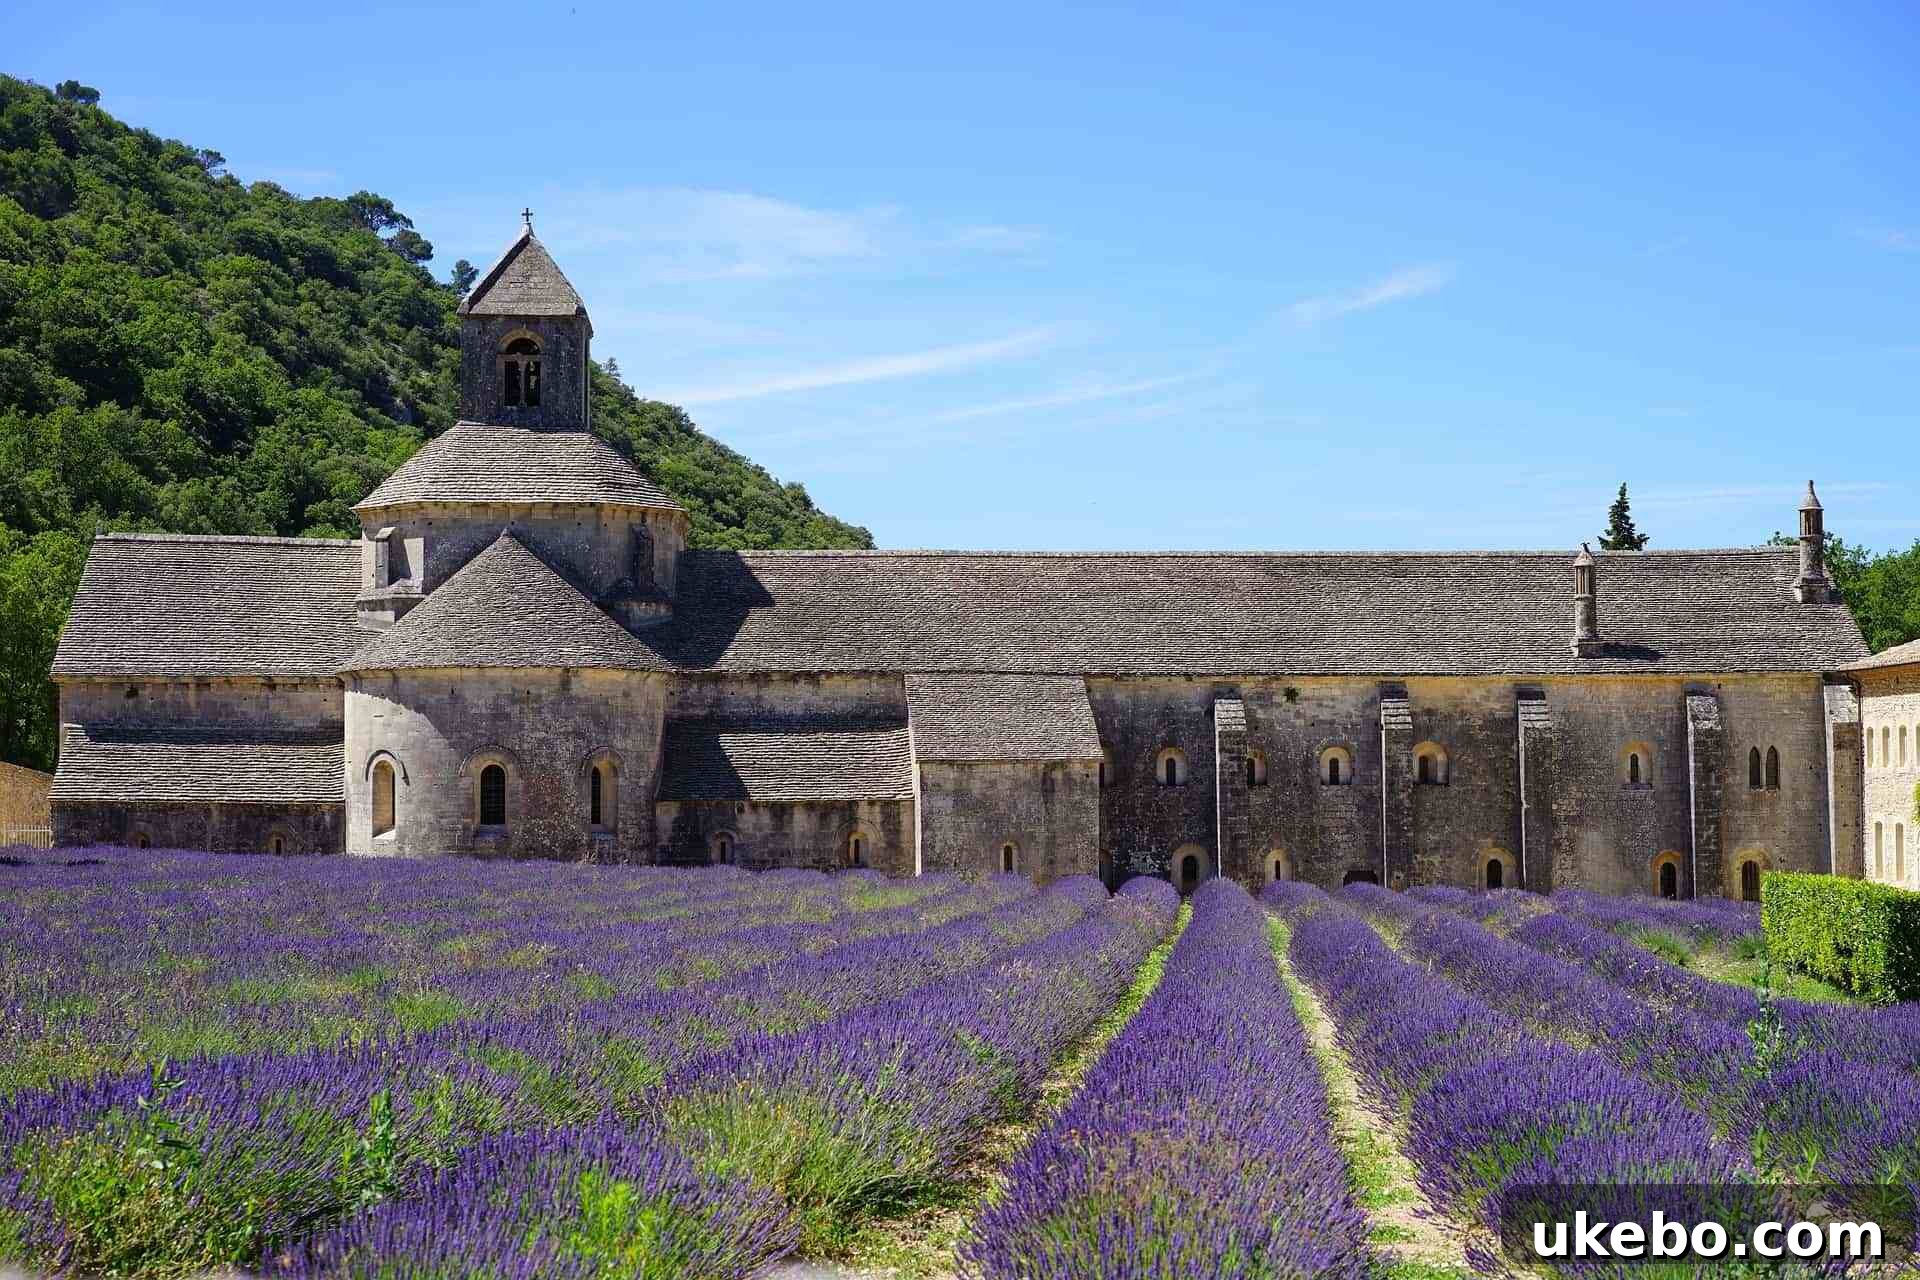
Drawing inspiration from the breathtaking lavender fields of Provence, France, I decided to cultivate a “living fence” by planting a fragrant hedge of lavender. This natural barrier will elegantly delineate the garden zone from the remainder of the yard. Our Mediterranean climate is ideally suited for growing lavender, making this a practical and beautiful choice. Over time, the lavender will mature into dense, bushy plants reaching approximately 2-3 feet in height, creating a visually appealing and soft natural enclosure. Beyond its aesthetic appeal, lavender is a powerful magnet for beneficial pollinators, such as bees and hummingbirds, which are essential for the health and productivity of any sustainable potager garden.
Cultivating Dreams: Our Greenhouse Ambition
The addition of a greenhouse has also sparked considerable interest. The most common query is whether I plan to embark on a DIY construction project using intricate plans. While the notion of a handcrafted greenhouse, particularly those ingeniously fashioned from recycled windows and doors, is undeniably appealing and visually stunning, I recognize my current limitations. My life is quite full at the moment, and establishing this entire garden is already a substantial undertaking. Therefore, wherever possible, I intend to source components or structures rather than building them from scratch. My primary goal is to find a secondhand greenhouse. I’ve been diligently monitoring platforms like Craigslist and Facebook Marketplace since last year, hoping to acquire one from someone else’s hands. If a suitable pre-owned option doesn’t materialize, I will likely opt for a basic, cost-effective model from a retailer like Harbor Freight, a local hardware store, or an online supplier, prioritizing functionality and budget.
Grounding the Design: Pathway and Flooring Choices
The selection of flooring materials for the garden pathways is another detail still under consideration. While I am certain that there will be some form of pavered pathways to ensure clear, walkable routes, the primary flooring material for the larger areas remains undecided. Will we incorporate wood chips for their natural look and weed-suppressing qualities? Will we maintain sections of grass? Or perhaps utilize the clean aesthetic of pea gravel, or even the classic charm of brick? Honestly, I haven’t settled on a definitive answer yet. I am currently leaning towards wood chips due to their natural appearance and relatively low cost, but the decision will ultimately be guided by a balance of aesthetics, practicality, and, critically, affordability. The goal is to create a functional and beautiful garden floor that is also relatively inexpensive.
Embarking on the Garden Journey: Next Steps
Alright, friends! You now have a comprehensive overview of the detailed plan for our potager garden. The time for dreaming and planning is drawing to a close, and it’s time to translate these blueprints into tangible action. In the very next installment of my garden series, you can expect a thrilling update on the initial stages of the area’s transformation. By then, I anticipate having the results of our crucial soil test, having commenced the construction of the garden beds, and perhaps even having initiated some preliminary planting. The journey from vision to reality is truly underway, and I can’t wait to share every step with you.
Until next time, happy gardening!