
The Enduring Charm of Butcher Block Countertops: A Comprehensive Care Guide
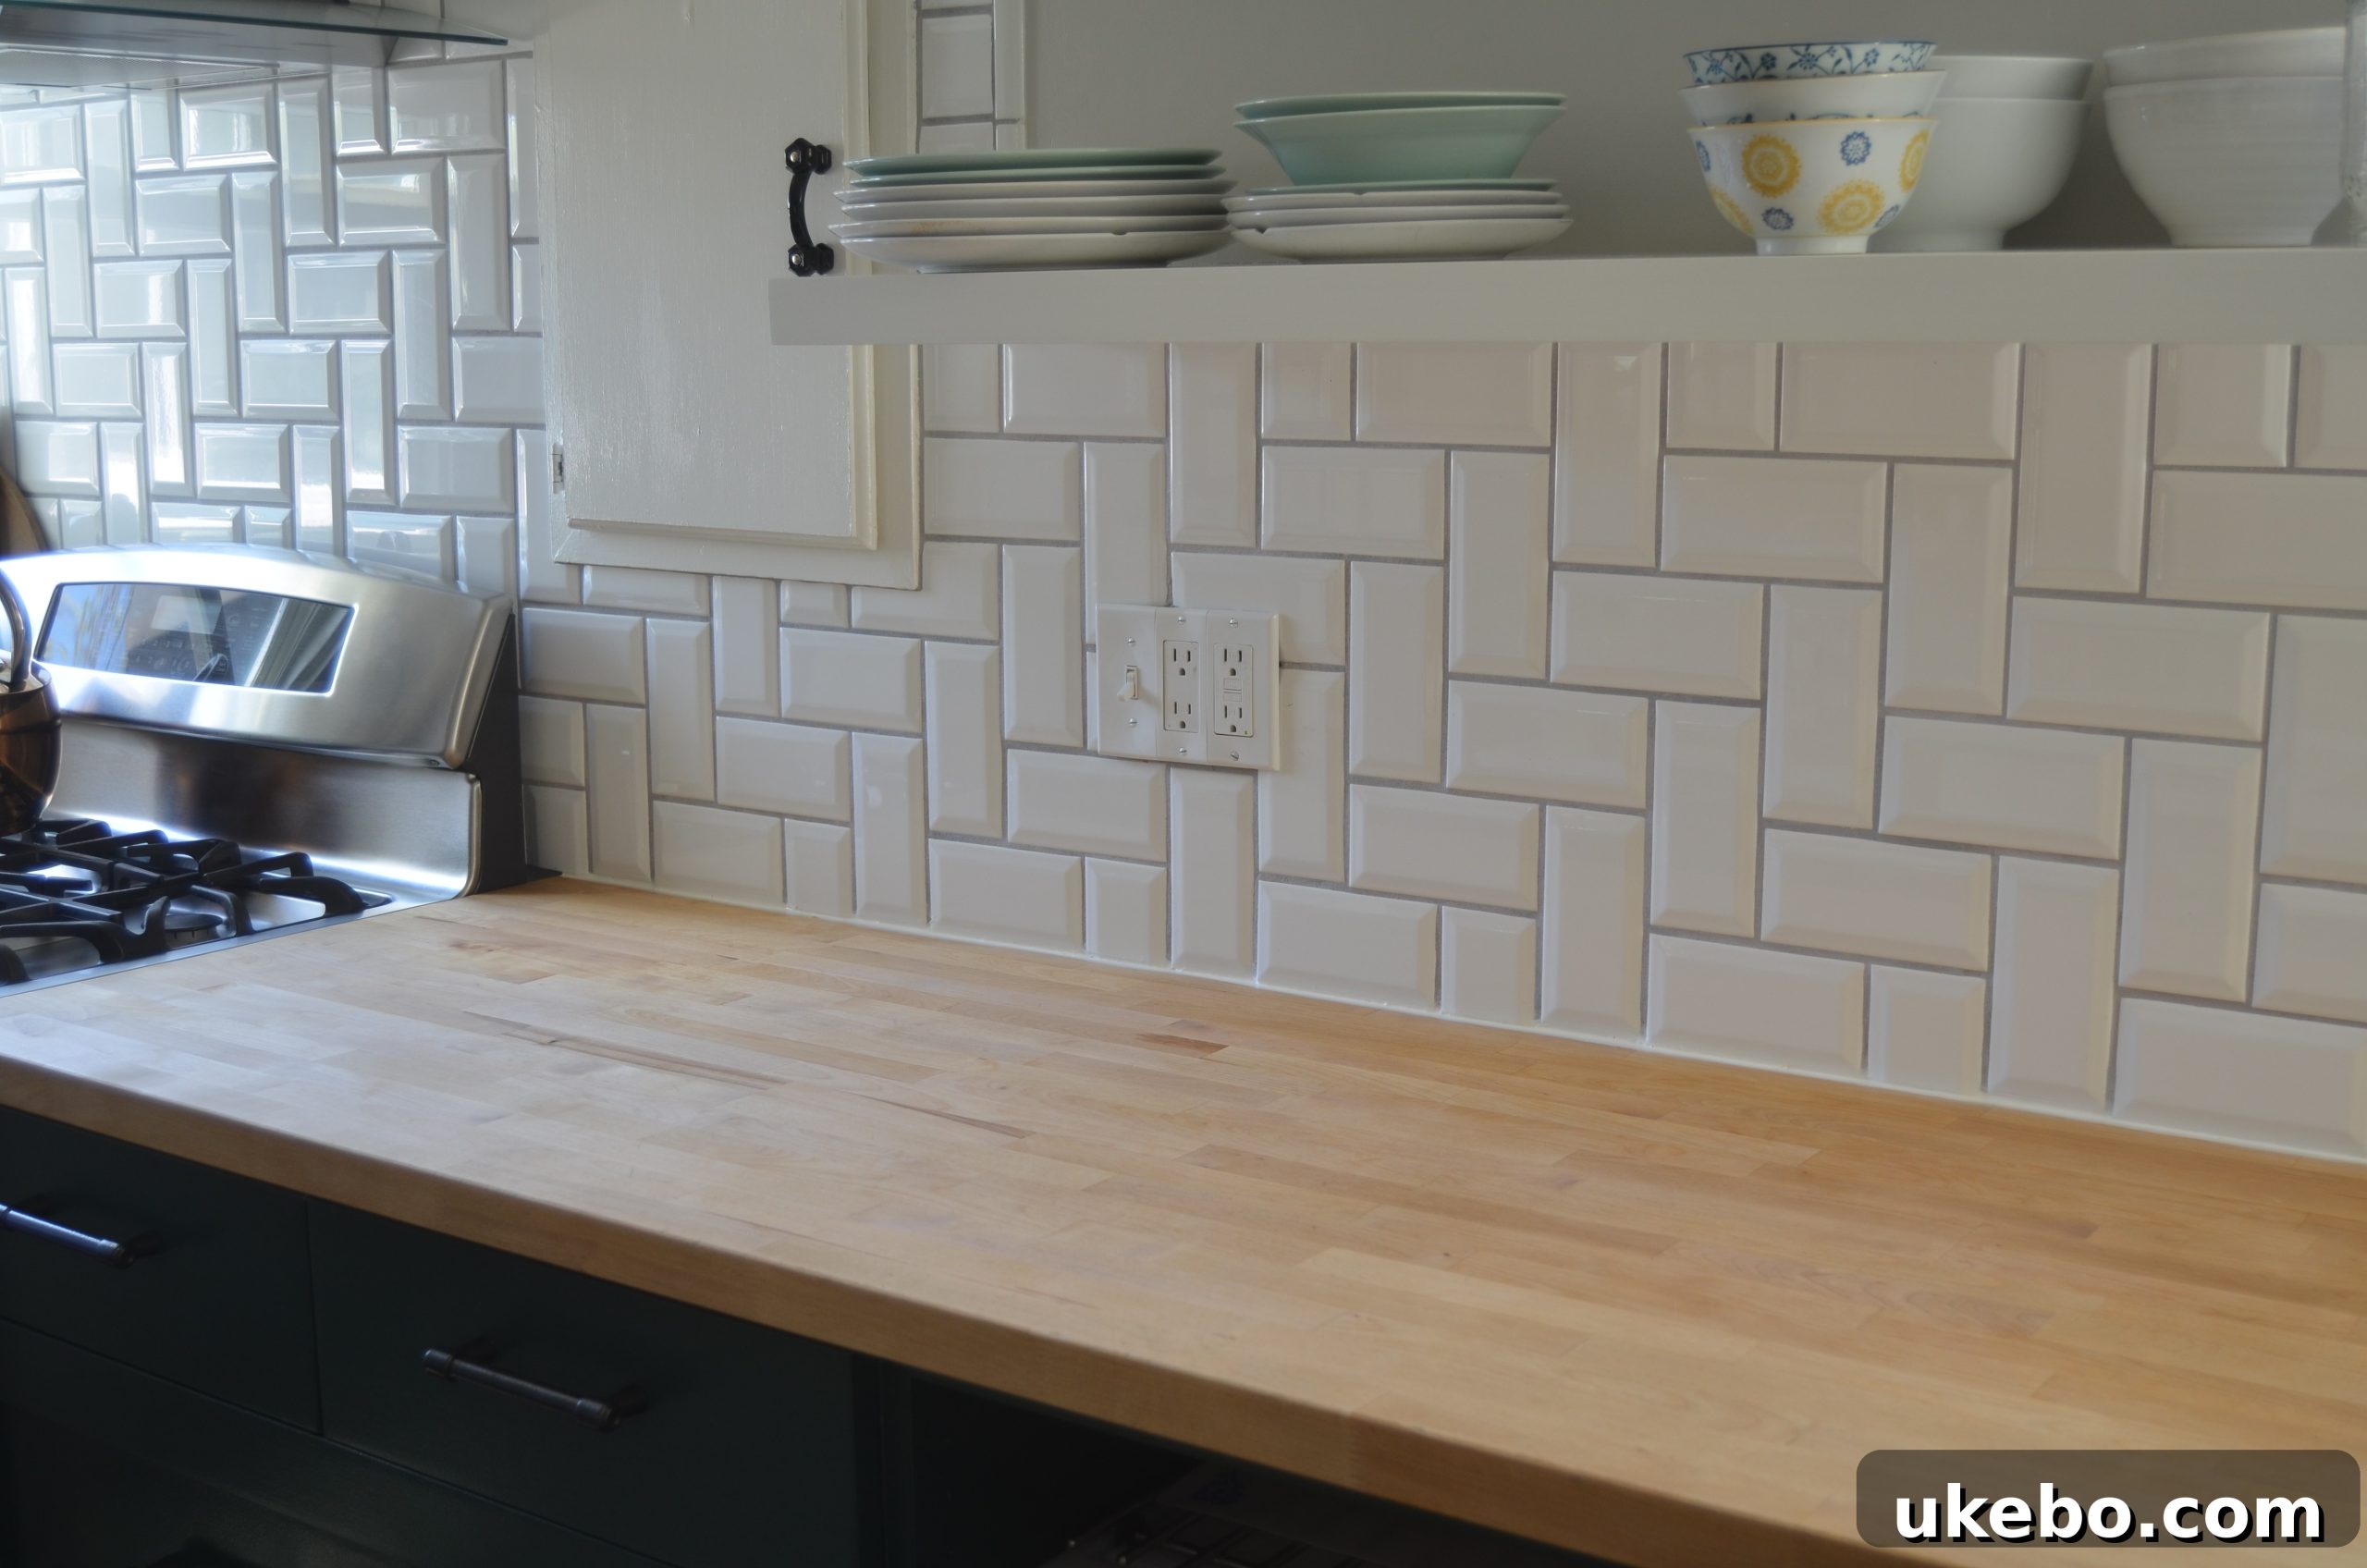
Hello everyone! For those who have followed my journey, it will come as no surprise that my deep affection for wood kitchen counters remains unwavering. From the moment we embarked on the remodel of our charming cottage bungalow, there was no question: butcher block countertops were a non-negotiable feature for our kitchen. Their inherent warmth, natural beauty, and timeless appeal resonated deeply with my vision for a cozy, functional, and inviting space.
My passion for these natural wood surfaces often sparks numerous inquiries. I frequently receive questions like: “Why did you opt for butcher block instead of granite or quartz?”, “Where did you purchase your beautiful wood countertops?”, and “Do you actually cut on them, or are they purely for aesthetic appeal?” However, the most prevalent question, by far, is: “How do you maintain them, and what’s your routine for keeping them looking their best?” Today, I’m thrilled to share my simple yet highly effective maintenance routine – and I promise, it’s incredibly easy to achieve!
Choosing Butcher Block: A Personal Preference in Kitchen Design
The decision to install butcher block countertops in our kitchen was a deliberate one, driven by a blend of aesthetic preference, practical considerations, and a desire for authenticity. While popular choices like granite and quartz offer undeniable durability and sleekness, wood brings an unparalleled warmth and organic texture that transforms a kitchen from merely functional to truly soulful. For me, the visual and tactile experience of natural wood creates a comforting ambiance that stone simply cannot replicate. Furthermore, butcher block often presents a more budget-friendly option compared to premium stone surfaces, making it an excellent choice for those seeking both beauty and value in their kitchen remodel.
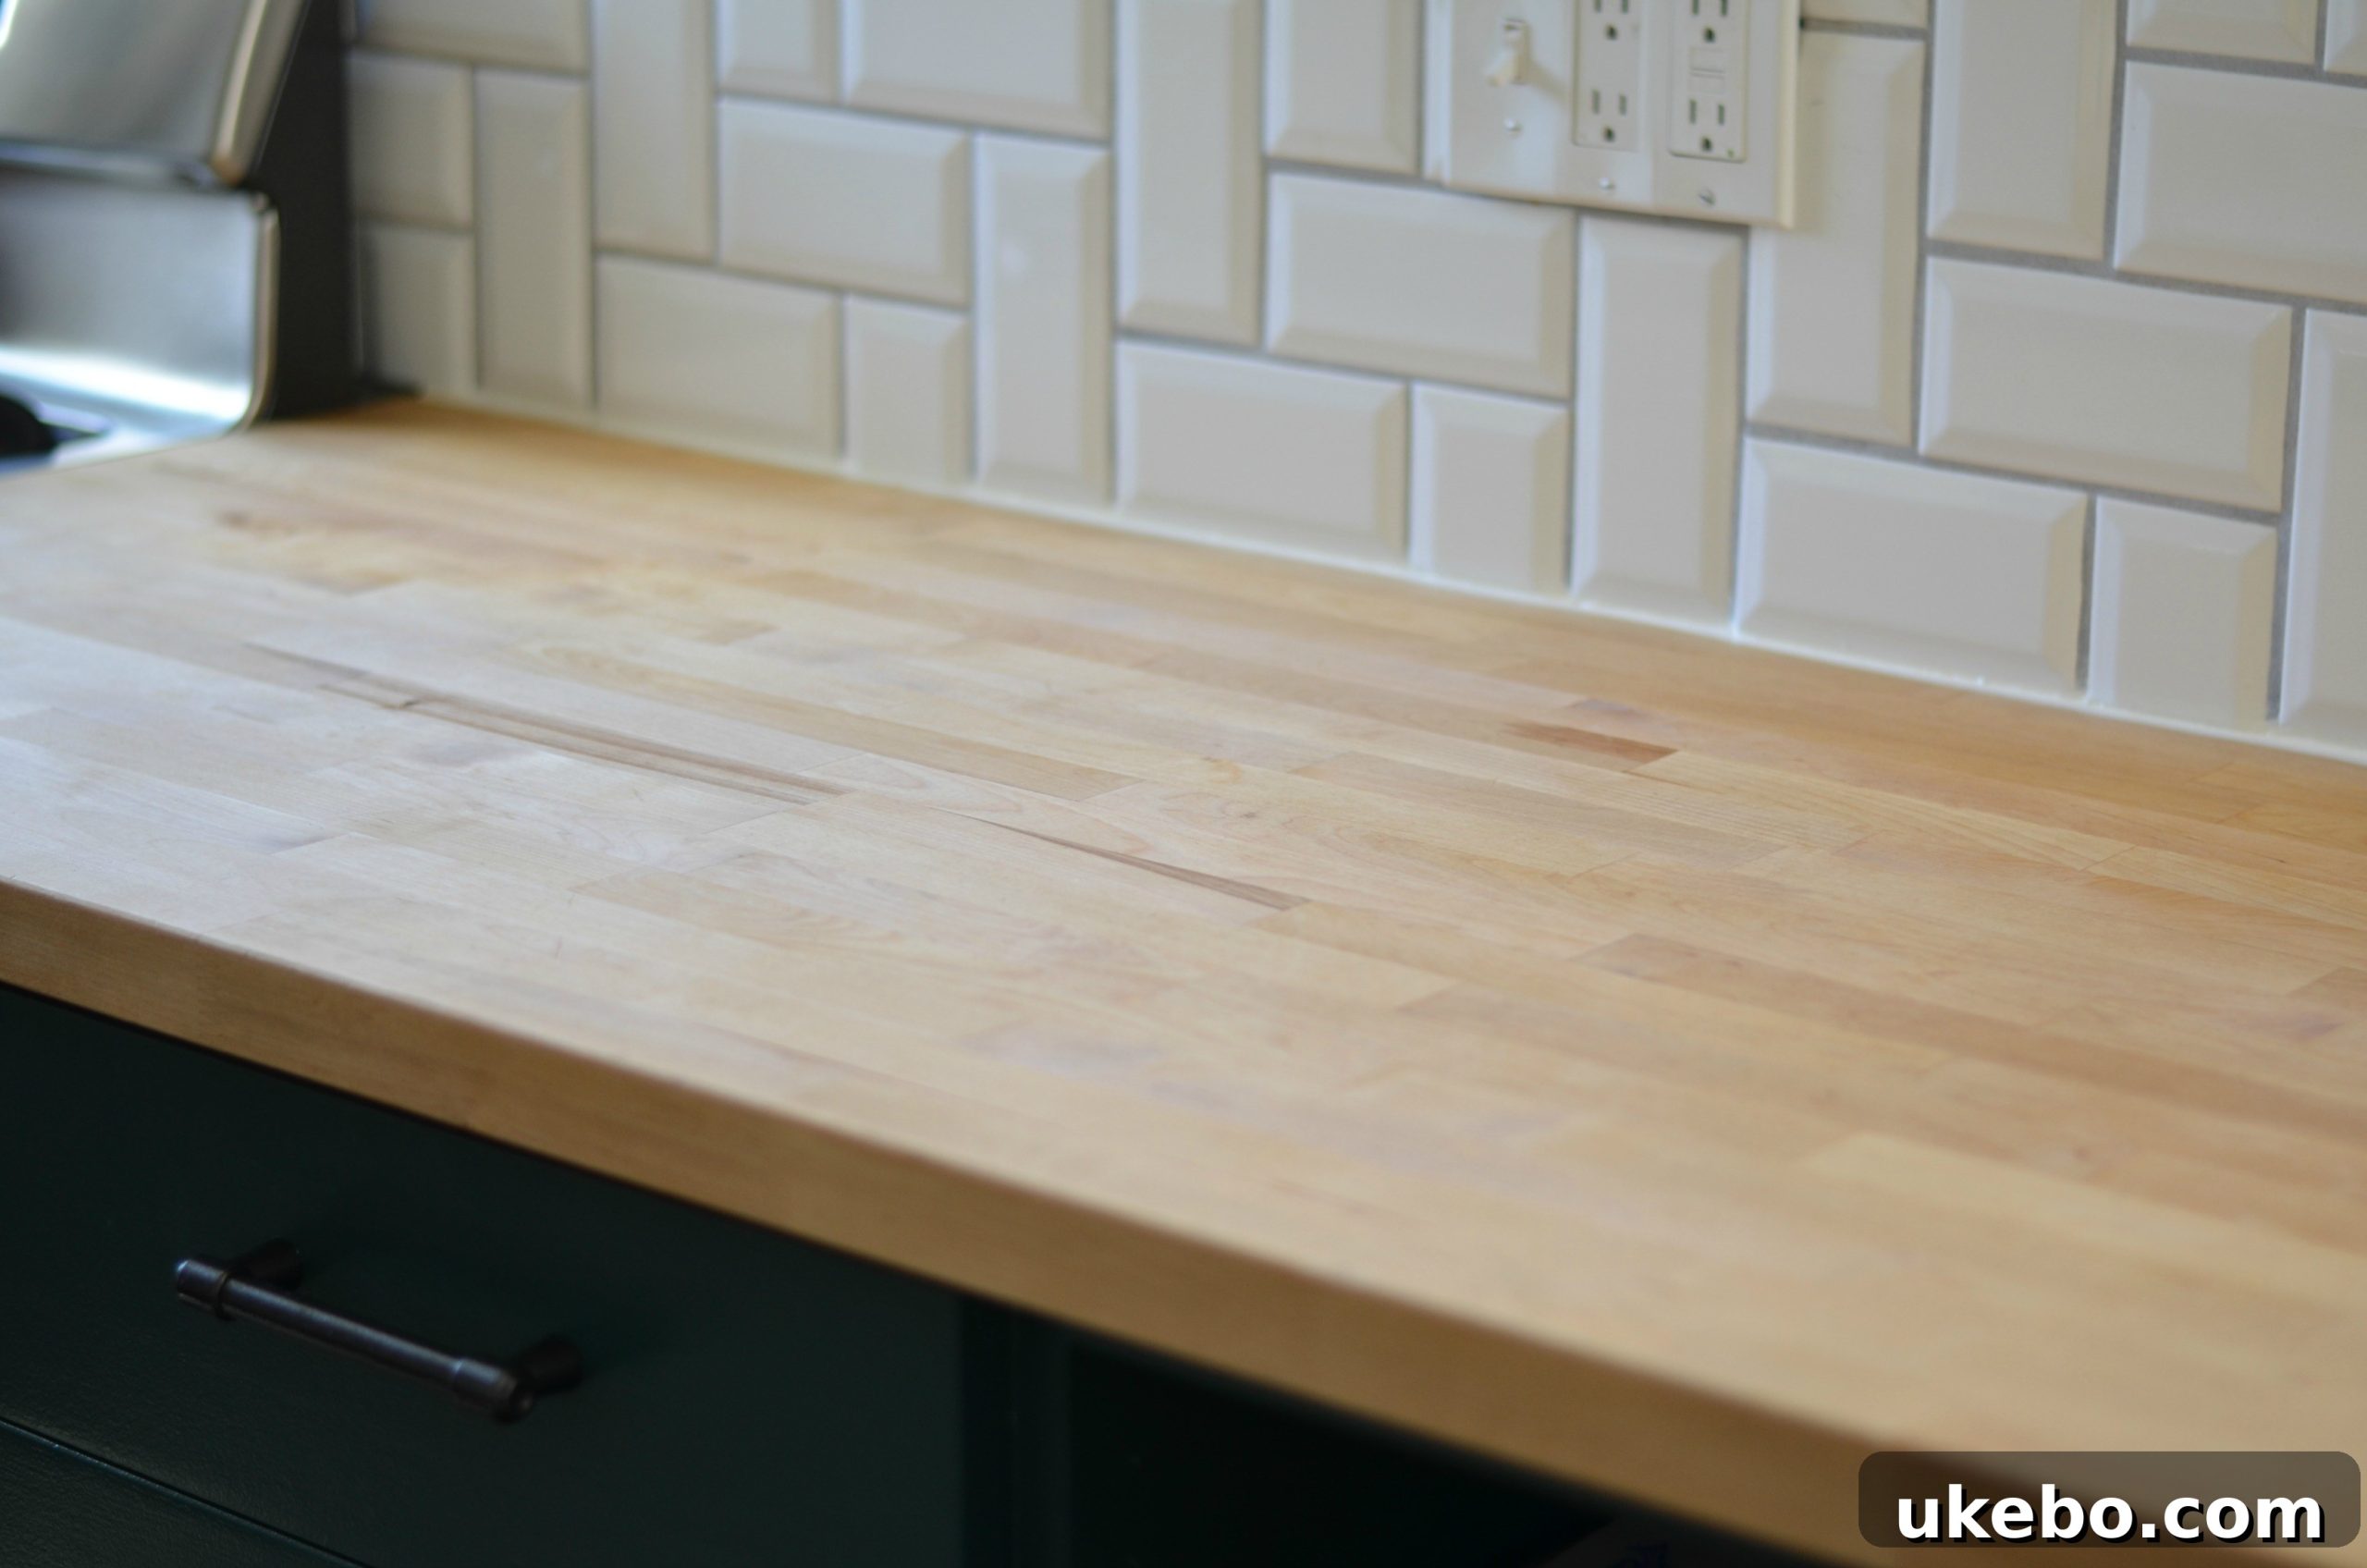
When it came to sourcing our countertops, we turned to Ikea. They offered an incredibly affordable solution without compromising on quality. We chose the birch option, which was readily available at the time. While I absolutely adore the birch, my heart was initially set on the oak butcher block. Unfortunately, a manufacturing issue meant the oak was out of stock indefinitely, with no clear ETA for its return. The richness and pronounced grain of oak are truly exquisite, and if it had been an option, it would have been my first choice. However, the birch has proven to be a fantastic alternative, developing its own unique character over time.
Embracing the Authenticity: Using Your Butcher Block for Daily Prep
One of the most common misconceptions about butcher block is that it’s purely decorative. Let me assure you, ours are far from it! We wholeheartedly embrace their functionality and actively use our butcher block surfaces for daily food preparation. I confidently cut, chop, and dice directly on them, allowing the wood to bear the honest marks of culinary activity. These aren’t just countertops; they are an integral part of our kitchen’s hardworking ecosystem.
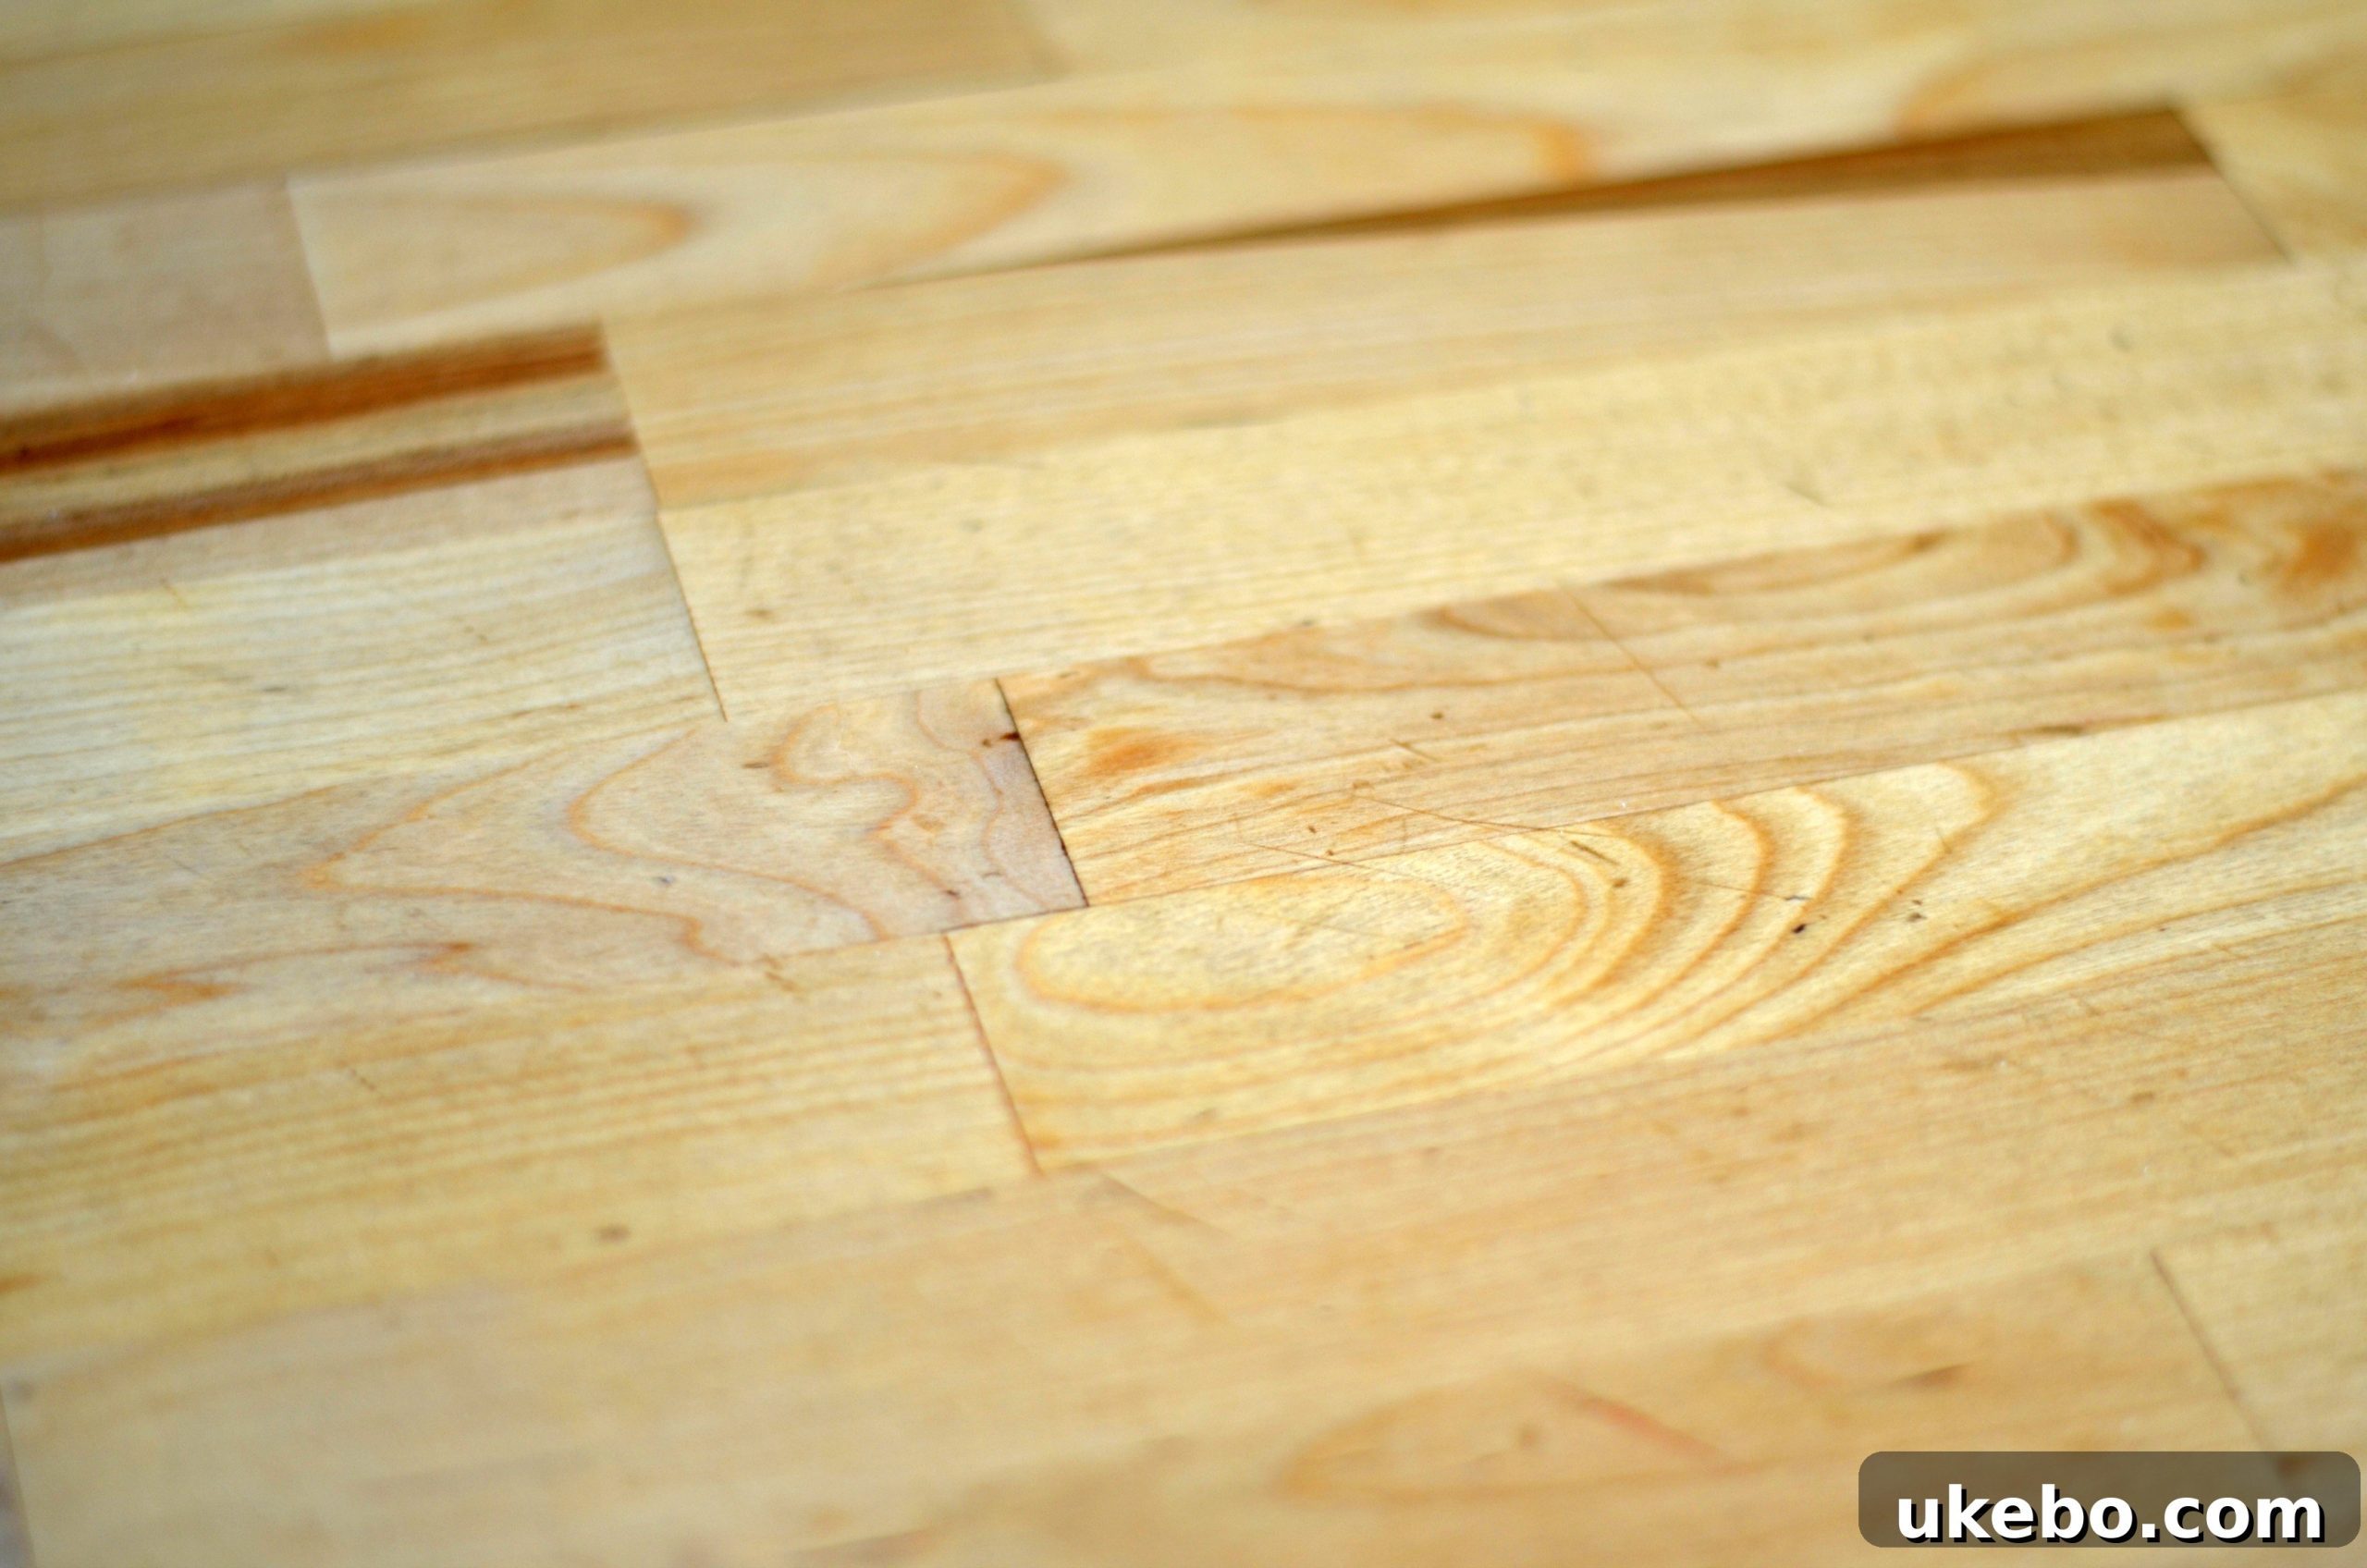
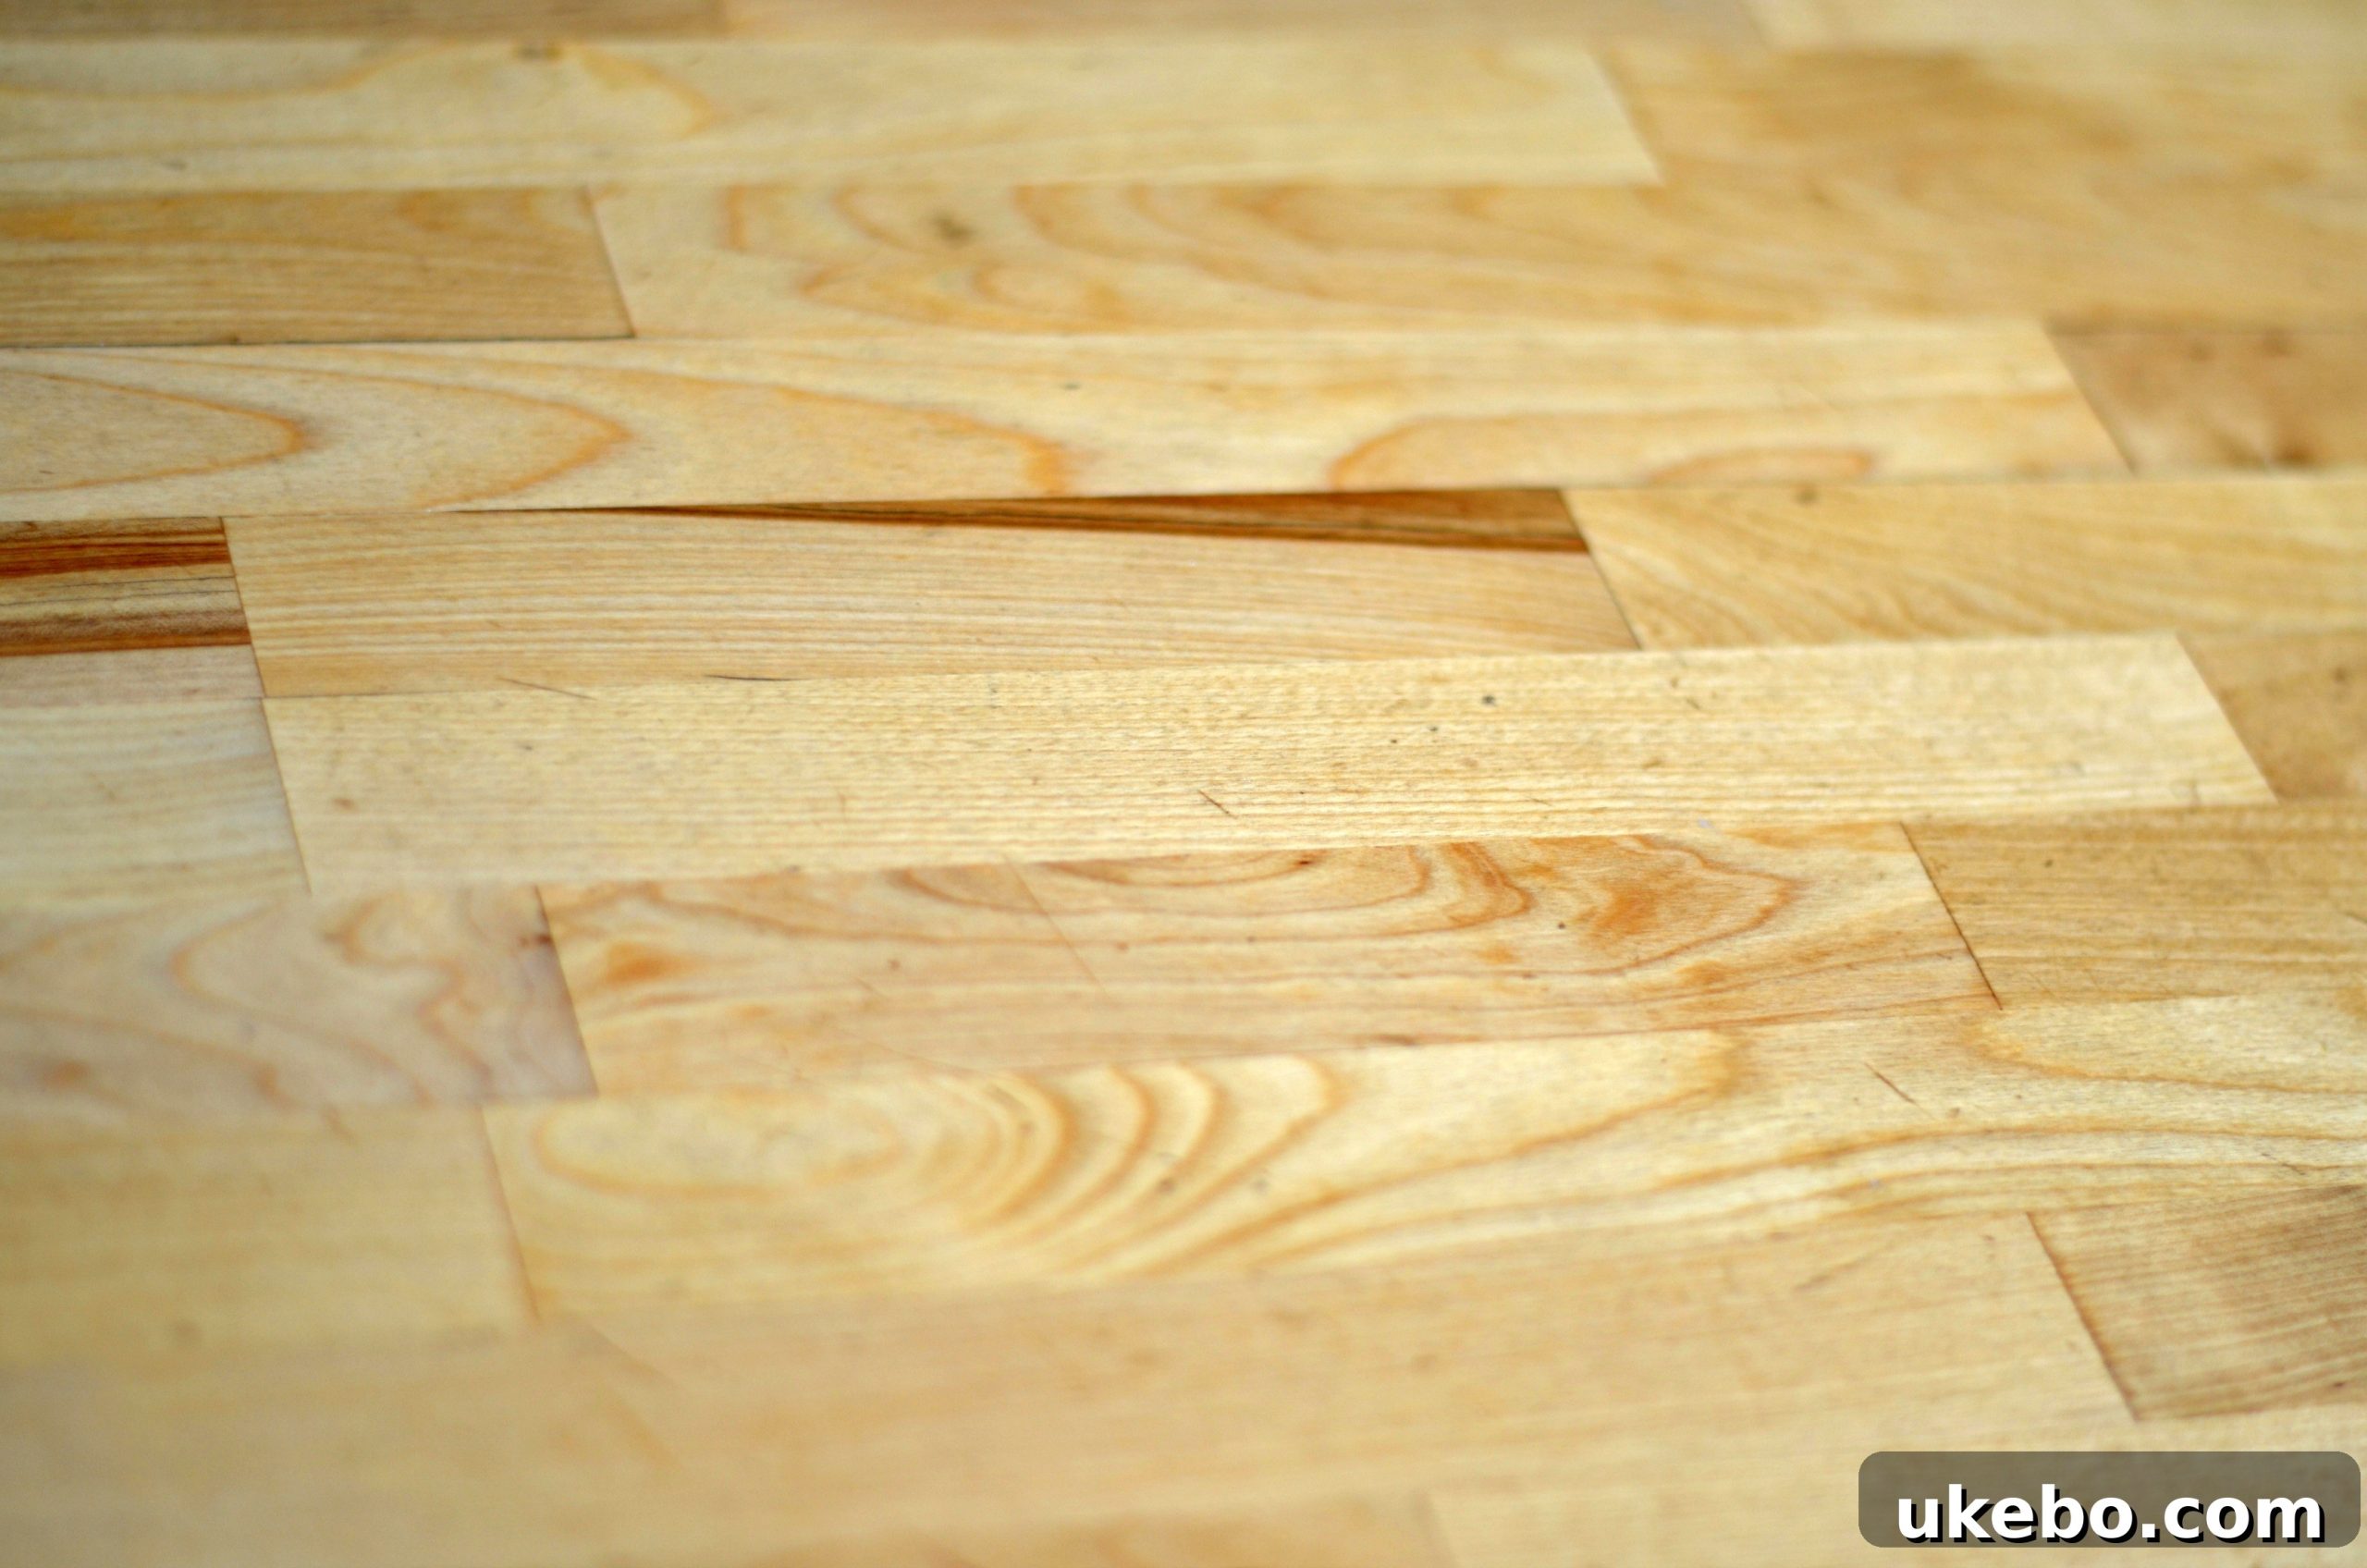
However, like any material, there are certain items I avoid handling directly on the wood. These include highly acidic ingredients such as onions and citrus fruits, as well as raw meat and anything containing raw egg. For these specific tasks, or when working with dough, I opt for our marble island. The marble provides a non-porous surface that is easier to sanitize for raw proteins and offers a perfectly cool, smooth expanse for kneading. Over time, our butcher block has naturally started to develop a beautiful patina, complete with charming scratches and nicks – what I affectionately refer to as “love marks.” These imperfections tell the story of countless meals shared and memories made, adding a layer of character that mass-produced surfaces simply cannot offer. From the very beginning, I sealed our countertops using a food-safe method, ensuring they are protected while remaining safe for all our culinary adventures.
The Essential Butcher Block Maintenance Ritual: A Step-by-Step Guide
Maintaining butcher block countertops is surprisingly straightforward and incredibly rewarding. My routine, performed every couple of months or so, ensures their longevity and preserves their natural beauty. Here’s a detailed breakdown of how I keep our wood counters in pristine condition:
Step 1: Prepare Your Surface – Clean and Dry
The foundation of any successful maintenance routine begins with a clean slate. I start by thoroughly wiping down the entire countertop surface with hot, soapy water. This simple step removes any food residues, grease, or daily grime that might have accumulated. After scrubbing, I rinse the surface thoroughly and allow the countertops to air dry completely. Ensuring the wood is bone-dry before proceeding is crucial, as any trapped moisture can hinder the absorption of the conditioning oils and potentially lead to issues down the line.
Step 2: Gather Your Essential Tools
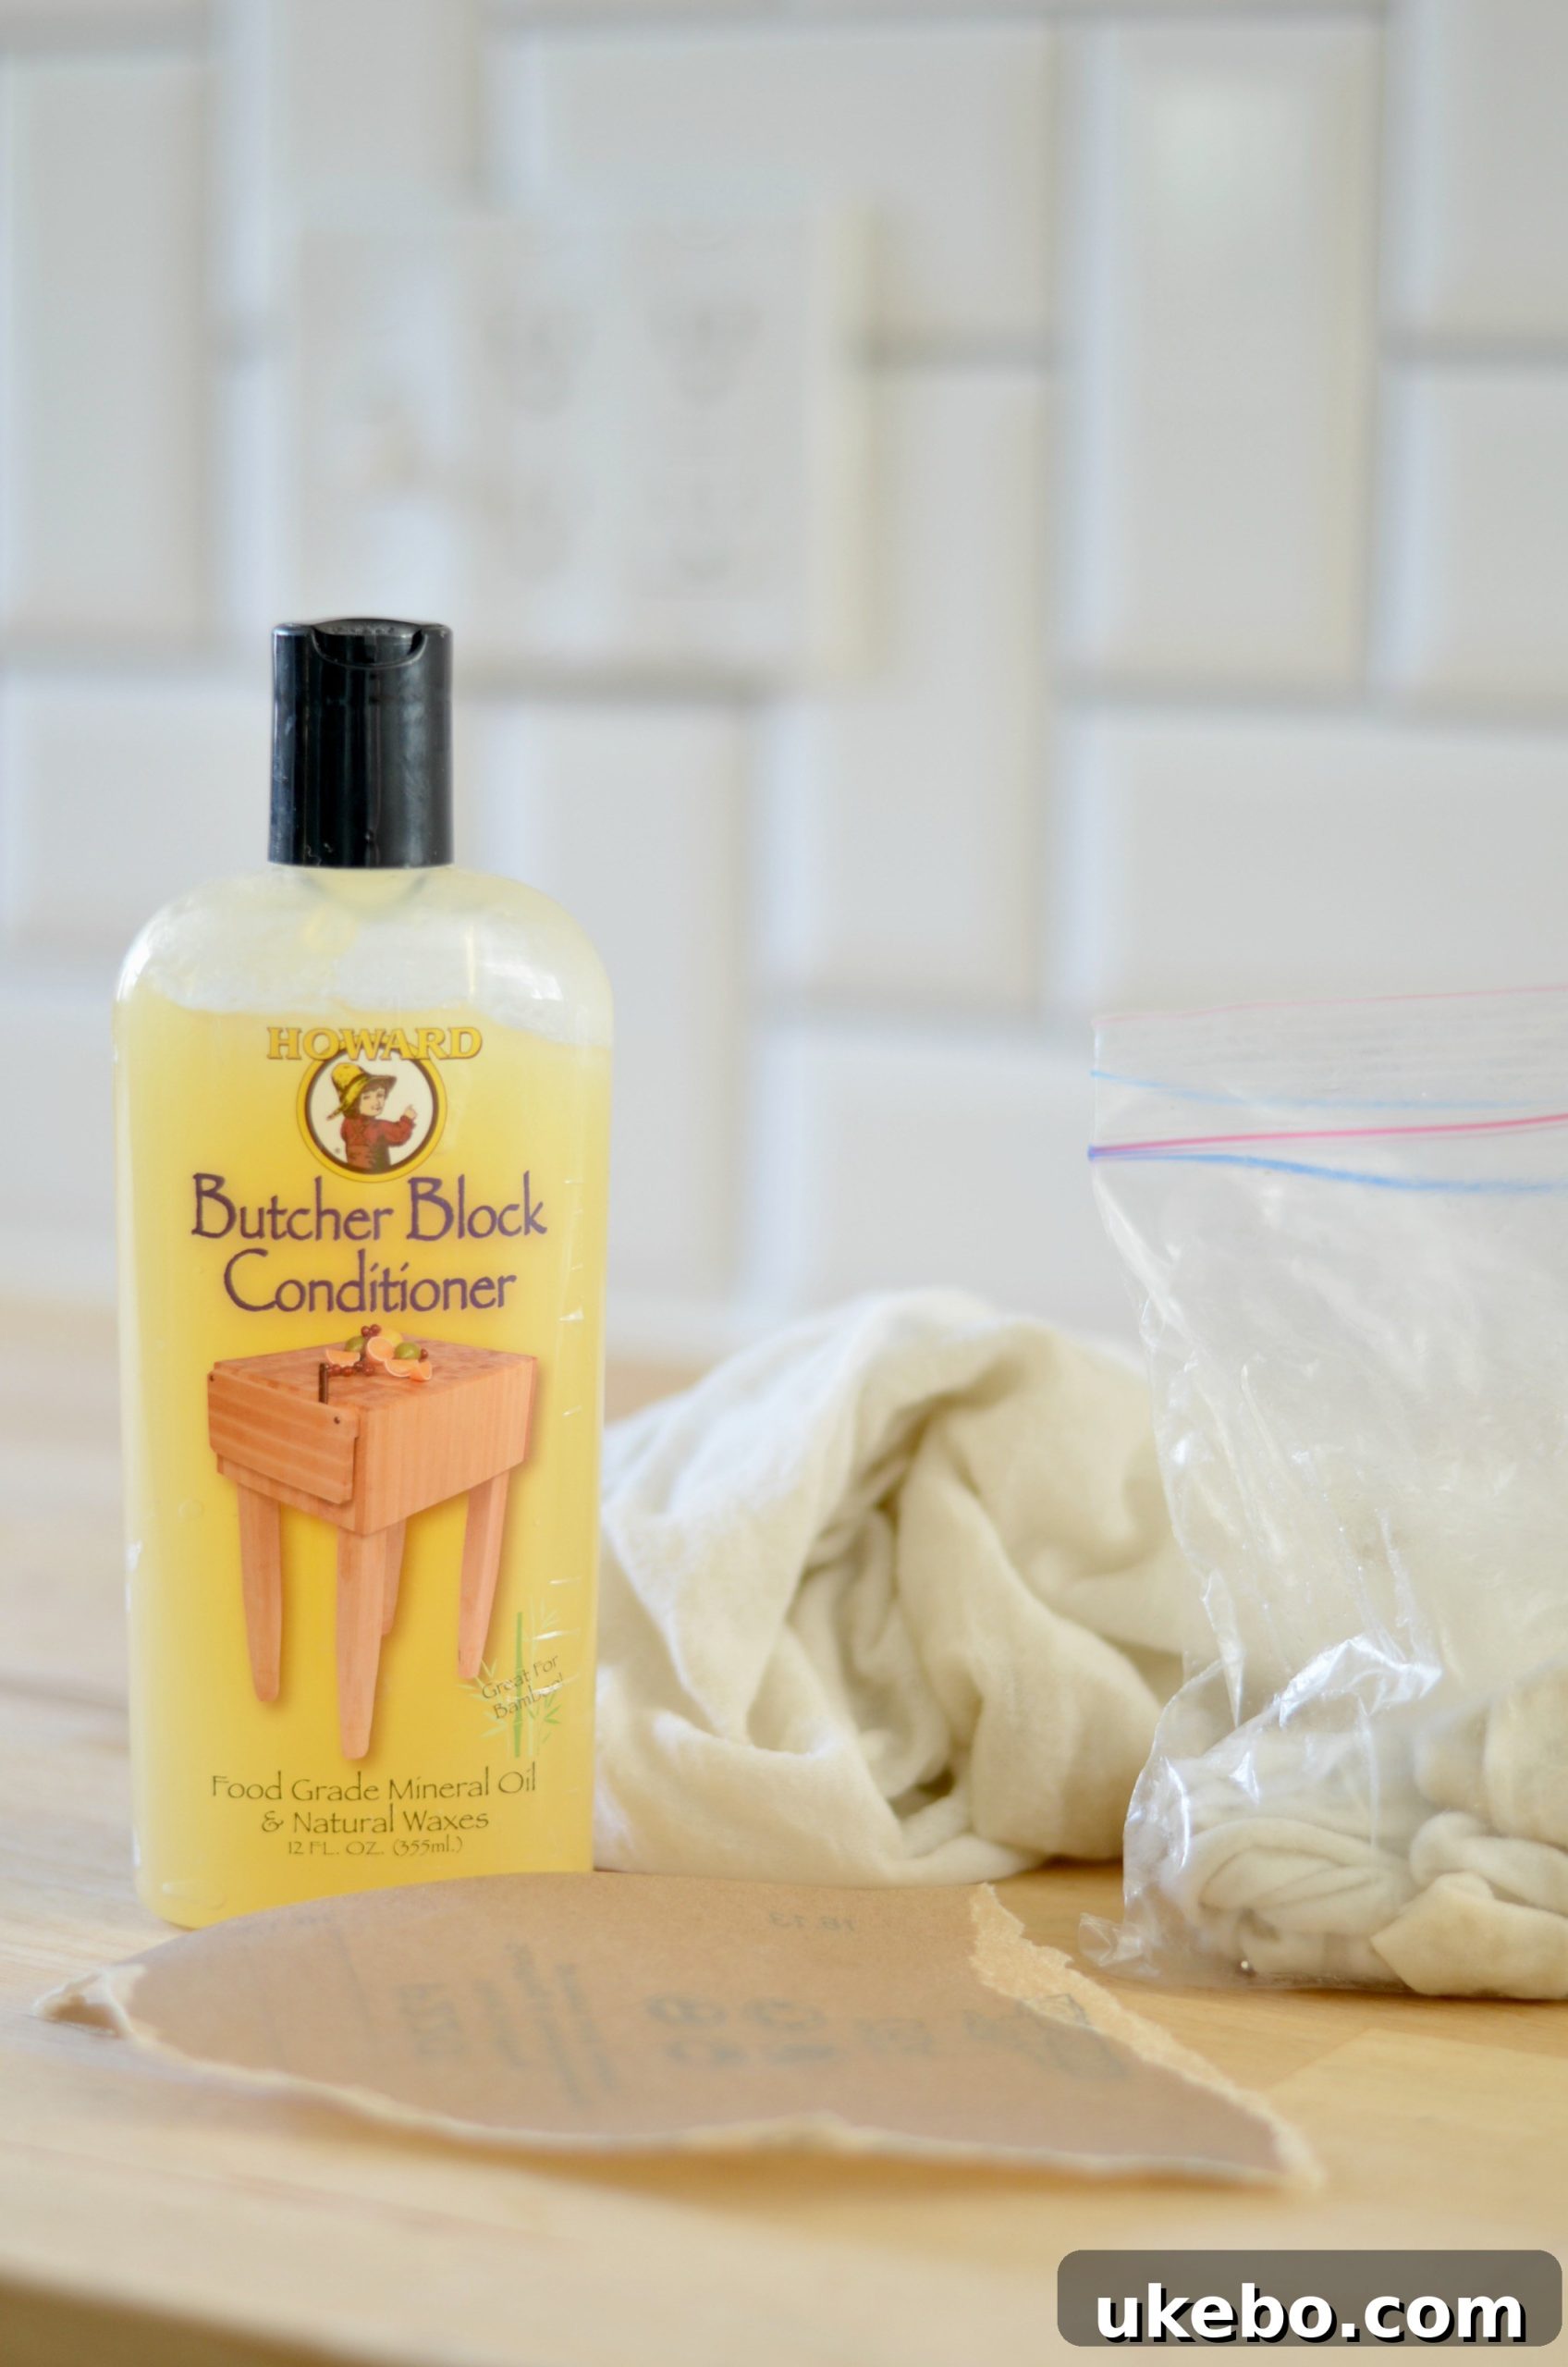
Once your countertops are prepped, it’s time to gather your supplies. For this critical step in butcher block care, you’ll need three key players: a high-quality wood conditioner, fine-grit sandpaper, and soft, lint-free cloths. My absolute favorite product for conditioning is Howard’s Butcher Block Conditioner. It penetrates the wood beautifully, leaving behind a rich, lustrous finish that truly enhances the wood’s natural grain. However, if I ever run out, plain old food-grade mineral oil is an excellent and readily available alternative that performs admirably. For sanding, a 220-grit sandpaper is ideal for light buffing and addressing minor imperfections. Lastly, for application and buffing, you’ll want soft, white, lint-free cloths. These can often be purchased in packs from hardware stores like Home Depot or Ace and are essentially repurposed cotton t-shirts, perfect for the job.
Step 3: Lightly Sand Away Imperfections
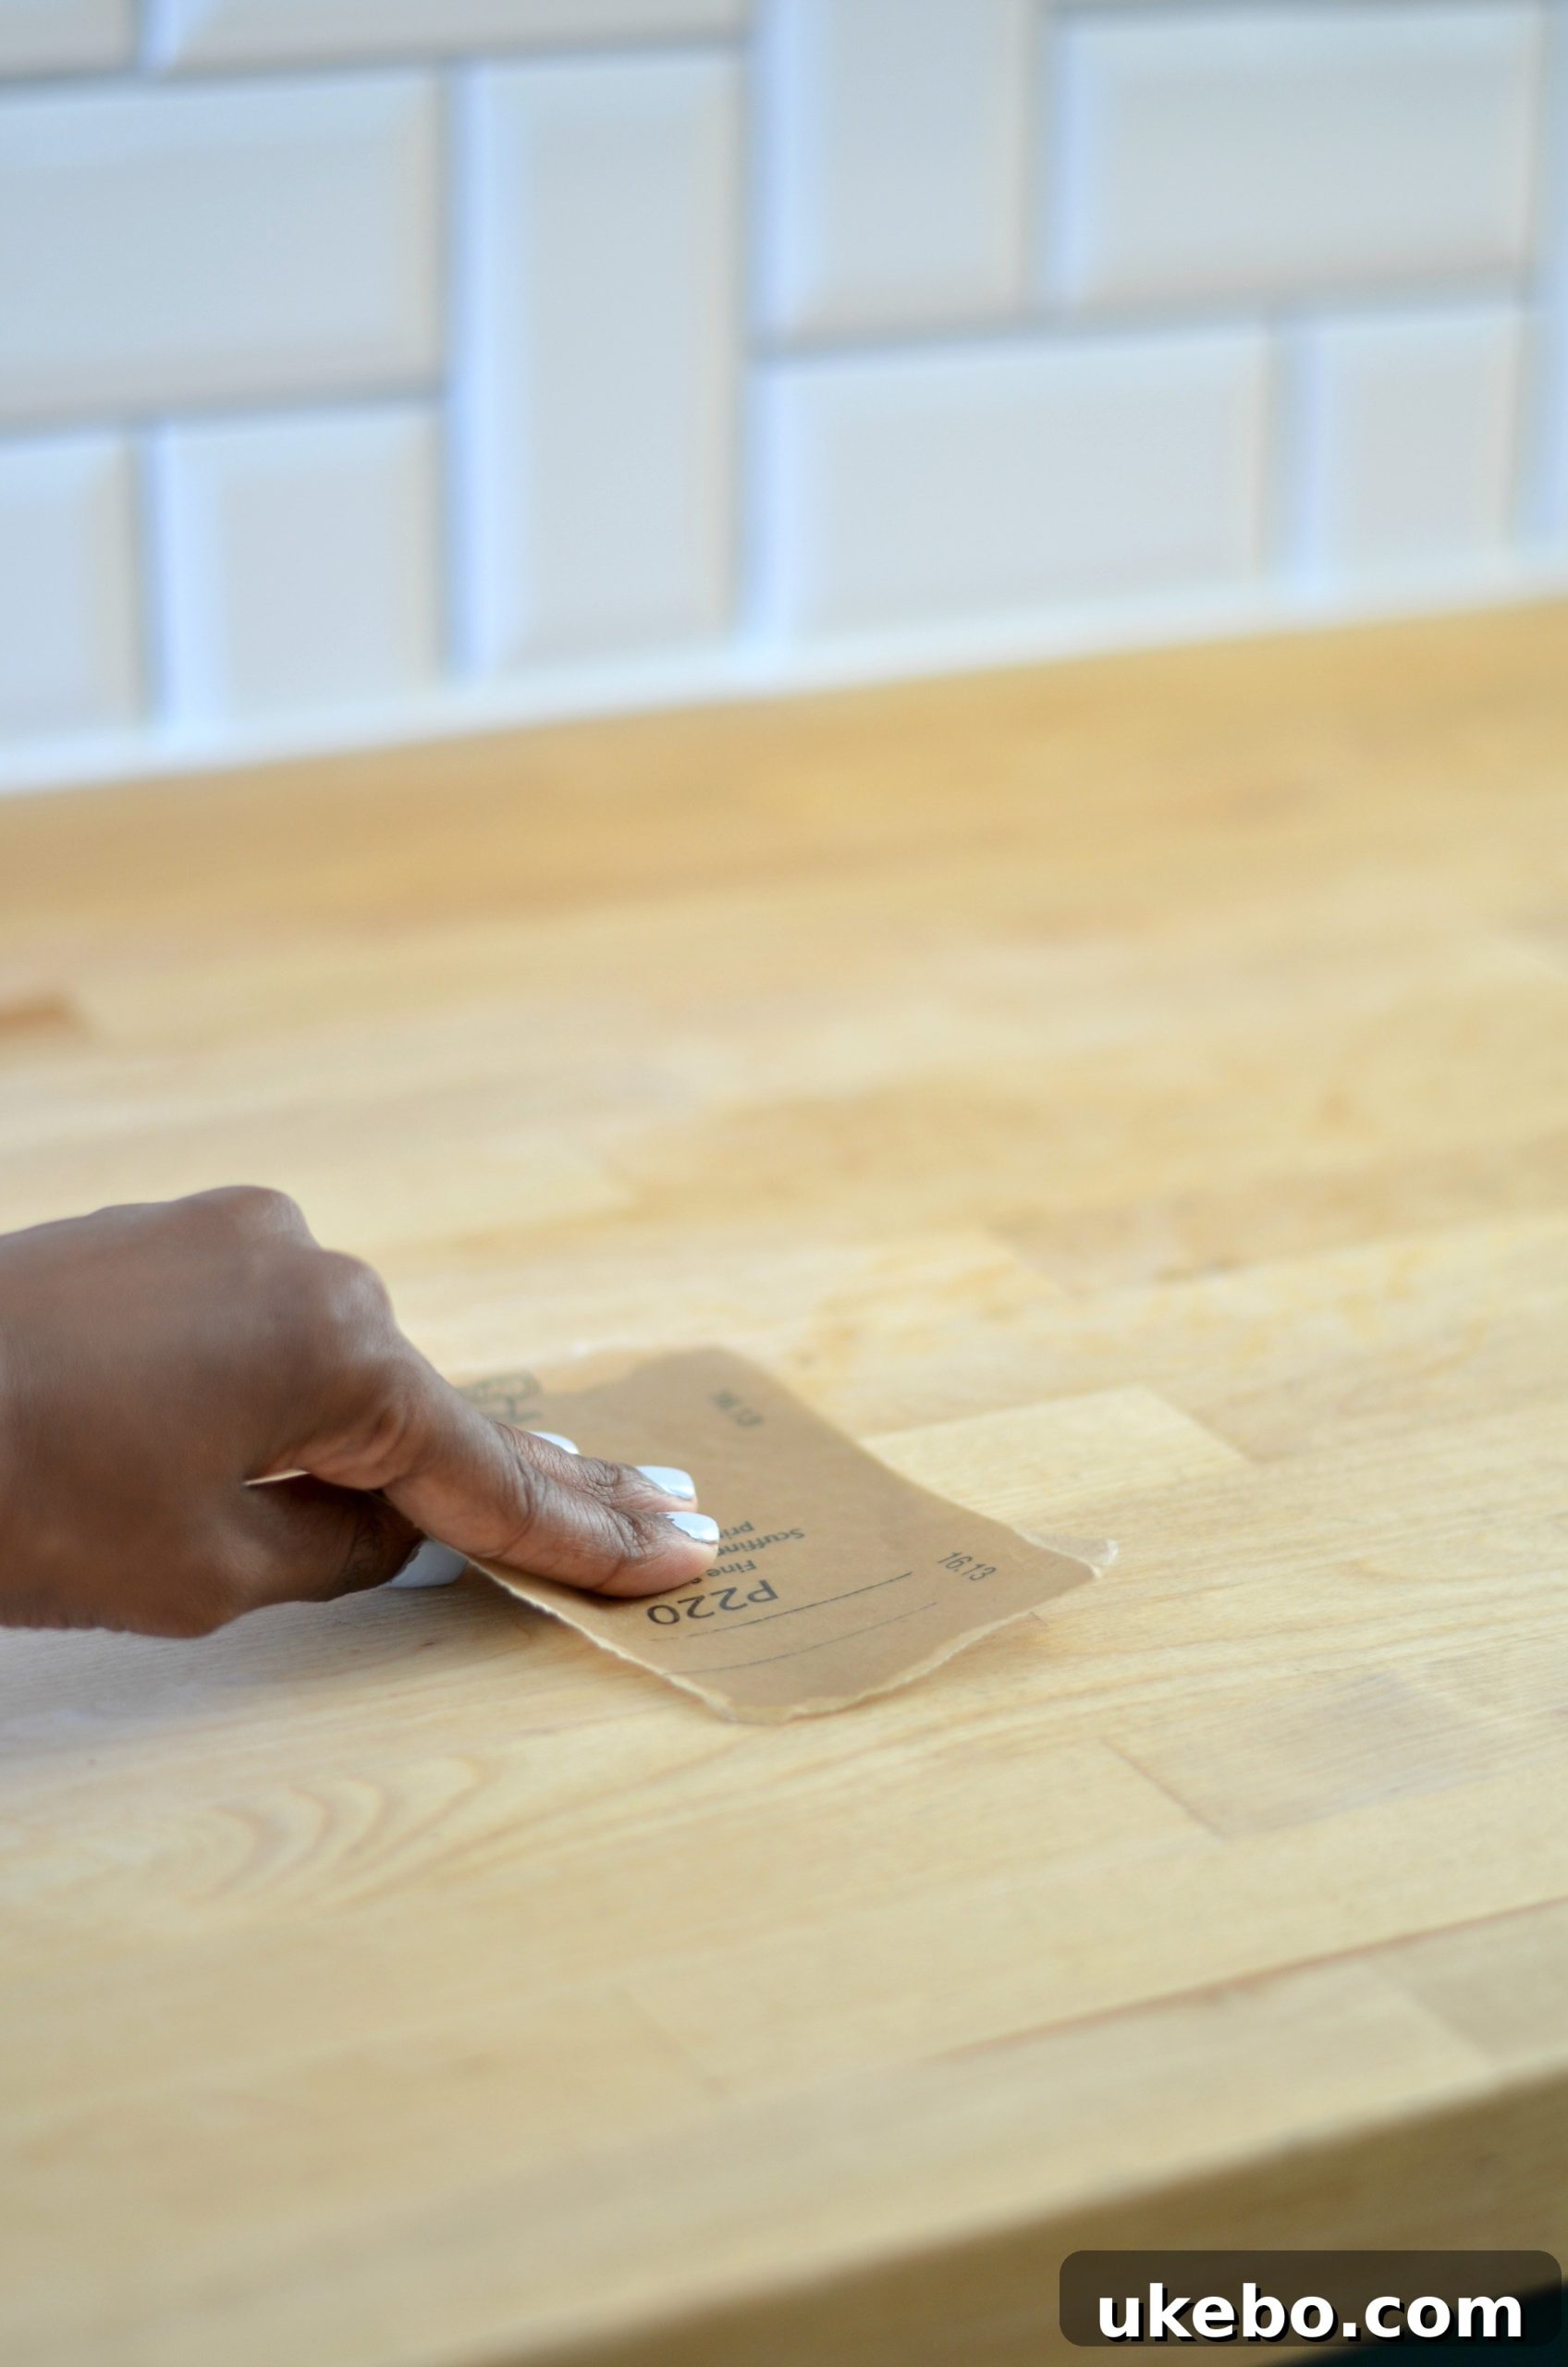
This is where the magic of butcher block truly shines: its incredible repairability. Unlike stone, wood can be renewed time and time again. Carefully inspect your countertops for any stubborn stains that didn’t come out with cleaning, or for deeper cuts and nicks from daily use. Using your 220-grit sandpaper, lightly sand these areas. Always remember to sand in the direction of the wood grain; sanding against it can create noticeable cross-grain scratches. The beauty of this step is its effectiveness: I’ve successfully sanded out wine spills, spaghetti sauce stains, and even those dreaded black water stains that can occur when a wet glass or pot is left on the counter for too long. This flexibility is what makes butcher block such a durable and forgiving surface. Once you’ve addressed all the desired areas, wipe down the surface with a clean, dry cloth to remove any sanding dust.
Step 4: Liberally Apply Conditioner or Mineral Oil
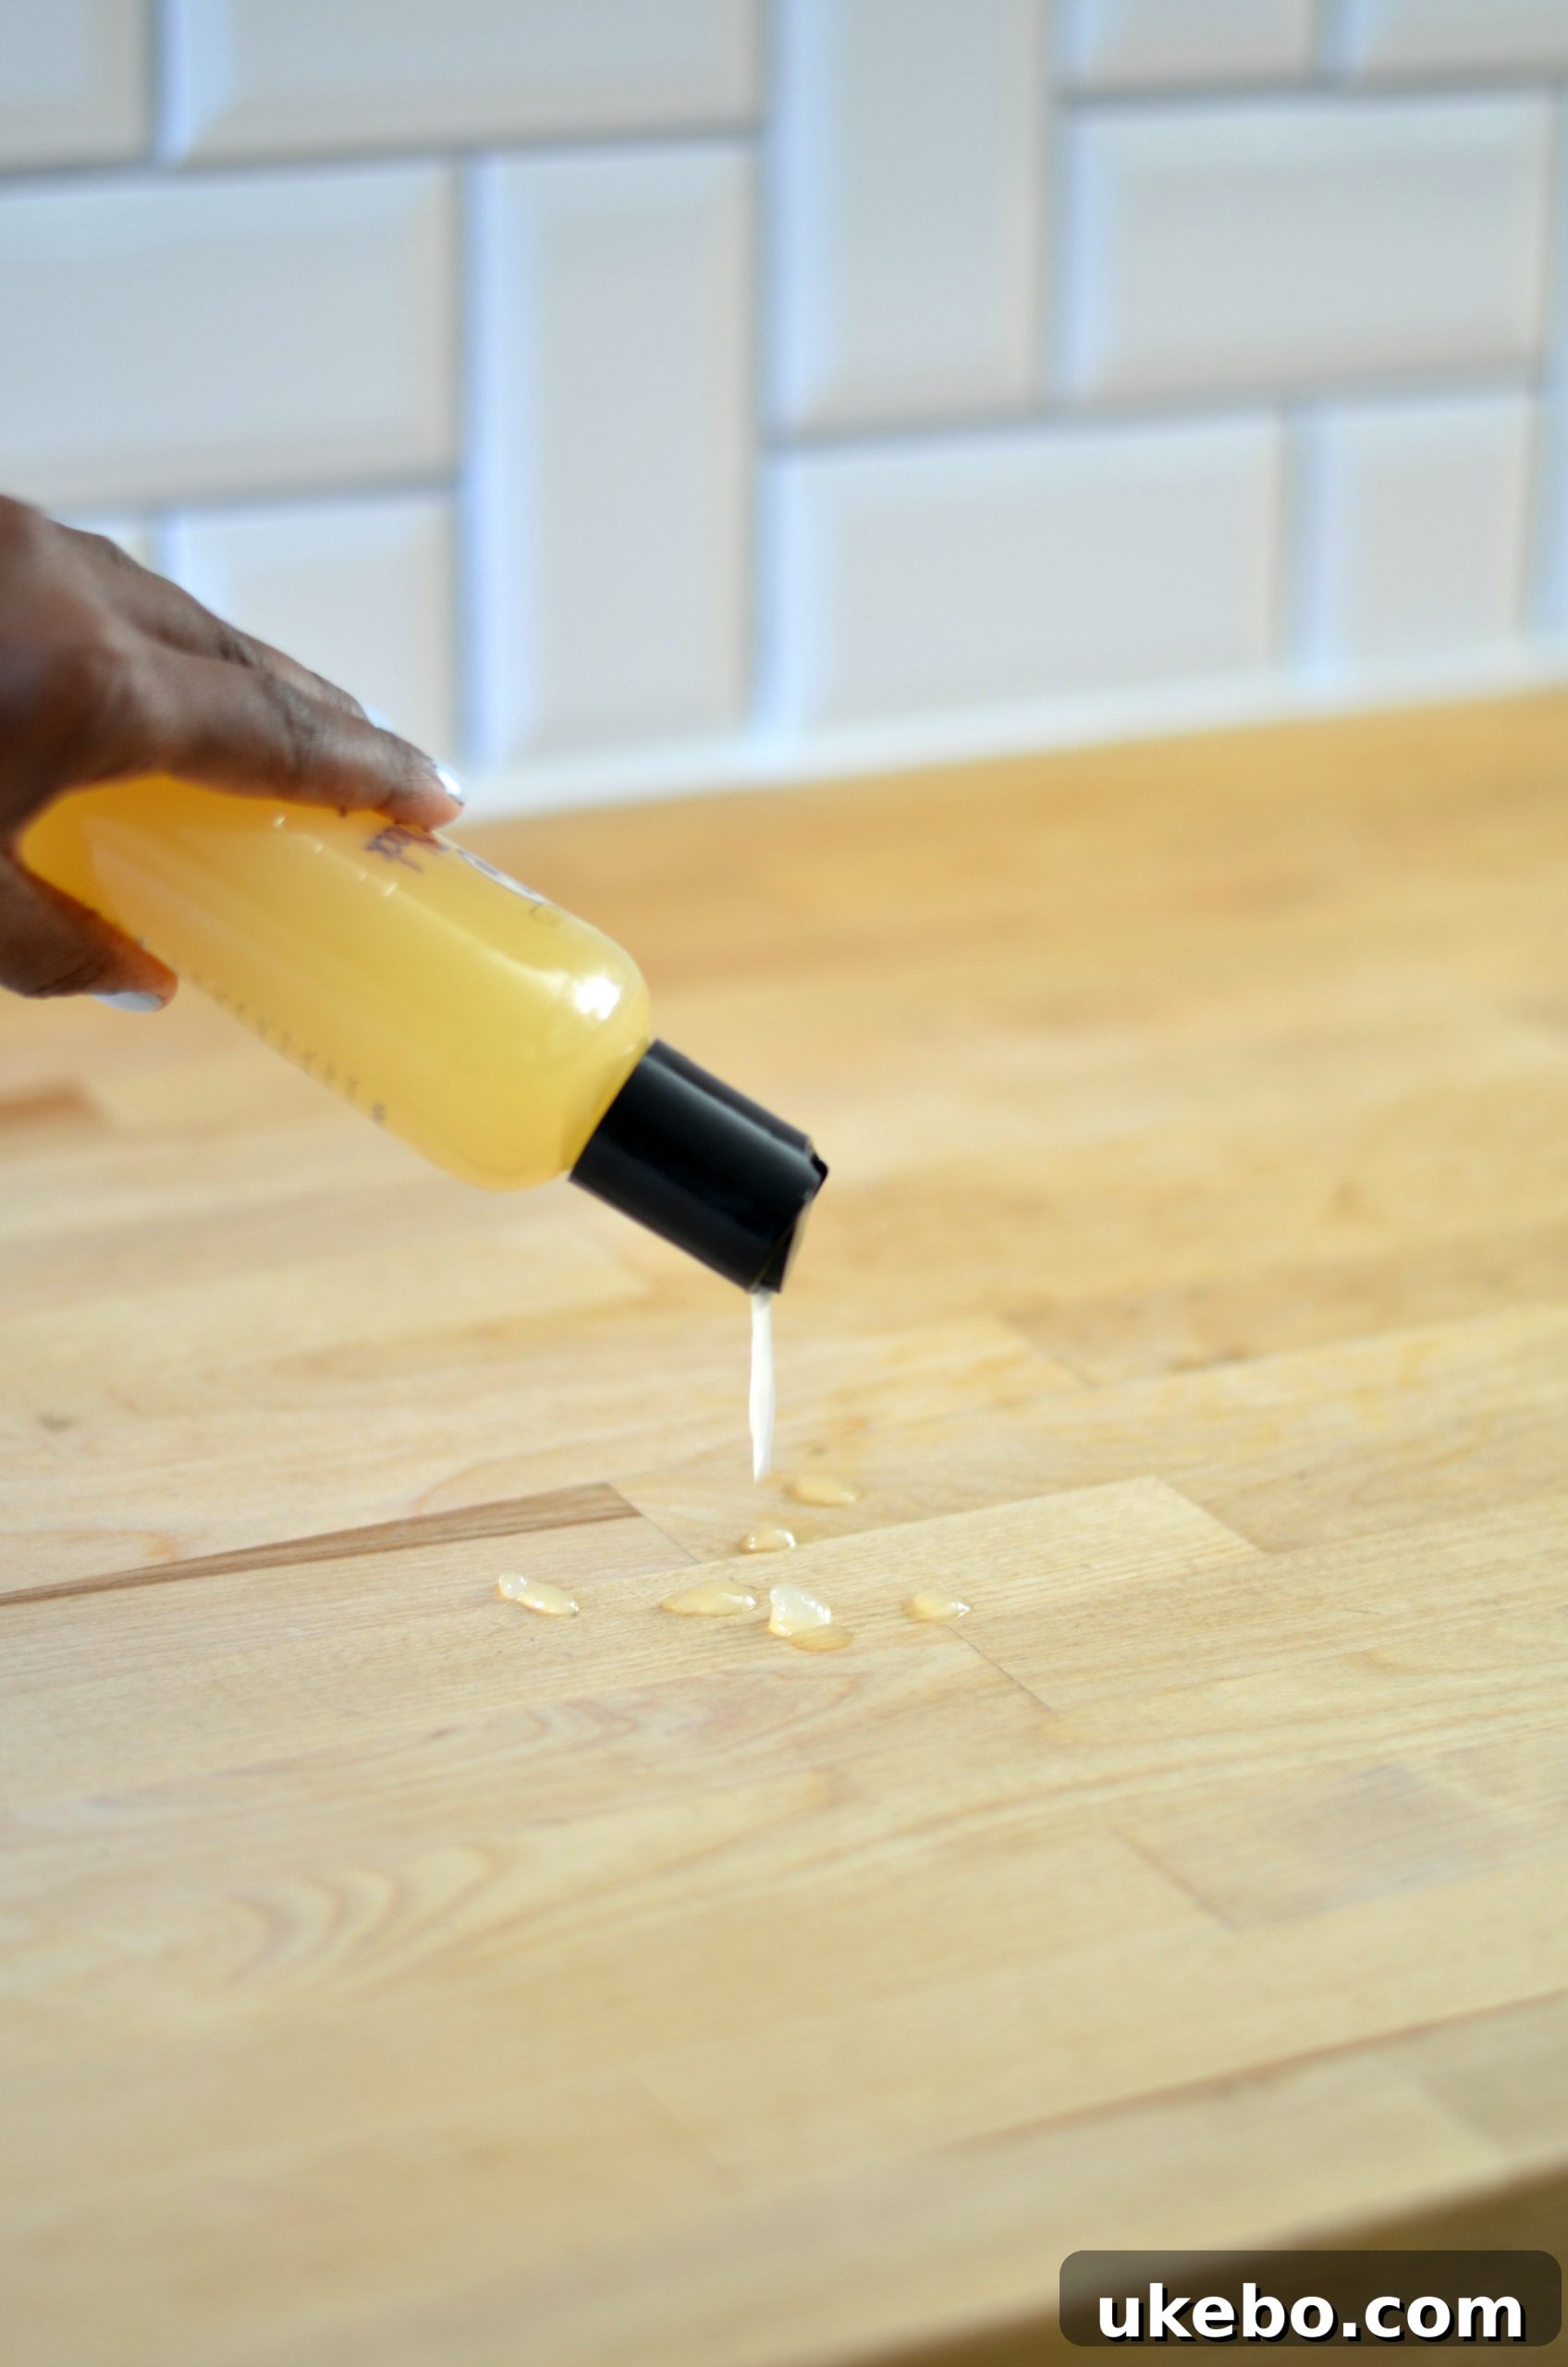
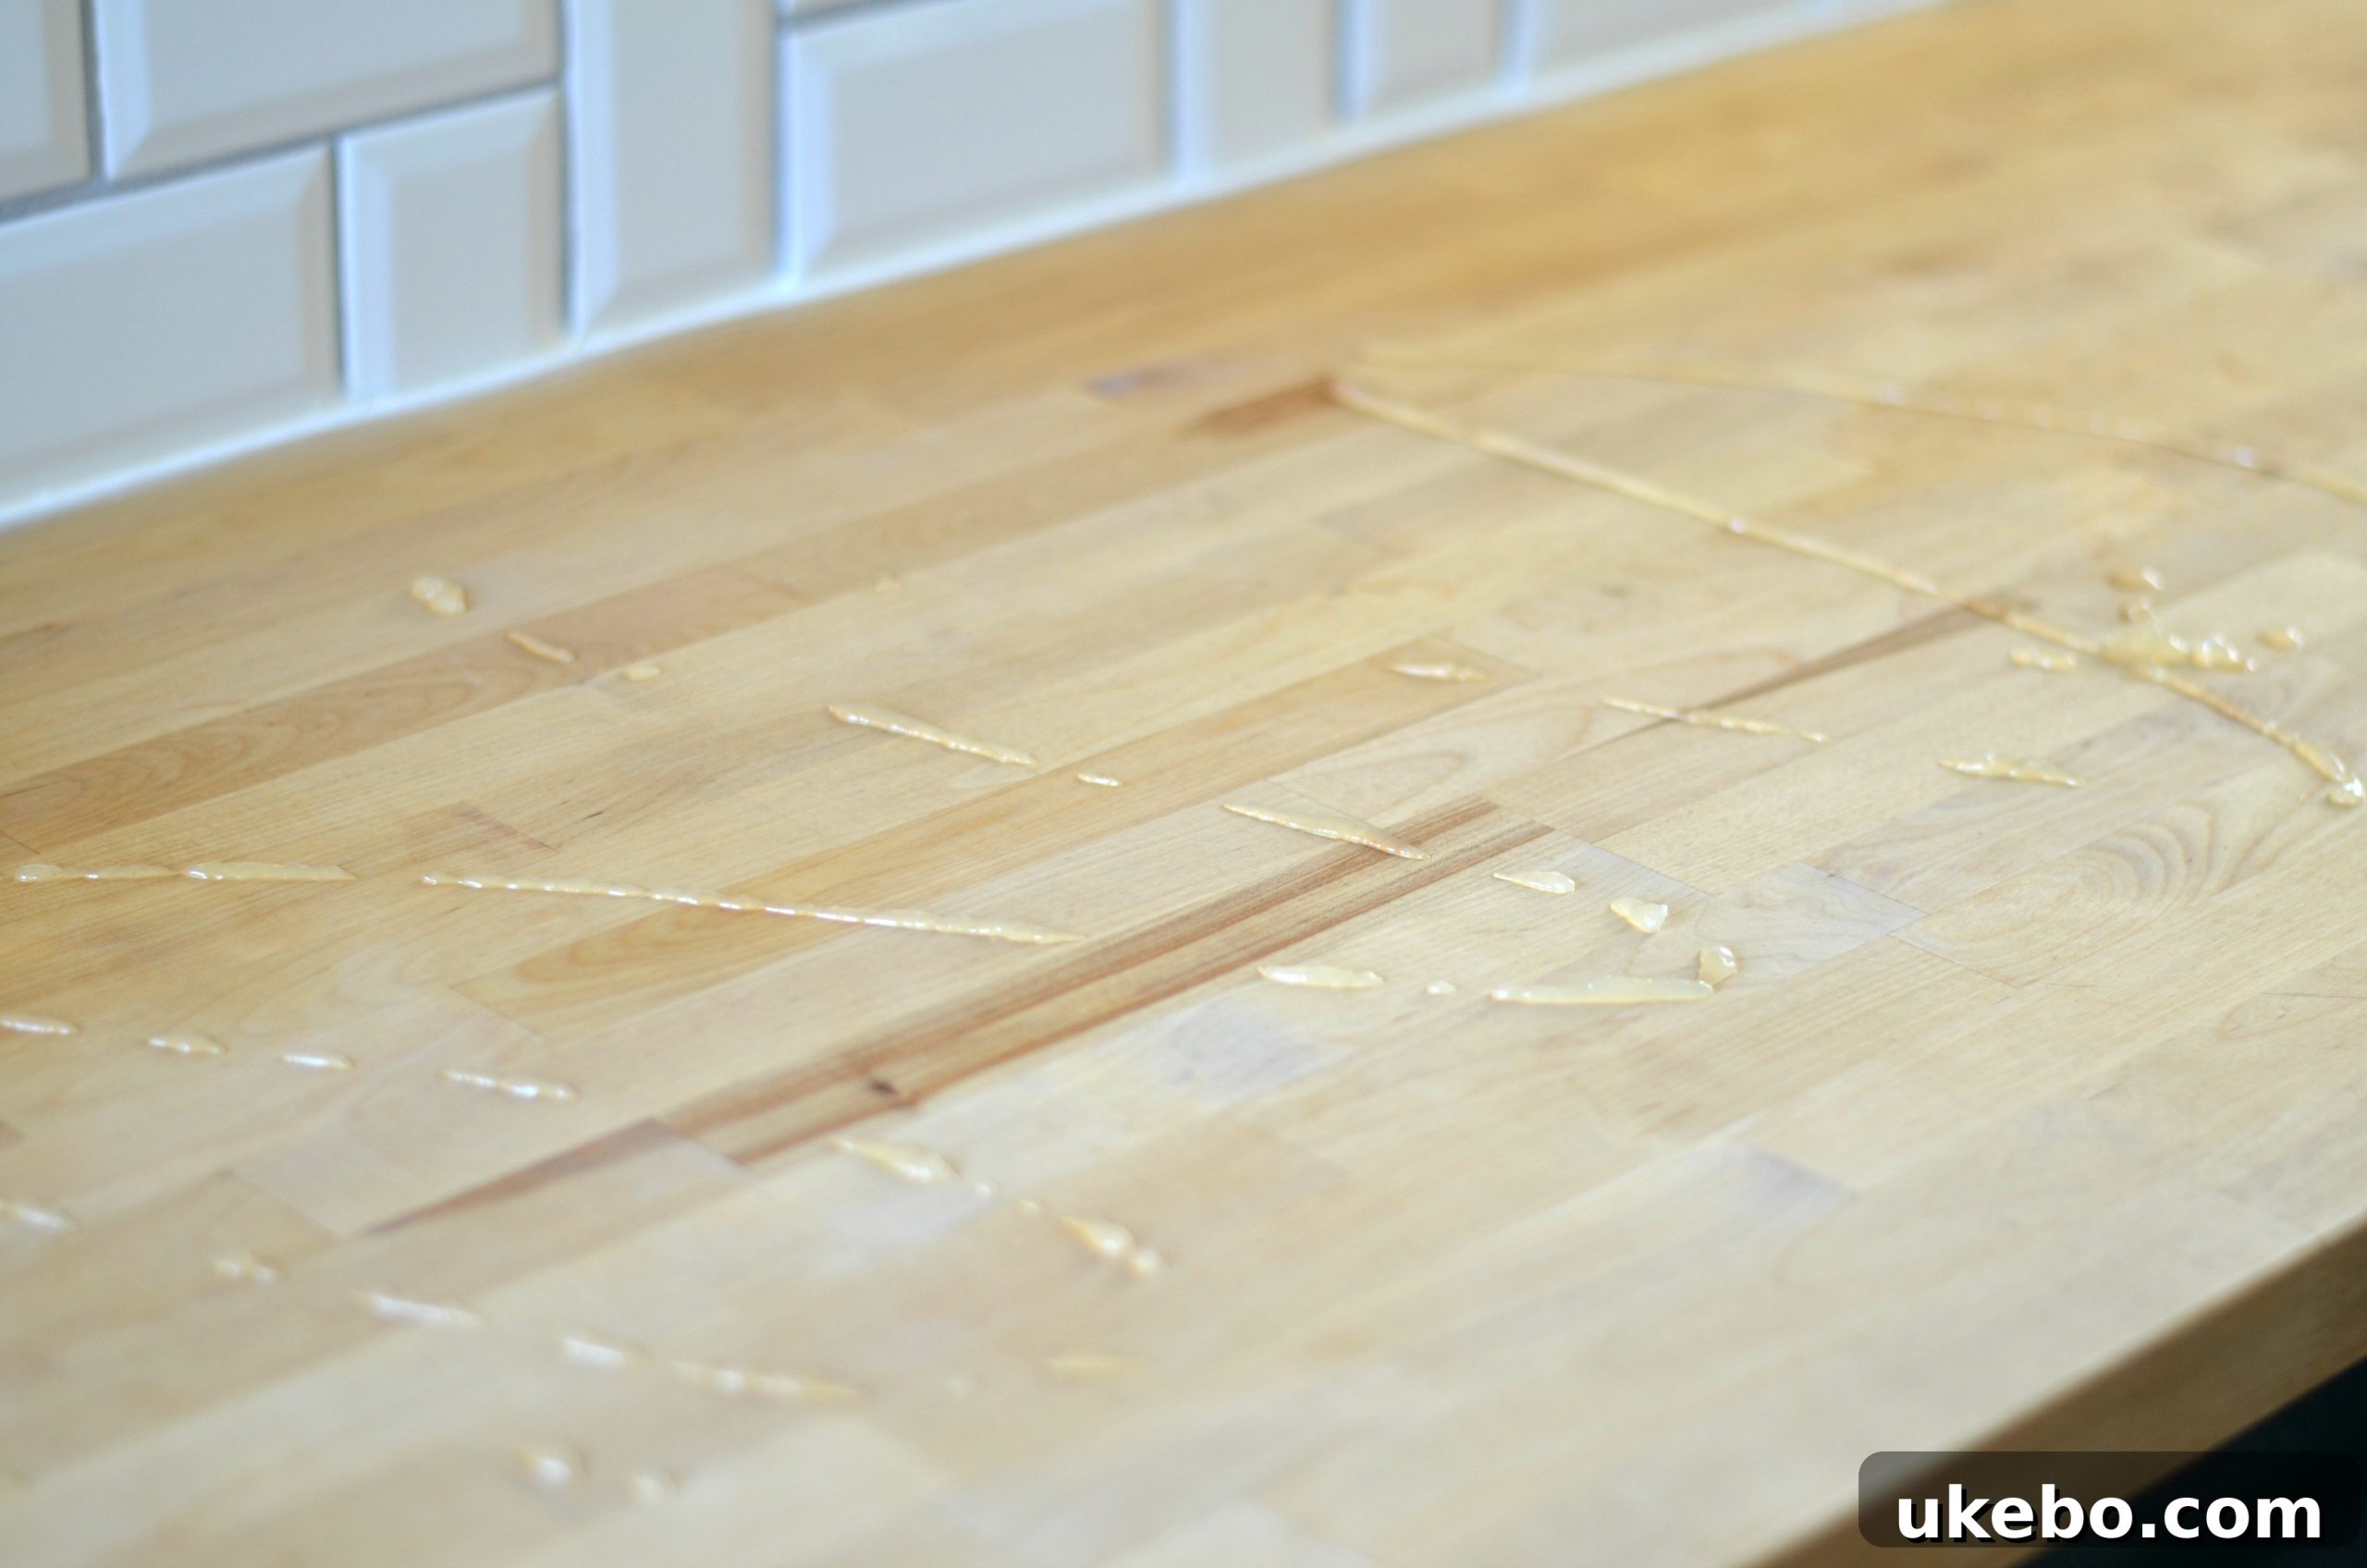
Now for the nourishment! Apply a generous amount of your chosen conditioner or mineral oil directly onto the wood surface. Don’t be shy – the wood will absorb what it needs. Using a clean, lint-free cloth, gently spread the oil evenly across the entire surface, again working in the direction of the wood grain. This ensures uniform coverage and deep penetration. Once applied, allow the oil to sit and soak into the wood for at least an hour. For maximum absorption and protection, I often apply it before bed and let it sit overnight. As the wood slowly absorbs these beneficial oils, it creates a vital water-resistant barrier, protecting it from moisture and daily wear. When you first install new butcher block countertops, or after any significant repair work that involved extensive sanding, it’s advisable to repeat this oiling step a couple of times to build up a robust protective seal.
Step 5: Wipe Away Excess and Buff
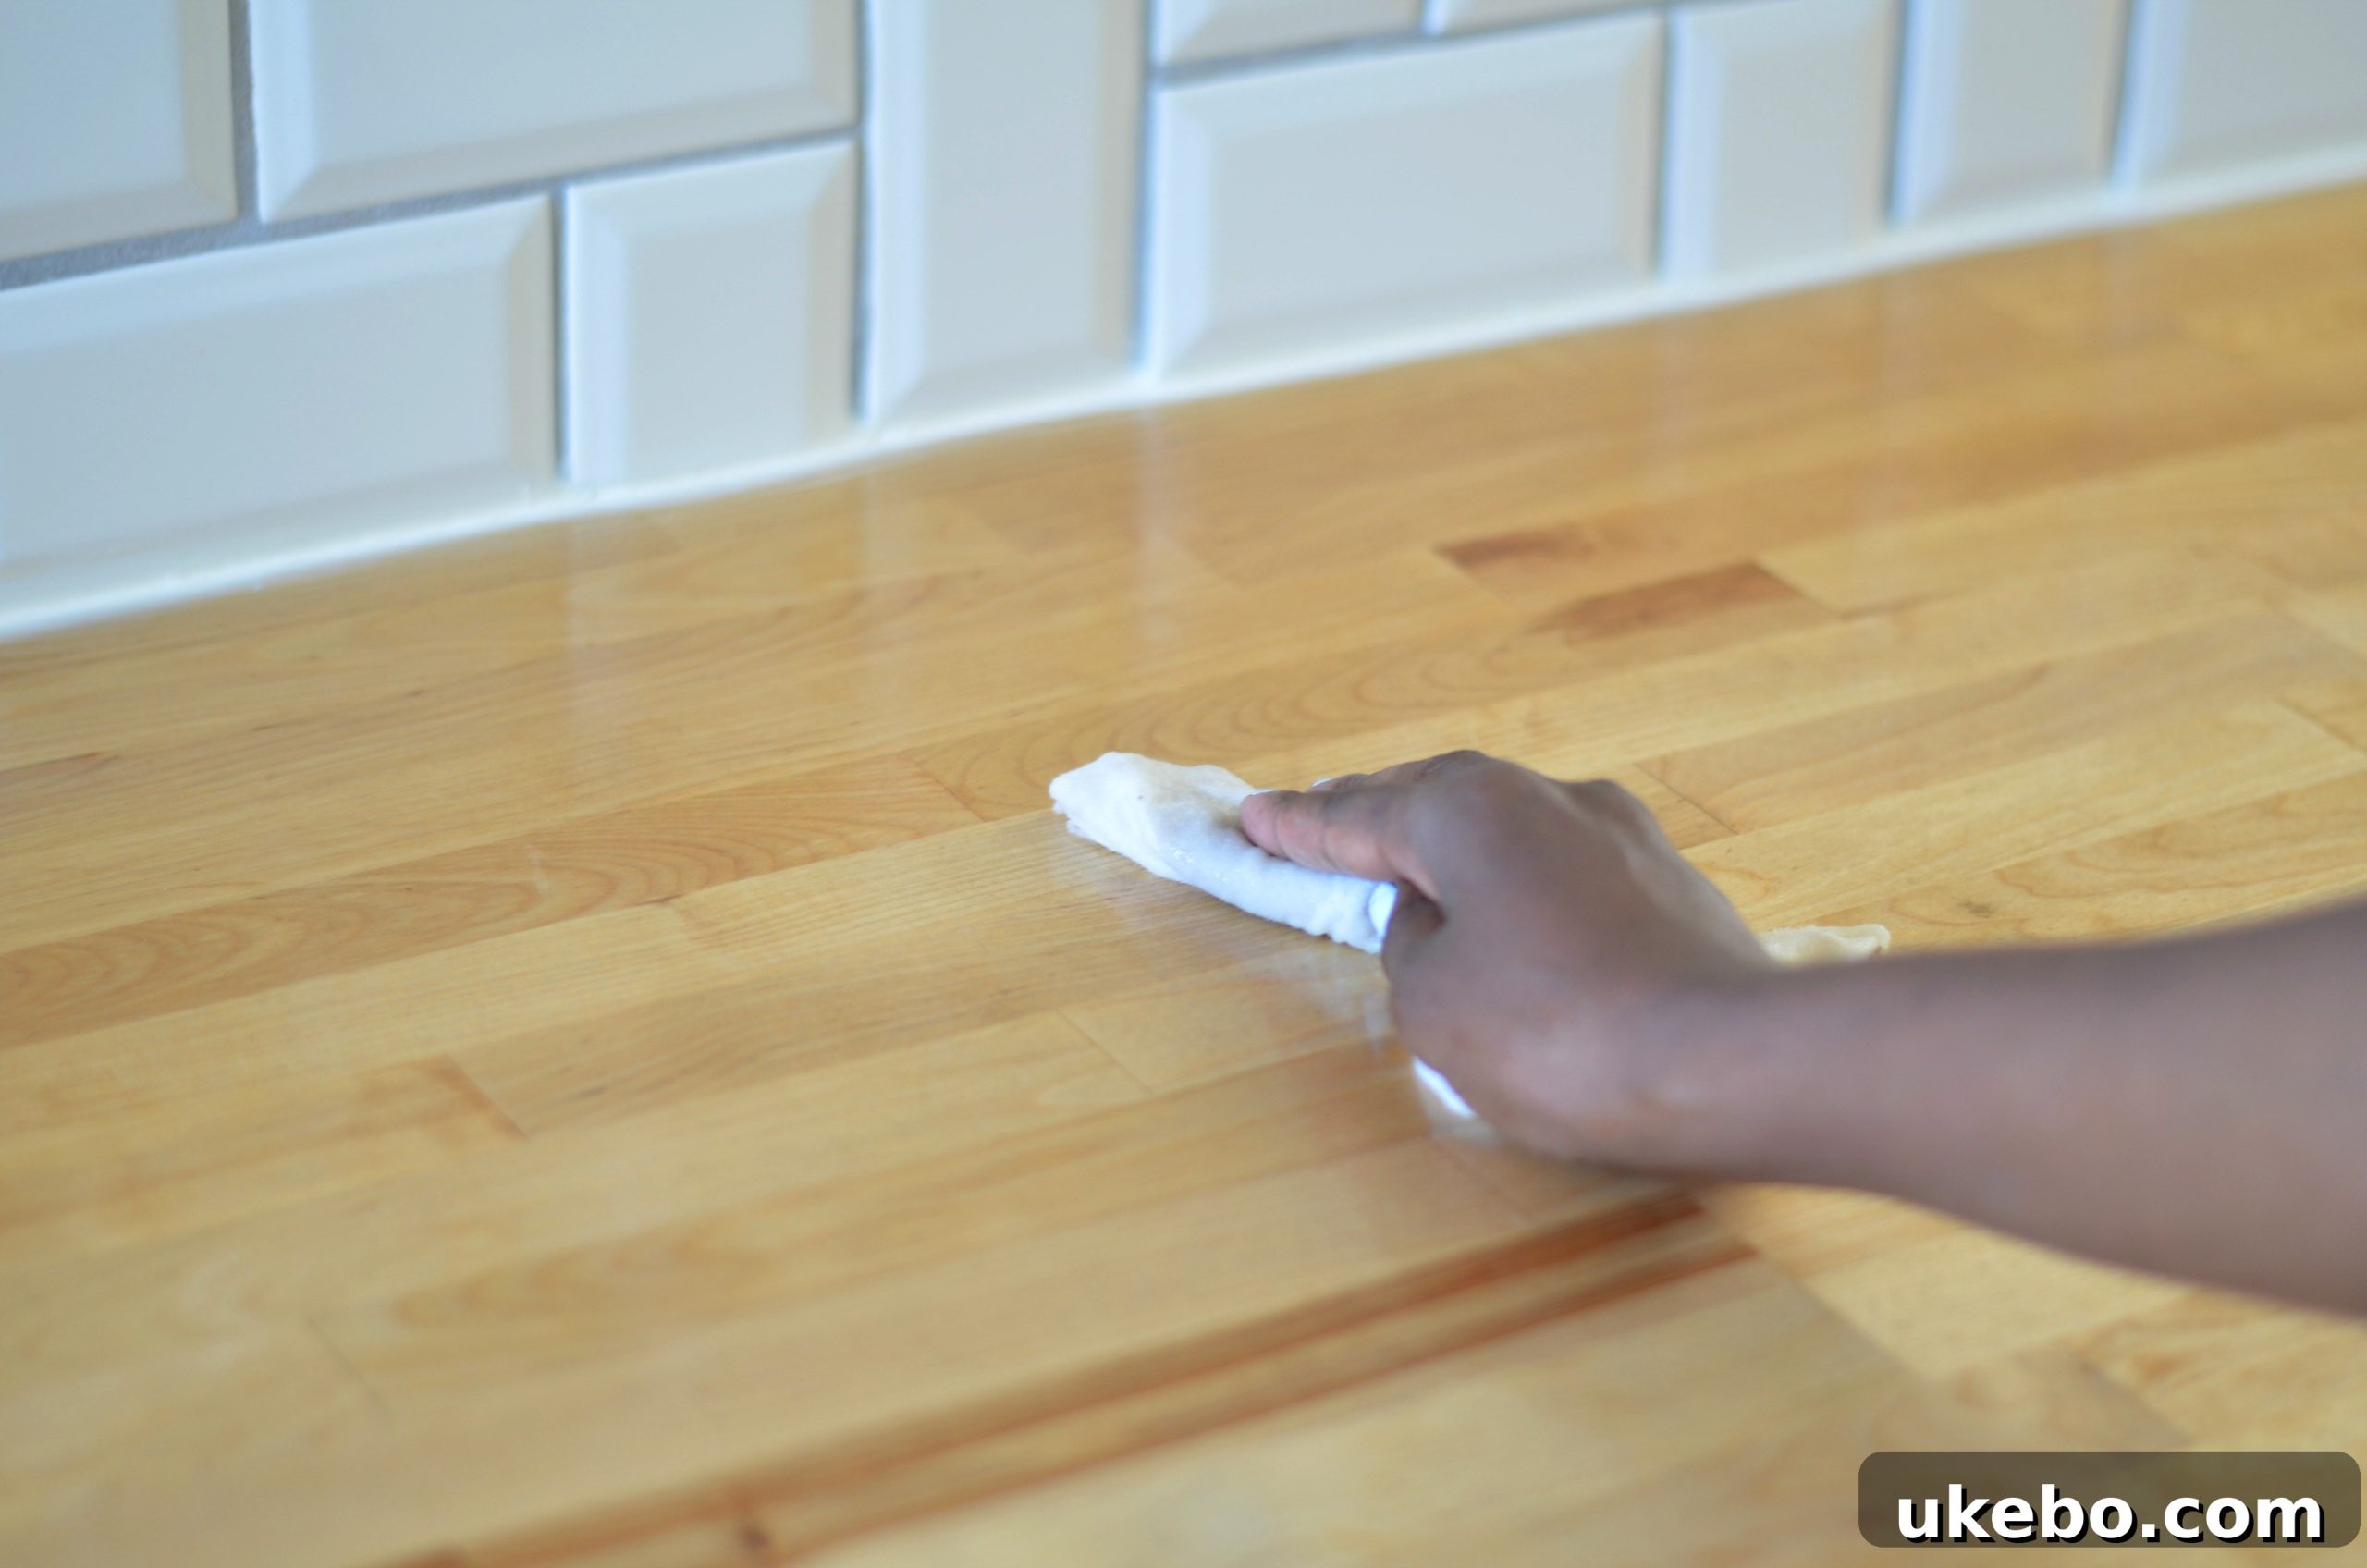
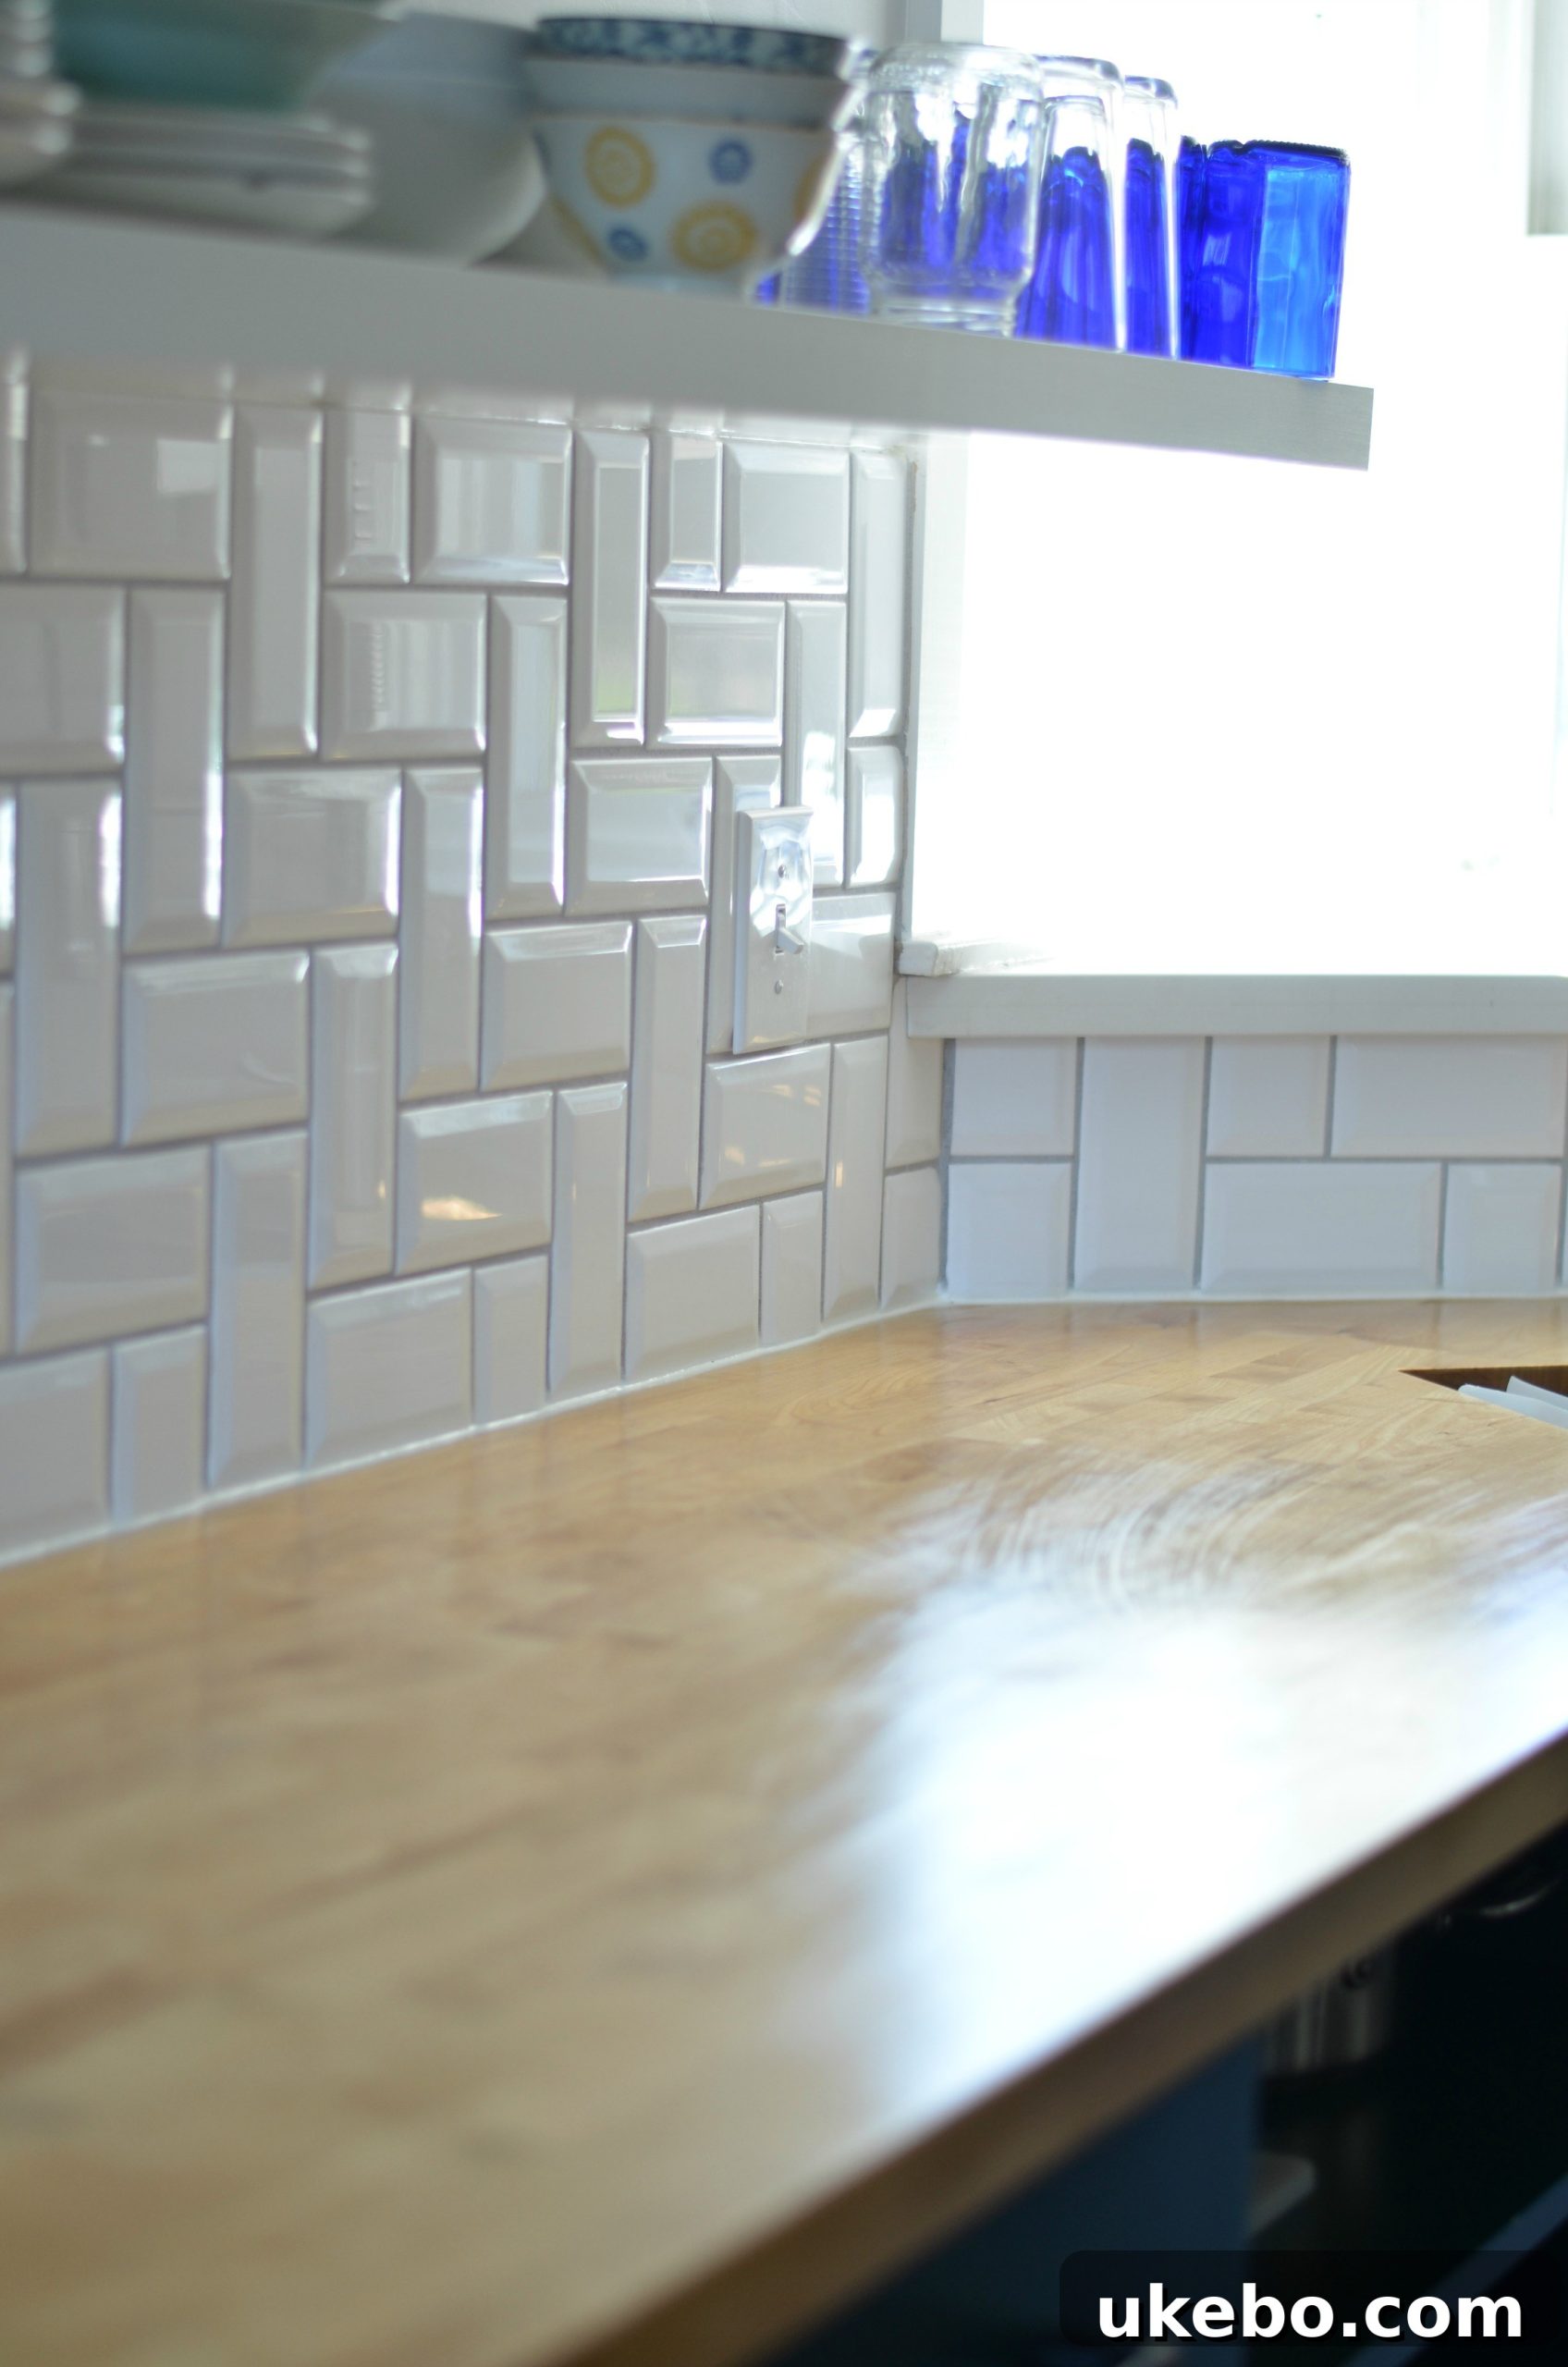
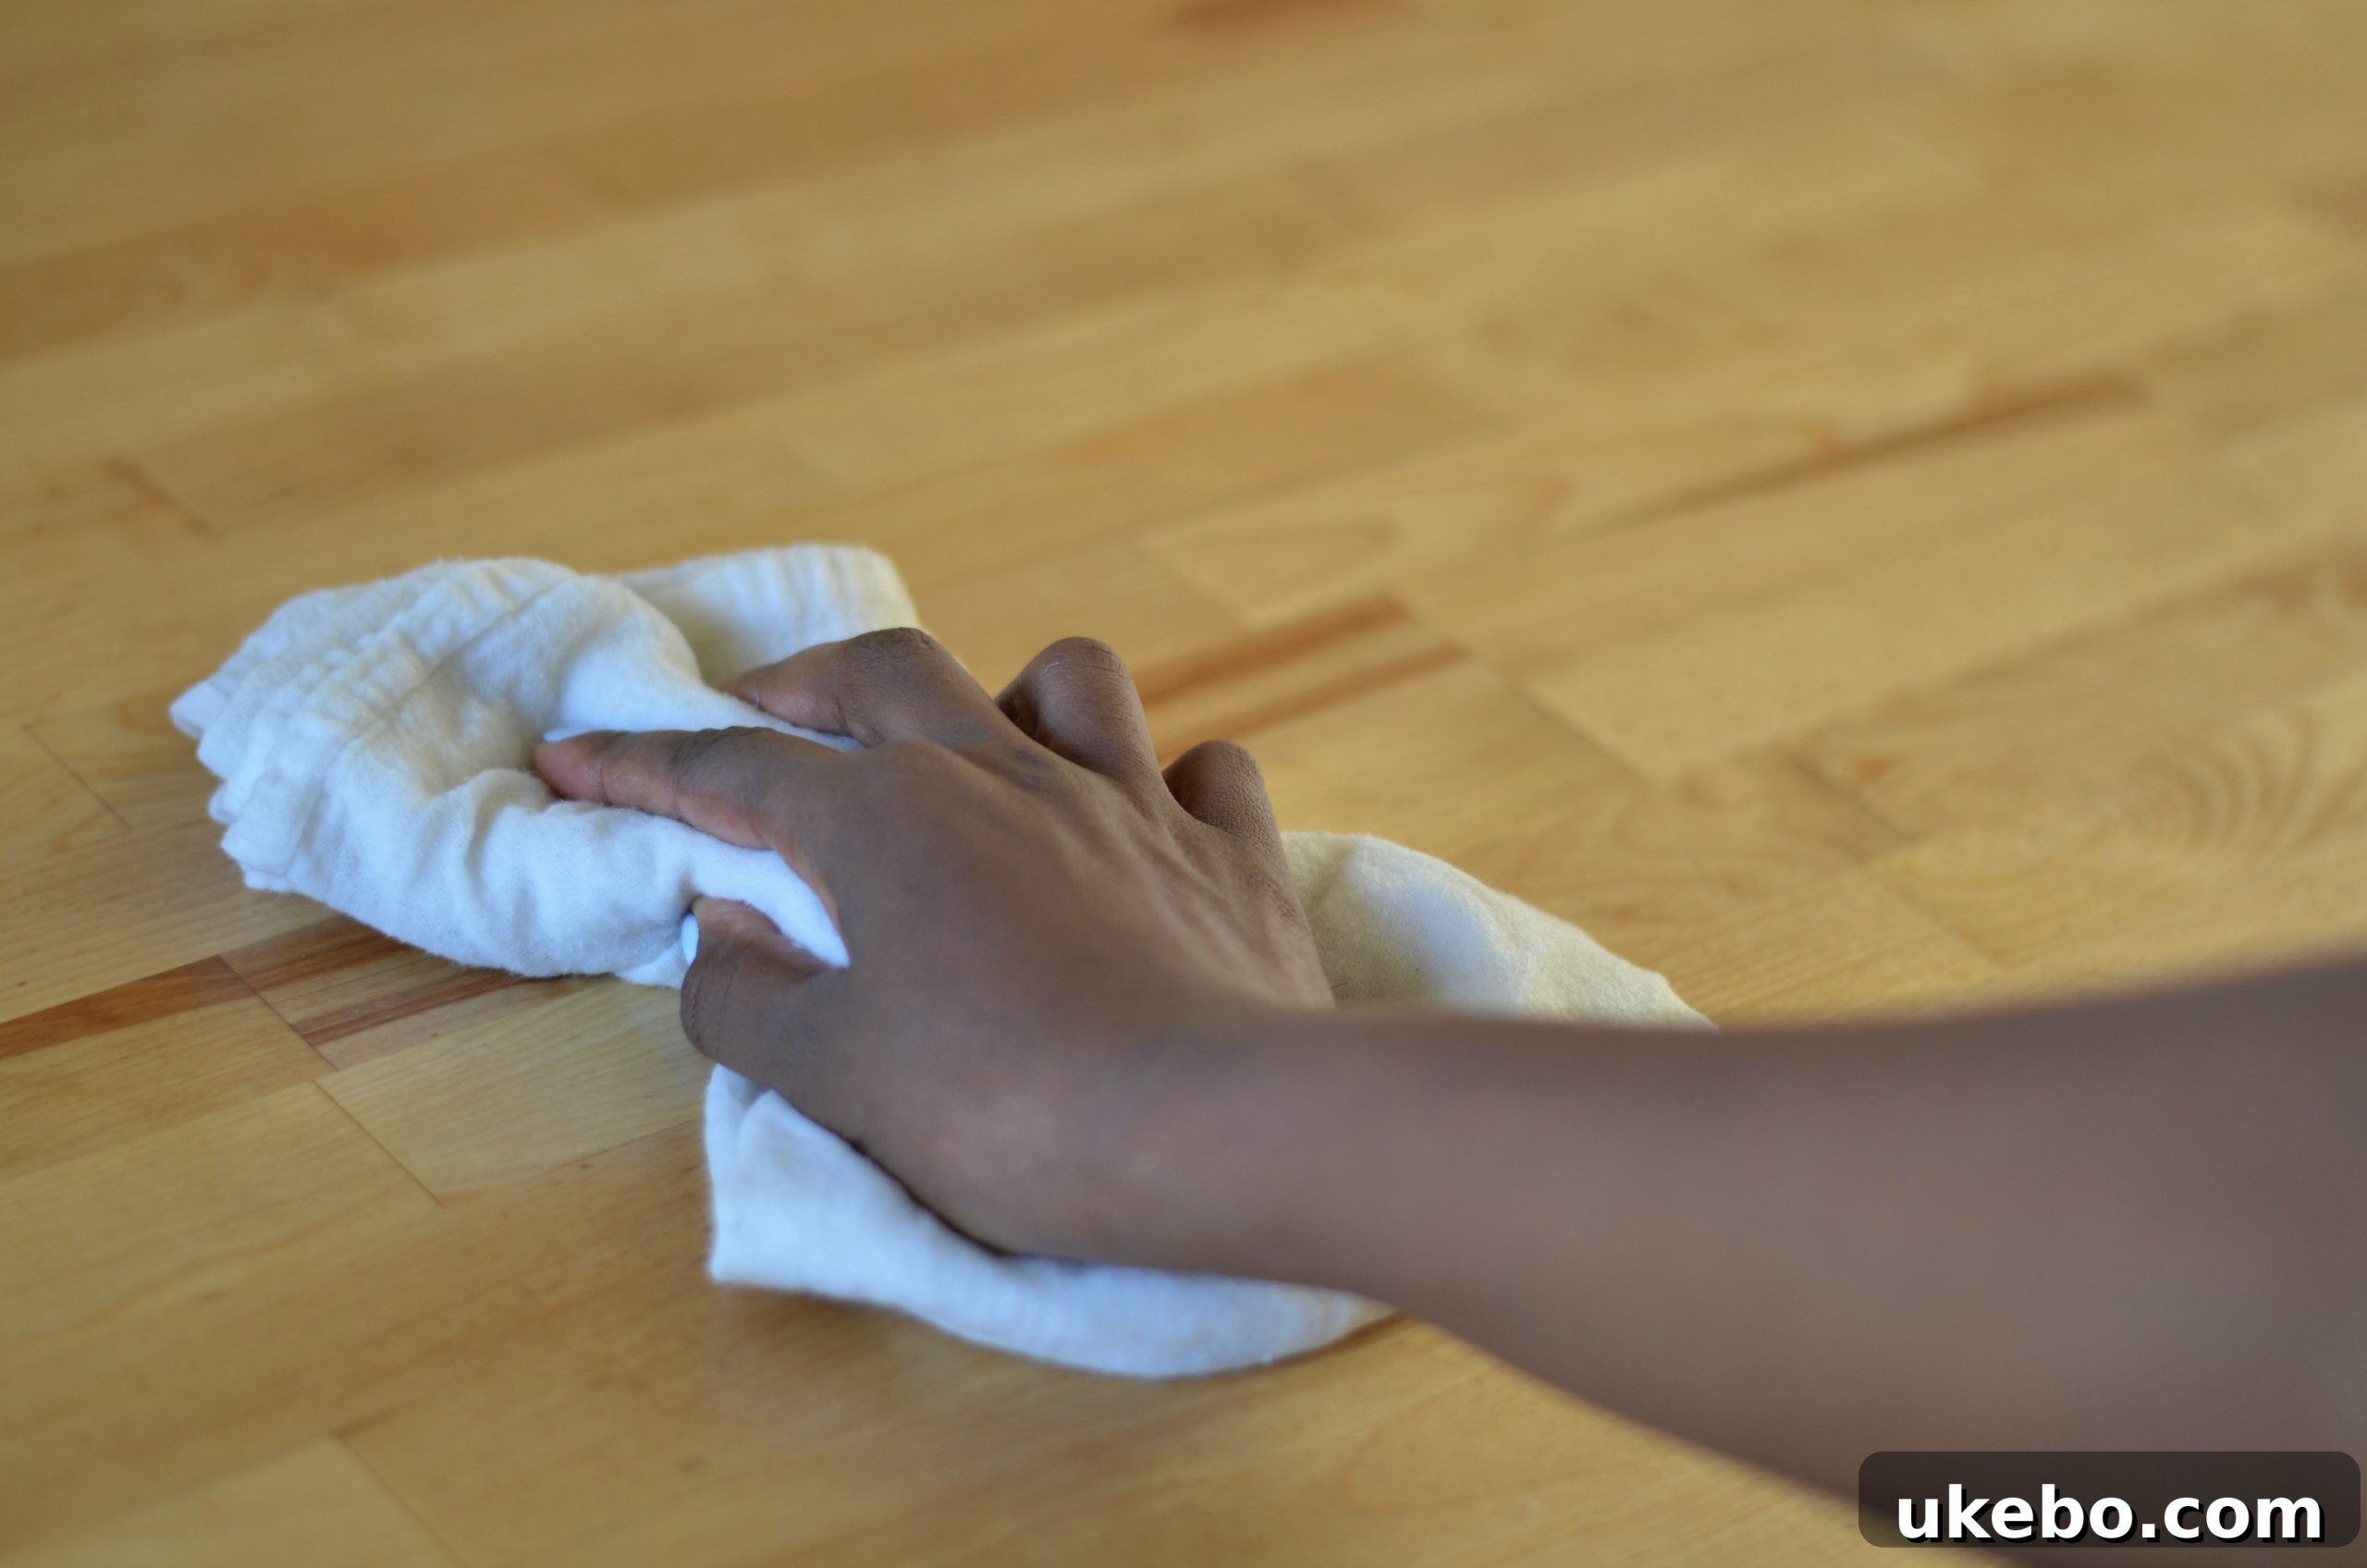
The final step is to remove any unabsorbed oil and give your countertops a beautiful polish. After the oil has had ample time to penetrate, take a clean, dry, lint-free cloth and thoroughly wipe away any excess oil that remains on the surface. As you wipe, apply a bit of pressure to gently buff the wood. This buffing action helps to create a smooth, even finish and brings out the natural luster of the wood, leaving your butcher block looking revitalized and gorgeously conditioned. The transformation is always astonishing, revealing the true depth and beauty of the wood.
And there you have it – a simple yet incredibly effective ritual for maintaining your butcher block countertops!
Dispelling Myths: Daily Care and Longevity of Wood Kitchen Counters
Many people find the idea of wood kitchen counters intimidating, often perceiving wood as a delicate, high-maintenance material. It’s true that wood is a living entity, and it does require a different approach to care compared to inert surfaces like granite or quartz. You can’t be as completely thoughtless as you might be with natural stone. Instead, an awareness of certain factors is key to their longevity and beauty. This includes being mindful of hot pots and pans – always use a trivet! – as well as preventing standing water, especially from melting ice cups. And, of course, understanding how you plan to use them for cutting and prep. Crucially, ensuring your butcher block is consistently well-sealed is the best defense, providing maximum protection and making them as maintenance-free as possible. This consistent care ensures their enduring beauty and remarkable longevity.
It’s also vital to be judicious about the products you use for daily cleaning. Many conventional household cleaners contain harsh chemicals that can strip the natural oils from the wood, compromise its seal, and are often not food-safe. For everyday cleaning, I rely on the simplest and most effective solution: hot, soapy water. It’s gentle on the wood, effectively cleans, and is completely safe for a food preparation surface.
Is Butcher Block Right For You? Weighing the Pros and Cons
Are butcher block countertops for everyone? Absolutely not. Every homeowner has unique needs, lifestyles, and aesthetic preferences. If you’re someone who desires a completely maintenance-free kitchen surface that can withstand forgotten spills, direct heat, and aggressive cleaning chemicals without a second thought, then butcher block might not be your ideal choice. However, for a great many people who might have previously dismissed wood counters as too difficult, they are an entirely feasible and rewarding option. The subtle commitment to regular oiling and mindful daily care is, for me, a small sacrifice to make for a surface that I deeply adore – one that brings unparalleled warmth, character, and a touch of organic elegance to our home.
Butcher block offers a unique blend of aesthetics, functionality, and sustainability. Their ability to be repaired and renewed, their natural antibacterial properties, and their inherent beauty make them a standout choice for specific kitchen designs. If you appreciate materials that age gracefully, tell a story, and contribute a comforting, inviting atmosphere to your home, then perhaps the charm of butcher block countertops is exactly what your kitchen needs.
I sincerely hope this comprehensive guide demystifies butcher block care and inspires you to consider these beautiful, natural wood counters for your own space. With a little love and consistent care, they will serve you beautifully for many years to come.
Until next time, friends.