
*This post is in partnership with The Home Depot. All thoughts and opinions are my own.
Hello, fellow DIY enthusiasts and home renovators!
Welcome to my brand-new blog series, Weekend DIY, where we tackle inspiring home projects that can be completed without sacrificing your entire week. If you’re like me, this past year has turned our homes into our primary sanctuaries, leading to an explosion of #pandemicprojects. With more time spent indoors and a renewed focus on our living spaces, it’s been the perfect opportunity to finally address those lingering home improvement tasks we’ve put off for far too long. I’ve been immersed in countless home transformations recently, and today, I’m thrilled to kick off this series with one of my absolute favorites: a stunning mini bathroom refresh for my sister.
For those new to my corner of the internet, you might not know that my younger sister made a significant move to California this summer, settling just a few blocks from my home! This has been a truly special development, as we haven’t lived in the same part of the country for two decades. Having her close by has been an absolute joy. We’re both incredibly excited that she found a house less than a five-minute drive away, and we’ve been eagerly collaborating on designing and styling every room in her new abode. Her new home is a charming 1950s ranch, recently flipped, which means it offered a largely clean, blank canvas—the perfect foundation for her to infuse with her unique personality and style. While every space needed attention, she was keen to begin by giving her kids’ bathroom a much-needed makeover. The bathroom itself is a good size and functional, but she had a strong dislike for the existing white tile floors. And honestly, I couldn’t blame her! These were the exact same floors we had in our own bathroom before our renovation, and they were an absolute nightmare to keep clean. With three active boys under the age of eight, she simply wasn’t willing to deal with the constant upkeep required by white tile and white grout.
One critical factor my sister, Andrea, *doesn’t* have in abundance is time. She serves in the military and works as a nurse, and if that weren’t enough, she’s also a mother to three young boys, including three-year-old twins! To say her schedule is packed would be a significant understatement. This meant that any renovation project needed to be incredibly fast, minimally disruptive to daily life, and as straightforward as possible. Given these constraints, we were on the hunt for a revolutionary solution to transform her bathroom with the least amount of effort and time. This quest led us to the perfect opportunity to try out a product that was new-to-me, available at The Home Depot: QuicTile by Daltile. This innovative flooring system promised to be a true game-changer for busy homeowners and DIY beginners alike, and we were eager to put its claims to the test.
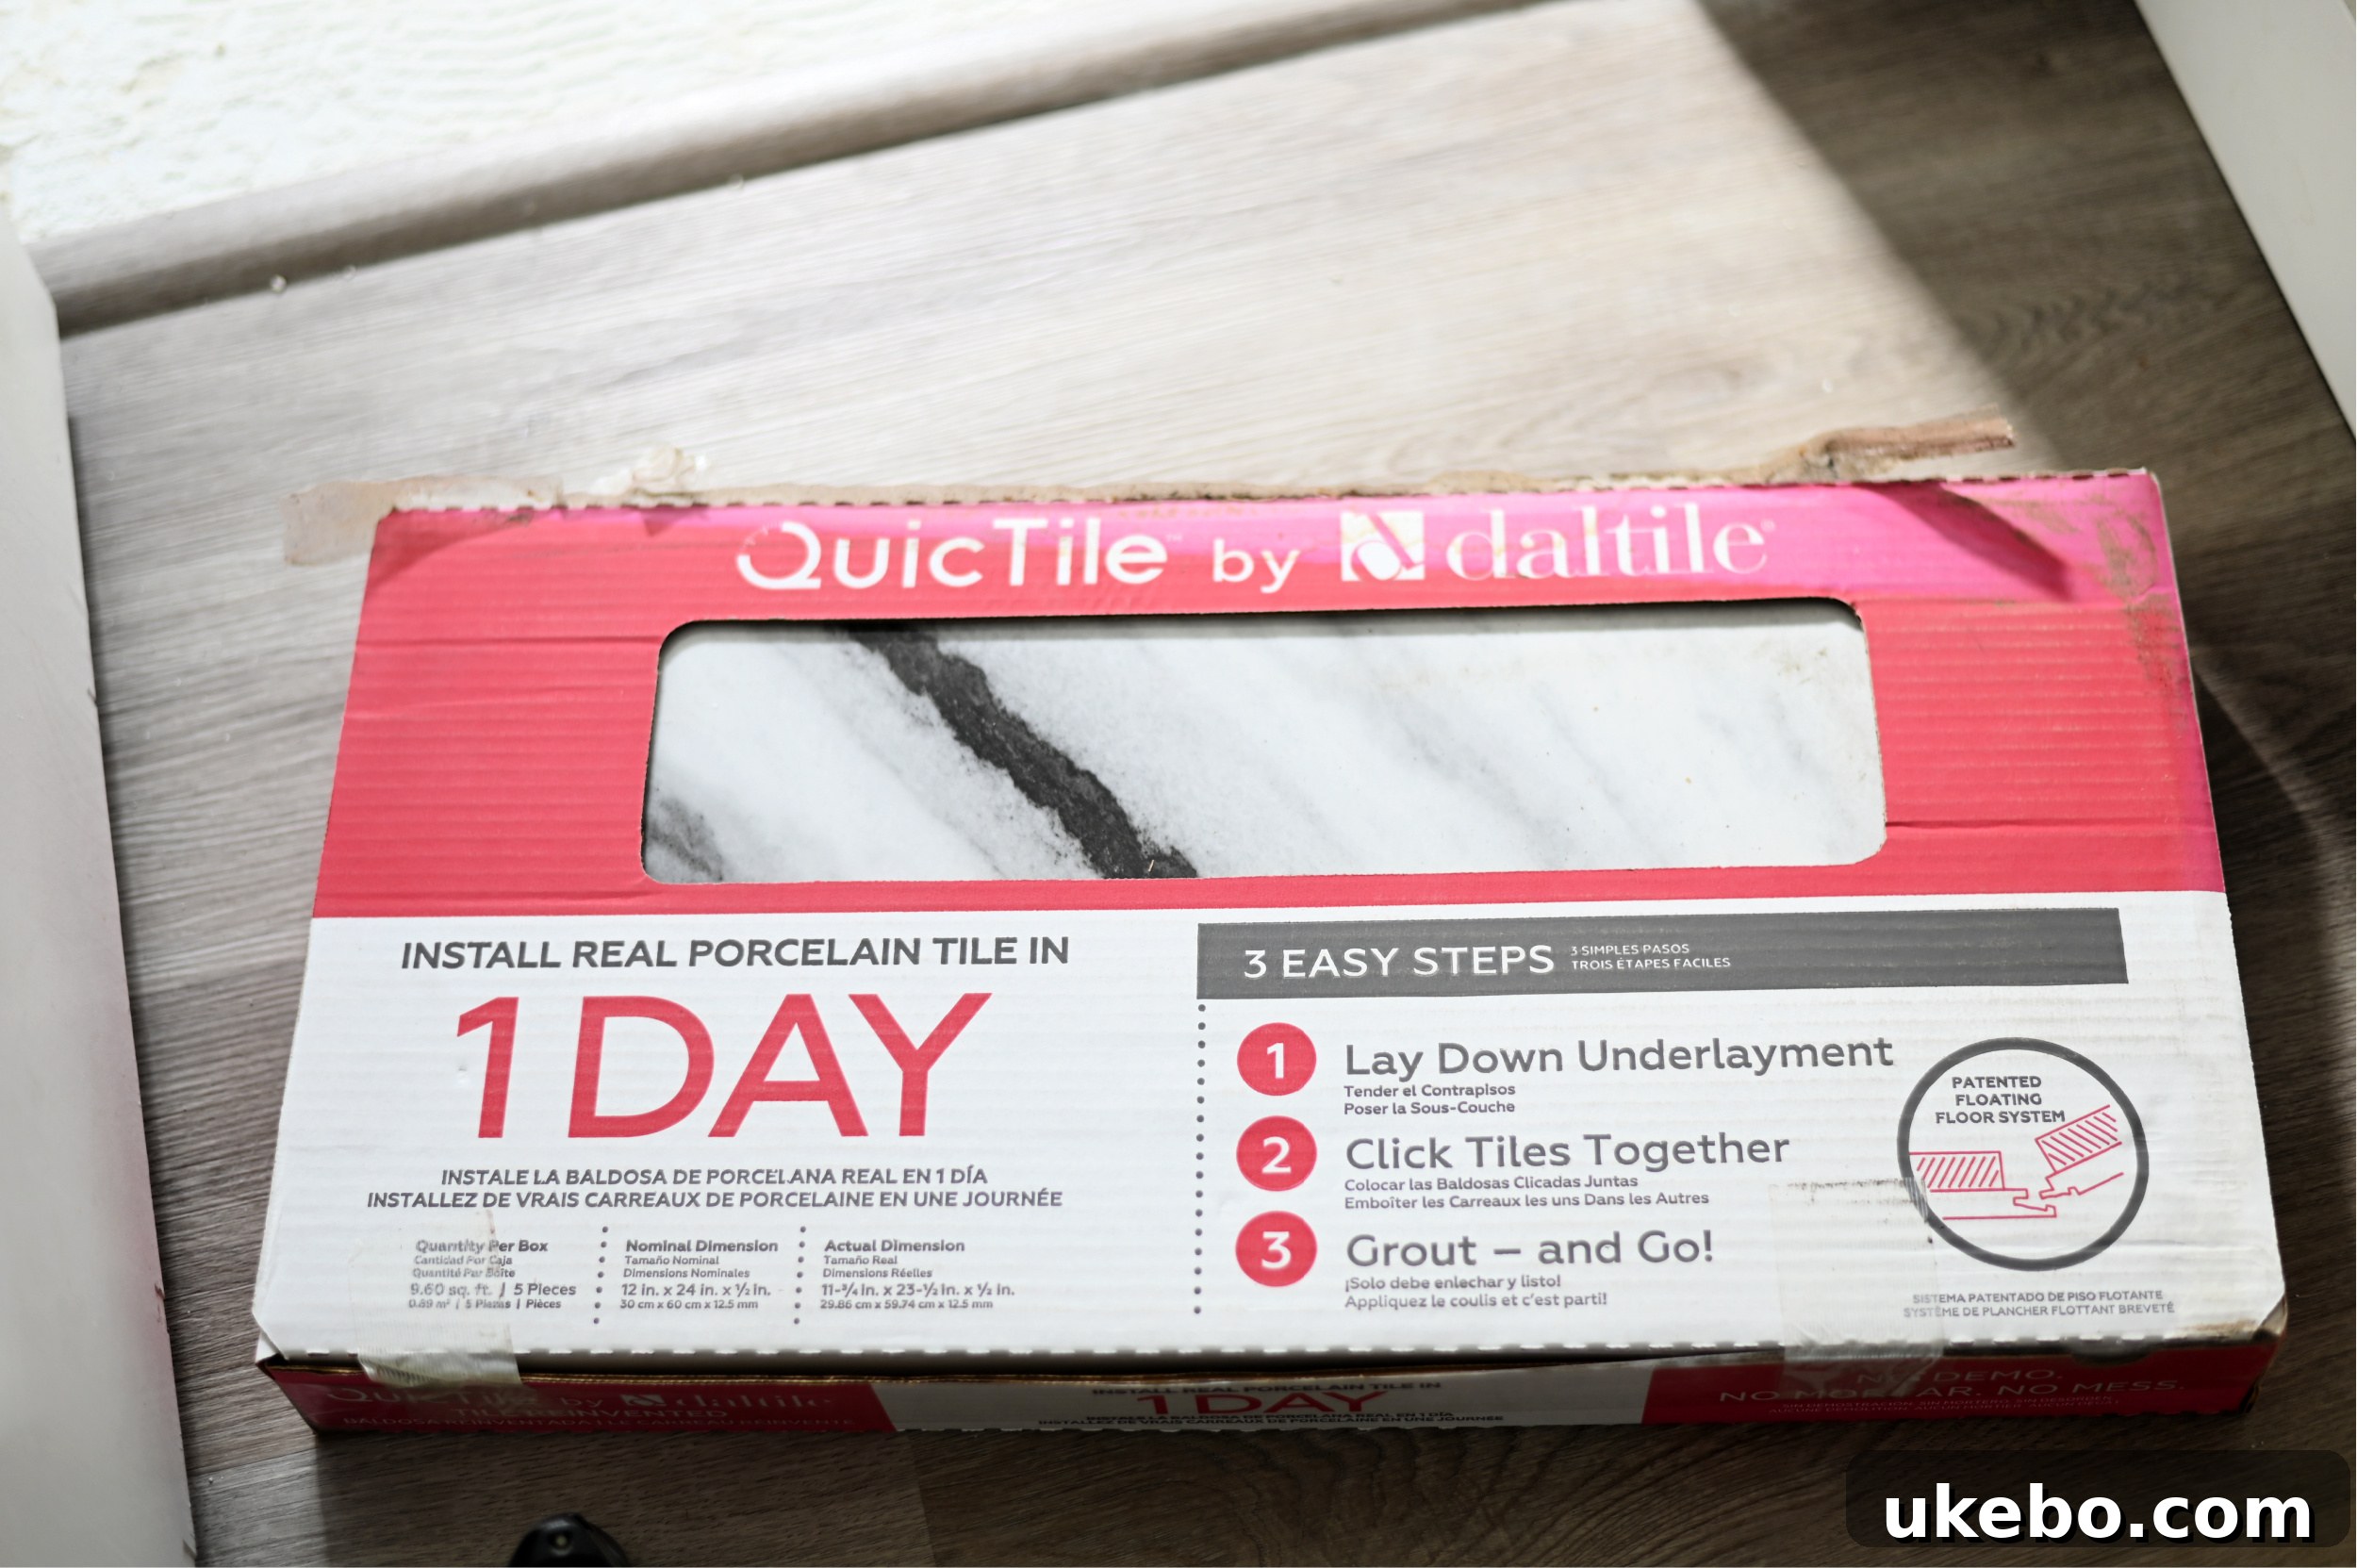
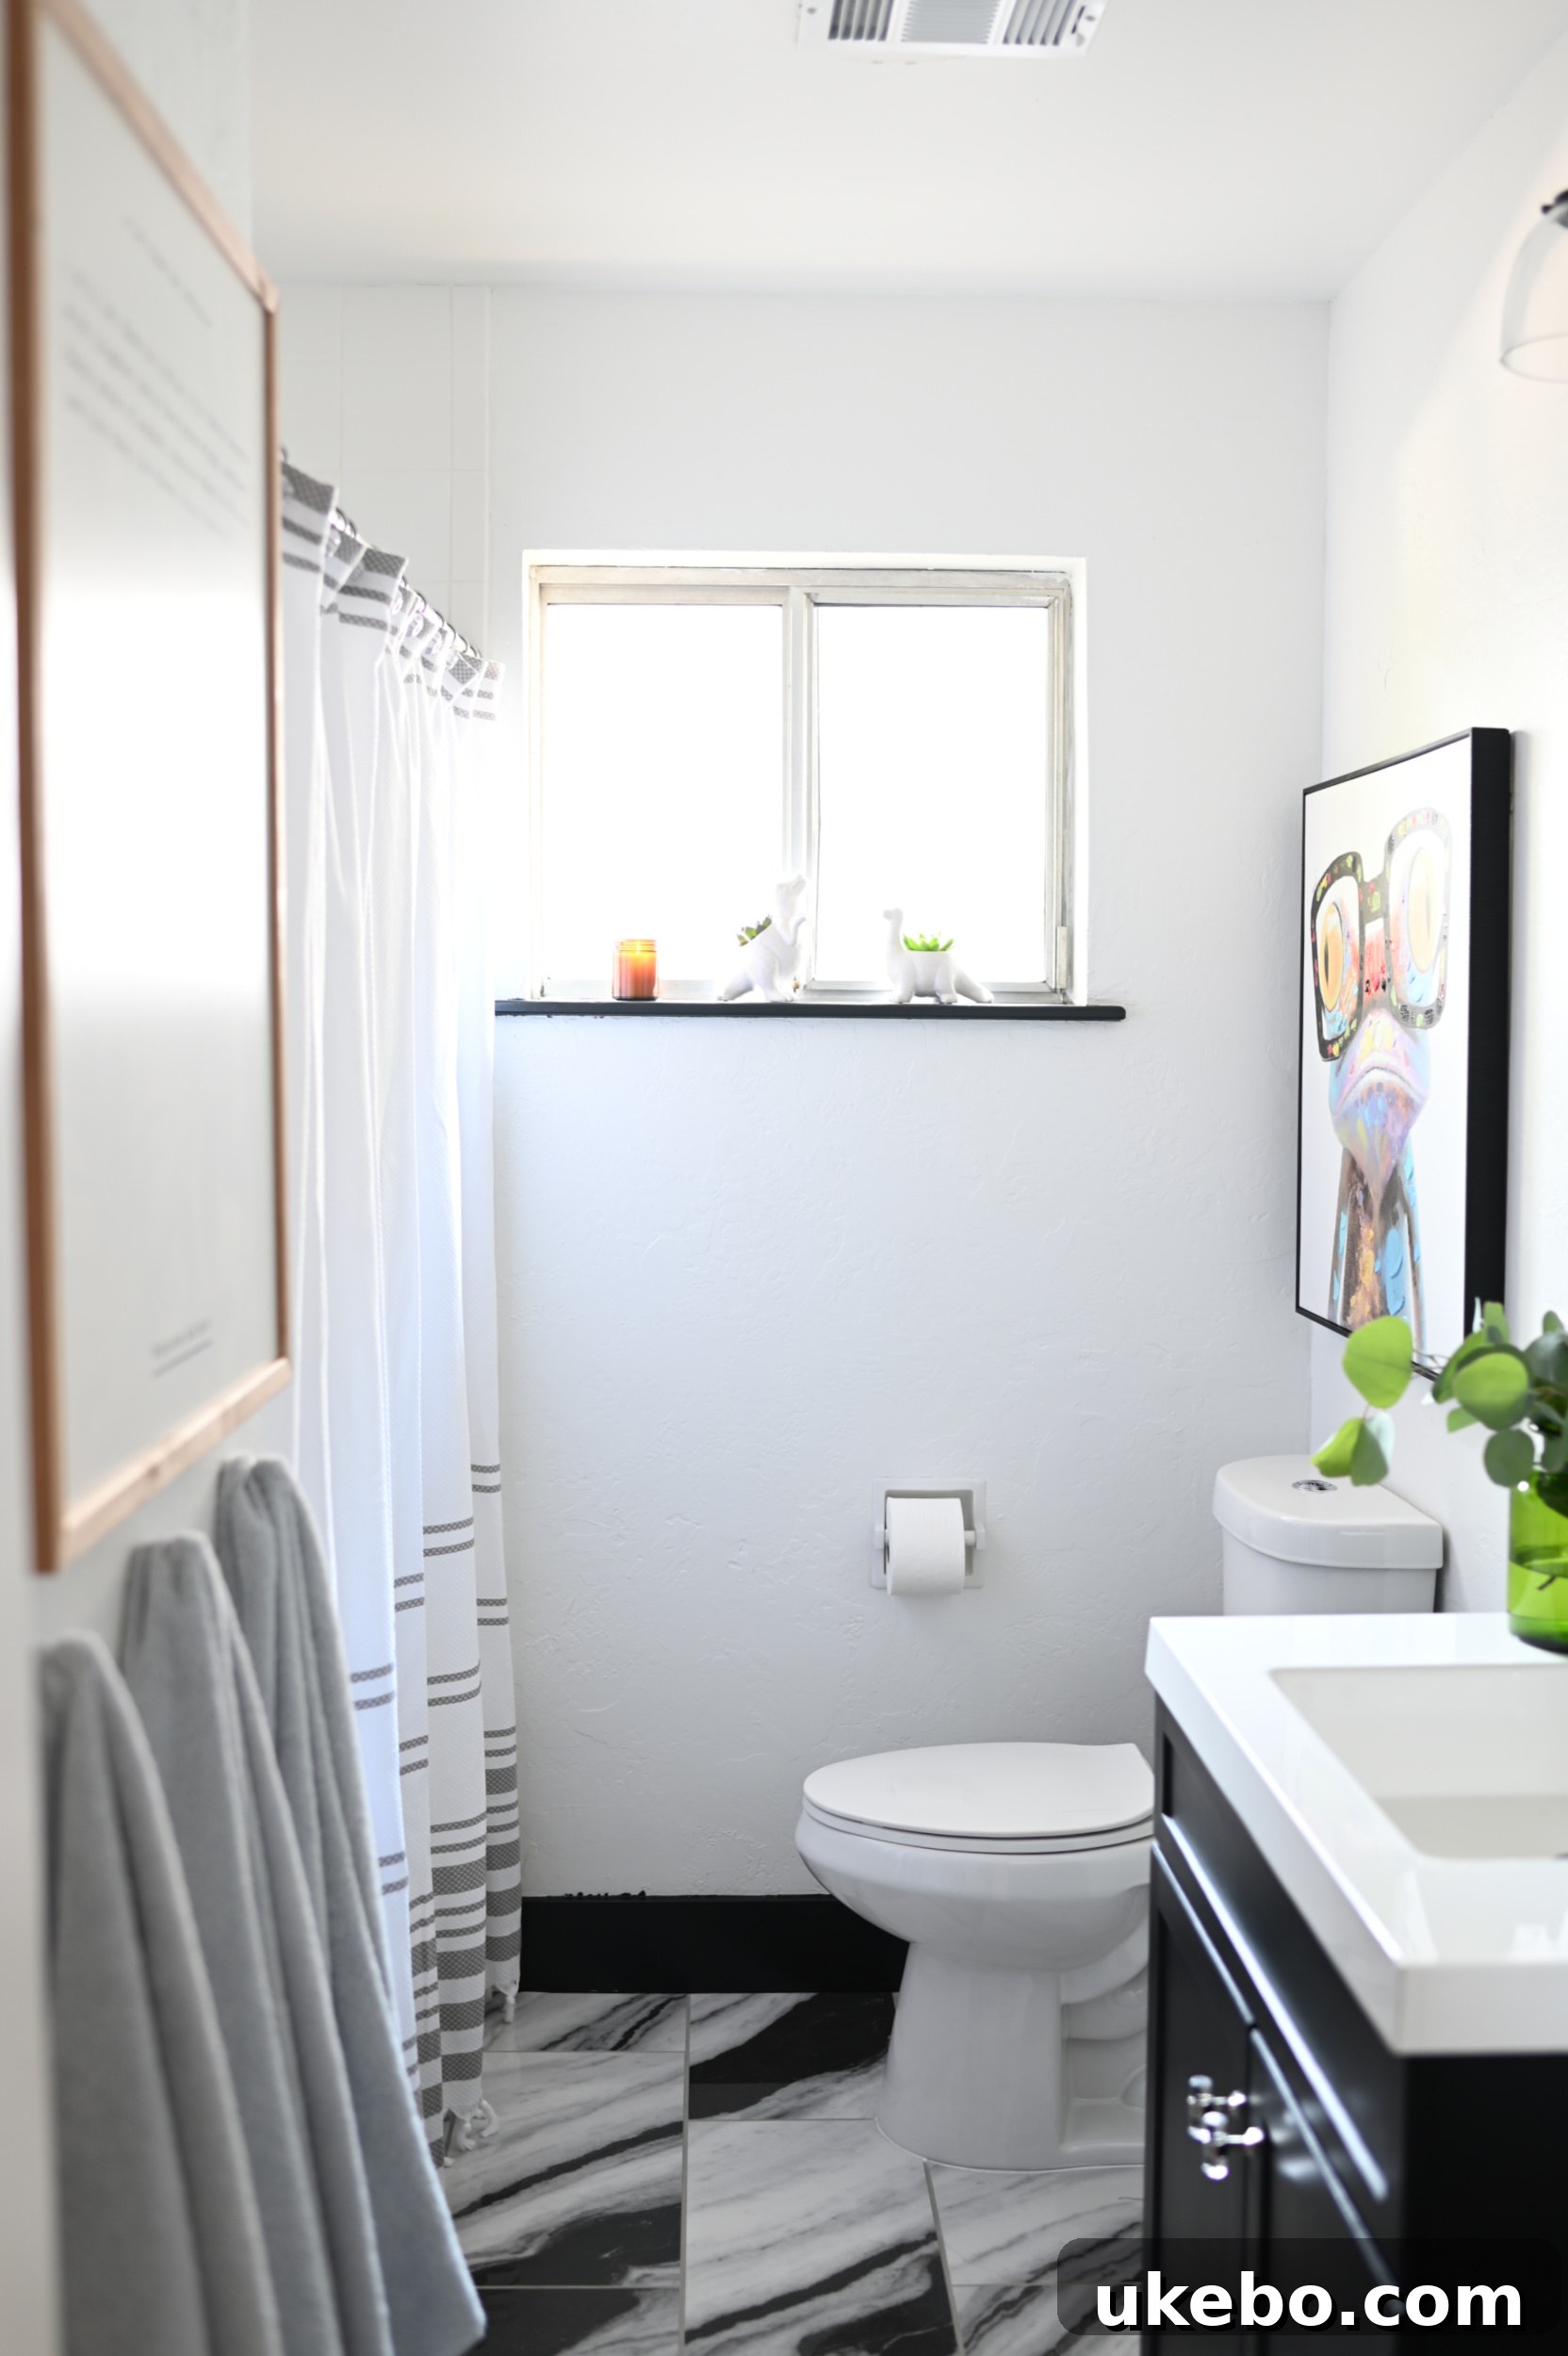
QuicTile by Daltile is a truly revolutionary product that promises to transform your tiling project into a single-day endeavor. Yes, you read that correctly – ONE DAY! This isn’t just any tile; it’s real porcelain tile designed for incredibly fast and efficient installation. What makes it so groundbreaking? For starters, it can be installed directly over most existing floors, eliminating the arduous and messy demolition process entirely. Say goodbye to the dust, debris, and extensive labor typically associated with tearing out old flooring. Furthermore, QuicTile requires no mortar, which means the traditional mess and complexity of tiling are things of the past. Its patented floating floor system allows for a simple, three-step installation that is easy enough for even novice DIYers to tackle, making it the quintessential weekend project. Beyond its ease of installation, QuicTile is engineered for durability, boasting waterproof, dent-proof, stain-proof, and scratch-resistant properties, all while being remarkably easy to clean – a crucial feature for a busy kids’ bathroom! For Andrea’s bathroom, we selected the Panda Marble finish. I was instantly captivated by the bold, graphic black and white marble aesthetic of this particular tile. The generous 12×24 inch size exudes a luxurious feel and, importantly for Andrea, results in fewer grout lines, which was precisely what she desired for easier maintenance. I was incredibly excited to begin the installation and discover just how user-friendly this innovative product truly was.
One of the most impressive features of QuicTile, and a significant selling point for many DIYers, is its ability to install directly over existing subfloors and hard surface flooring, including vinyl, laminate, and even hardwood. This “no demo” promise is facilitated by the QuicPrep underlayment, which is all you need to get started. Friends, this truly is a game-changer! It’s an immense benefit, especially for those new to DIY projects or anyone who wants to avoid the typical mess, dust, and sheer physical hassle of a traditional tile removal job. However, in Andrea’s bathroom, we made the strategic decision to remove the existing tile first. The reason for this was practical: I needed to ensure the finished floor level would be as close as possible to the adjoining wood floor in the hallway. Installing QuicTile directly over the old tile would have raised the floor too much, creating an undesirable height difference at the transition point. While QuicTile’s no-demo feature is fantastic in most scenarios, it’s always wise to assess your specific situation and existing floor levels to achieve the best possible result.
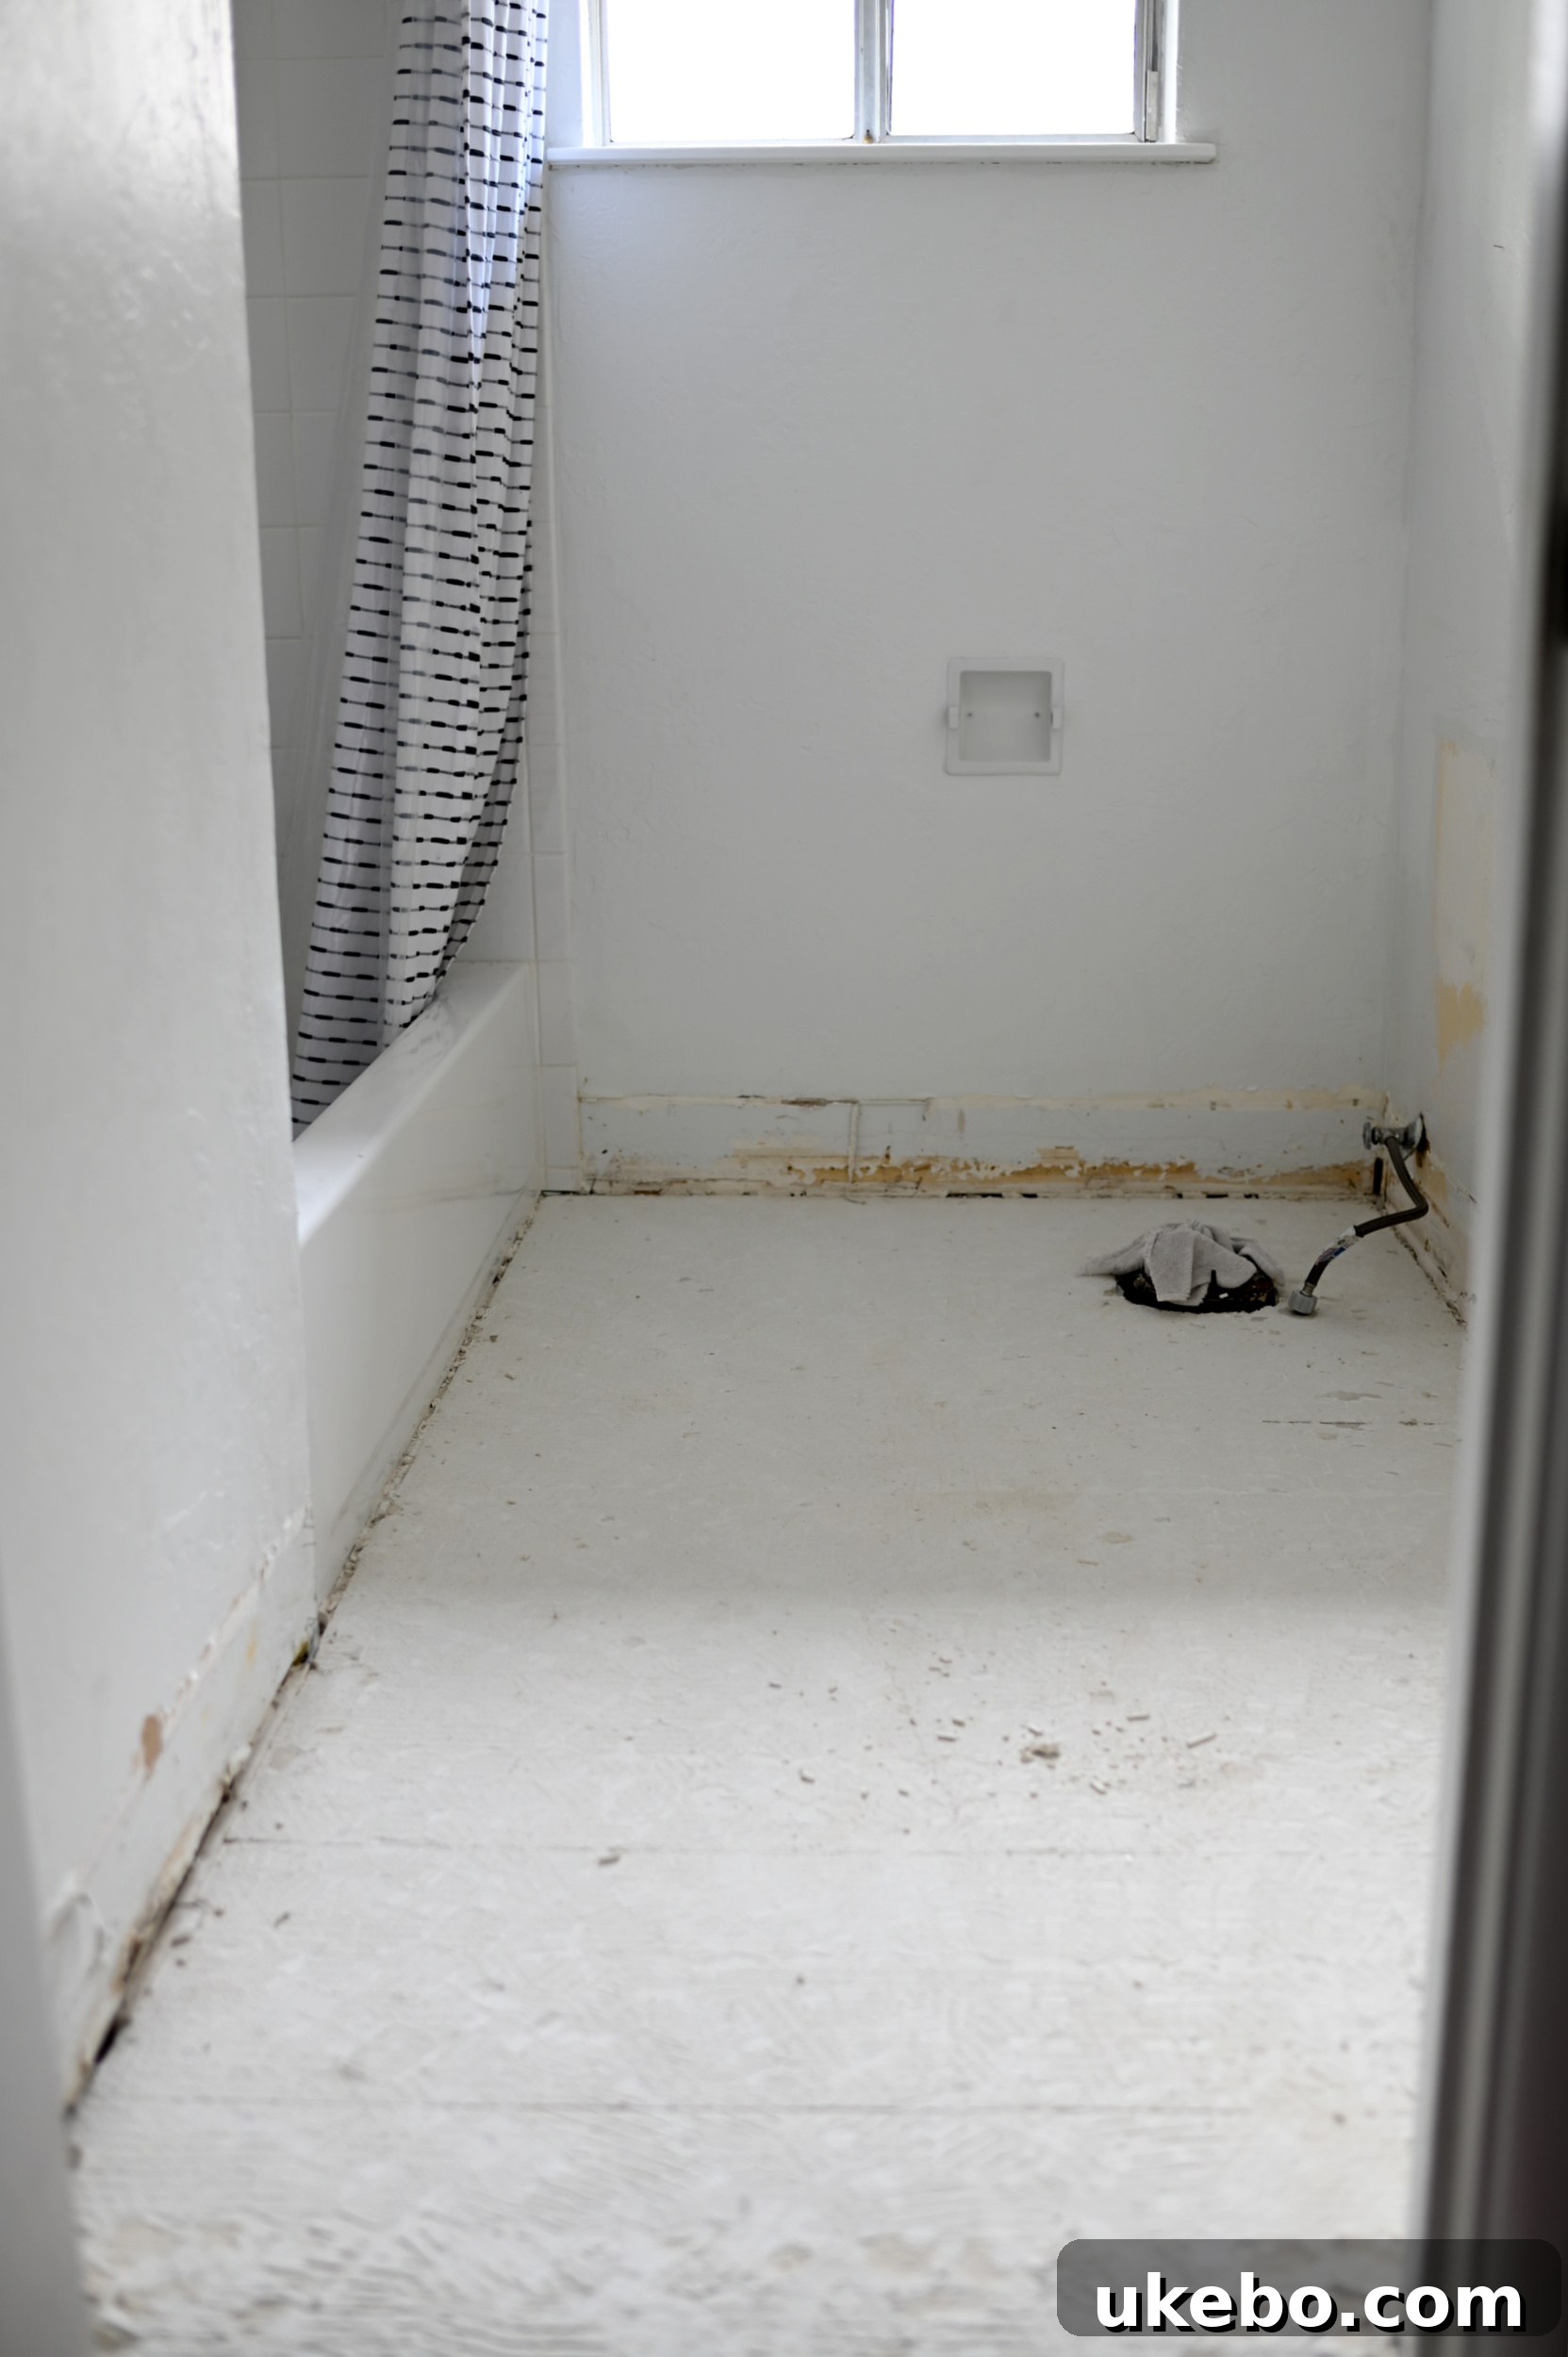
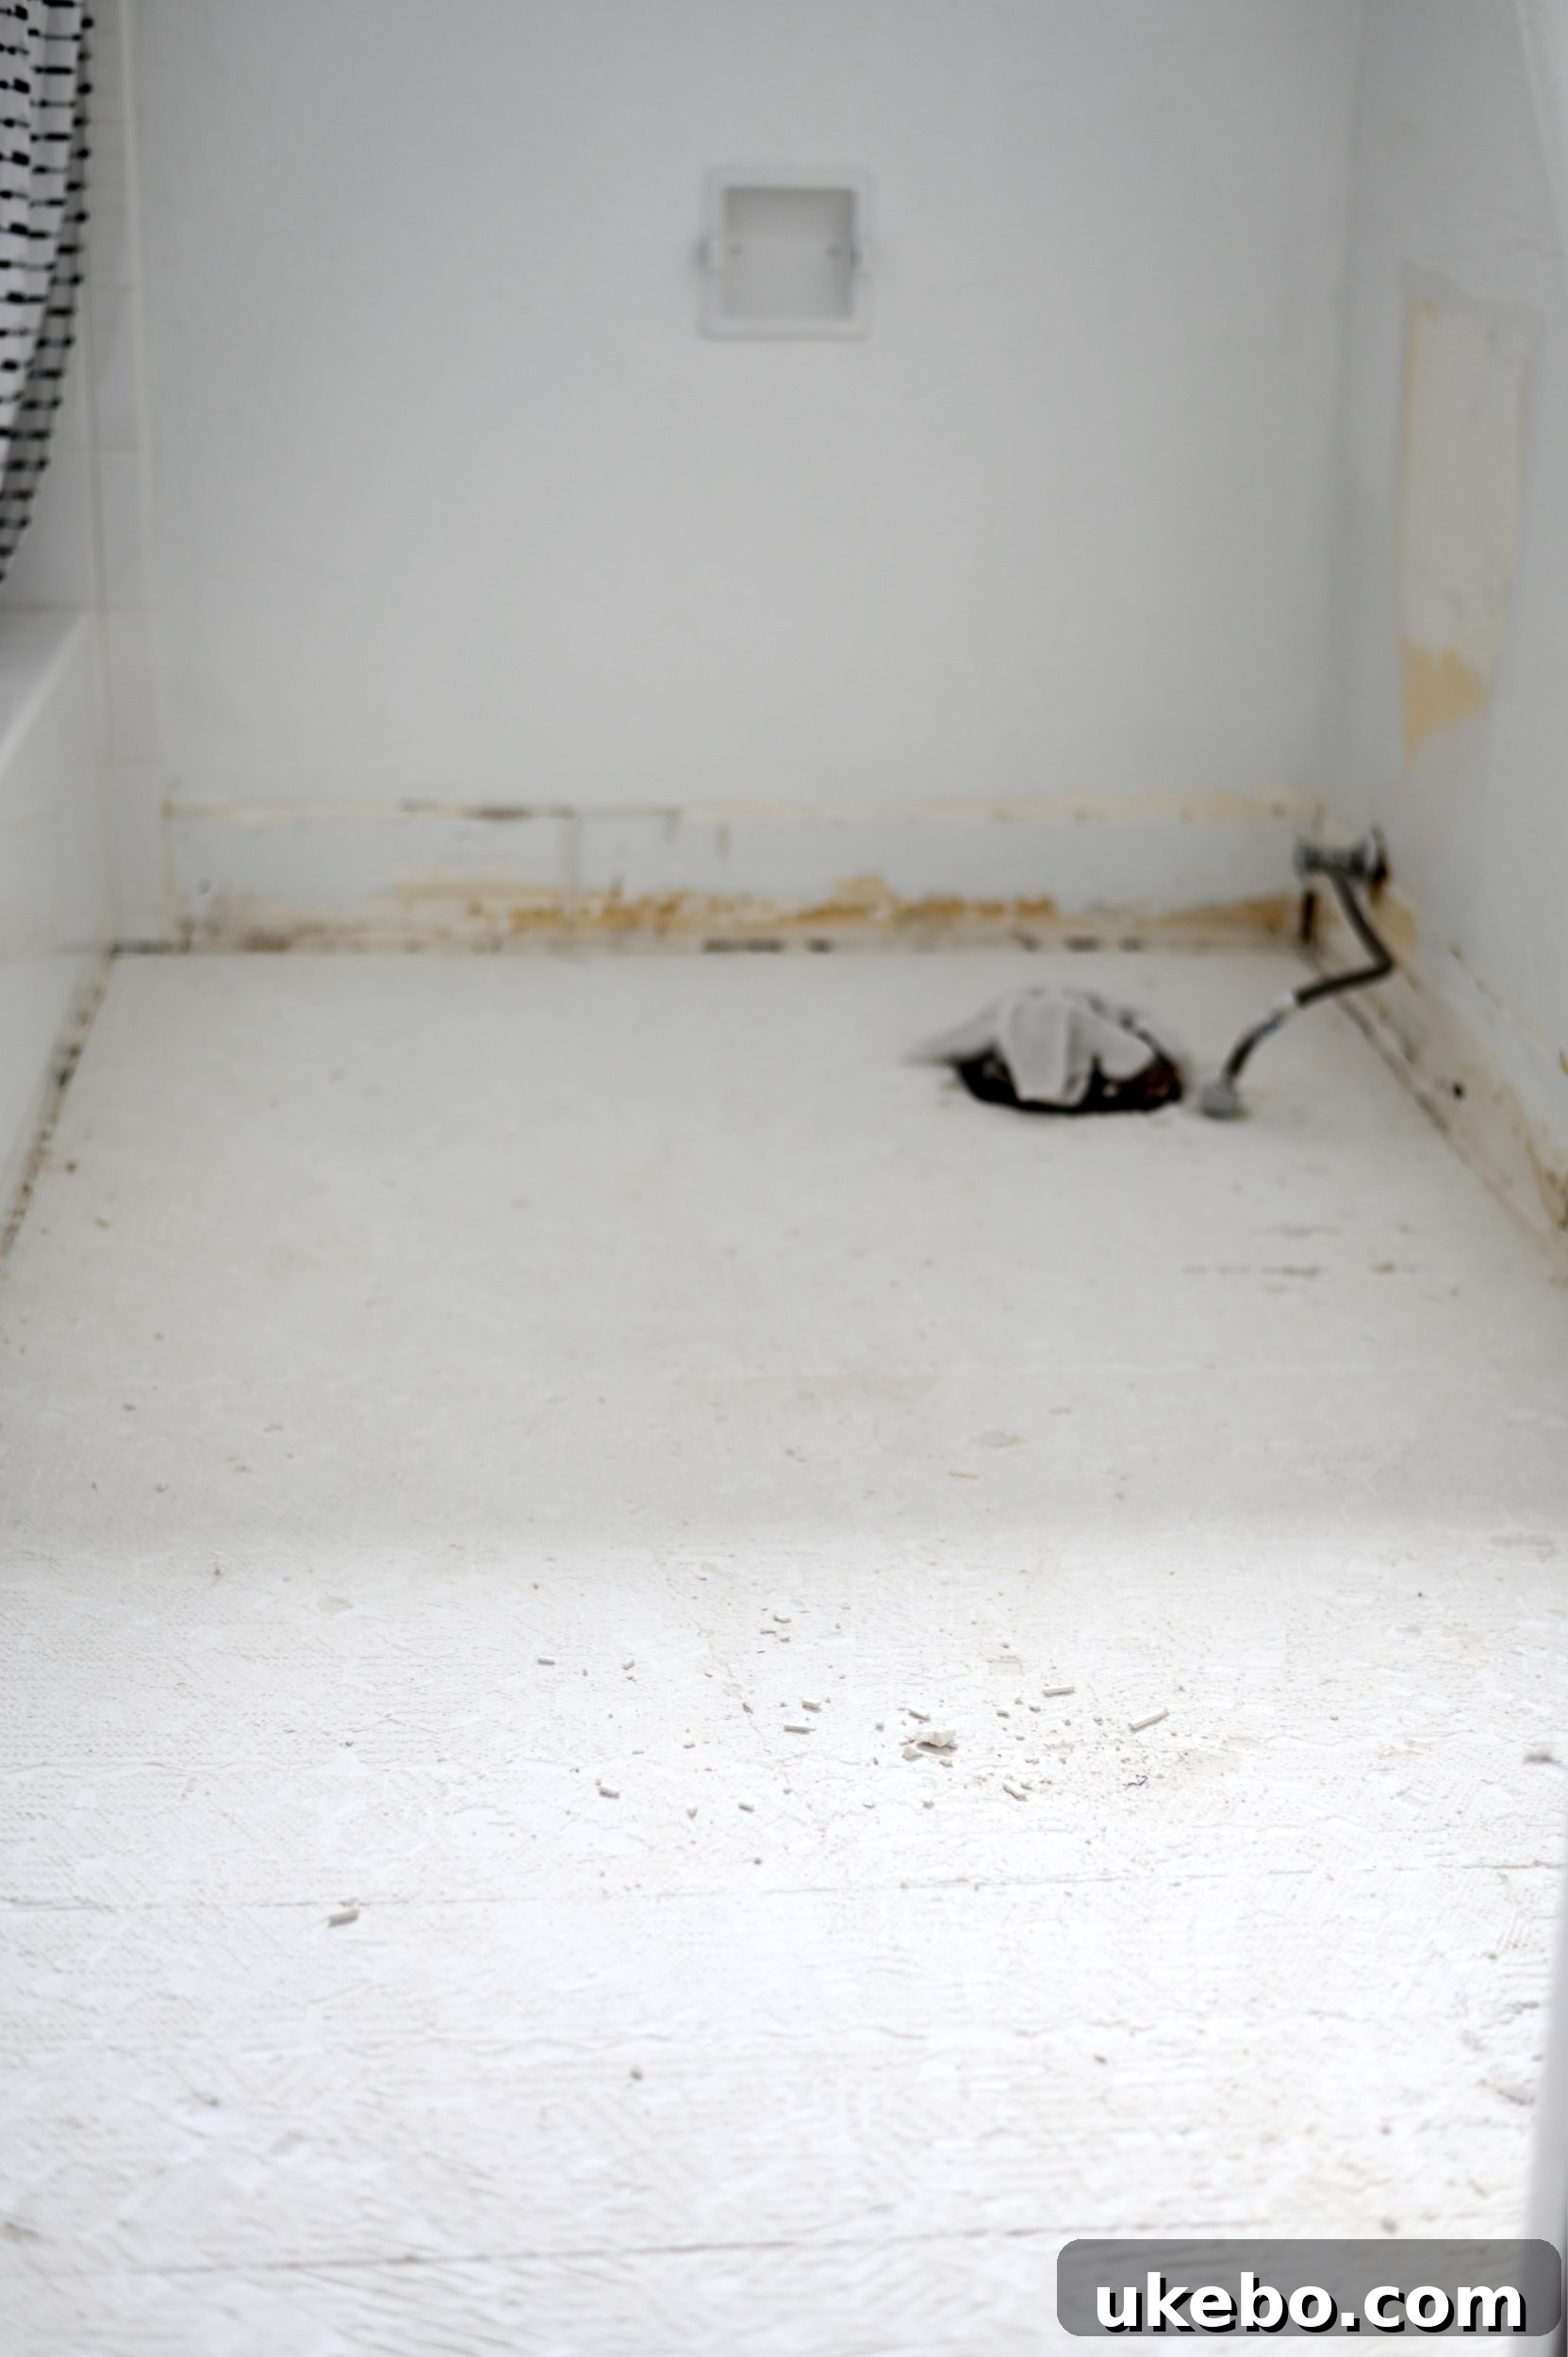
Given the relatively small size of the bathroom and the thinness of the existing tile, its removal was surprisingly quick and manageable. Once the old tiles were out, our next step was to ensure the subfloor was as clean and flat as possible. It’s crucial for any flooring project that your base is smooth and free of debris to prevent future issues. We didn’t need to remove or replace the subfloor itself because the genius of the QuicTile system lies in its unique underlayment system. This specially designed underlayment lays down directly over your prepared existing floor, acting as a crucial buffer and leveling layer. The QuicTile then gets installed on top of this underlayment. Laying down the QuicPrep underlayment was remarkably fast and straightforward; you simply unroll it and use underlayment tape to secure any seams or where two pieces connect, ensuring a continuous, stable base. Before I even laid the first tile, I made sure to watch the instructional installation video from Daltile multiple times. This allowed me to familiarize myself thoroughly with the process and feel more confident with the product. Having this visual guide was incredibly helpful during the actual installation; I could pause and re-watch sections whenever I needed a reminder or clarification, which is a fantastic resource for any DIY project.
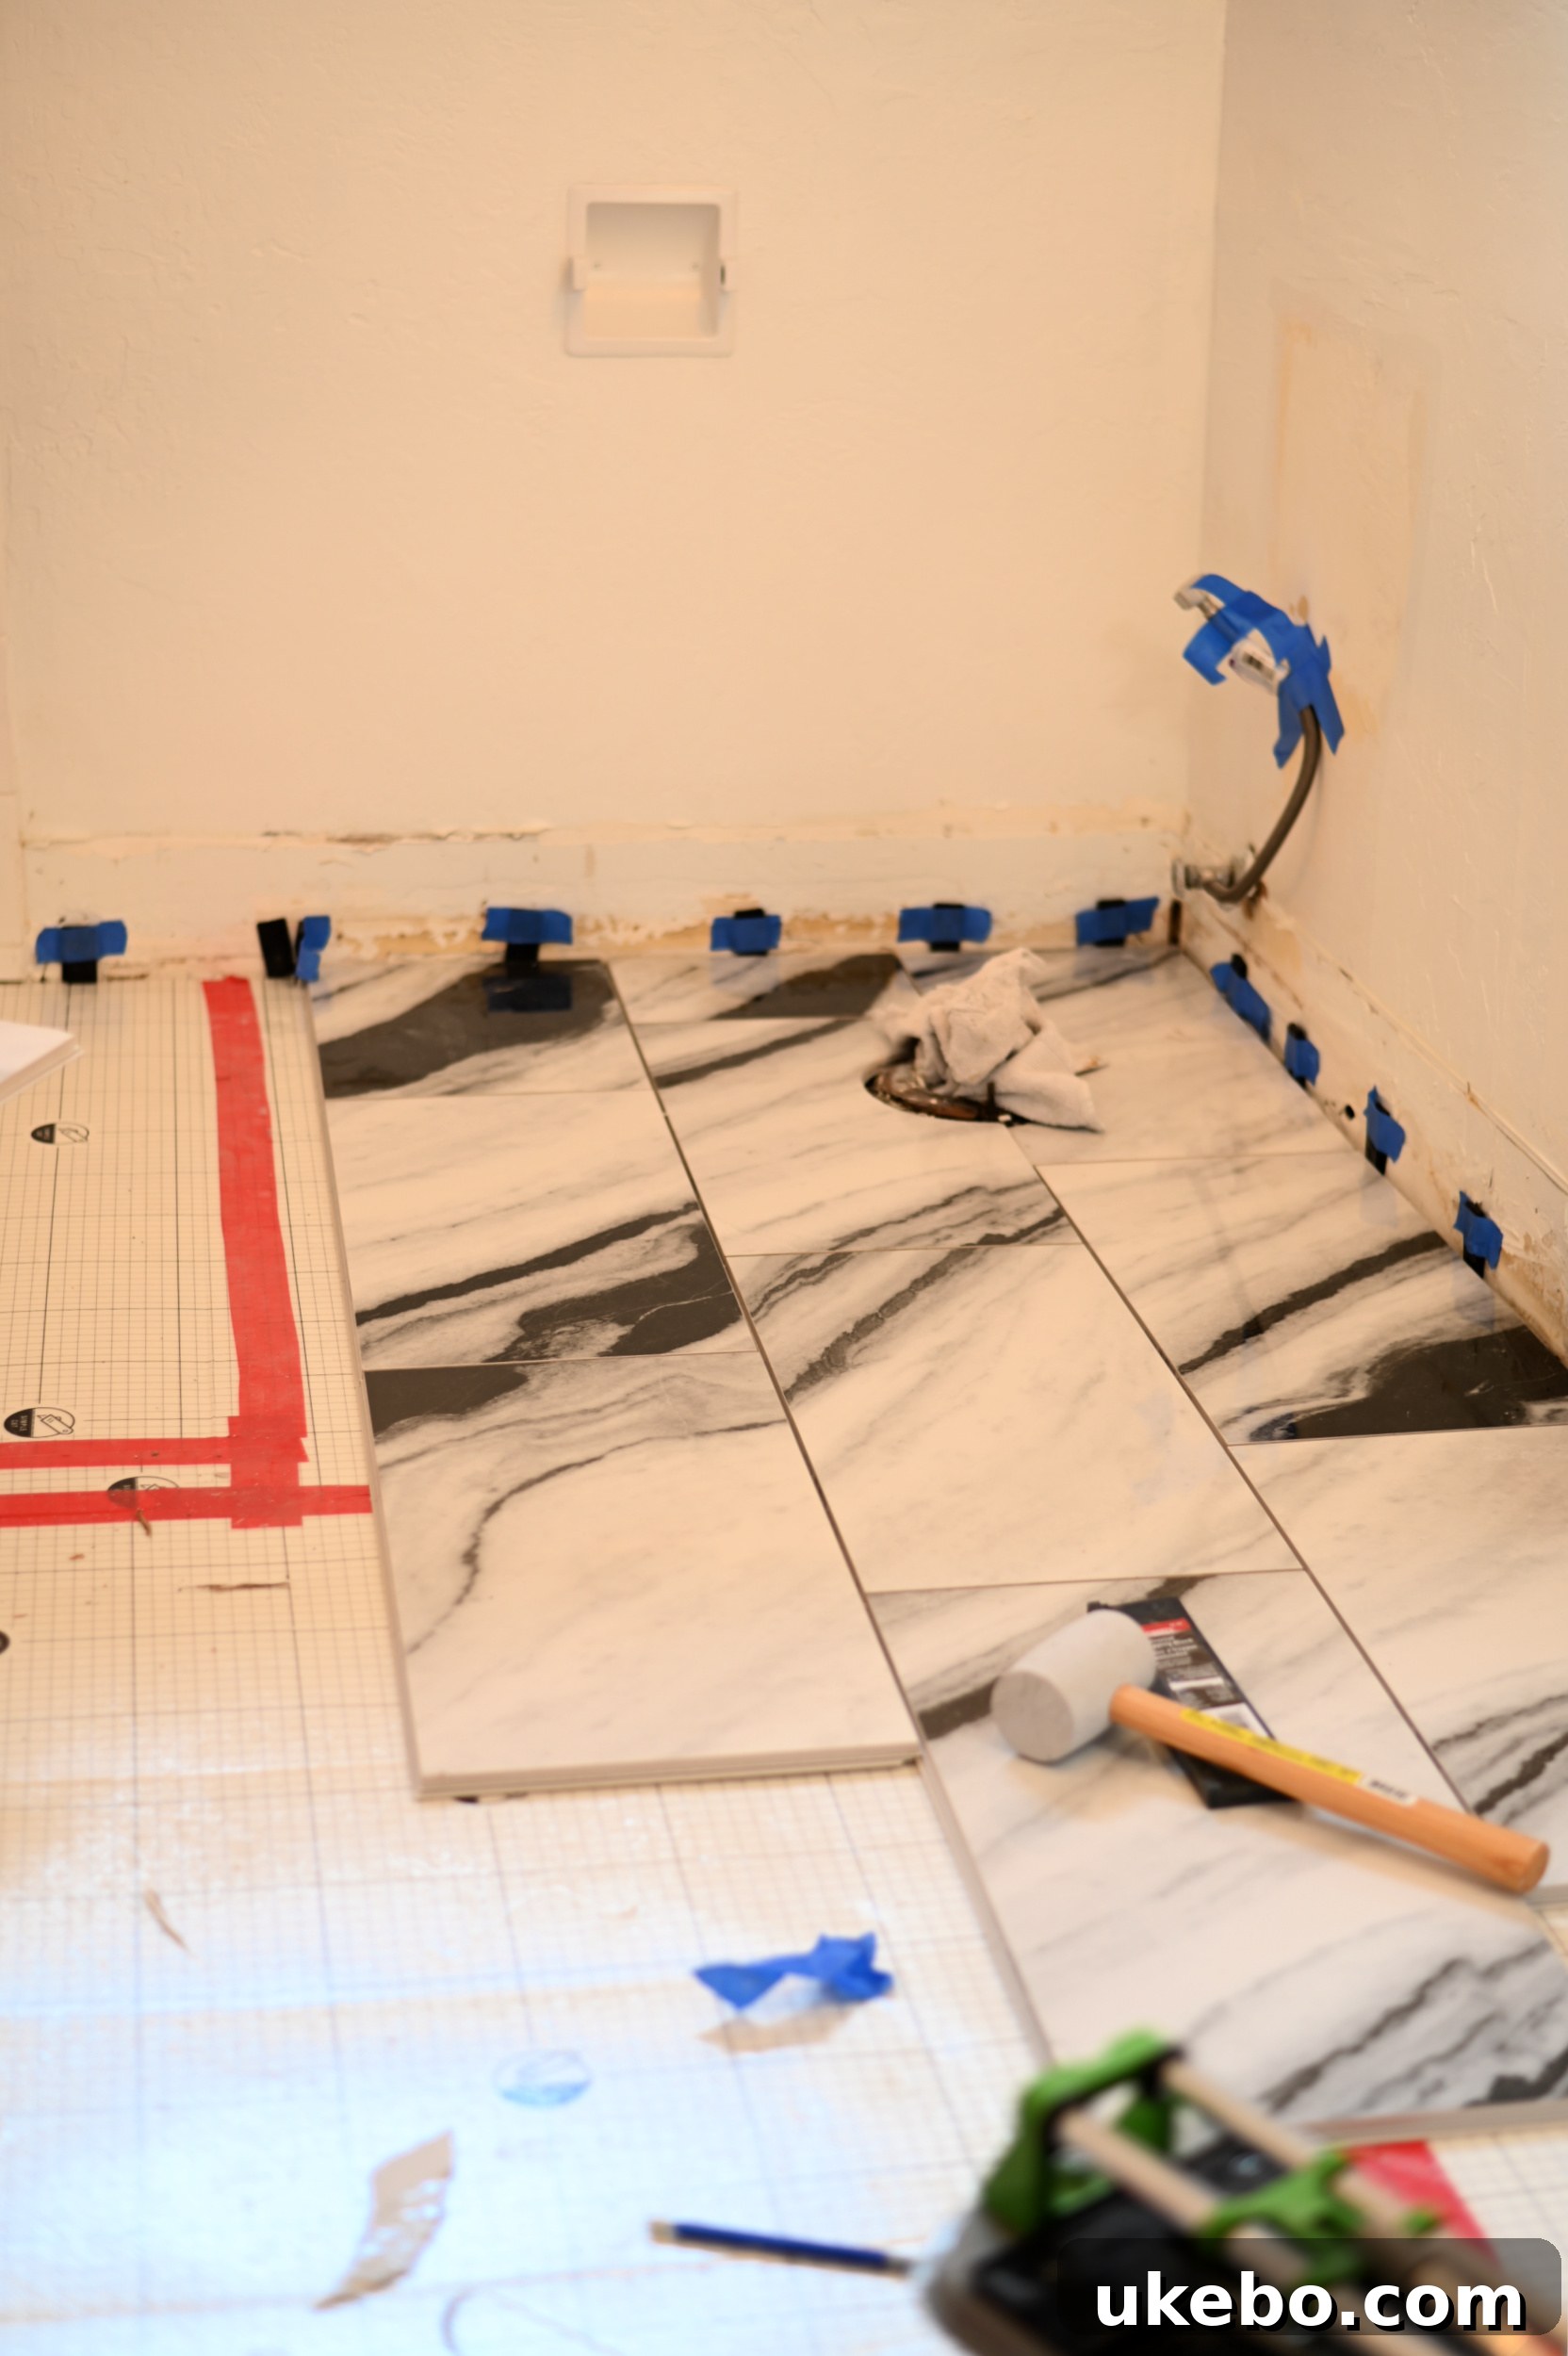
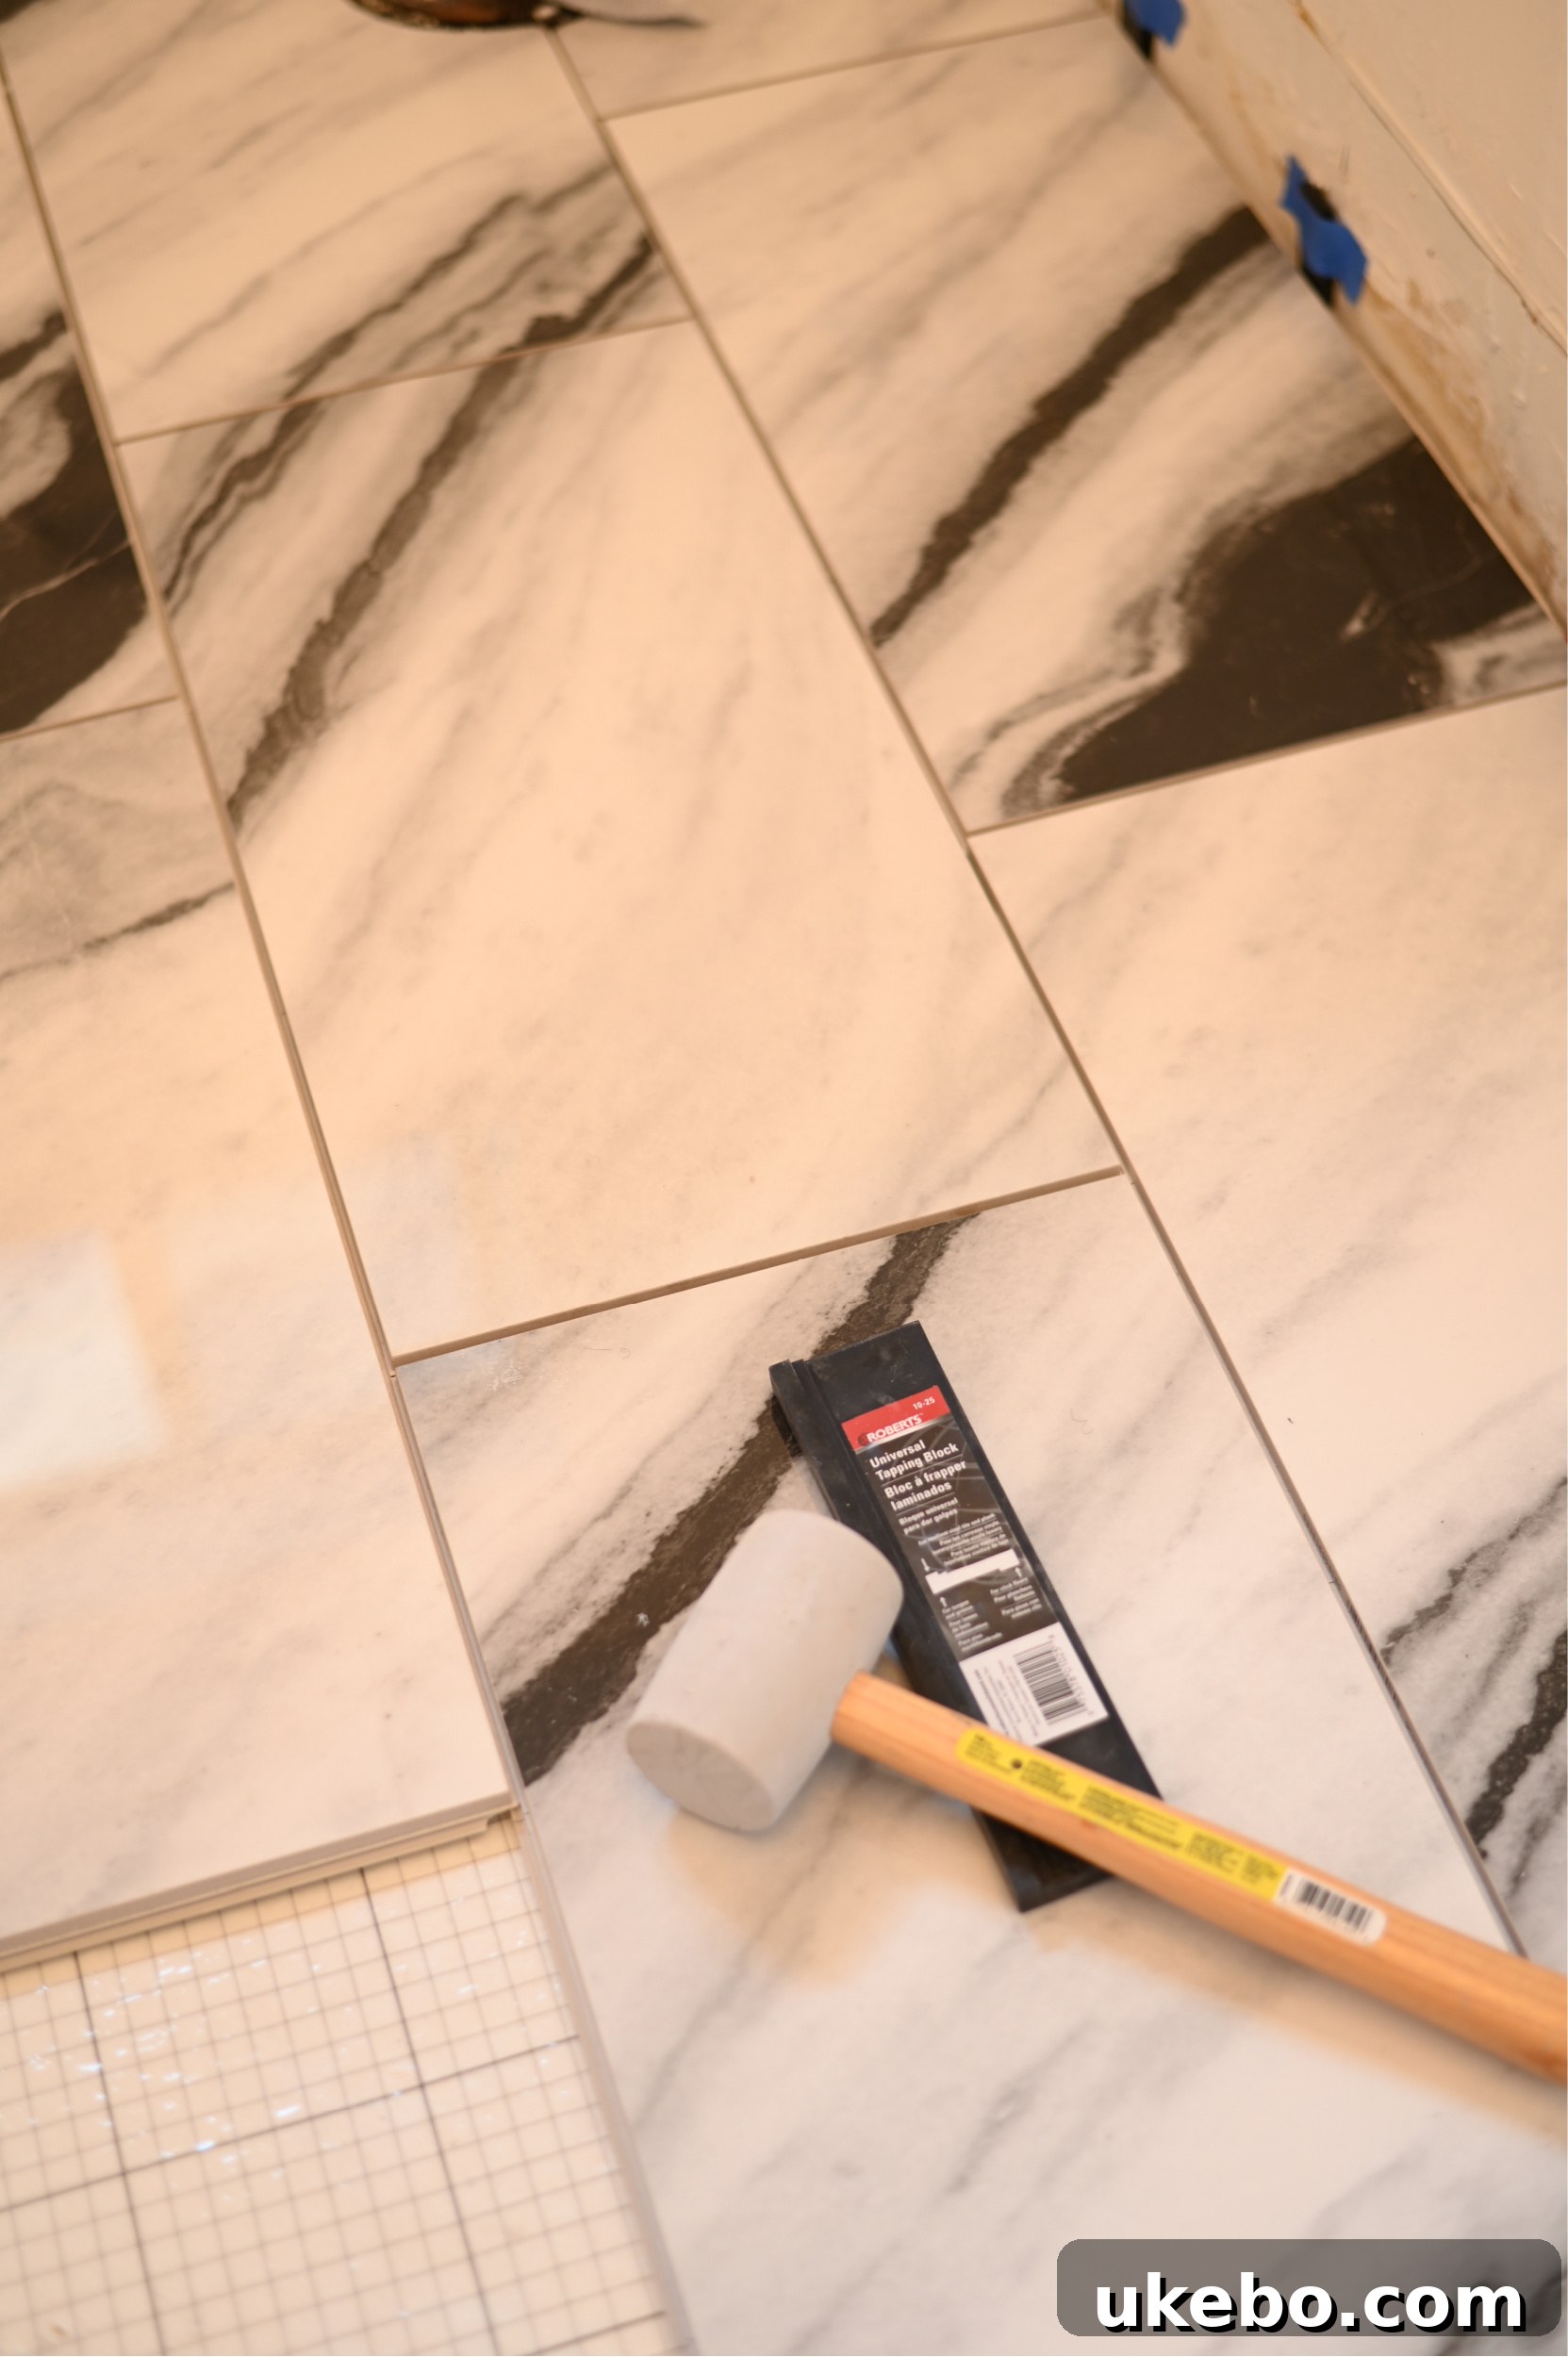
If you’ve ever had the experience of installing a tongue-and-groove floating wood floor, you’re already ahead of the curve, as you’ll find the installation of QuicTile to be remarkably similar. Each tile features a distinct long and short side designed to click securely into one another, creating a robust, seamless surface. There’s a slight learning curve at the very beginning to get the technique just right, but once you master the “click” and “lock” motion, the installation moves surprisingly quickly. It’s essential to be careful during this process to avoid chipping the tongue-and-groove base of the tile, as this can compromise the interlocking system. For any necessary cuts, especially intricate shapes like the opening for the toilet, I relied on a wet saw and an angle grinder fitted with a diamond blade. These tools provided clean, precise cuts that are vital for a professional finish. To ensure each tile was seated perfectly and securely, I used a white rubber mallet and a tapping block. While a manual tile saw can certainly be used for straight cuts, I personally found a wet tile saw to be much more efficient and produced cleaner edges, saving both time and effort. This level of precision, combined with the ease of the interlocking system, truly makes QuicTile a fantastic option for achieving a high-quality tiled floor without the typical professional complexity.
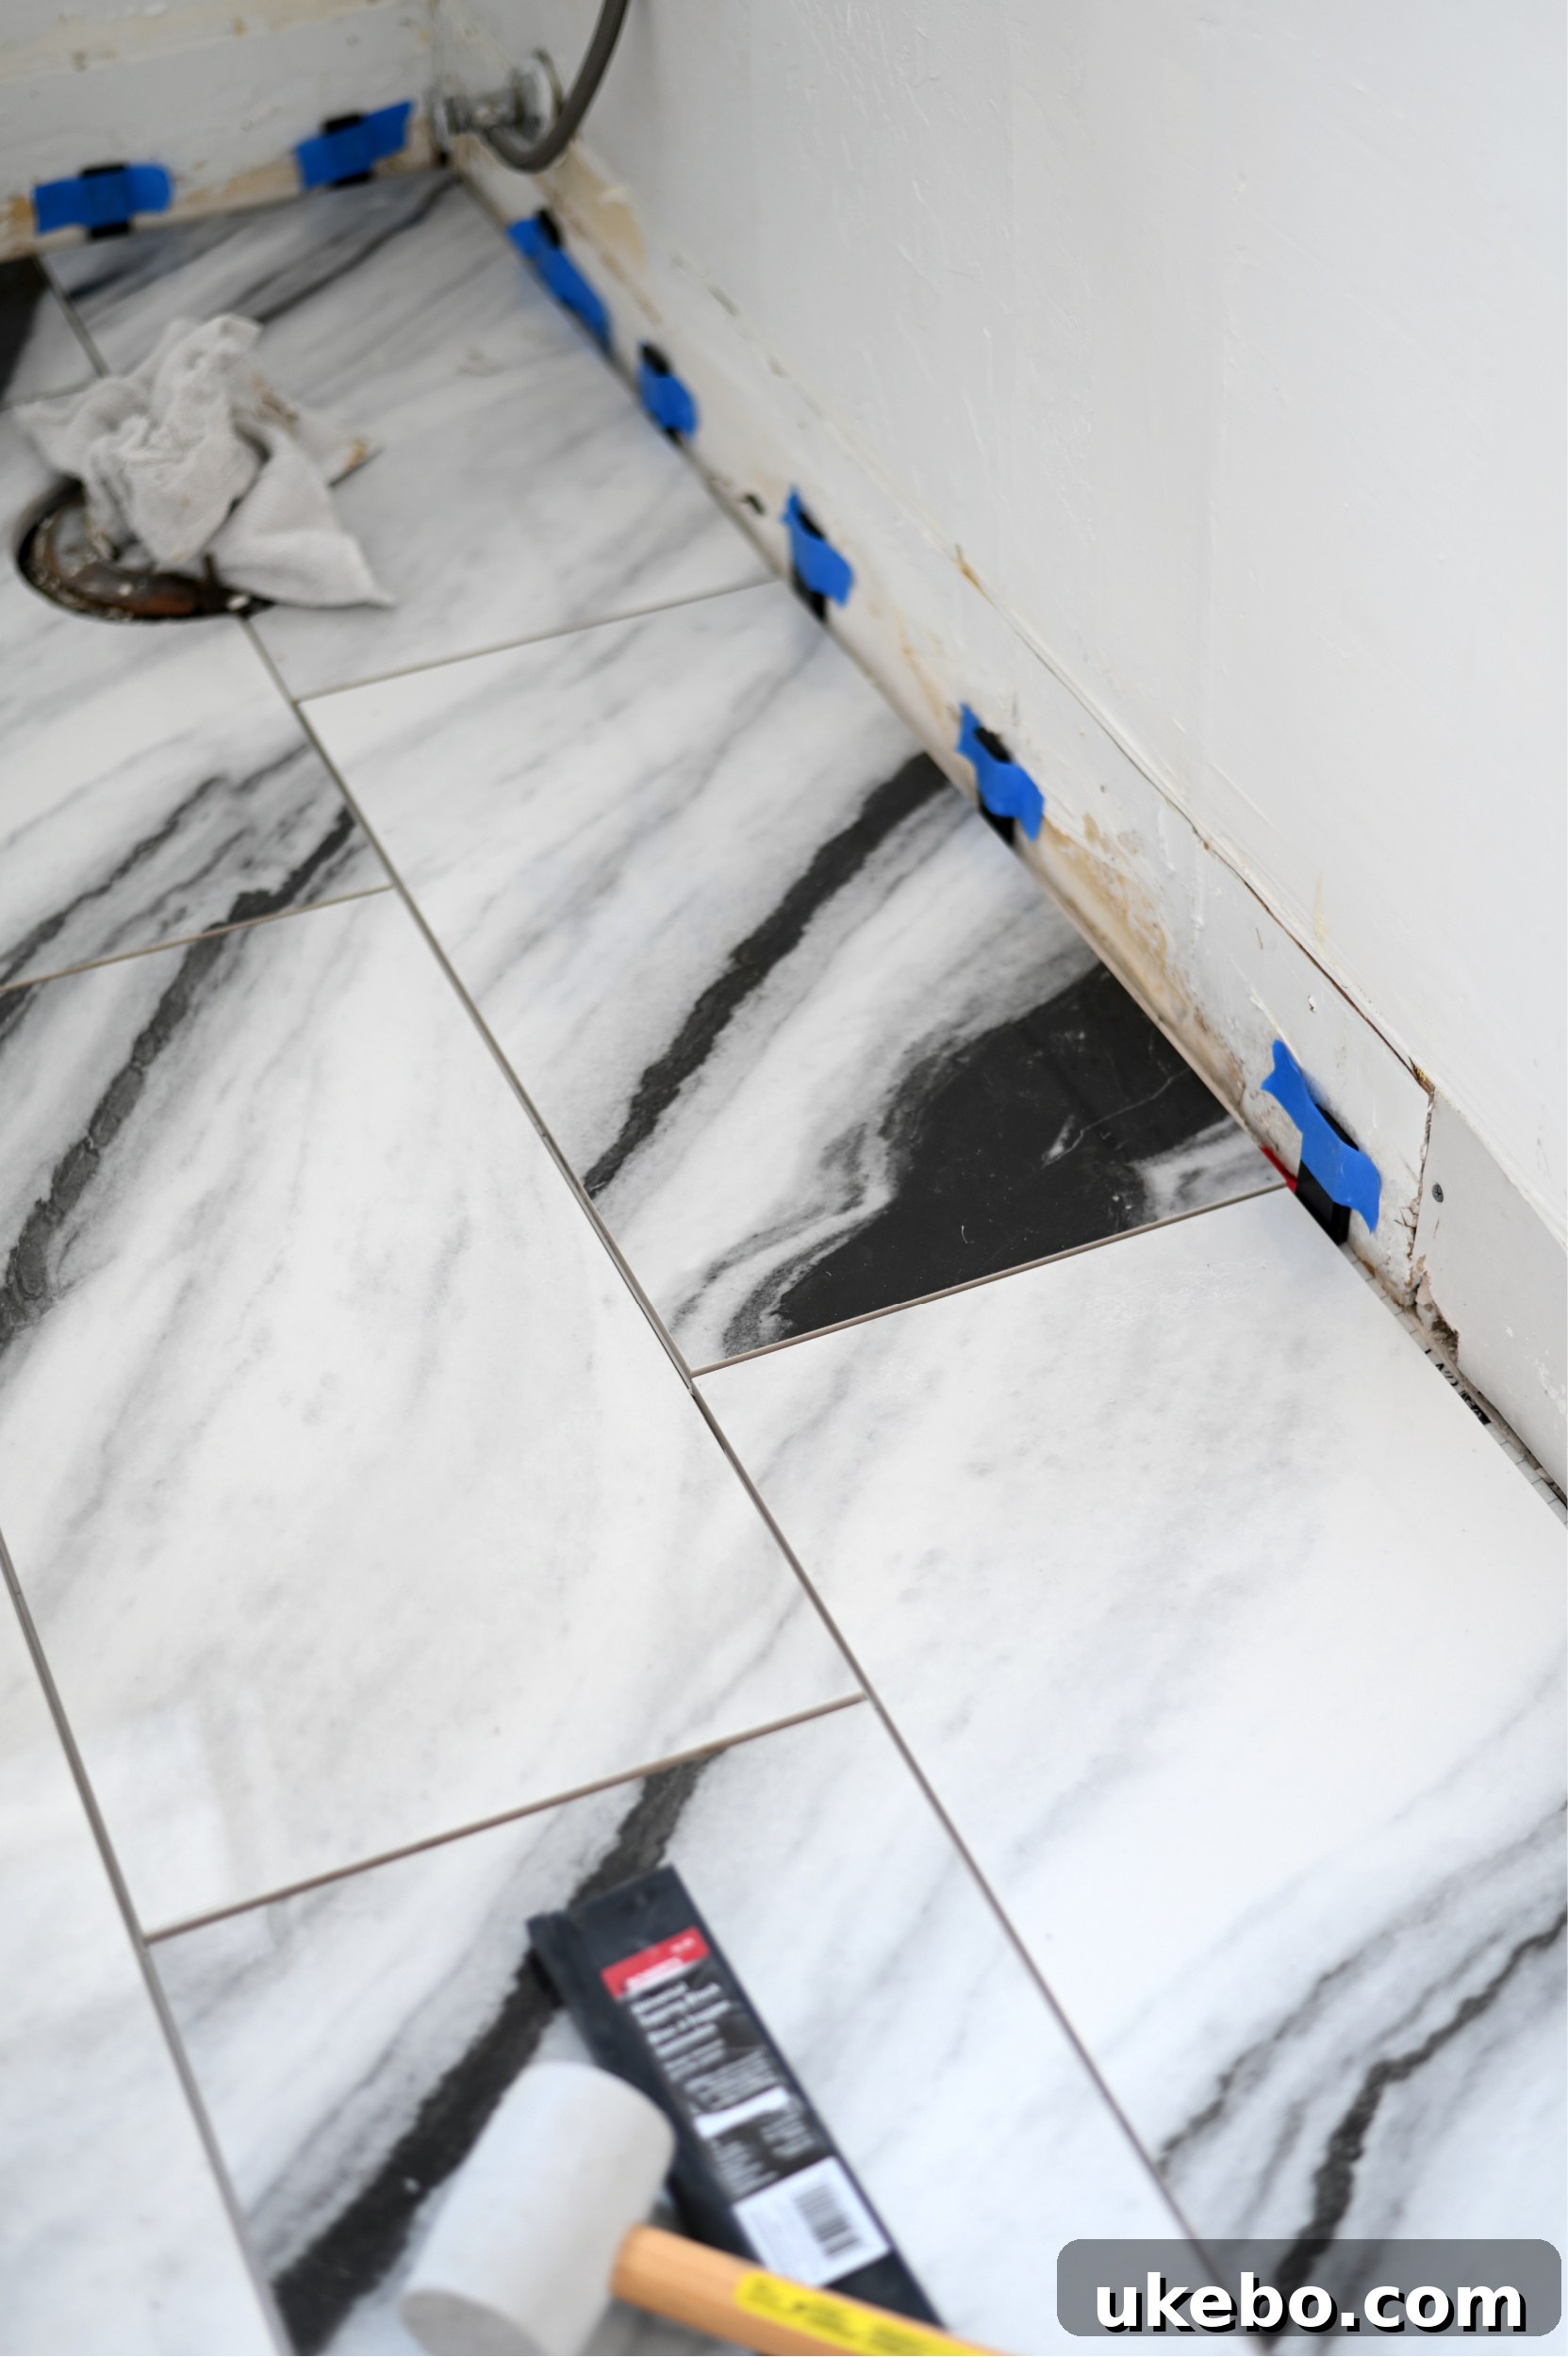
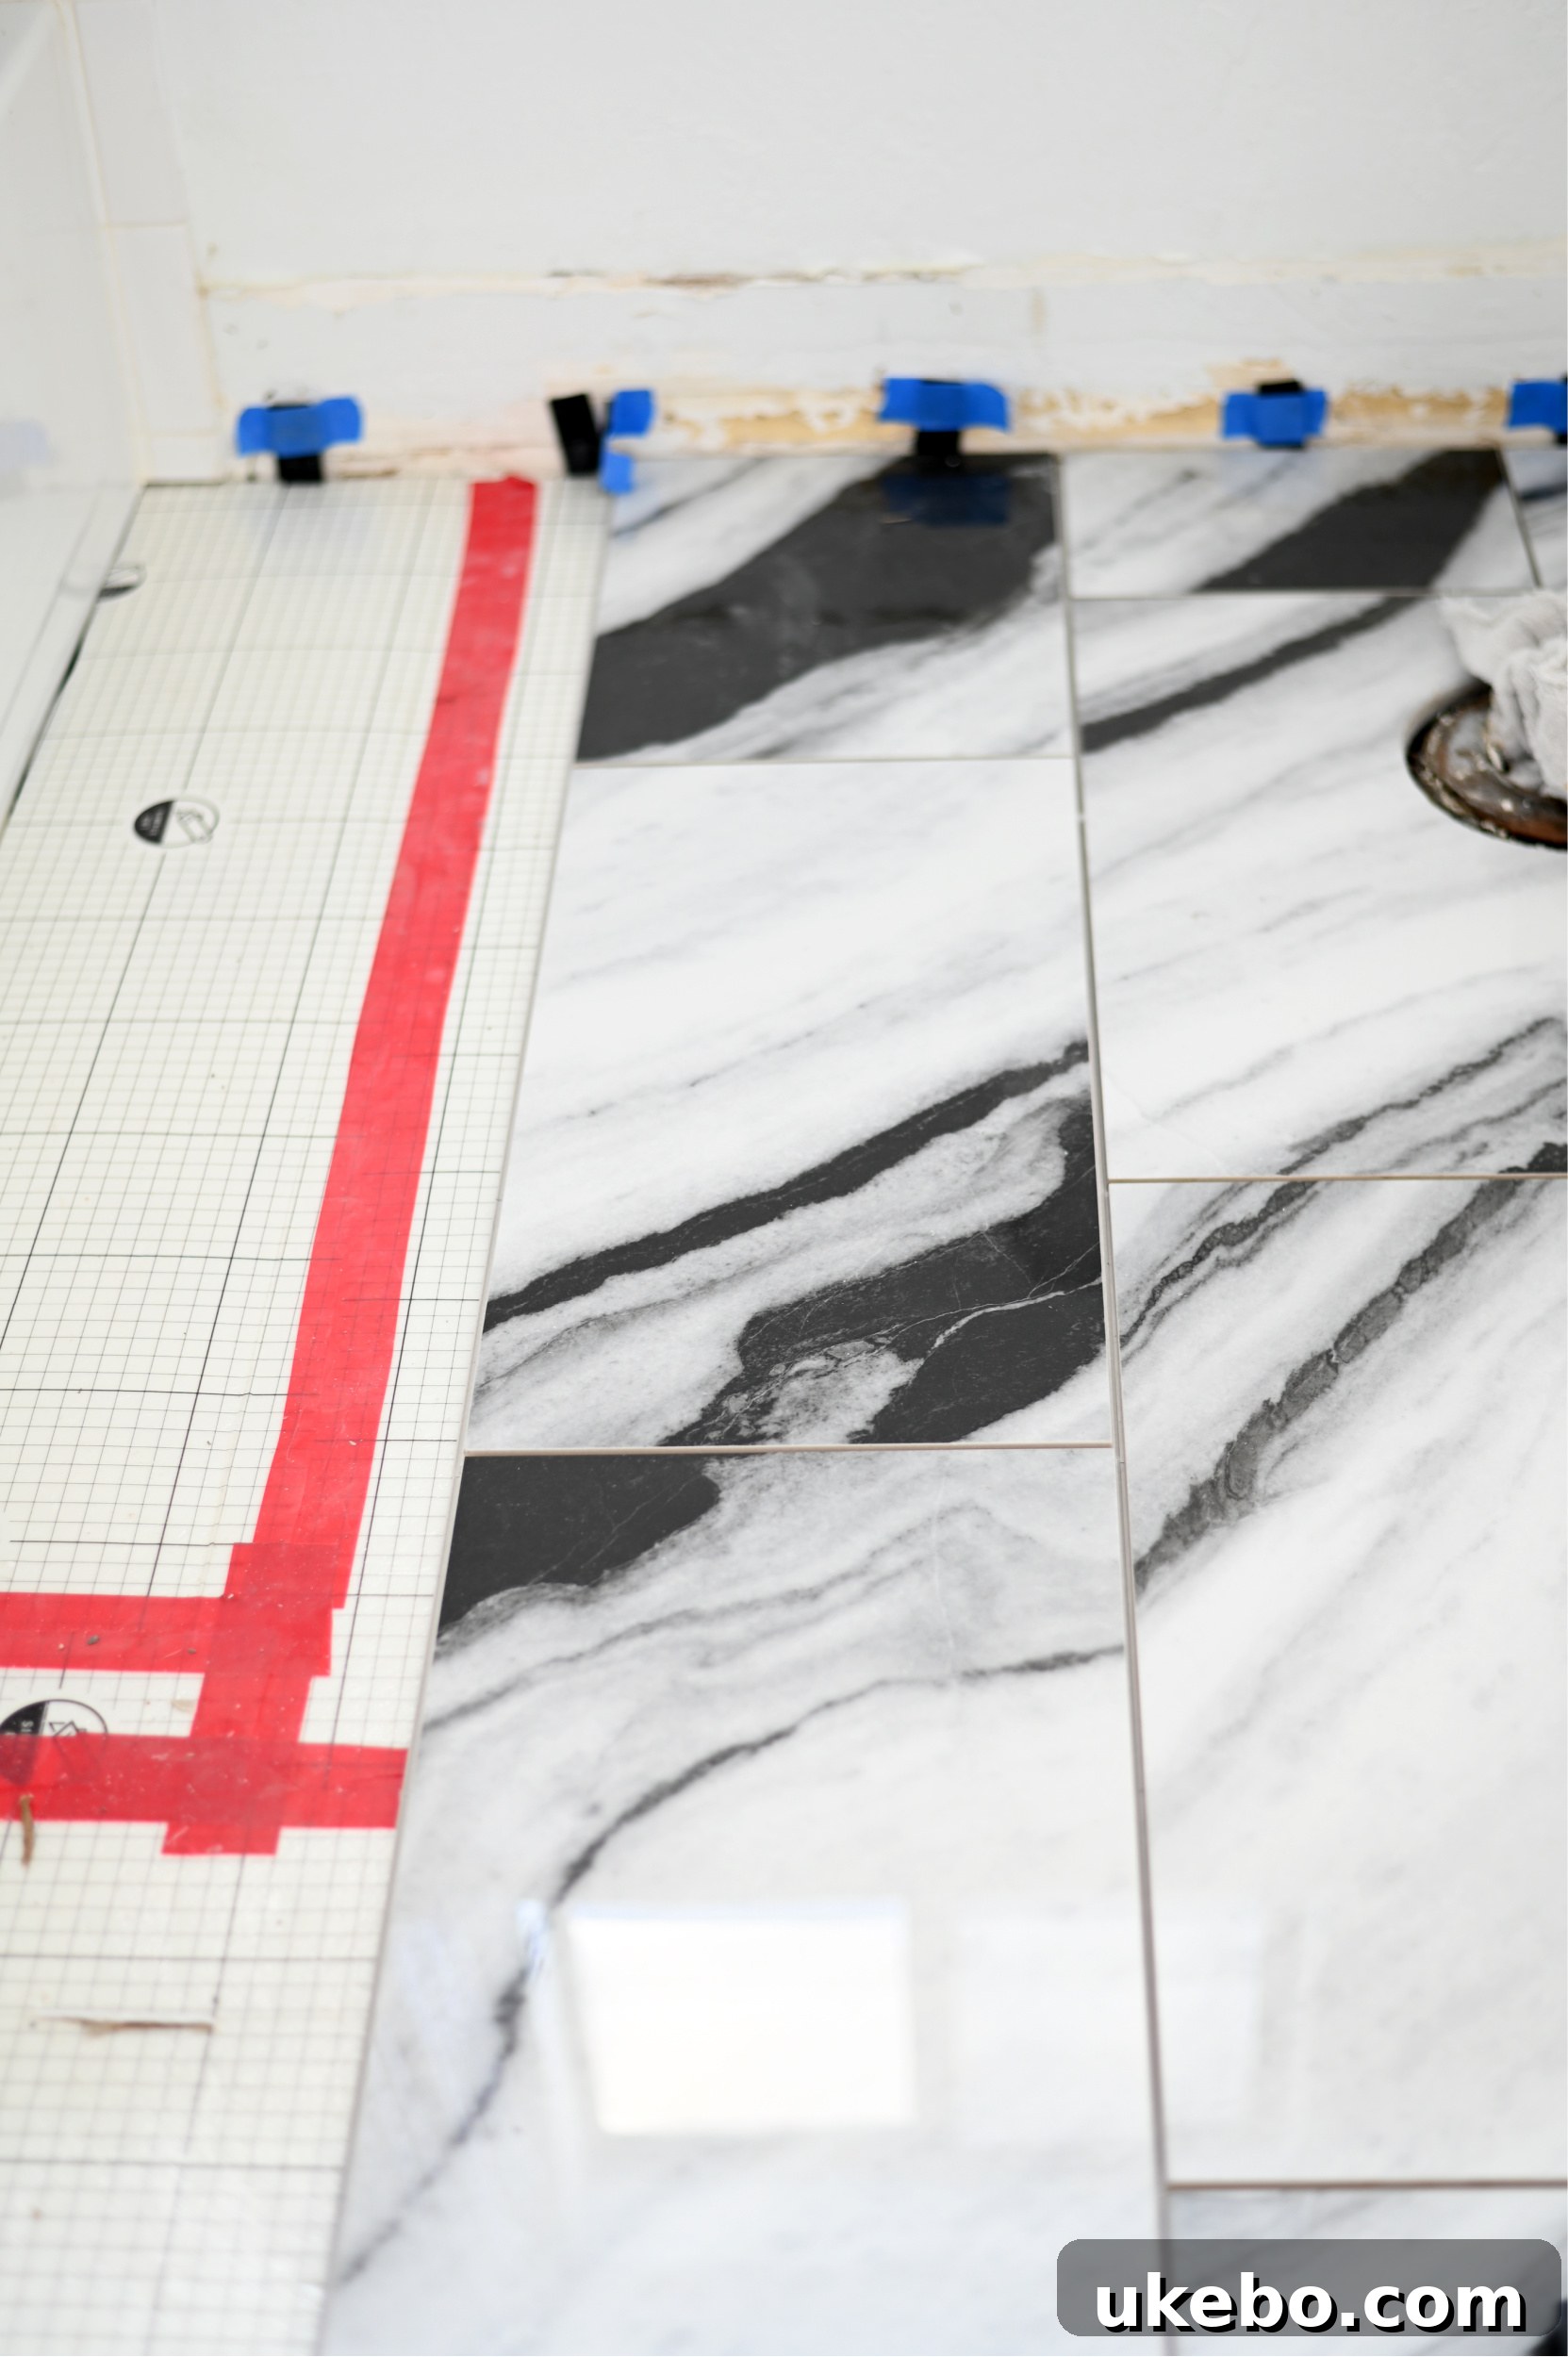
I was absolutely thrilled with how bold and beautiful this QuicTile truly is! The Panda Marble design delivered on its promise, looking incredibly striking and feeling substantial underfoot, immediately elevating the space. Thanks to the compact size of Andrea’s bathroom, I was able to complete the entire tile installation in what felt like no time at all. Once all the tiles were securely in place, it was time for my favorite part of any tiling project: grouting! I know, I know, I might be a bit of an anomaly, but I genuinely enjoy the grouting process. And with the QuicTile system, it was even better because it utilizes a specially formulated premixed, ready-to-use urethane grout. This particular feature is a huge advantage.
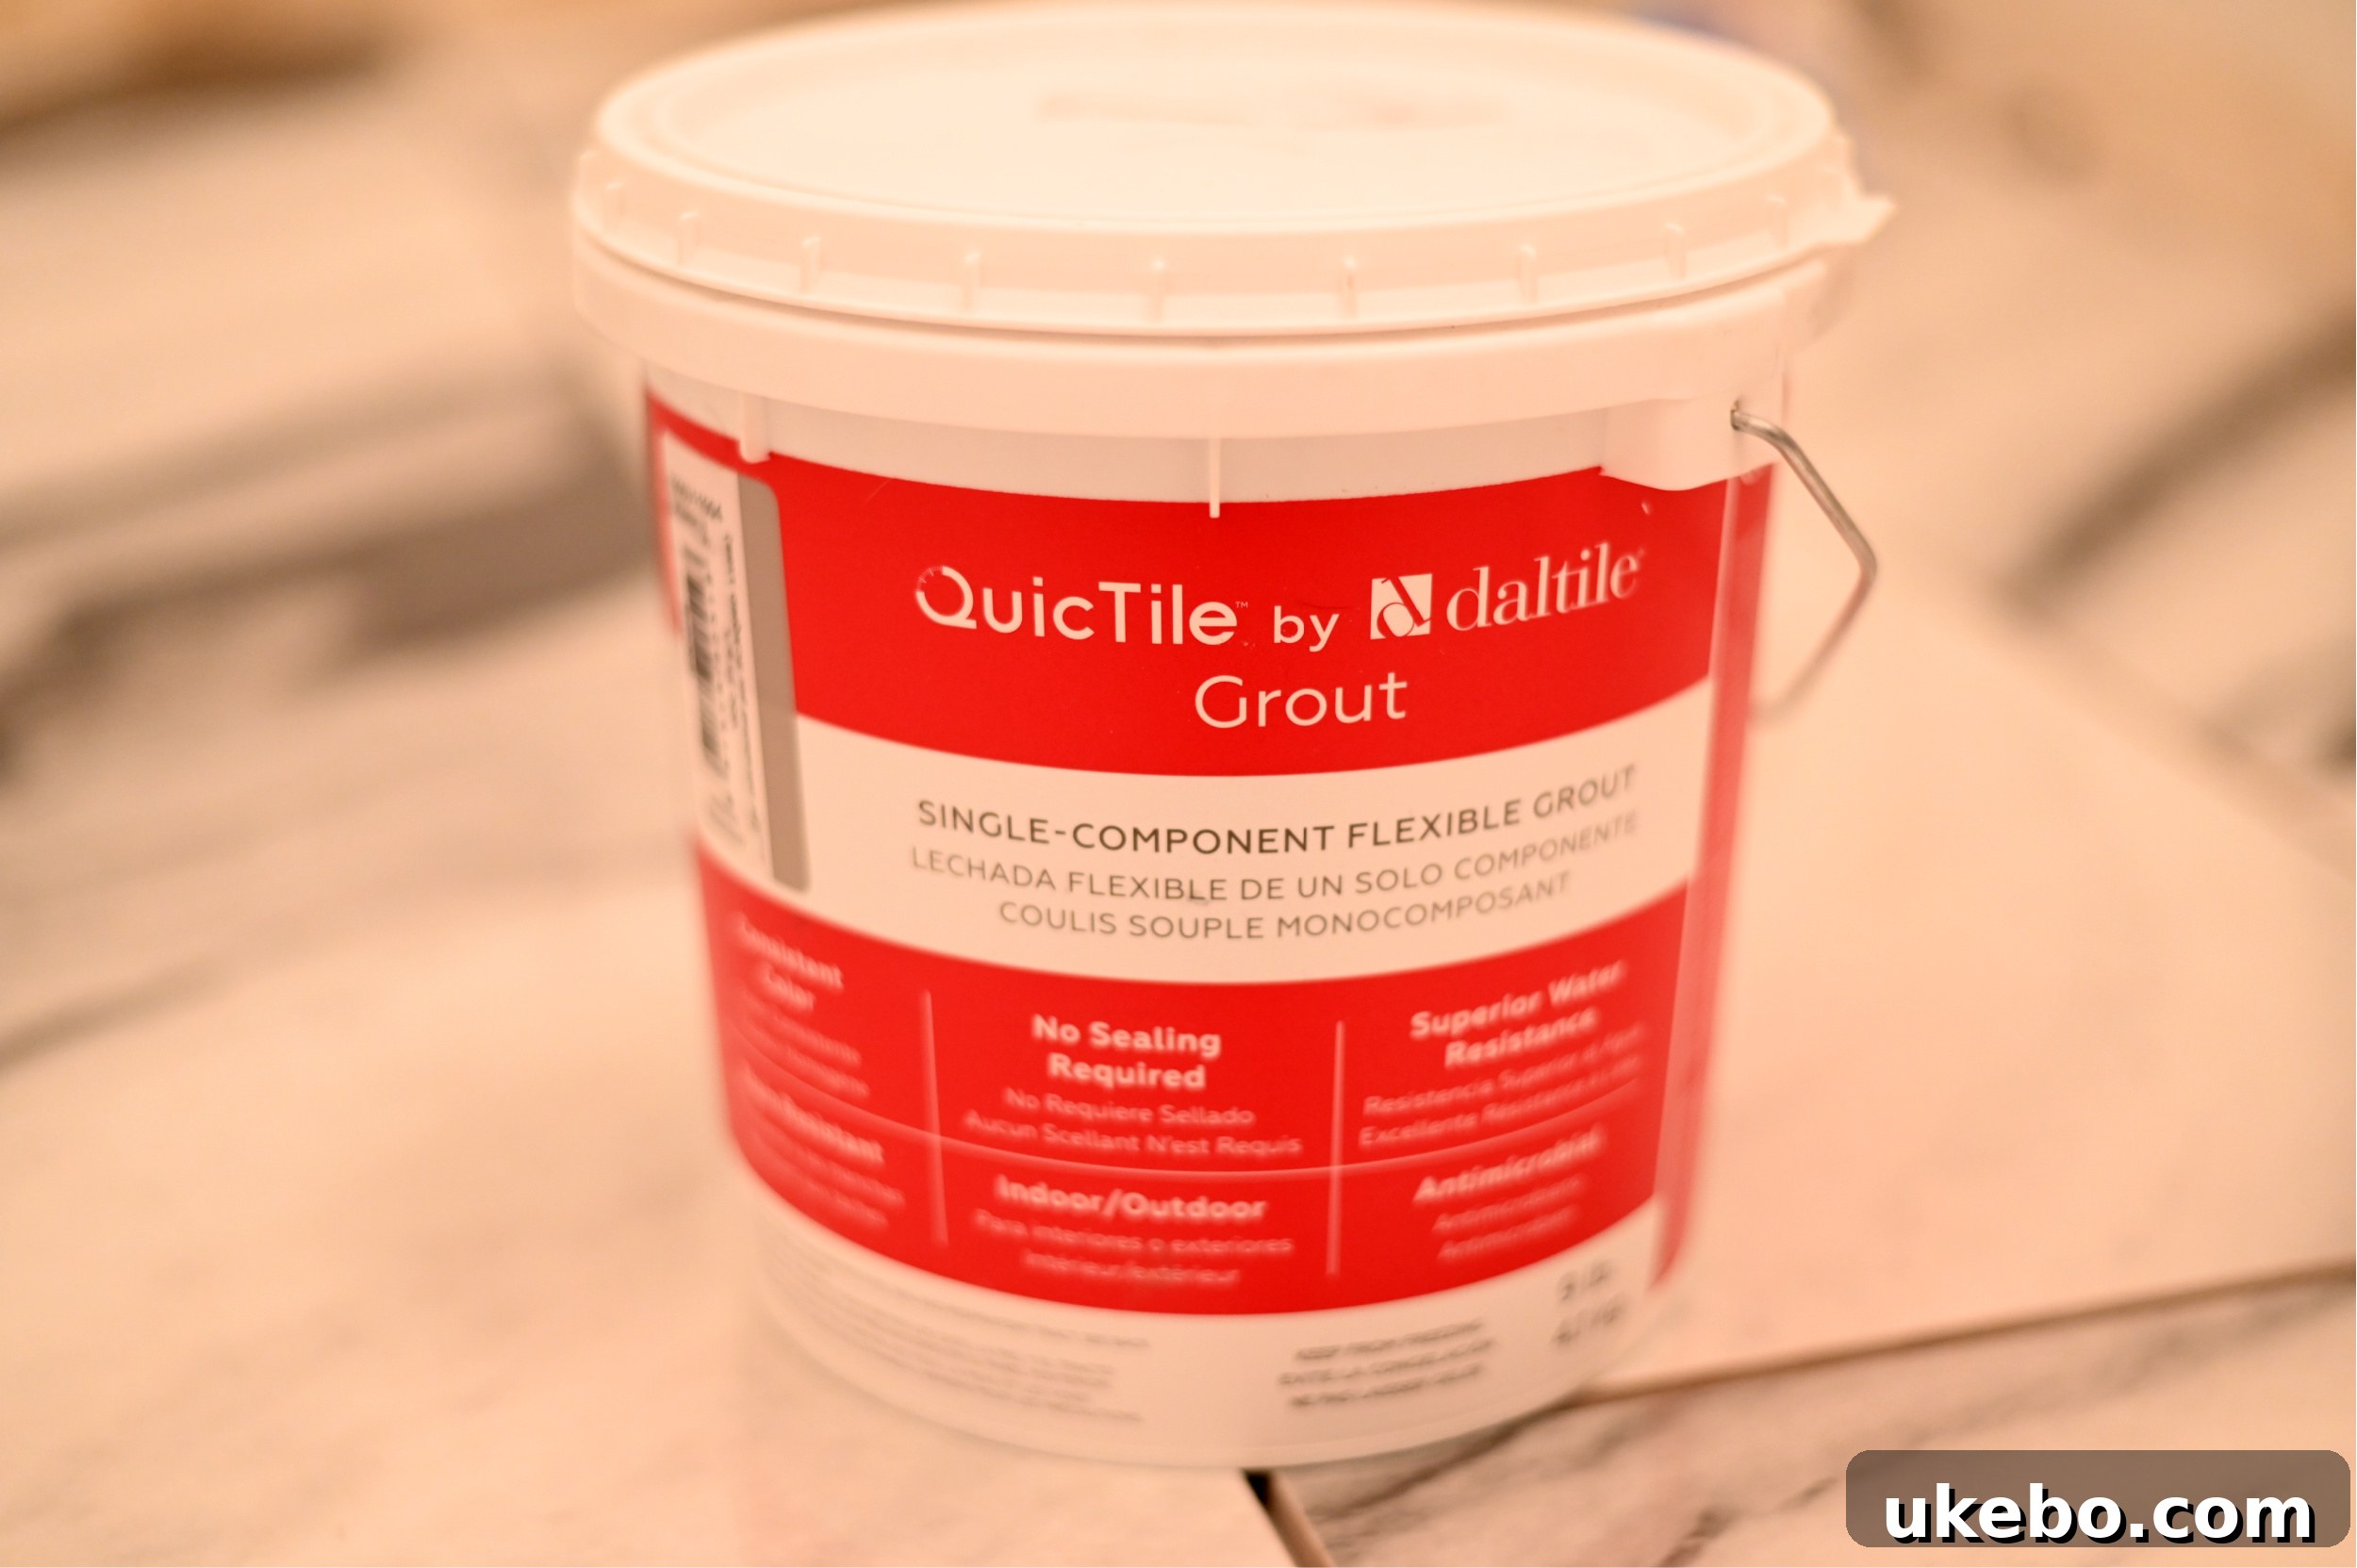
The convenience of premixed grout cannot be overstated. It’s an enormous time-saver, eliminating the need to meticulously measure and mix powder grout with water, which often leads to inconsistent batches and frustrating lumps. This alone makes the QuicTile system incredibly appealing for beginners or anyone operating under tight time constraints. The grout was incredibly easy to apply, spreading smoothly and evenly across the tile joints. What truly impressed me, however, was the cleanup process. Unlike traditional grouting, which can be notoriously messy with slurry and multiple rinses, the cleanup with QuicTile’s premixed grout was significantly less involved. There was a remarkable reduction in mess and effort, further contributing to the overall speed and efficiency of the project. This streamlined process truly reinforces QuicTile’s promise of making tiling accessible and enjoyable for everyone.
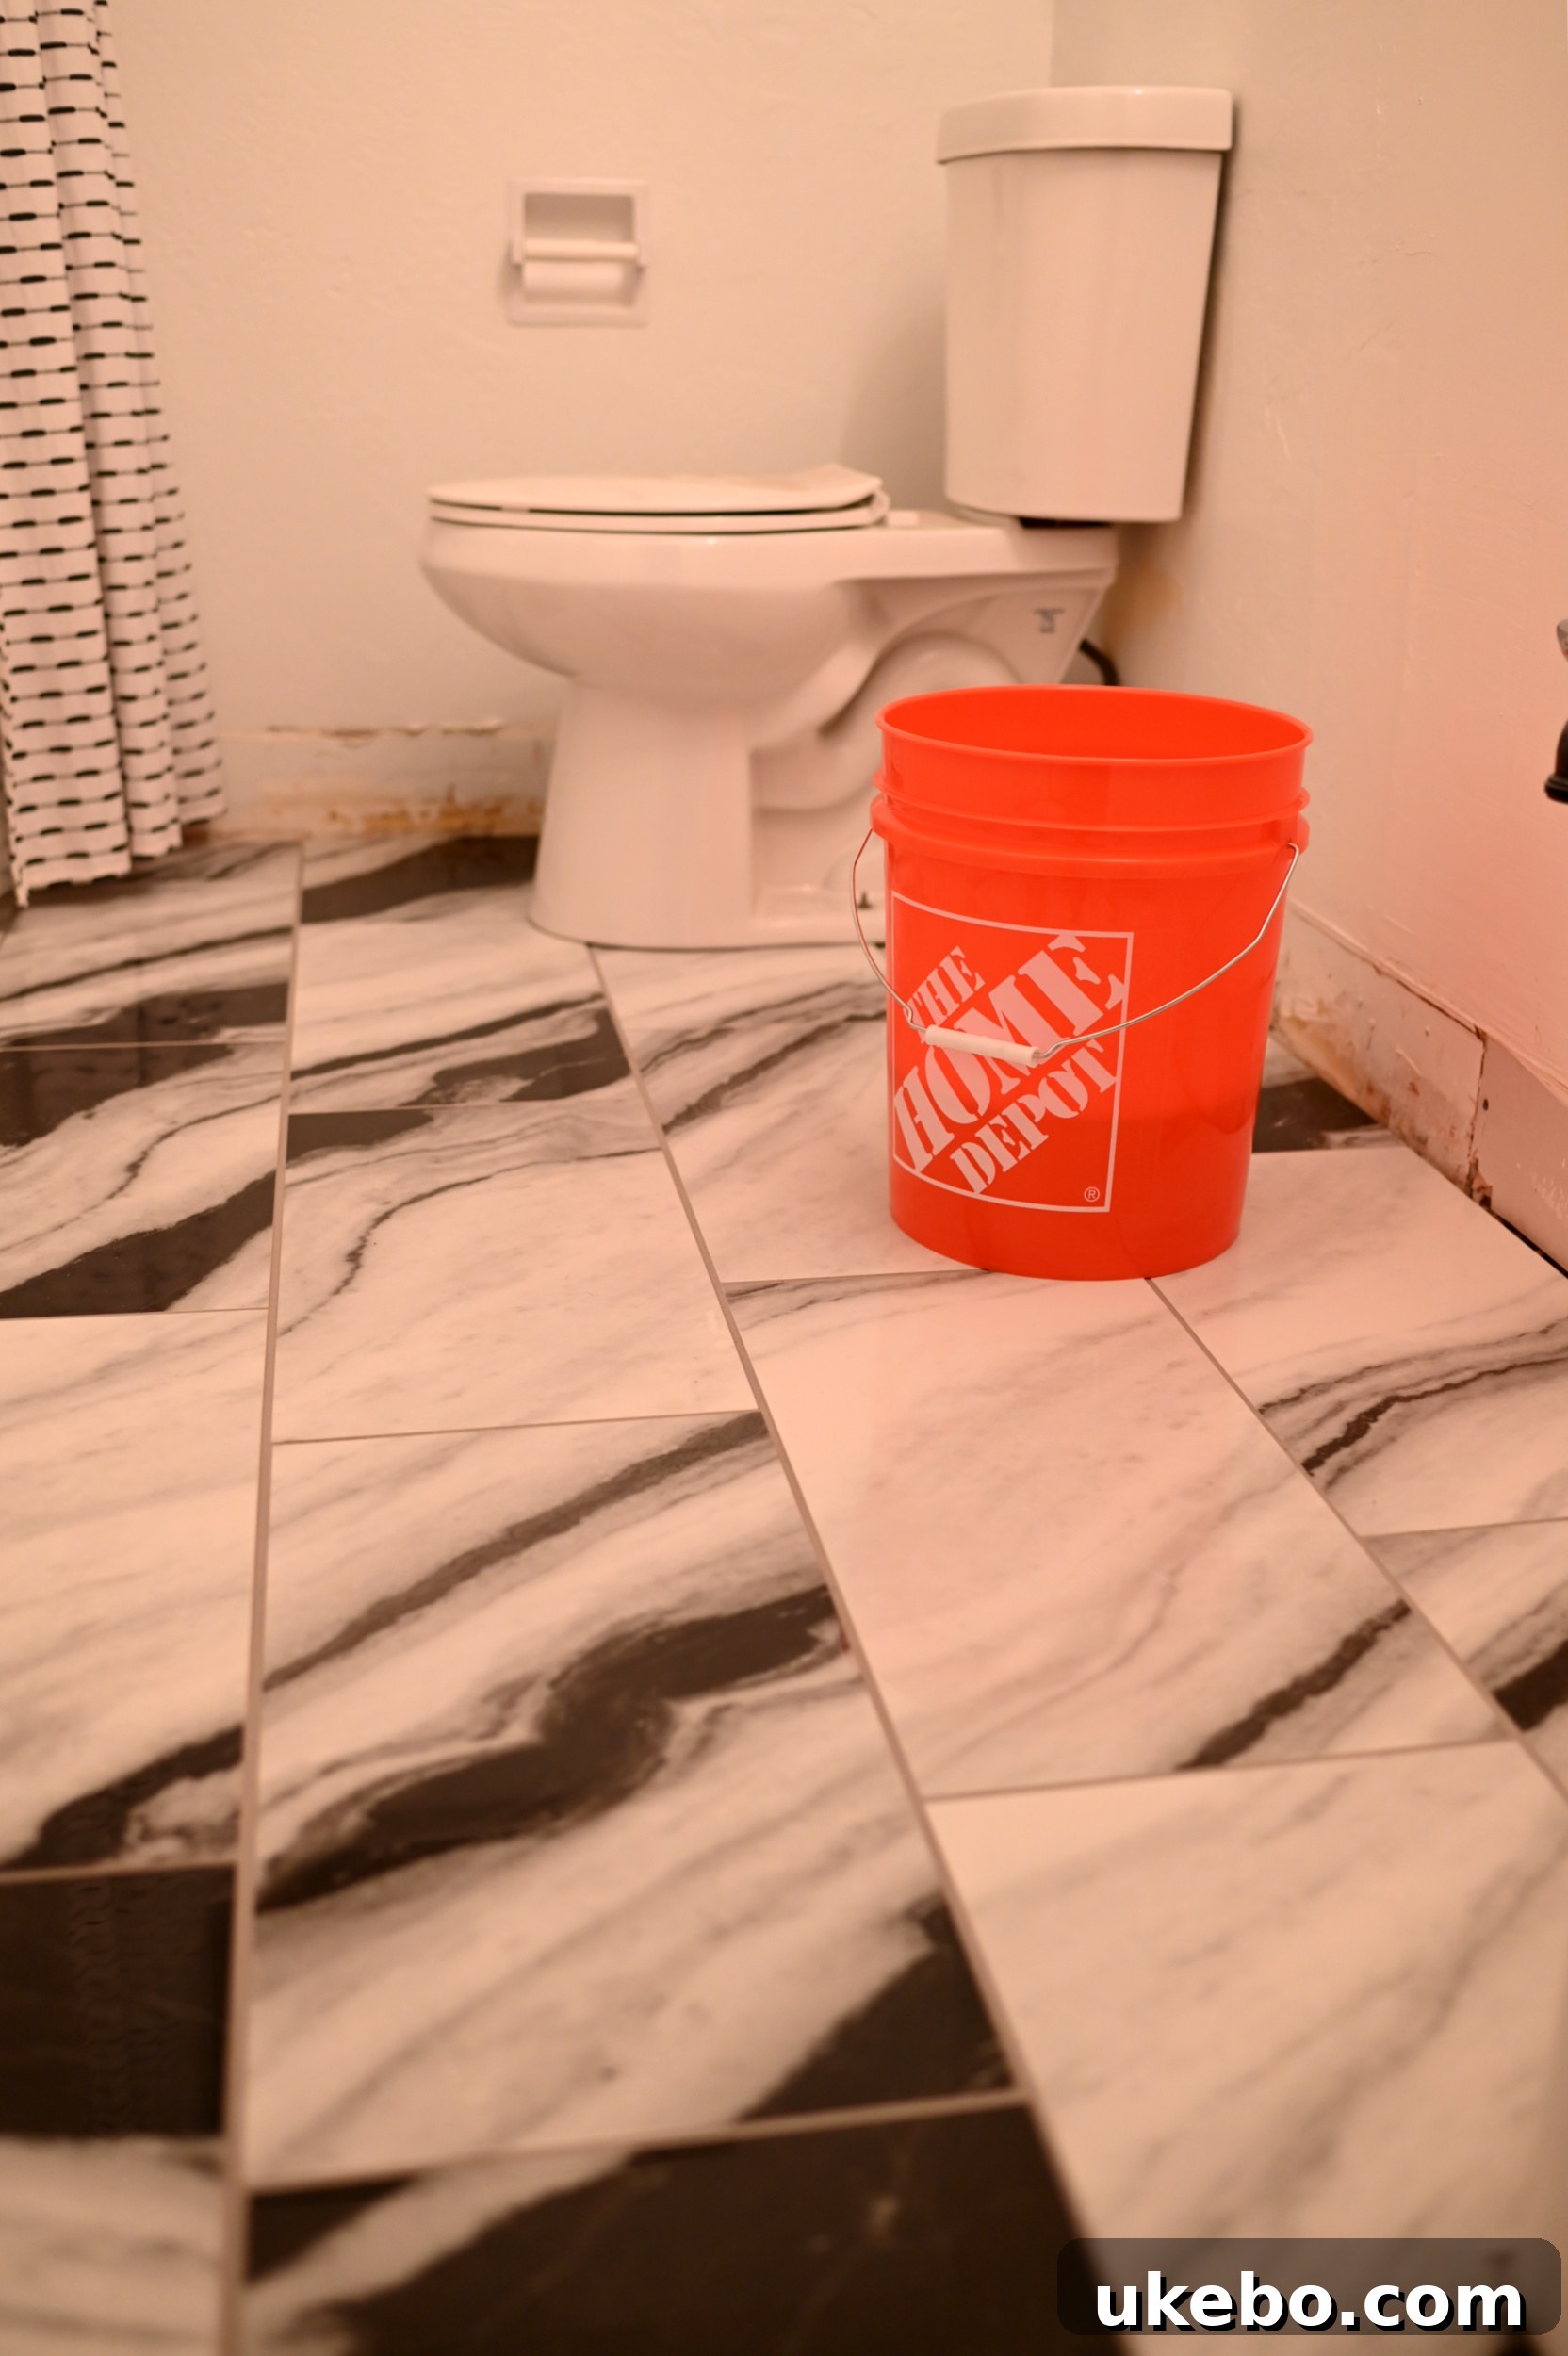
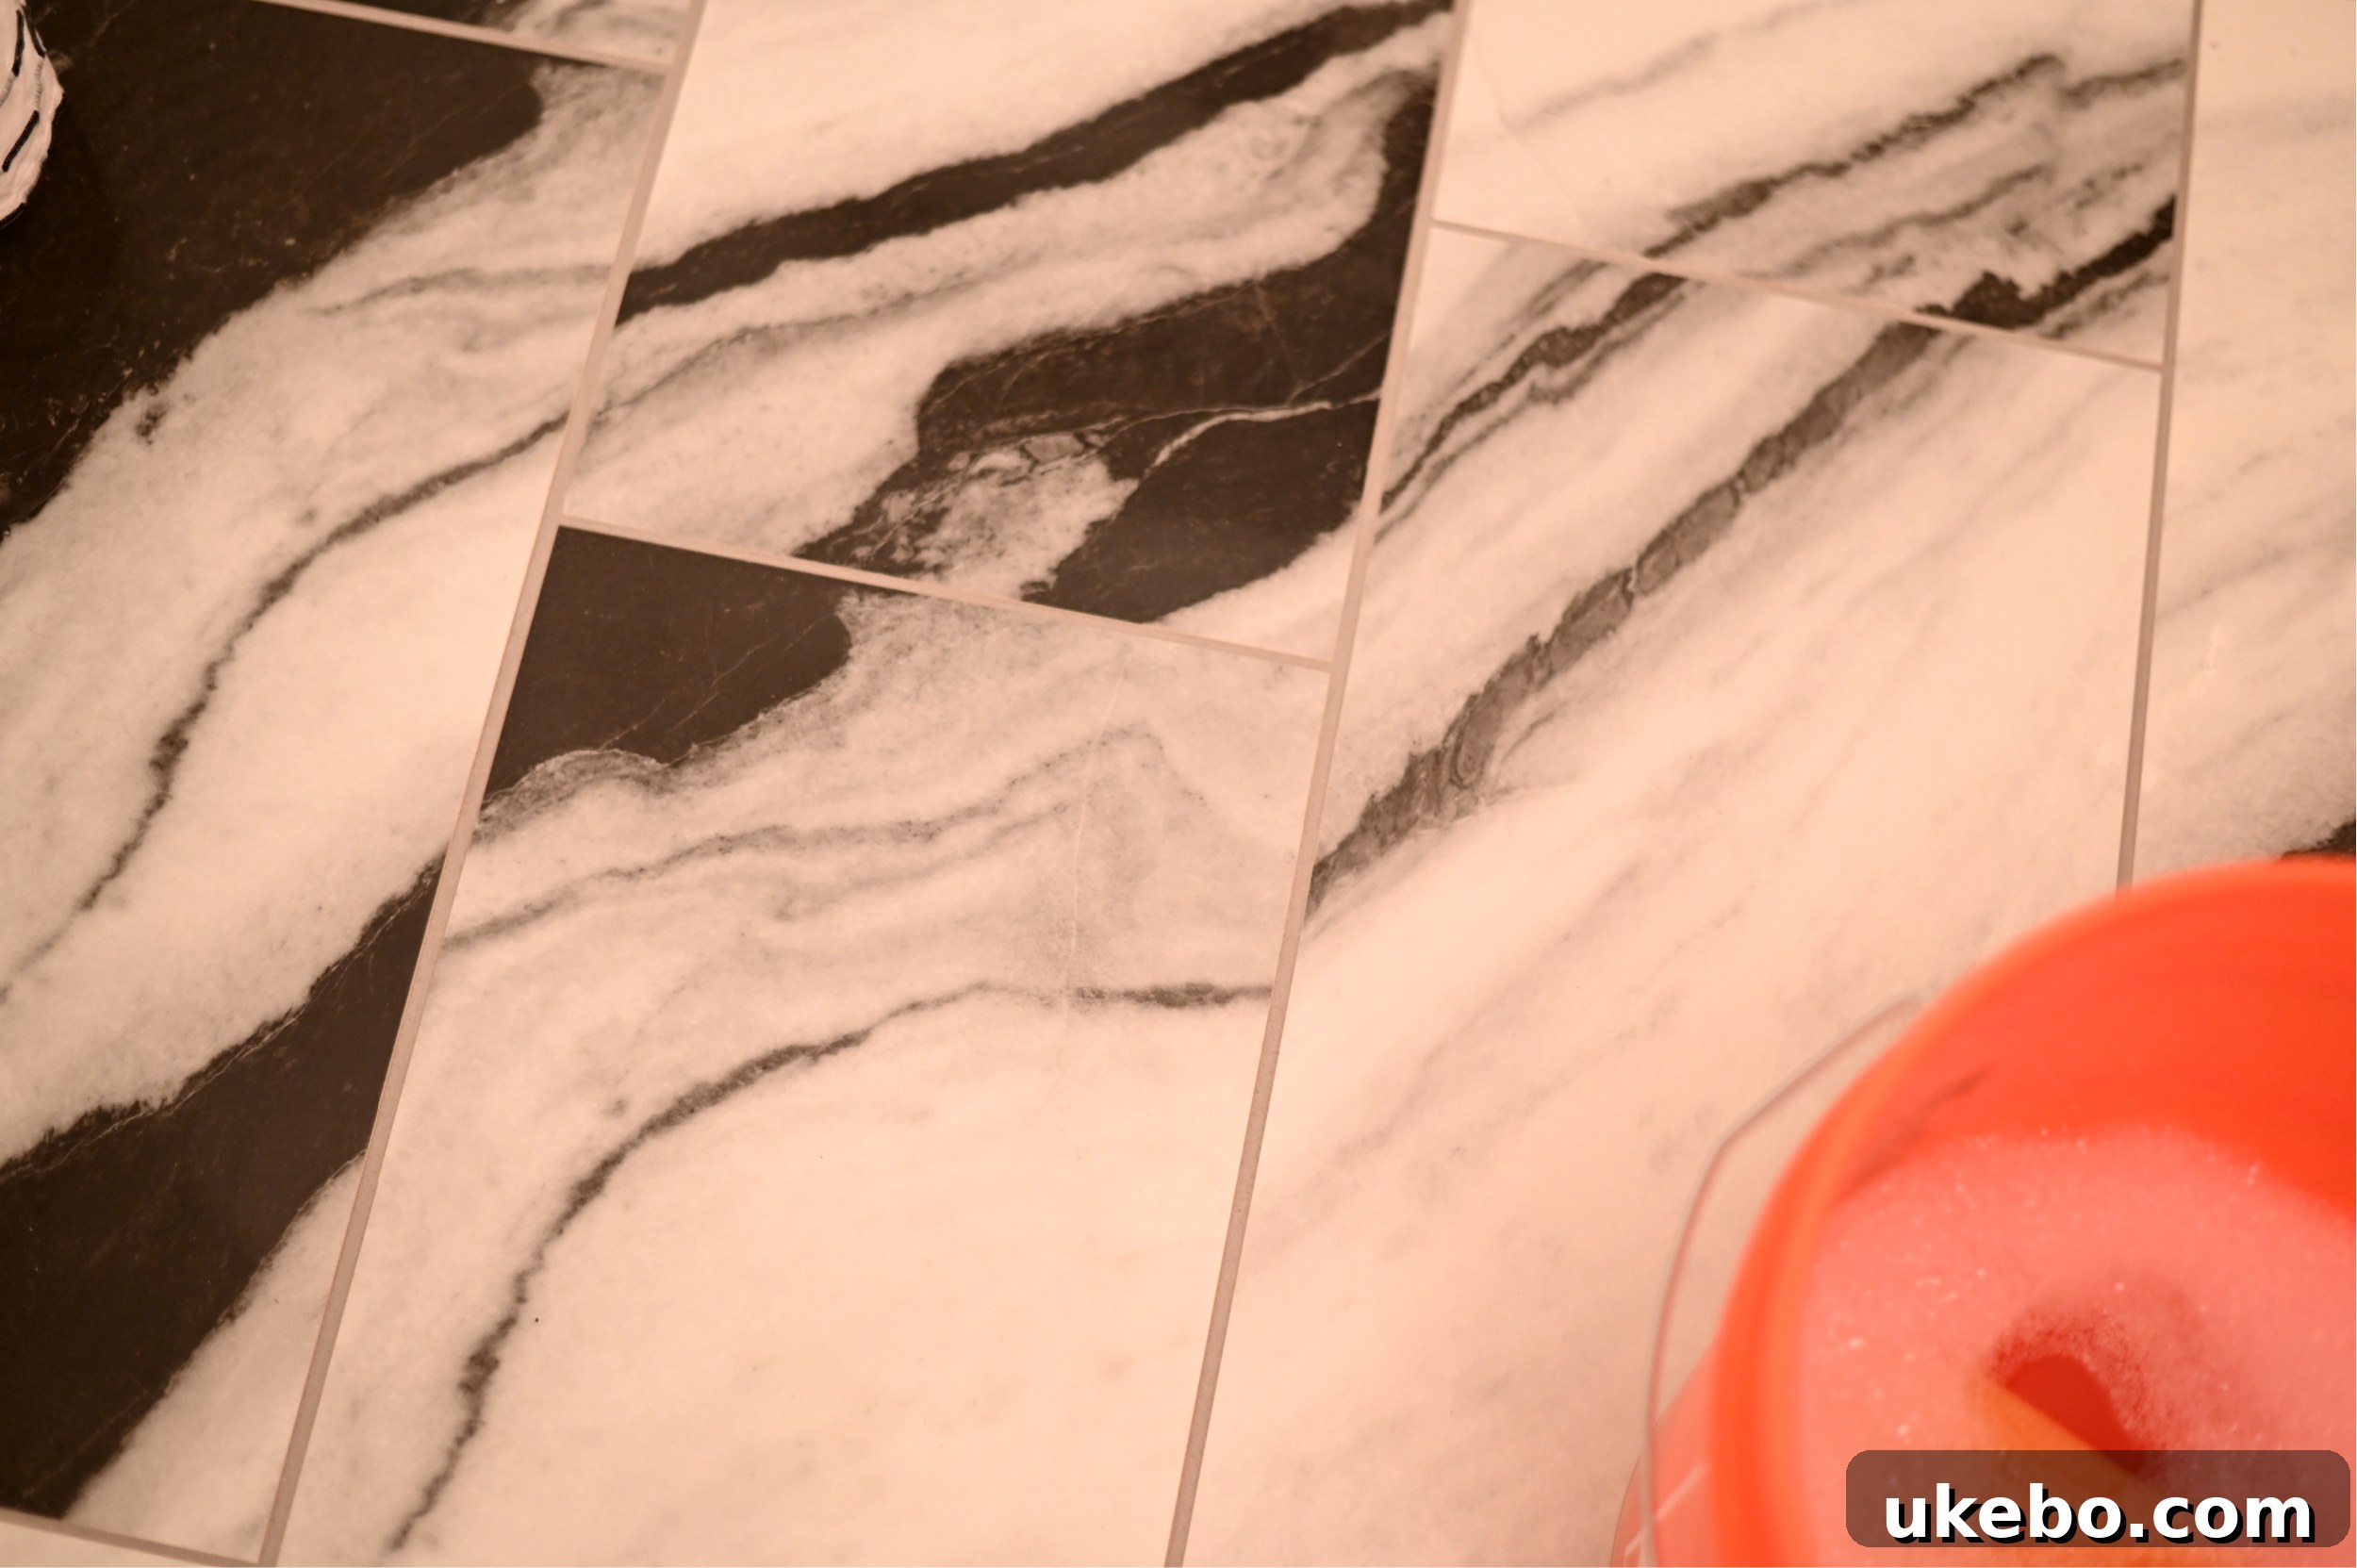
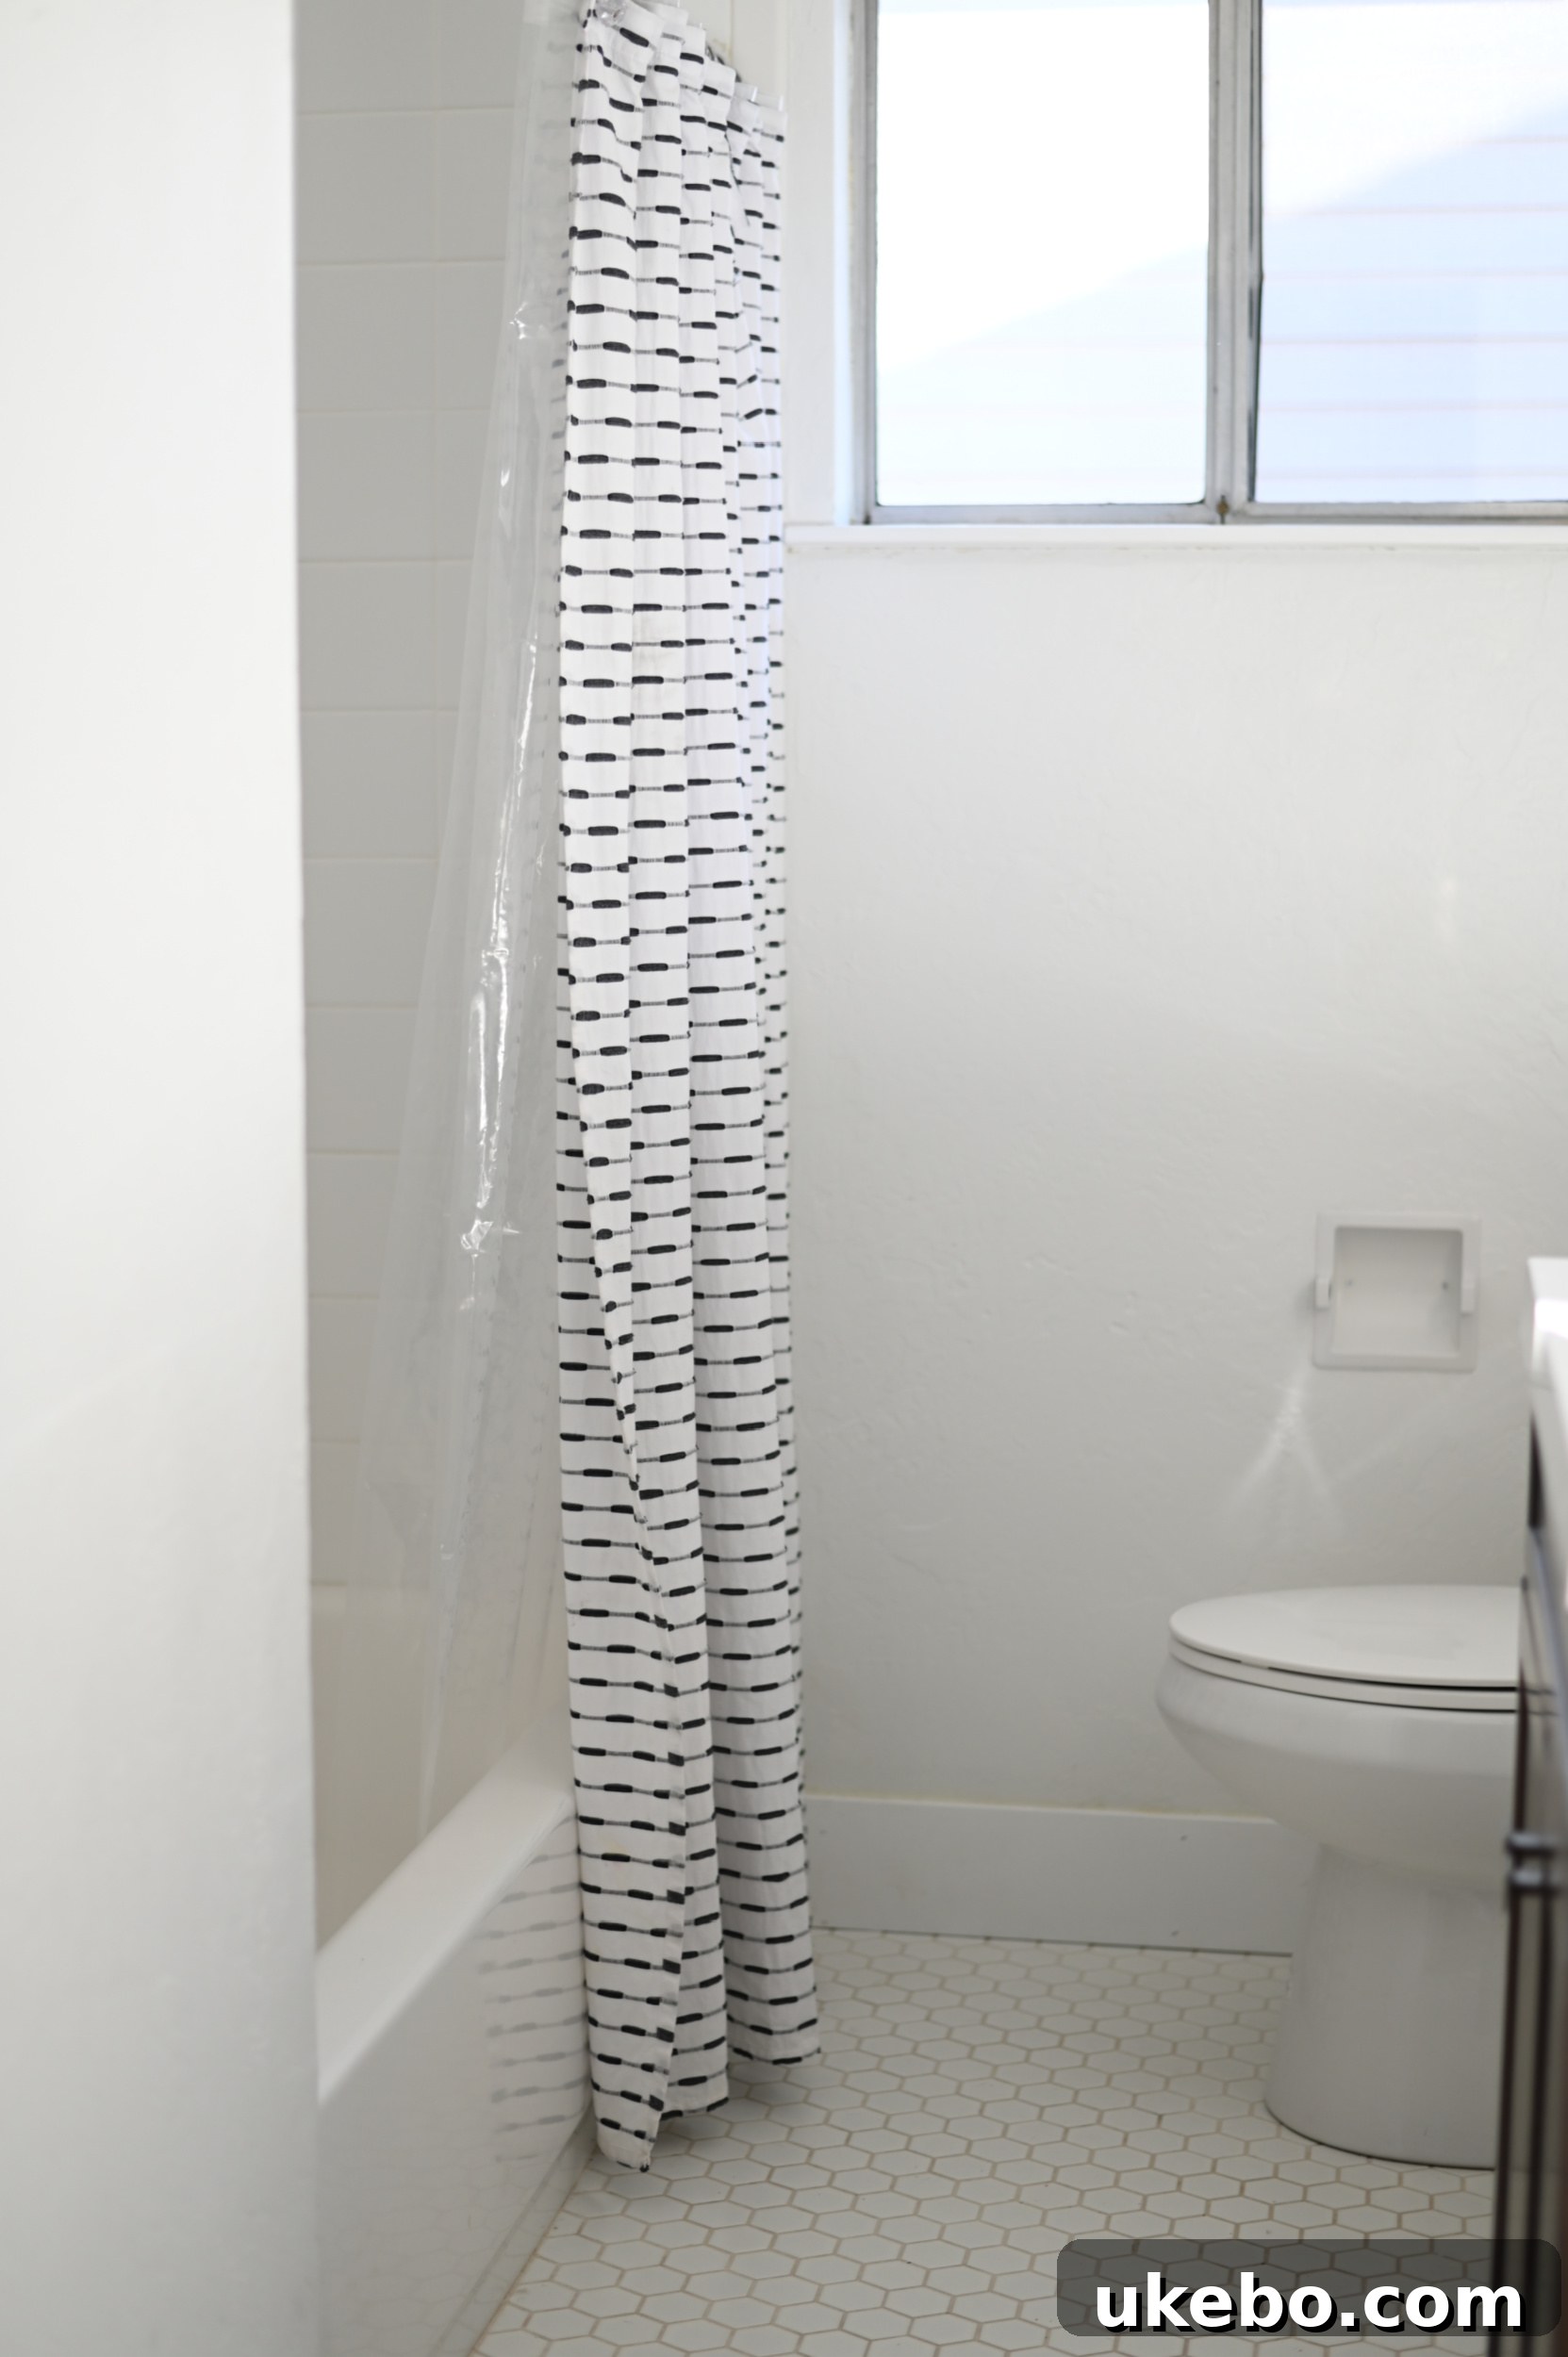
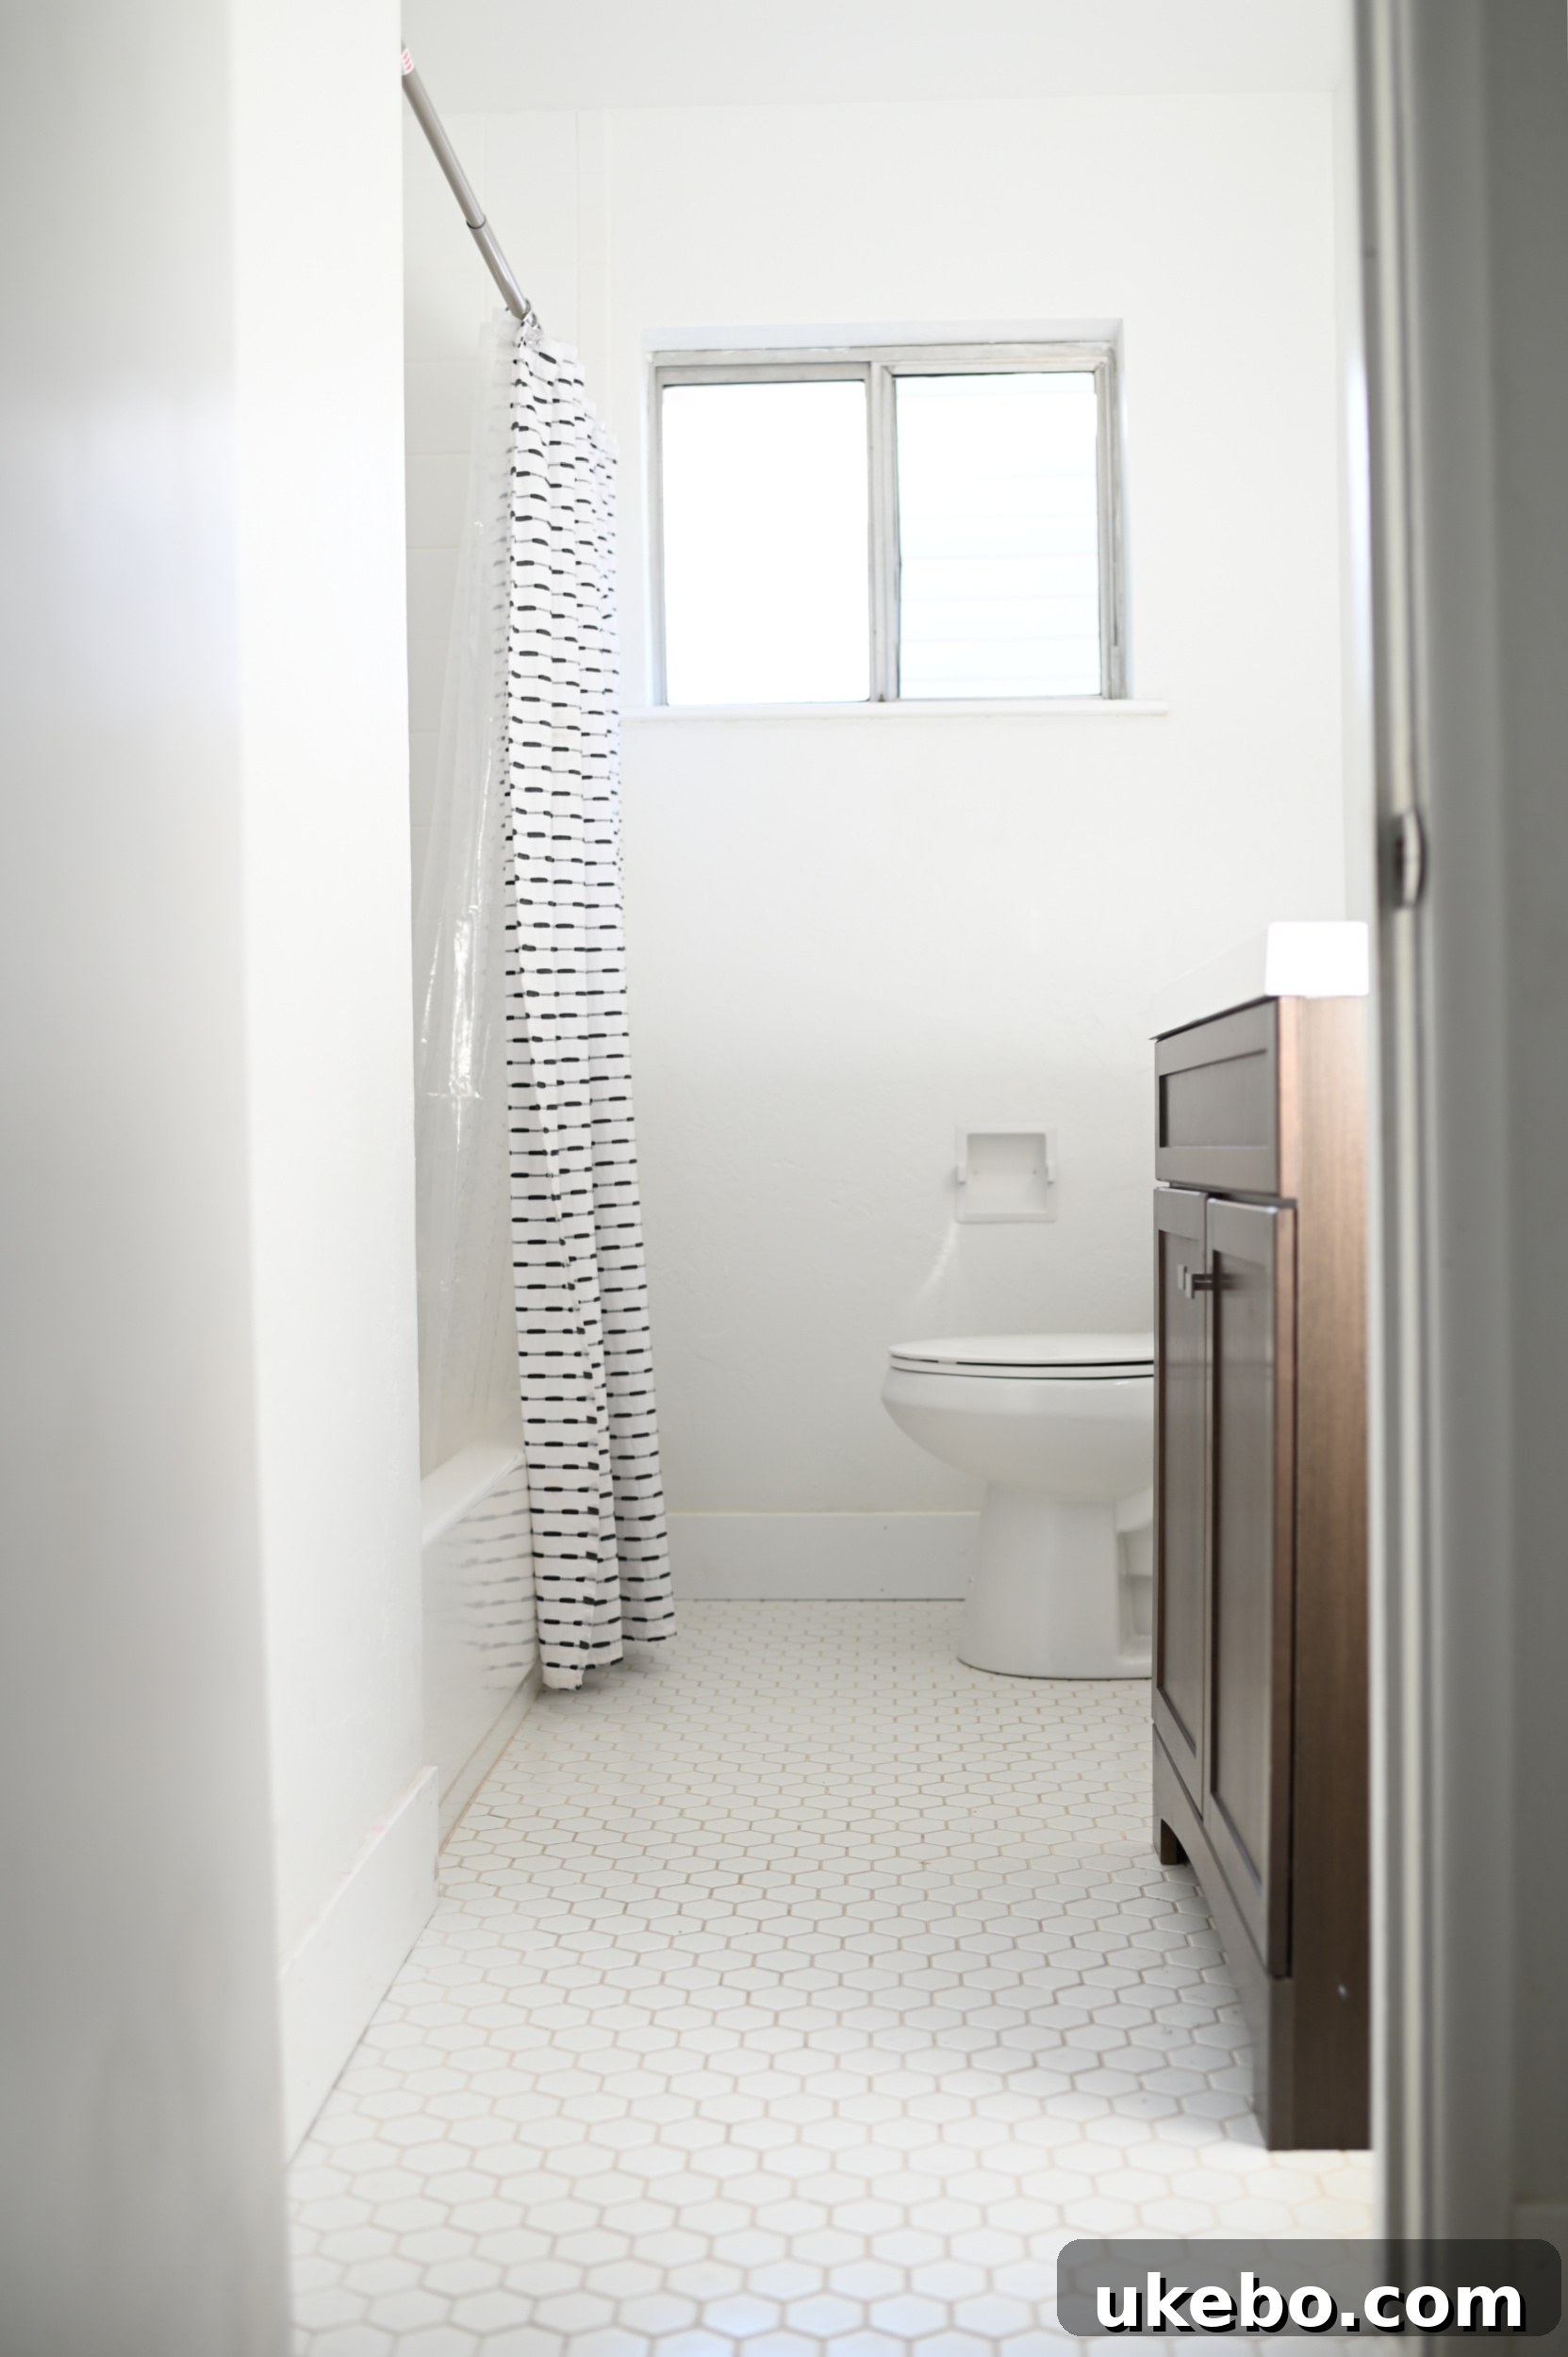
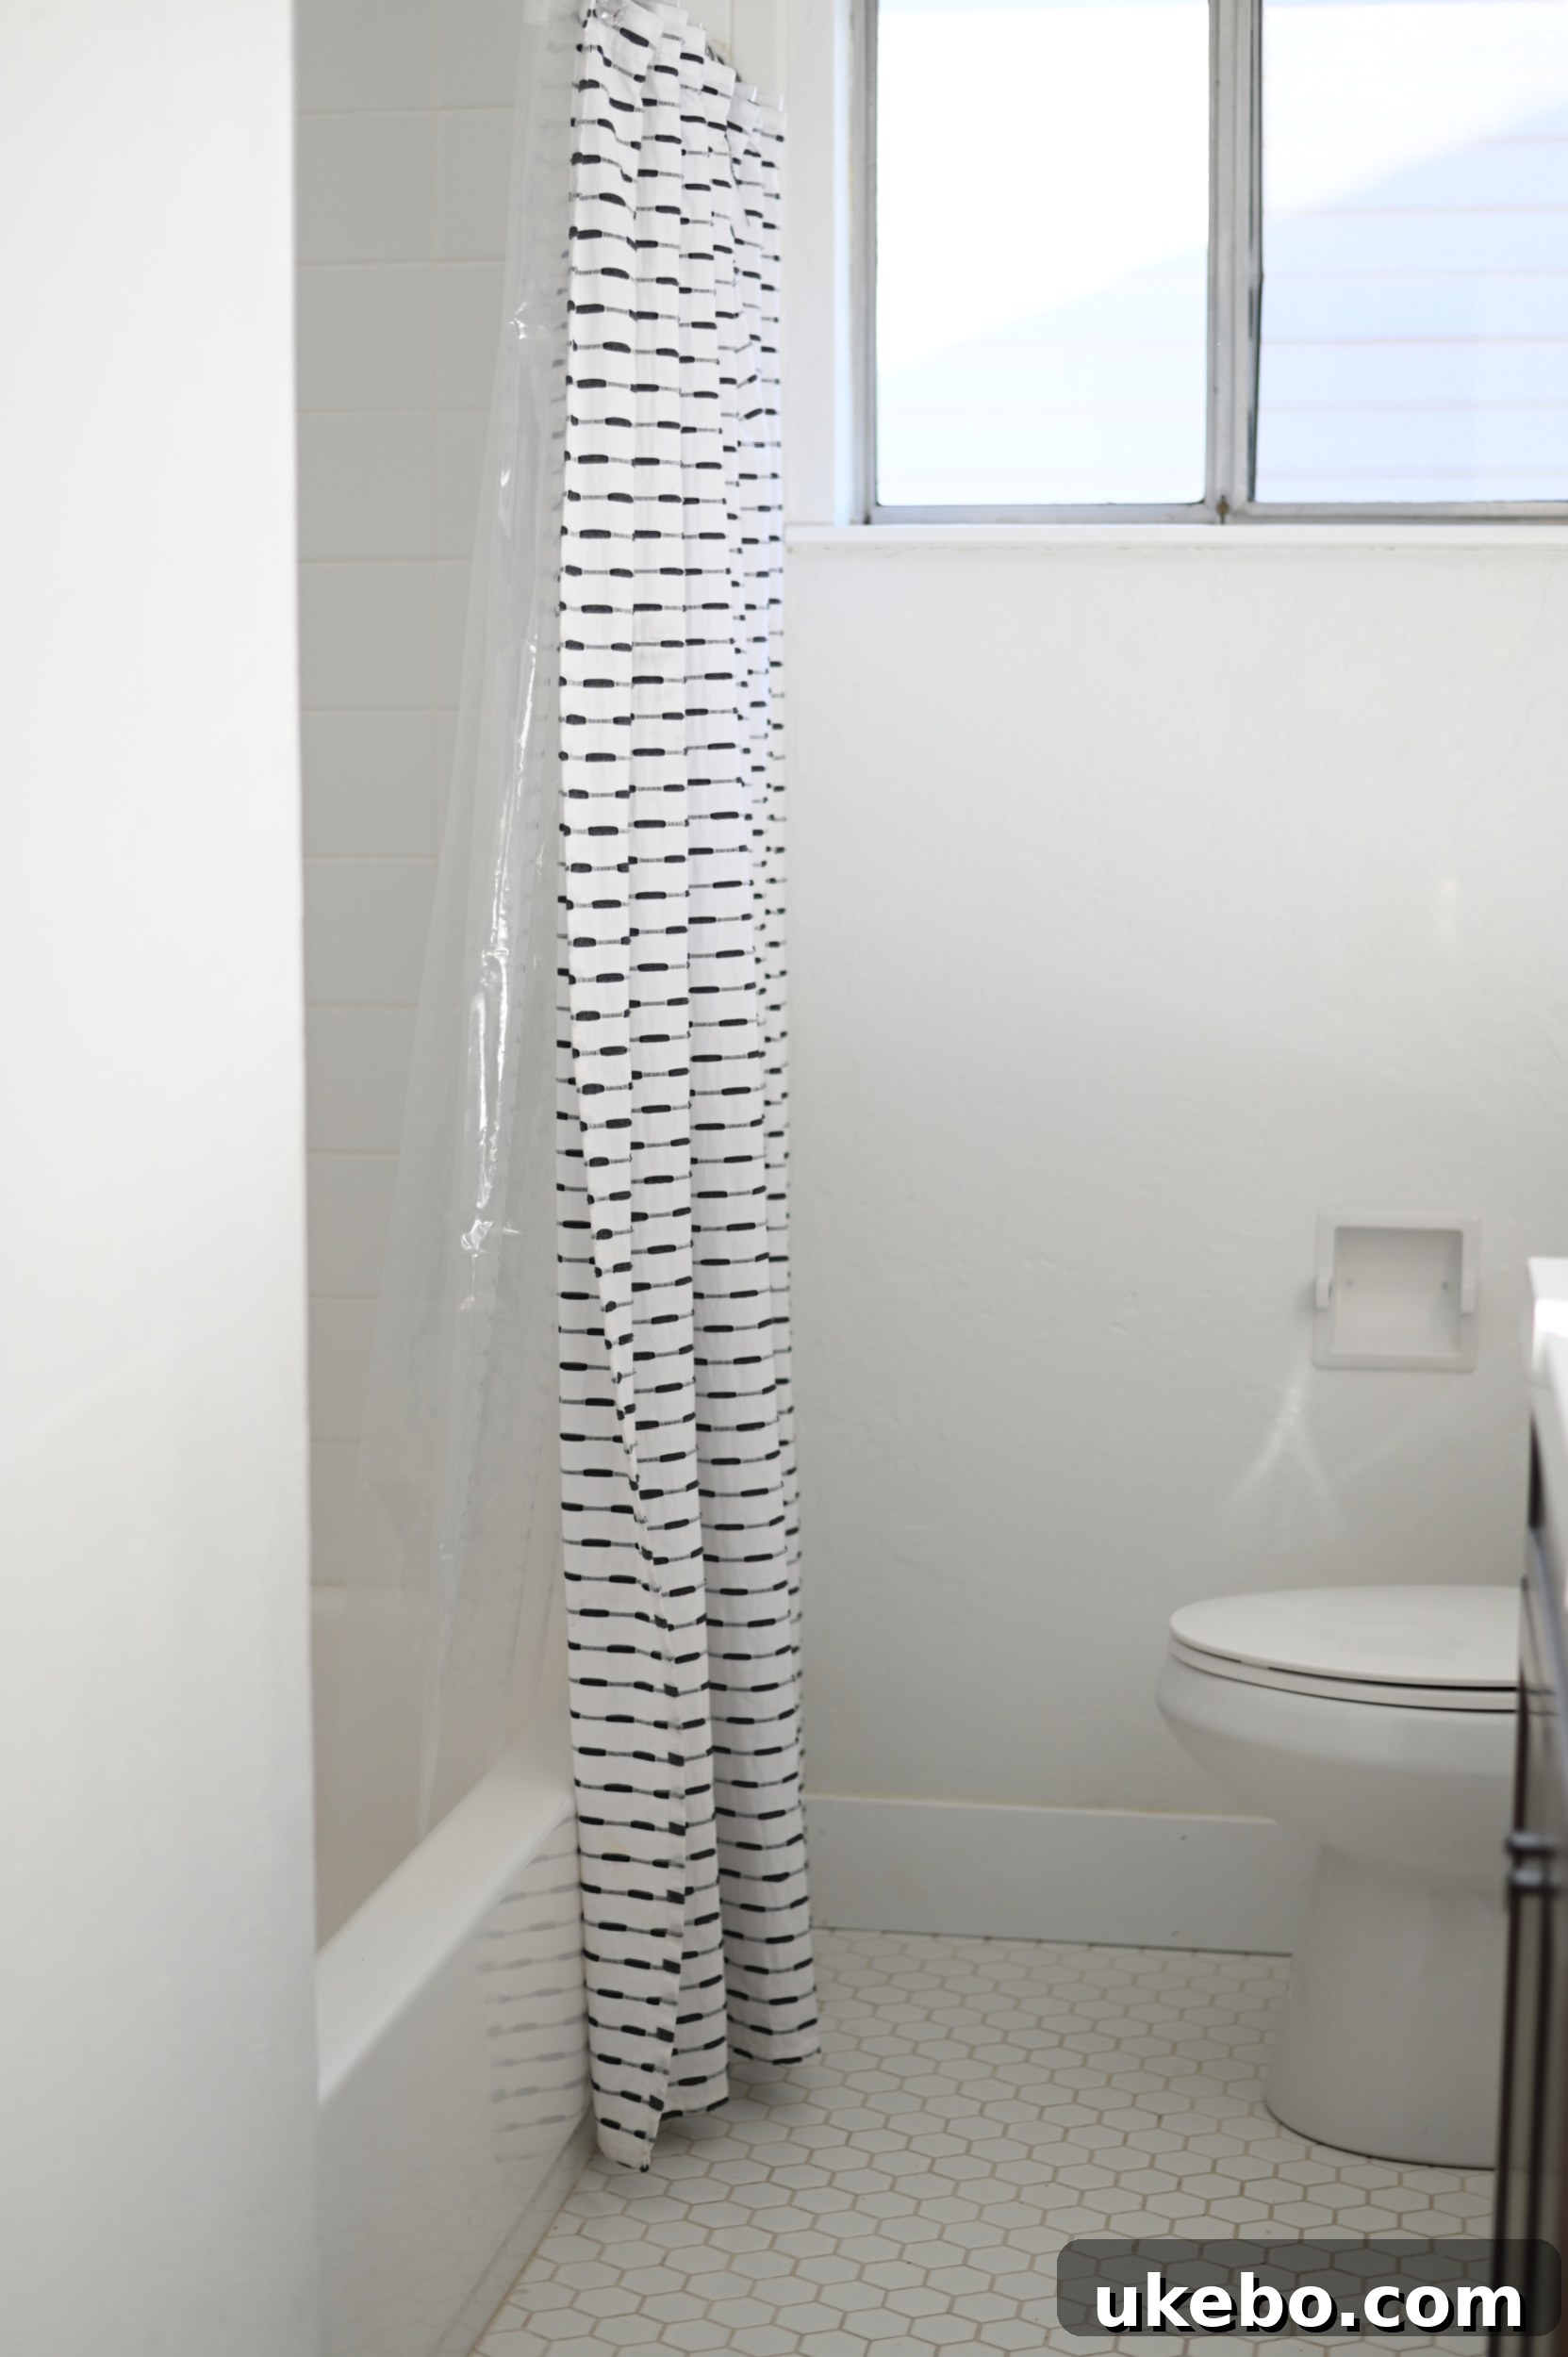
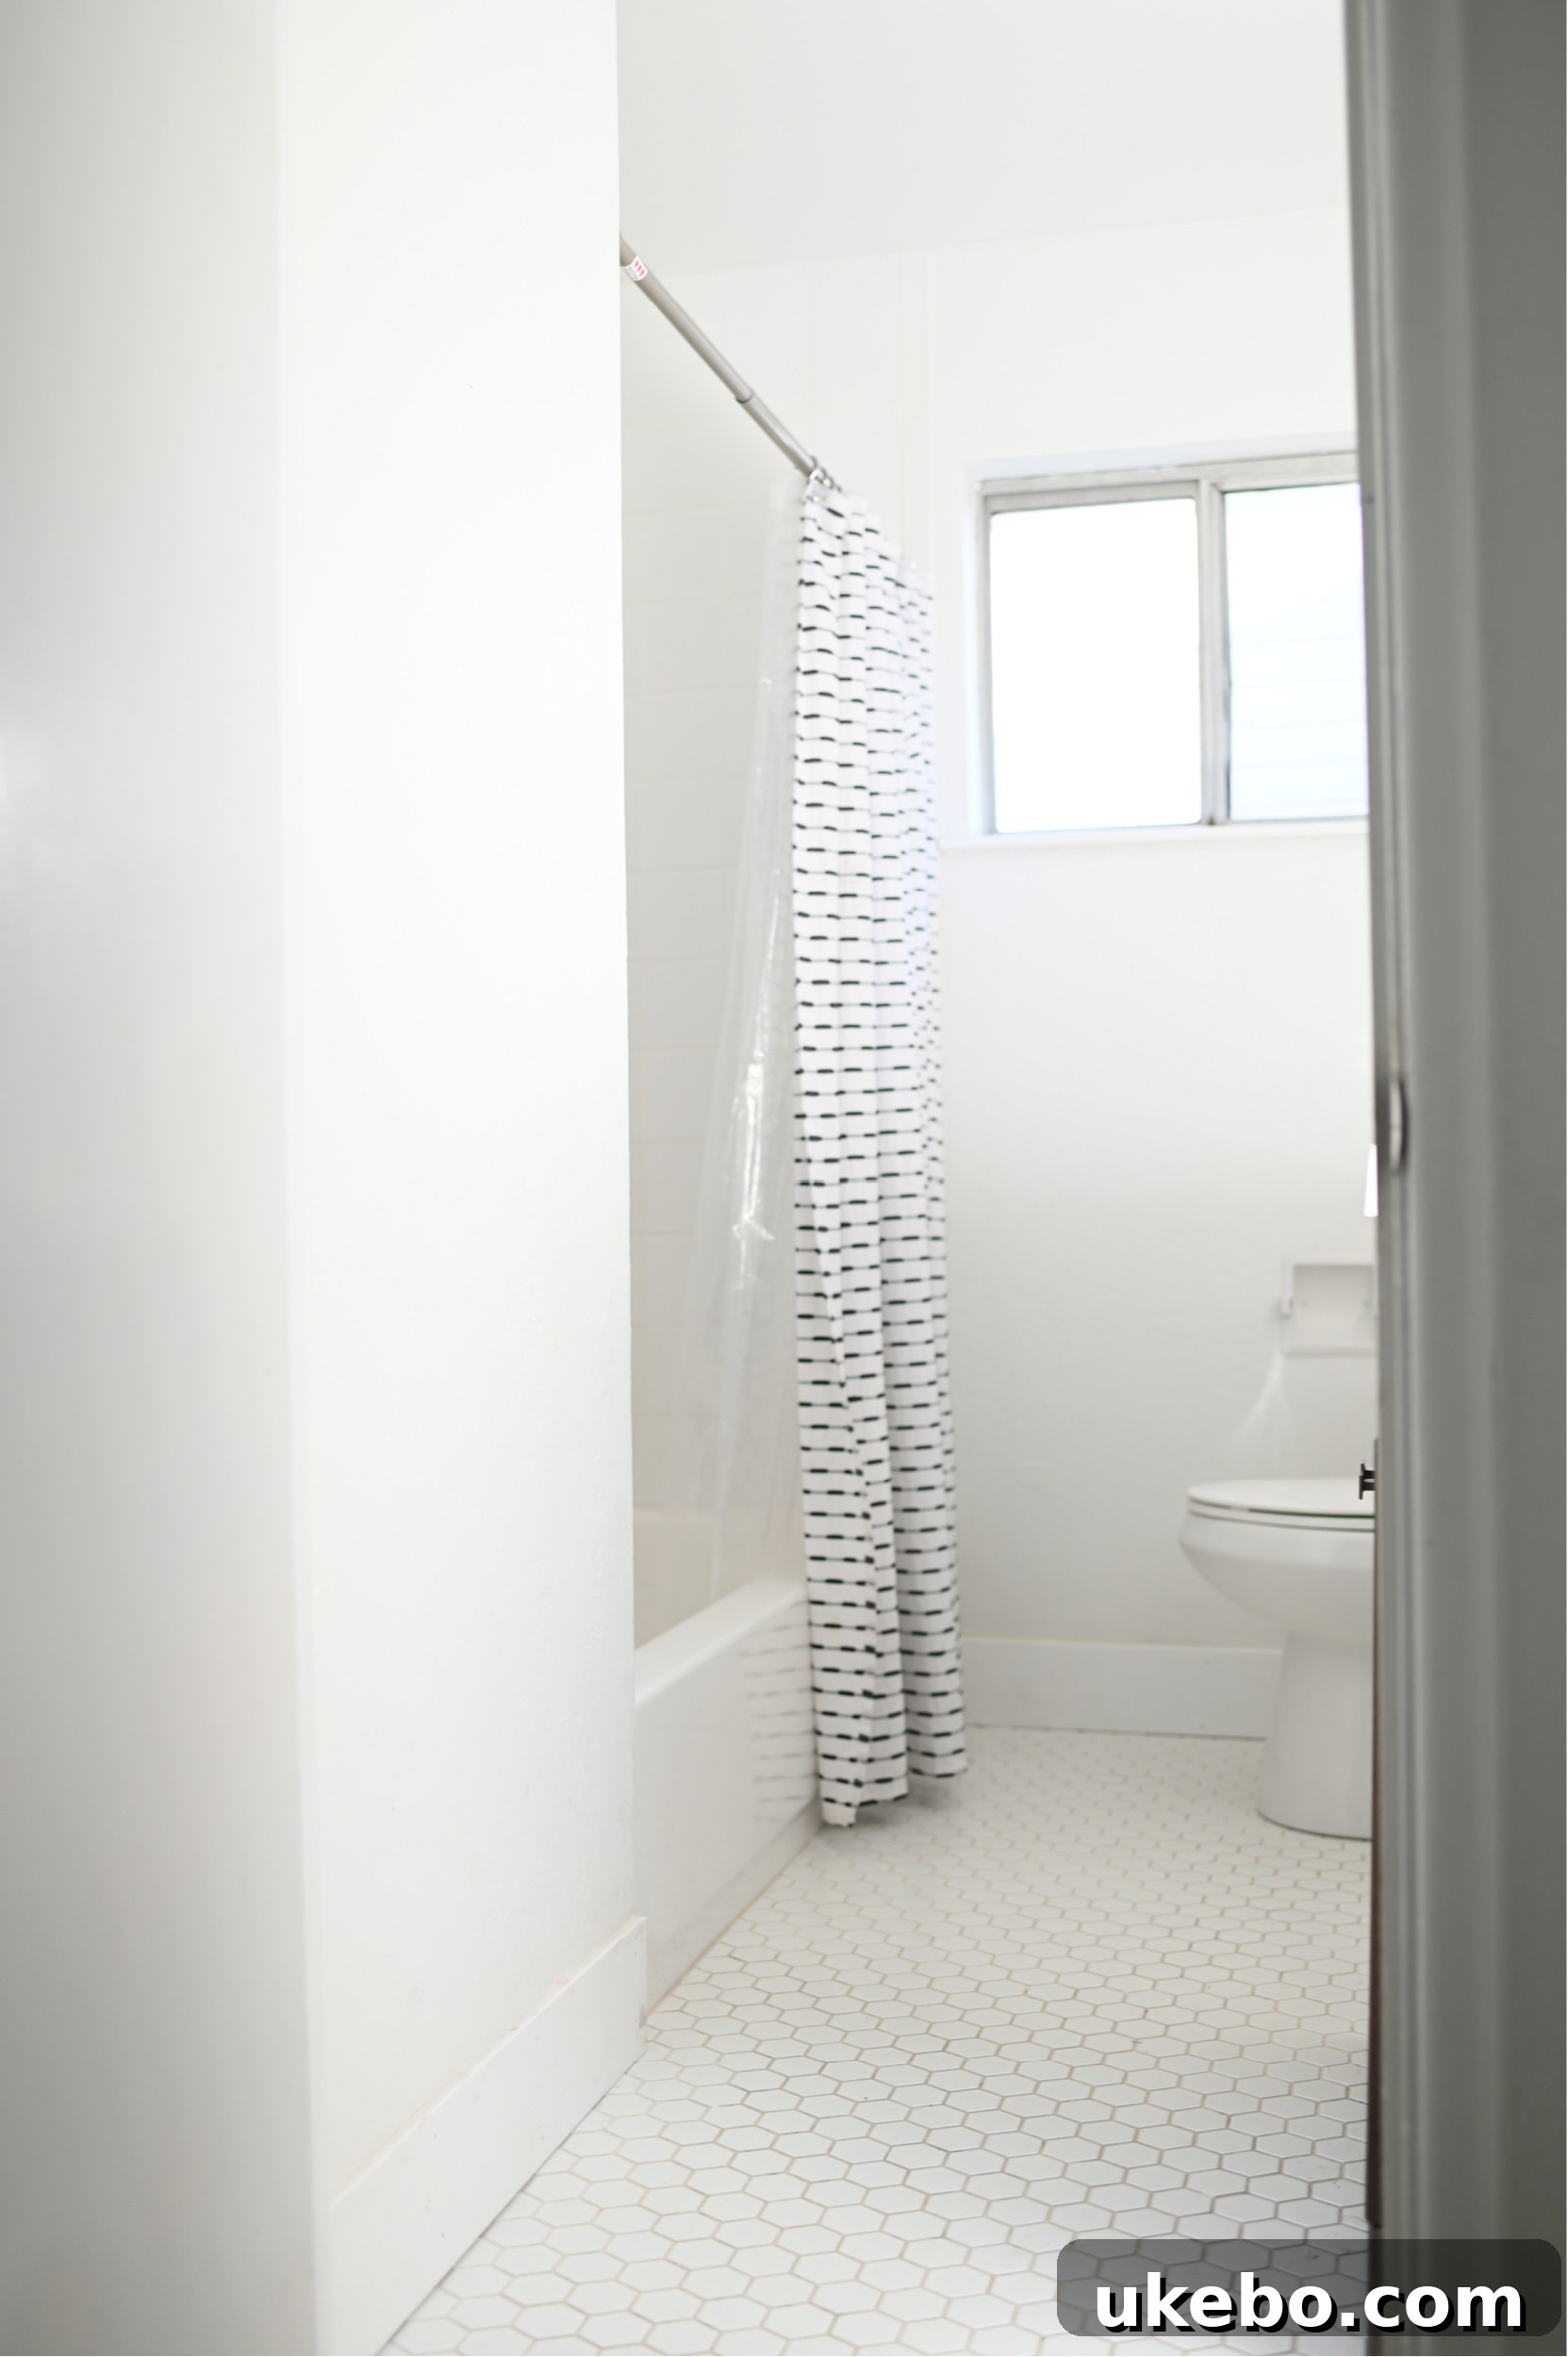
Once the grout was expertly applied, I allowed it to cure for approximately 24 hours, ensuring it fully set before we began moving furniture and accessories back into the room. (Please disregard the small splatters of paint on the wall just above the baseboard in these “after” photos; we are currently in the process of tracking down the exact existing wall color for precise touch-ups!) With the flooring complete, it was time to move beyond the floor and give the entire space a comprehensive refresh. I wanted to infuse the bathroom with a touch of modern sophistication and create a cohesive, stylish look. To achieve this, I decided to paint the vanity, baseboards, door trim, and window sill a striking matte black. This dramatic color choice instantly grounded the space and provided a sophisticated contrast to the new tile. Beyond the paint, we also meticulously updated the fixtures and hardware to complete the transformation. This included replacing the dated light fixture with a more contemporary piece, updating the vanity hardware with sleek, modern pulls, installing a new, stylish mirror, and upgrading the faucet to match the updated aesthetic. For practicality and style, we added chic hooks for towels, swapped out the old shower curtain for one that complemented the new color scheme, and brought in some fun, vibrant new art pieces to personalize the space. The result is a bathroom that feels entirely new, refreshed, and perfectly tailored to Andrea’s style.
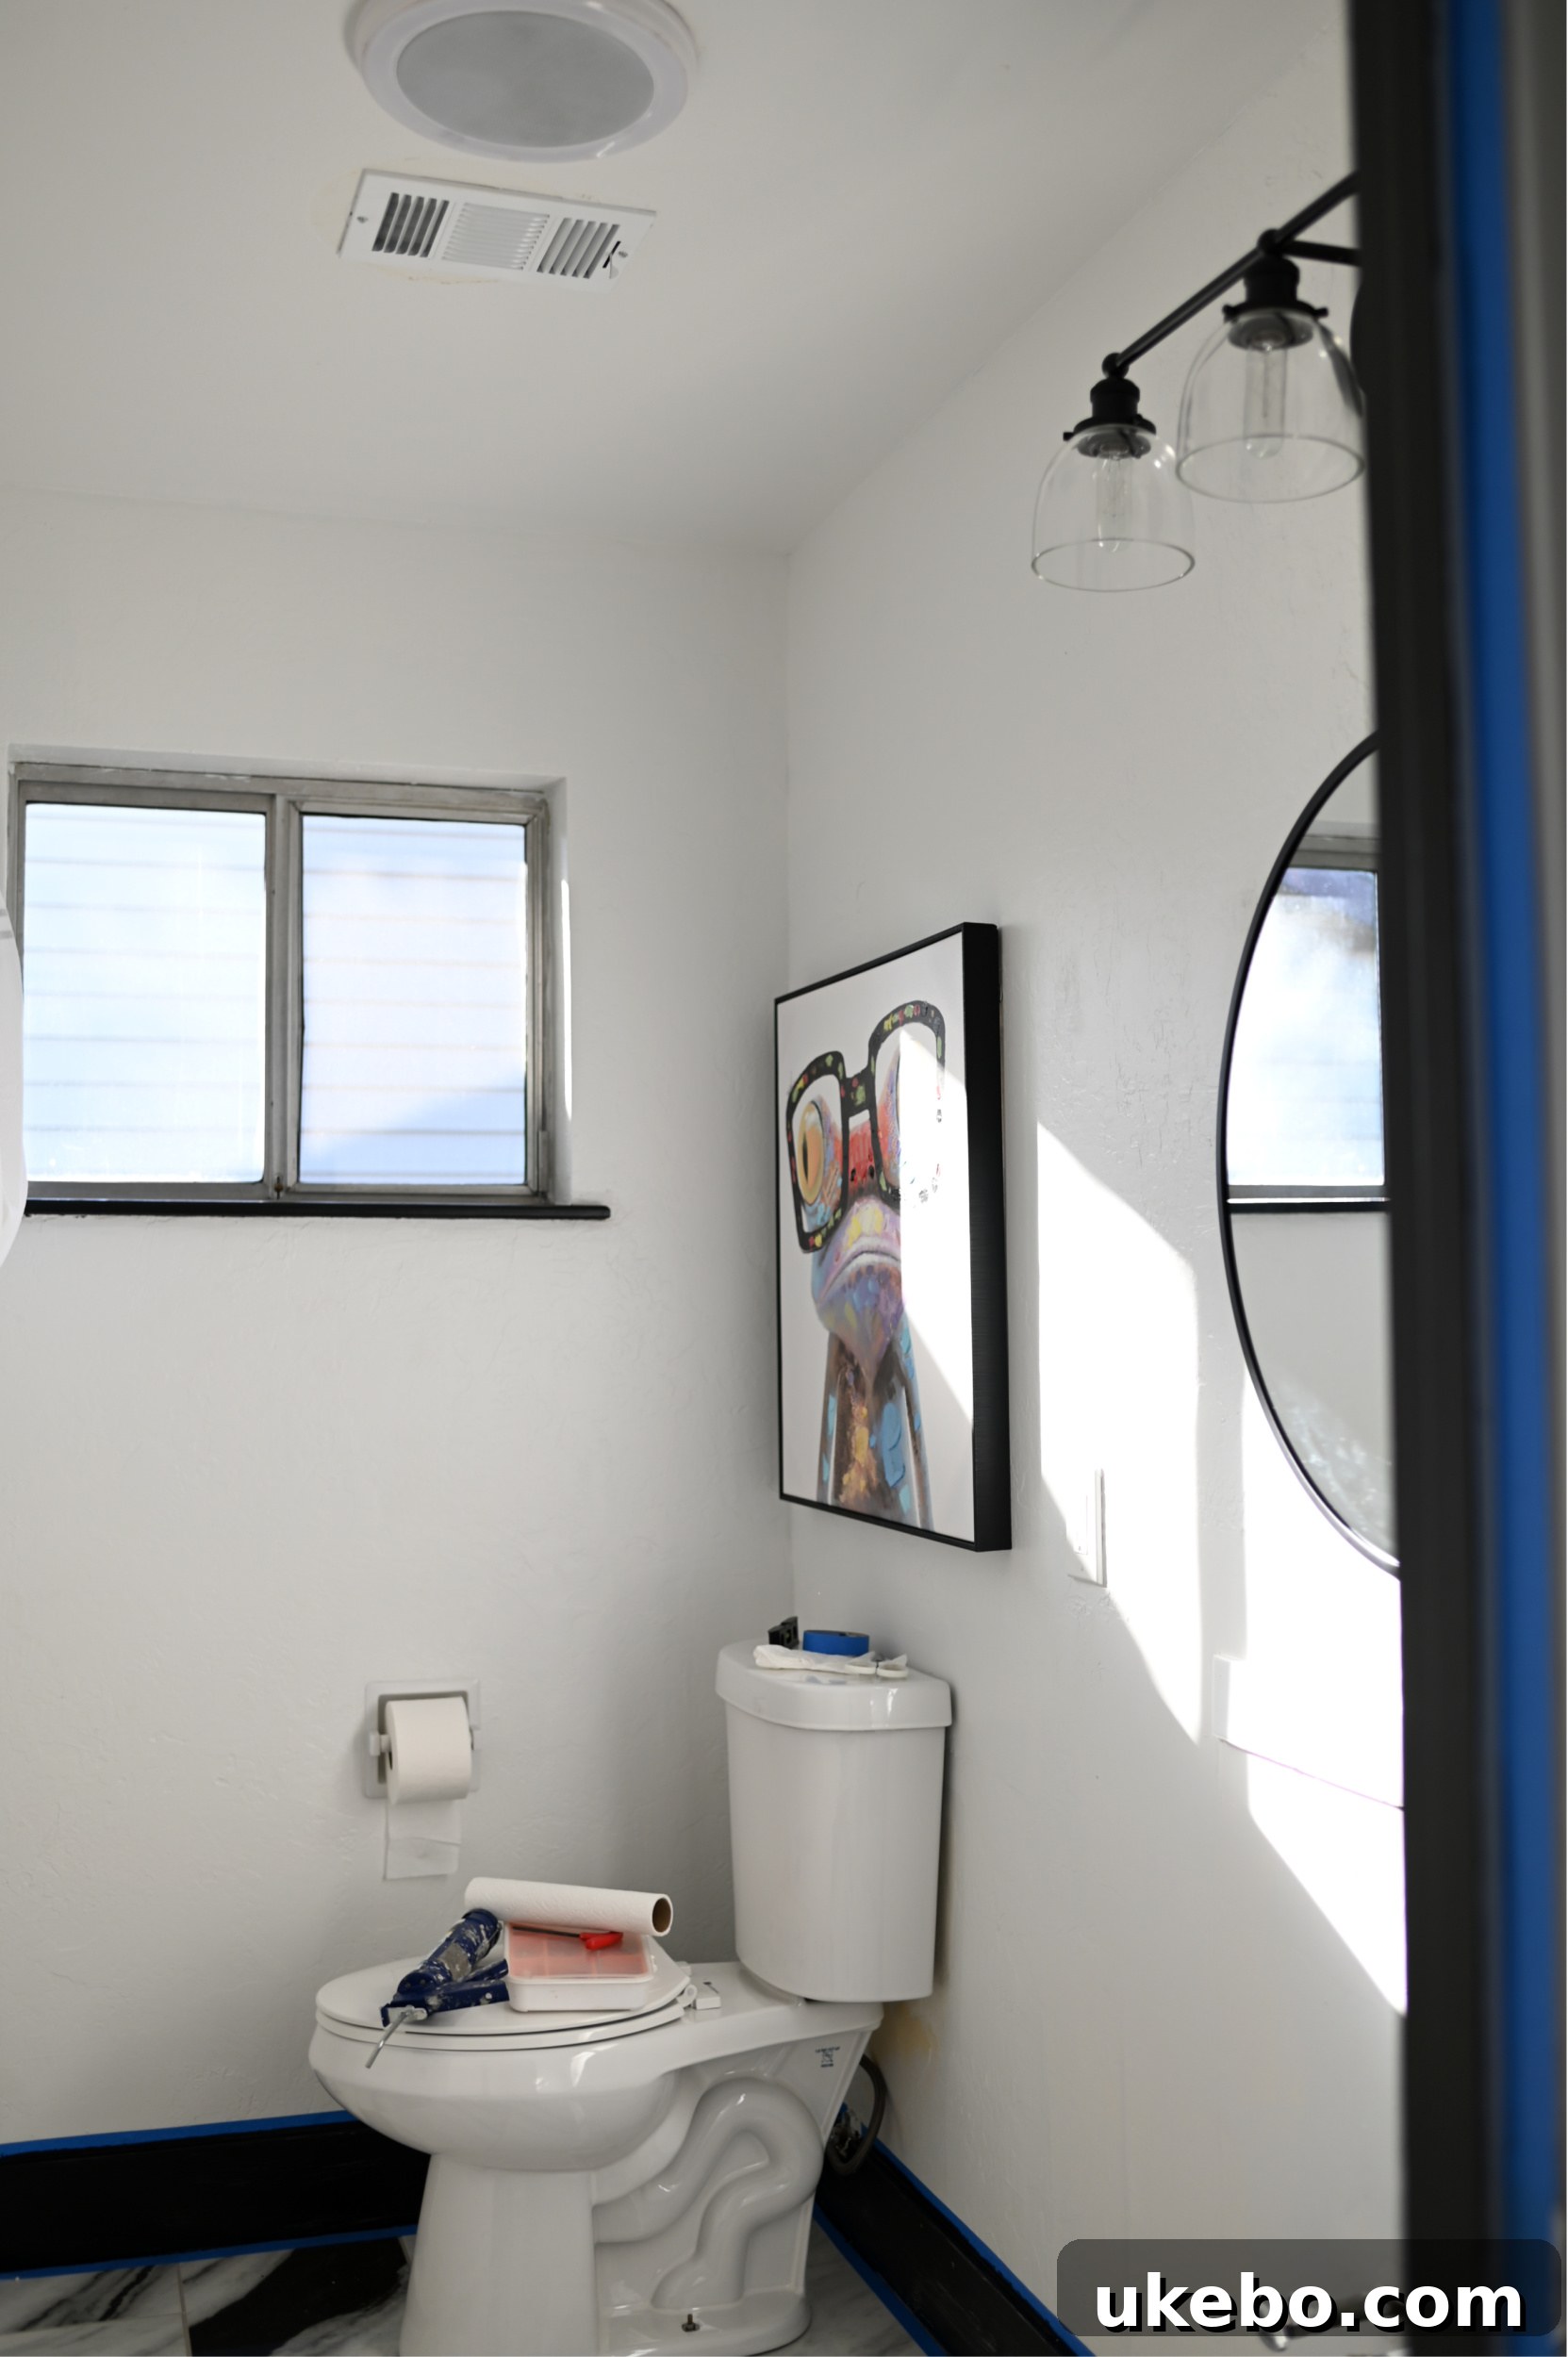
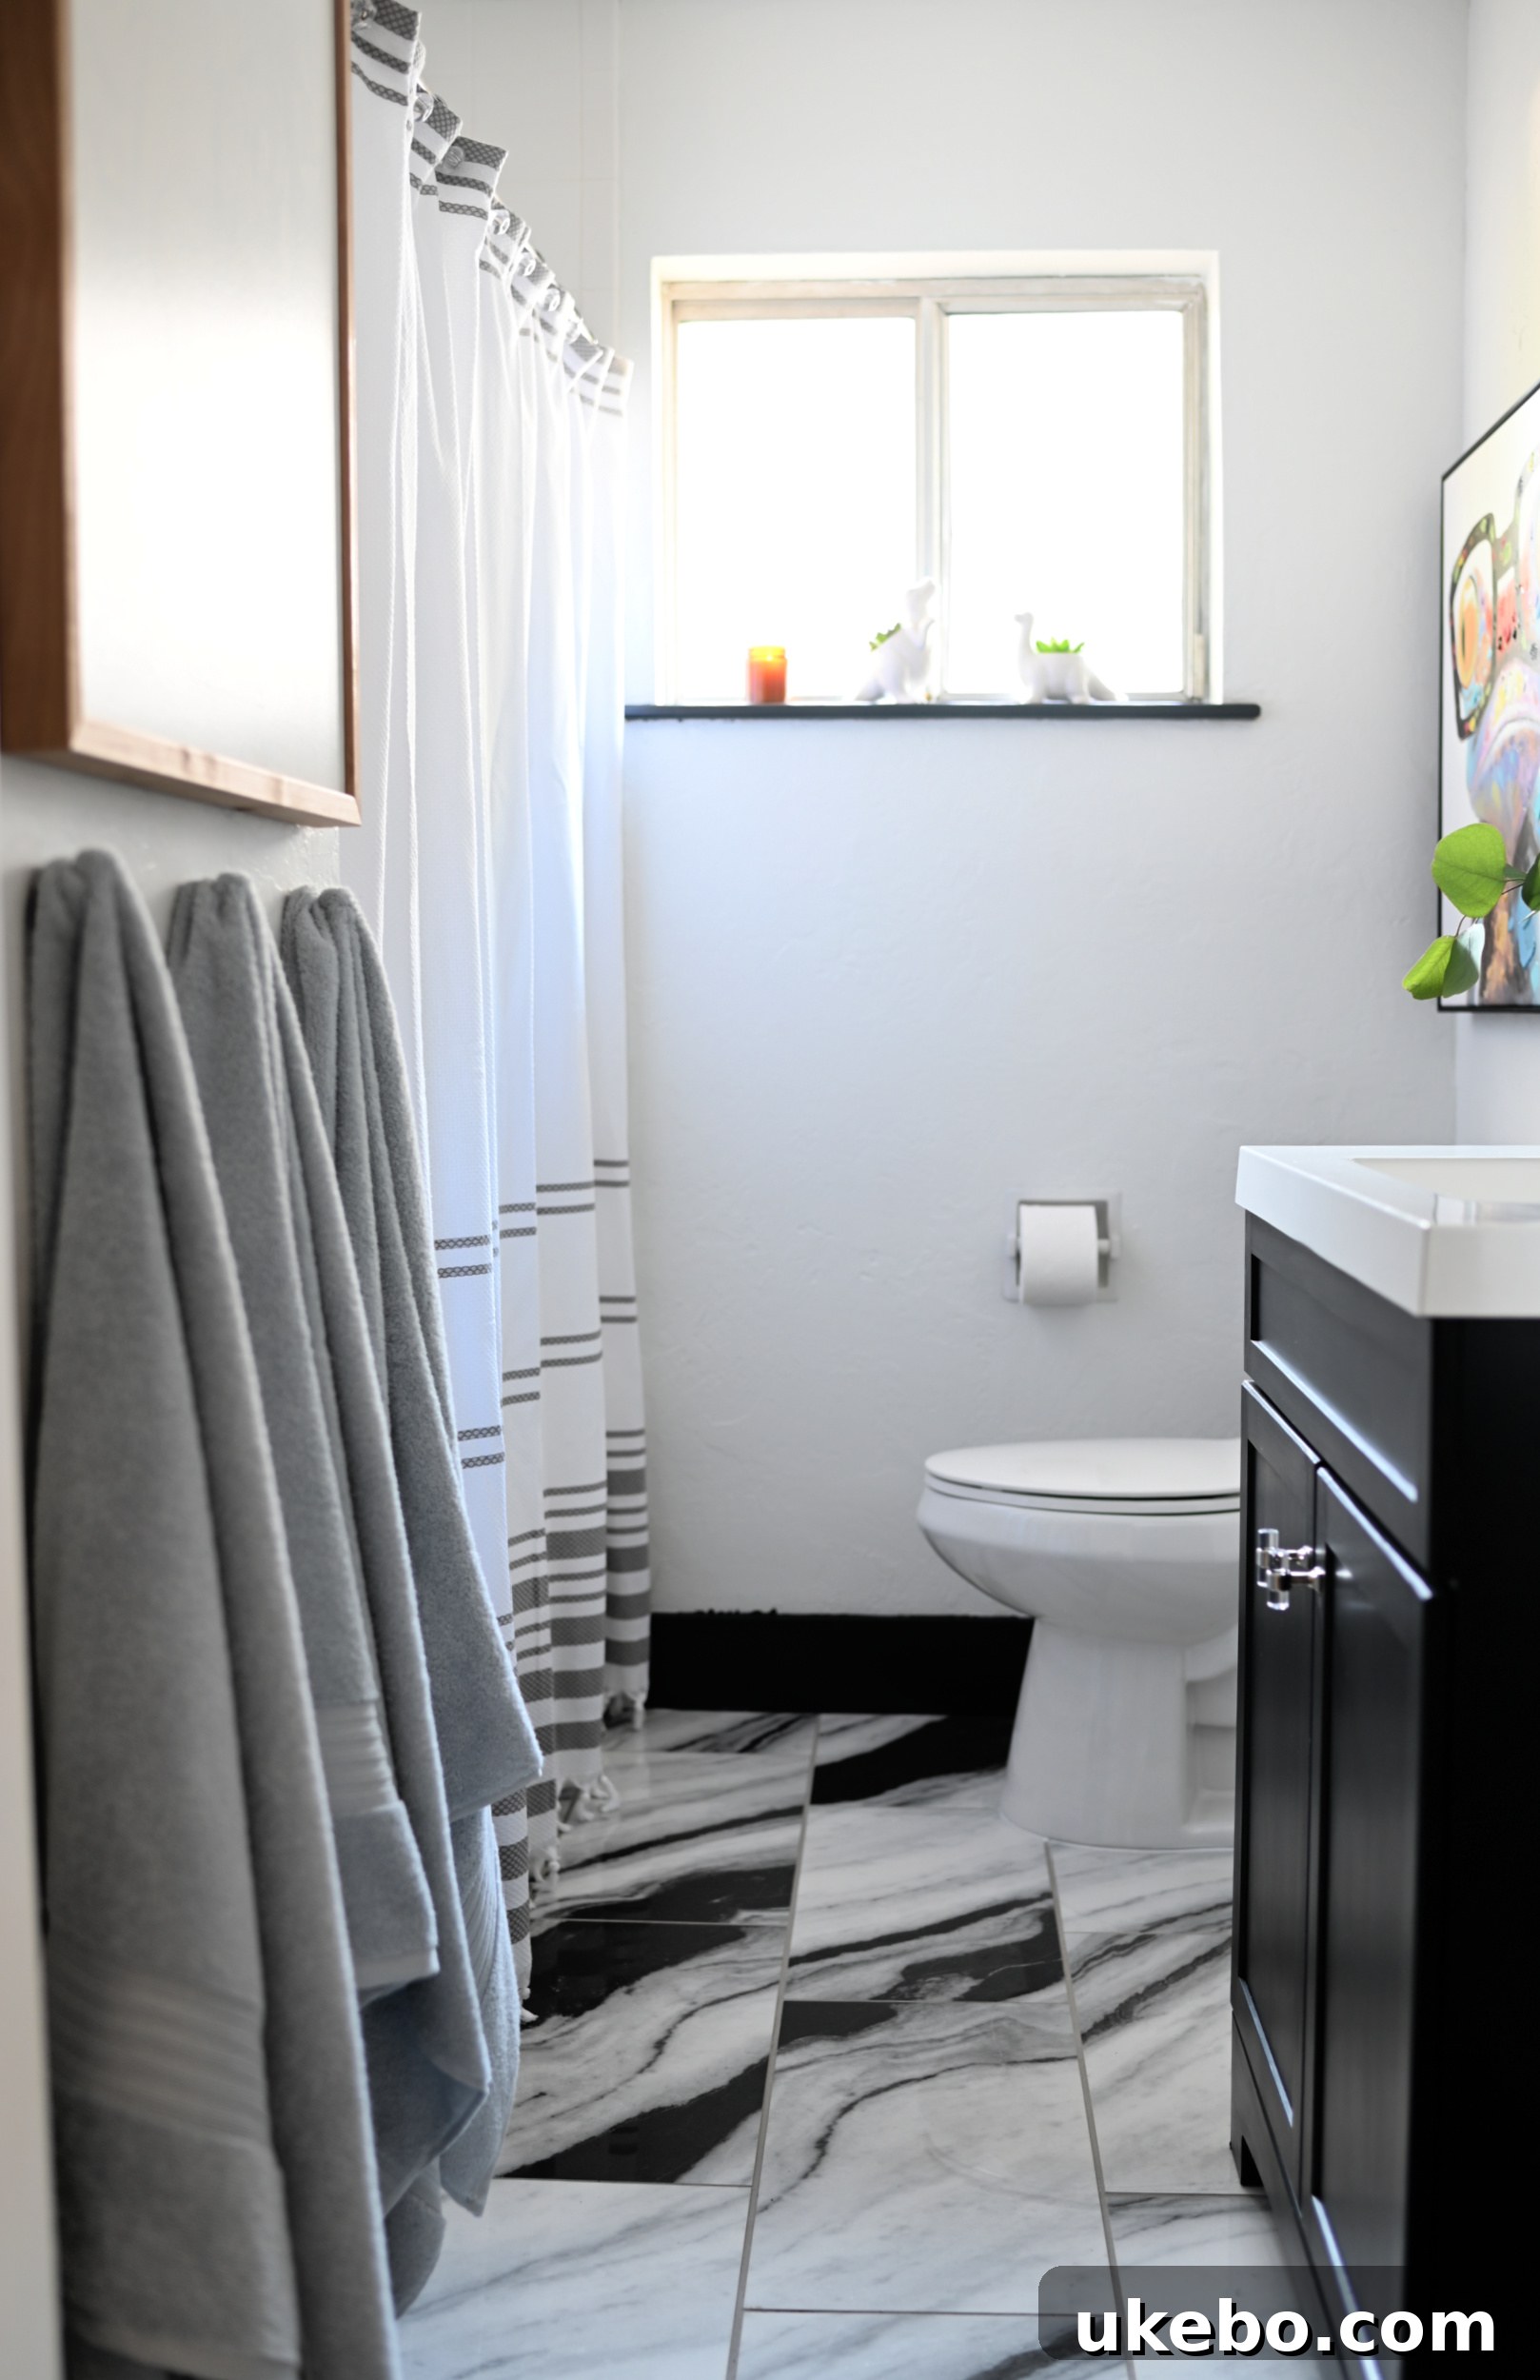
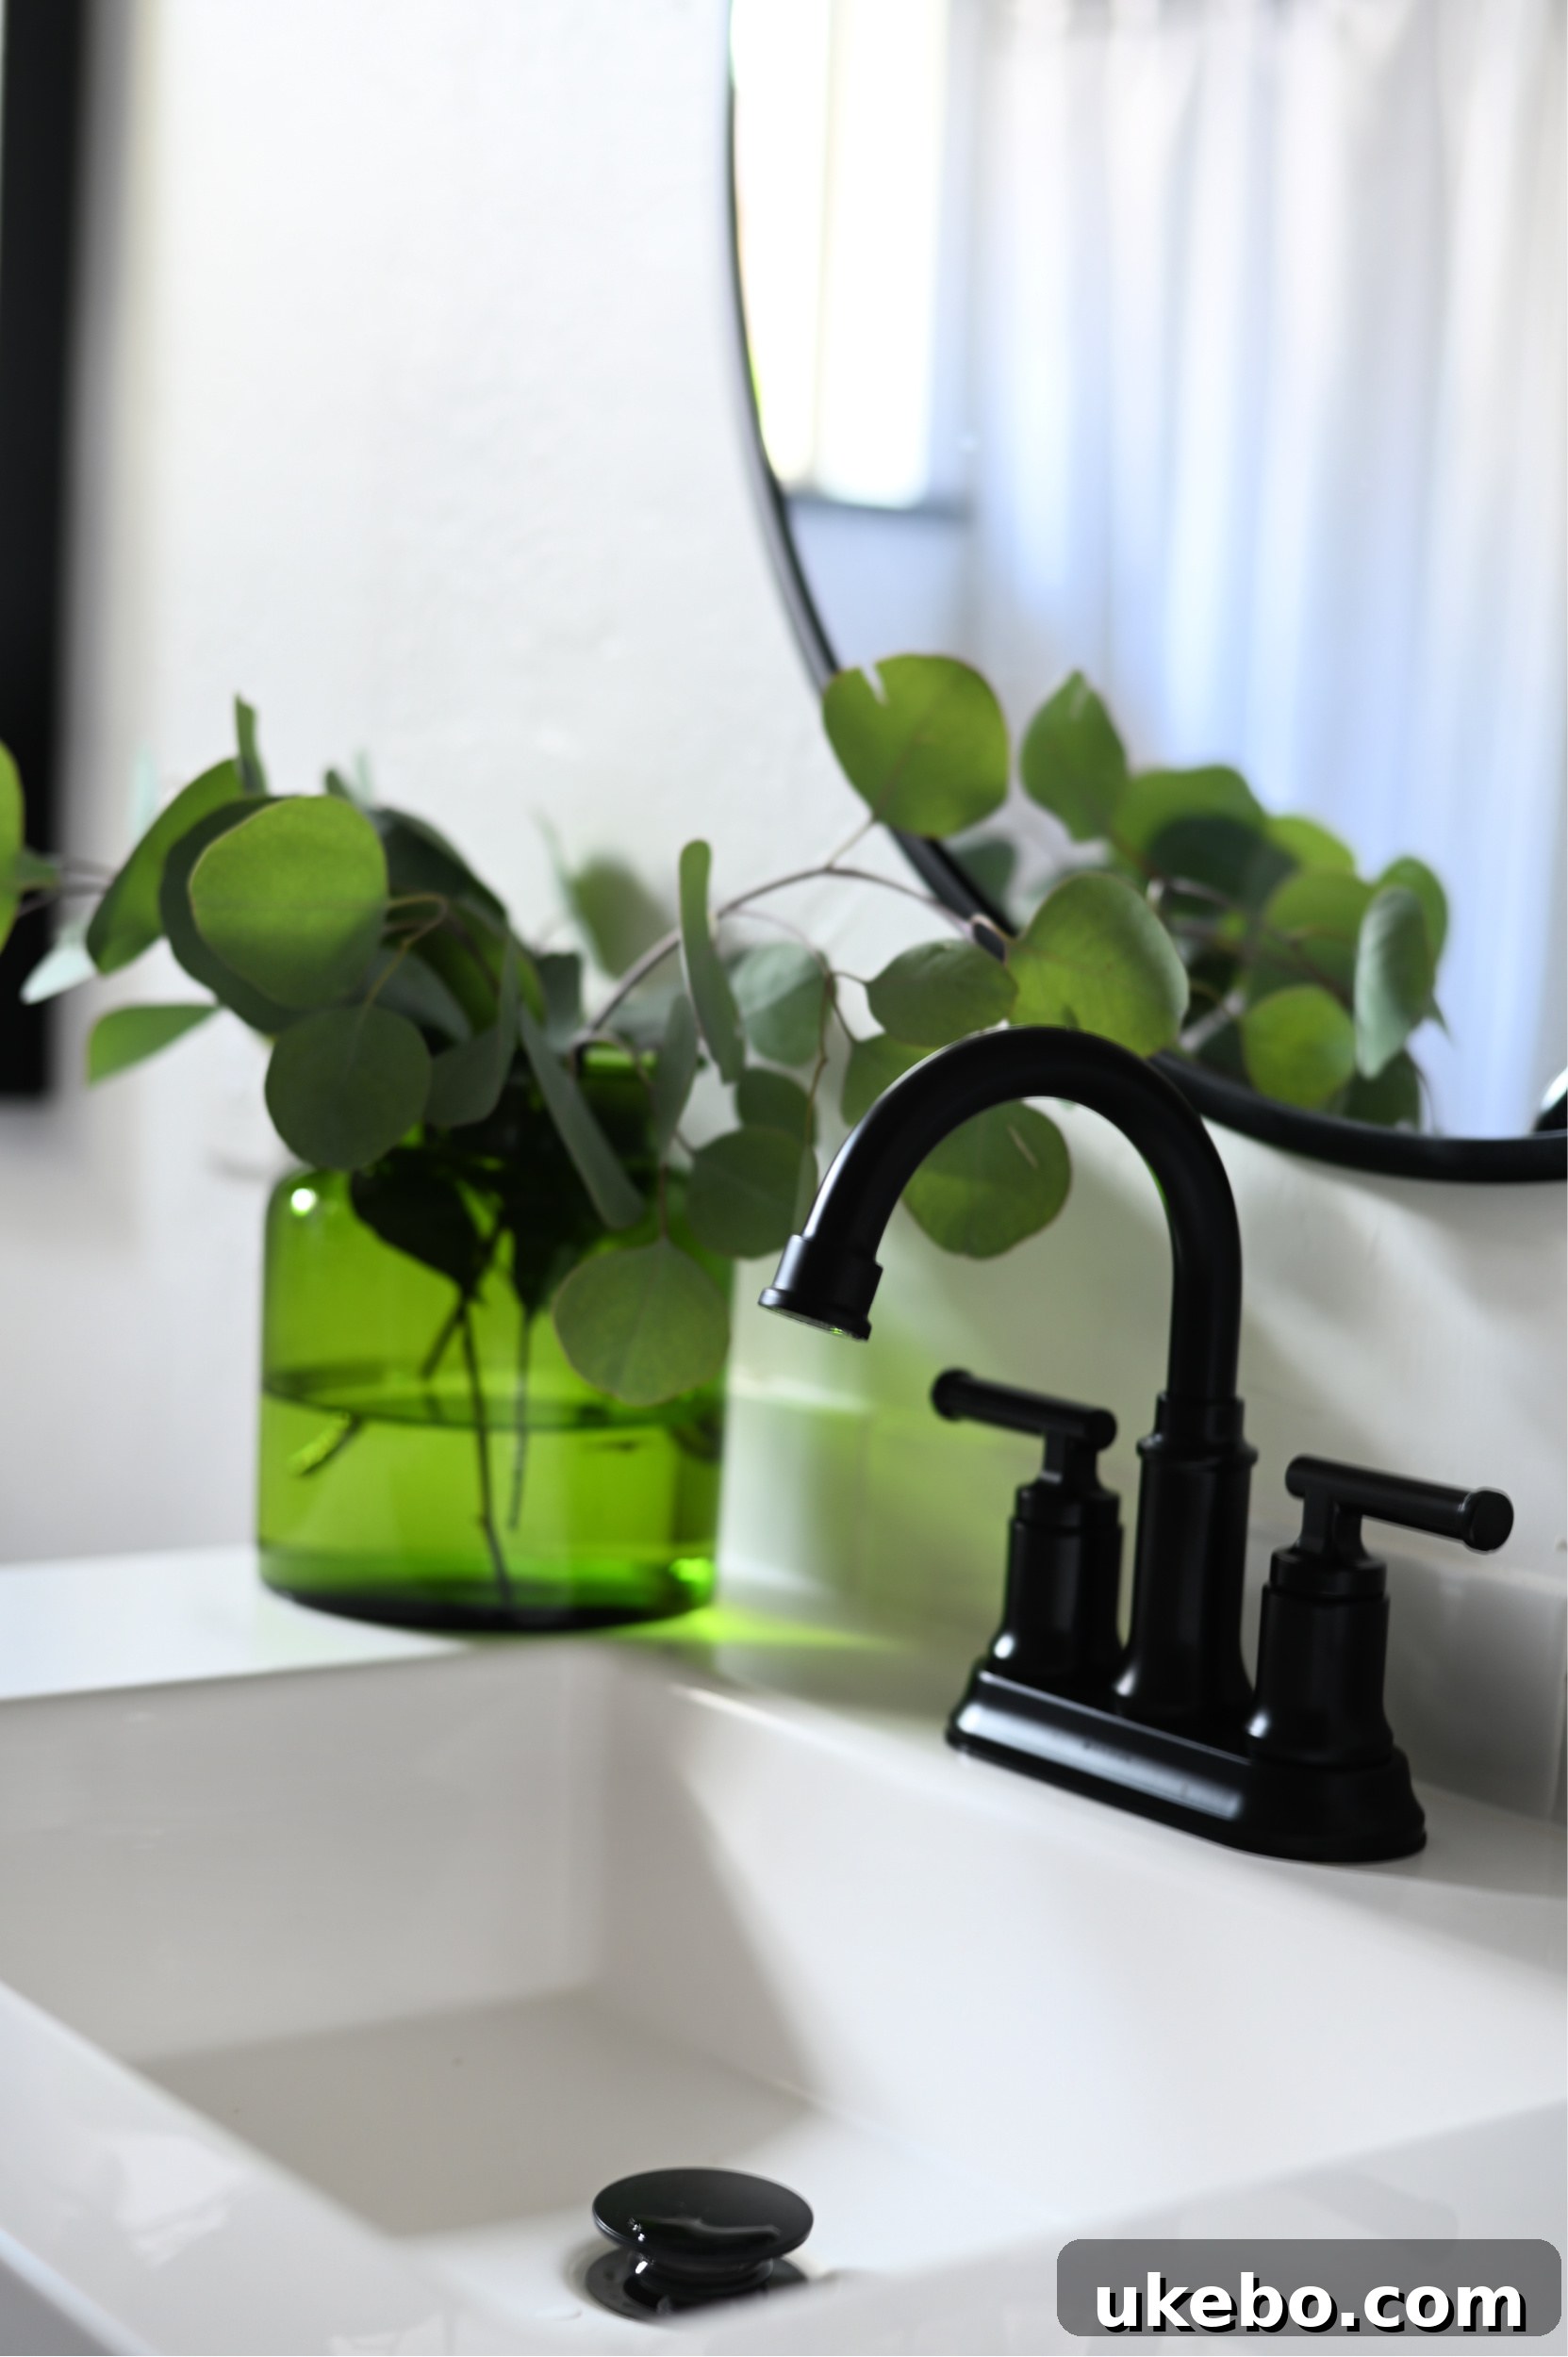
For the lighting above the vanity, I discovered this fantastic fixture from the Home Decorators Collection. To integrate it seamlessly into our new black-and-white scheme, I gave it a quick spray paint in matte black. The transformation was instant and effective, providing a cohesive and modern look. The stylish new faucet, also sourced from The Home Depot, was another easy yet impactful upgrade. Its matte black finish perfectly complemented the vanity and mirror, tying the entire space together beautifully. Andrea is still contemplating her options for the walls—whether to introduce a new paint color, perhaps a striking wallpaper, or something else entirely. For now, we decided to leave the walls a crisp white, providing a clean backdrop that allows the new flooring and black accents to truly pop. Once she makes a decision, we’ll move forward with that, but for the time being, we are absolutely delighted with the outcome of this bathroom refresh. The QuicTile was precisely what the space needed, delivering an almost instant, high-impact update that was surprisingly easy to achieve in just one weekend. It truly exemplifies how smart product choices can make significant DIY projects accessible and enjoyable.
This project has been a testament to how transformative a smart flooring solution can be. If you have a floor in your home that’s begging for a fresh, new look, and you’re searching for an easy tile update without the headache of demolition, the mess of mortar, and the extensive time commitment of traditional methods, I wholeheartedly recommend giving QuicTile by Daltile a try. Its innovative design and user-friendly installation truly make it a standout product in the DIY world. I believe it’s absolutely perfect for a laundry room, a bustling mudroom, a kitchen in need of a quick update, or any other space where you’re currently dealing with a less-than-desirable linoleum or vinyl tile situation. It offers a durable, beautiful, and remarkably accessible way to achieve a high-end tiled finish in a fraction of the time and effort. The ease of installation, coupled with its robust qualities, makes it an ideal solution for modern homes and busy lifestyles.
So, tell me what you think, friends? Could a click-and-lock tile system like QuicTile be the perfect solution for a space in your home? Have you ever tried QuicTile or a similar product for your DIY projects? Share your thoughts and experiences in the comments below! I always love hearing about your home improvement journeys and what innovative products you’ve discovered.
Until next time, happy DIYing!
*Thank you so much for supporting the sponsored content and brands that keep SG Style up and running and allow me to share these exciting projects with you!