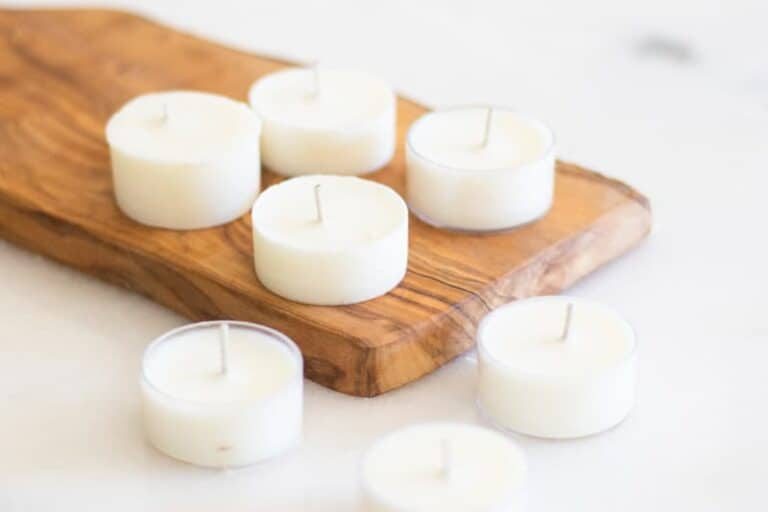
How To Make A: Pillar Candle | Easy Tutorial
Also filed inLiving

Add a touch of elegance and beauty to your space with these cozy DIY pillar candles. These easy-to-craft candles are made using pillar molds. The result is a charming and unique pillar candle that will add a soft, comforting light to any room.
We absolutely love candle making. You’ll find candles of all shapes, sizes, and scents burning in our home year-round. There is something so comforting and cozy about lighting a candle. It totally transforms the atmosphere of a room.
We admit, we have been on a candle kick lately. We made a bunch of our homemade beeswax candles for Christmas gifts, along with our new favorite DIY coffee candles. And we have always wanted to make a pillar candle so we decided to go for it!
Trust me when we say you’ll be hooked for life, making your own DIY pillar candles.
These pillar candles are easy and fun to make, and this step-by-step tutorial will walk you through the process.
Pillars are just one of the styles we make, and the rest are in our DIY candle recipes roundup.
how to make a pillar candle
Ingredients:
- Soy wax(or your preferred candle wax)
- Essential oils for fragrance (optional)
Tools:
- Pillar molds (see notes below)
- Candle wicks
Instructions:
Step 1: Gather your materials. You’ll need soy wax, essential oils for fragrance, a pillar mold, and a candle wick.
Note: These candles are made with soy wax, but you can experiment with different types of wax, but a soy pillar blend will work nicely.
Step 2: Place the soy wax in a wax melter or double boiler and heat until completely melted.
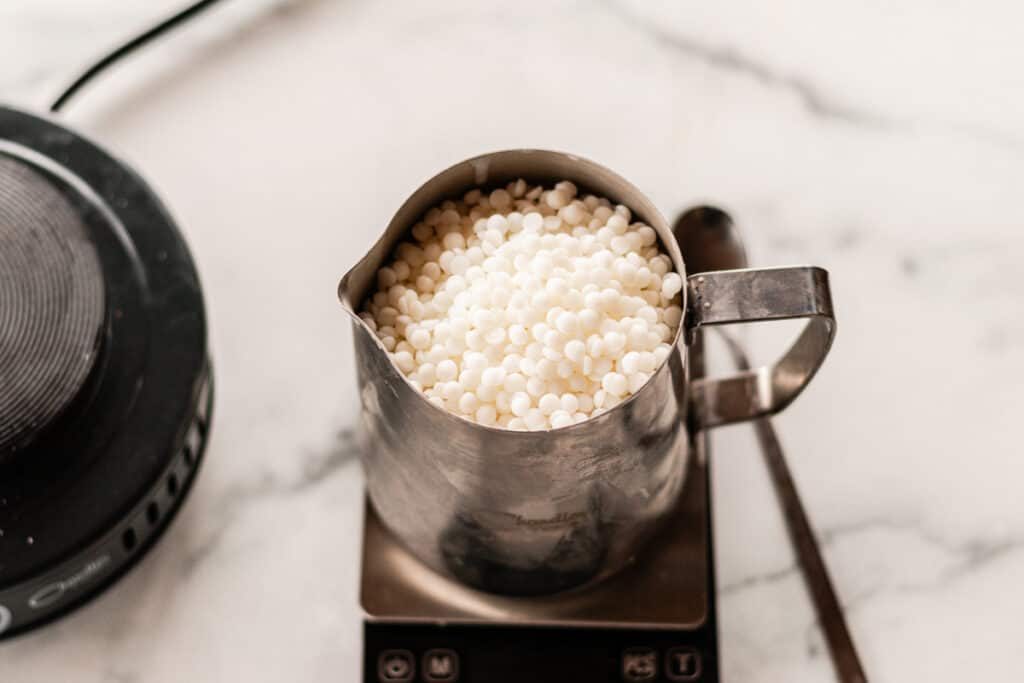
Step 3: If adding essential oil or fragrance, allow the wax to cool before gently stirring in the oils. We recommend cooling the wax to 140°F and then adding the EO. It’s important to add the fragrance oils during the cool-down phase so they don’t lose any potency.
Step 4: To prepare the molds, cut a length of wick, twice as long as the height of the candle. Tie a knot on one end. Then, using a needle, pierce a small hole through the center of the bottom of the silicone mold.
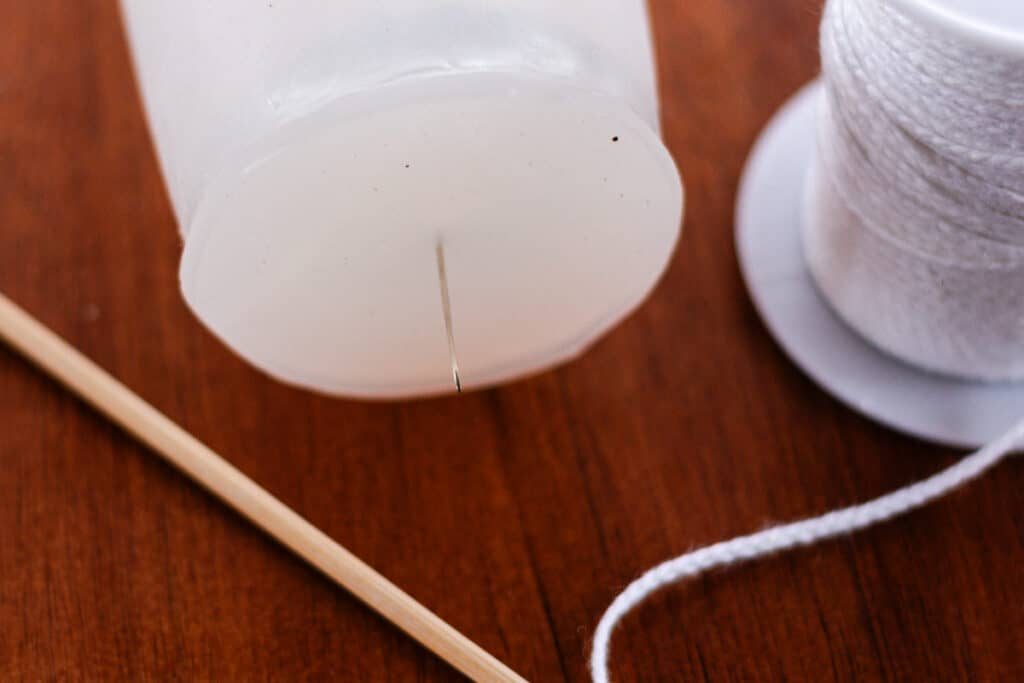
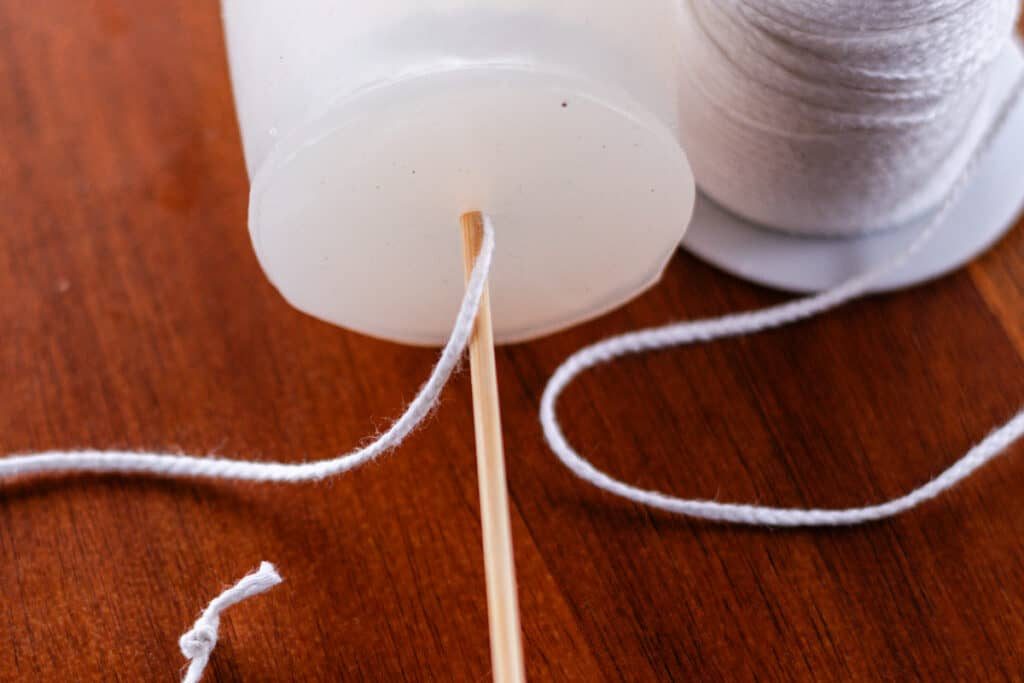
Step 5: Then, use a bamboo skewer or something skinny to push the wick through the hole. Feed the wick all the way through until the knot is pulled tight and flush against the bottom of the mold.
Step 6: Slowly pour the melted wax into the mold, filling it to the desired height. See the tips below for pouring temperature notes.
Step 7: Pull the wick tight and center it to the candle. We like to wrap it several times around a bamboo skewer or even a pencil. There are also products like wick bars used for centering and holding the wick while it hardens.
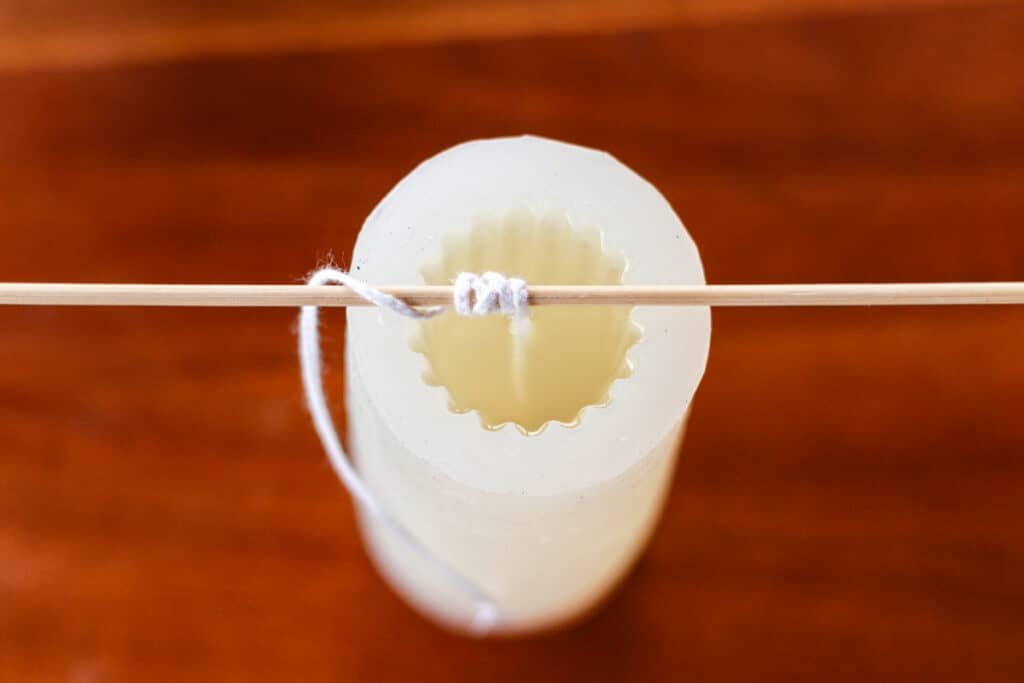
Step 8: Allow the candles to cool and harden completely before removing them from the molds. For silicone molds, you simply peel them away. If using metal molds, you may have to place the whole candle in the freezer before removing it from the mold.
Step 9: Finally, flip the candle over and trim the wick to about ¼ inch before lighting the candle.
Tips for making pillar candles
Wax melting temperature:
If you plan to use fragrance, you’ll want to check the wax manufacturer’s recommendation for the melting temperature of the wax. It will vary depending on which wax type you use.
Some wax needs to be heated to a higher temperature than the melting point. This expands the wax molecules so that the fragrance molecules get trapped within.
Fragrance notes:
- We would recommend 25 drops of fragrance per 10 oz of wax, approximately.
- Amounts will vary based on the size of your molds. Our candles are approximately 7 oz.
Allow the wax to cool to a certain temperature before adding in the fragrance.
This temperature will vary depending on what type of fragrance you choose. Most conventional fragrances can be added in at 180°F, according to the Lone Star Candle Company.
Essential oils are more fragile than fragrance oils because they do not contain any additives. If you add them in when the wax is too hot they will burn off and evaporate, leaving you with little to no scent throw.
We recommend cooling the wax to 140°F before adding in the essential oils.
Best molds for pillar candles:
We like to use silicone pillar molds when making pillar candles. They are easy to peel away from the candles after the cooling and hardening process. There are alternative options, such as metal or plastic molds. However, we don’t recommend either of these unless you are making a homemade taper candle.
Tips for getting a pillar candle out of a metal mold.
It should shrink the candle enough to slide out. You can also gently roll and tap the mold to further loosen it from the sides. If you have trouble getting the candle out of a metal mold, you can try placing it in the freezer for a while.
What are pillar candles?
Pillar candles are cylinder-shaped candles made from rigid wax that can stand upright without a container. They come in different heights and sometimes have different shapes, such as scalloped edges.
What type of wax should we use?
When making pillar candles, you can experiment with using different types of waxes, such as beeswax, for alternative results.
Safety precautions
- Be cautious when you’re pouring the hot wax into the mold. Wear protective gear like gloves and an apron to prevent burns.
- Make sure to place a candle-safe pillar holder beneath the candle before burning.
- Never leave pillar candles burning unattended.
- When burning the candle, avoid placing it underneath anything flammable, such as curtains or drapes.
A soy pillar blend is a great wax to use for making pillar candles because it’s formulated for hardness and shrinkage for easy mold release.
What kind of wick do you use for pillar candles?We like to use cotton wicks as they are natural and burn clean.
How do you keep candles from sticking to silicone molds?You can also gently roll the molds on a hard surface to help release from the edges. Most silicone molds can simply be peeled off the candle. Using a pillar wax blend will help prevent candles from sticking to silicone molds.
What to read next:
- How to dip candles
- Simple honey vanilla candles
- How to make a massage candle
- DIY Christmas candles
- DIY mason jar candles
How to Make a Pillar Candle
By the studio Ascher Prep: 5 minutes minsActive: 20 minutes minsAdditional Time: 20 minutes minsTotal: 45 minutes mins Yield: 2 candles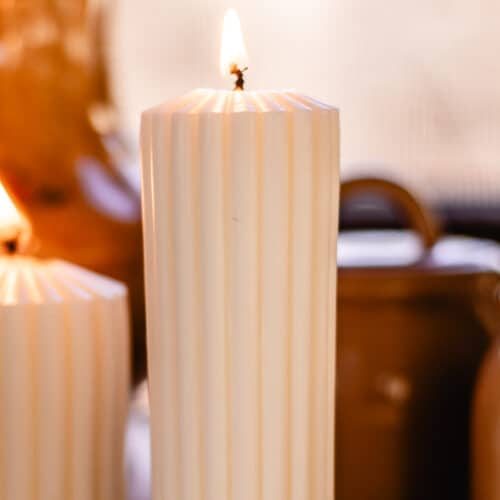 SaveSaved Pin Print These DIY pillar candles are simple and fun to make. This easy tutorial will walk you step-by-step through the process of making pillar candles. Follow along and you'll soon have an elegant, hand-crafted candle to light in your space.
 Equipment
- Pillar candle molds These are similar to the ones we use.
- Candle wicks
Ingredients
- 7 oz Soy wax, a pillar blend works best
- 20 drops Essential oils for fragrance, optional, see notes
Instructions
- Gather the soy wax, essential oils, pillar molds, and wicks.
- Place the soy wax in a wax melter or double boiler and heat until completely melted. Check with your wax manufacturer for heating temperature.
- Now, if adding essential oil fragrance, allow the wax to cool to 140°F before gently stirring in the oils.
- To prepare the molds, cut a length of wick twice as long as you'll need for the candle. Tie a knot on one end. Then, using a needle pierce a small hole through the center of the bottom of the silicone mold.
- Then, use a bamboo skewer or something similar to push the wick through the hole. Feed it all the way through until the knot is flush against the bottom of the mold.
- Slowly pour the melted wax into the molds, filling them to the desired height.
- Pull the wick tight and center it to the candle. We like to wrap it several times around a bamboo skewer or even a pencil.
- Allow the candles to cool and harden completely before removing them from the molds. For silicone molds, you simply peel them away. If using metal molds, you may have to place the whole candle in the freezer before removing it from the mold.
- Finally, flip the candle over and trim the wick to about ¼ inch before lighting the candle. Note: the candles are upside down inside the molds.