Hello fellow renovation enthusiasts and design aficionados!
Happy One Room Challenge (ORC) Wednesday! We’ve successfully navigated the first demanding week of our bathroom renovation, and I’m thrilled to report that we’ve made some significant, albeit messy, progress. This journey is proving to be an exhilarating mix of demolition dust and the exciting genesis of our dream design elements.
Week 2: A Whirlwind of Demolition and Early Rebuilding
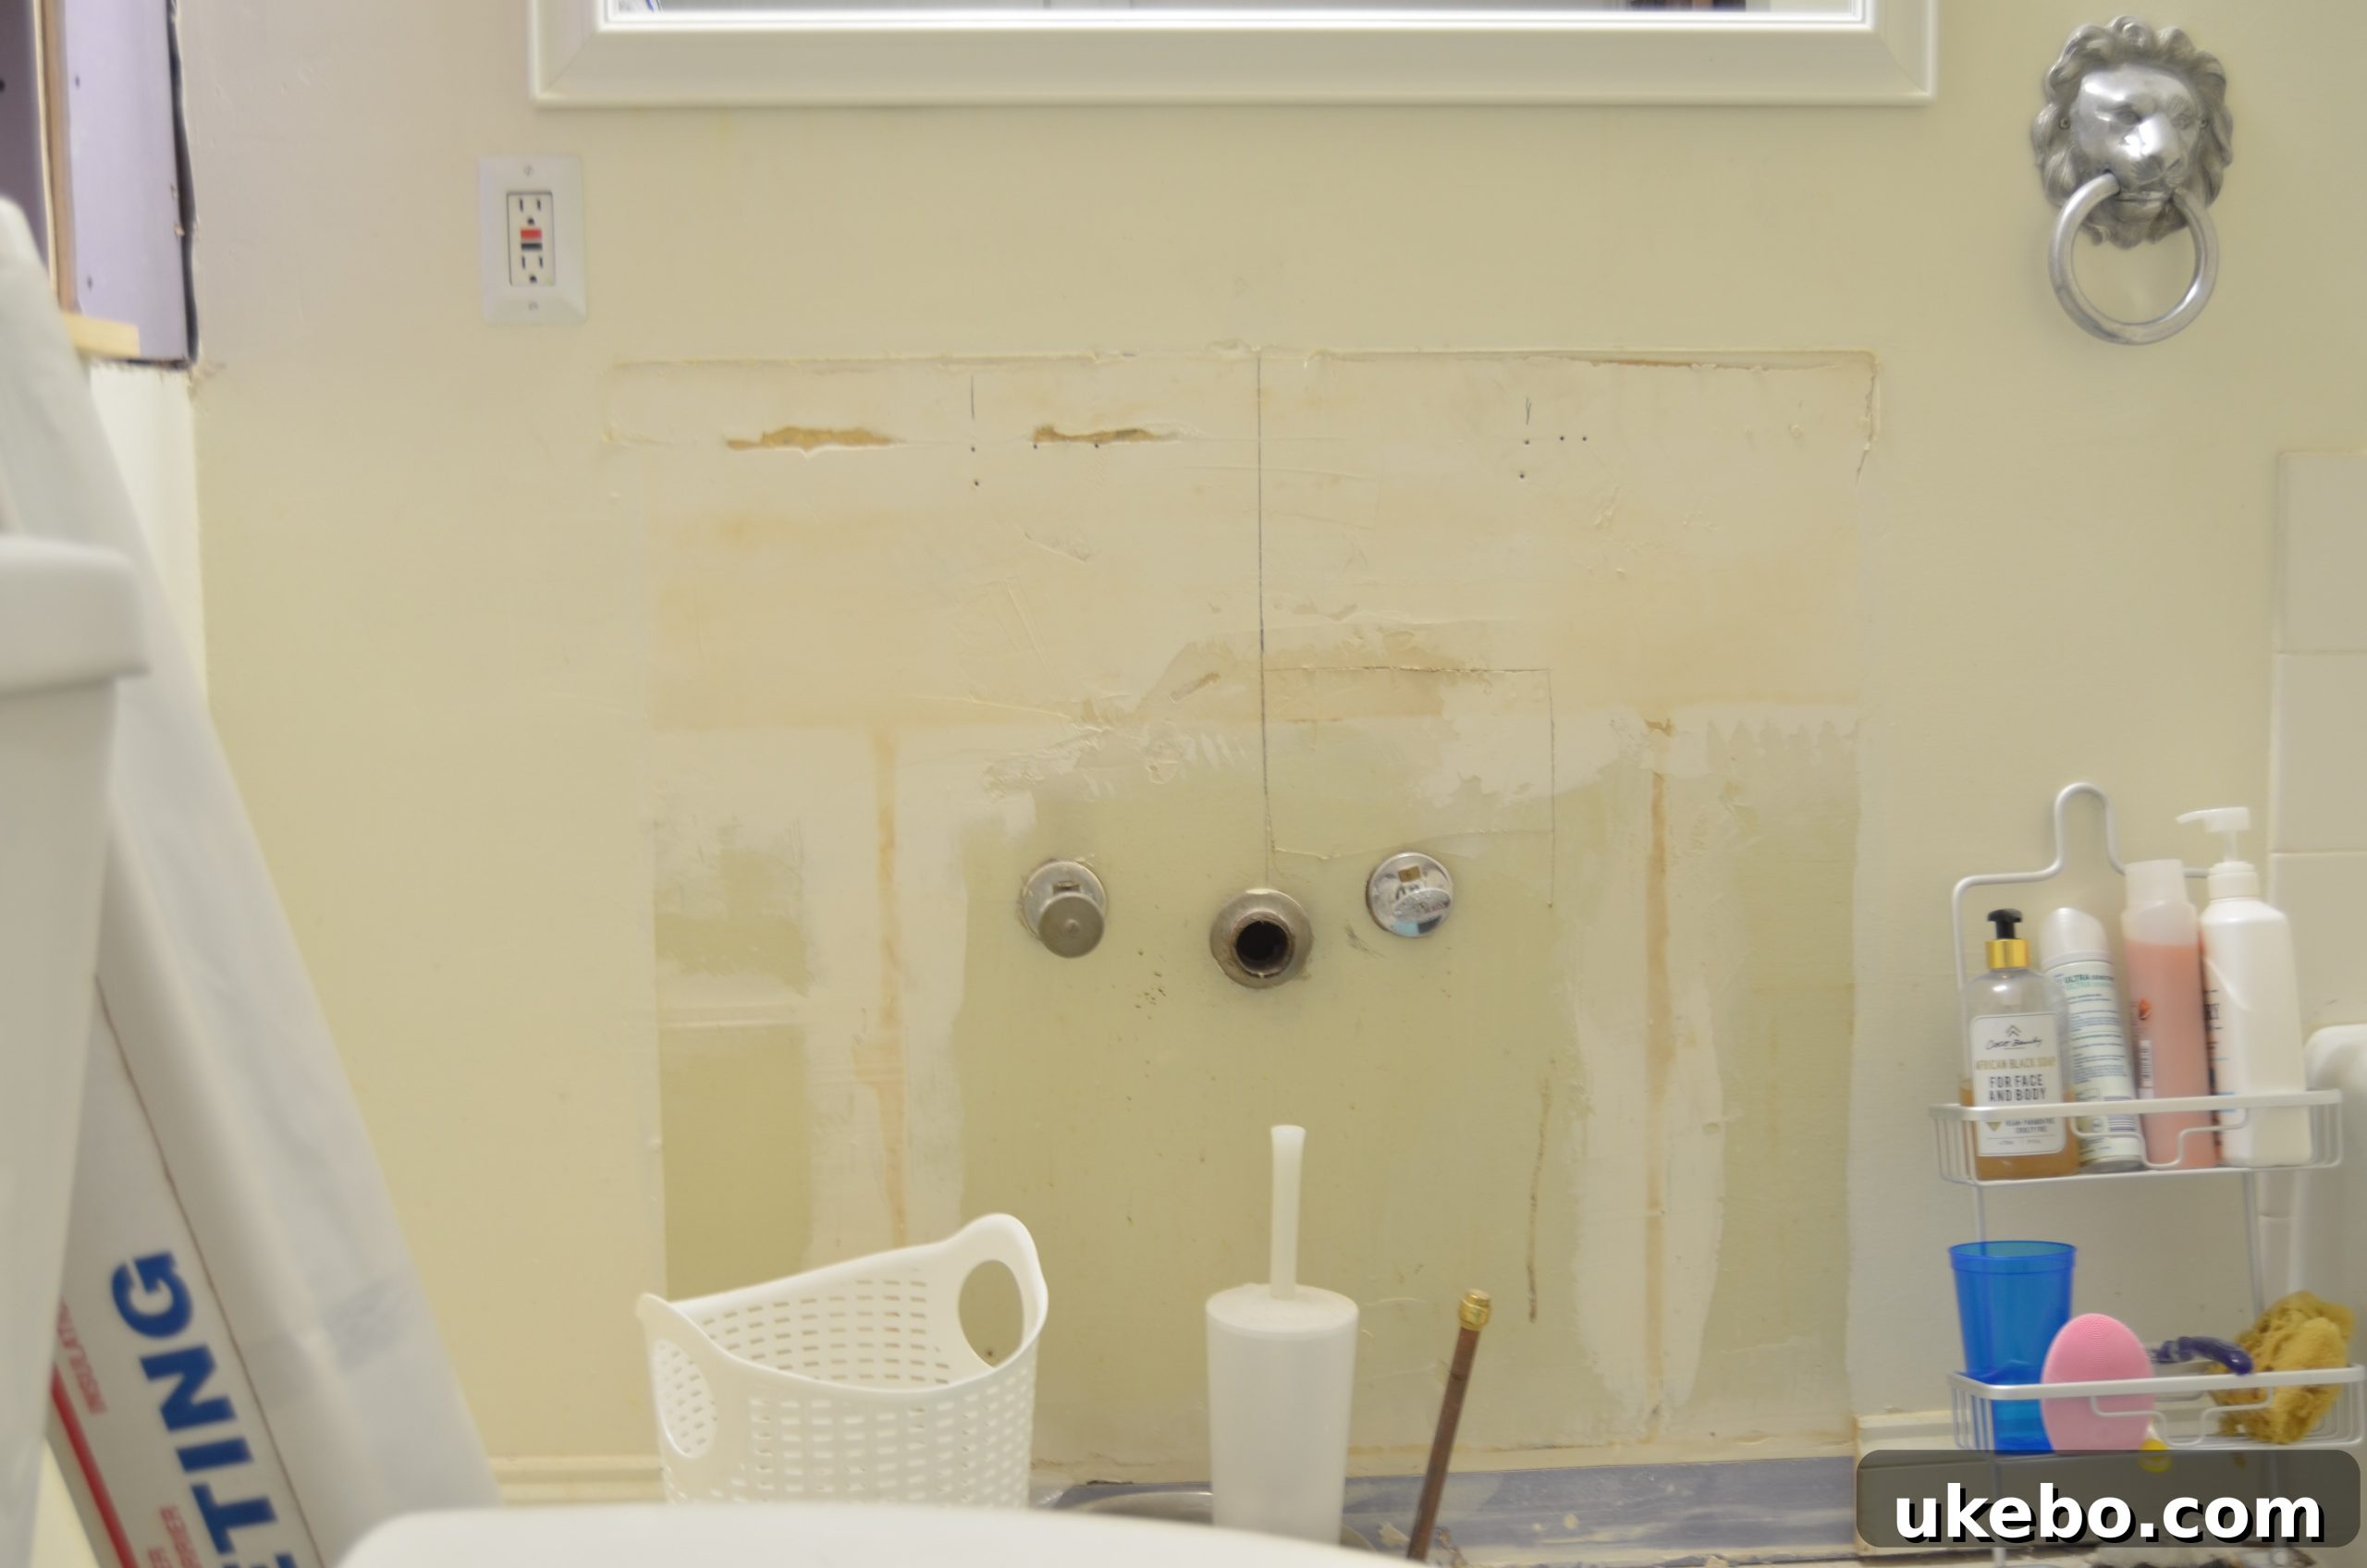
The past week has been a blur of activity, marked by intensive demolition and the initial stages of constructing key features of our design. We kicked things off with the complete removal of the existing shower and flooring, which immediately transformed the space and paved the way for our bold new vision. The satisfying sound of breaking tile and the clearing of old fixtures made the ambitious nature of this project truly sink in. This phase, while inherently chaotic, is also incredibly gratifying as you literally strip away the old to make room for the new. Every swing of the hammer and every dust-filled moment brings us closer to the sophisticated, moody aesthetic we’re aiming for.
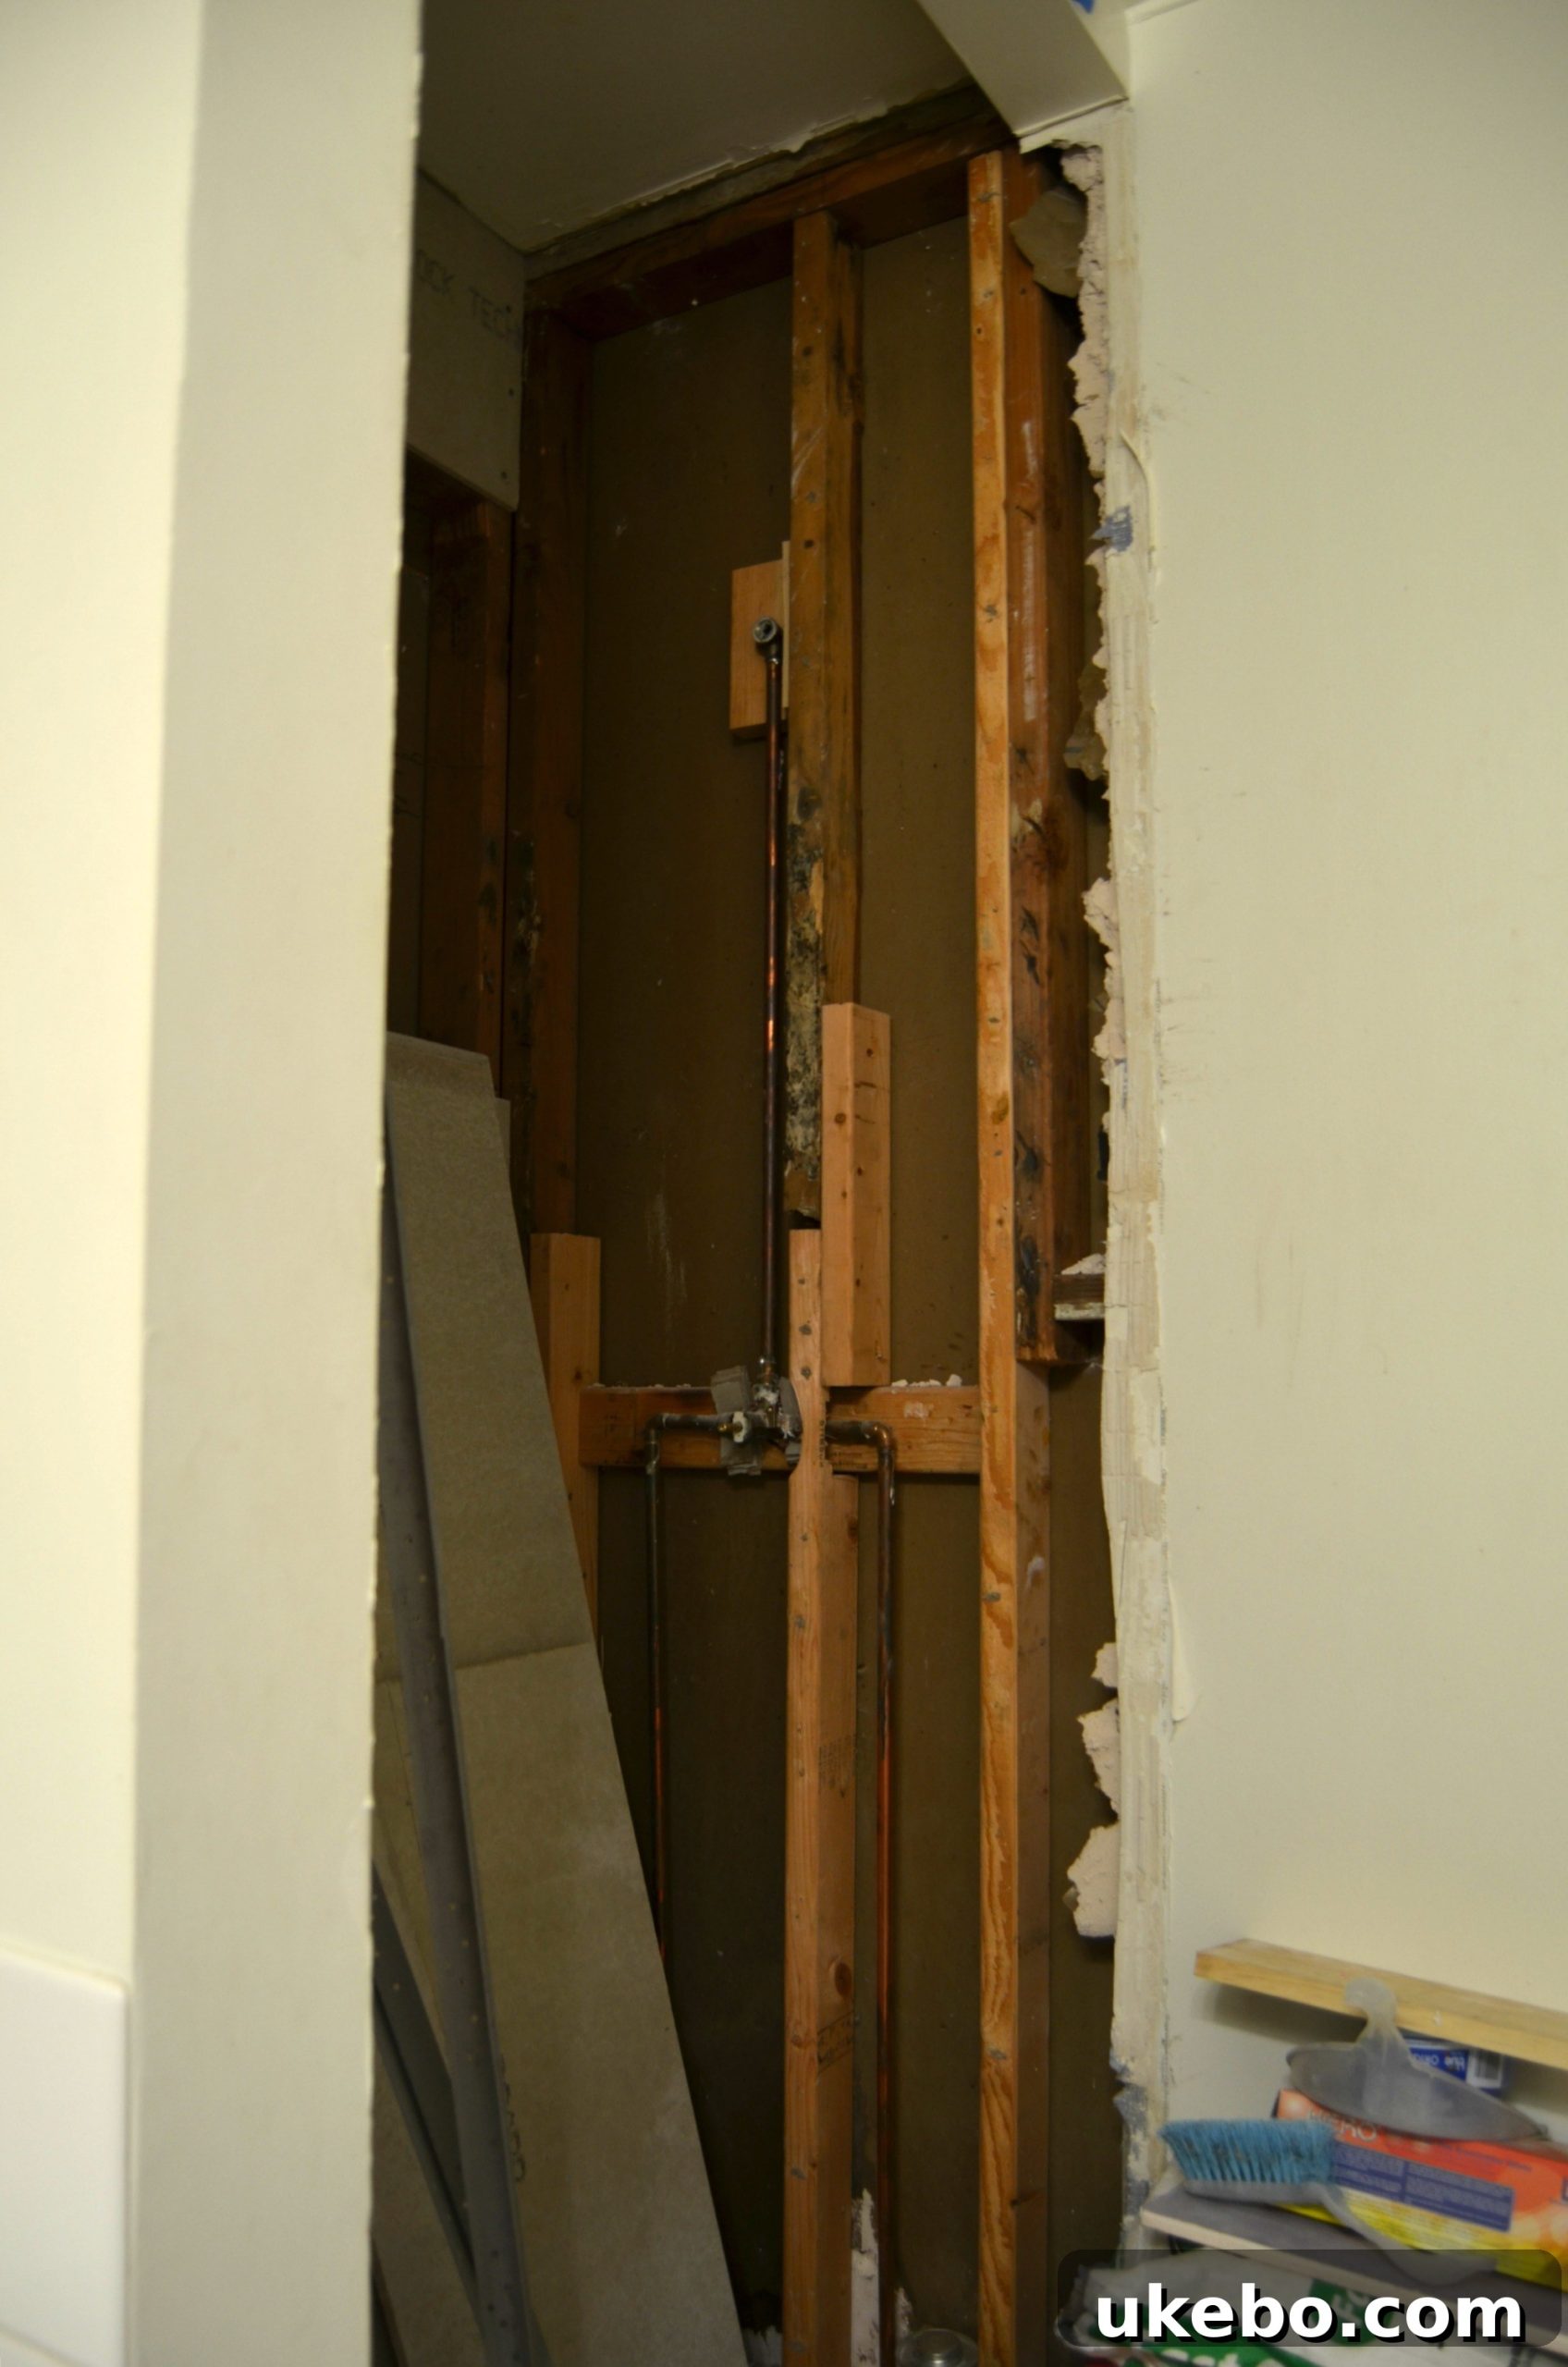
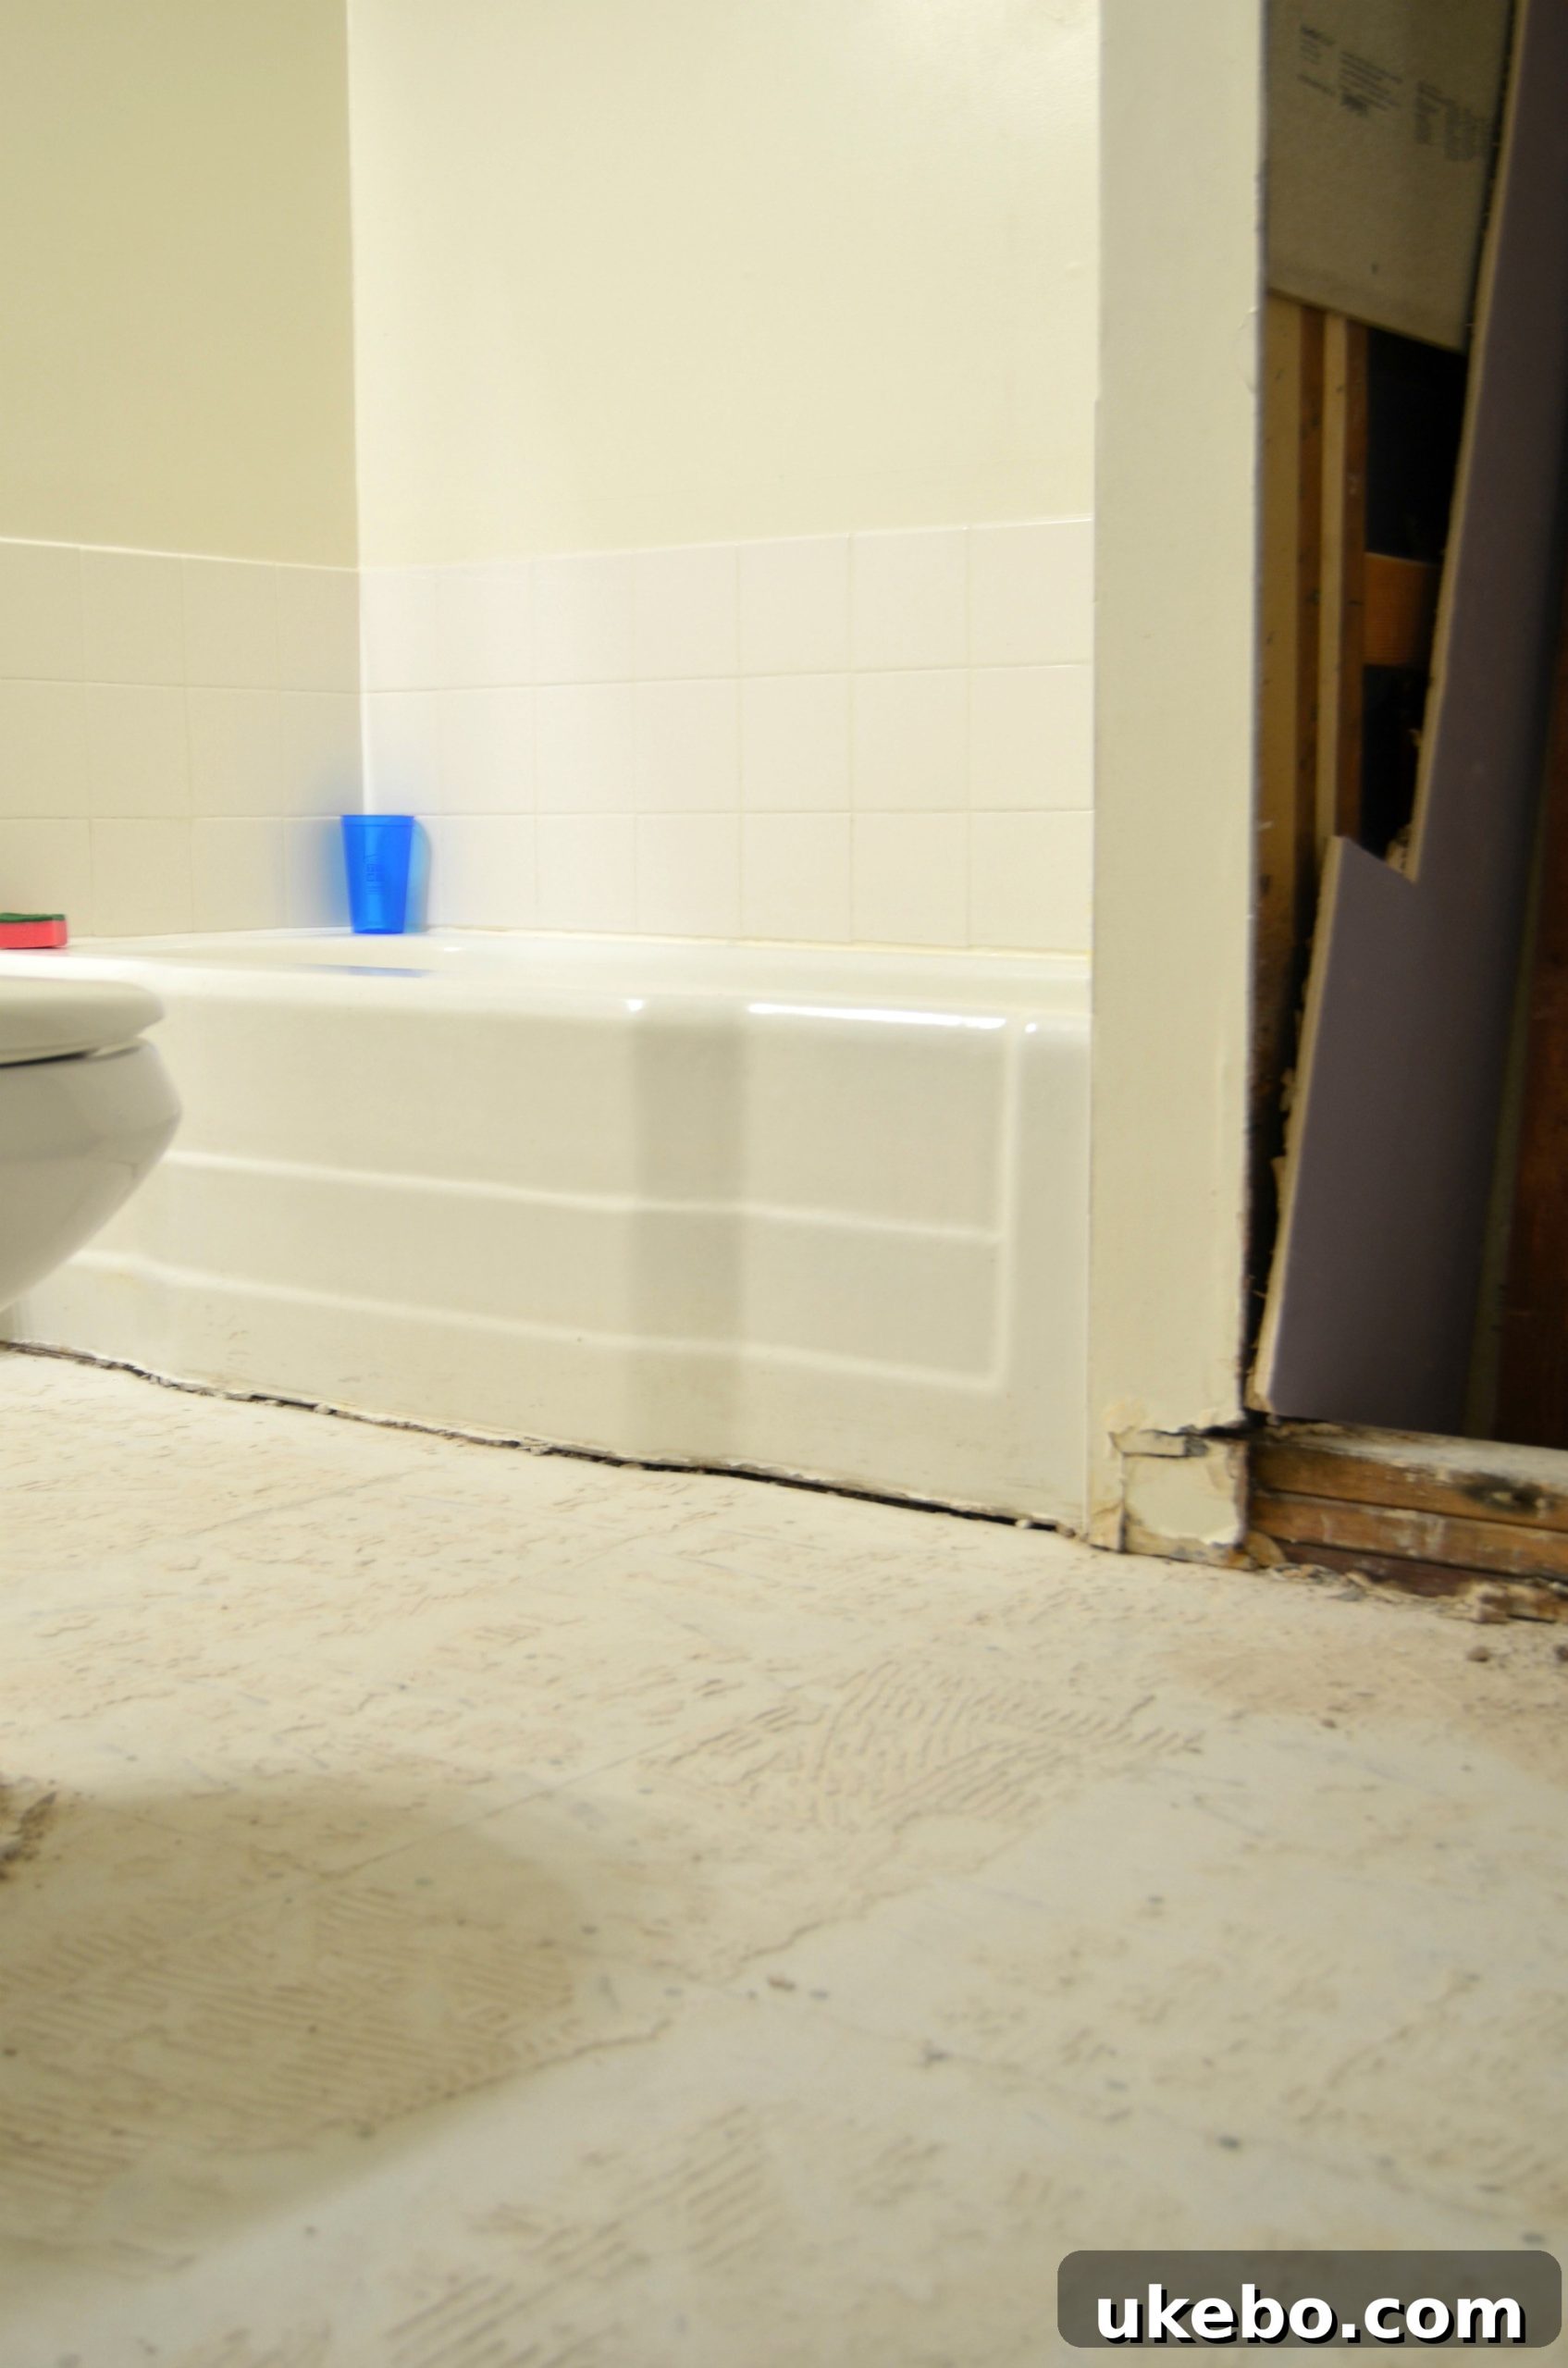
Next on the demo list was the vanity, a crucial step in opening up the bathroom and allowing us to reimagine the space from the ground up. Removing it wasn’t just about clearing an old fixture; it was about symbolically erasing the past and making a clean slate for the future.
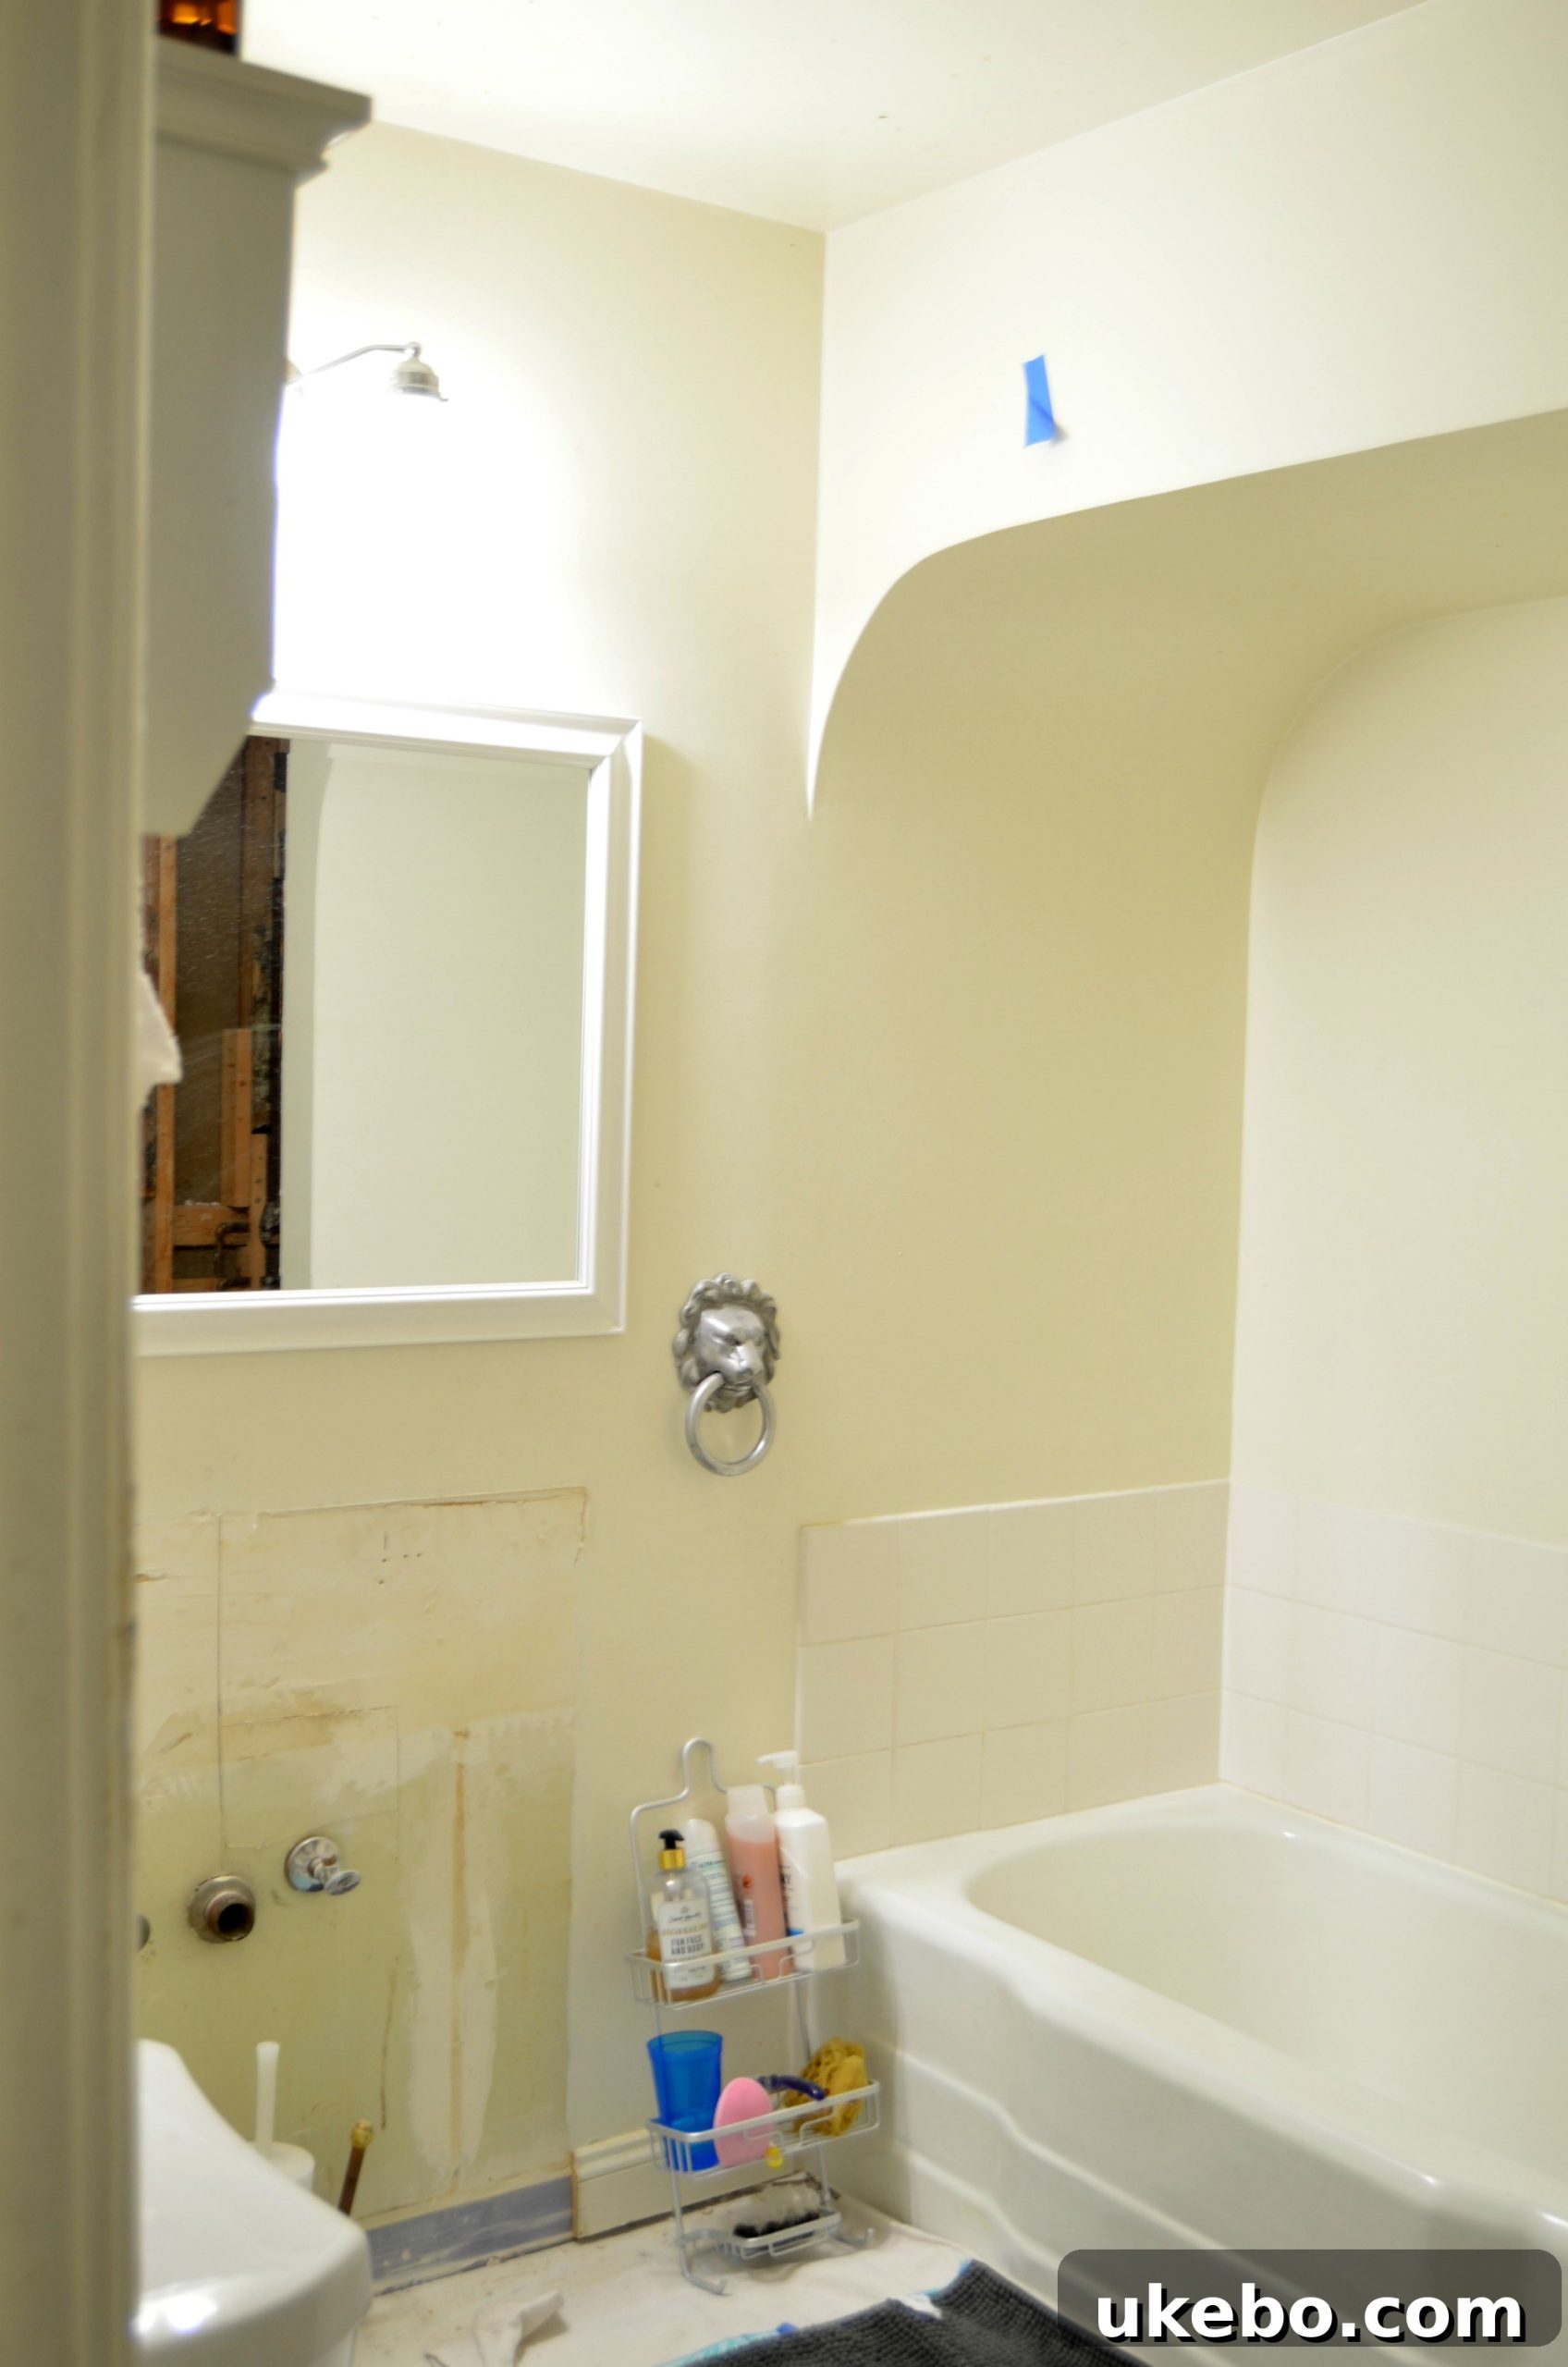
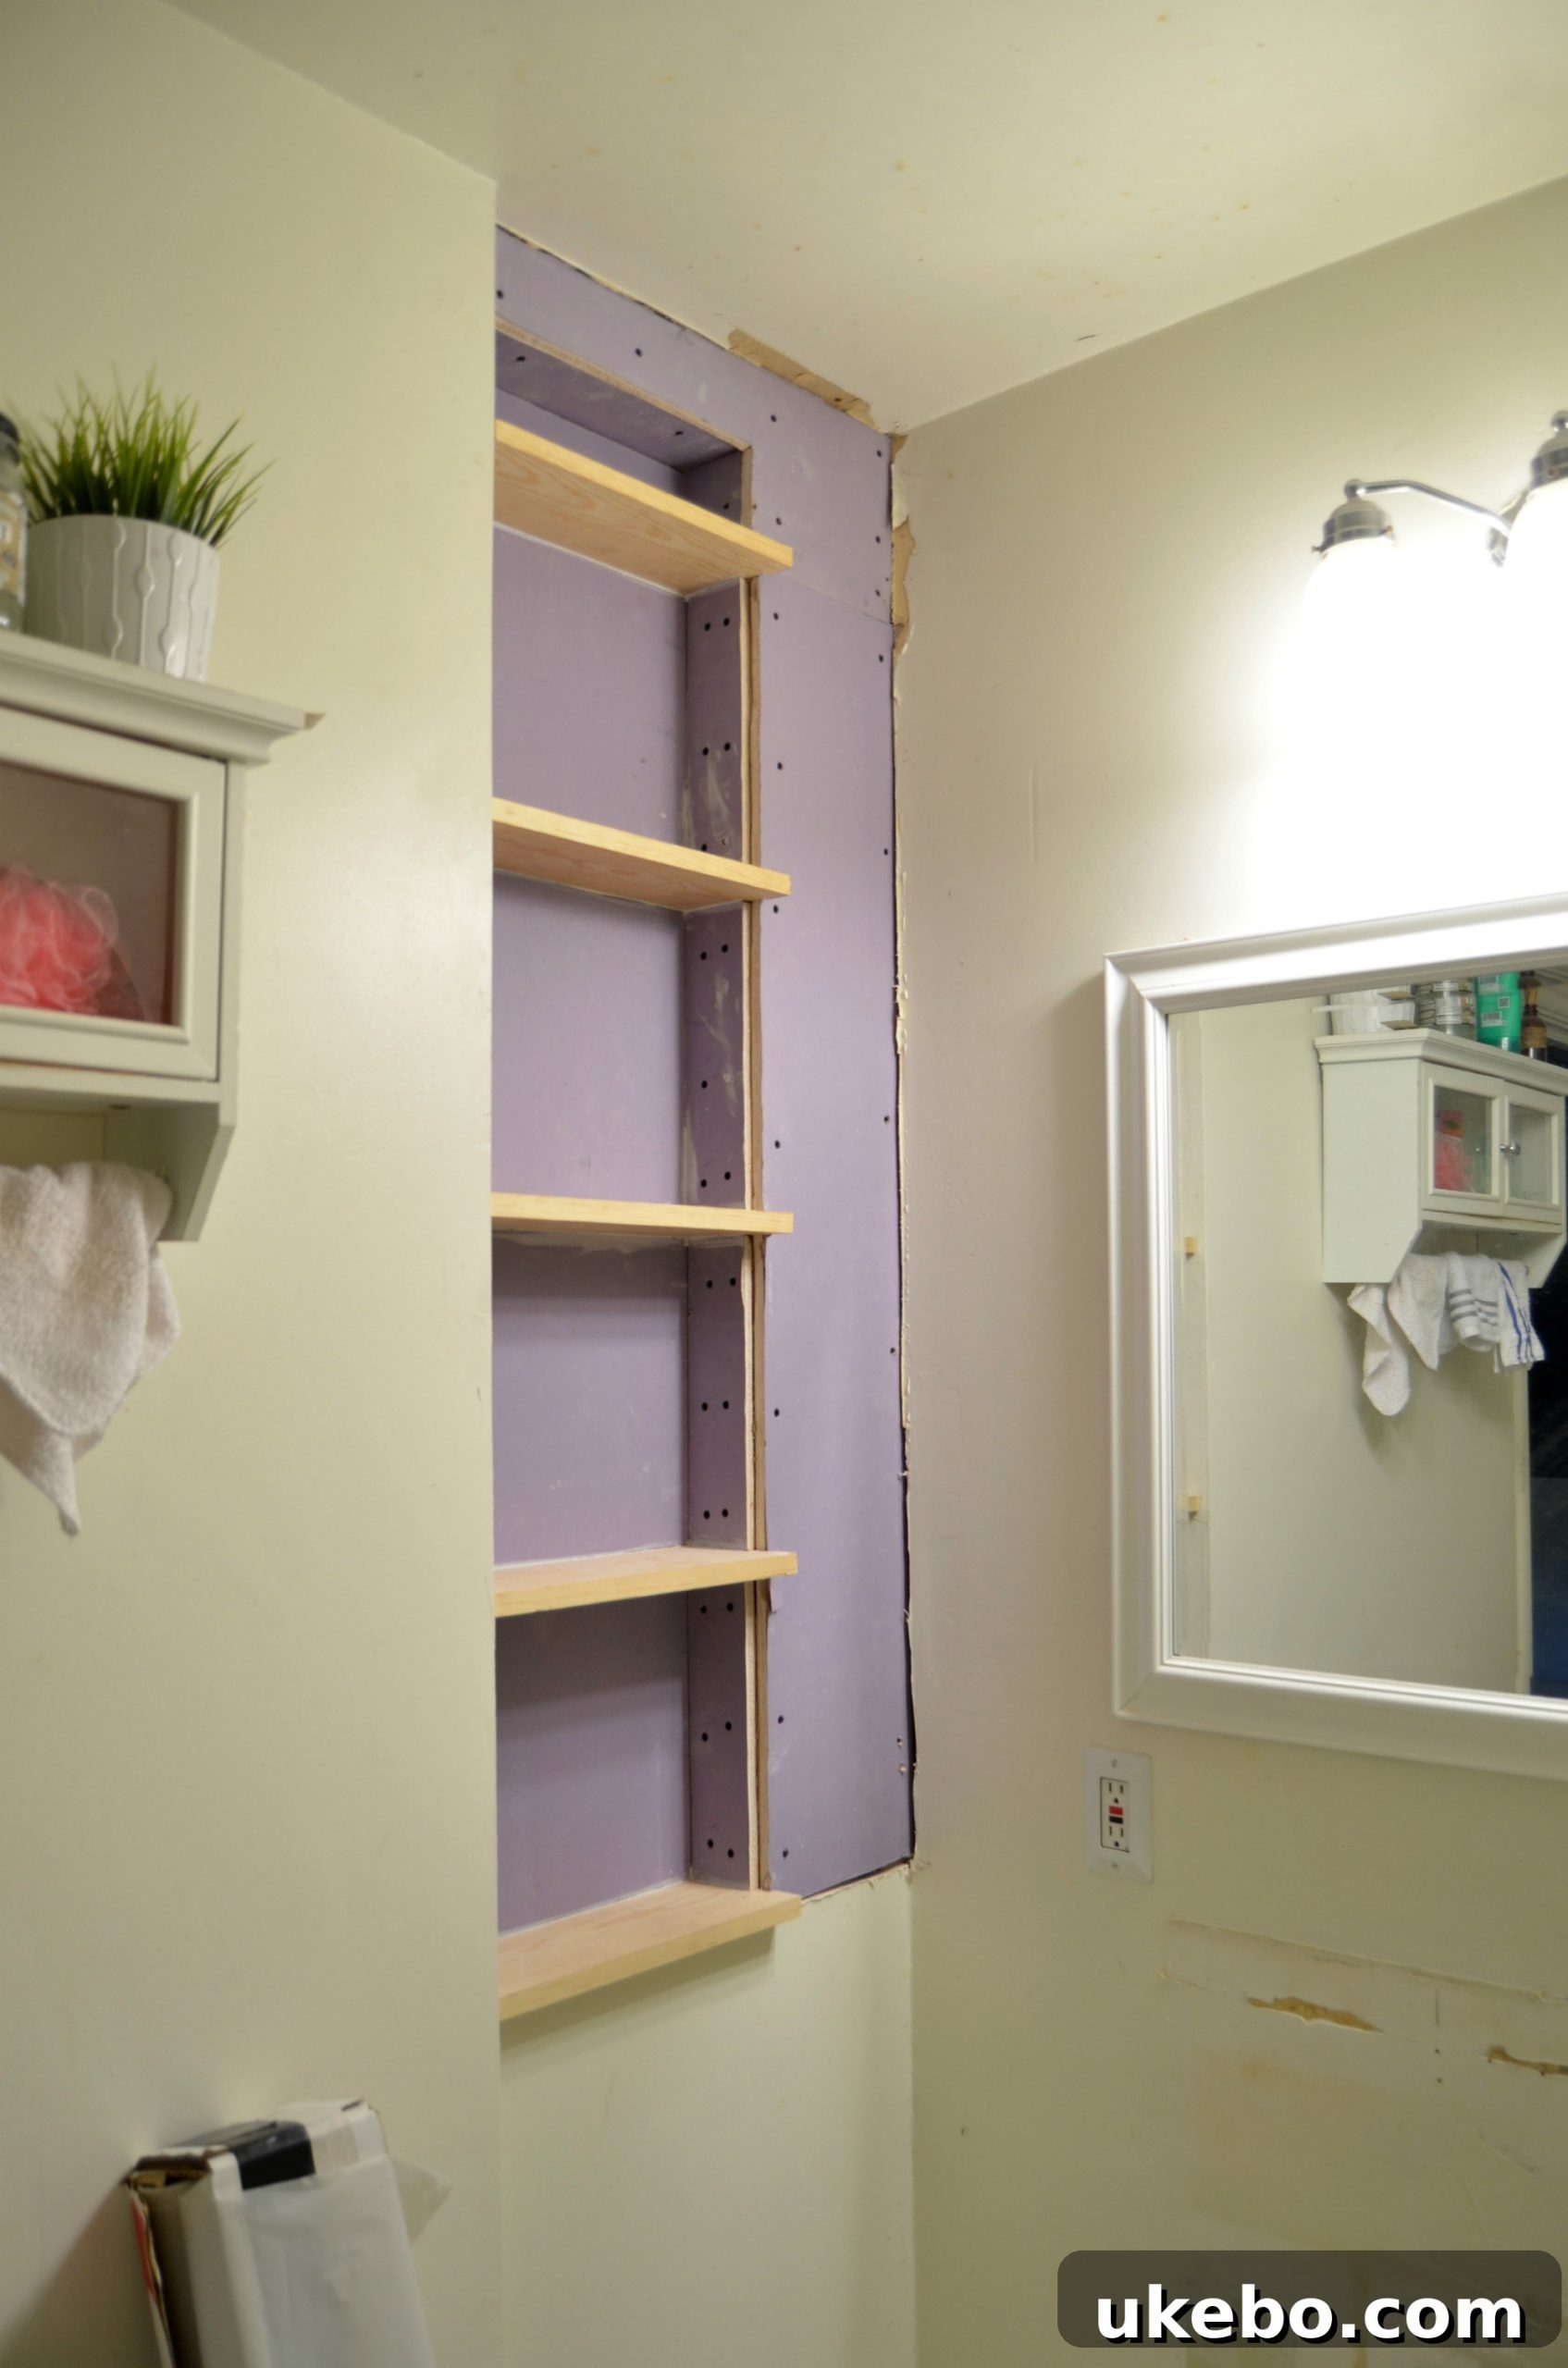
With the major demolition complete, we immediately pivoted to construction. We’ve started building out the corner storage niche, a clever solution designed to maximize functionality in our compact bathroom. Simultaneously, the rebuilding of the shower has commenced, laying the structural groundwork for one of the most critical elements of this renovation. Seeing the framework for the new shower take shape brings a tangible sense of excitement and validates all the planning and hard work.
The Unexpected Pivot: A Tile Dilemma
As anyone who’s undertaken a renovation project knows, it wouldn’t be a true renovation without a few unexpected snags. And, true to form, we encountered several minor hurdles that required quick adjustments. However, one significant challenge truly tested our adaptability: the tile selection. This wasn’t a minor detail; it was a fundamental shift that rippled through our entire design plan.
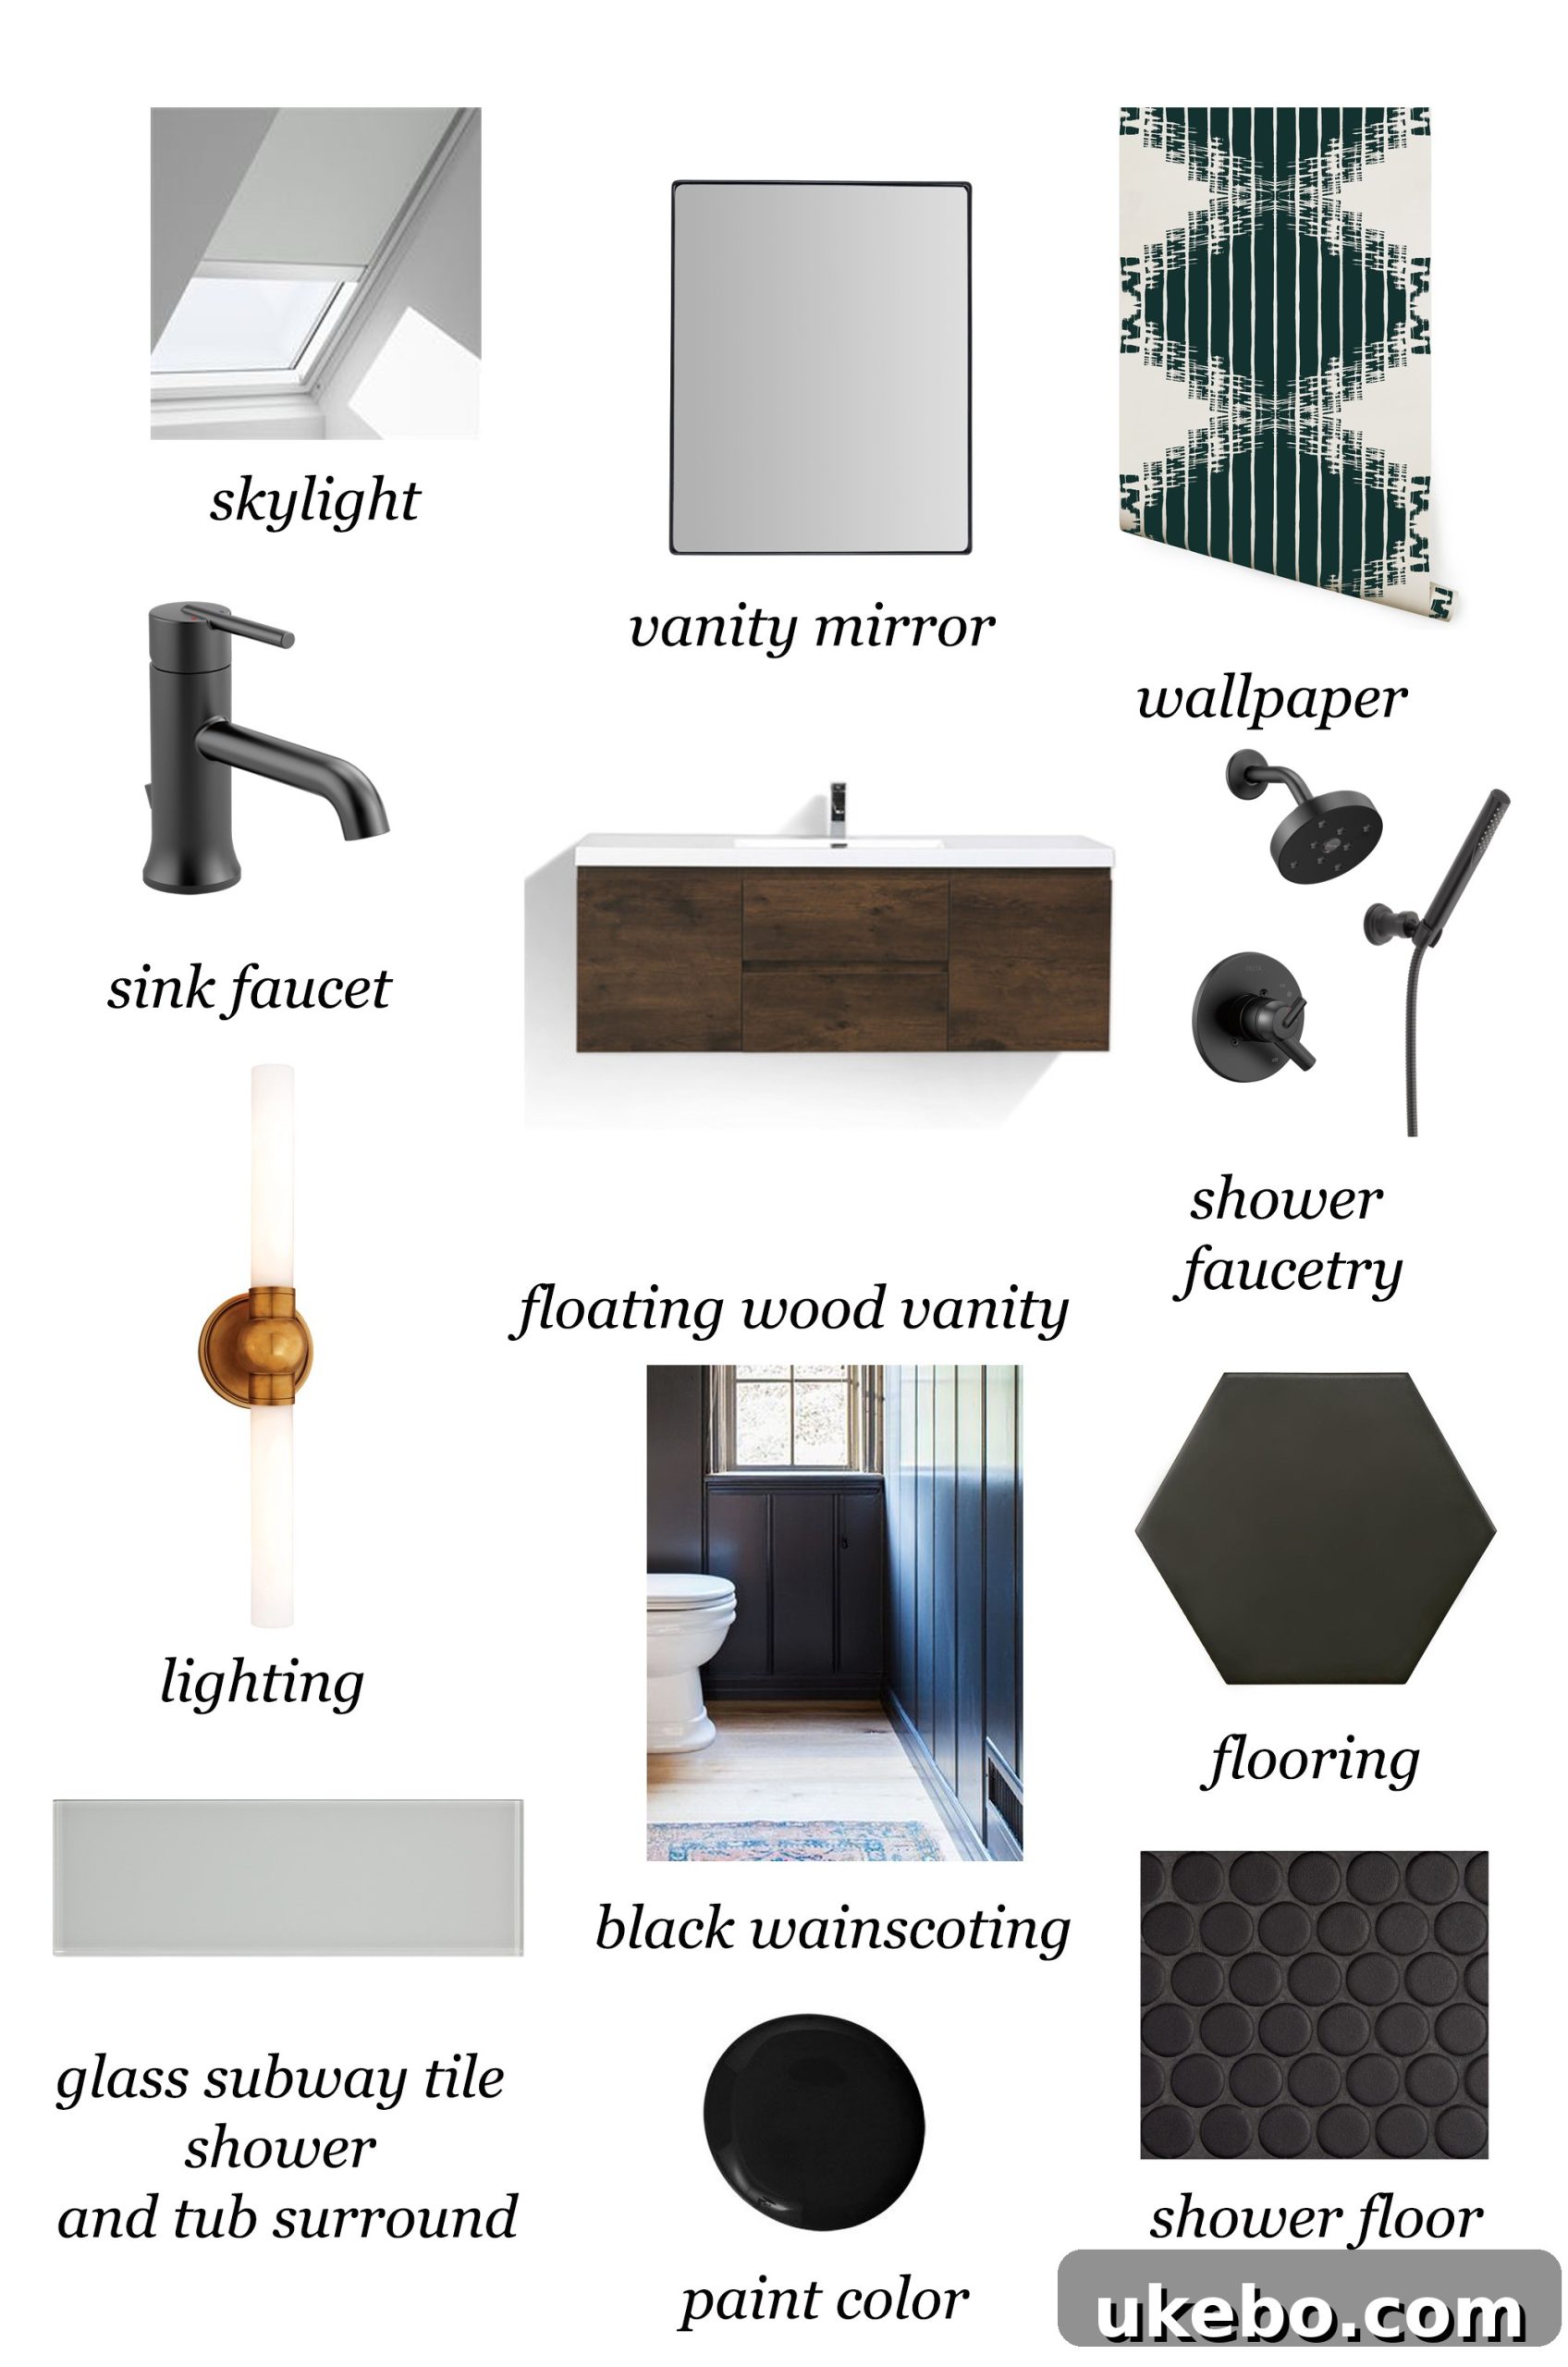
In the initial design vision, which I eagerly shared in last week’s post, I had meticulously chosen a large hex tile for the floor, classic penny tile for the shower pan, and a chic 4×12 glass subway tile for the shower walls and ceiling. These selections were carefully curated to achieve a specific aesthetic and functional goal, particularly for our small bathroom design.
The Glass Subway Tile Dream
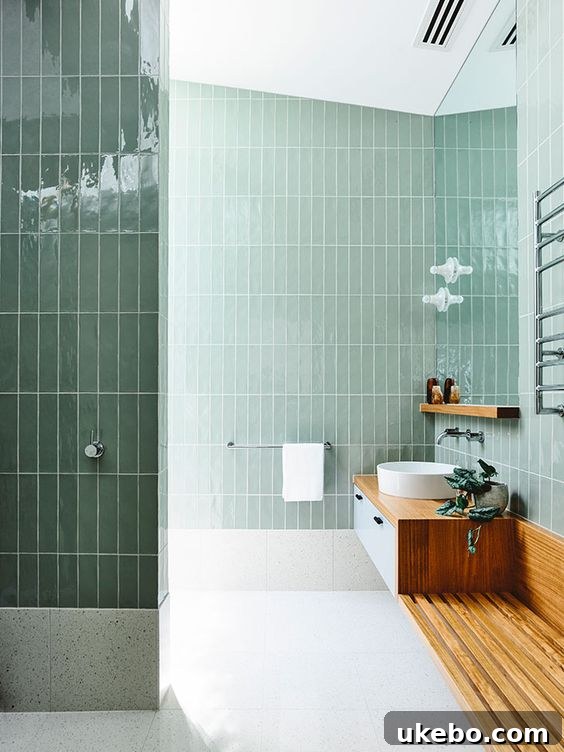
My heart was set on the glass subway tile for a very specific reason. With a modest shower footprint of just 39×30 inches, my primary goal was to maximize the feeling of spaciousness. Realistically, I couldn’t expand the physical dimensions of the shower, but I could manipulate its visual perception. The large scale of the glass tile, I believed, would create fewer grout lines and a cleaner, more expansive surface, tricking the eye into perceiving a larger area. Furthermore, I envisioned installing it vertically in a modern, stacked pattern. This vertical orientation would draw the eye upwards, enhancing the ceiling height and contributing to an overall sense of grandeur, even in a compact space.
via Wallpaper.com
The clean, symmetrical lines of a vertical subway tile pattern are ideal for a smaller shower. They elegantly guide the eye, creating a sense of height and continuity. Beyond the functional aspect, I also loved the idea of taking a classic material like subway tile and presenting it in a fresh, contemporary, and more interesting way, moving beyond the traditional horizontal brick pattern.
The Unforeseen Setback
Unfortunately, our carefully laid plans hit a wall when the vendor informed us they didn’t have enough of the glass subway tile in inventory to complete our project. This news was a significant blow. As I’m sure many of you can appreciate, altering even a seemingly small detail in a design can have a domino effect on the entire aesthetic. When you have to change something as visually dominant as the shower tile in a bathroom, it inevitably impacts *everything*. My initial reaction was to panic, but then I embraced the challenge and decided to pivot. And by “pivot slightly,” I really mean completely re-evaluate and redesign almost every tile selection!
Embracing the New Vision: The Mini Black Hex
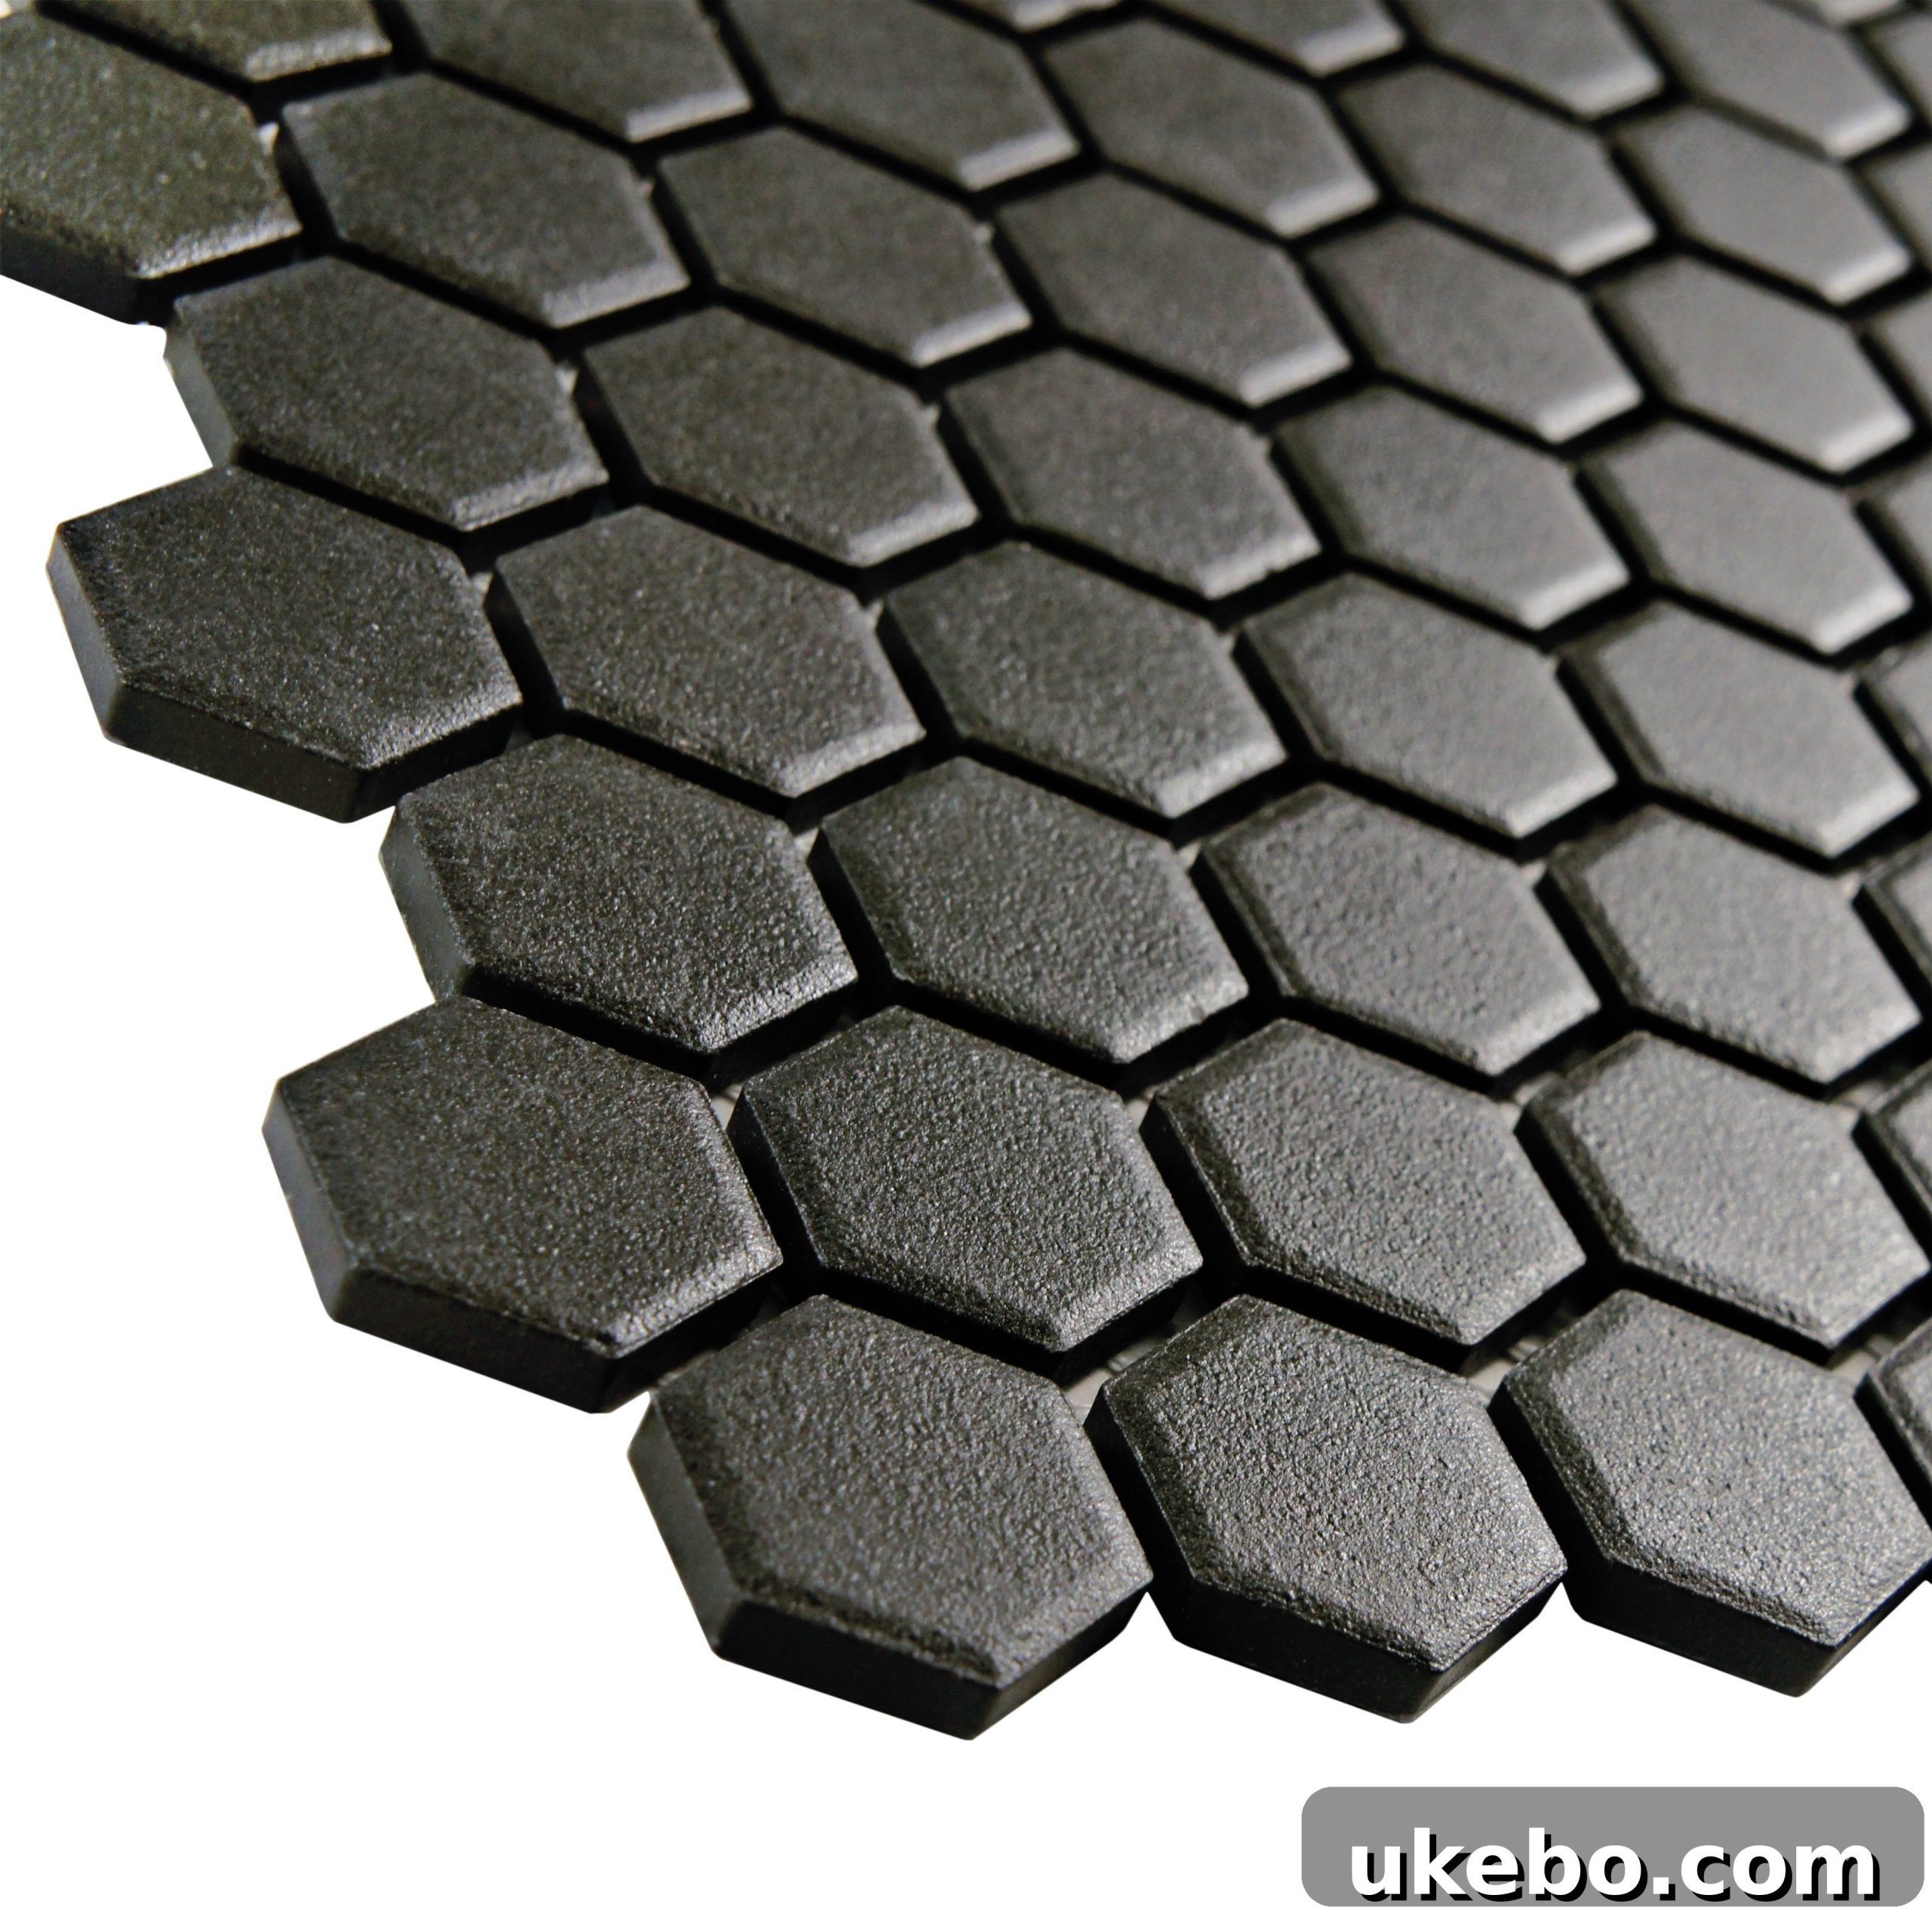
Once the glass subway tile was no longer an option, it was time for Plan B. I was determined to maintain the ultra-moody vibe I had envisioned for the space. After much deliberation and searching for the perfect alternative, I decided on an unglazed mini black hex tile for the entire bathroom.
(source: Pinterest)
The new concept is to have this striking black hex tile extend across the bathroom floor, flow seamlessly into the shower, and even surround the tub area. The objective here is to create a singular, continuous surface that visually expands the space. Much like the large glass tile, this small-scale tile can also be incredibly effective in a compact area. By making all the details uniform, we create the visual illusion of endlessness and depth. While I typically wouldn’t opt for such a small-scale tile in a restricted space, the continuity throughout the bathroom, combined with our plan to use black grout, will ensure a perfectly seamless and sophisticated look. This continuity is key to achieving that expansive, unbroken feel, preventing the small tiles from making the room feel busy or cramped.
Inspiration for a Seamless Aesthetic
I drew inspiration from several stunning spaces that masterfully utilize small, dark tiles to create a dramatic and cohesive environment. These examples showcased how a consistent tile choice, especially with matching grout, can transform a room:
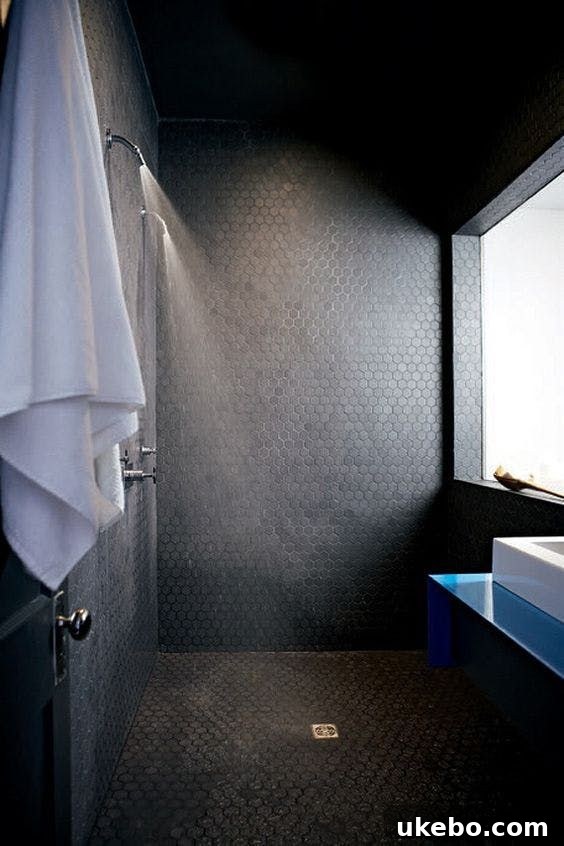
via Apartment Therapy
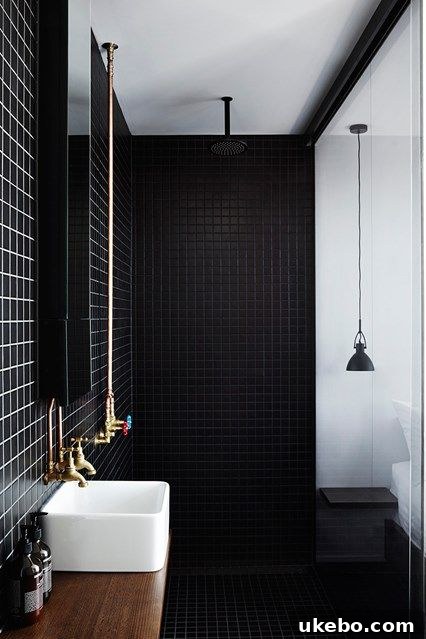
via House & Garden
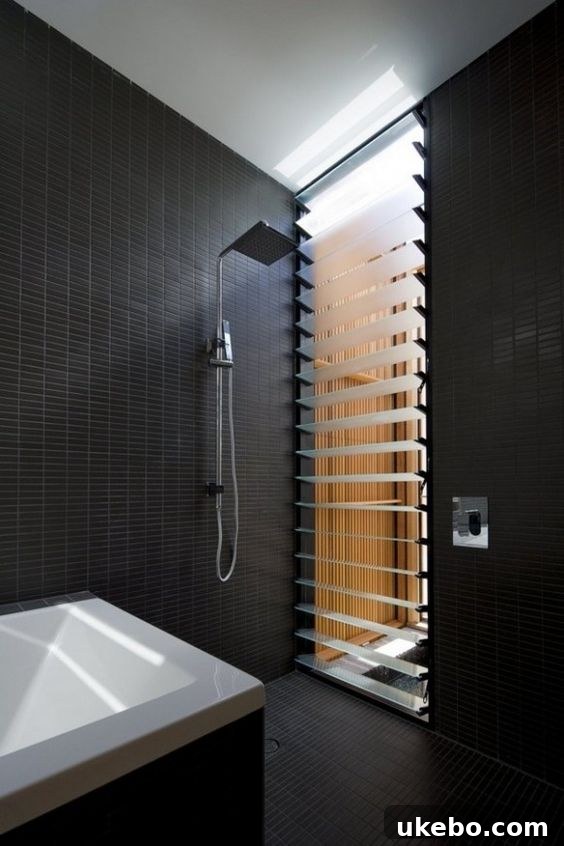
(source unknown)
As you’ve probably anticipated, this significant change in tile selection naturally triggered adjustments to other design elements in the room. This includes the finish of the faucetry, which will now complement the new dark and moody tile, and even the wallpaper choice, ensuring everything harmonizes perfectly. I’m excited to delve into more details about these specific changes and our updated material selections in the coming weeks, so stay tuned for those reveals!
Looking Ahead to Week 3: A Major Transformation Week
Alright, friends, we’re now charging into Week 3 of the One Room Challenge, and let me tell you, it’s slated to be a monumental one! Tomorrow marks the beginning of the skylight installation, and I am absolutely over the moon with excitement. Bringing natural light into what was once a dim space is a game-changer, and I cannot wait to share all the intricate details about this process and its impact next week. In the interim, I’ll be documenting plenty of behind-the-scenes footage and progress updates on my Instagram stories, so make sure you’re following along there!
Beyond the skylight, our schedule is packed. We anticipate getting all the new electrical wiring in place, installing the rough-ins for both the shower and the tub, pouring the shower pan (a critical step for proper drainage), meticulously building out all the remaining custom niches for added storage, and finally, installing all the Hardiebacker board in preparation for the tiling phase. It’s a demanding list, but each item brings us closer to the finish line. And if that weren’t enough, I’m heading to North Carolina for High Point Market on Friday, returning just in time on Tuesday for our Week 3 update next Wednesday! Phew! Just reading that makes me feel a bit tired, but the thrill of seeing this bathroom transform keeps me energized.
Navigating the Renovation: Strategy and Support
Several people have asked how we’re managing a full-scale bathroom renovation, especially since it’s the only bathroom in our house, alongside demanding work schedules, family life with kids, and all the daily complexities that come with it. The honest answer is by strategically hiring out as much work as we can afford to. Knowing that my One Room Challenge timeframe would coincide with a significant amount of travel and other professional commitments, I made the conscious decision to outsource a substantial portion of the demolition and preparatory work. This approach has been instrumental in lightening my load and alleviating the immense stress of attempting to do everything myself within such a tight deadline.
So, I entrusted my contractor with the heavy lifting: the initial demolition, the complex rerouting of electrical and plumbing lines, the precise installation of the Hardiebacker, and the structural construction of all the custom niches. This allows me to focus my energy and expertise where it counts most and where my passion lies. I will then take over and personally tackle all the intricate tiling work, the installation of elegant wainscoting, all the painting, the careful mounting of the vanity and lighting fixtures, and all the final finishing touches that truly bring a space to life. This hybrid approach ensures professional quality for the foundational elements while allowing me to infuse my personal touch into the design and aesthetic details.
Furthermore, a crucial aspect of our strategy involves working in carefully planned phases. This is paramount to avoid completely losing all functionality of our sole bathroom for extended periods. We’ve meticulously scheduled the project so that we always retain access to the toilet and bathtub throughout the entire renovation, even during periods when the shower or sink might be temporarily out of commission. This phased approach minimizes disruption to our daily family life and makes the renovation process much more manageable.
Okay, friends, wish me luck as we dive deeper into this challenging yet rewarding project! And please, take a moment to visit the pages of the other incredibly talented designers participating in the One Room Challenge. Check out their inspiring progress this week as well. Don’t forget to use the hashtag #oneroomchallenge for a daily dose of design inspiration and updates across all social media platforms!
Until next time…