DIY Hair: Heat Protectant
Also filed inBath and BeautyEssential OilsHaircare
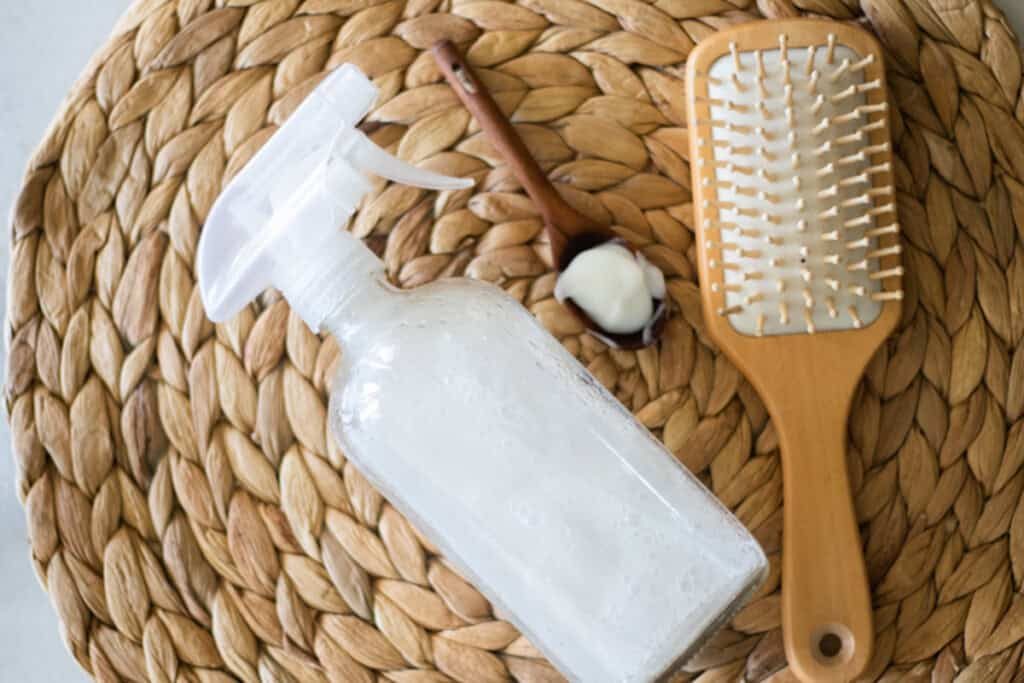
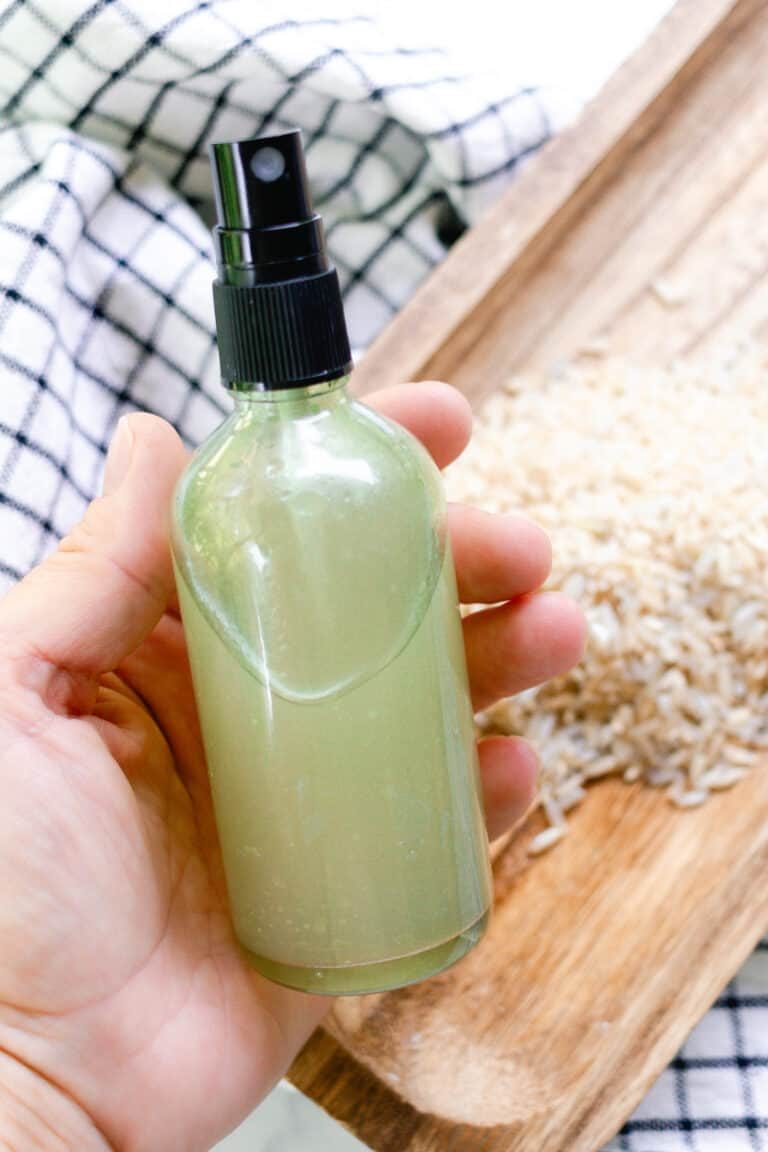
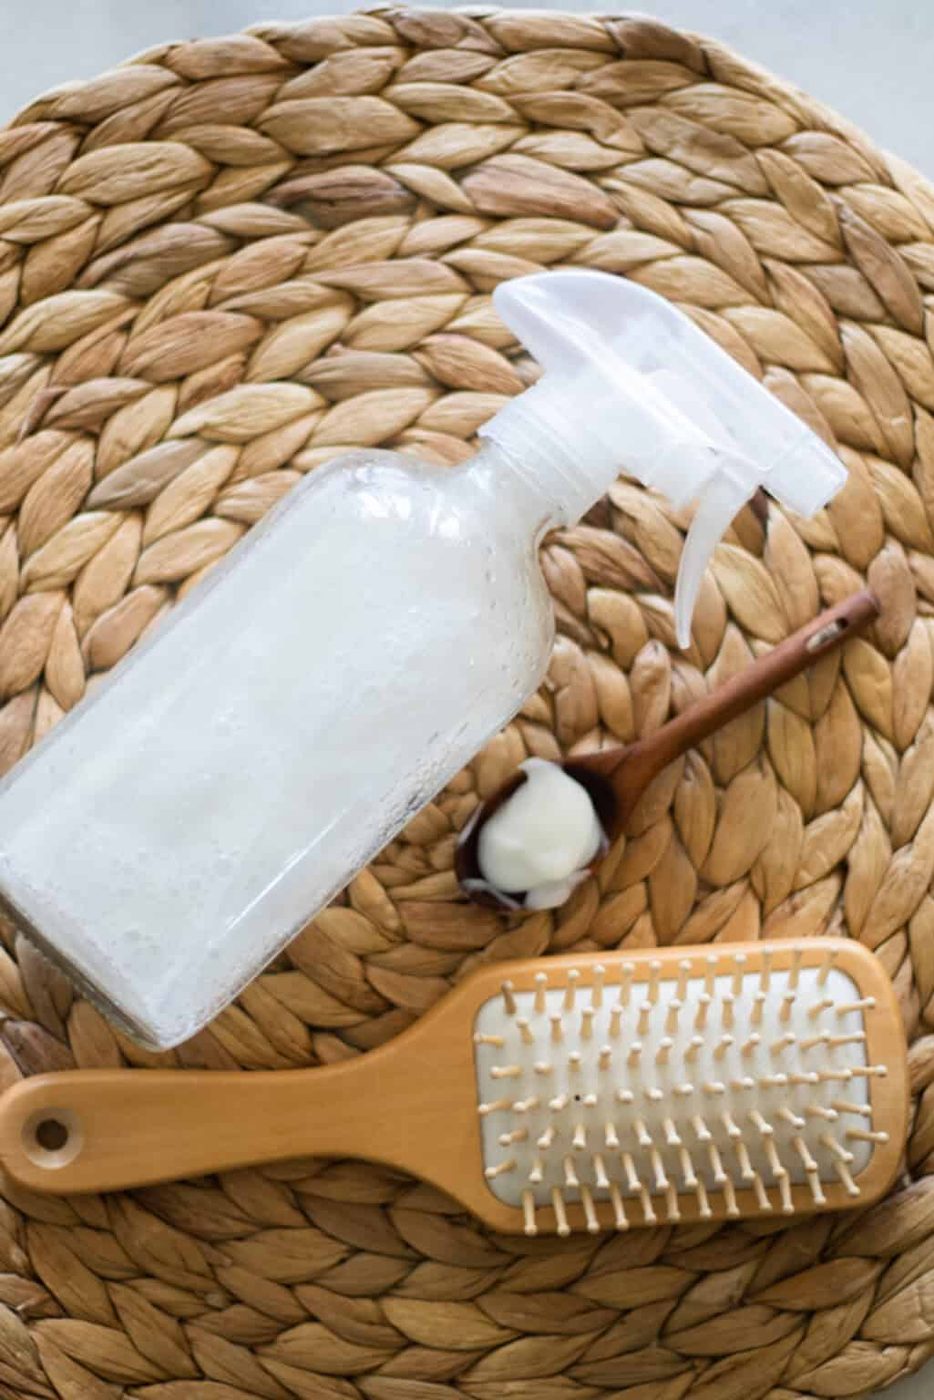
This DIY hair heat protectant is made with all-natural ingredients and will keep hair healthy, soft, and smooth. It’s an easy-to-use heat protectant spray that is made with only 4 ingredients! Perfect for all hair types.
If you love blow-drying, straightening, or curling your hair, you’ll definitely want to try this simple yet effective hair heat protectant!
Our hair care routine is pretty basic. We use homemade natural shampoo and homemade conditioner twice a week and DIY dry shampoo in between as needed. We wear our hair straight most of the time and mainly let it air dry. However, when we use heat on our hair, we like to make this DIY heat protectant spray first.
It can help to keep hair healthy and soft, smooth, and undamaged. We love to make our own hair care products, so we know what ingredients are in the products we am using.
Over time, using blow dryers, curling irons, straighteners, and even really hot water can cause damage to the hair. This heat protectant spray prevents a lot of that damage, keeping your hair healthy, soft, and smooth.
Why You’ll Love It
- Hair heat protectant spray is easy to apply and can make a huge difference in the health of your hair. It’s such a quick way to keep your locks shiny and soft.
- This recipe is made with only 4 ingredients! It won’t take a lot of time or financial investment to have your very own bottle of homemade heat protectant.
- Like many of our DIY recipes, you can add your choice of essential oils to suit your preferences and needs. Choose your favorite scents or find oils with the benefits your hair most needs.
Ingredients
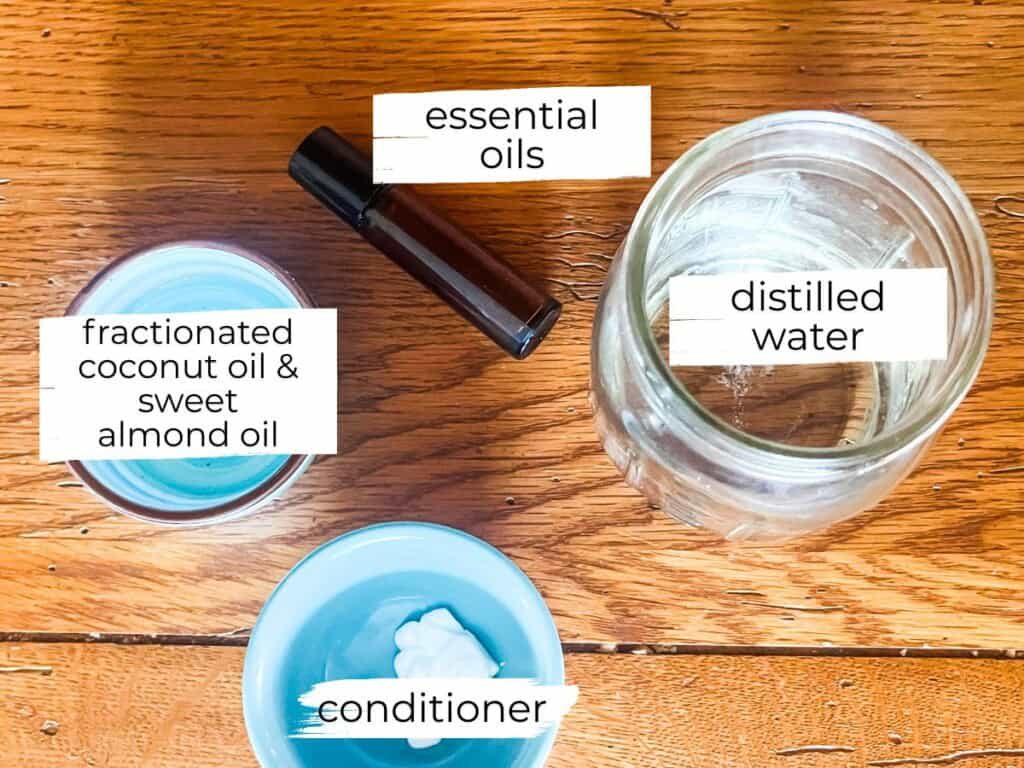
- Fractionated coconut oil: Be sure to use fractionated coconut oil because it remains liquid even at cooler temperatures, while regular coconut oil solidifies below 76 degrees F. Fractionated coconut oil is a lightweight oil that works to moisturize, condition, and protect hair.
- Sweet almond oil: Almond oil is packed with nutrients that strengthen, soften, and repair damage to hair. It can cause irritation to those with nut allergies, so feel free to substitute with jojoba oil or avocado oil if needed.
- Conditioner: Conditioner helps create that protective, moisturizing coating for your hair. In fact, before we created this recipe, we used our DIY leave-in conditioner spray as a heat protectant! You can use whatever conditioner you have in your shower; we use our homemade conditioner.
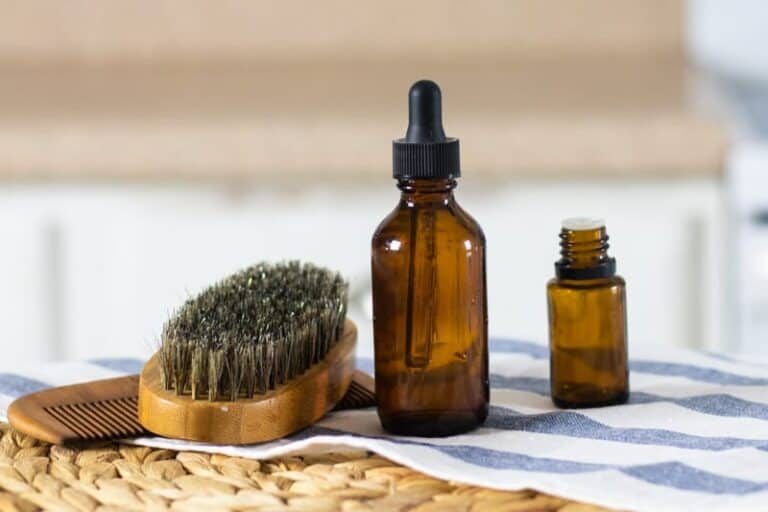
- Essential oils: You can optionally add essential oils for a nice scent and additional benefits to the hair. We like to use lavender, rosemary, peppermint, tea tree, or lemongrass. Feel free to use more than one!
- Distilled water: Using water that’s distilled helps maximize the shelf life of the product.
How to Make DIY Hair Heat Protectant
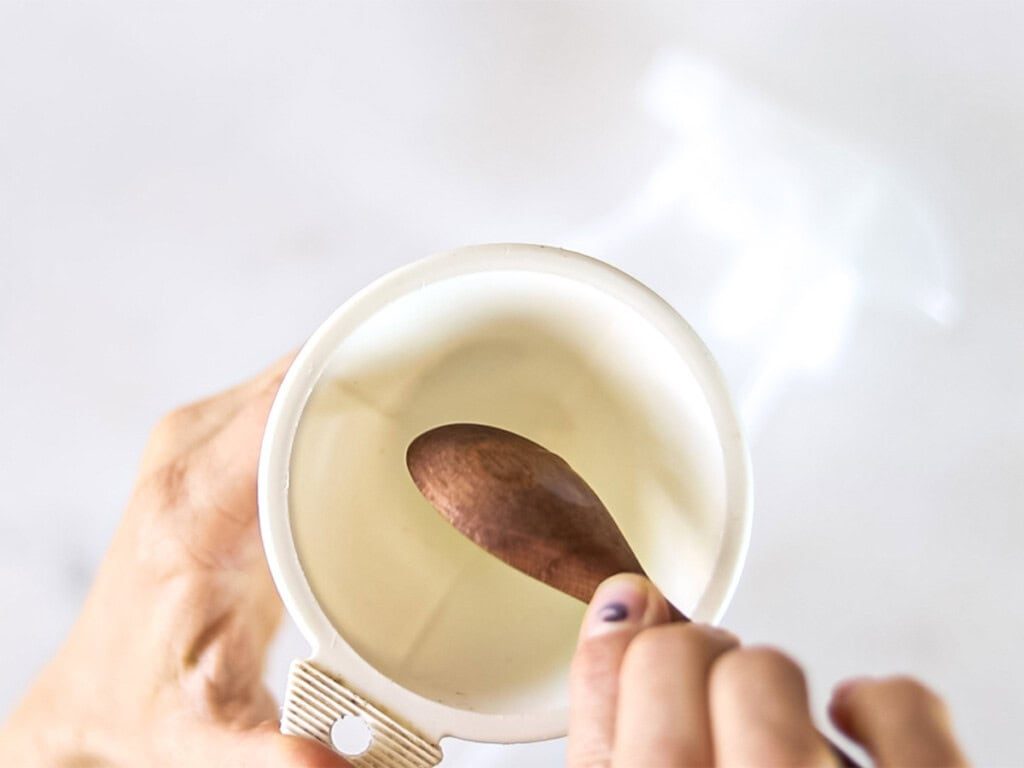
Step 1. Using a small funnel, add the coconut oil, sweet almond oil, and conditioner to a spray bottle.
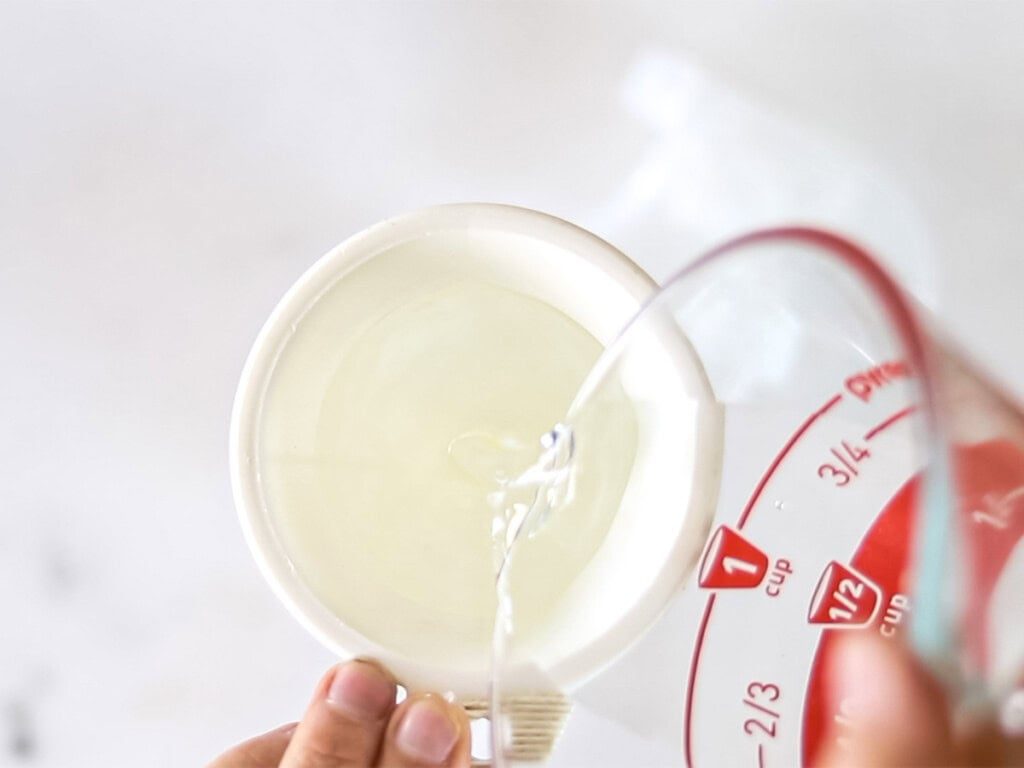
Step 2. Add the distilled water to the top of the bottle.
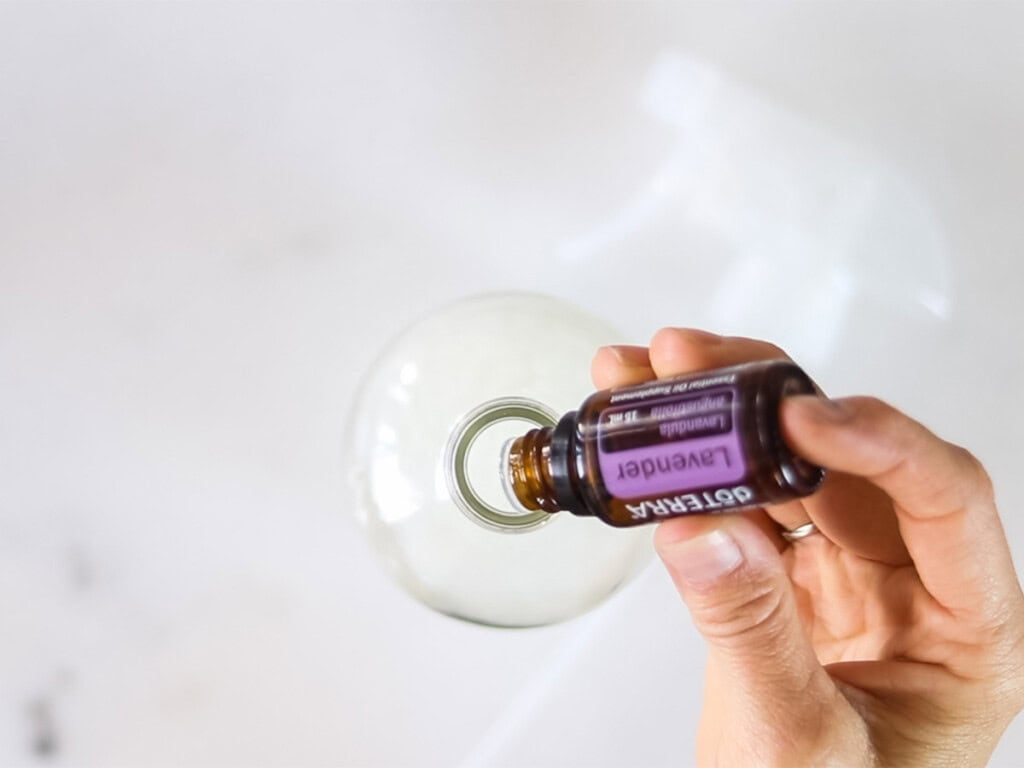
Step 3. If you’re using essential oils, add those to the spray bottle.
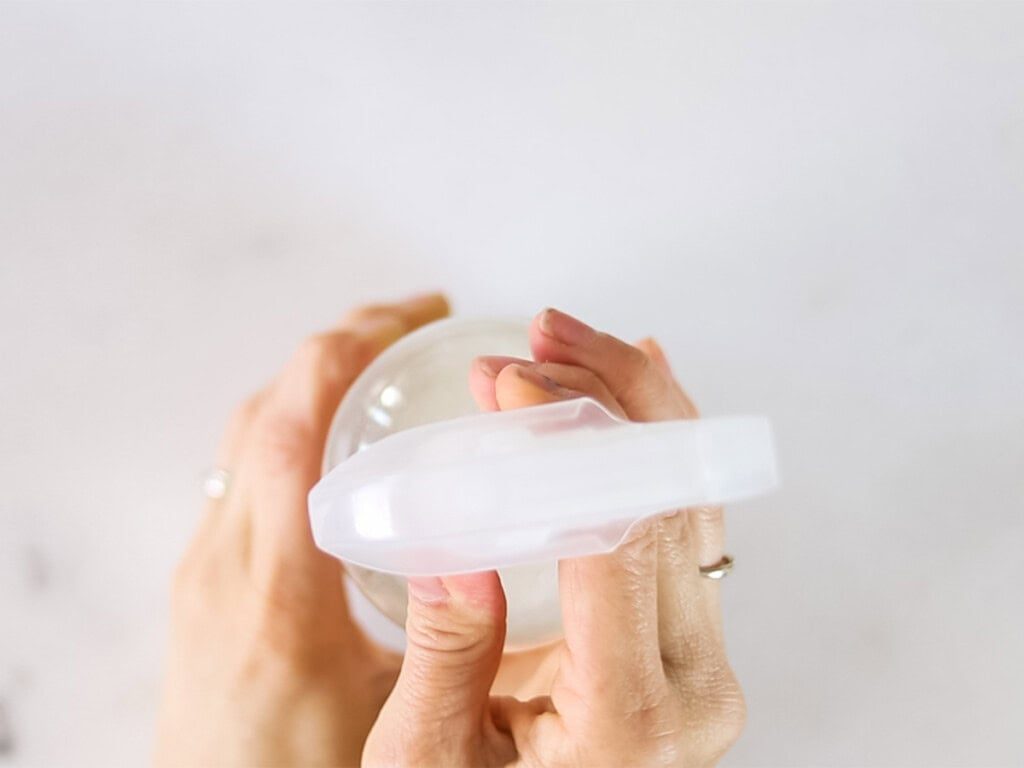
Step 4. Secure the lid and shake well. Mist on damp hair before blow drying, then spray another layer before heat styling.
Does Heat Protectant Spray Work?
It short, yes, it does! As with any products, some will be more effective than others. With all hair types being different, it is important to try and see what works best for your hair.
The spray will form a protective barrier over each hair strand to protect it from heat styling tools and blow-drying. Heat protectants will also moisturize your hair, which can help with dry hair, split ends, and breakage.
How to Use Hair Heat Protectant
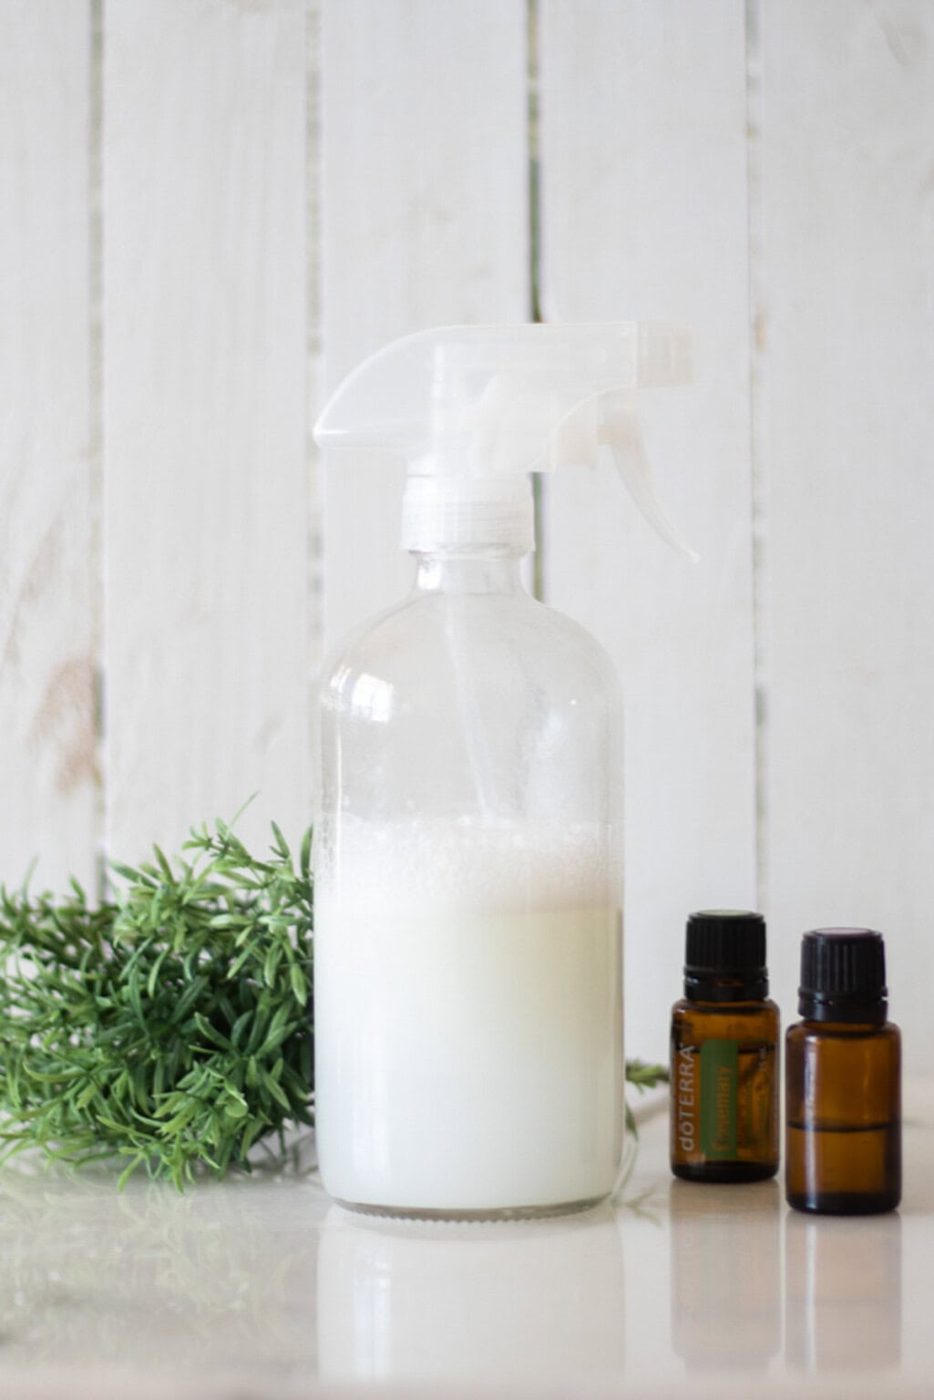
After showering, spritz the DIY heat protectant spray into damp hair, being sure to cover all of the hair from roots to tips. You can apply a generous amount of heat protectant spray to the hair before blow-drying and then mist the hair lightly before curling or straightening.
Hair Heat Protectant with Aloe Vera
If you have extremely oily hair and prefer to make a spray without the carrier oils, you can make a DIY heat-protective spray with aloe vera. Instead of using water and carrier oils, you can mix together aloe vera juice, conditioner, and essential oils.
This spray can be used the same way as the other spray.
Ingredients
- 1/4 cup aloe vera juice
- 1 teaspoon conditioner
- 5 drops of essential oil
Instructions
- Add all the ingredients to a spray bottle.
- Secure the spray nozzle and shake well to combine all ingredients.
- Shake before each use.
- Spray on damp hair before blow-drying. Mist hair lightly a second time before heat styling.
Recipe FAQs
What is hair heat protectant?We make our own heat protectant spray with this simple 4-ingredient recipe! Hair heat protectant is a product that can reduce damage to the hair when used before blow-drying or styling with heat. It can come in the form of a spray, cream, or serum. Most heat protectant products do not have to be washed out after being applied.
Do we have to use heat protectant when blow drying our hair?While using heat on your hair without the spray won’t do damage after one instance, the damage does build up over time, so it’s best to use the spray as often as possible. We would recommend it if you want to keep your hair healthy, frizz-free, and soft. Hair heat protectant forms a protective barrier on each strand of hair, which prevents some of the damage that heat can cause.
How long does DIY hair heat protectant spray last?Anywhere from 1-3 months, depending on the ingredients used and how you store it.
If you use distilled water, the spray will last longer than if you use regular tap water. Also, rosemary essential oil will act as a natural preservative and will make the spray last longer if used.
You can also store it in the refrigerator to extend the shelf life.
Whether you use heat after every wash or just for special occasions, it’s a good idea to protect your hair with heat protectant spray!
Enjoy lush, healthy hair with a quick spritz of this simple, all-natural spray.
More Natural Hair Care
- DIY Protein Hair Treatment
- Hydrating Castor Oil Hair Mask
- Hair Butter Recipe
- Homemade Hair Moisturizer Oil
If you tried this DIY Hair Heat Protectant Recipe or any other tutorial on our website, please leave a 🌟 star rating and let me know how it went in the 📝 comments below. Thanks for visiting!
4.86 from 28 votesDIY Hair Heat Protectant
By the studio Ascher Prep: 2 minutes minsActive: 5 minutes minsTotal: 7 minutes mins Yield: 8.5 ounces SaveSaved Pin Print A simple heat protection spray to keep your hair healthy, soft, smooth, and undamaged.
 Equipment
- 8 oz spray bottle
- Funnel
Ingredients
- 0.17 oz fractionated coconut oil, 1 tsp
- 0.35 oz sweet almond oil, 2 tsp
- 0.35 oz conditioner of choice , 2 tsp
- 8 oz distilled water, 1 cup
- 10 drops essential oils
Instructions
- Add all ingredients to a spray bottle.
- Secure spray nozzle and shake well to combine all ingredients.
- Spray on damp hair before blow-drying. Mist hair lightly a second time before heat styling.