
Hey friends!
THIS IS NOT A DRILL — the primary en-suite addition is officially underway. I’m still pinching myself because what a journey this has already been. This post is the first in a series that will follow the construction of the new en-suite. I wanted to lay everything out here so you can refer back as the project progresses. There’s a lot to cover, so let’s jump in.
THE CURRENT SPACE
Over the past 12 years we’ve renovated or updated nearly every inch of our little bungalow. It’s been a long, steady process of dreaming, planning, saving and doing one project at a time. Adding the primary en-suite is the final piece of our long-term vision for the house.
One of the biggest selling points when we bought this property was the lot size — nearly half an acre. Since we downsized from three bathrooms to one, adding another bathroom was always part of the plan. Our house is technically a two-bedroom: Michael took the secondary bedroom and we gave the primary to Bryanna. Now that Bryanna has moved out, we’ve been using that room as a guest space.
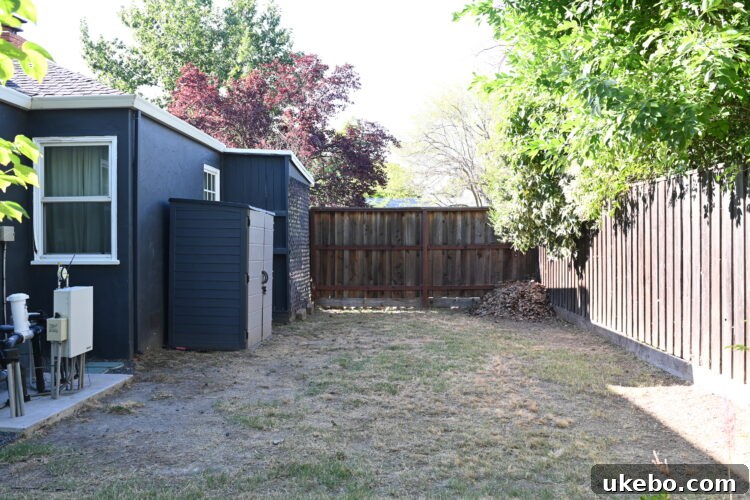
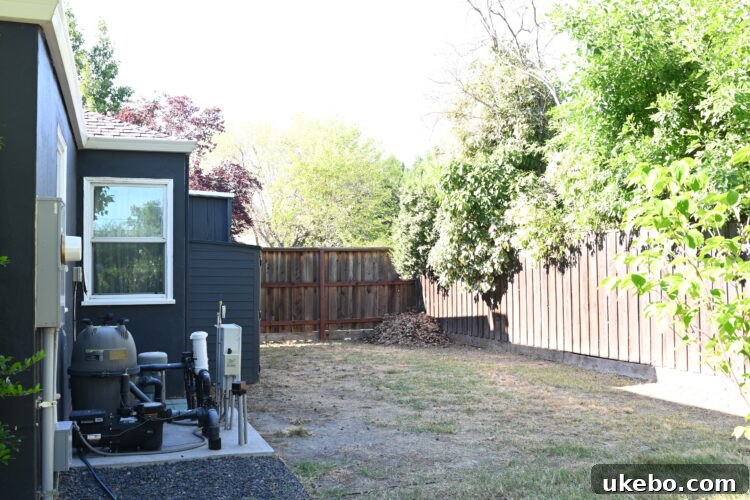
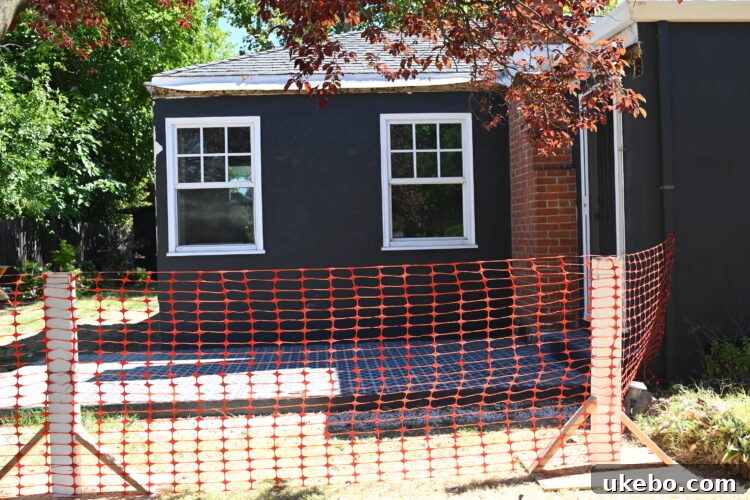
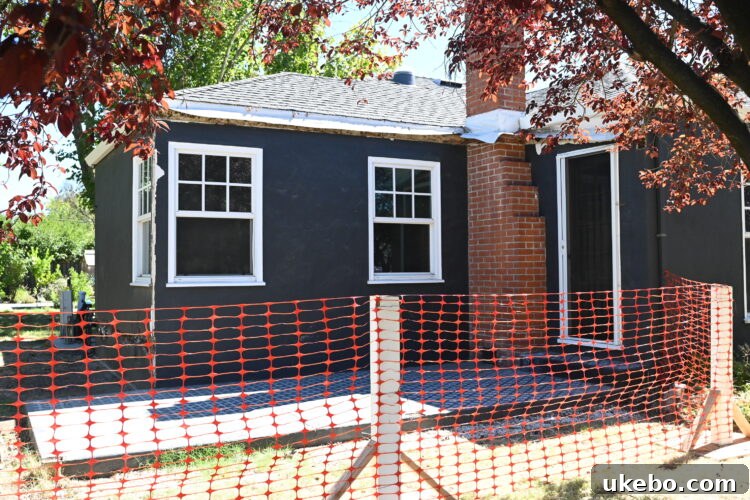
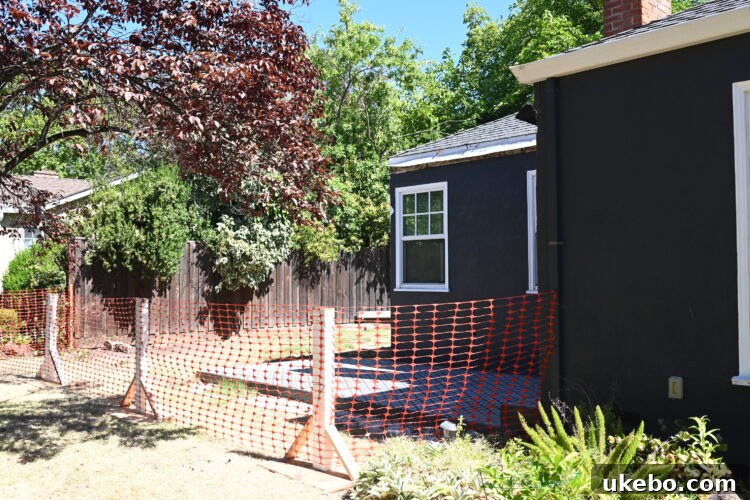
When we moved in, Naomi and I converted a den into our bedroom, and it’s worked beautifully for over a decade. But the plan was always to reclaim the original primary bedroom once Bryanna left. That bedroom sits on the side of the house with roughly 20 feet of space to the property line, which makes it an ideal spot to add a bathroom and walk-in closet and create a true en-suite. That side yard has been mostly dead space until now, and it’s been Callie’s relief area for years. Here are views of the area from the backyard and front yard.
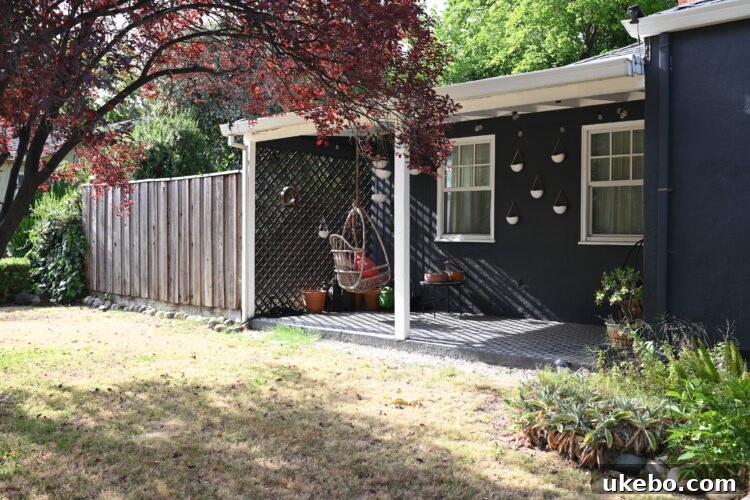
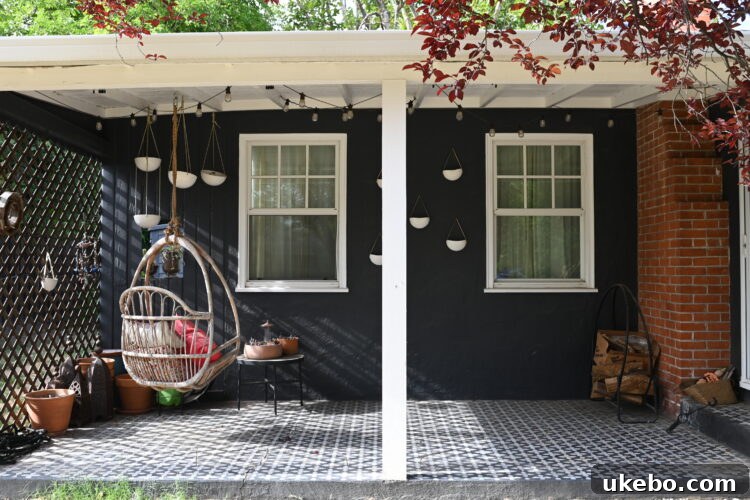
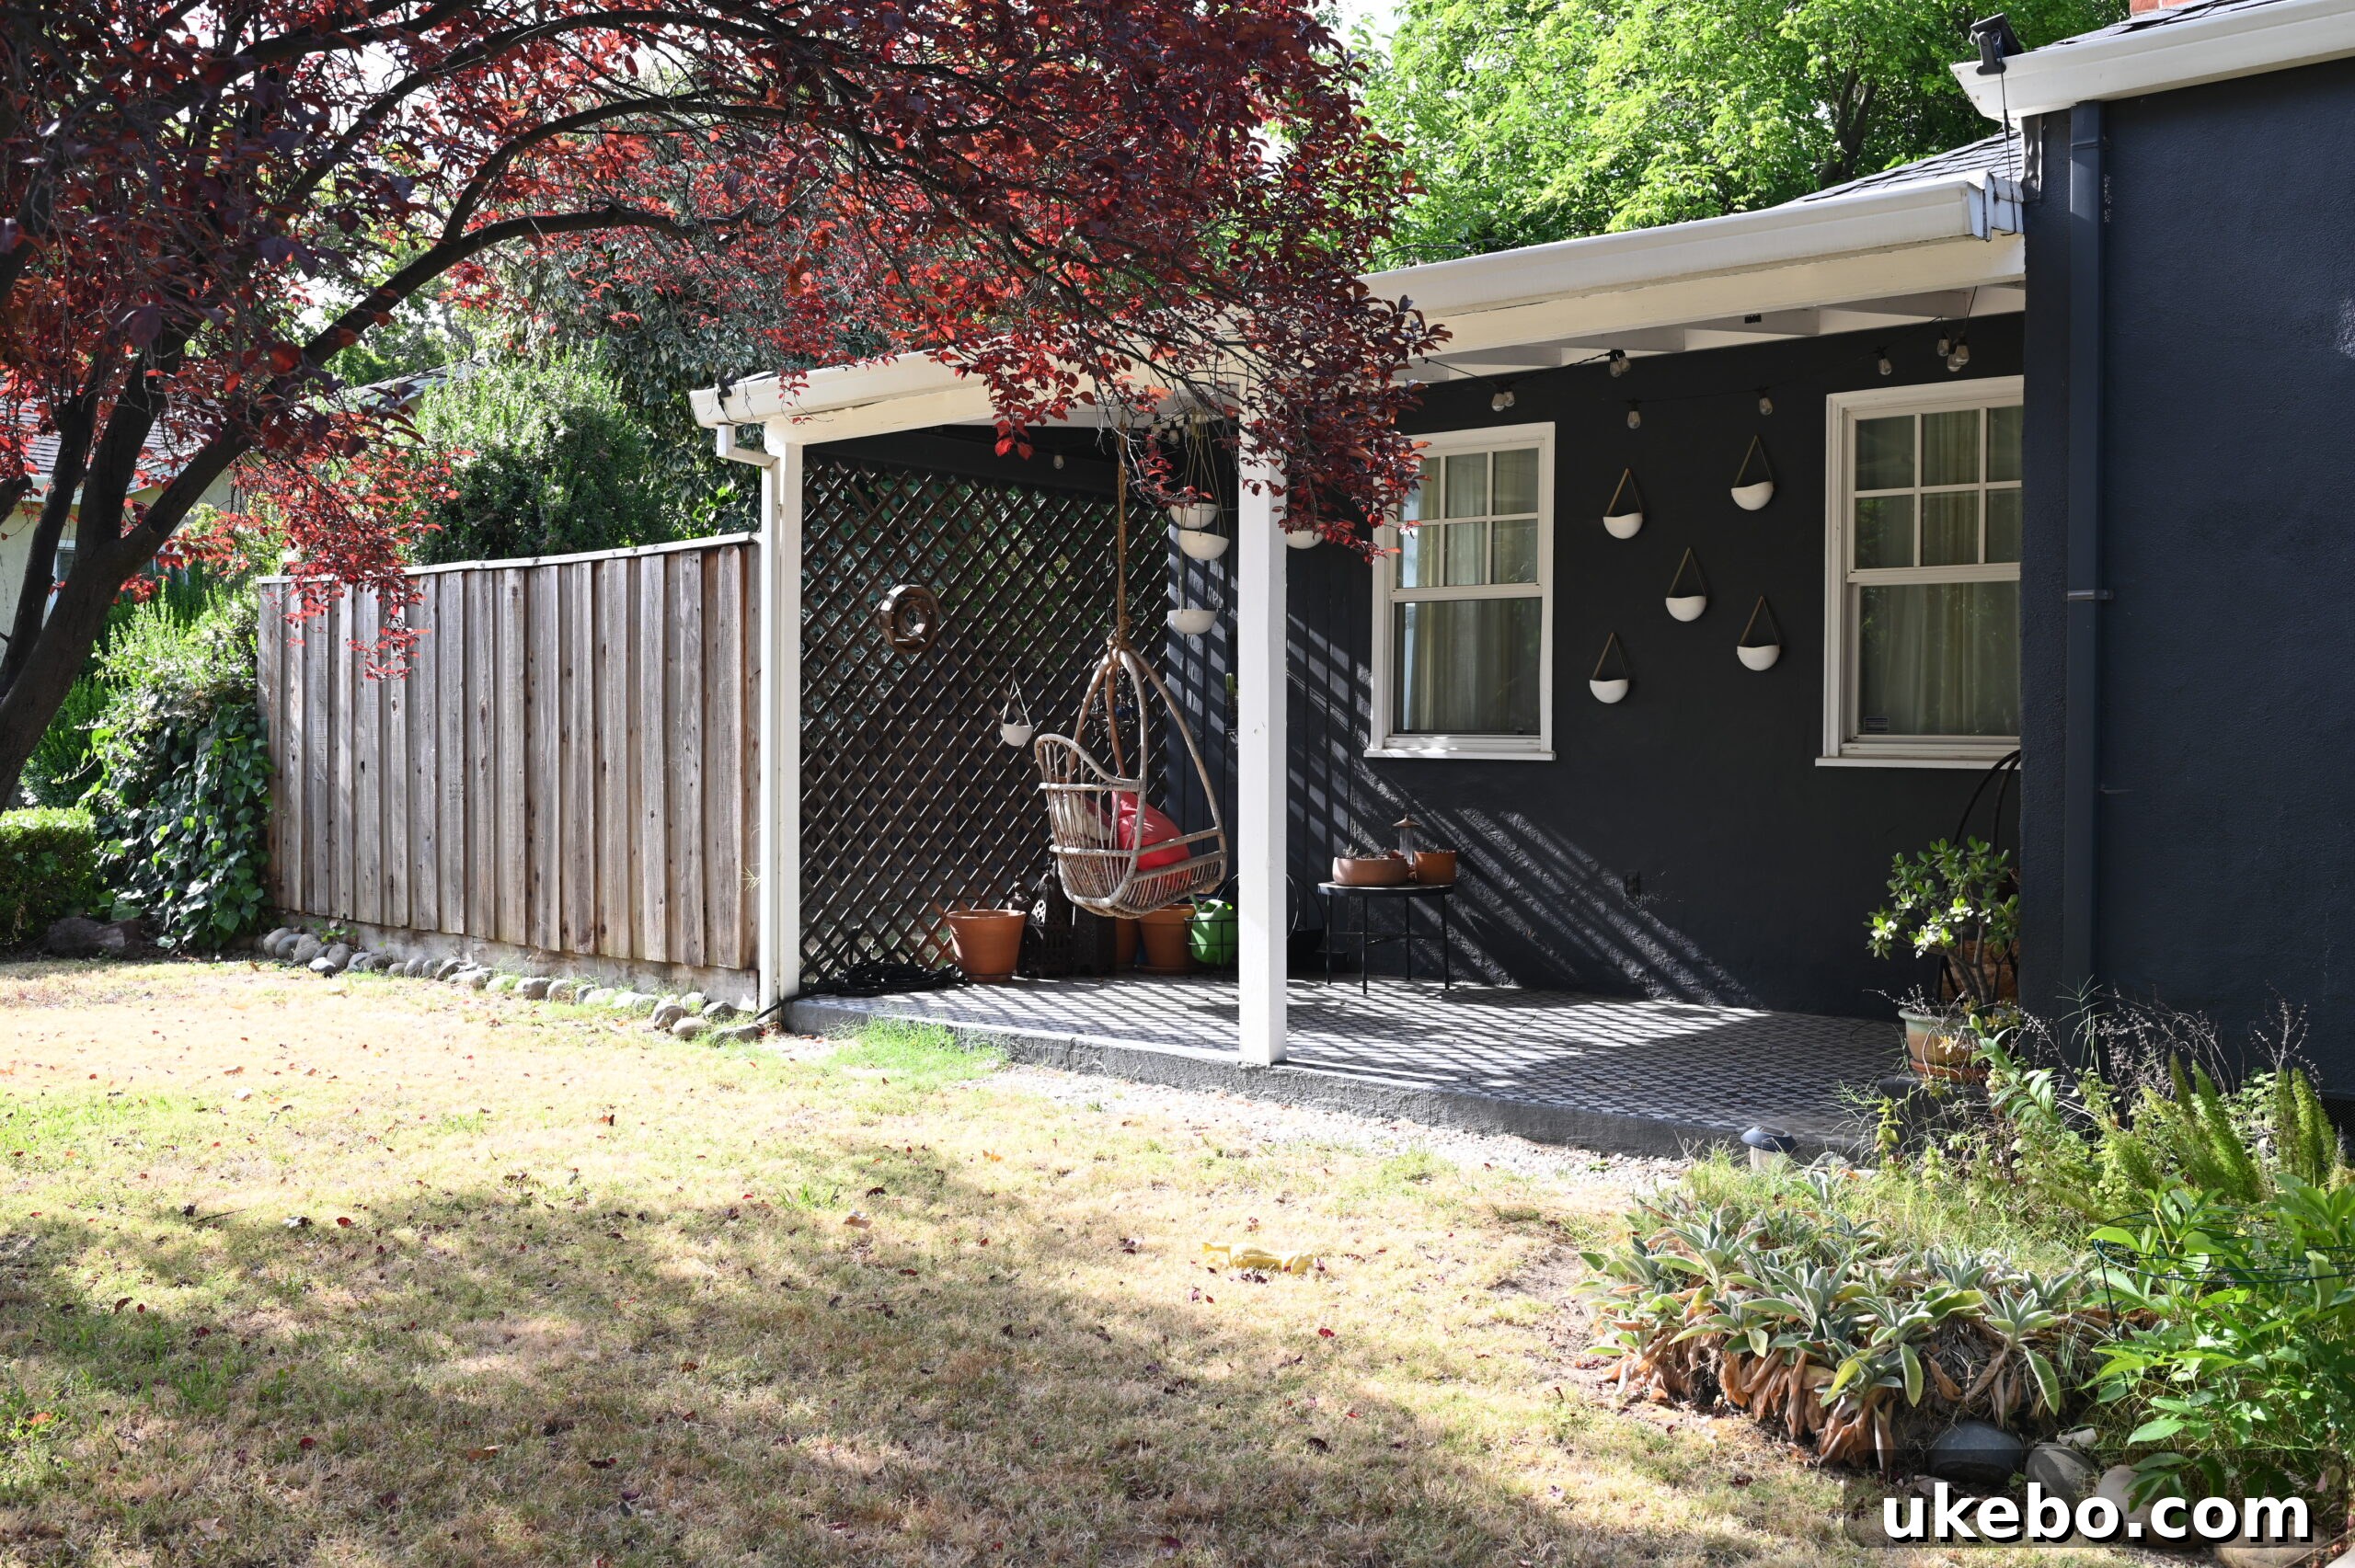
We’ll keep the porch but it will be reconfigured and slightly reduced in size to accommodate the addition. The windows will be replaced with smaller, more proportionate units, which will free up wall space inside the bedroom. The change I’m most excited about is the roof: the current flat white porch roof doesn’t align with the rest of the house. We’re removing it and installing a pergola-style cover with chunky redwood beams. I’ll plant climbing roses or bougainvillea so it becomes a light-filled Mediterranean-style courtyard off the living room. It will also work beautifully with new front-yard landscaping plans.
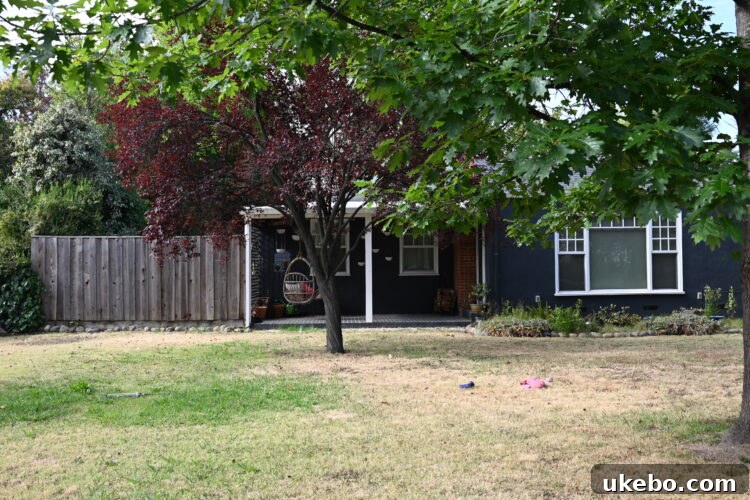
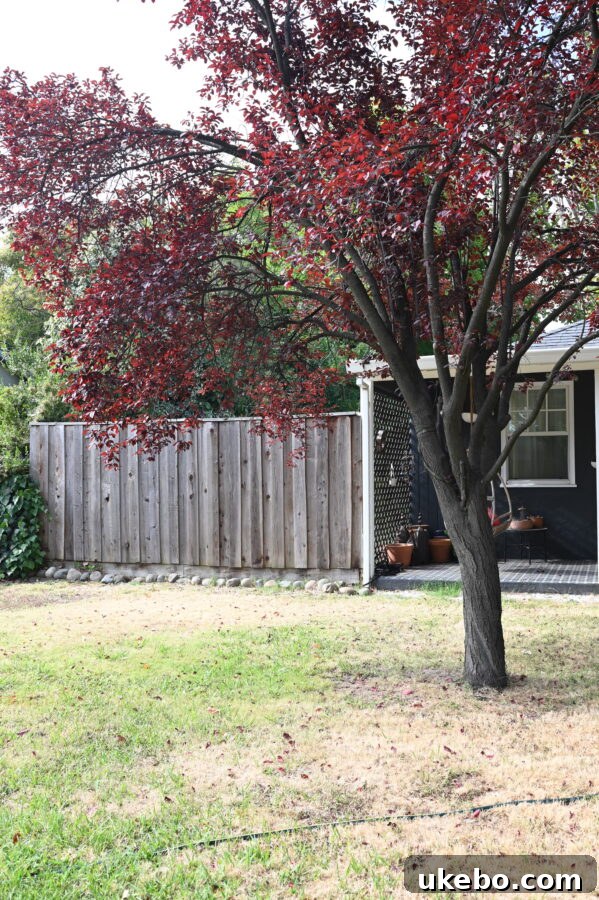
The section of porch to the left of the left-side window, along with a small portion of fence that currently extends into the yard, will become part of the new walk-in closet. We’ll also be removing the Thundercloud Plum tree shortly, which will open up these views even more.
THE ARCHITECTURAL PLAN
From the outset, the goal wasn’t to dramatically increase the square footage. I wanted to keep the addition under 400 square feet so our overall home size wouldn’t exceed roughly 1,500–1,600 square feet. The addition needed to feel proportionate to the existing bedroom and the house as a whole, and ideally it should be indistinguishable from the street. It was equally important that the interior flow naturally with the rest of the house.
We had setback constraints that pushed us to design a compact, intelligent floor plan. Working with the same architect who helped on our kitchen, we went through six iterations before settling on the plan we submitted to the county. I love this plan — it meets every priority we set. The only change we made is opting for a single sink rather than double sinks, and that was intentional.
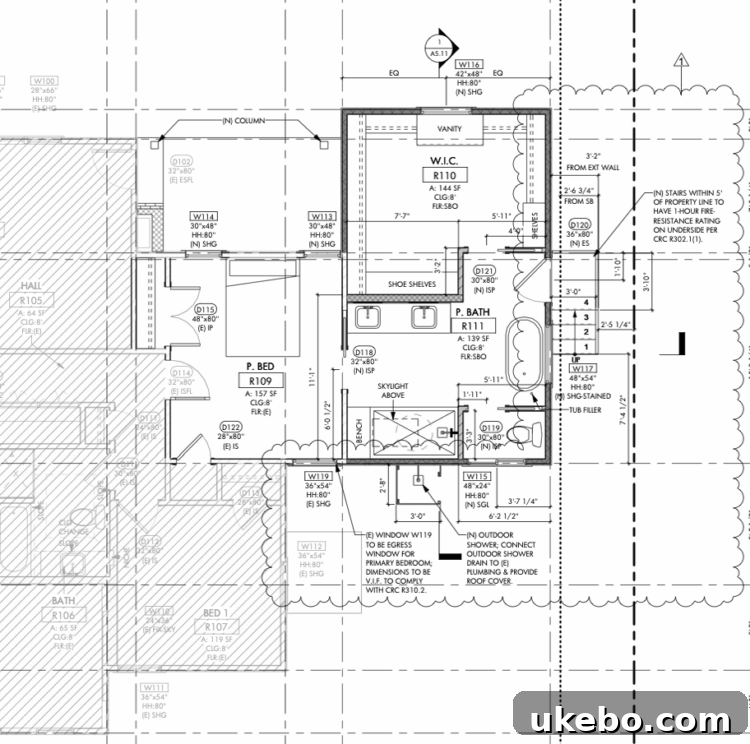
Here were our priorities while designing the floor plan:
– Stay under 400 sq ft
– Maintain the 8 ft ceiling height to match the rest of the house
– Keep everything on one level
– Large shower with a skylight
– Freestanding tub centered beneath a large window
– Generous vanity area with a single, well-designed sink
– Separate water closet
– Exterior access
– Large walk-in closet with plenty of room for Naomi’s sneaker collection
– Pocket doors to maximize usable space
– Outdoor shower and a small private courtyard
Visually, I had a clear idea of how I wanted the bathroom to read from the bedroom long before we finalized the floor plan. I imagined a freestanding tub under a large window — ideally stained glass — with a striking chandelier overhead as the room’s focal point. Because our house is compact, these sight lines also inform how the space will look from the hallway.
THE MOOD BOARD & DESIGN PLAN
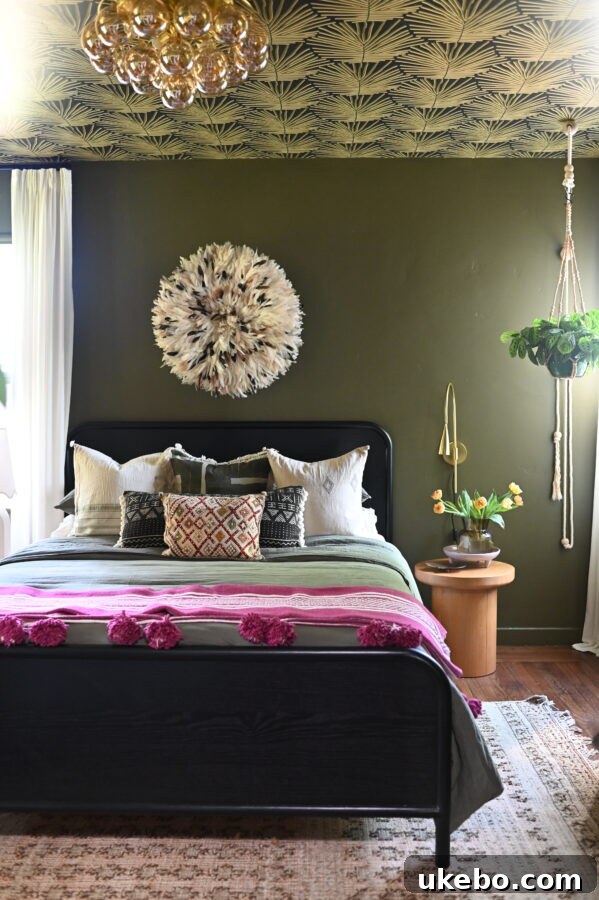
After the floor plan was set, my focus shifted to how the space should feel. Most of my design inspiration comes from travel or from a particular vibe I want to evoke. For this project I drew on memories of Morocco and family trips to Mexico. The mood we settled on is “Moroccan riad meets Mexican hacienda” while still honoring our 1940s California cottage bungalow roots. The result is a traveled, layered look that feels elevated yet cozy and authentic to the house.
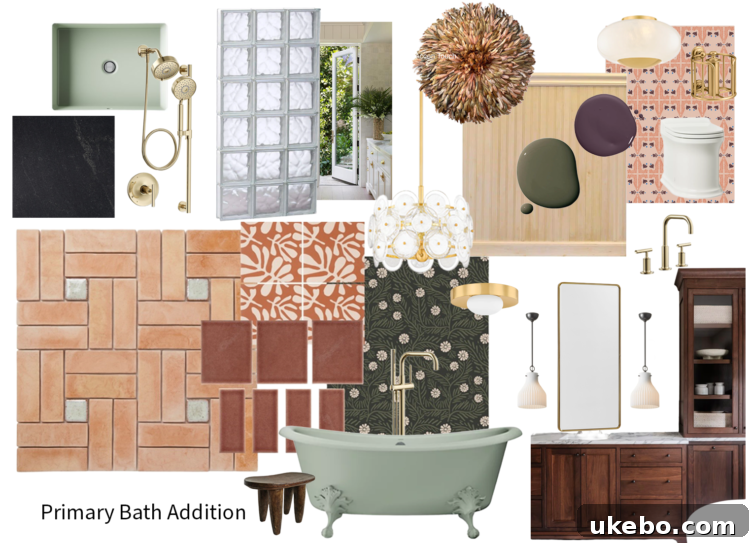
We want the space to feel warm, earthy and textured — moody and colorful but grounded. Key elements include wallpaper, skylights, terracotta tiles, a large shower with a built-in bench, a smart toilet with bidet functions, striking lighting, and a vanity that reads like an heirloom piece of furniture. The custom closet will be generous and thoughtfully designed; I’ll share that in future posts.
BREAKING GROUND
I barely slept the night before demo day — I was so excited. Because this is an addition, demo was fairly limited and focused mainly on the side porch. The crew made quick work of dismantling the porch and clearing the area. By tomorrow the work ramps up: footings for the new foundation, a new porch floor, and then subfloor framing and plumbing will begin next week.
That’s all for now. I know this was a lot to digest, but the build process is intensive and I don’t want to skip details. I’ll share more in upcoming posts, including final design renderings and the reasoning behind some of our choices. There have already been a few pivot moments worth explaining.
I’ll also be documenting the project through weekly video updates, so be sure to follow along on my channel so you don’t miss progress updates.
Until next time, friends…