
Hello, fellow home enthusiasts! It’s wonderful to connect with you all and share some exciting progress from our ongoing bungalow kitchen renovation. I hope your week is off to a fantastic start, filled with inspiration and creativity.
Transforming Our Bungalow Kitchen: A Journey Towards Perfection
Today, I’m thrilled to pull back the curtain on the significant strides we’ve made in our kitchen space. Since our last update, this crucial heart of our home has undergone a series of thoughtful transformations, and it’s finally beginning to feel like we’re nearing the finish line. Every decision, from the smallest detail to major structural changes, has been made with the vision of creating a functional, beautiful, and character-filled kitchen that truly embodies the charm of our bungalow. Let’s take a moment to reflect on where we started just a couple of months ago:
Navigating Design Challenges: The Backsplash Dilemma
When I last shared our bungalow kitchen journey, we were grappling with a significant design decision: the backsplash tile situation. My heart was set on gorgeous, patterned cement tiles. Their intricate designs and artisanal feel promised to add an unparalleled layer of personality and depth to the kitchen. However, as often happens in renovation projects, practical considerations arose. We received advice against using my beloved patterned cement tiles due to their substantial weight and the potential structural complications they could impose on an older bungalow. This was a pivotal moment, requiring us to pivot our design strategy without compromising on style. As a robust Plan B, we began to explore subway tiles for the backsplash, envisioning a more classic yet versatile foundation, and considered integrating a patterned tile for the floors instead to still get that unique visual pop.
Now, let’s fast forward to the present and witness the remarkable transformation that has taken place in our bungalow kitchen:
A Harmonious Palette: Walls, Trim, and Ledges
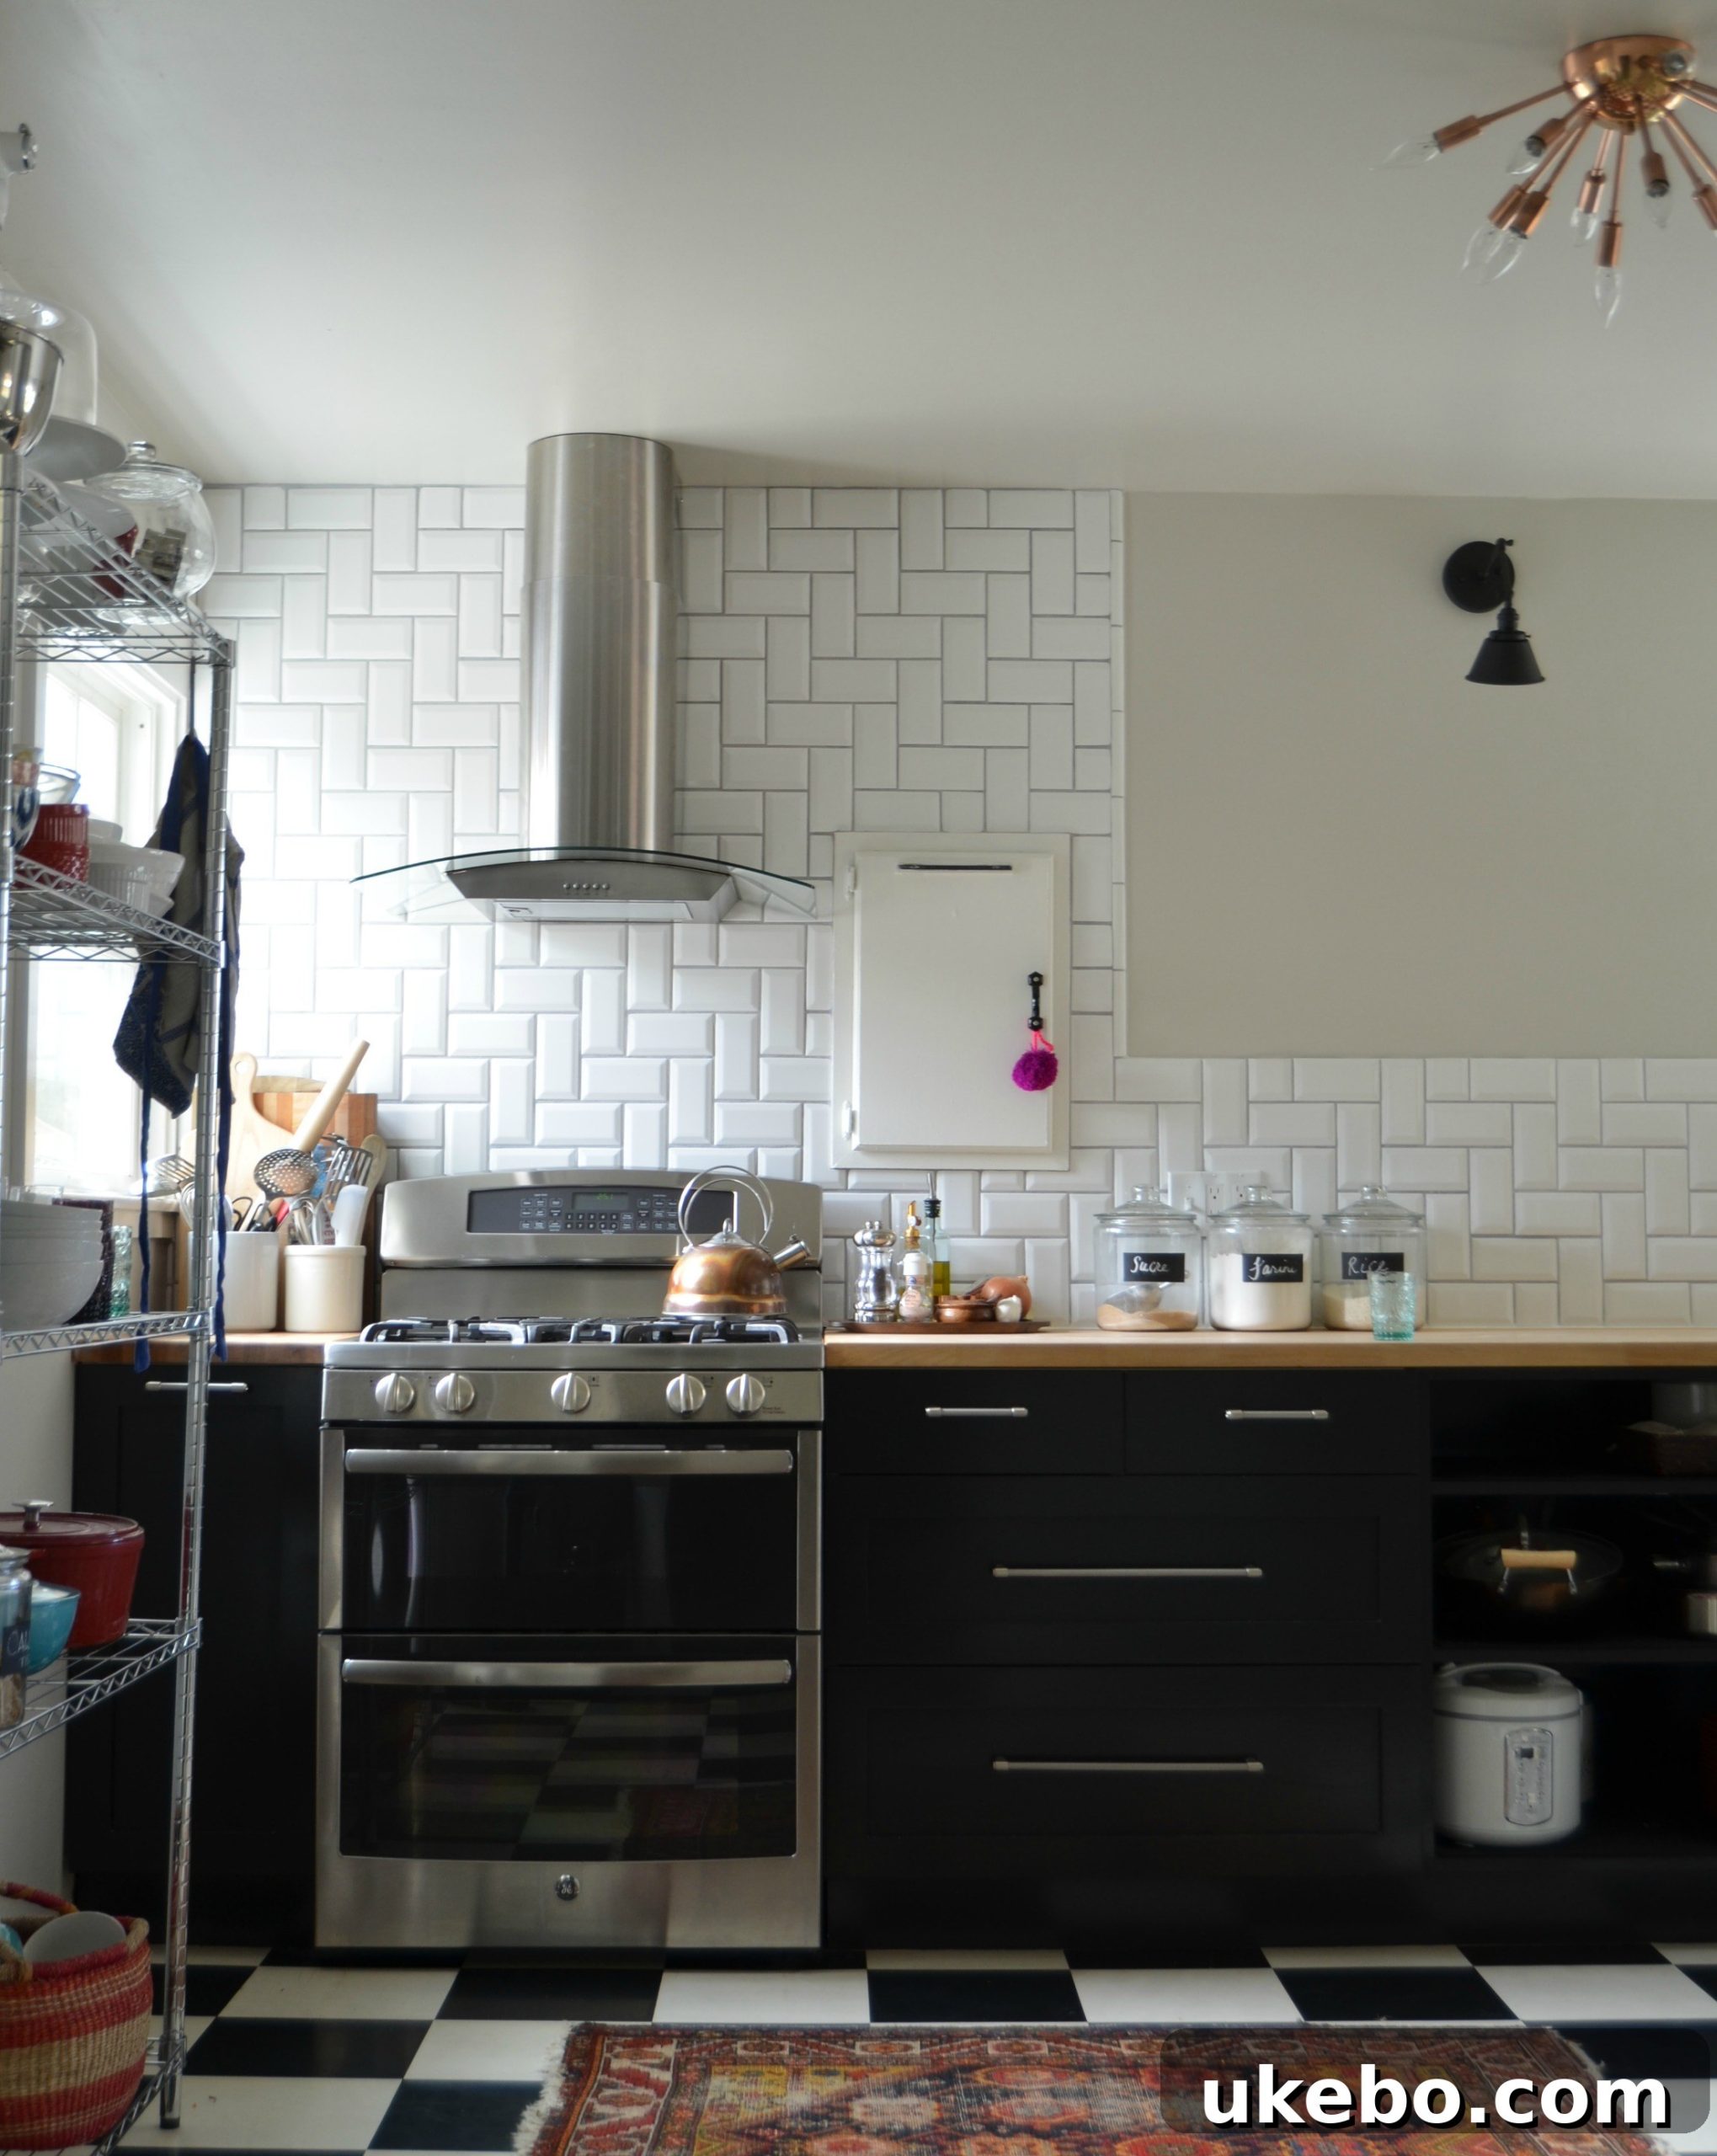
Our bungalow kitchen has truly blossomed! The most immediate changes include freshly painted walls, thoughtfully chosen new lighting fixtures, a stunning new backsplash, much-needed extra storage solutions, and beautifully trimmed windows that enhance the cottage aesthetic. We even managed to find a remnant piece of Corian to craft a sleek and durable corner window ledge, adding a touch of modern practicality.
For the wall color, my vision was clear: I desired a warm, ‘mushroomy’ neutral that evoked a sense of moody sophistication without being too dark or too light. It needed to be incredibly versatile, effortlessly complementing both white and yellow metal accents that would eventually find their place in the space. After much deliberation, I decided on “Smooth Stone” by Glidden, and I couldn’t be happier with its subtle richness and how perfectly it anchors the room. While I initially considered going a touch moodier, “Smooth Stone” strikes the ideal balance, and I have absolutely no complaints. To create a seamless, expansive feel in this inherently small and non-open concept room, I carried this elegant color onto the ceilings as well. This design choice provides a continuous visual flow, giving the illusion of greater height and making the space feel more cohesive and open.
Backsplash Brilliance: Herringbone Subway Tile
The backsplash, once a source of design deliberation, has become a true focal point. After carefully weighing the merits of a bevel edge versus a classic subway tile, I opted for the bevel edge. This subtle detail adds a sophisticated texture and dimension that elevates the traditional subway tile. To infuse additional visual interest and make a statement, I chose to install the tiles in a herringbone pattern. This classic layout brings a dynamic, artisanal quality to the kitchen, transforming a humble material into something truly eye-catching. The choice of a contrasting grout further emphasizes the intricate herringbone pattern, making it pop beautifully against the tile. The high-quality tile is from Arizona Tile, and the complementing Platinum-colored grout was sourced from Home Depot, ensuring both durability and style.
Illuminating the Space: A Layered Lighting Strategy
One of the most impactful decisions in our kitchen remodel was rethinking the lighting. Once we removed the bulky wall cabinets and the bank of cabinets over the sink, the space opened up dramatically, creating an opportunity for a thoughtful, layered lighting scheme. I knew I wanted to incorporate a variety of lighting types to ensure both functionality and ambiance: stylish wall sconces for accent and general illumination, effective overhead lighting for overall brightness, and a dedicated task light precisely positioned over the sink for practicality.
The transformation in lighting has been truly remarkable, moving from a dated, singular light source to a dynamic and well-distributed system that enhances every corner of the kitchen:
I custom-ordered the elegant articulating wall sconces from Lucent Light Shop, choosing a sophisticated matte black finish that perfectly complements our evolving aesthetic. During the ordering process, I was unexpectedly offered a copper sputnik fixture to try in my space. It wasn’t “sellable” due to a slight imperfection in its finish, but as a confessed “sucker for both imperfection and copper,” I enthusiastically accepted. It turned out to be a serendipitous decision – I absolutely adore it! This unique piece adds an unexpected layer of character and a warm, metallic glow that beautifully contrasts with the matte black sconces, creating a captivating focal point.
Craftsman Charm: Window Trim and Cohesive Design
To further enhance the cozy, inviting cottage feel of our bungalow kitchen, we made the conscious decision to frame out the windows in classic craftsman-style trim. This architectural detail instantly adds character, depth, and a sense of timeless craftsmanship to the space. We are absolutely thrilled with the outcome; it integrates seamlessly with the overall design vision. In fact, we love it so much that we’ve committed to replacing all the window and door trim throughout the entire house with this same craftsman style. This will create a truly cohesive and historically appropriate aesthetic, ensuring every room flows beautifully into the next.
Smart Storage: Maximizing Limited Space
In a kitchen, especially one in an older bungalow with potentially limited built-in cabinetry, smart storage solutions are paramount. I’ve always been drawn to the utilitarian and industrial aesthetic of wire storage racks, appreciating their practicality and visual lightness. I knew from the outset that I wanted to incorporate one into our kitchen design to complement our existing, somewhat limited cabinet space. We ordered this specific 5-shelf steel shelving unit from Home Depot. Its chrome finish and open design offer the perfect blend of functionality and style. It provides ample accessible storage for everyday items, cookbooks, and display pieces, proving to be an invaluable supplement to our cabinet and drawer space. It keeps essentials within easy reach while contributing to the kitchen’s authentic, lived-in feel.
The Road Ahead: Completing Our Dream Kitchen
While we’ve made incredible progress, the journey isn’t quite over. Our “To Do” list, though shorter, still holds a few key elements that will bring our bungalow kitchen to its ultimate completion. These include the crucial installation of baseboards to give a polished finish to the floors and walls, the addition of stylish floating shelves that will offer both practical storage and decorative display opportunities, and the selection and installation of a dedicated light fixture for over the sink to ensure proper task lighting. We are also planning for a freestanding island that will provide additional prep space and potentially a casual dining spot. Window treatments will be chosen to add softness and privacy, and I envision a charming skirt for the sink to enhance that cottage aesthetic and neatly conceal plumbing. To bring a touch of nature indoors, a hanging planter is on the list, and of course, a specially designed raised feeding station for our beloved Callie, ensuring her comfort and style in her favorite room. It’s a slow but steady process, friends, and each step brings us closer to the dream. Thank you for joining us on this exciting renovation adventure.
Until next time,
Xo-Shavonda