
Master Bedroom Makeover: Transforming Our Wild Card Space with IKEA PAX
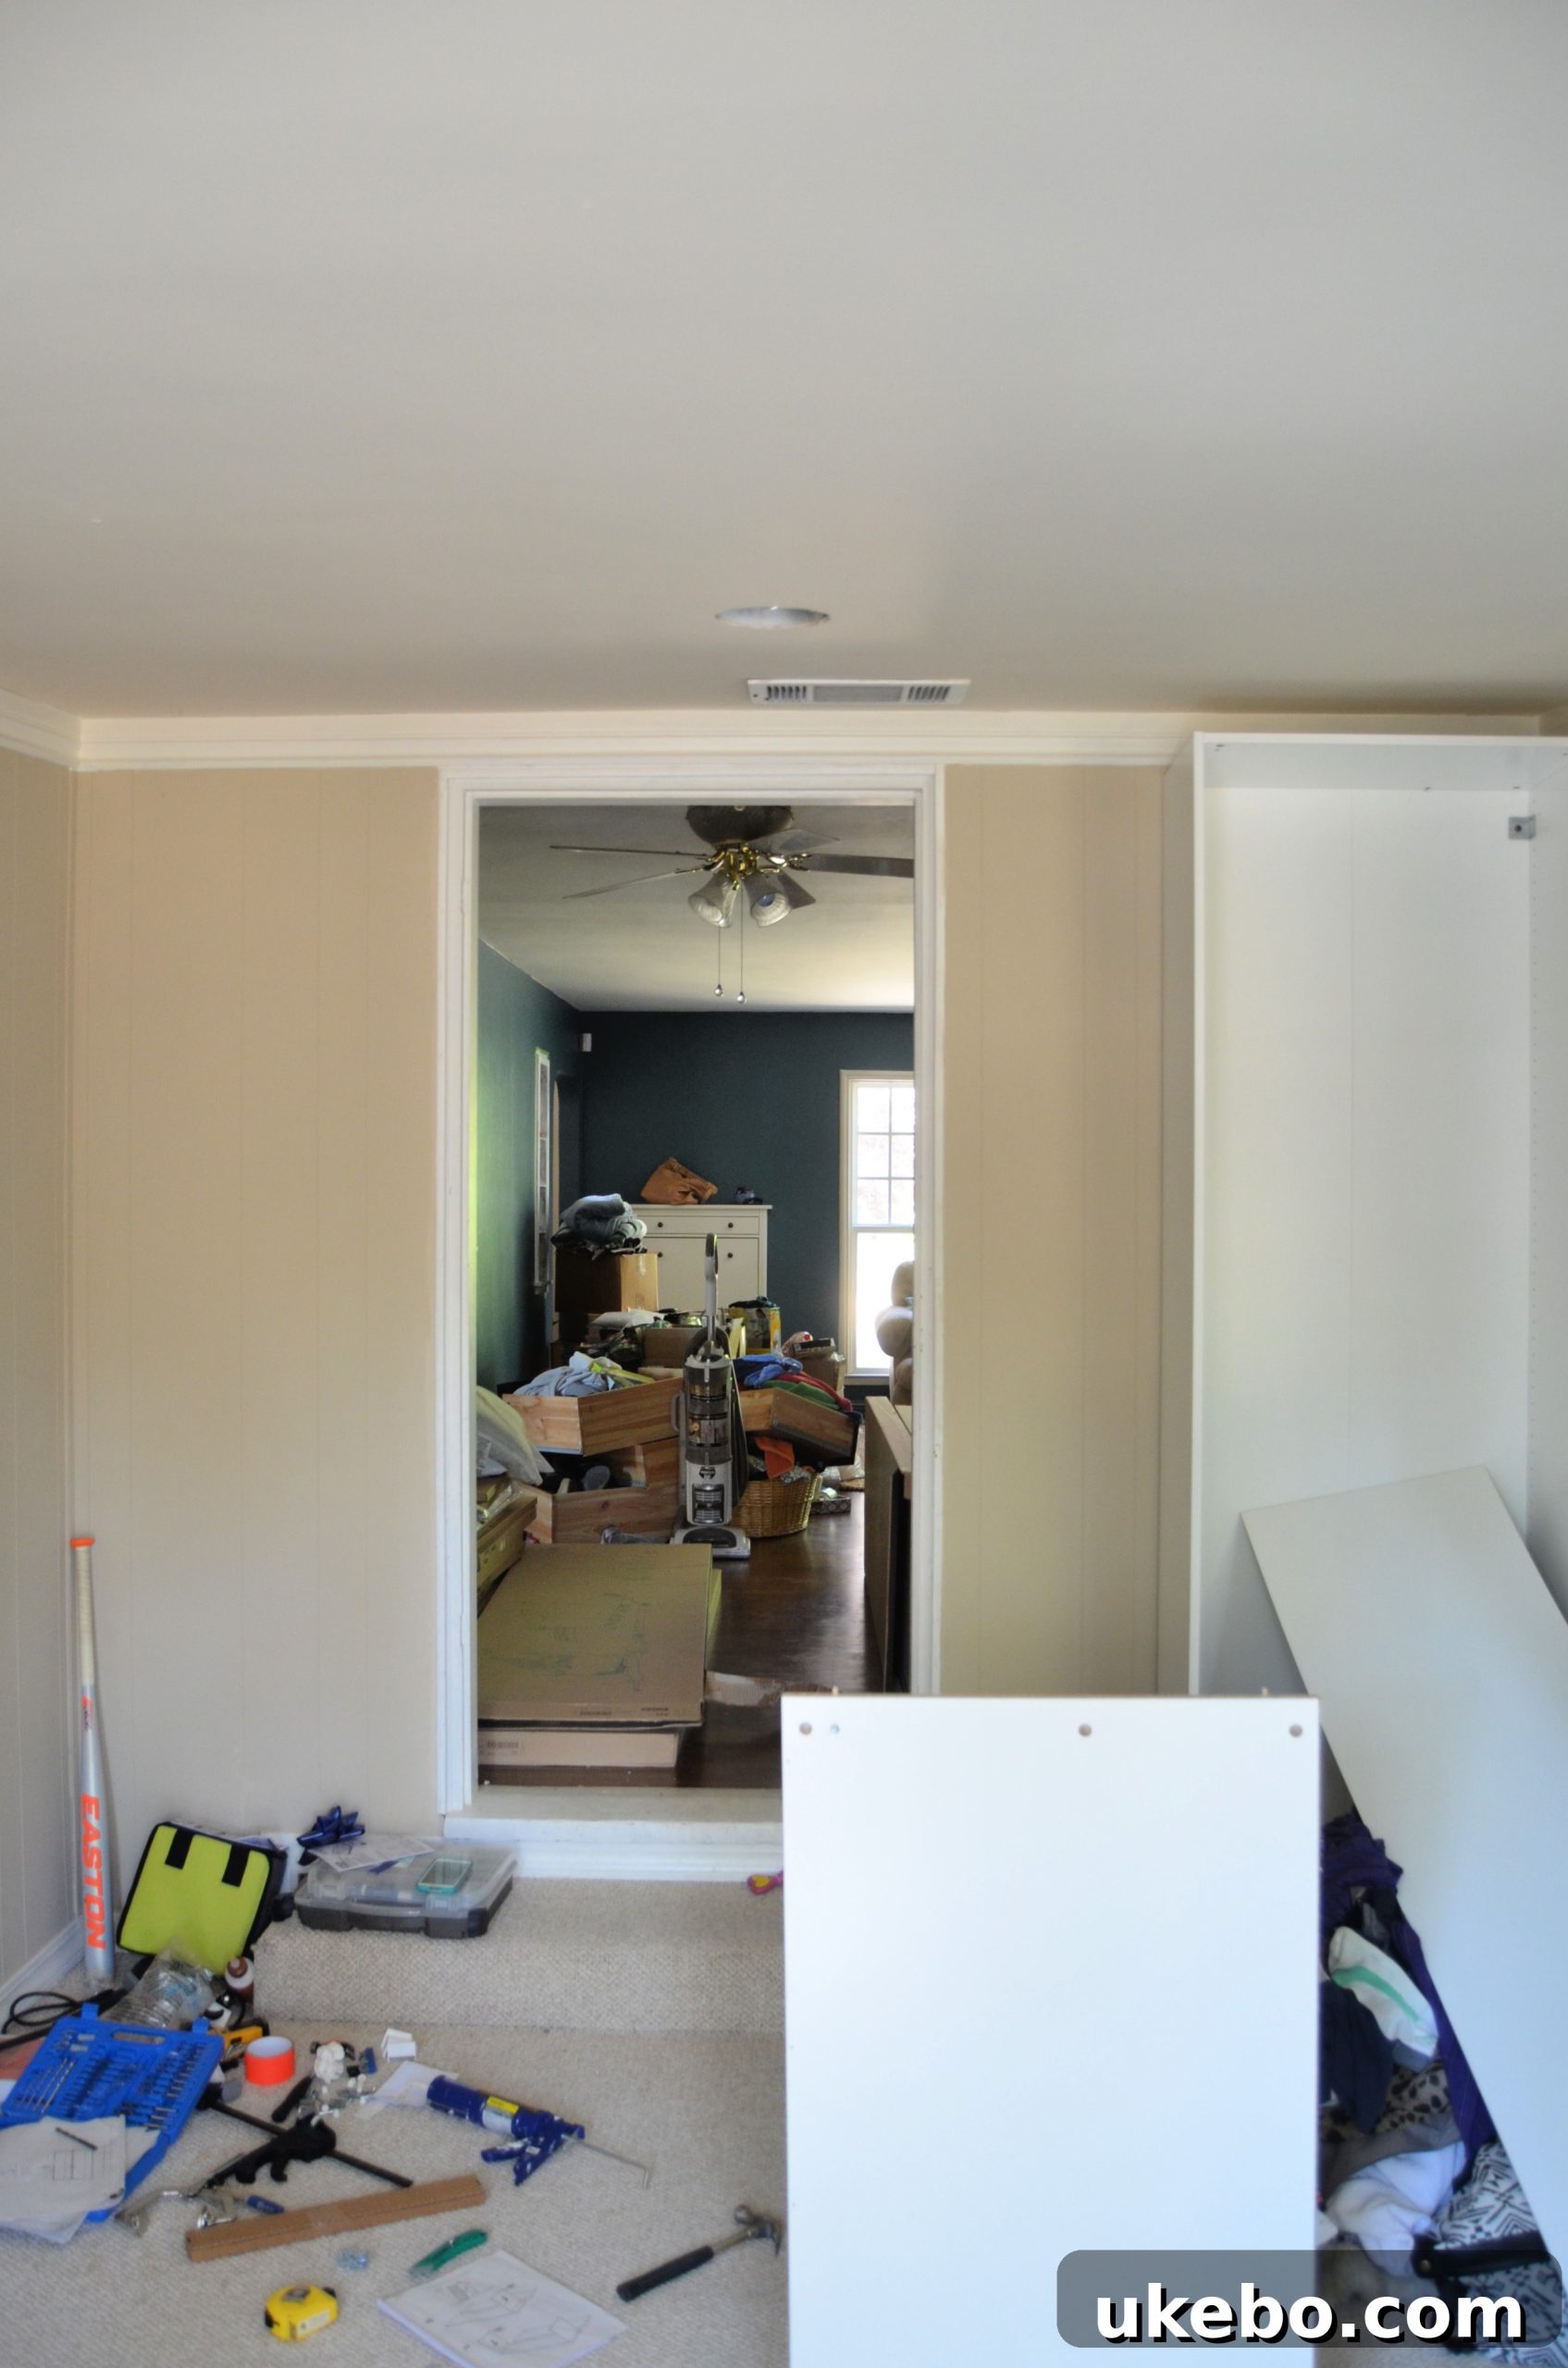
Welcome back, friends! Let’s dive into a topic near and dear to our hearts right now: our master bedroom transformation. This particular room held immense importance during our house hunt; in fact, it was the key space I relied on to convince Naomi that this bungalow was truly ‘the one’ for us. It’s precisely why I affectionately dubbed this charming, compact house “The Wild Card” from the very beginning. Here’s a glimpse of the raw potential we started with, before any renovation work began:
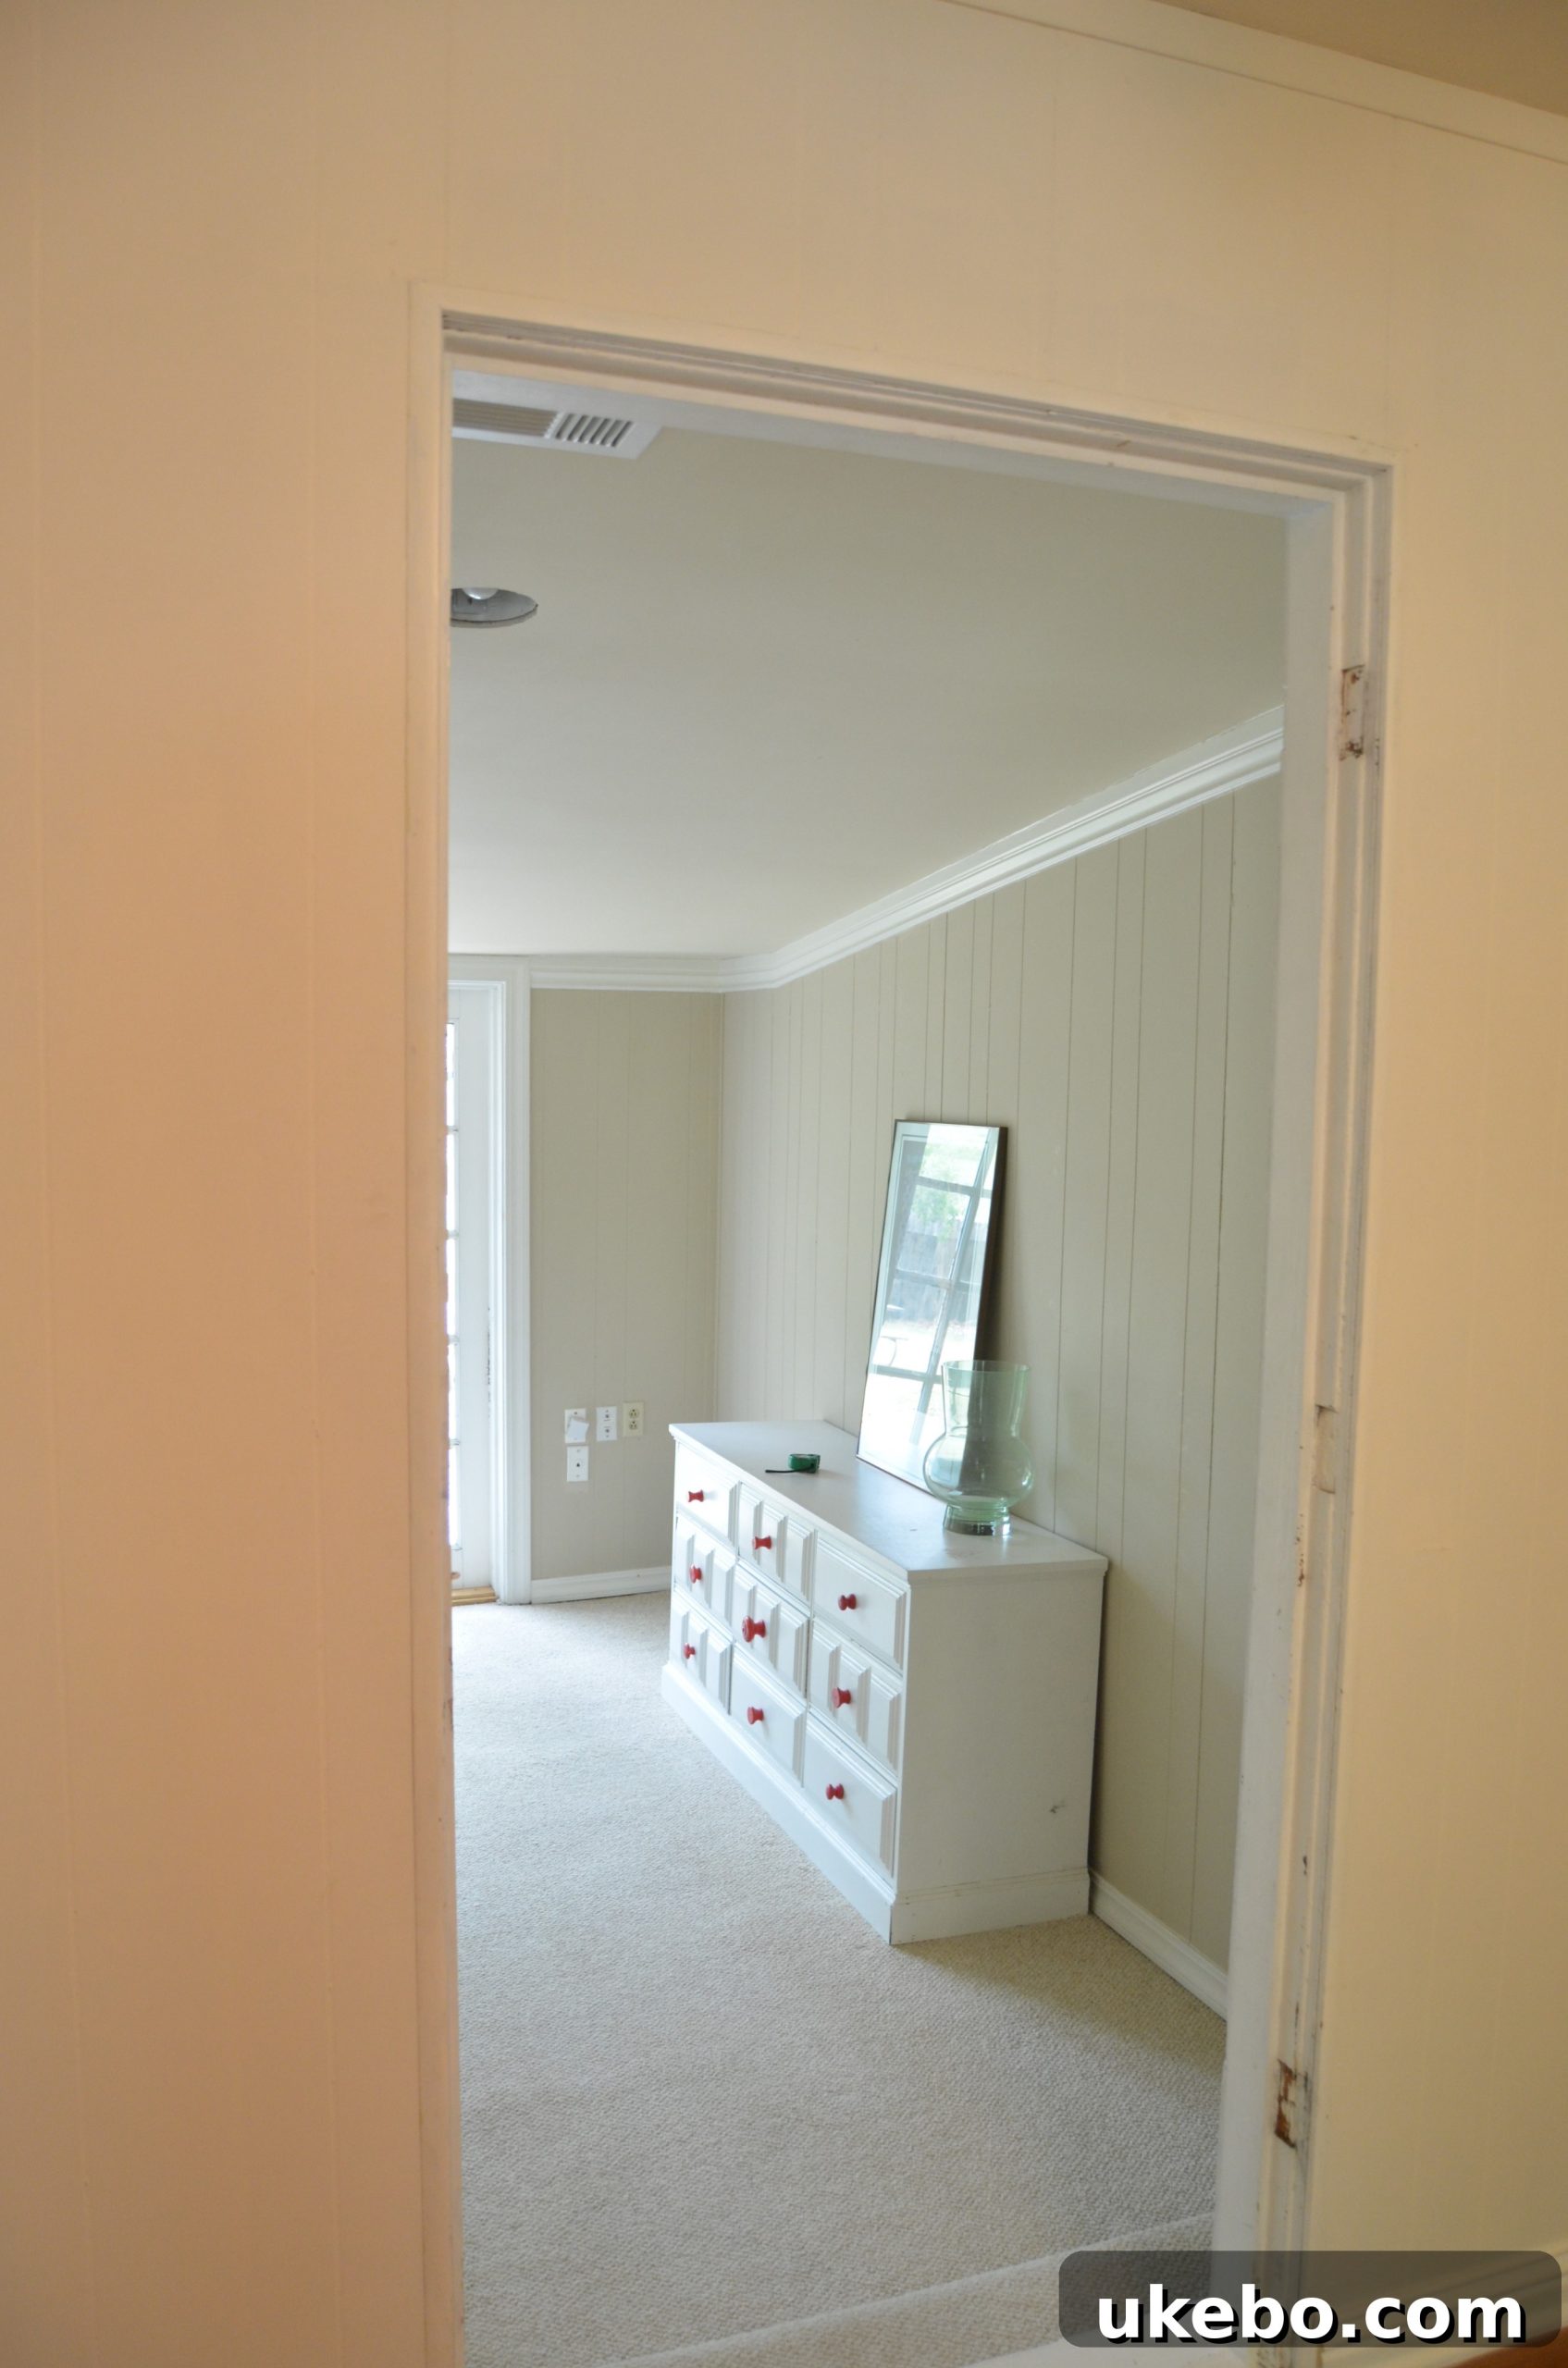
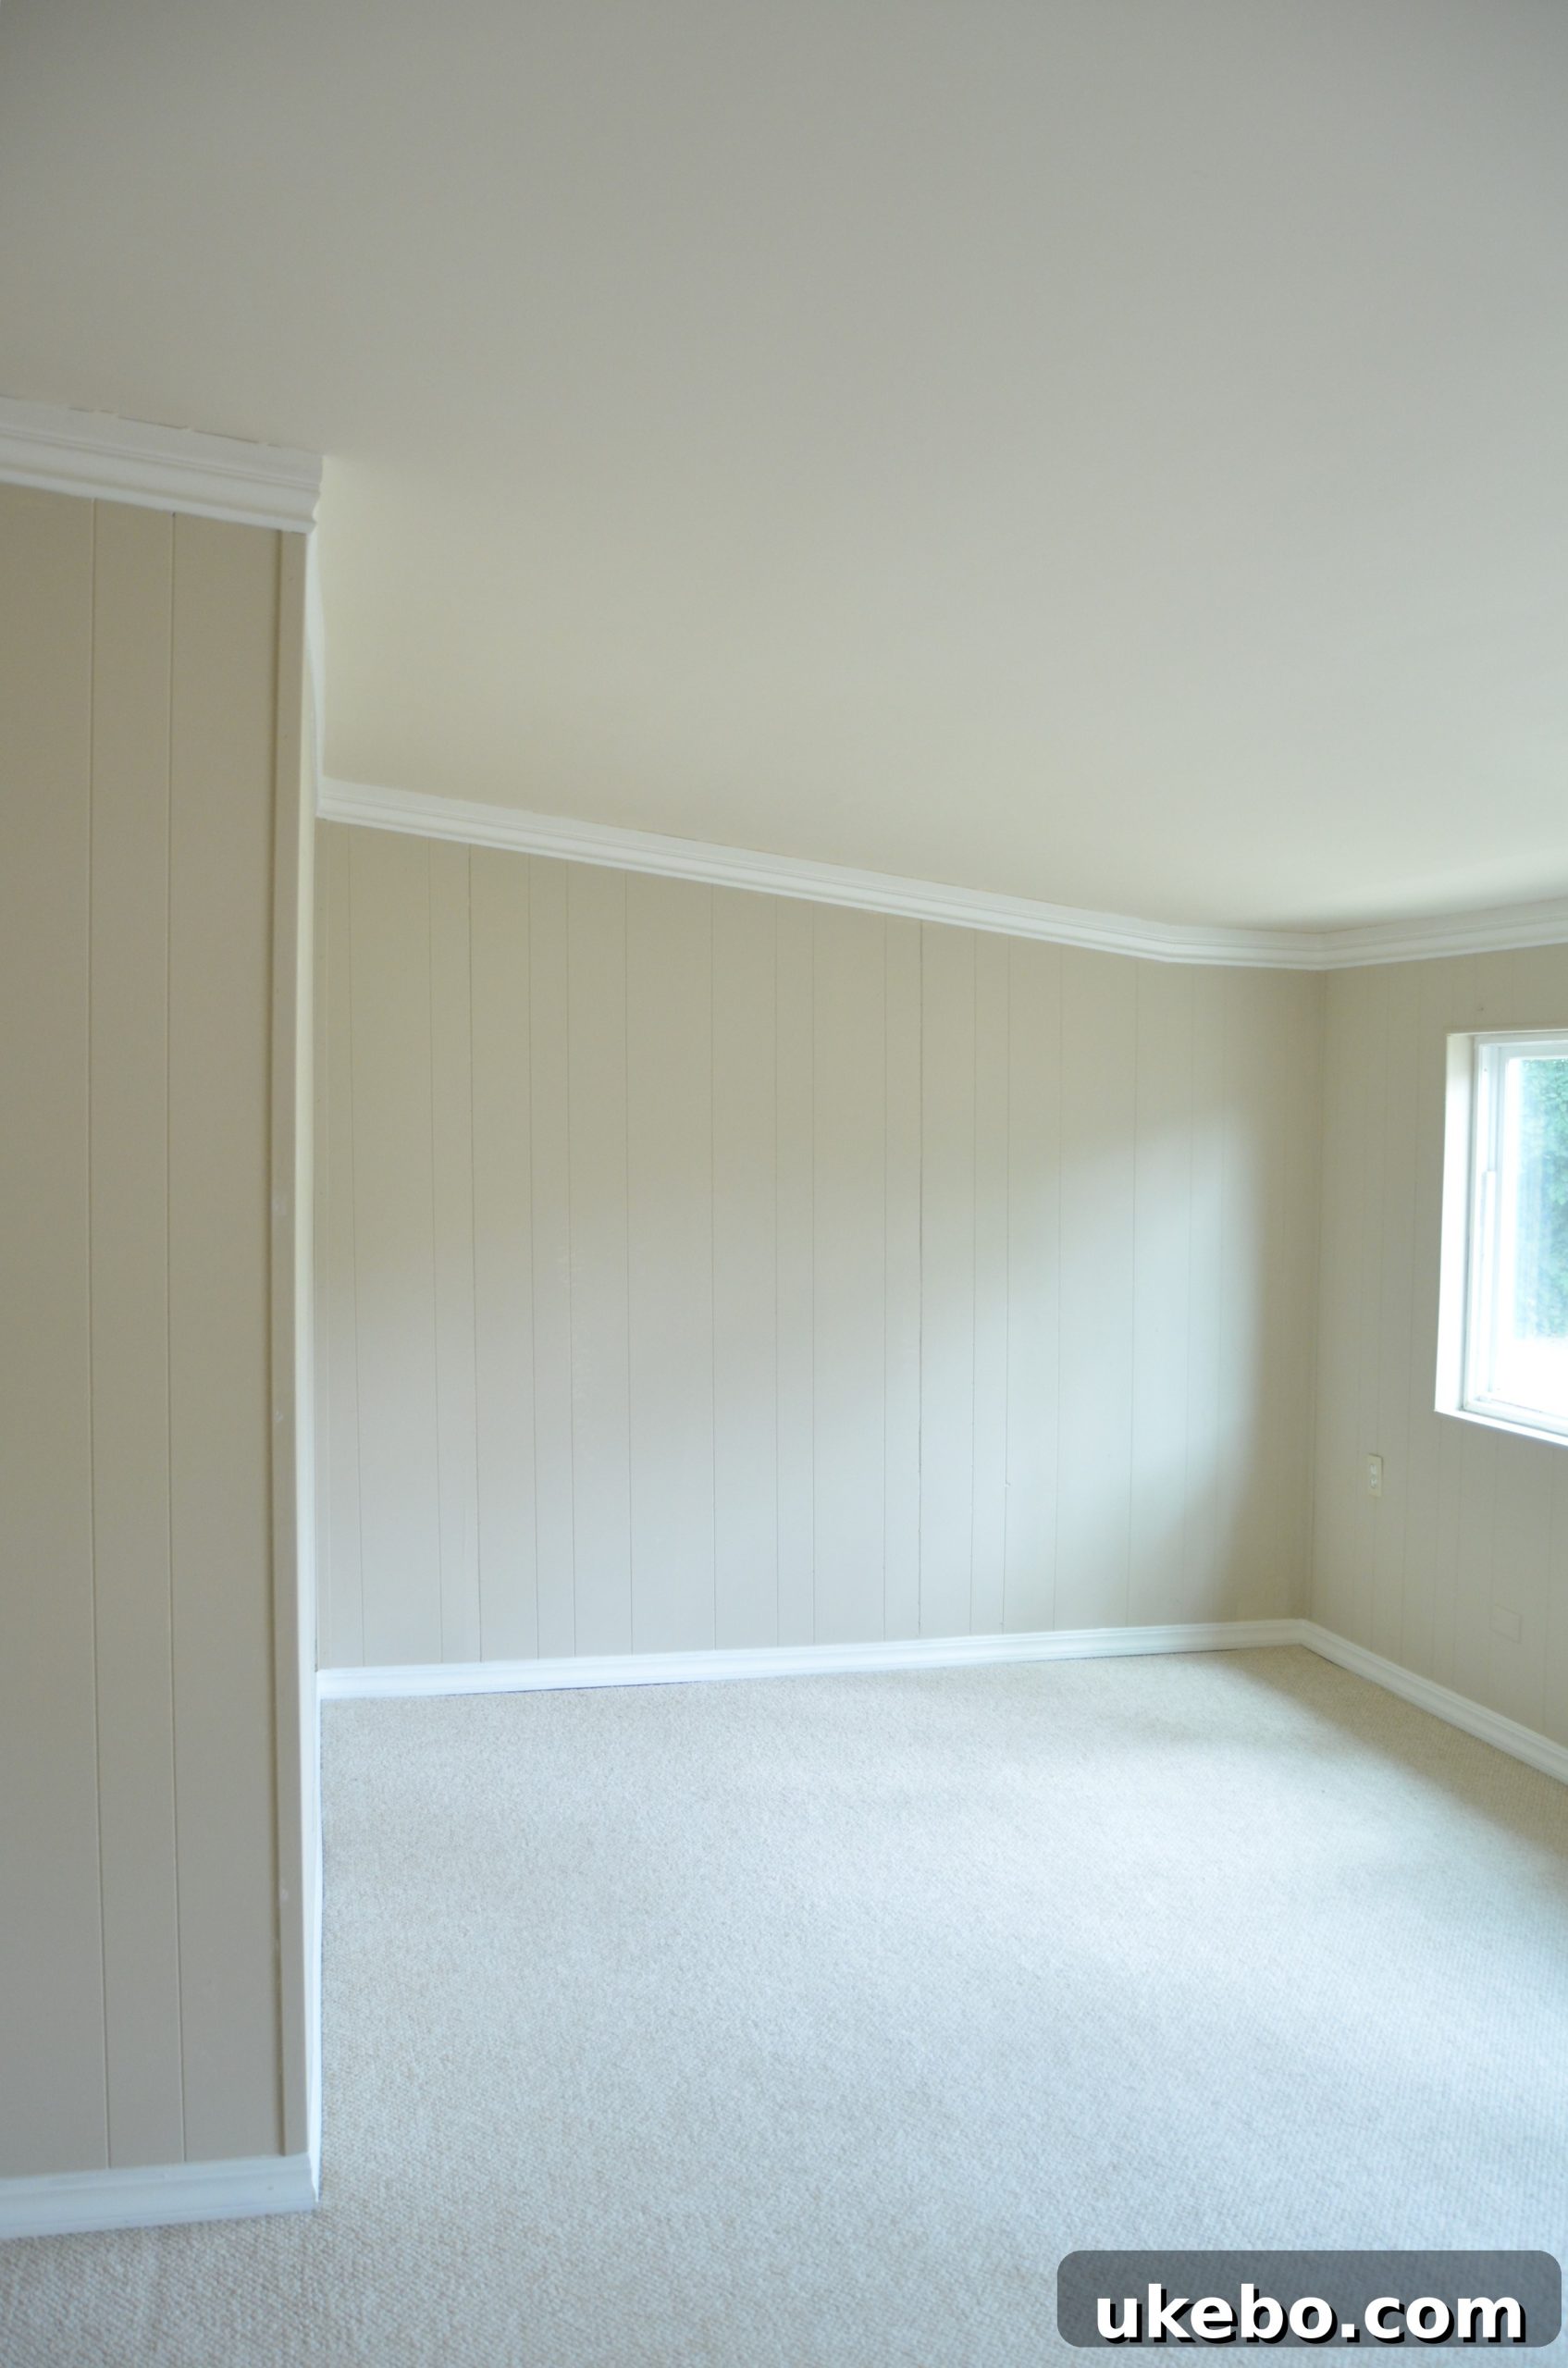
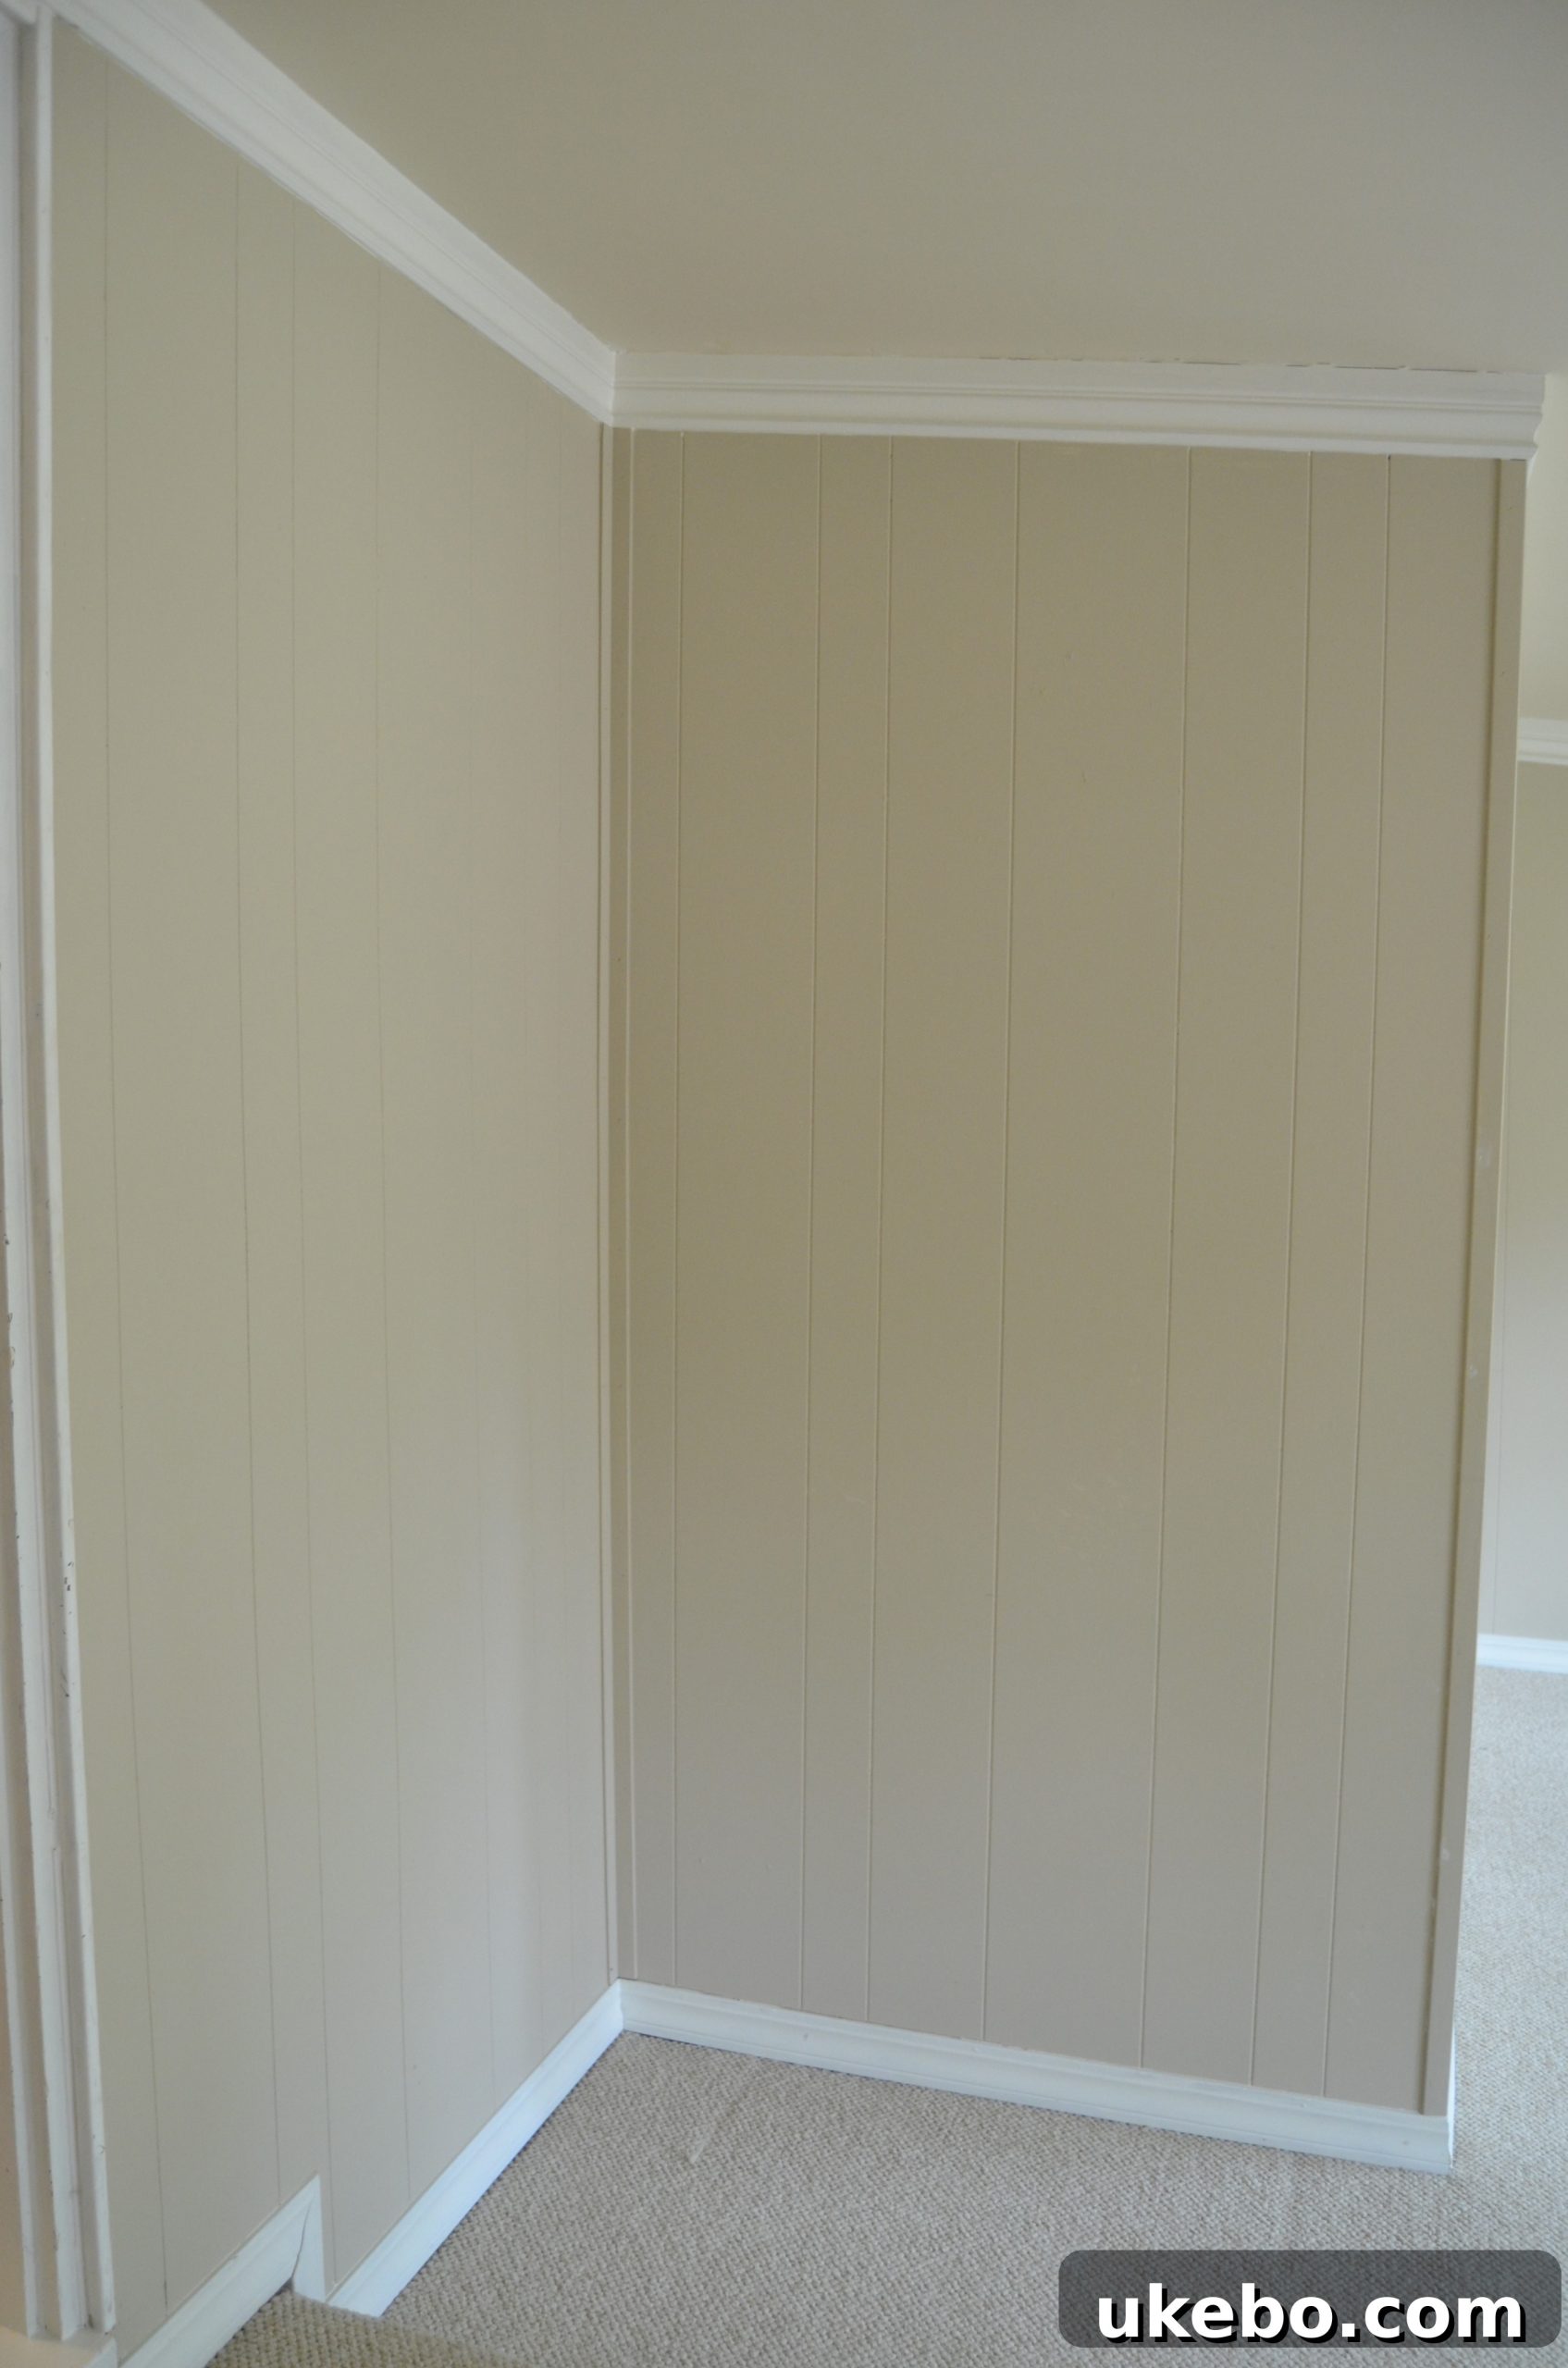
The Unexpected Start: Our “Wild Card” Bedroom’s Origins
Technically speaking, this space wasn’t even conceived as a bedroom when the house was originally built in the 1940s. It’s an addition, seamlessly integrated into the main structure many years later, which contributes to its unique character and the challenges we faced. Despite its unconventional origins, its size is surprisingly generous, especially considering the age of the main home. From the moment I stepped in, I envisioned its potential, knowing that with a dash of creativity and thoughtful planning, we could transform it into our ideal master sanctuary. After all, our previous bedroom received virtually no attention or personalization, so making this space a true priority was high on our list.
Our very first order of business, and arguably the most critical, was addressing the complete lack of a closet. A master bedroom without proper storage for clothes and personal items simply wasn’t an option. We explored numerous solutions, weighing built-ins against standalone wardrobes, and custom designs against more modular systems. After extensive research and comparison, the IKEA PAX closet system emerged as the clear winner. It offered the perfect blend of customization, aesthetic appeal, and incredible value for money, allowing us to maximize storage without breaking the bank.
Designing Our Dream Closet: Tackling Unique Challenges with IKEA PAX
One of the more peculiar aspects of this room, a direct result of its addition status, is the dramatic variation in ceiling height. In some areas, the ceiling dips to just under 7 feet, while along the wall designated for our new closet, it soars to over 9 feet. This disparity presented a significant design challenge, especially when choosing pre-fabricated units. Ultimately, to ensure a cohesive look and efficient use of space where the ceiling was lowest, we opted for the 79 1/8-inch high PAX frames for the majority of our configuration.
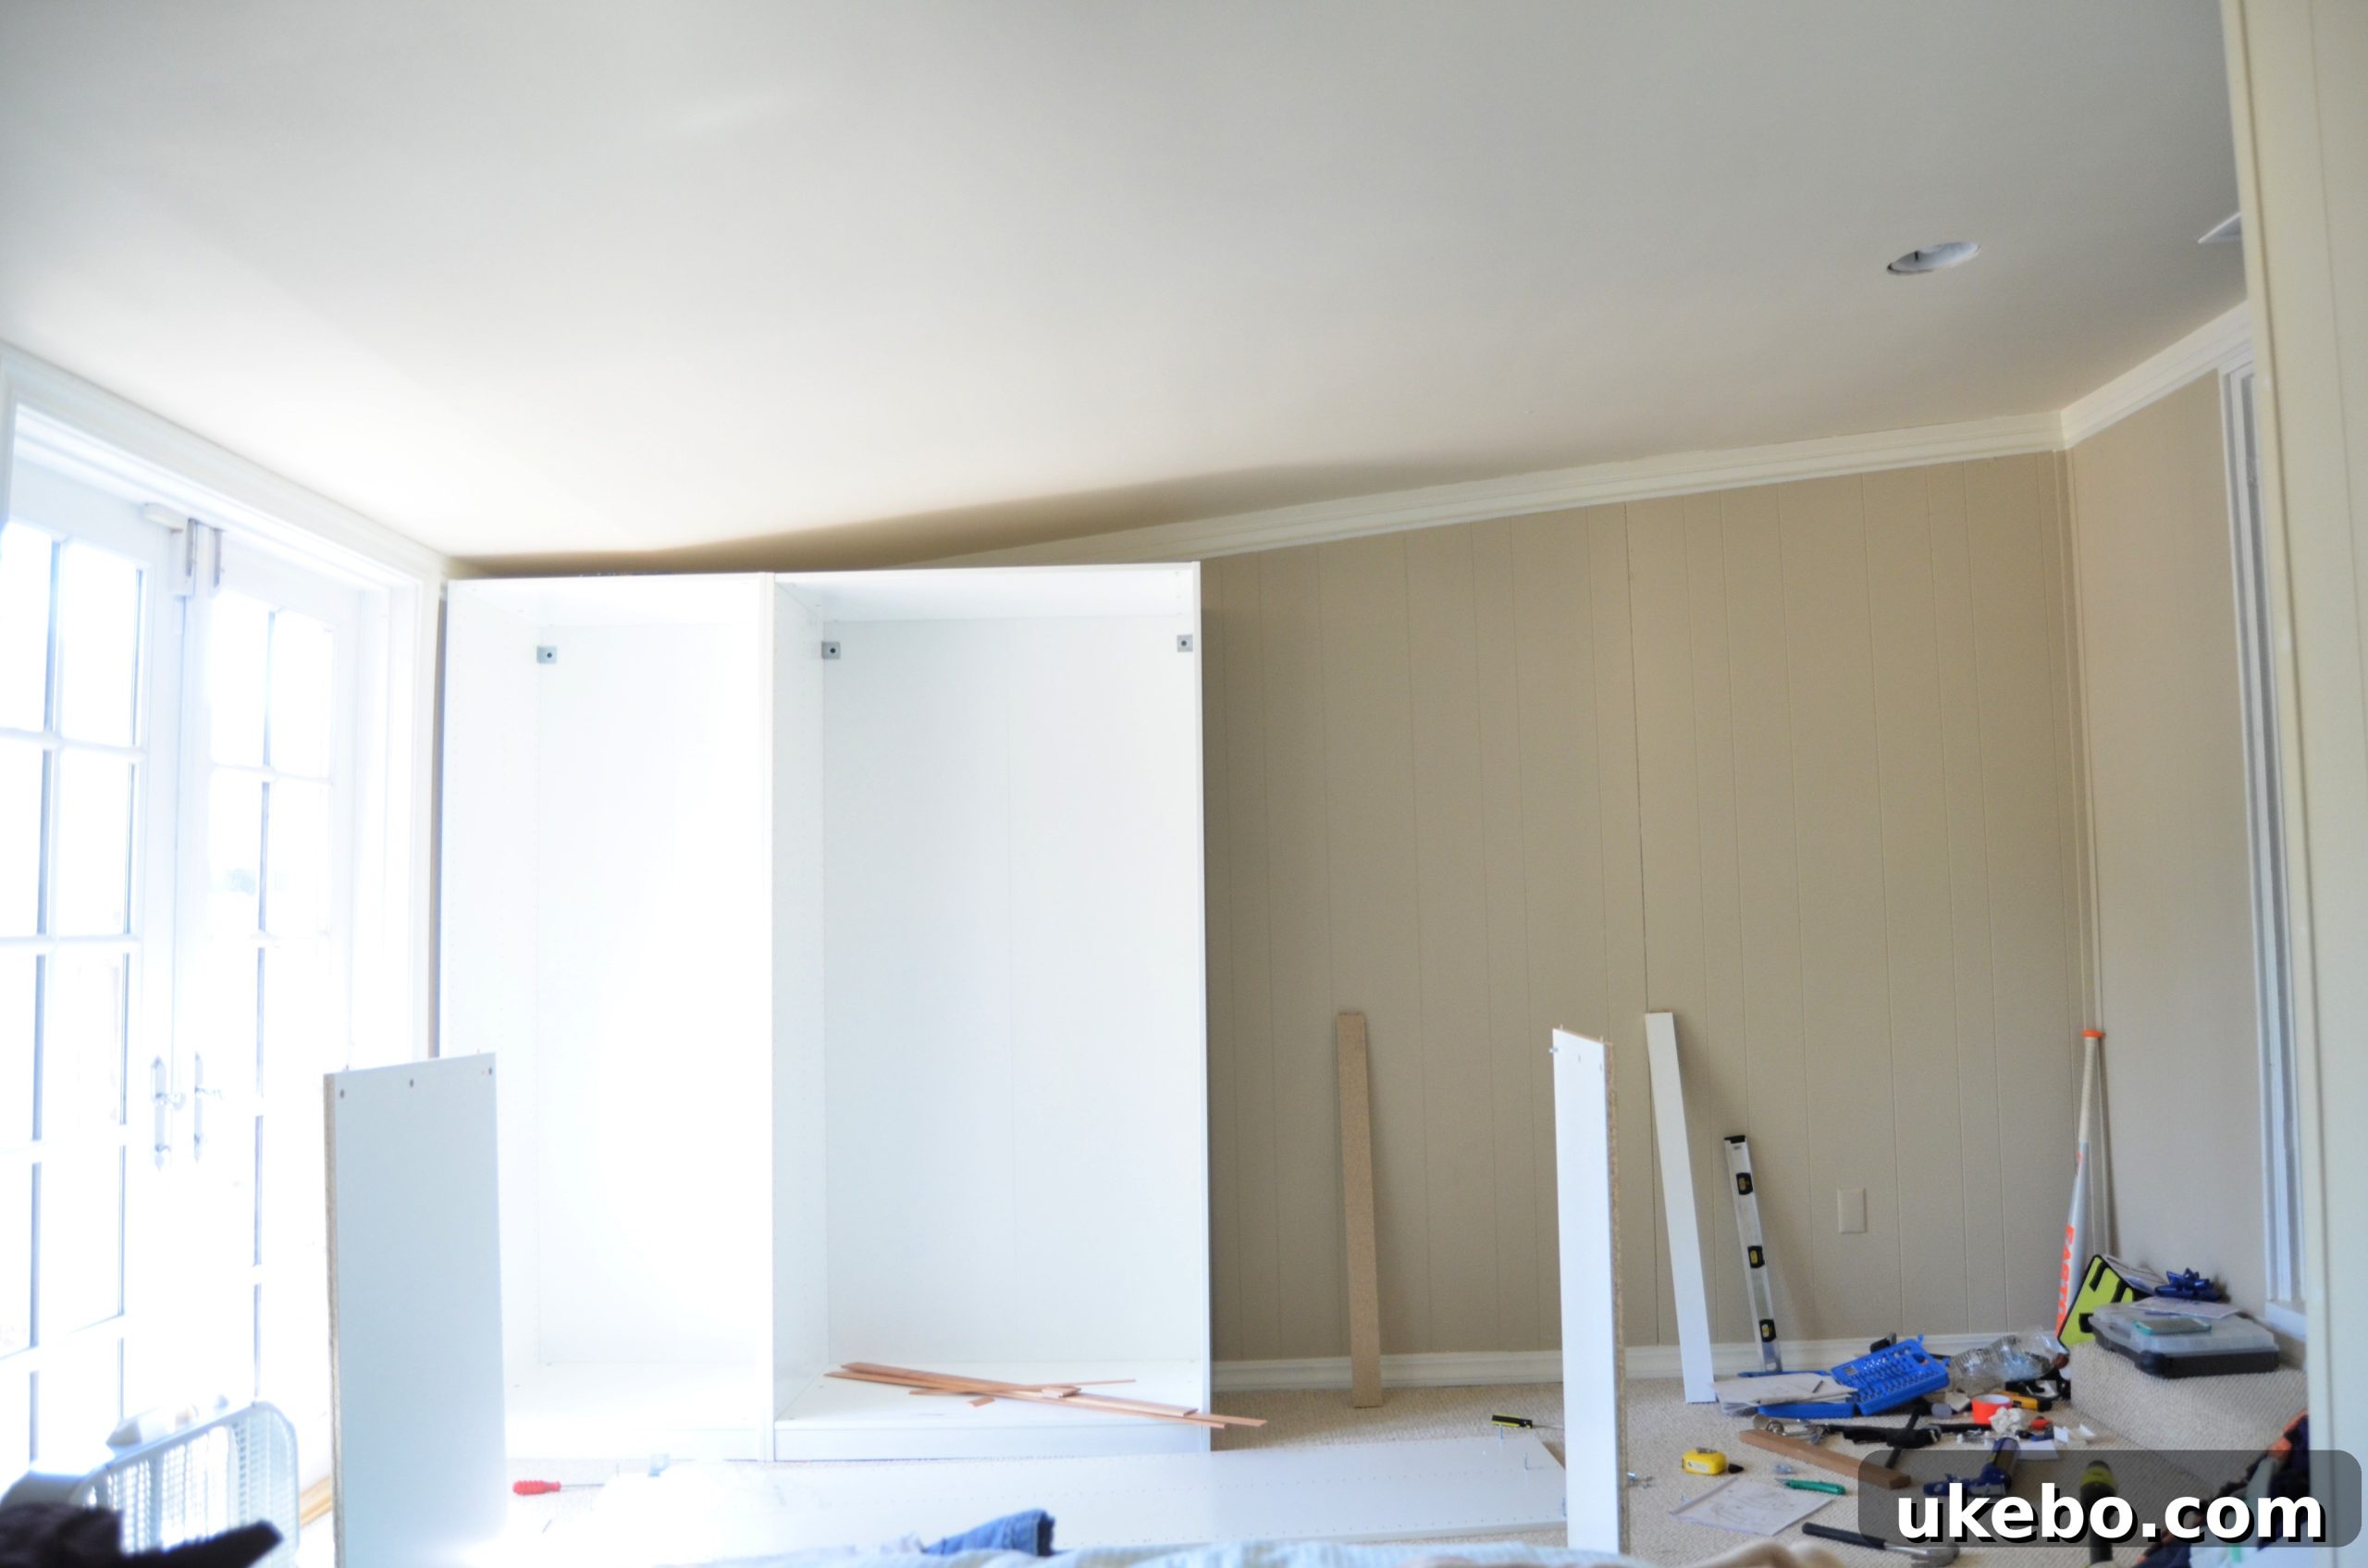
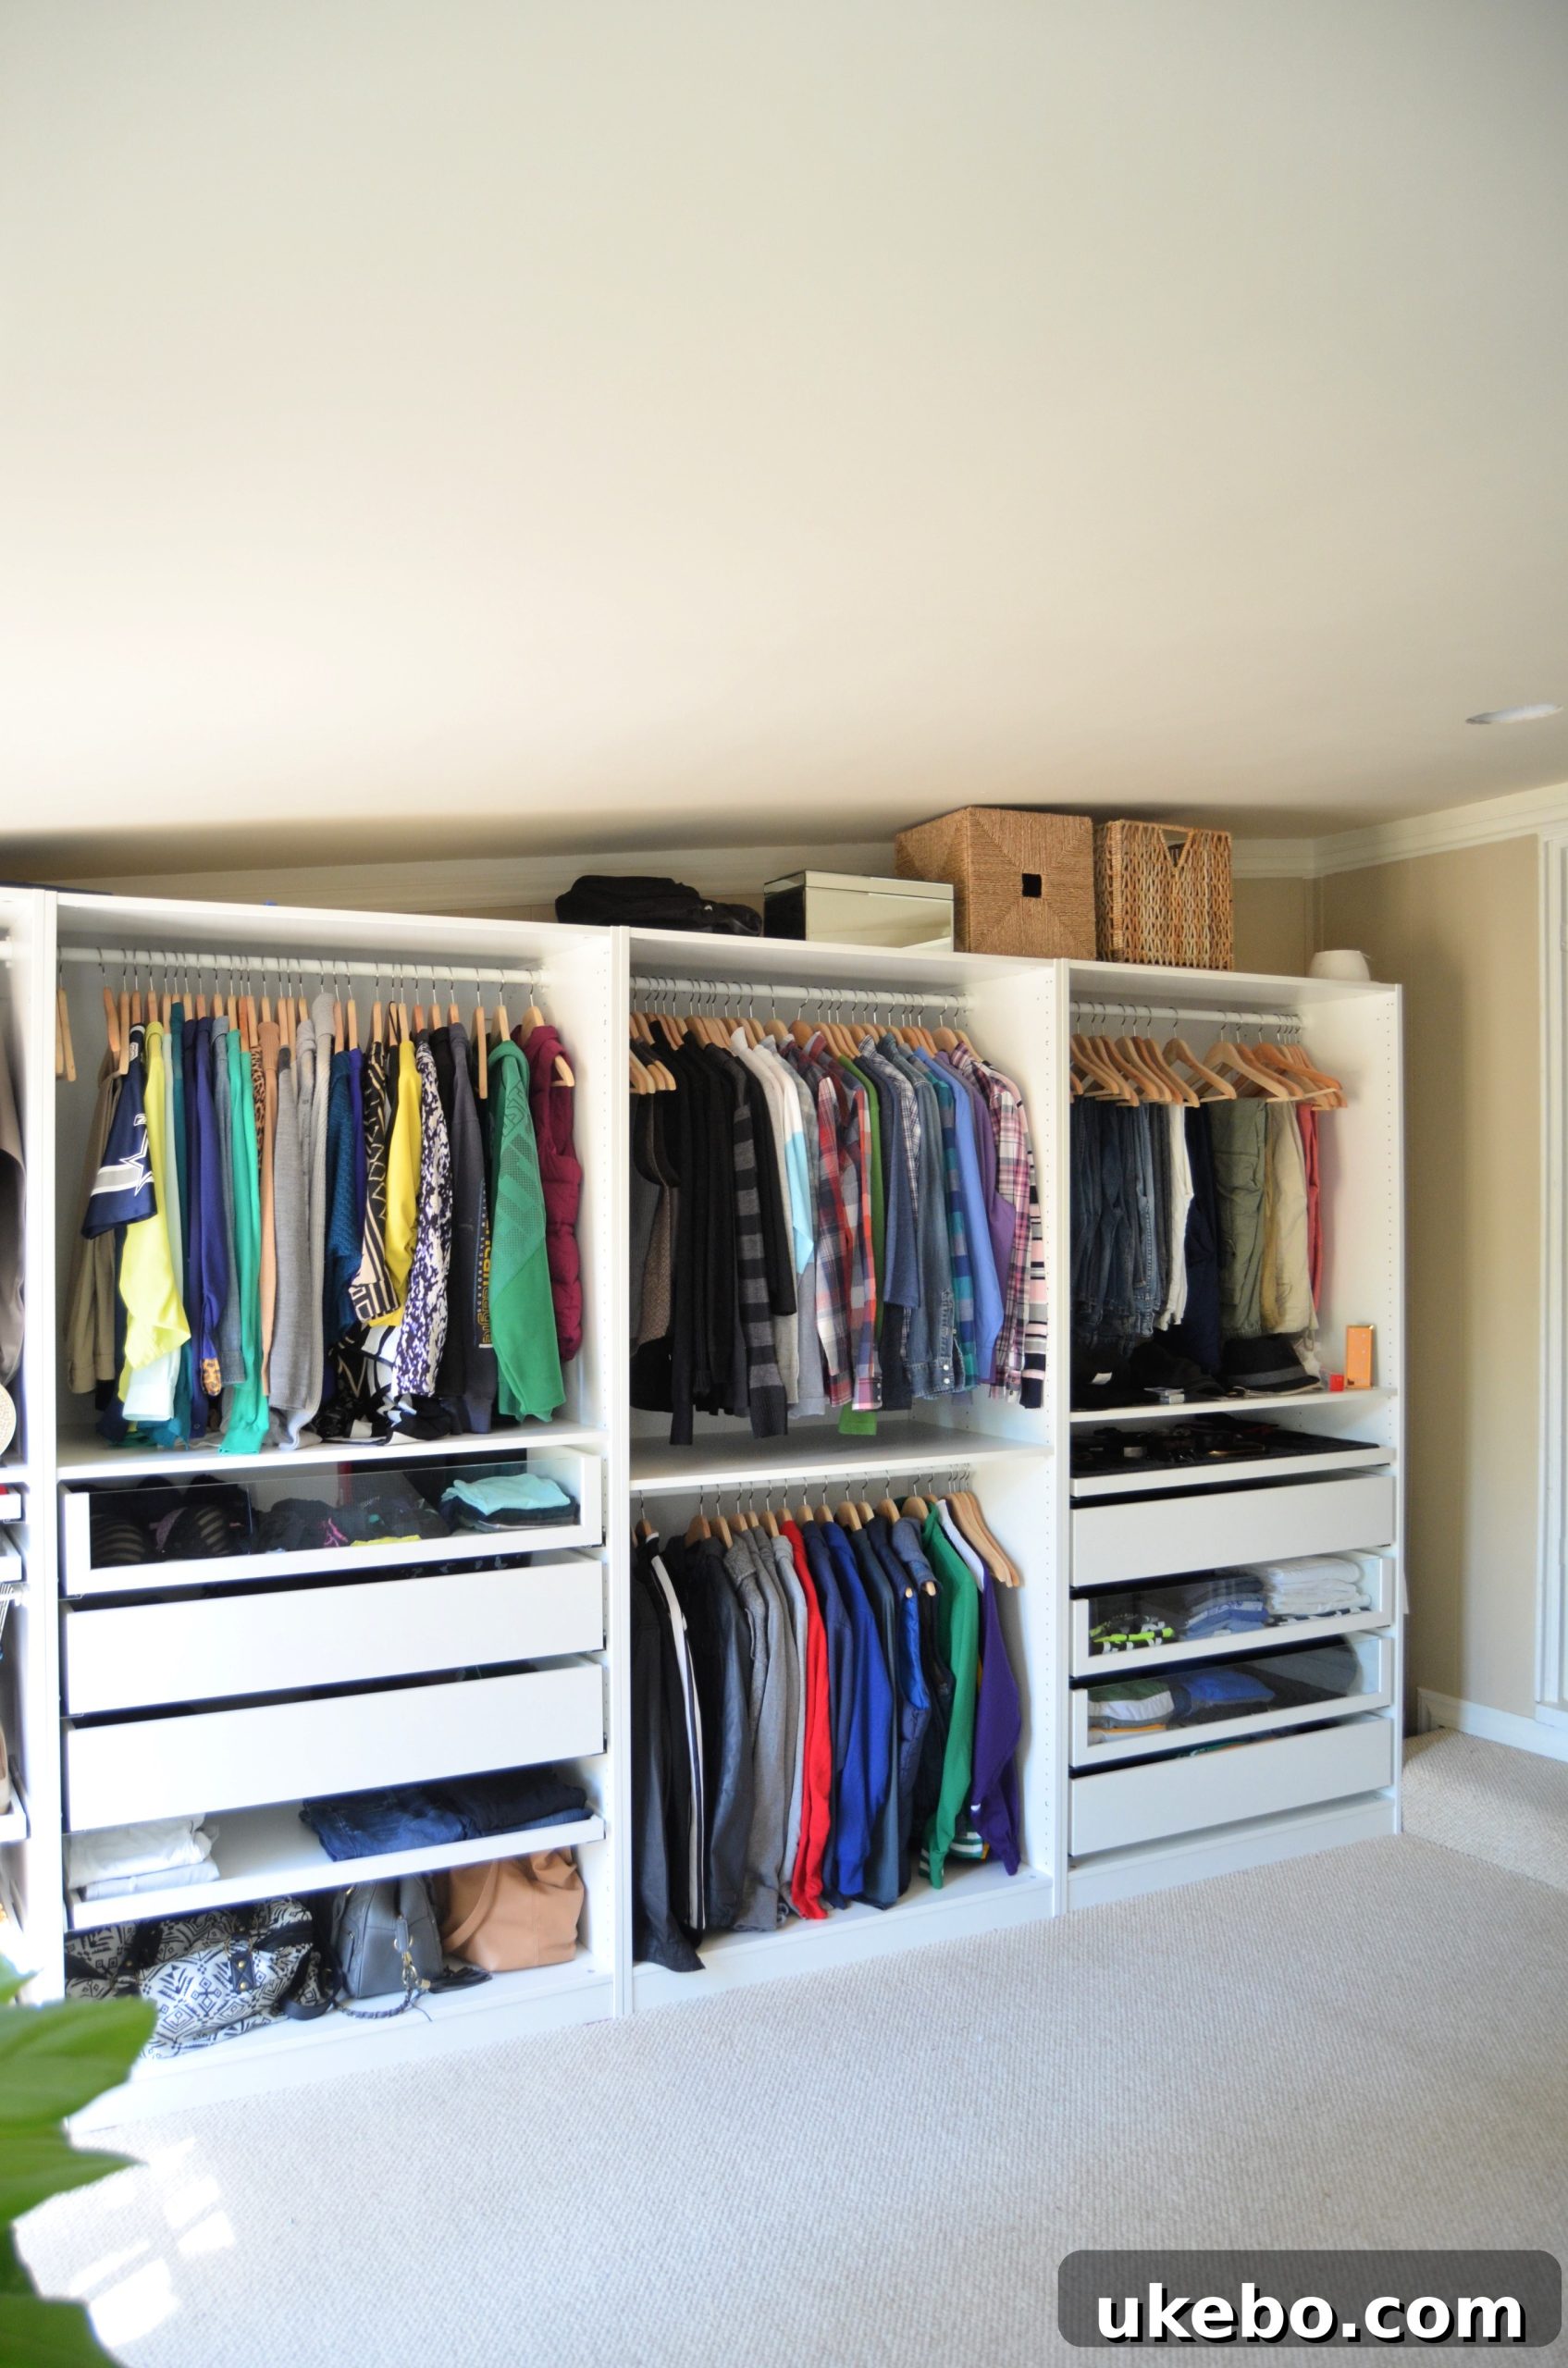
Through meticulous planning with the online Pax Planner Tool, which proved invaluable for visualizing and optimizing our layout, we managed to fit three 39-inch wide frames and one 29-inch wide frame perfectly into the available wall space. This strategic arrangement effectively created a wall-to-wall custom closet, offering an abundance of storage for all our clothing and accessories. Given that Naomi’s wardrobe and shoe collection significantly outpace mine, I was more than happy to allocate a greater portion of this ample space to her. She even boasts an entire dedicated unit just for her shoes – a testament to her impressive collection and our commitment to functional organization!
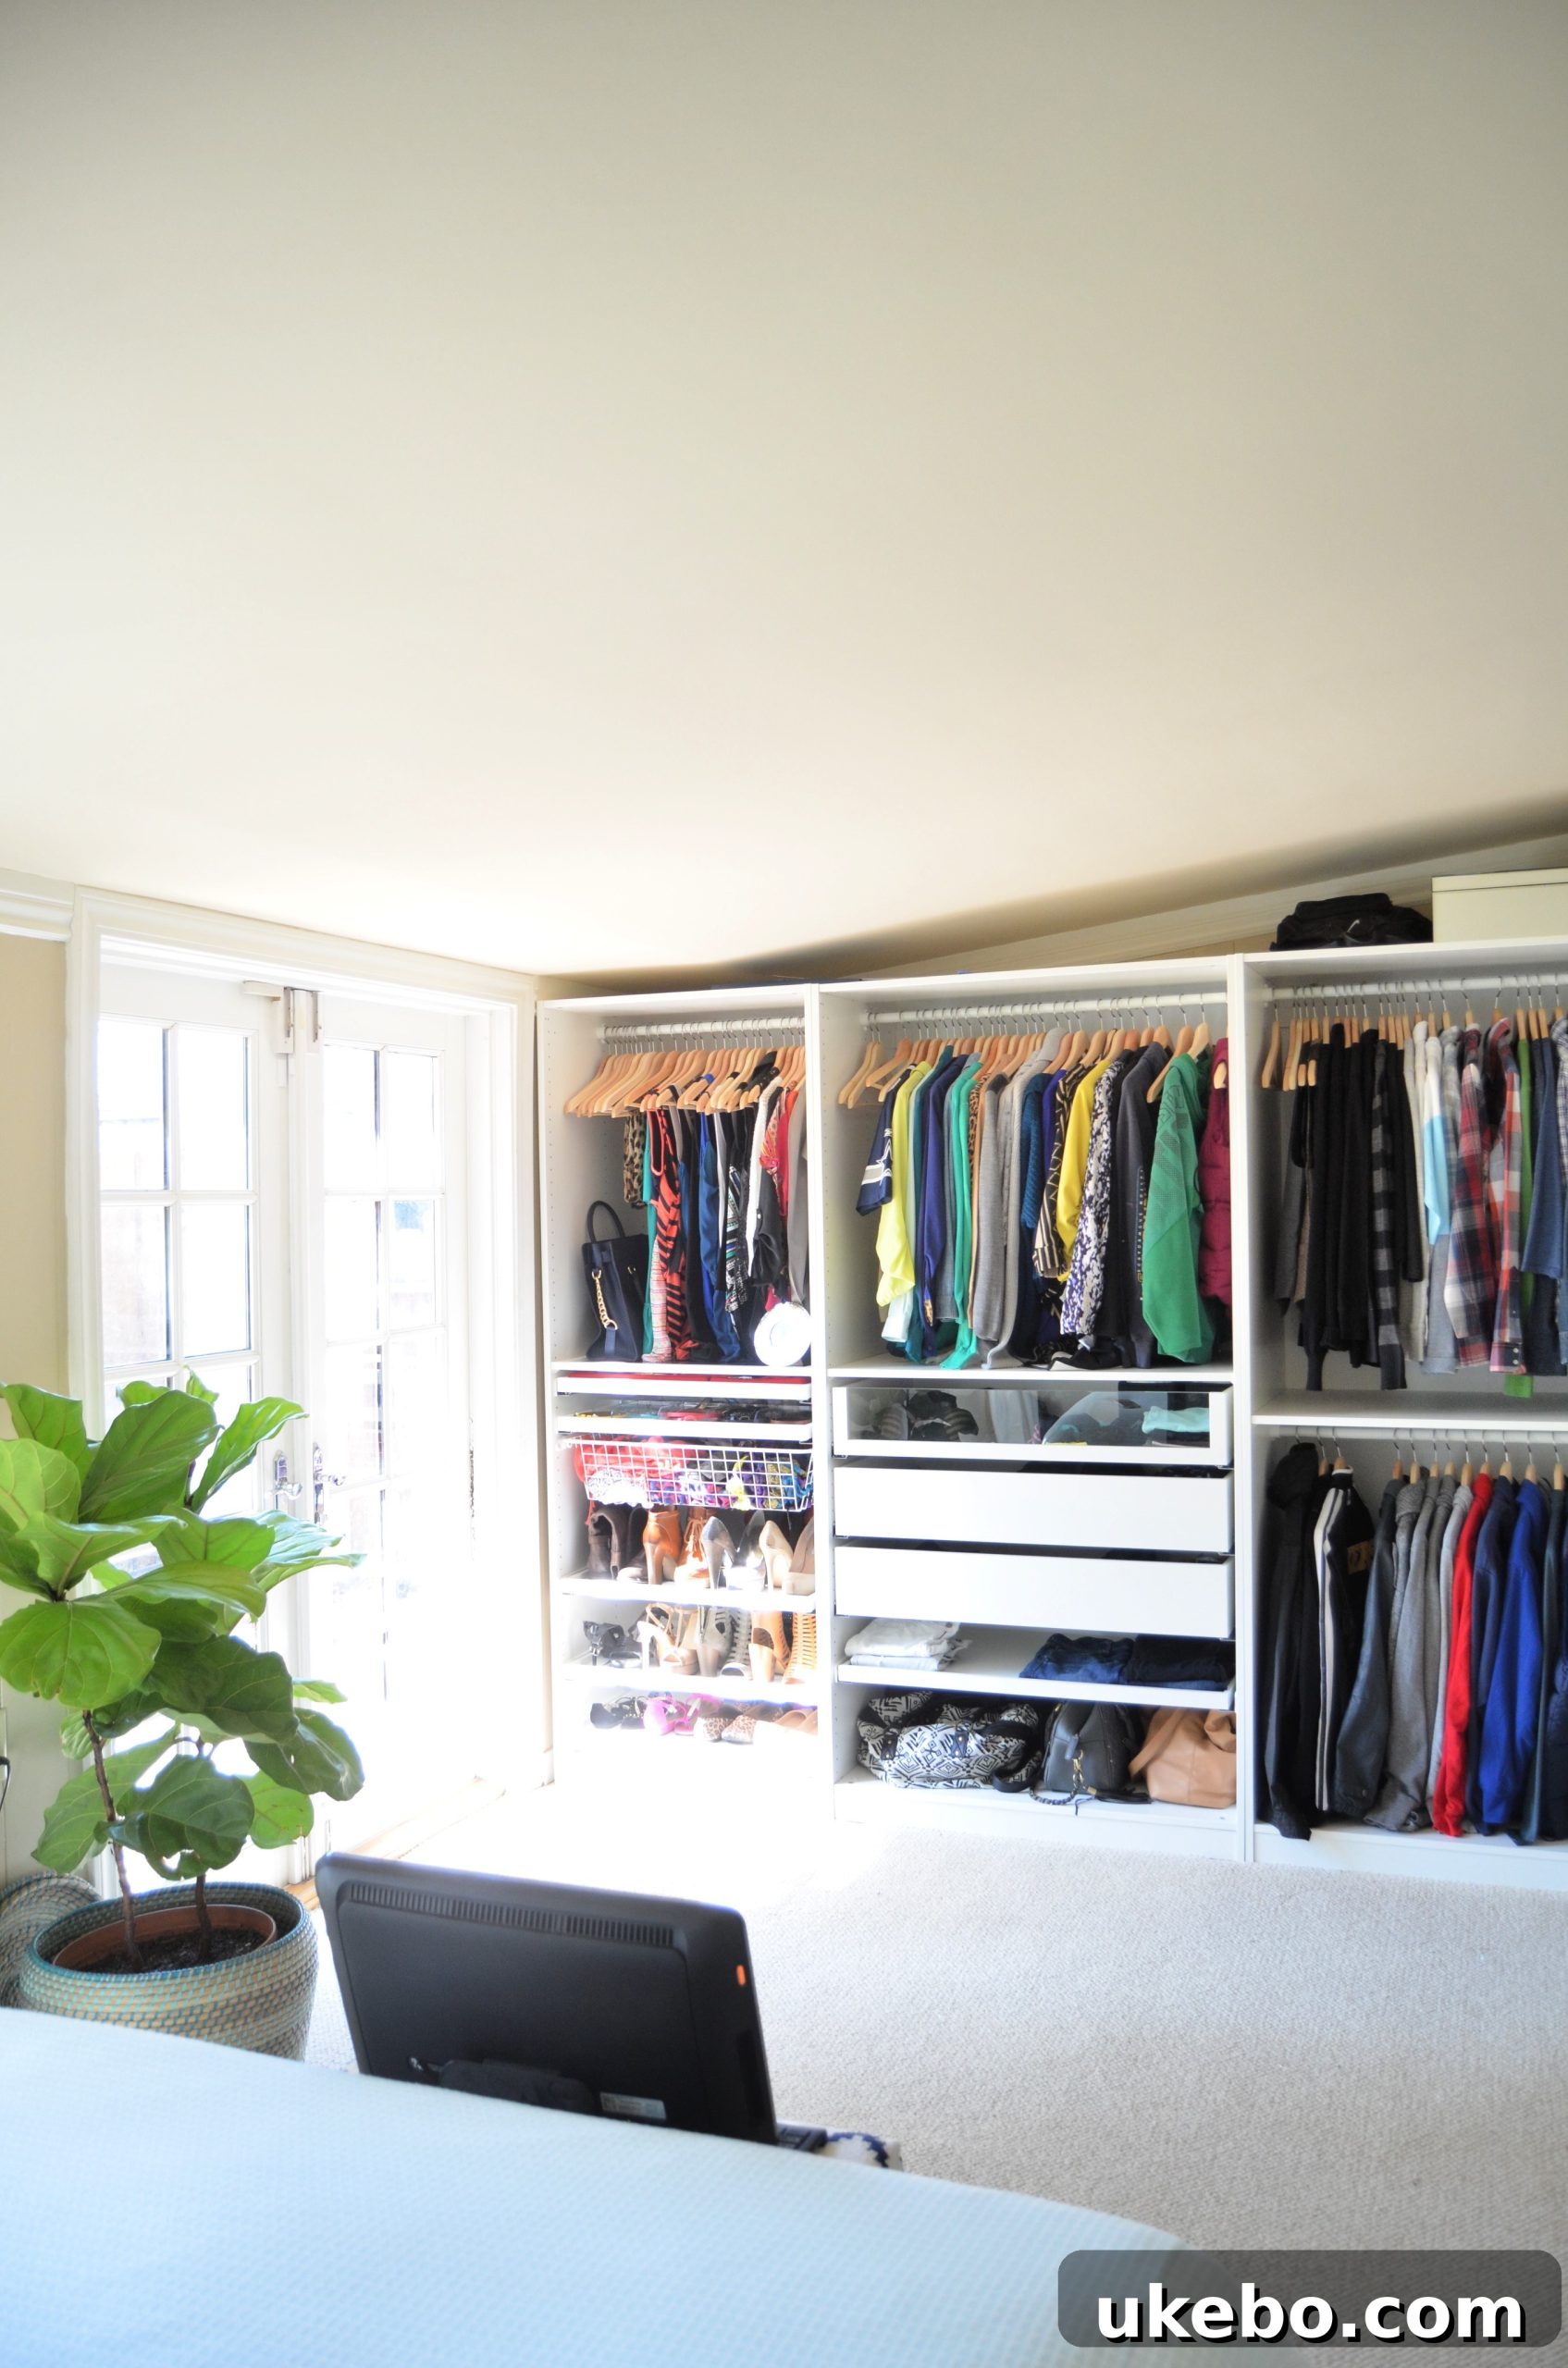
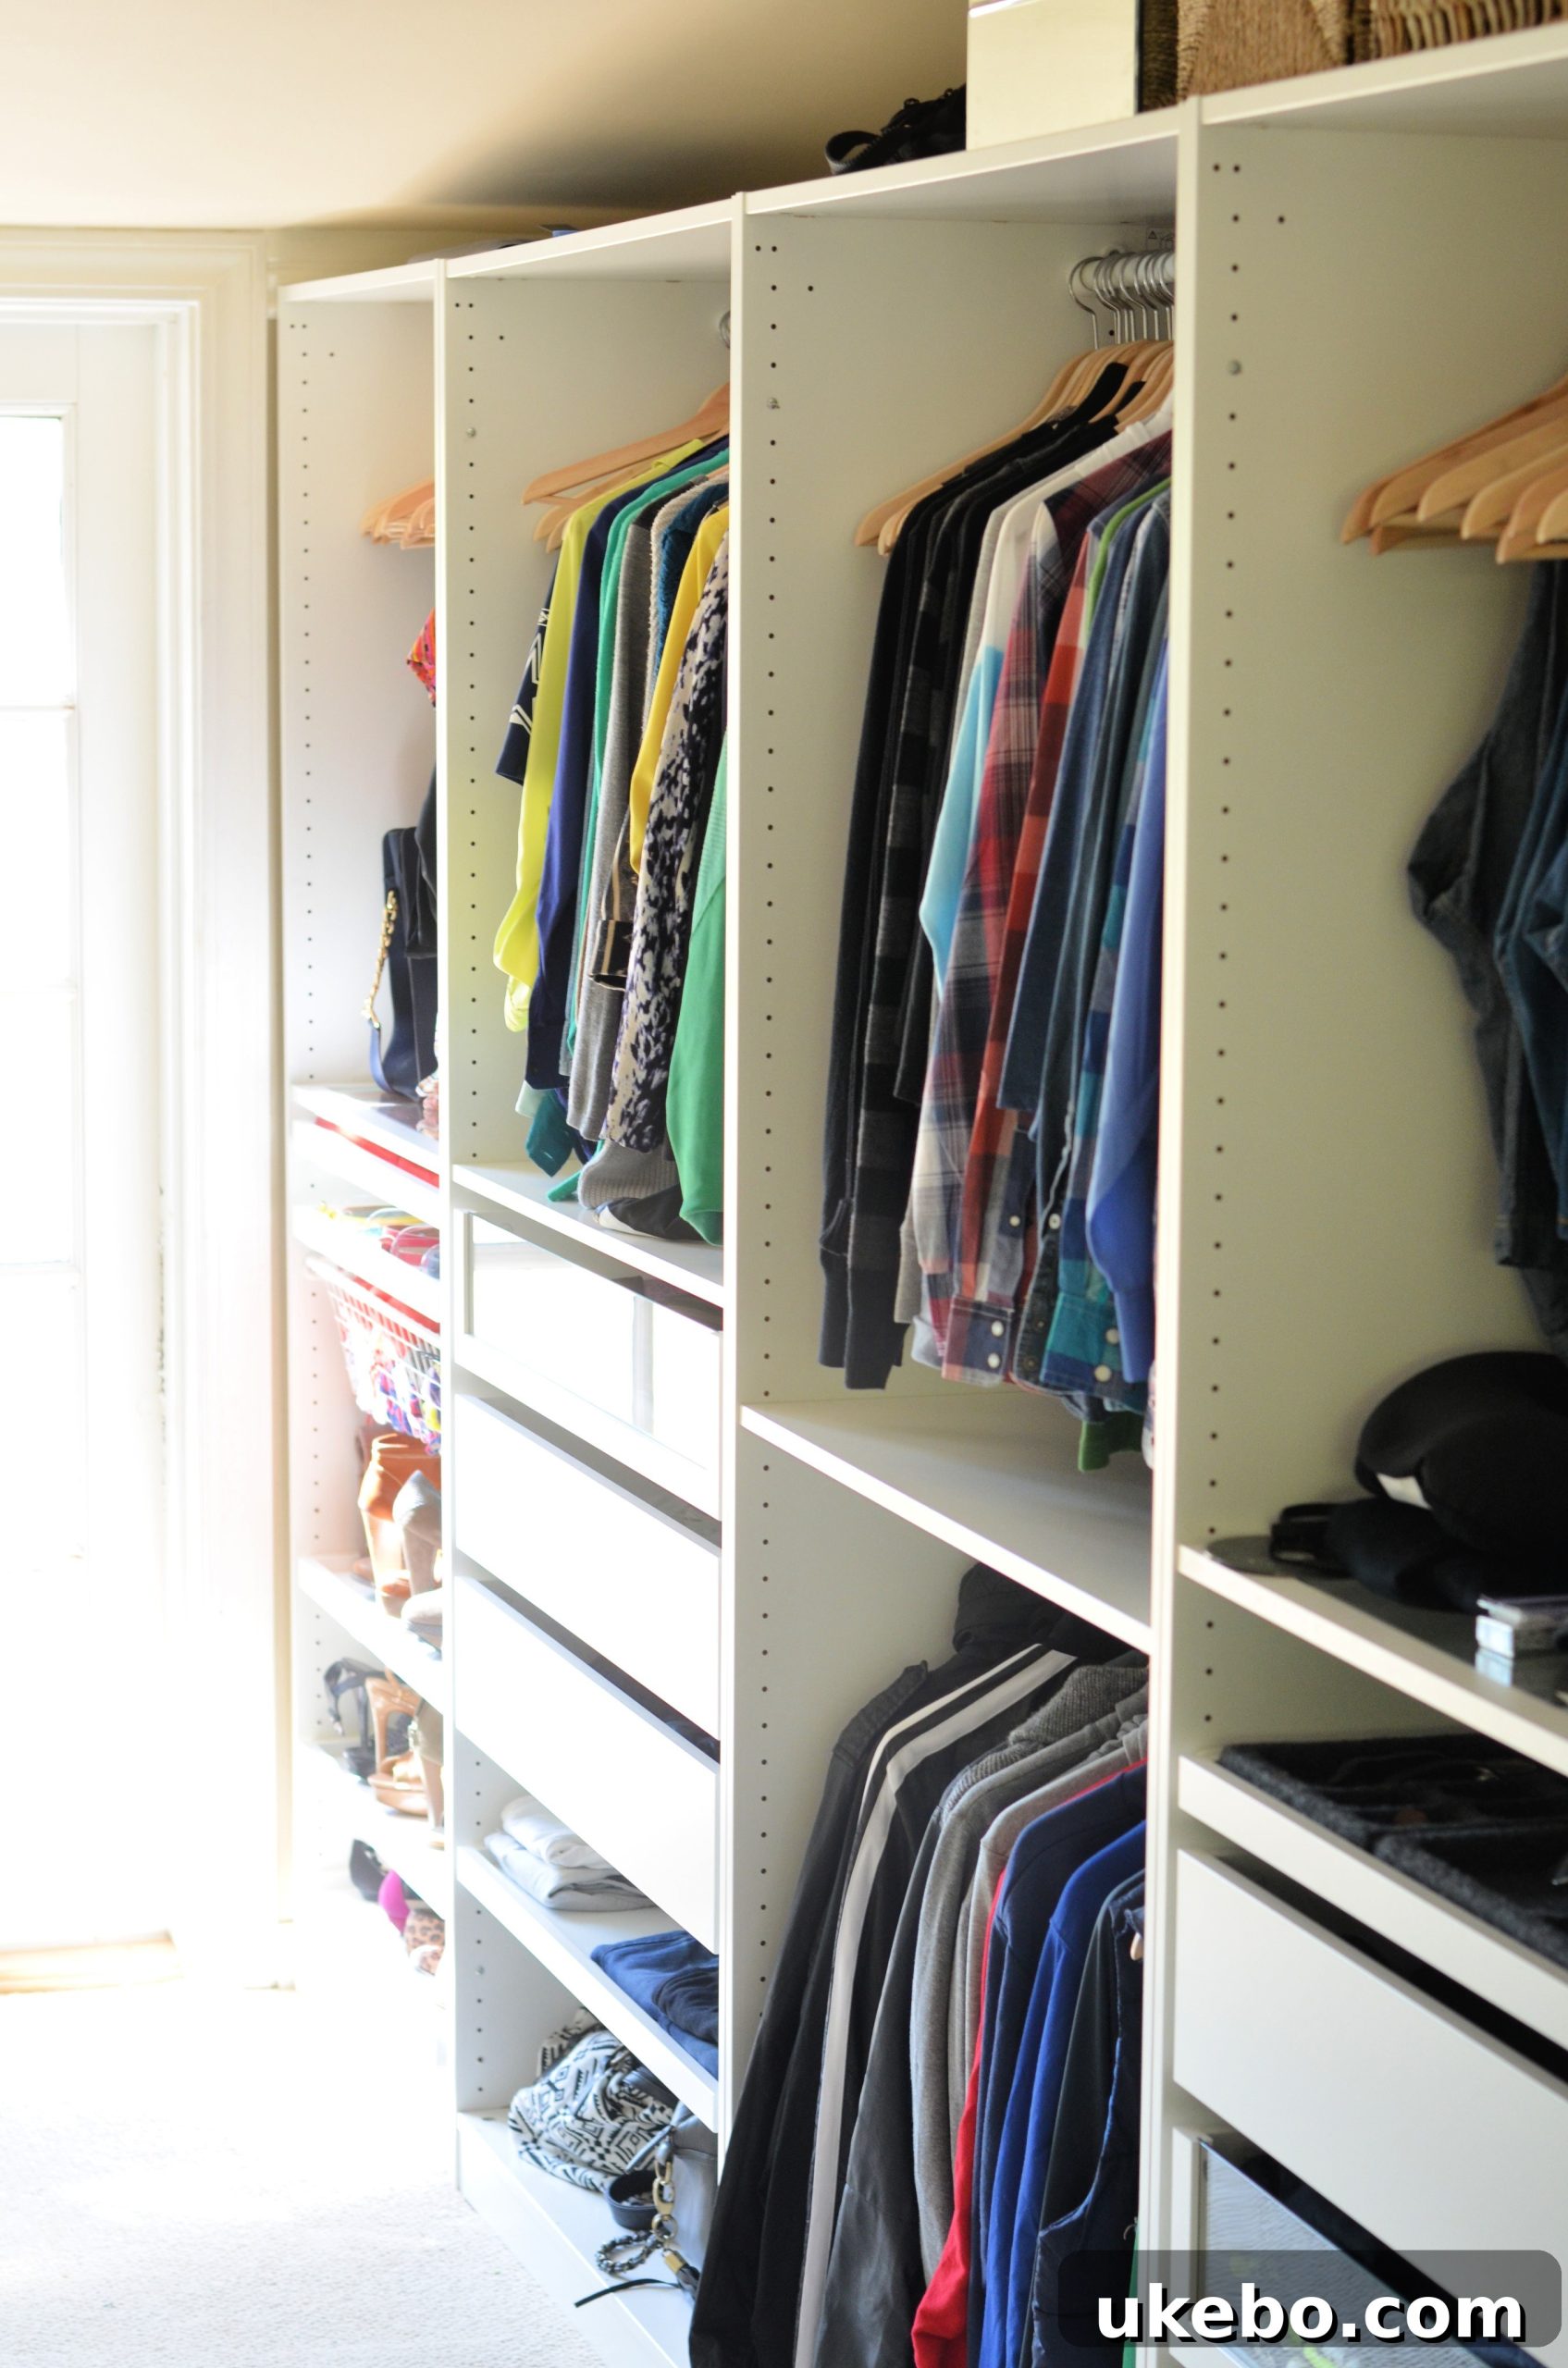
In one particular corner of the room, where the ceiling height permitted, we were thrilled to incorporate a taller, 93-inch high PAX unit. This allowed us to truly maximize vertical storage, particularly for Naomi’s shoe unit. While her shoes are now beautifully organized and in their designated spots, the space is undeniably snug! This has led us to implement a practical “one in, one out” rule for her shoe purchases, a crucial step in our ongoing journey of downsizing and mindful consumption.
As for the doors, we’re still contemplating our options. Currently, we’re thoroughly enjoying the open-concept look, which offers immediate visibility and easy access to everything. It feels incredibly streamlined and modern. However, if we do decide to enclose the units in the future, our leaning is towards a softened, curtained look rather than traditional doors. This approach would allow us to maintain a light and airy feel while still providing the option for concealment when desired.
Furnishing the Master Bedroom: A Blend of Splurge and Save
Beyond the impressive storage solution, the rest of the room offers just the right amount of space for our bed and a pair of small, functional nightstands. Achieving the perfect balance in a smaller footprint often requires strategic choices.
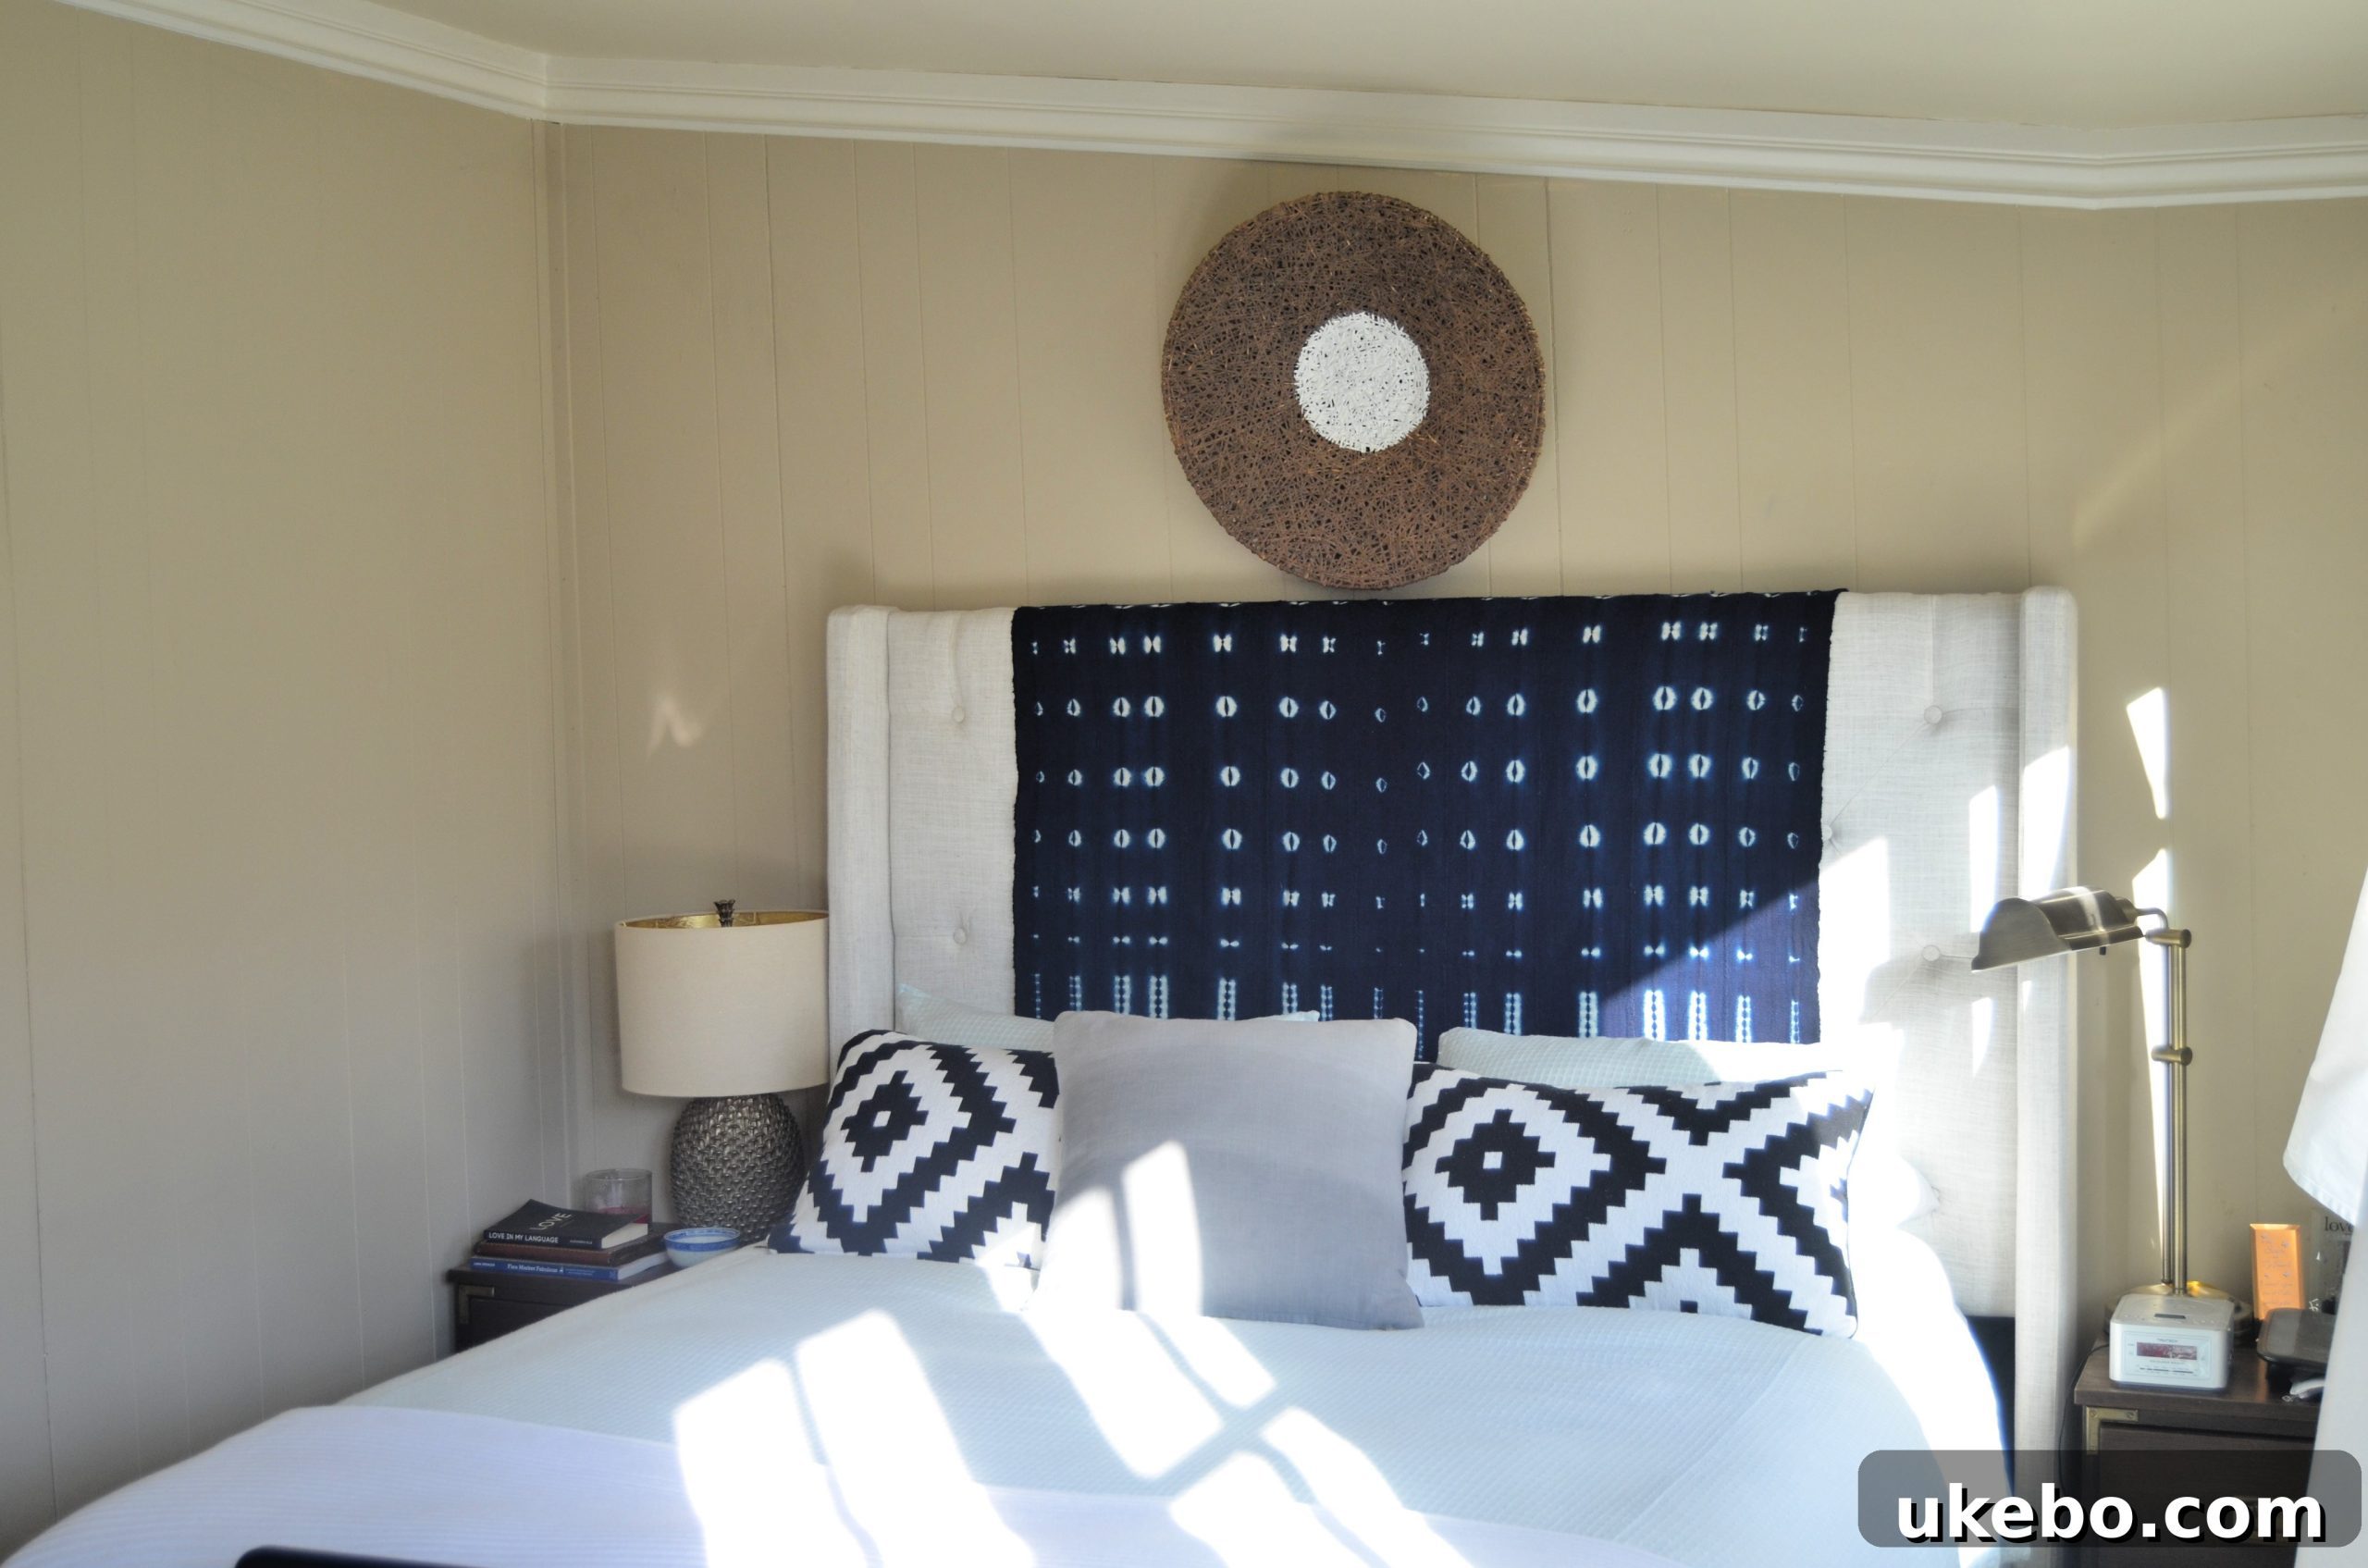
An amusing anecdote from our recent “purge sale” involved inadvertently selling our old nightstands. While listing our previous bedroom furniture on Craigslist, the nightstands happened to be in the background of a photo, though they weren’t explicitly for sale. Unexpectedly, a buyer fell in love with them, and since I had already mentally planned to replace them eventually, we decided to part ways. This presented a new challenge: finding suitable replacements for the tight space we have, approximately 21 inches on either side of the bed. Discovering nightstands or side tables that perfectly fit these minimal dimensions while still offering functionality and style might take some dedicated searching, but it’s a creative puzzle we’re eager to solve.
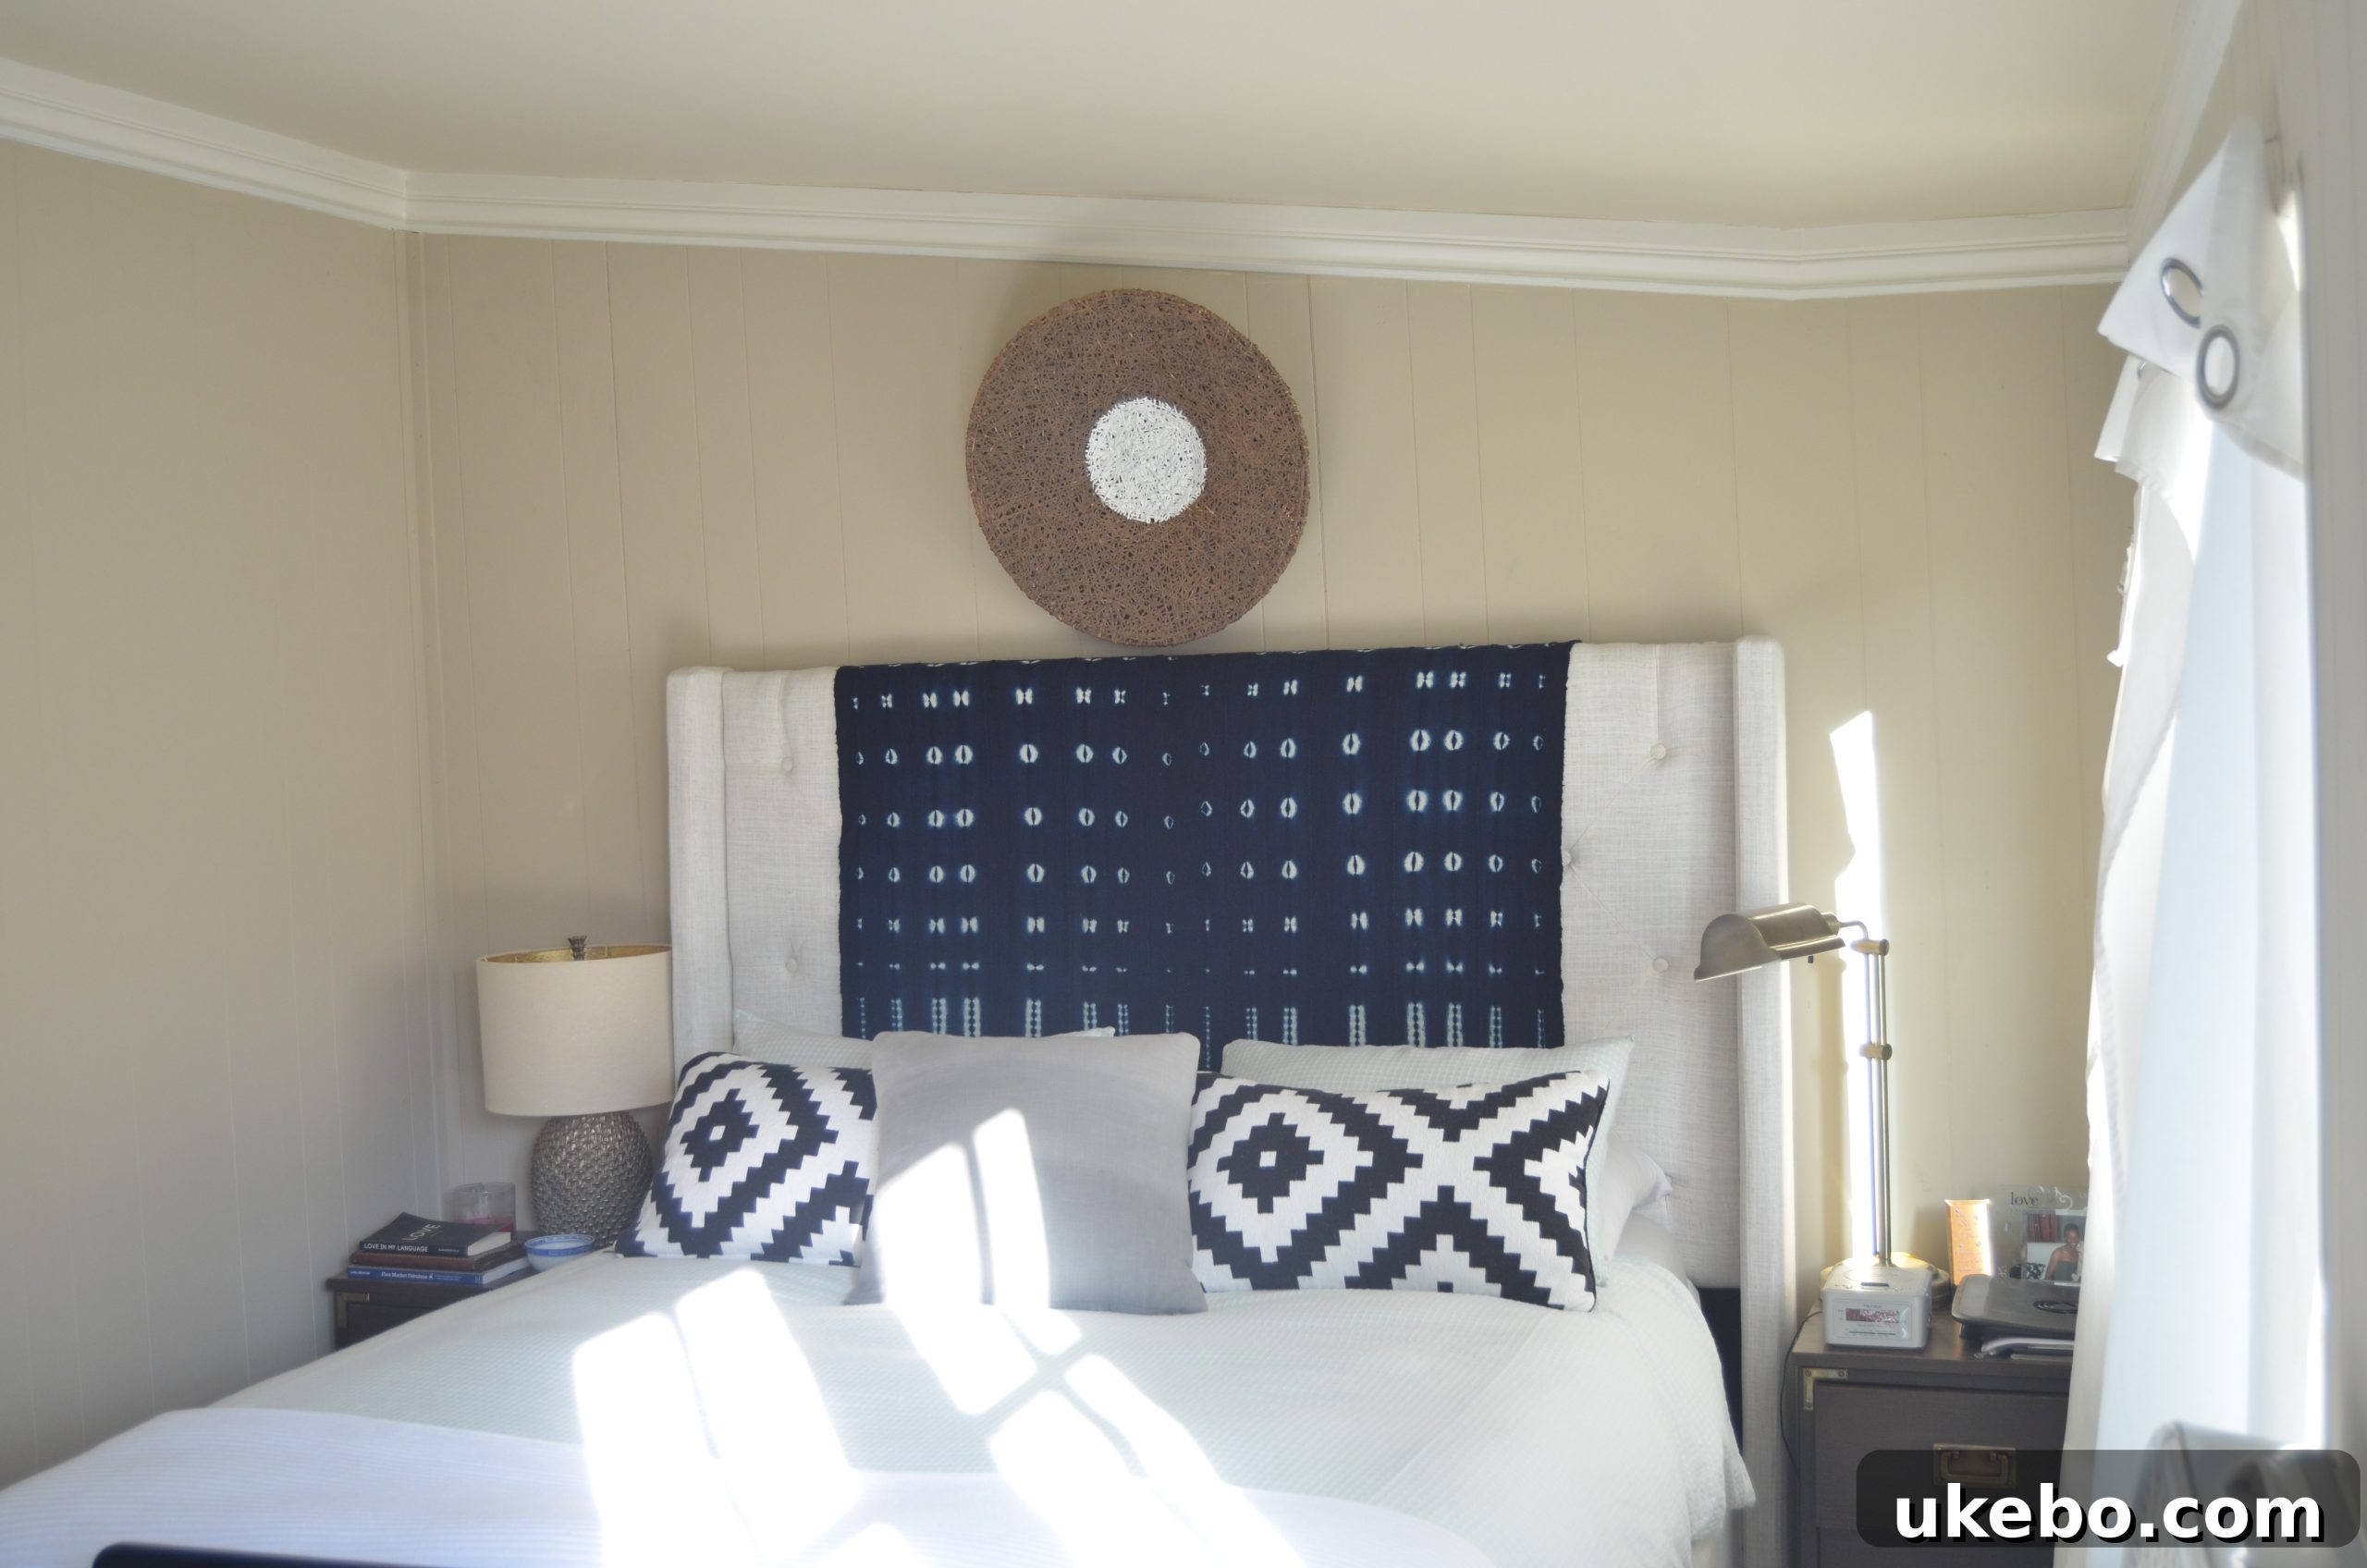
Our new bed, however, was a definite win! We snagged it from Wayfair during one of their incredible daily deal flash sales for just $304, which included free shipping and an additional online coupon. This purchase perfectly encapsulates our “splurge and save” philosophy for home decorating – investing wisely where it counts (like the custom closet) and finding fantastic deals on other essential pieces. While I haven’t been able to locate this specific bed on their site recently, suggesting it might be discontinued or temporarily unavailable, it remains a fantastic saving that allowed us to allocate more of our budget to other critical elements of the renovation.
The Ever-Evolving Vision: Our Master Bedroom To-Do List
While we’ve made significant progress, particularly with our game-changing closet system, the master bedroom remains a canvas in progress. Our current curtains are playfully rigged up with hooks, serving as a temporary fix, but properly hanging a rod and drapes is definitely on the agenda. Beyond that, our comprehensive to-do list includes:
- **Adding a Rug:** To define the space, add warmth, and introduce texture underfoot.
- **More Pillows:** To enhance comfort and layer in more decorative appeal on the bed.
- **Patterned Curtains:** To bring in visual interest, color, and personality to the windows.
- **Painting the French Doors Black:** For a dramatic focal point and a touch of modern sophistication.
- **Painting the Walls:** To refresh the entire room’s aesthetic and create a cohesive backdrop.
- **Hanging Some Art:** To infuse the space with character and reflect our personal style.
- **Finding a Bedside Table Solution:** A creative hunt for narrow nightstands or custom floating shelves that fit our limited dimensions.
- **Acquiring Lamps:** For essential bedside lighting and to set the mood.
- **Creating Prettier Extra Storage:** Designing an elegant solution for items stored on top of the closet units.
- **Getting a Tall Dressing Mirror:** Both functional and aesthetically pleasing, to open up the space.
- **Relocating the Computer:** Moving it to a different area of the house to keep the bedroom a screen-free sanctuary.
- **Investing in a Bigger Bench or Settee:** For the foot of the bed, providing additional seating and a functional spot.
- **Installing a Bedroom Door:** This crucial element will actually be addressed as part of our upcoming dining room makeover, so we anticipate this happening sooner rather than later.
We’re confident that all these elements will eventually come together to create the master bedroom of our dreams. For now, there’s immense satisfaction in knowing we’ve conquered the most pressing issue: efficient and ample storage for all our belongings. It truly feels like a monumental “small victory” in our home renovation journey. The IKEA PAX systems, including tax and all customizations, came in at just over $1500. While not exactly cheap, it was significantly more affordable than the custom closet solutions we were quoted, which often started at double that price. This investment was undeniably the major “splurge” in our bedroom budget, but it was an absolutely essential one. A well-designed, functional storage system was key to making this unique space truly work for us, making it money incredibly well spent.
We’re looking forward to sharing more updates as this space continues to evolve. Until next time, happy weekend, everyone!
xo-Shavonda
PS. A huge congratulations to Joy Tucker, the lucky winner of our Rugs USA giveaway! Keep an eye on your inbox, love, I’ll be reaching out soon. And a massive thank you to everyone who participated; your enthusiasm is truly appreciated!